When you click on links to various merchants on this site and make a purchase, this can result in this site earning a commission. Affiliate programs and affiliations include, but are not limited to, the eBay Partner Network.
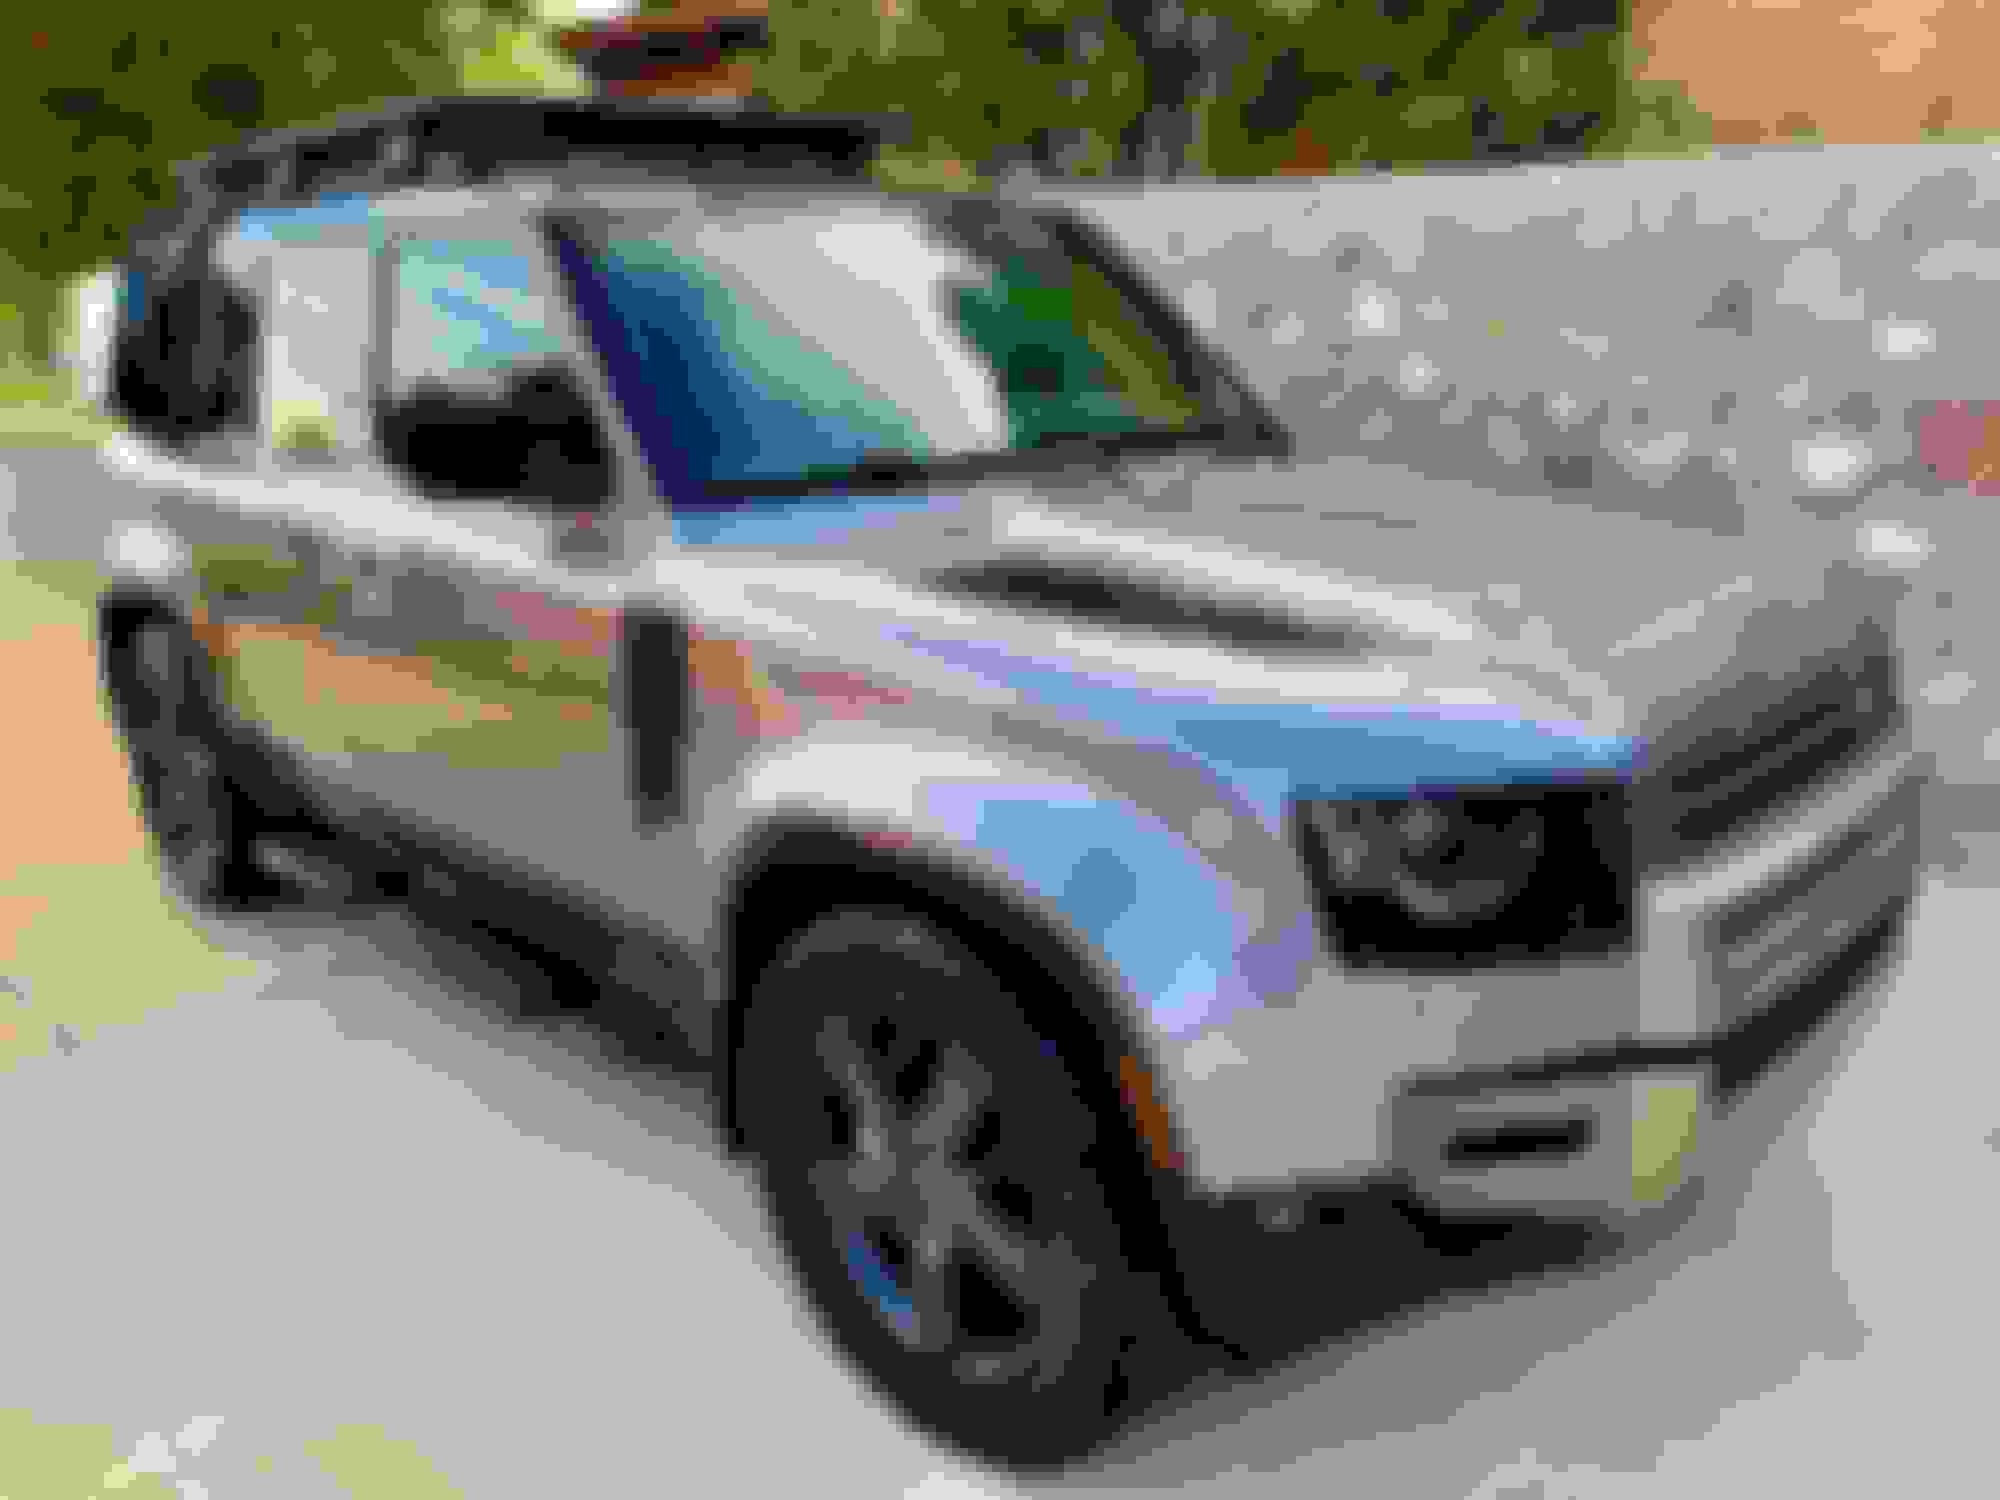
It was last week but I added the Vulkan roof rack, ladder, and gear box (in all black) I also detailed and waked the Defender with Pinnacle Synergy Ceramic wax. 👍 😍😍
Last weekend count? Roof rack and recovery eyes before we head out for some fall camping. Got black OEM A-pillars going on today as soon as I find the Torx I need.
It was last week but I added the Vulkan roof rack, ladder, and gear box (in all black) I also detailed and waked the Defender with Pinnacle Synergy Ceramic wax. 👍 😍😍
Today I spent several hours removing the passenger side headlight due to a cracked lens, and replacing the lens, saving close to $2000. How it happened I have no idea, never heard or felt any impact. A replacement LED matrix headlight assembly is priced at over $1500, so guessing a dealer fix is close to $2k. The replacement lens runs about $225 from PowerfulUK, but in case you heard the muted expletives, that was me trying to remove the old broken lens from the headlight housing assembly. There are several clips around the perimeter of the assembly but it soon became apparent that there was more than those holding it in place. It is sealed with an incredibly strong adhesive/sealant which required me to cut out the fascia part of the lens using a Dremel and an oscillating saw. Then I used several methods to remove the remaining shards from the groove around the perimeter, one being an old soldering iron to dig into and melt and soften the adhesive, and also a very small tipped flat blade screwdriver to separate the adhesive/sealant from the housing. I used a strong adhesive to reseal the new lens onto the assembly and reinstalled the headlight into the front grill. If you watch PowerfulUK’s video, he attempts to wrench the front grill and headlight trim forcibly, damaging some retaining clips in the process, but with patience and finesse, I removed it easily with no damage. I then installed some protective lens covers over the existing headlights to hopefully avoid this painstaking process in the future, which I found on eBay. Had I had these on originally, the damage may have been avoided in the first place. Something to think about.
That's crazy... I feel your pain as I attempted this on an old E92 M3 (same deal, lenses replaceable but aftermarket, and ridiculous adhesive to remove). Have a pic of the old cracked up lens?
After about 10 miles of dusty corrugations on a spin up to a lake today, I noticed my OEM rack was rattling at the front.
Stuck my hand out the sunroof to confirm it was stable but mobile.
On return home, a quick 2 minute job to tighten up the 4 bolts securing the faring to the front piece and the front piece to the sides and it's all snug a again.
Something to check perhaps, for owners with the OEM rack. The two side bolts are positioned from the factory under the front cross member out of direct view. I had my cross member placed a little further back so that may have contributed to the loosening although the faring bolts being loose suggests that it will occur regardless. Just a function of time and vibrations.
That's crazy... I feel your pain as I attempted this on an old E92 M3 (same deal, lenses replaceable but aftermarket, and ridiculous adhesive to remove). Have a pic of the old cracked up lens?
Here are the remains of the lens after major surgery. I had to cut it apart in sections just to get a purchase on it to wrestle it out of the headlight assembly. Although, it is a testament to its construction and water tightness. A job I wouldn�t want to repeat.