When you click on links to various merchants on this site and make a purchase, this can result in this site earning a commission. Affiliate programs and affiliations include, but are not limited to, the eBay Partner Network.
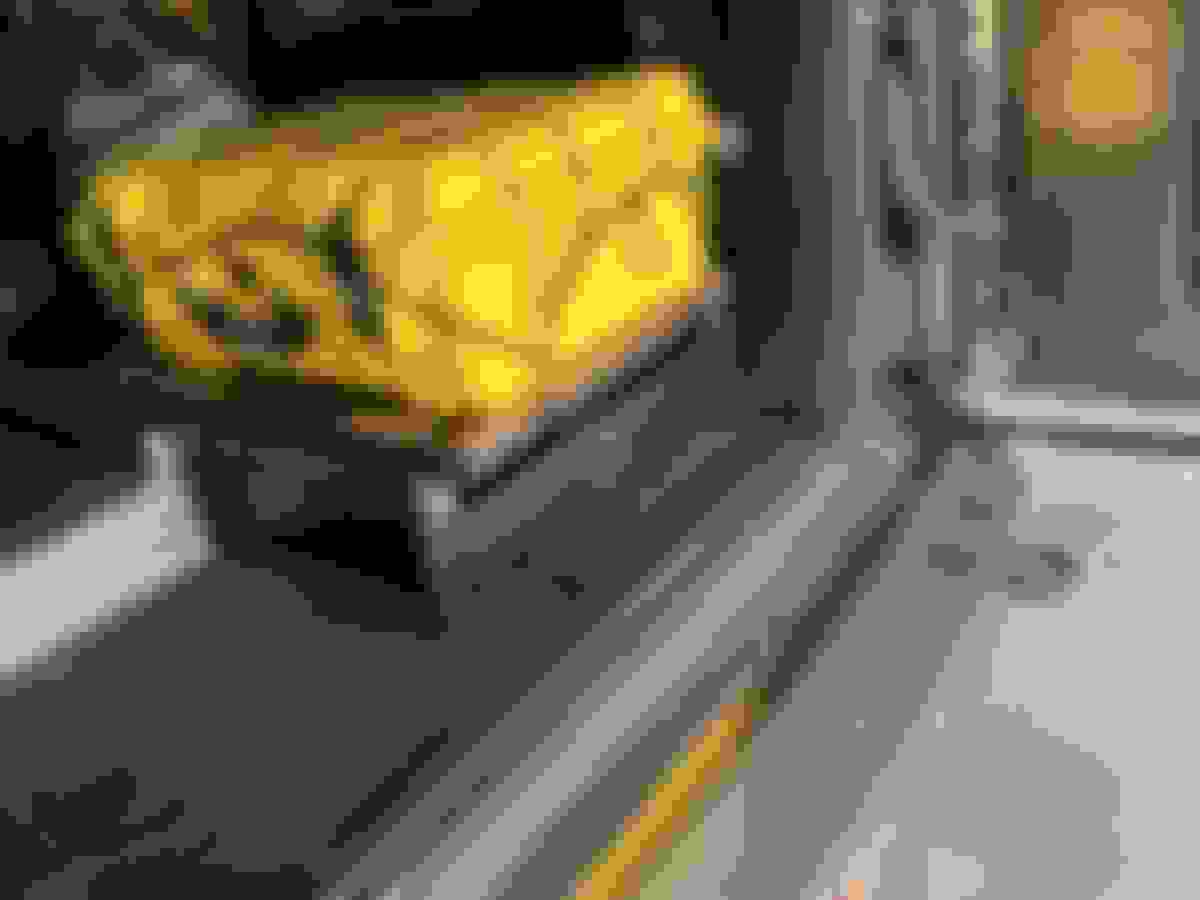
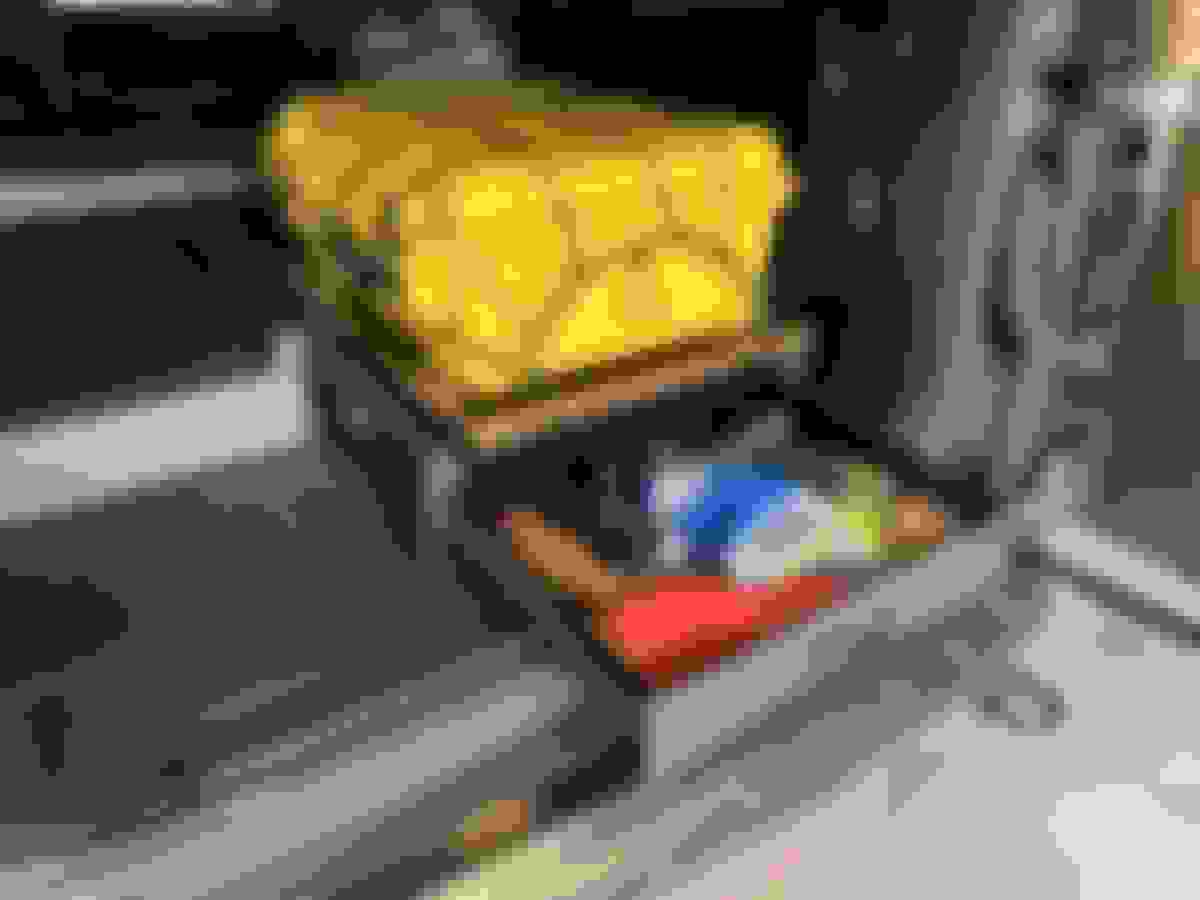
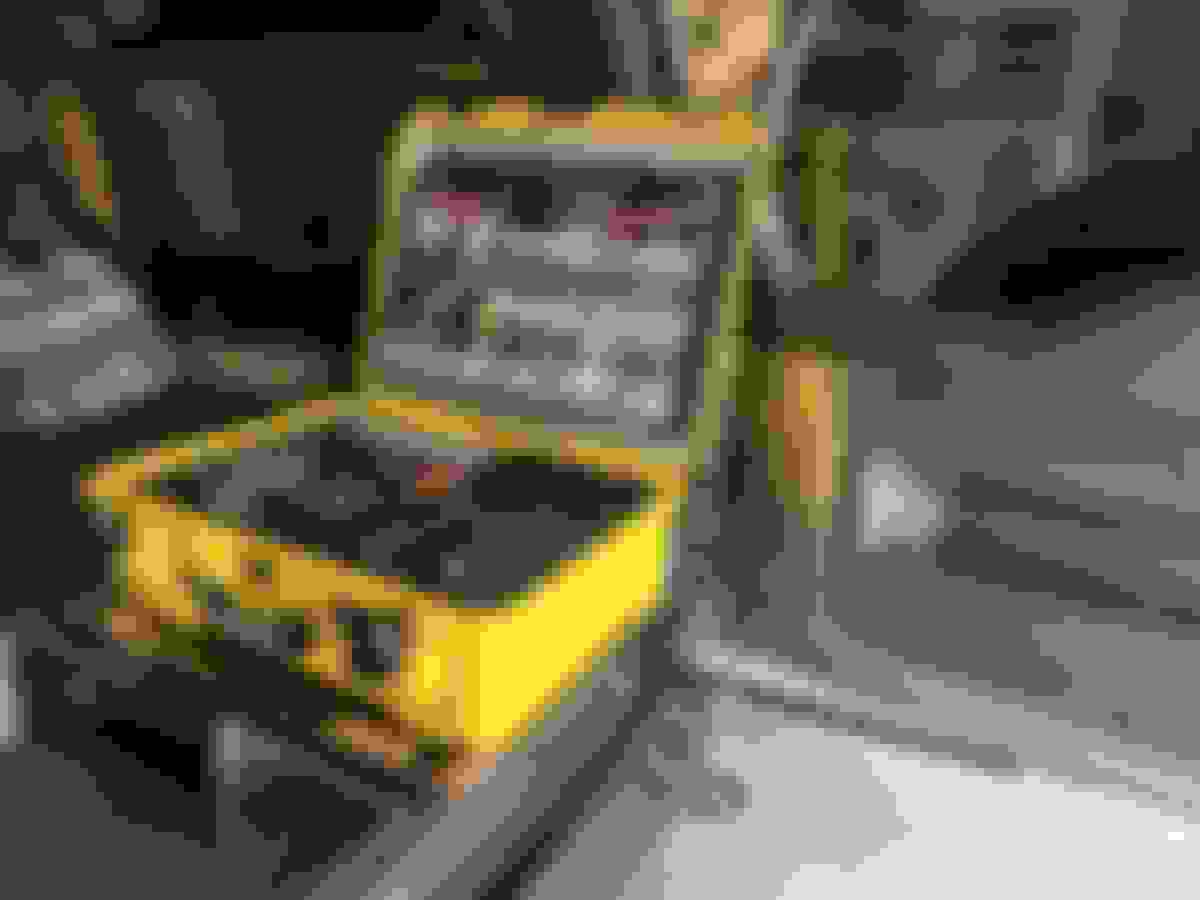
Had some time this week and made a drawer/slider combo that hold all my normal geological field tools and my "Please don't shoot me!" vests. The slider accommodates my selection of field equipment cases. In this case my Nanuk 940 with the survey drones in it. Hugely expensive to construct, I think I spend around $140 on bits and pieces. It locks down to the rear aluminum structural member and stays put on the generally awful roads I frequent. Like this from two weeks ago in Berlin Canyon, Nevada. You can kind of see why I break out in hysterical laughter when people have expensive wraps and/or matt finishes. This buffs out.
I took a different route and went full flat floor..
Last of the planned mod's sequence finished Shoutout to JCs British 4x4 for installing the brake caliper reduction kit from Lucky8 (& various other bits noted in previous posts) and BigO tires, just down the road, for getting the new skins mounted on the new TuffAnt wheels from Lucky8.
Only down side is the front wheel mud flaps couldn�t be installed this go around - need to take some time when we�re back from our road trip to sort out a revised method of mounting them. Still, the deck plate on the rock rails should, by the hairy eyeball measuring method, provide some protection in lieu of those mud flaps. The rear mud flaps were obviously easy to retain and that�l continue to give the trailer a little gravel/rock protection. Thus far there appears to be zero rubbing on the BFG KO3 LT265/70/R18 at access or normal ride height @ full turn lock. Still have some tinkering to determine the optimal tire pressures but that�s the easy part. Flat black vs the original factory gloss black wheels are fine in my subjective opinion - function over aesthetics. Shoutout to all forum members who have provided comments and feedback, particularly regarding tire sizes.
Got busy this weekend and did a couple of projects I've been planning First one was retrofitting the Clearsight Rear View Mirror. After studying Marco�s (mmbaf) guide and getting all the required part numbers from Ian (Hairy Dan) I assembled all the required parts and cables. I studied the videos from Powerful UK and decided today was the day. It as an easy project! First I removed the rear view mirror. Always a little scary the first time you do it. But it came off without a hitch. Next I removed the roof lights console, one of the back seat courtesy lights, and finally the rear trim piece at the tailgate so that I could get access to the antenna. I fed the Land Rover repair cable through the light console to the mirror opening (I fed it from the side of the console and it curved over to the mirror opening quite nicely). I then attached the 3 meter aerial extension cable to an electrician�s �fish� tape and sent it to the courtesy light opening from the rear of the vehicle. I pulled the cable out of the courtesy light hole enough to remove the fish tape. I then inserted the fish tape through the roof light console opening towards the courtesy light opening. I attached the extension cable to the fish and then pulled it back to the roof light console. I connected it the Land Rover repair cable. I went back to the rear of the vehicle and began removing the existing antenna. This was the most difficult part of the project for me. There is limited space in which to work and I had an awful time disconnecting the Fakra cables from old antenna. After about 30 minutes fiddling with it, I was finally able to remove the old antenna and replace it with the new Clearsight antenna. Attaching the Fakra cables is a lot easier the disconnecting them! I moved back to the driver�s seat and attached the cables to the mirror and the mirror to the vehicle. The mirror turned on as soon as I connected the cables. I then coiled up the excess cable, secured it with tape and tucked it up in the headliner. There was a lot of excess cable. I probably could have gotten by with a much shorter cable for my 90. I installed the light console, the courtesy light and the trim at the rear of the Defender. Please note you will need to replace the headliner rear clip (LR091317) as it will break when you access the antenna. After putting my tools away and cleaning up, I broke out the GAP tool and changed MultiCAN 711 to SVRM with Homelink After that was completed I programmed the Homelink to my garage door and then I called it a day, Total time 3 hours. Skill level is about a 2 out of 5. Don�t be afraid to do it.
My second project was installing a pair of aftermarket backup lights the next day. This was very easy but was scarier due to pulling off the taillight covers. After watching Youtube videos by Hunters Prestige and Lucky8 Off-Road, I removed the covers by using plastic pry tools and judicial use of brute force. I did spray soapy water towards the clips that held on the covers. It made pulling them off a little easier. Once they were off I wired up the new reverse lights (which are plug and play) and then tested the connections. Everything worked, I replaced the wiring into the body cavity, clicked the covers and the reverse lights into place and called it a day. Total time 1 hr. Skill level is about 1 and a half out of 5. Easy peasy.
BRAVO on the clear sight mirror. That�s one thing I would love to do for my D130. Unfortunately can�t bloody find the part to purchase anywhere
BRAVO on the clear sight mirror. That�s one thing I would love to do for my D130. Unfortunately can�t bloody find the part to purchase anywhere
I orxered my 23.5 when these were still scarce and clearsight wasn't an available option. What does this do? Is it just a video camera that gives a better view without the spare in the way?
Don’t give up. I stumbled upon the mirror on eBay and just went for it. If you see one for sale grab it, it won’t last long. I paid $500 for mine. Retail price from Land Rover is over $1200.


 Shoutout to JCs British 4x4 for installing the brake caliper reduction kit from Lucky8 (& various other bits noted in previous posts) and BigO tires, just down the road, for getting the new skins mounted on the new TuffAnt wheels from Lucky8.


 full disclosure I may also bite your style on dual lunchboxes - looks awesome