When you click on links to various merchants on this site and make a purchase, this can result in this site earning a commission. Affiliate programs and affiliations include, but are not limited to, the eBay Partner Network.
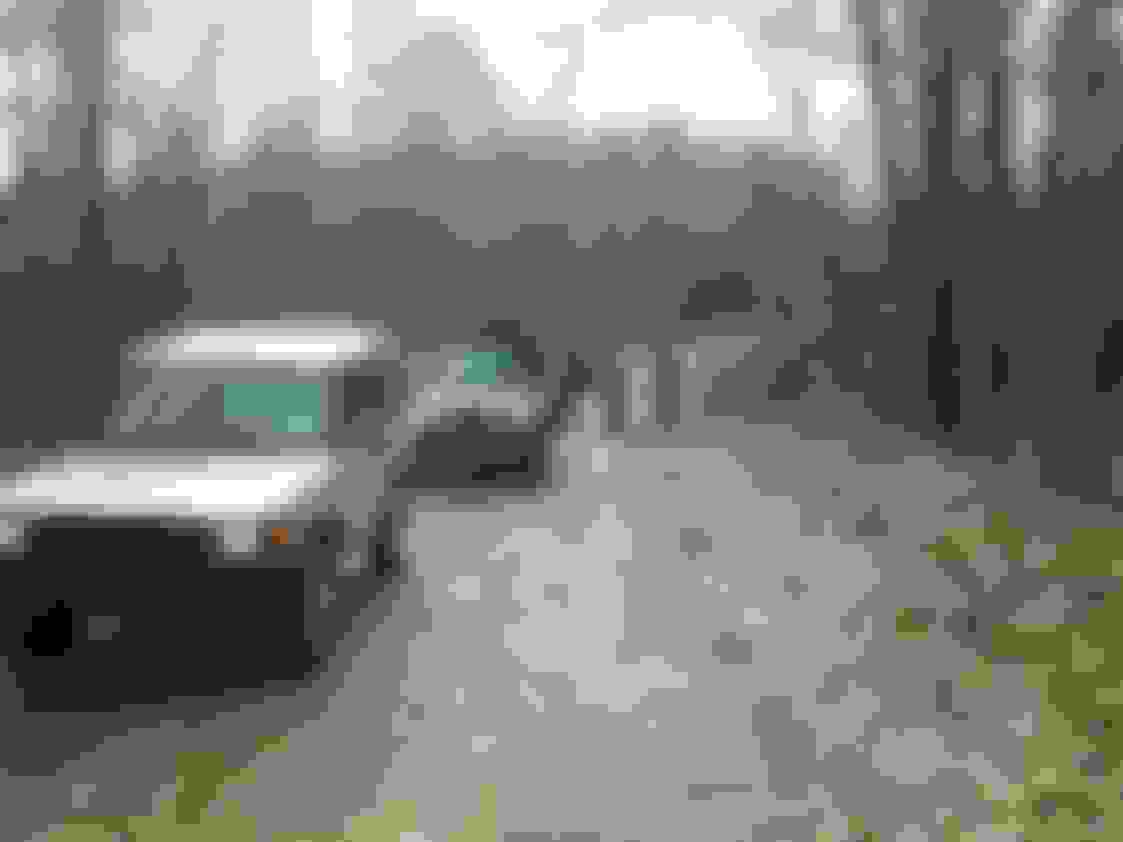
Got to the state park Friday night about 9pm. Woke to a frosty morning, slept fine...inside the rover.
Time for some "joe".
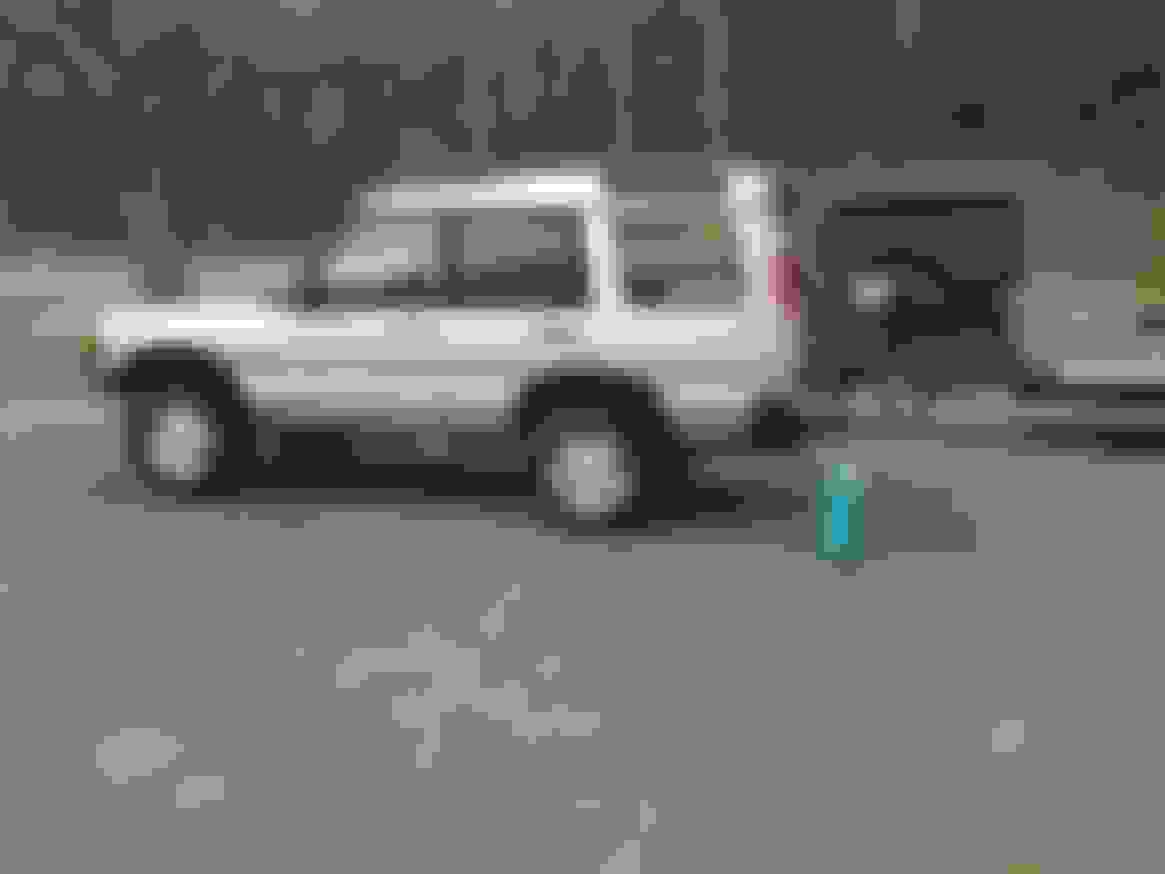
Nice clean rover to start the day.
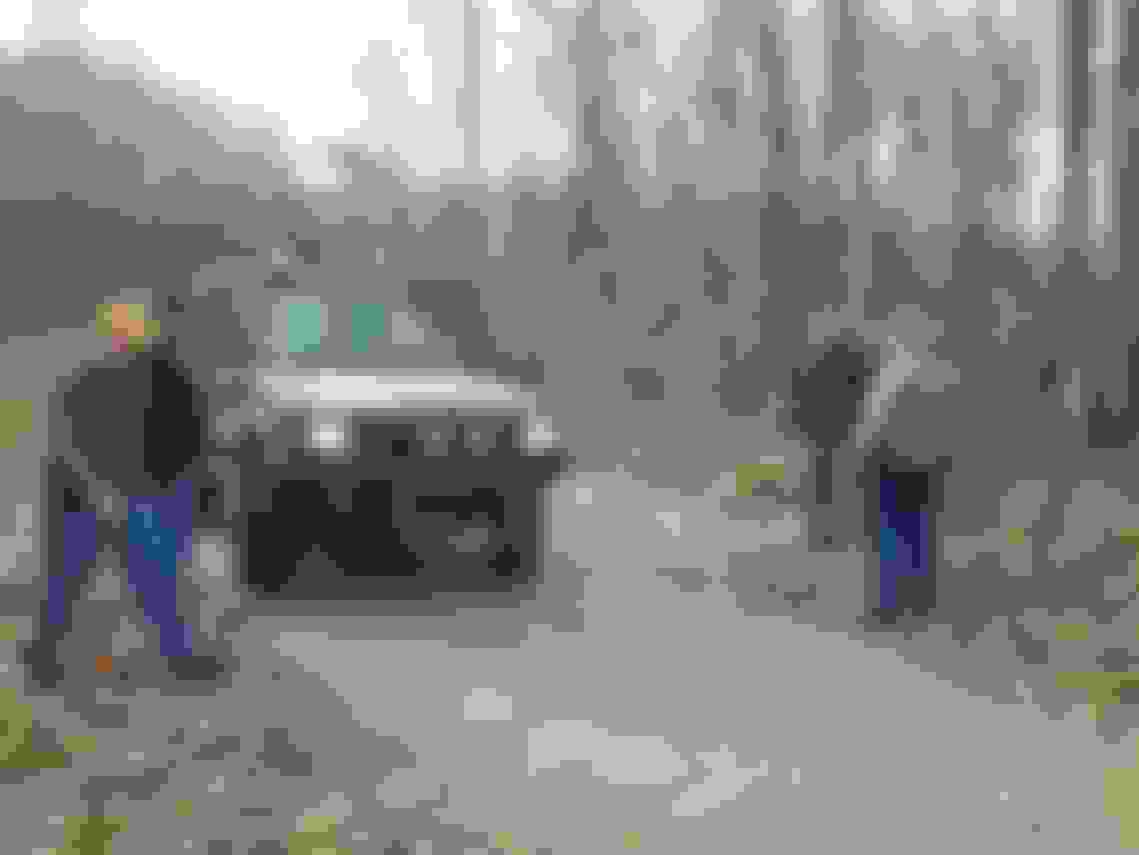
Rover group was right on time, so we hit a trail head to air down.
Great group of guys, six rovers total, nice size pack.
We had one Dl, four Dll's and a LR3 (or 4, not sure).
Talking over the game plan.
The first trail was pretty intense, this is not it below...this is when I was finally able to take a hand off the wheel.
Winching a rover up the hill, after we'd got it back off its side and on its wheel again.
Wish I had more pictures from the event, plenty over on their facebook group...but I believe you have to be a member to view. Sorry.
Back in Michigan, dropped at work...since she needs a little tender loving care. Went all day, rover running great...then I hit a mud hole a little fast and sucked water and mud into the air box. Luckily, after cleaning everything out...I was able to get back to the park to reload her.
It was an epic day, hit some trails that were way more difficult than anything this rover has seen so far. The old girl surprised me on the first climb, CDL definitely was the ticket...even after picking a couple bad lines. We had broken axles, a flop, a run away rover, two long winch events and plenty of tugs out of mud holes. Couldn't believe the trail diversity in this area. It was surely worth the 700 mile round trip.
My only upset was going into a water hole with to much go-pedal, and sucking water/mud into air cleaner housing. It's been a long time since I've 4-wheeled to this degree...and "back in the day"...it was always full speed ahead/take no prisoners. And, I was unsure of the rovers capabilities. But, she clawed her way out without issue. So, my foot pedal action was unwarranted.
Wish I would have taken more action shots. Other guys in the group did, and I may ask them if I can post them here.
Started making a air intake snorkel. Watched a guy make one out of plastic pipe and he encountered several issues with the "roundness" and flexibility. So, decided to go with steel exhaust pipe, 2 3/4 diameter. Had an old tailpipe that was tucked away for a day like this...so, formulated a plan and made a few cuts.
Removing the fender is a breeze, few bolts along the top lip, three in the door jamb, screw below turn signal and three along the plastic inner fender. There were two more, but I left them in place to kind of hold the fender along the bottom. That way it slid into place easily and I wasn't fighting with it all the time, to align.
Front fender bracket, left attached, for alignment purposes.
Plastic inner fender left in place.
View of air duct opening in fender.
Installed a new air duct gasket on the inner/original fender duct.
Duct in place.
The channel that the pipe has to run along narrows about half way back, so this is why steel pipe works well here. Simply put the end in the vise and started ovaling it into shape.
Lining things up. There are two holes front and rear of opening, I'll utilize these to hold pipe in place. I'll make a box, with opening, that aligns with inner duct and weld it to the end of the pipe.
Marking on pipe where I will weld a stud, that will hold pipe.
Mocking up with flex tubing. I'll add another bracket to hold the pipe farther back on the steel pipe.
Marked location of upper tube and cut hole. Man, aluminum is easy to work with, filing and forming was a breeze. Nothing has to be perfect...so that helps...lol. This is another area that ovaling the pipe was necessary.
Aligning pipe with A-pillar. I'll probably just make a bracket that mounts to the roof, don't have a headliner...so bolting up and sealing will be easy.
Can't decide if I want a scoop type ram air top or the round military looking one...I'm leaning towards the former.
^^^^No, didn't get many pictures. I'll see if I can get some from the other folks involved.
The flopped rover had no damage, laid on its rock sliders and roof rack.
DAY TWO OF SNORKEL BUILD...
Made the outer tube duct-connection, added a gasket for a tight seal.
Top profile of the box to show gasket thickness.
Sliding duct box into place, had to round the box along the front edge...since the one fender bolt comes really close to the location.
Duct box bolted in place.
Inside fender, bolt/nut locations.
Tube in place, bolted up nicely and no extra bracket was needed.
Hose mounted.
Upright tube through fender and bracket added to roof Iine. This bracket is somewhat temporary, another one will be added along top of windshield.
Front view, tucked in nicely.
Added some paint...so I can get it out of the garage. Snows coming tomorrow...and my wife likes to park inside.
Probably just throw a tin can over the inlet for now...has worked for years for the local farmers. I'll eventually do something to cap it off.
Brian.
Last edited by The Deputy; Dec 8, 2017 at 06:13 PM.
Decided to go with the top-hat style breather cover. Watched a guy make one like this, and I was at the hardware store anyway...so "getter-done".
4 inch pipe cap, 2 1/4 fitting and an elbow.
Fitting elbow. Had to grind down a bit of the outer lip to get it into the 2 1/2 upright tube.
Test fitting. Seems to be straight and aligned to a "good enough" status.
Slipped a gasket around the tube where it goes through the fender and added adhesive.
Painted.
Left the heat lamps on it over night, to dry paint. Stick a fork in it...it's done.
While I was waiting for the paint to dry, in between coats...started messing with the drivers seat. Tired of driving with my knees in the dash. Removed the stops on both slides, but couldn't find any steel to make additions to mechanism that moves seat. But, while I was under the seat...decided to move the TCU...which is underneath a bracket that normally holds the radio amplifier. Mine doesn't have the amp, so I moved the TCU on top of the bracket, also added three pieces of rubber to elevate it even more. It is now three inches higher and isn't laying on the damp carpet. Added zip ties, so I can remove it easily for drying...if water should enter the rovers interior.
I'll make a couple extension for the seat at work Monday...and life will be good.
I believe the lower seat cover won't be going back on. Believe it or not, but with it out...it's somewhat easier to get into the seat. The plastic cover is about an inch and a half farther forward...and it's that amount out of the equation...that allows my 12 inch foot through.