Build Threads Create a build thread to compile pictures and descriptions of your LR build.

Operation Magpie.

Old Dec 6, 2020 | 03:54 AM
  #671  
The Deputy's Avatar
Camel Trophy
Joined: Oct 2016
Posts: 4,860
Likes: 1,401
From: Michigan
Default

Yep, l've replaced brake fluid in every rover so far...and all were like honey beforehand.

 
Reply
Old Jun 29, 2021 | 10:16 PM
  #672  
Saturnine's Avatar
Thread Starter
|
Pro Wrench
Joined: Jan 2018
Posts: 1,721
Likes: 258
From: Denver
Default

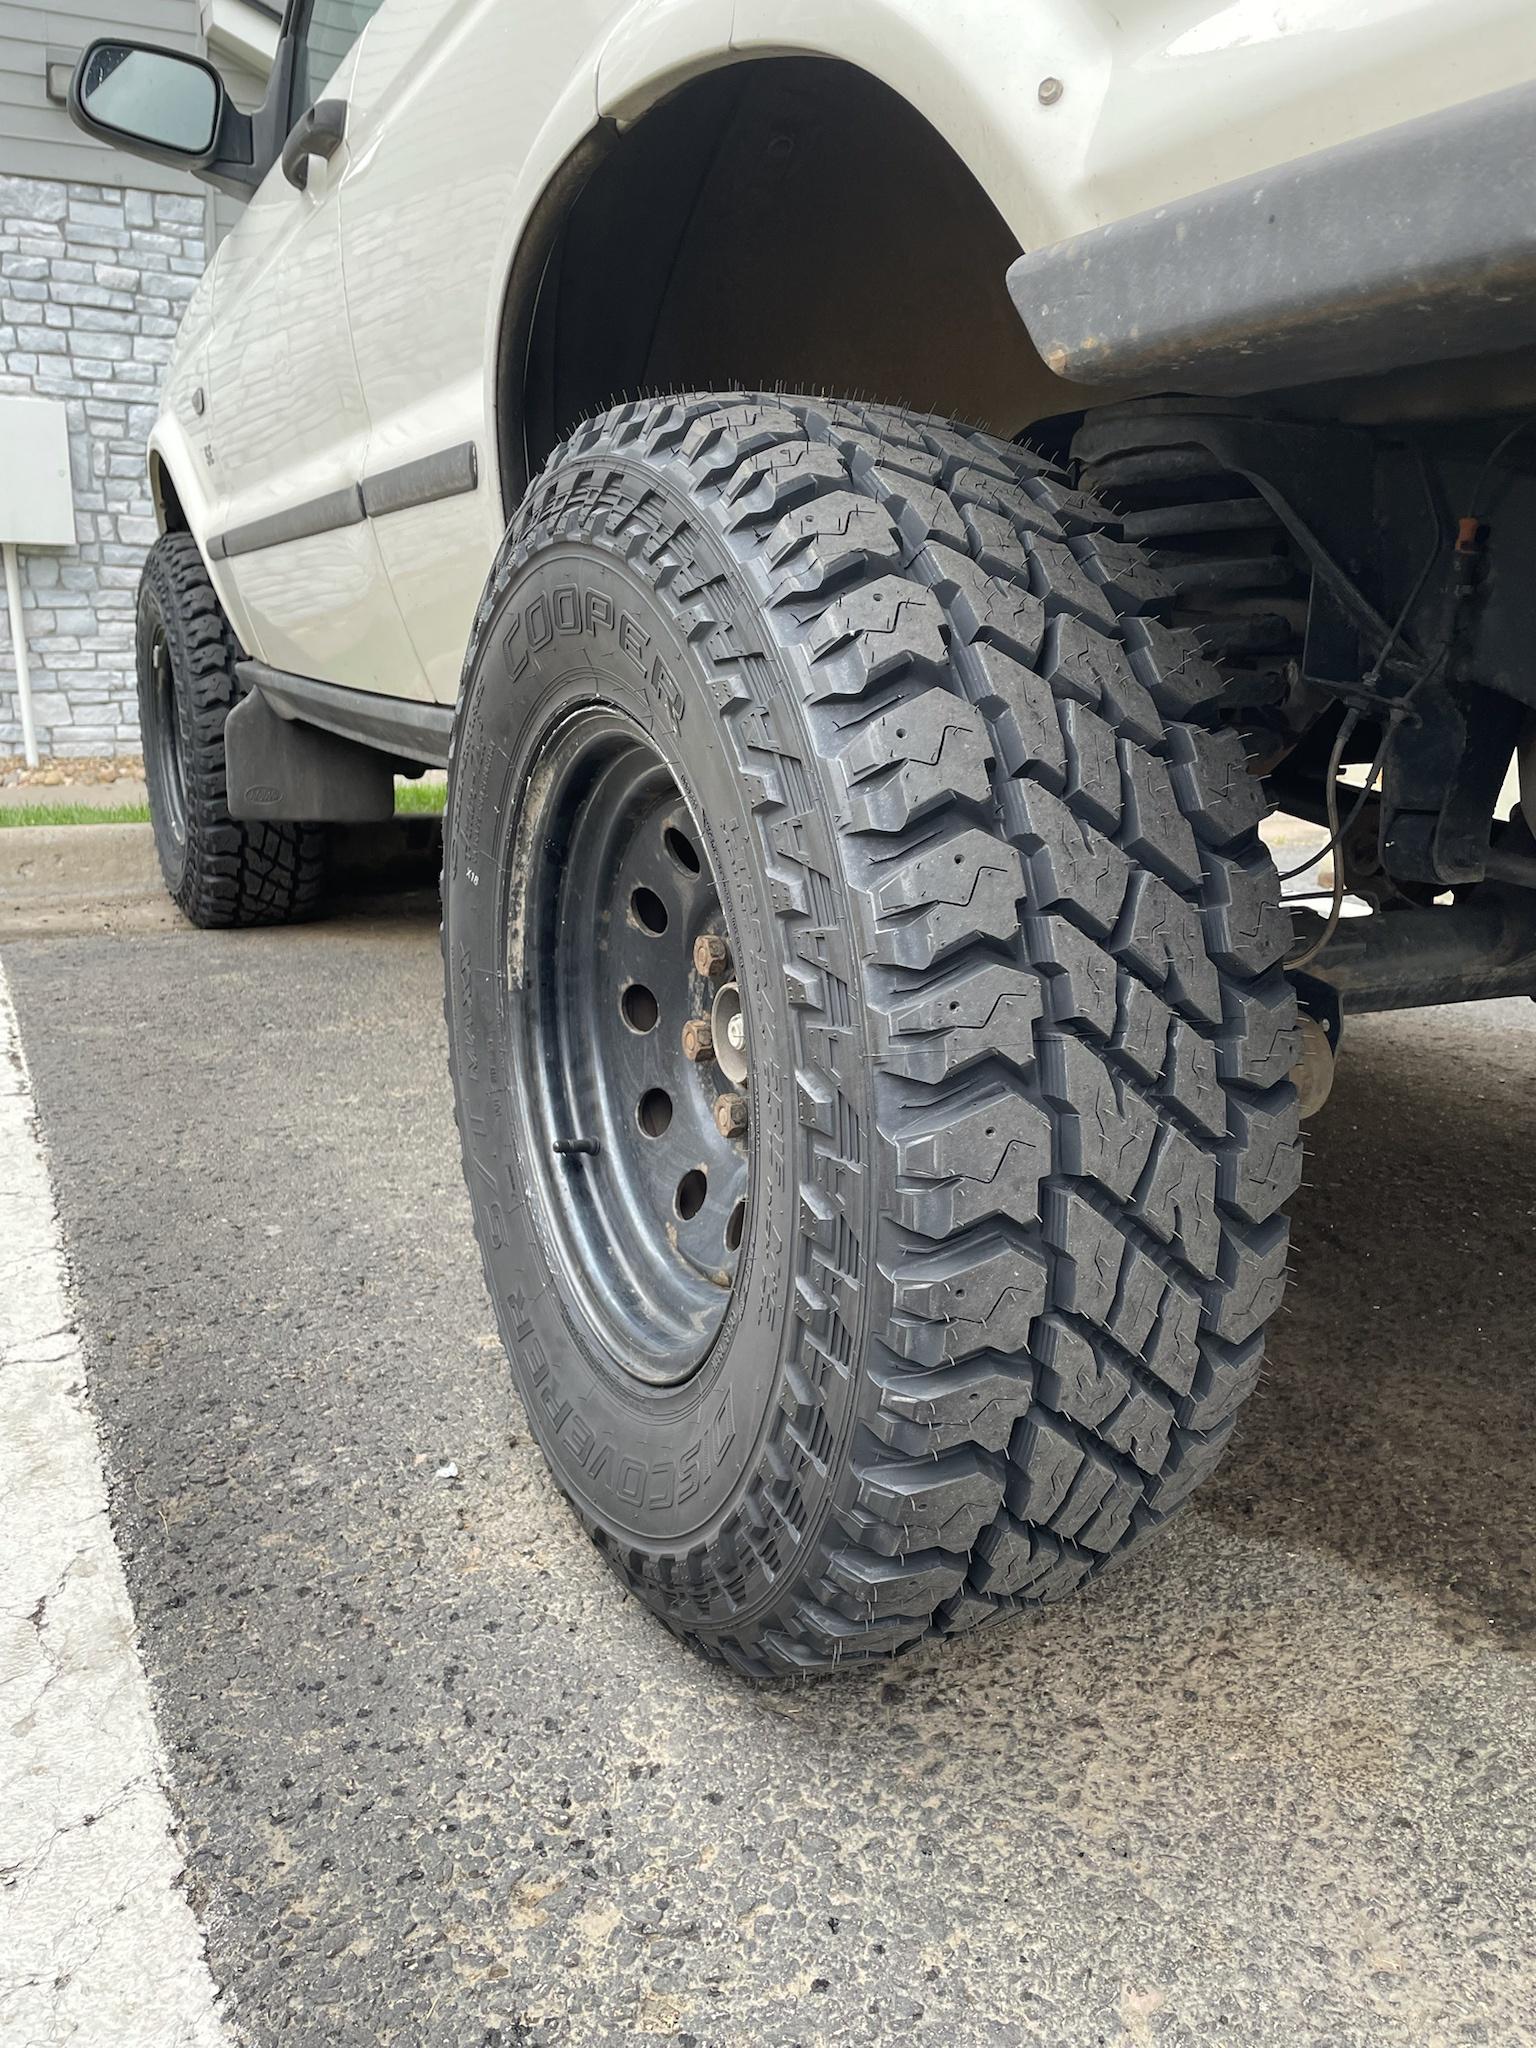
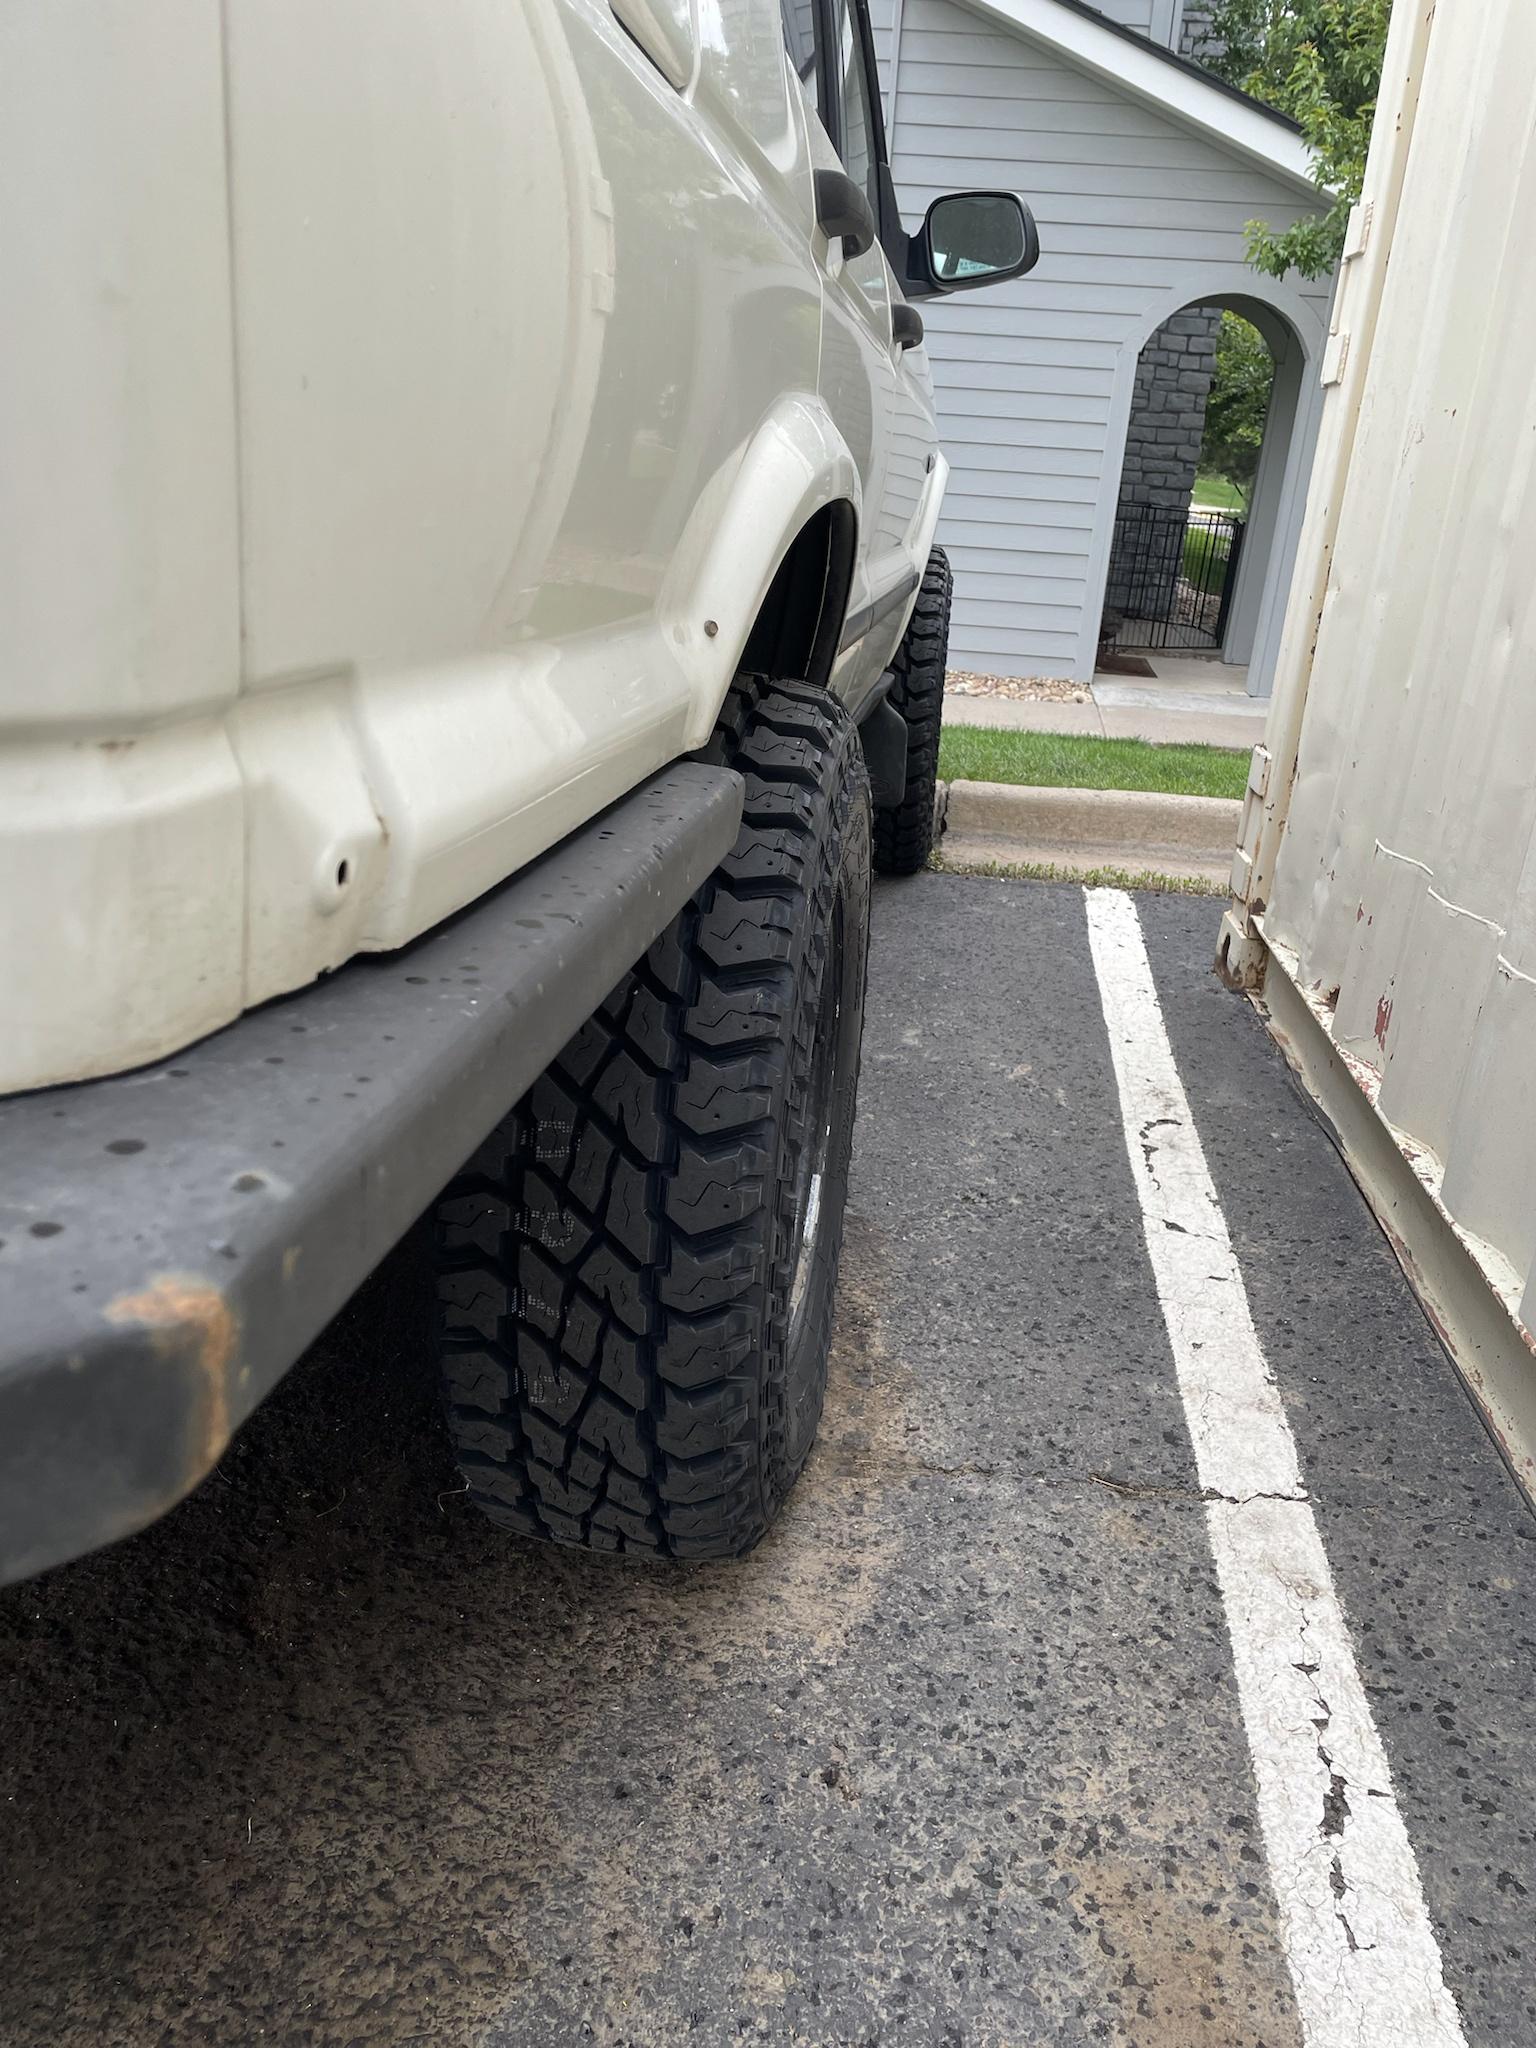
The Denver roads finally did Magpie in.. I have patched each tire at least 4-5 times and finally just have to call it quits. New tires are on order, ugh. Buying tires are the worst.

Been driving the Vw for a while now, way better mpg and a lot more fun to drive.

Building a house currently, so money is tight. Need to get that AC recharged!

There is a Defender 110 "full" roof rack for sale locally for $100, might go an pick it up. Seems to be a home brew dealio, but made from 1x1" steel - probably 11 gauge. Should do the trick..!


Reply
Old Jul 19, 2021 | 07:29 PM
  #673  
Saturnine's Avatar
Thread Starter
|
Pro Wrench
Joined: Jan 2018
Posts: 1,721
Likes: 258
From: Denver
Default

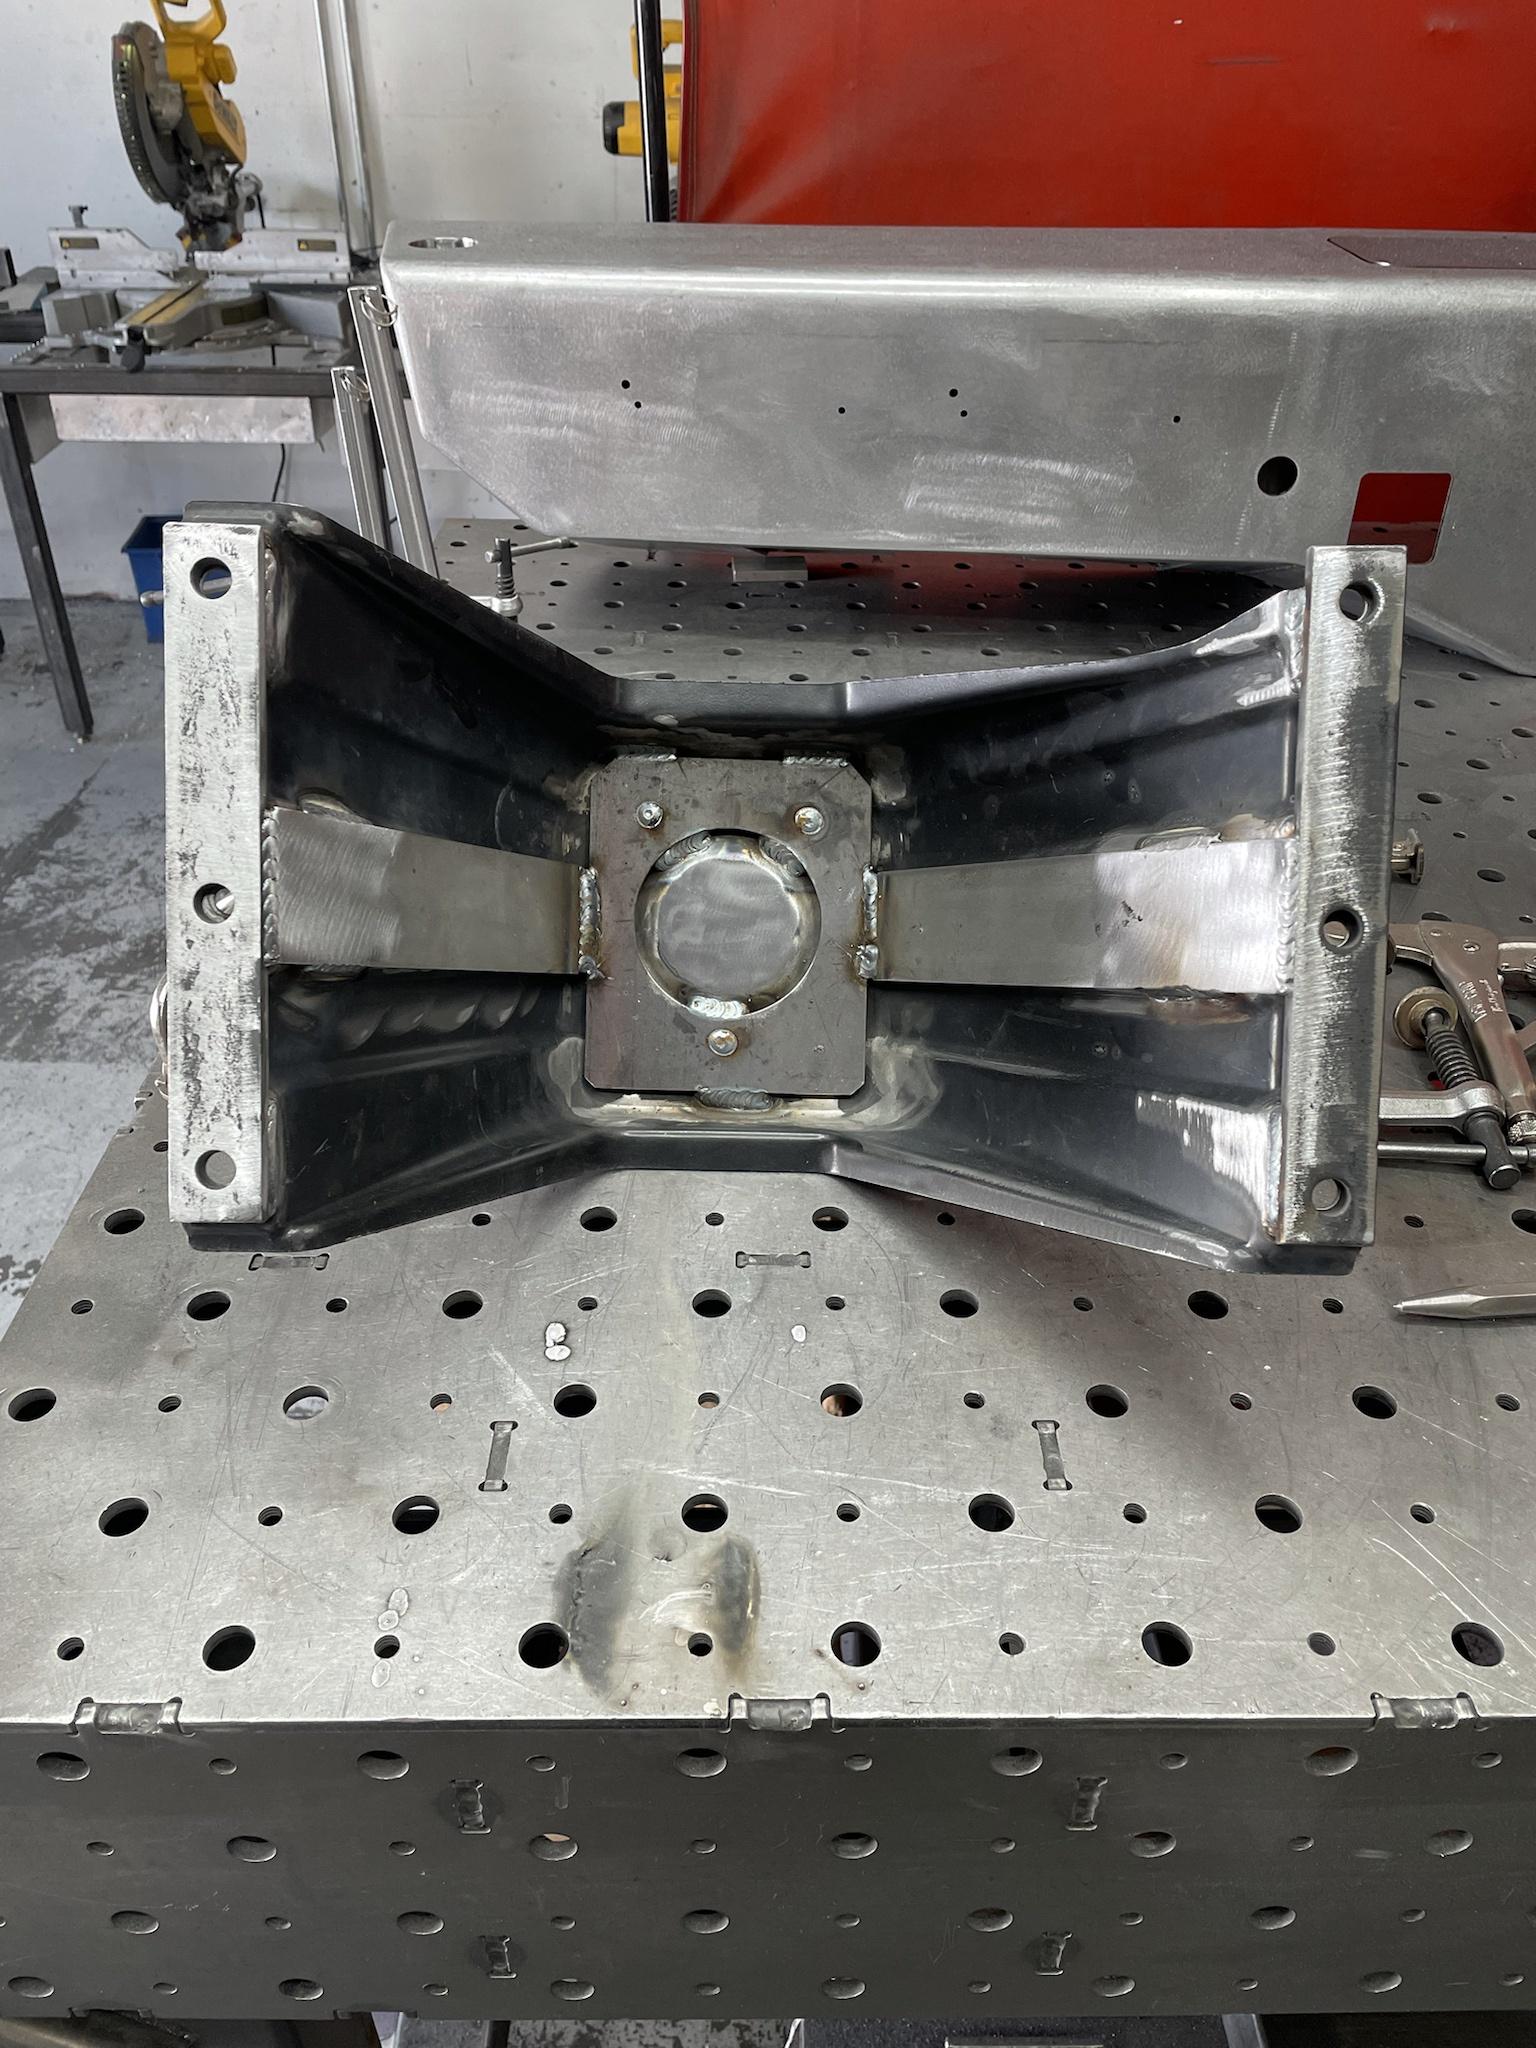
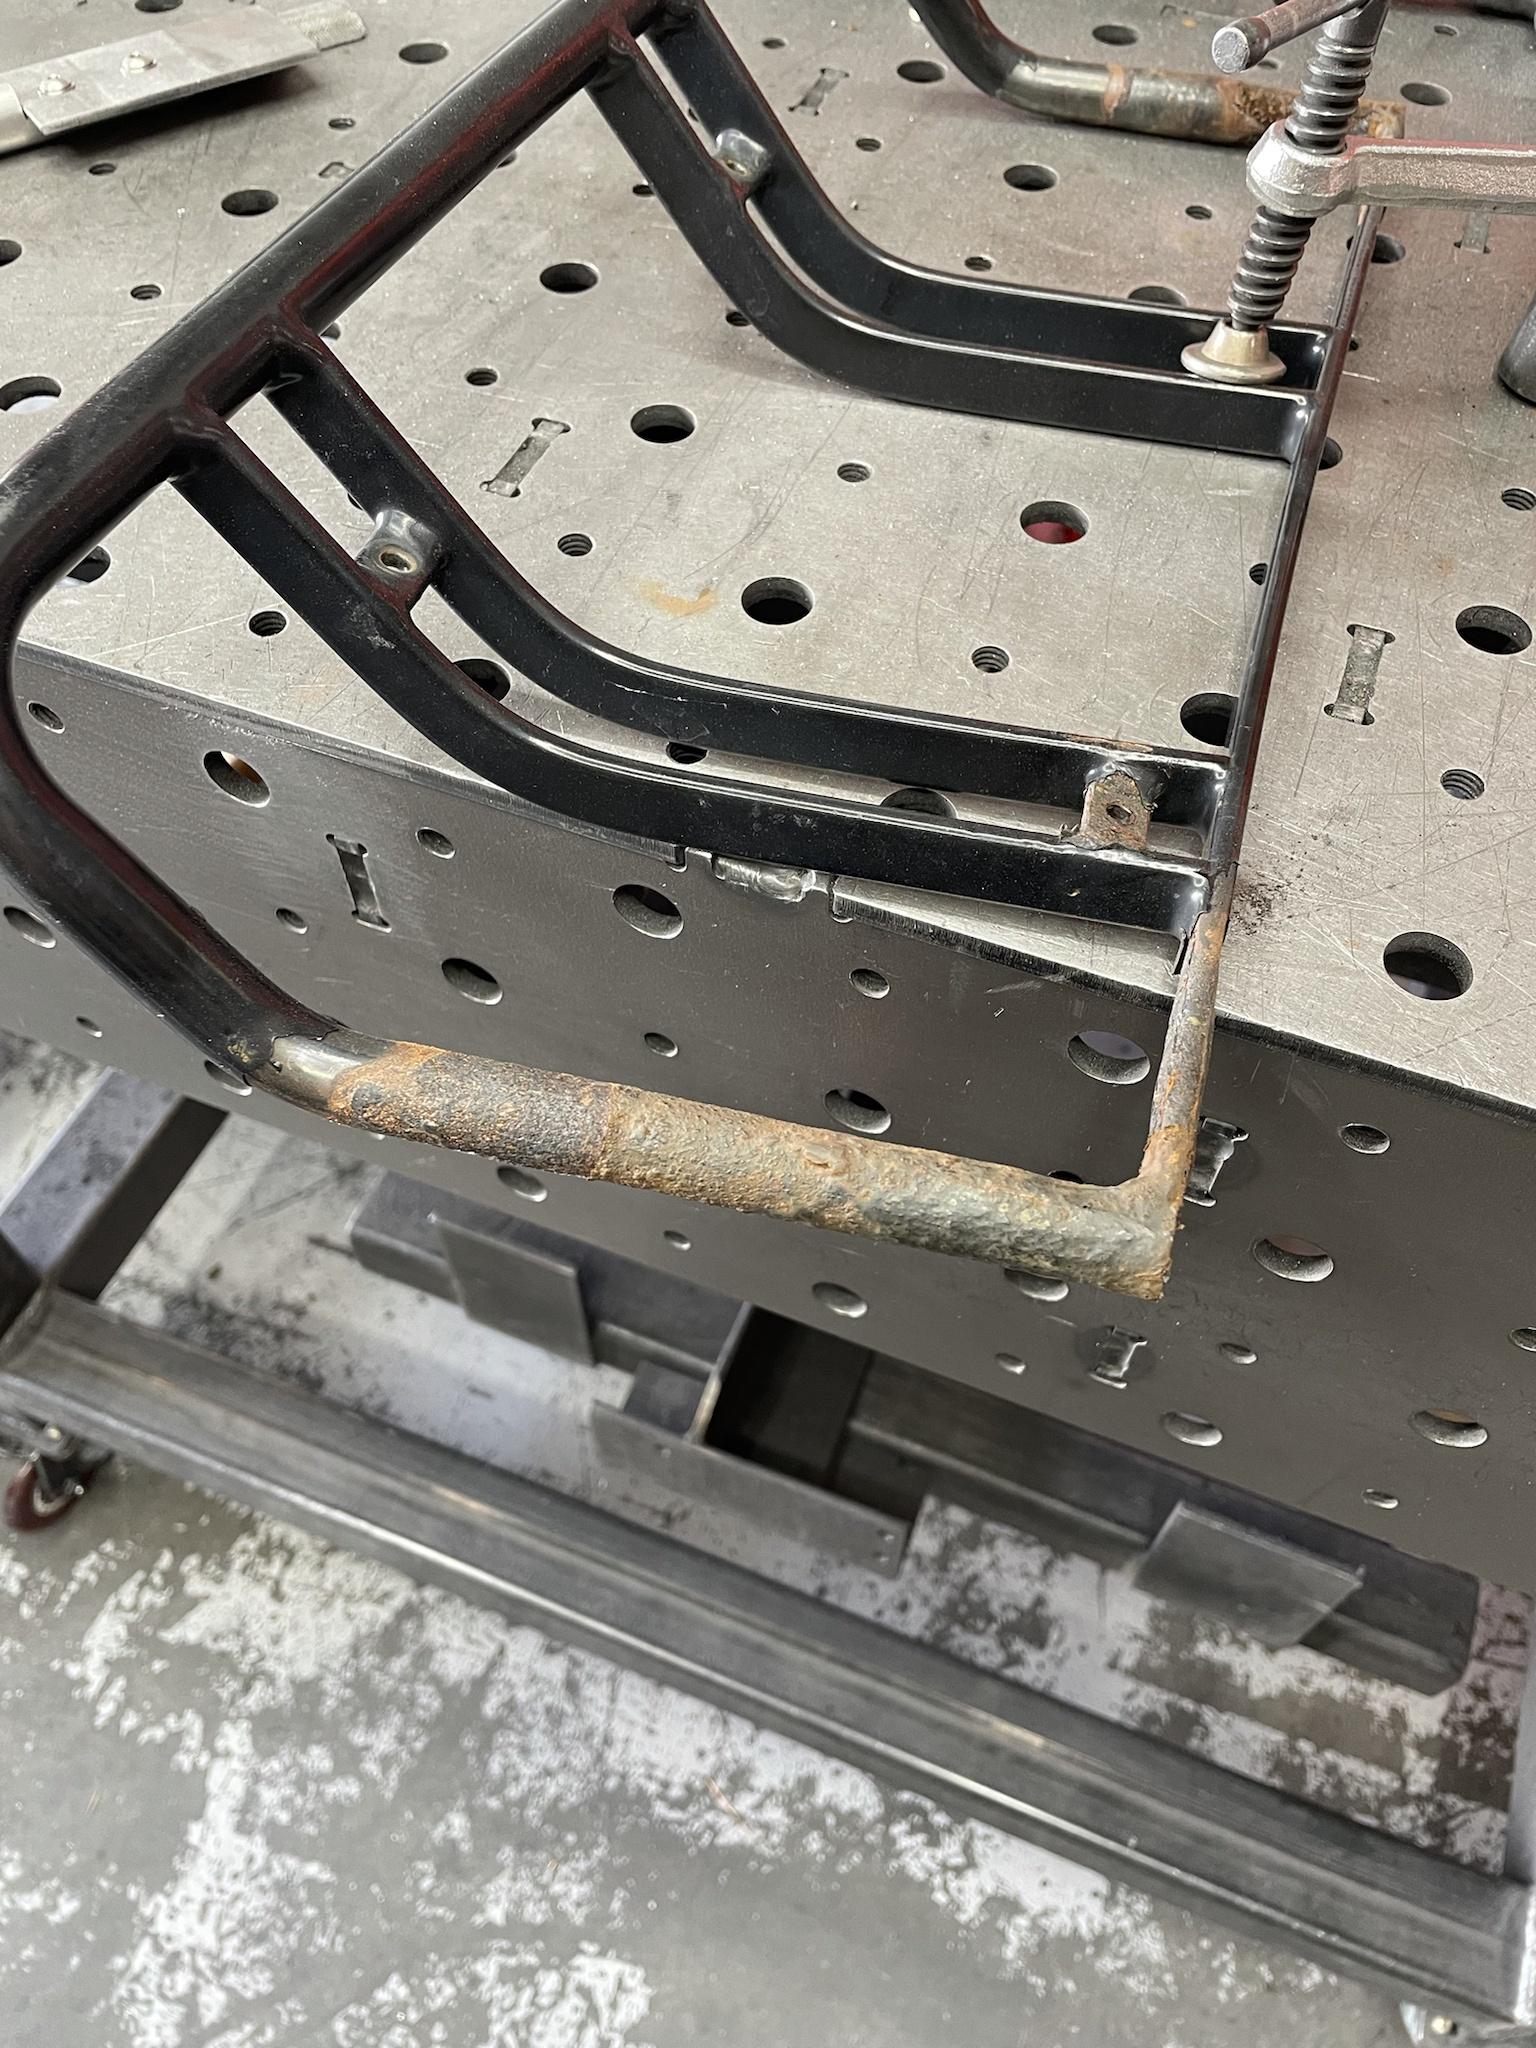
Beefed up the OEM tire carrier today, things were cracking and needed to be fixed!

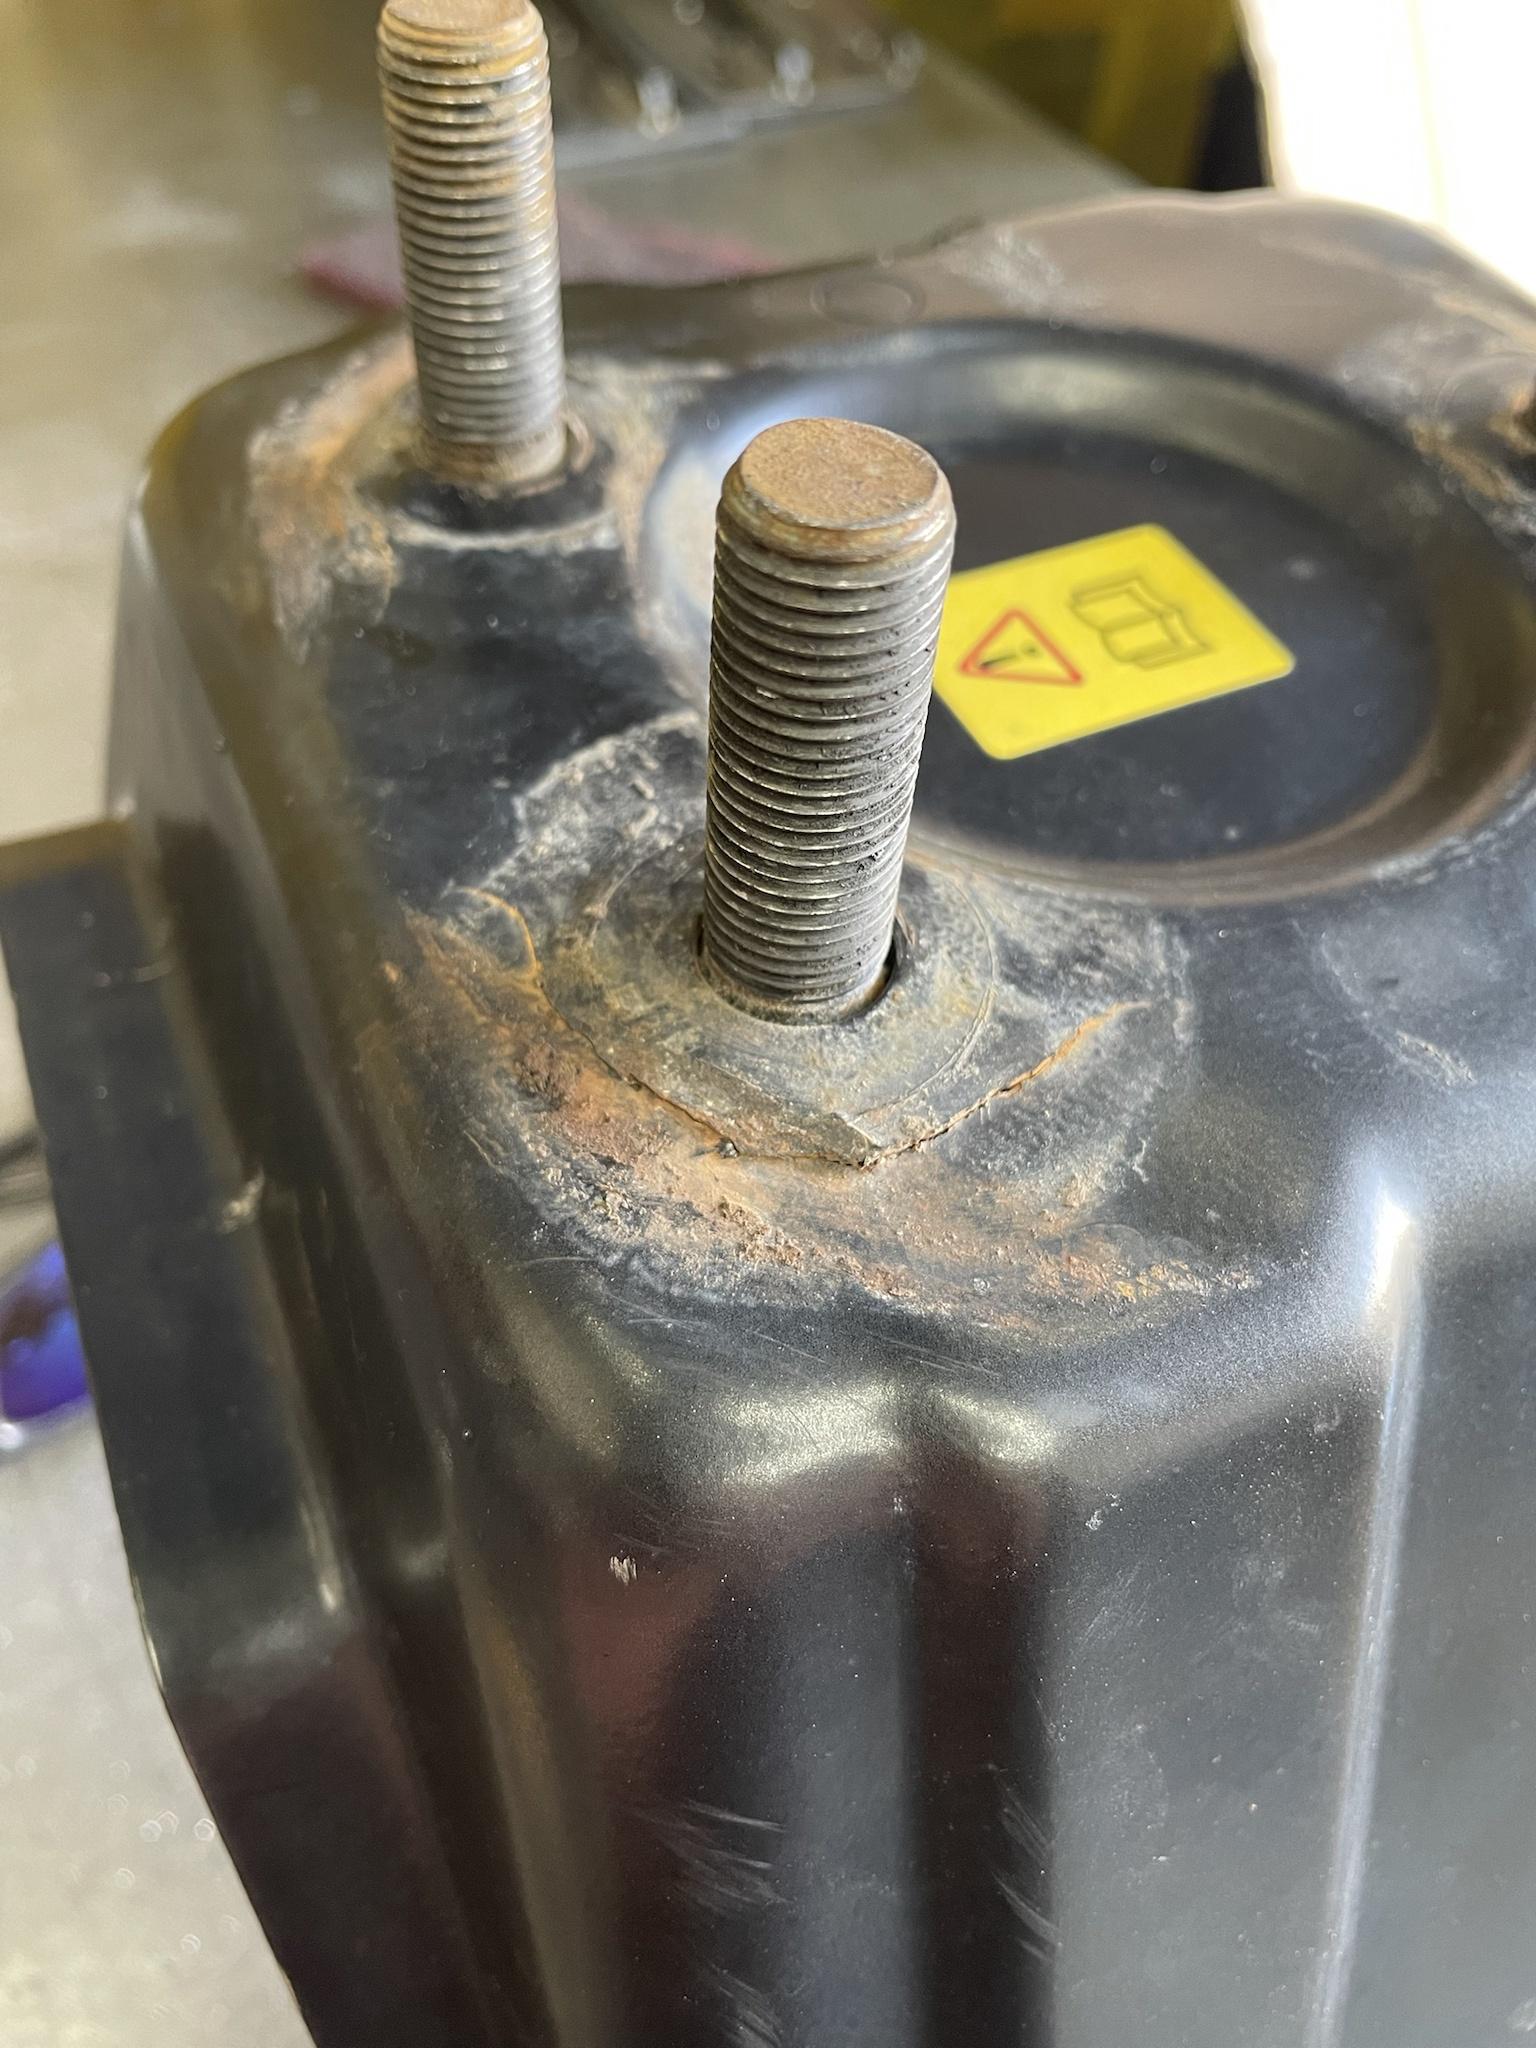
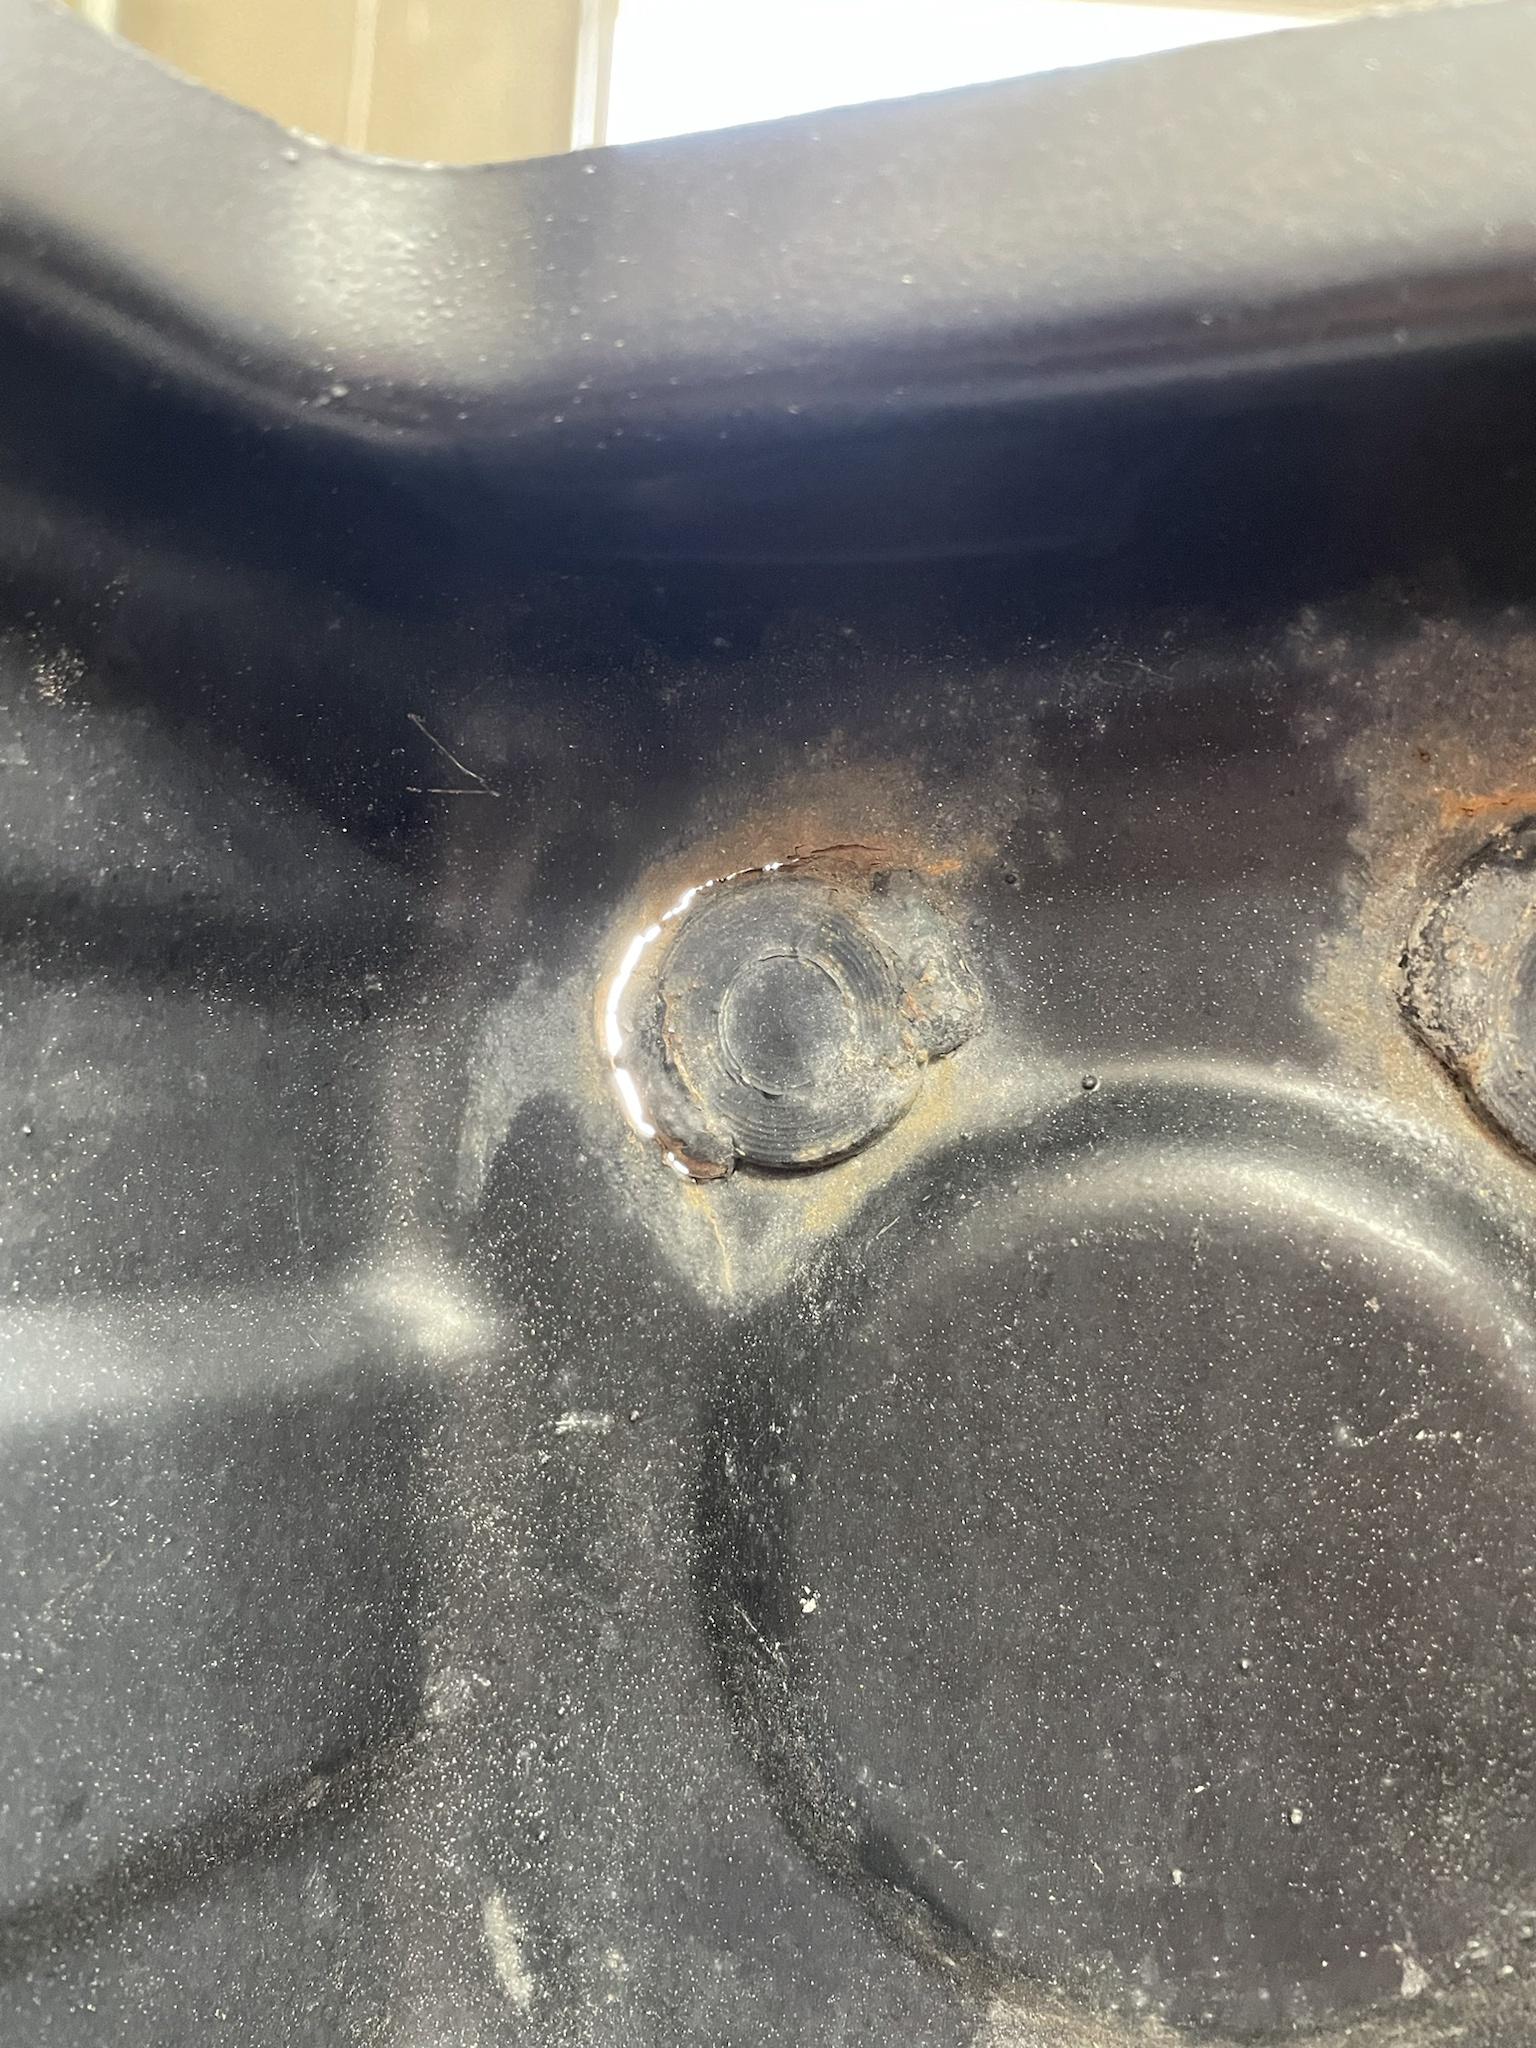
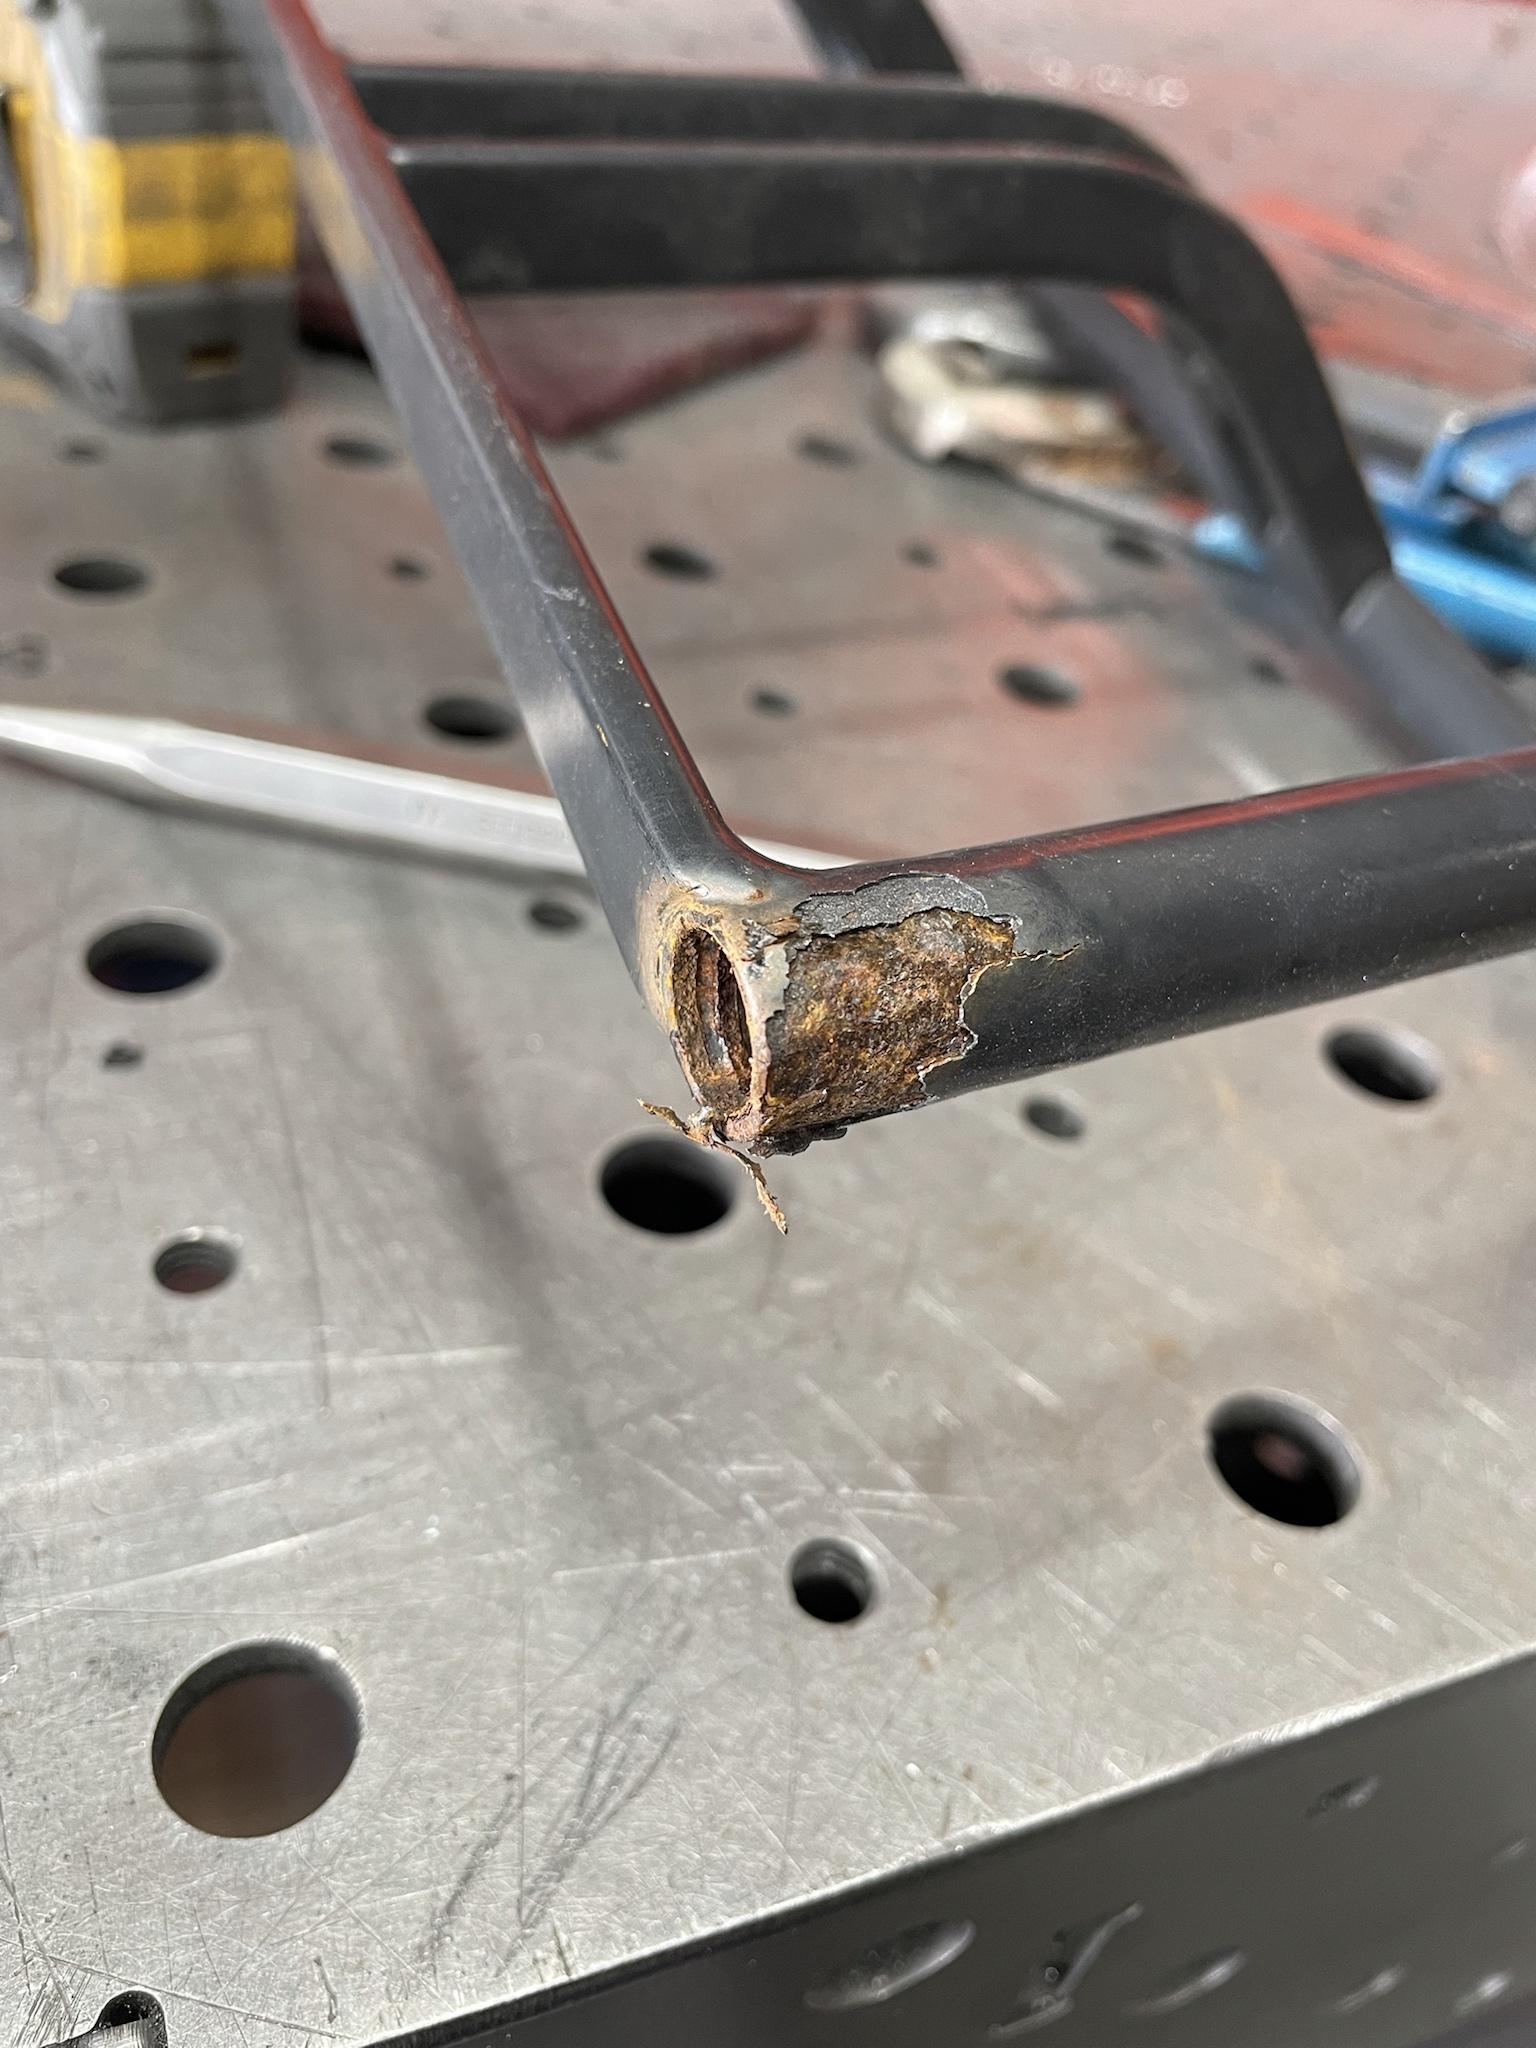
Observe the Problem at hand:

Name:  TDMY4JD.jpg
Views: 81
Size:  325.7 KB

Name:  I0fXtEe.jpg
Views: 71
Size:  480.9 KB

Yep, that sh*t is cracked. 2 of the 3 studs were like that, and the 3rd was on its way to the same fate. Game plan is to make a backing plate for support and beef up the structure in general.

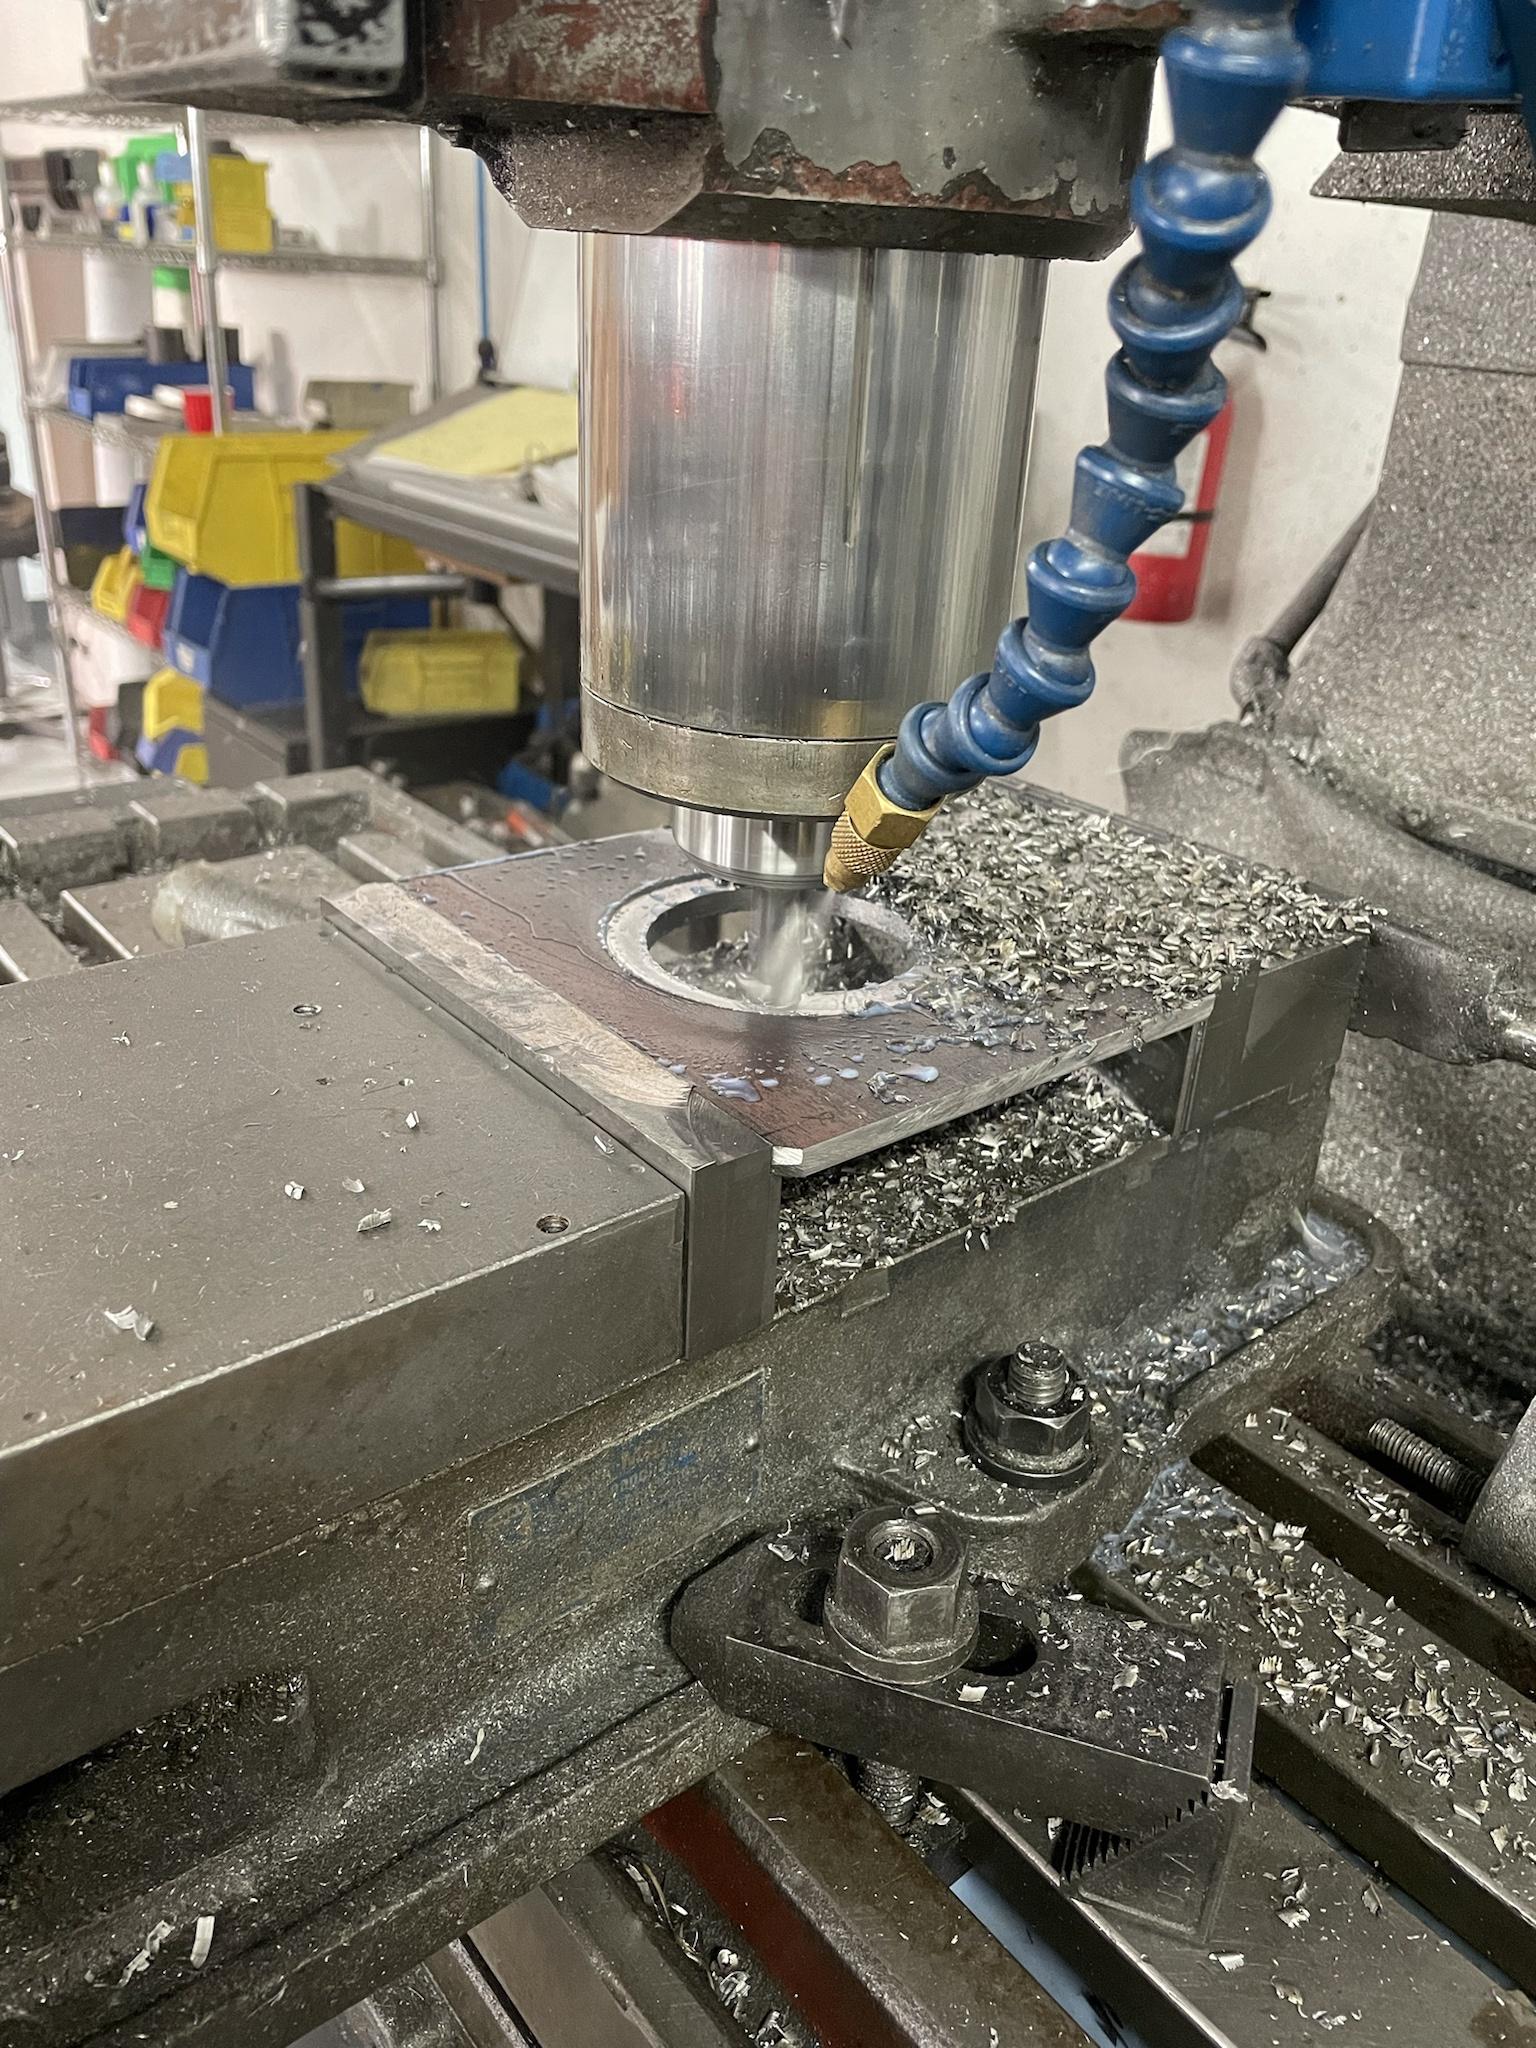
Drew up an idea and headed over to the mill to execute. I decided that 3/16 plate would do the trick..!

Name:  L2rVhuK.jpg
Views: 75
Size:  556.5 KB

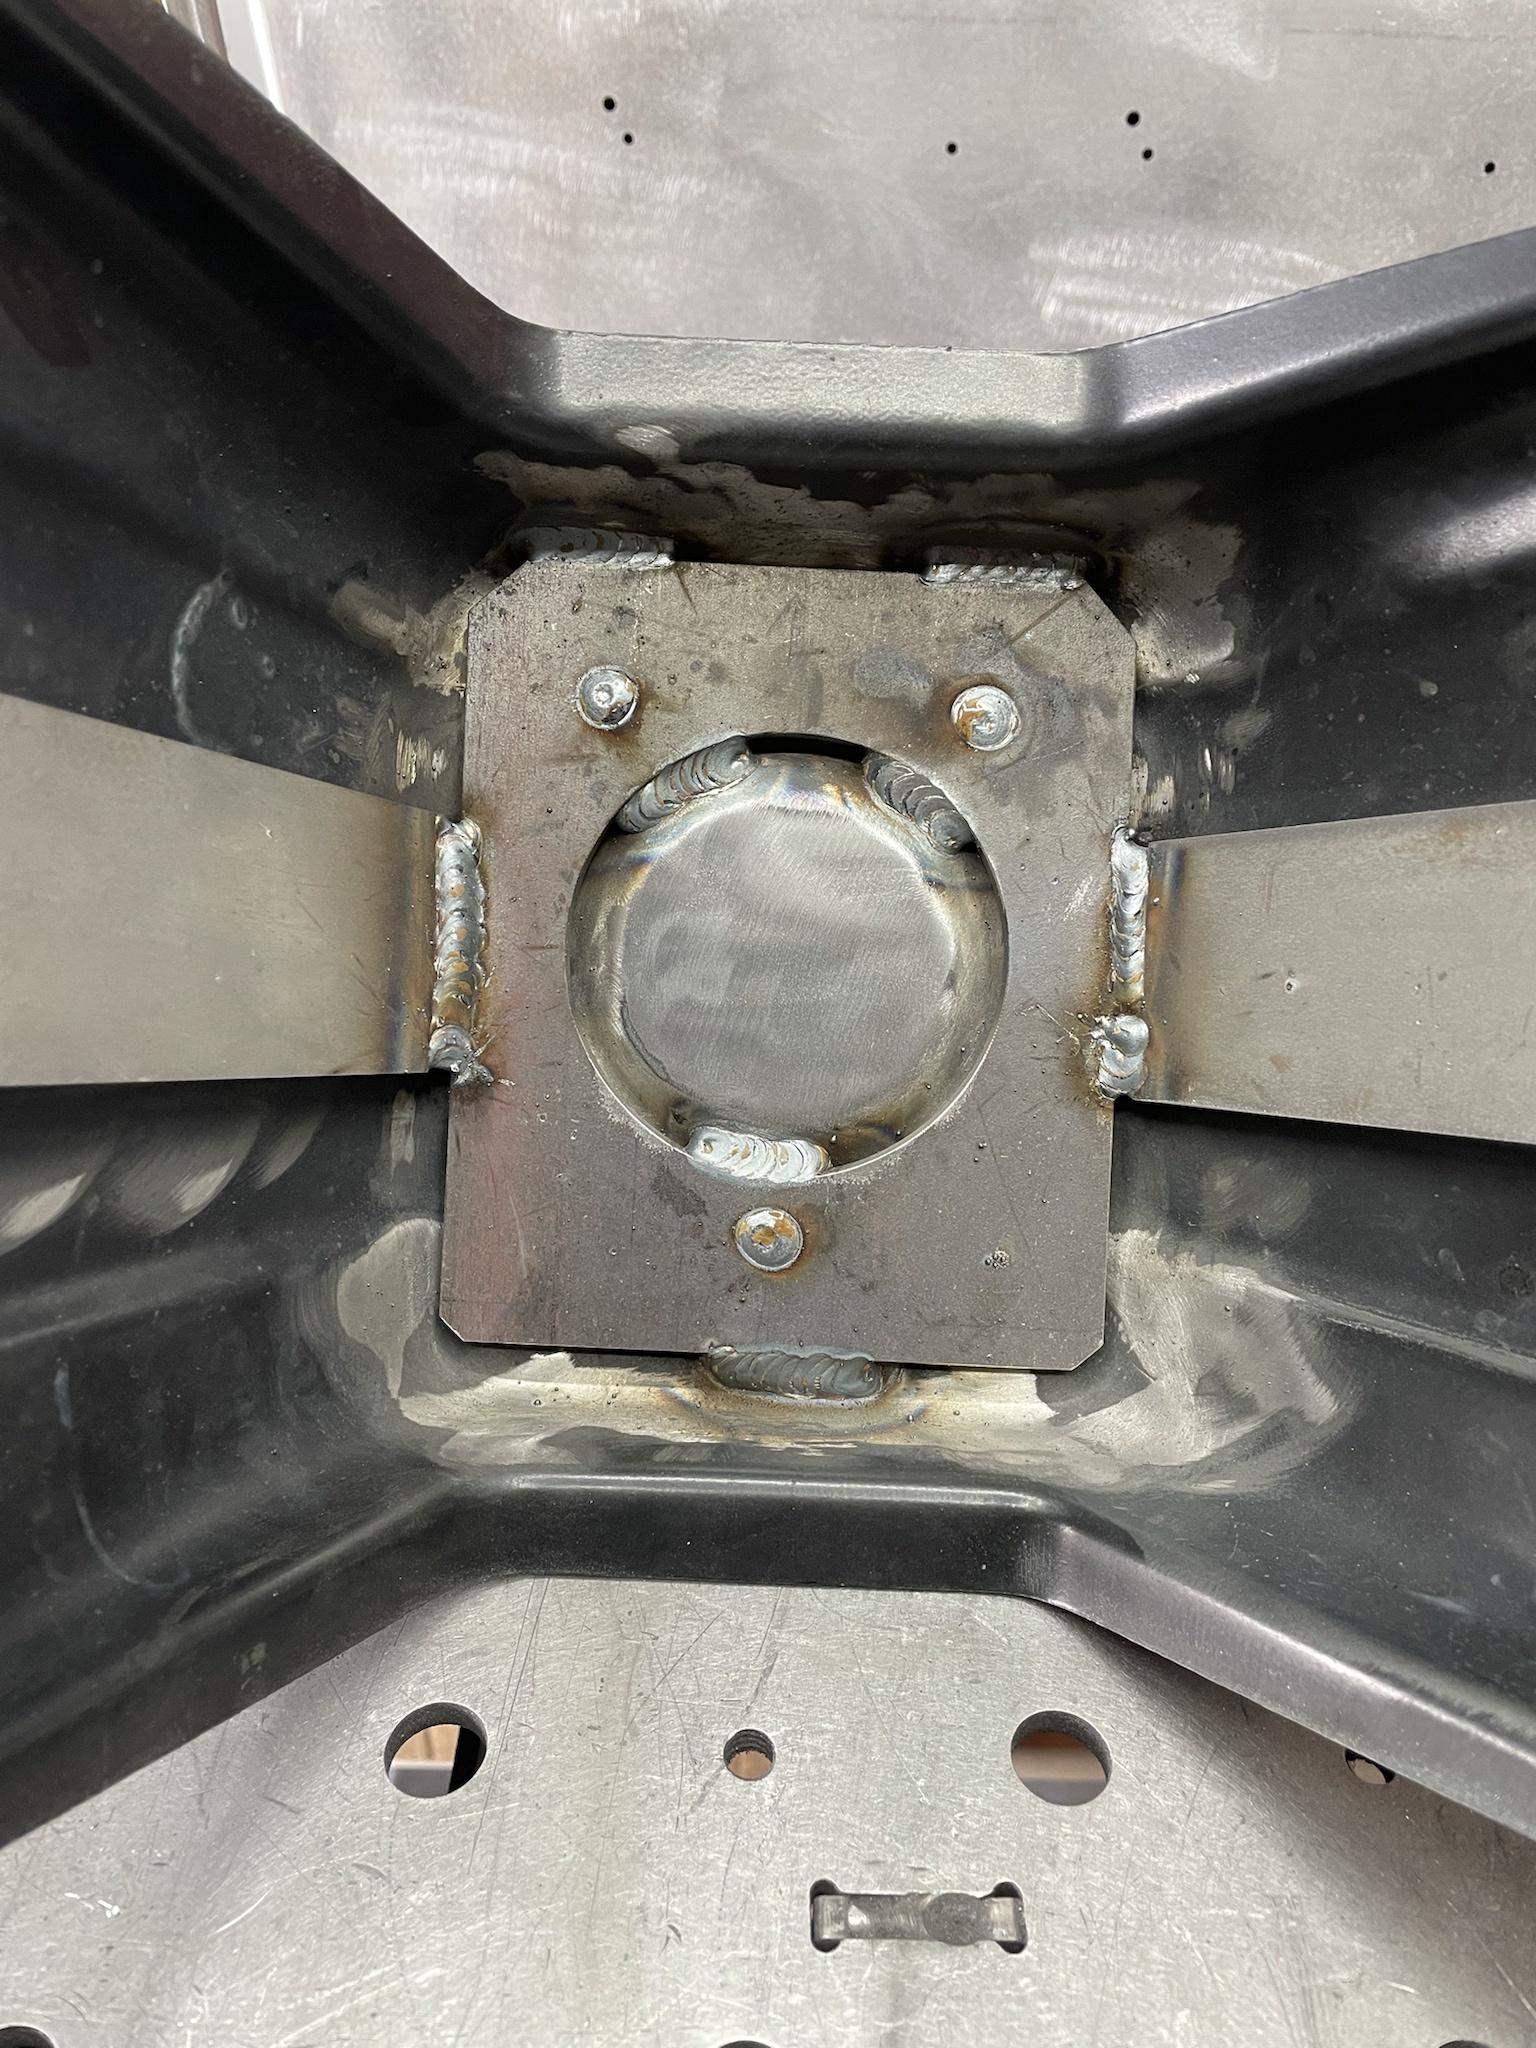
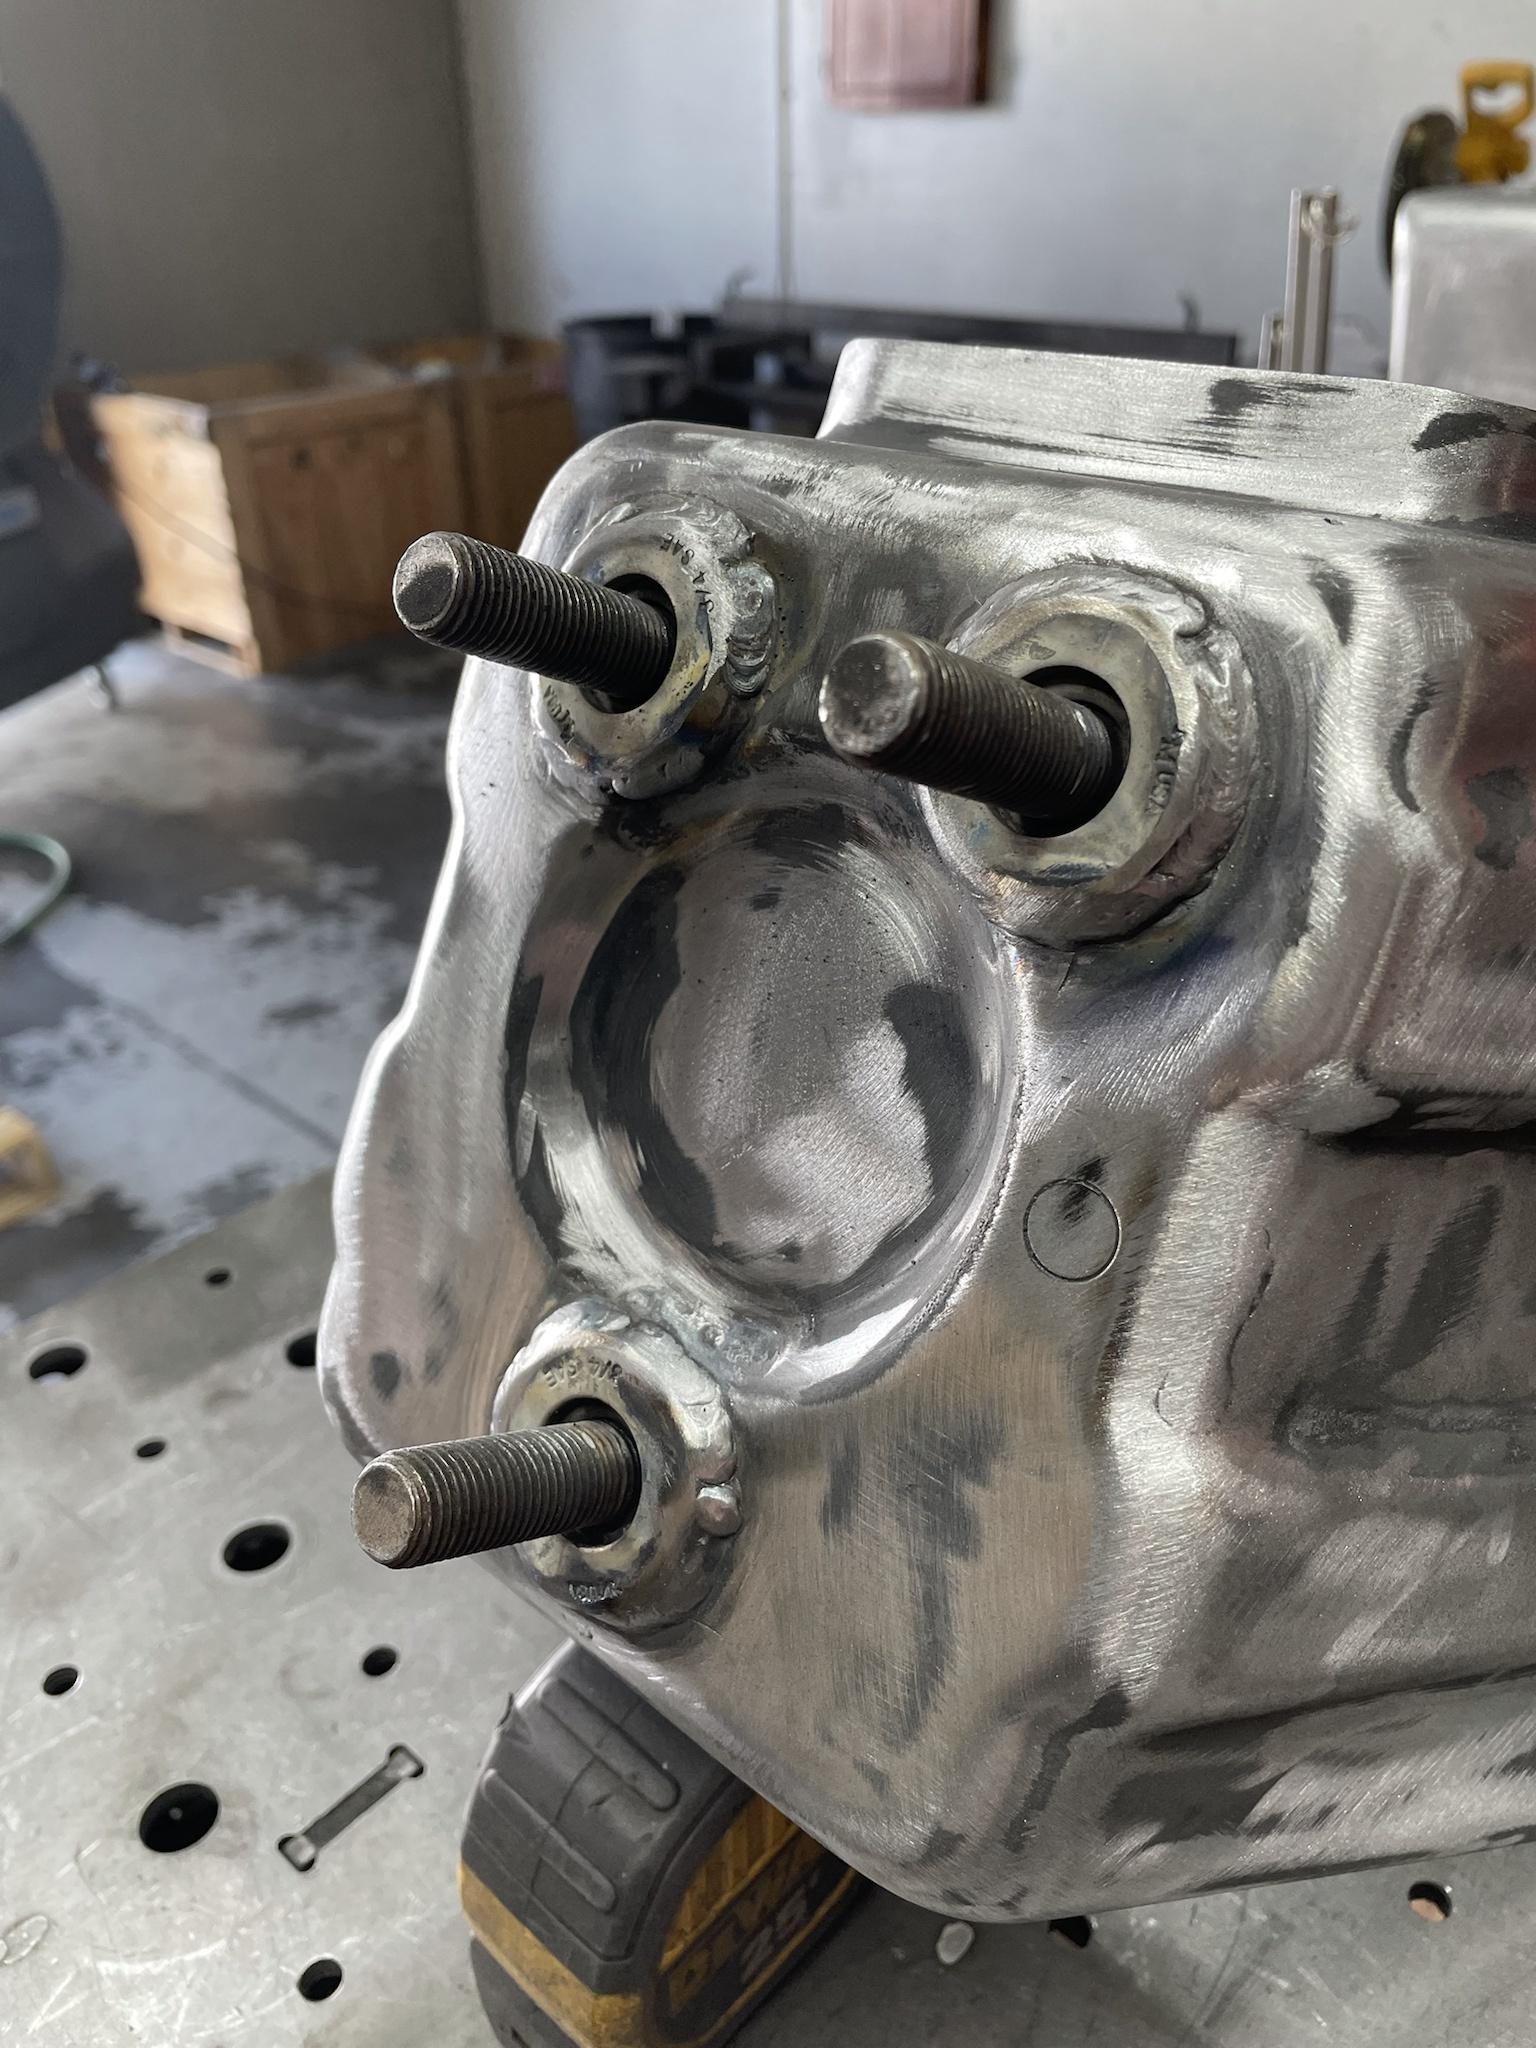
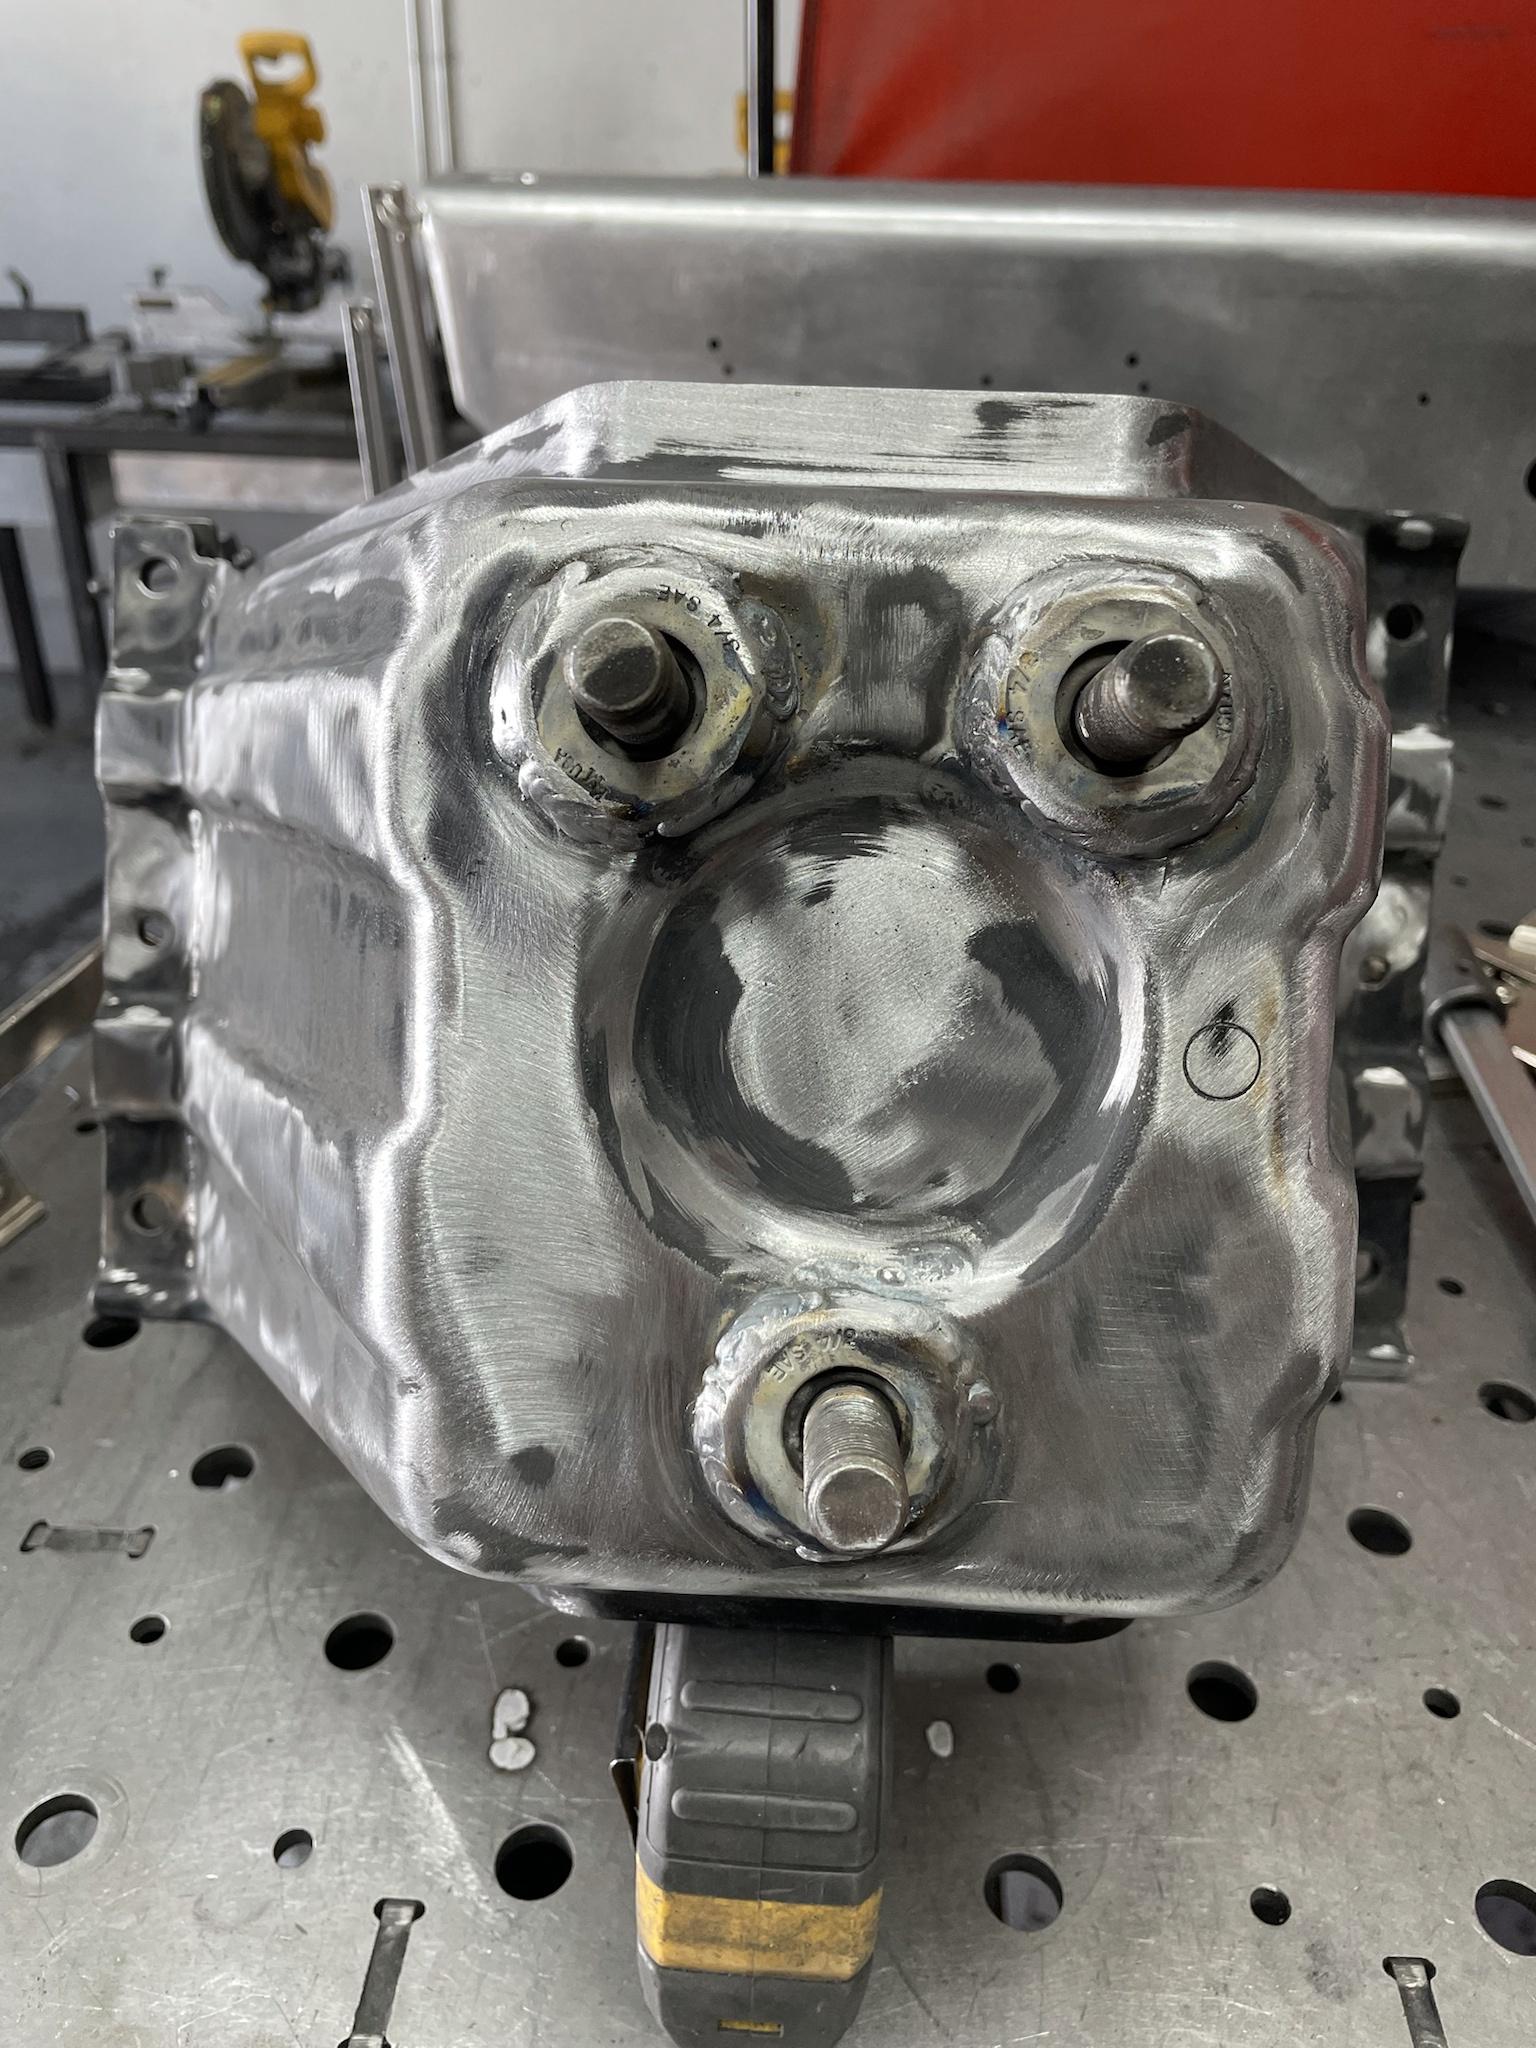
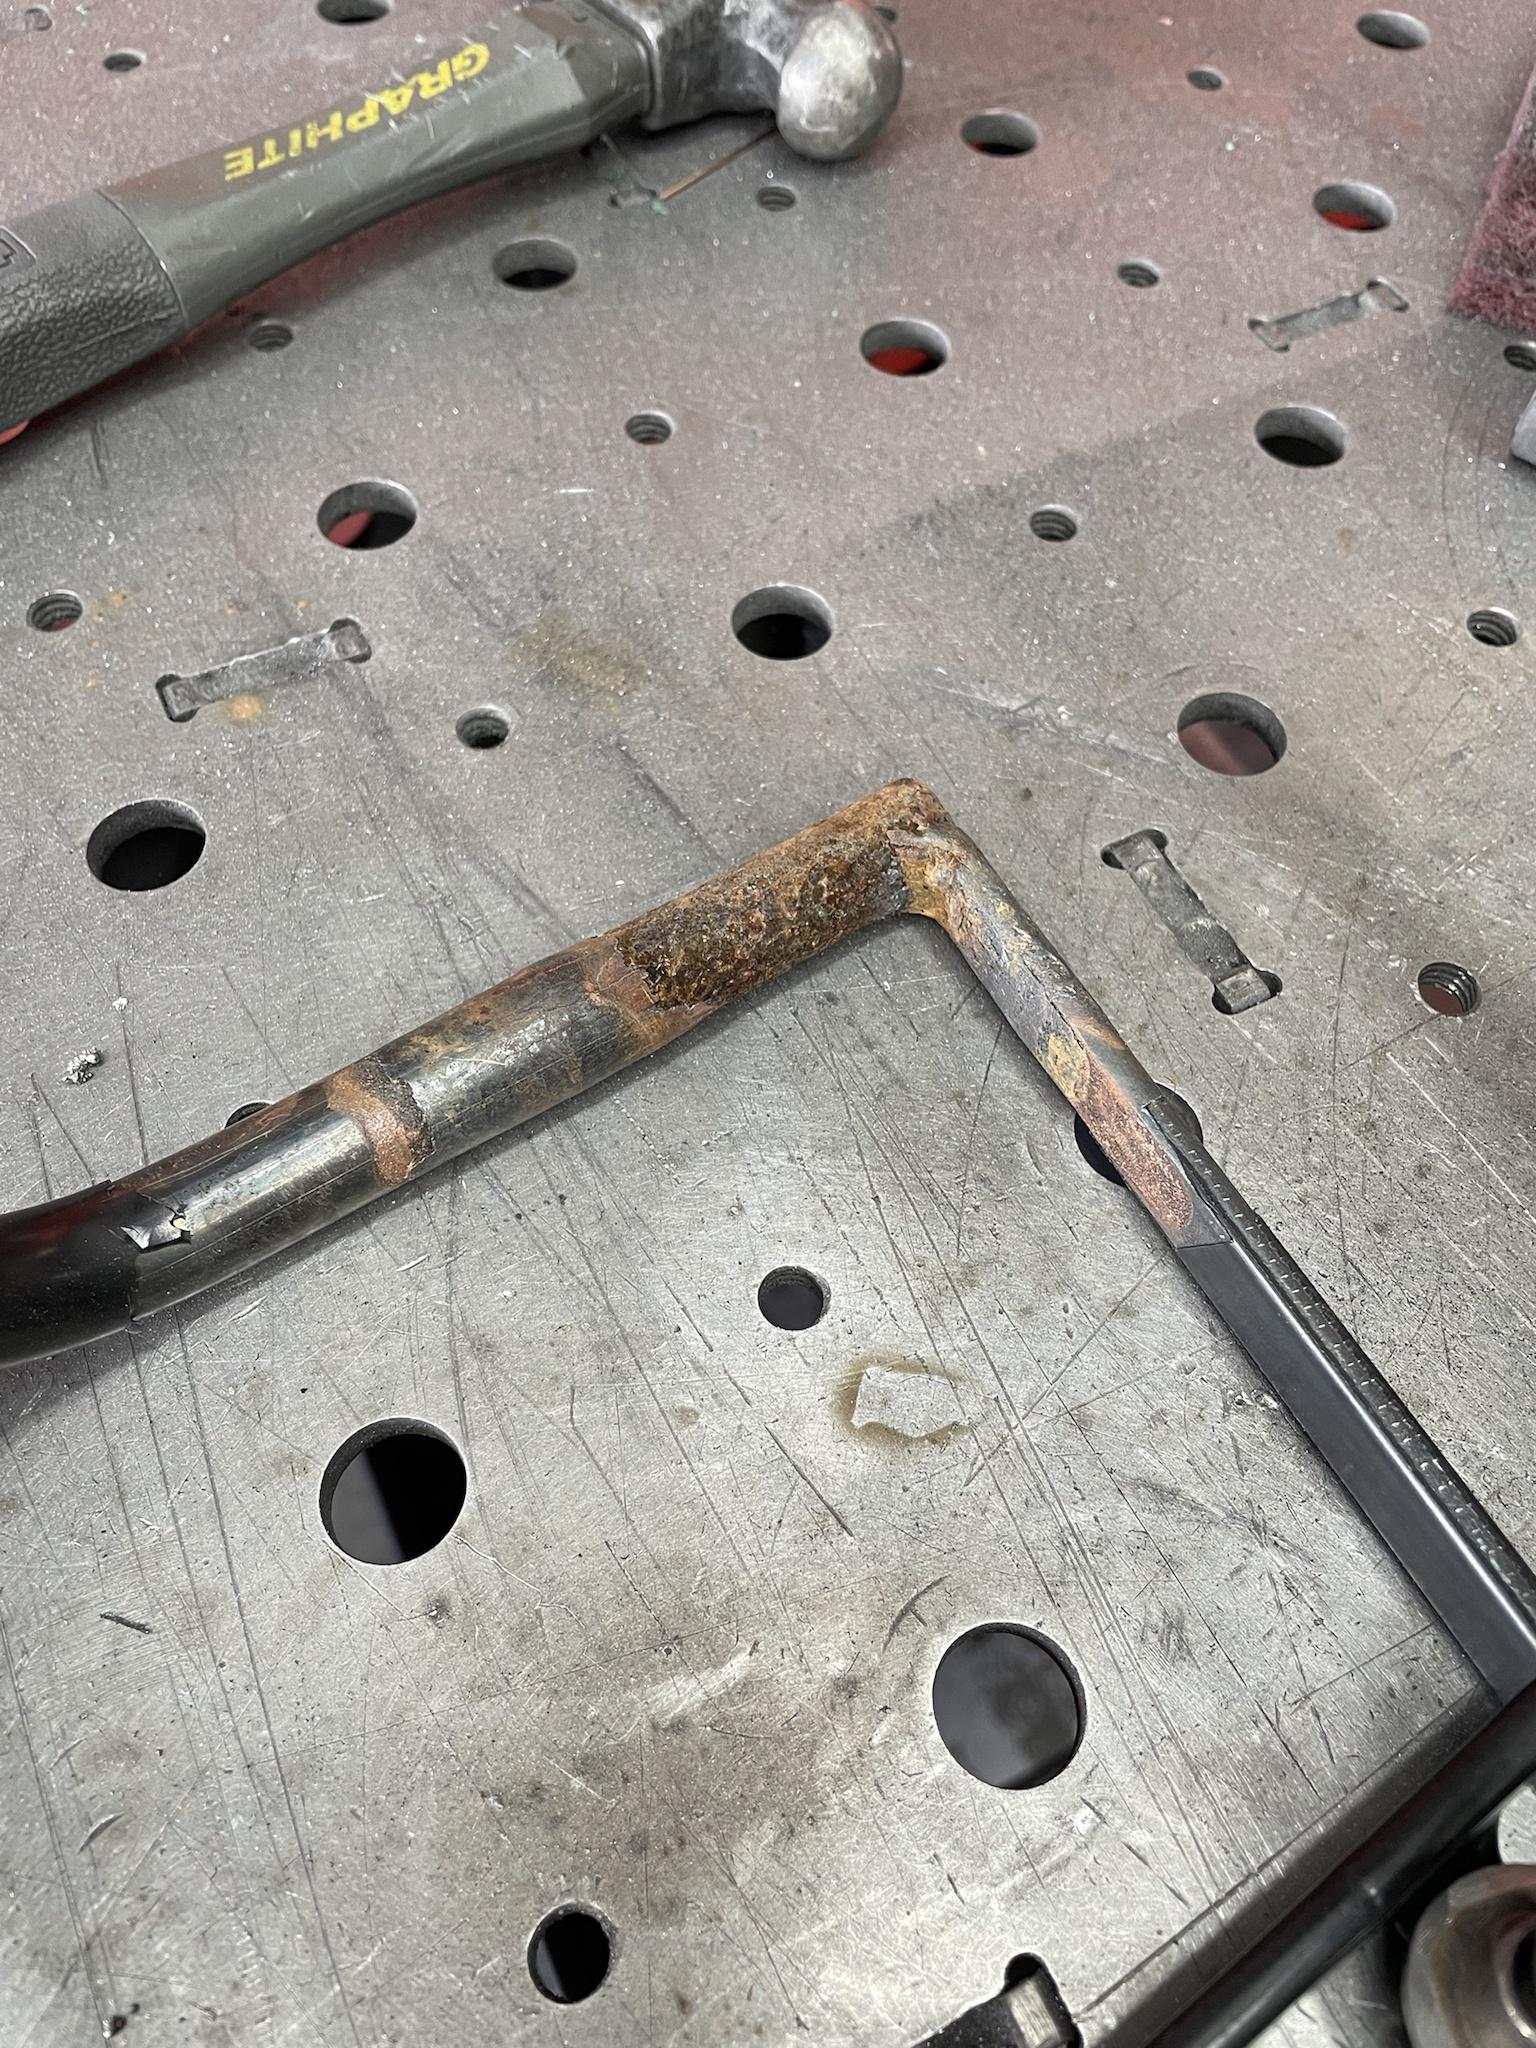
Welded in after grinding off paint, fixing the cracks and did a rosette weld to the studs to actually attach them to the added plate.

Name:  J7uADye.jpg
Views: 77
Size:  435.2 KB

Added straps to add some rigidity to the structure -- also welded the spacers to the actual carrier.

Name:  W7MbQrN.jpg
Views: 78
Size:  388.9 KB

Added large washers to the front for more support.
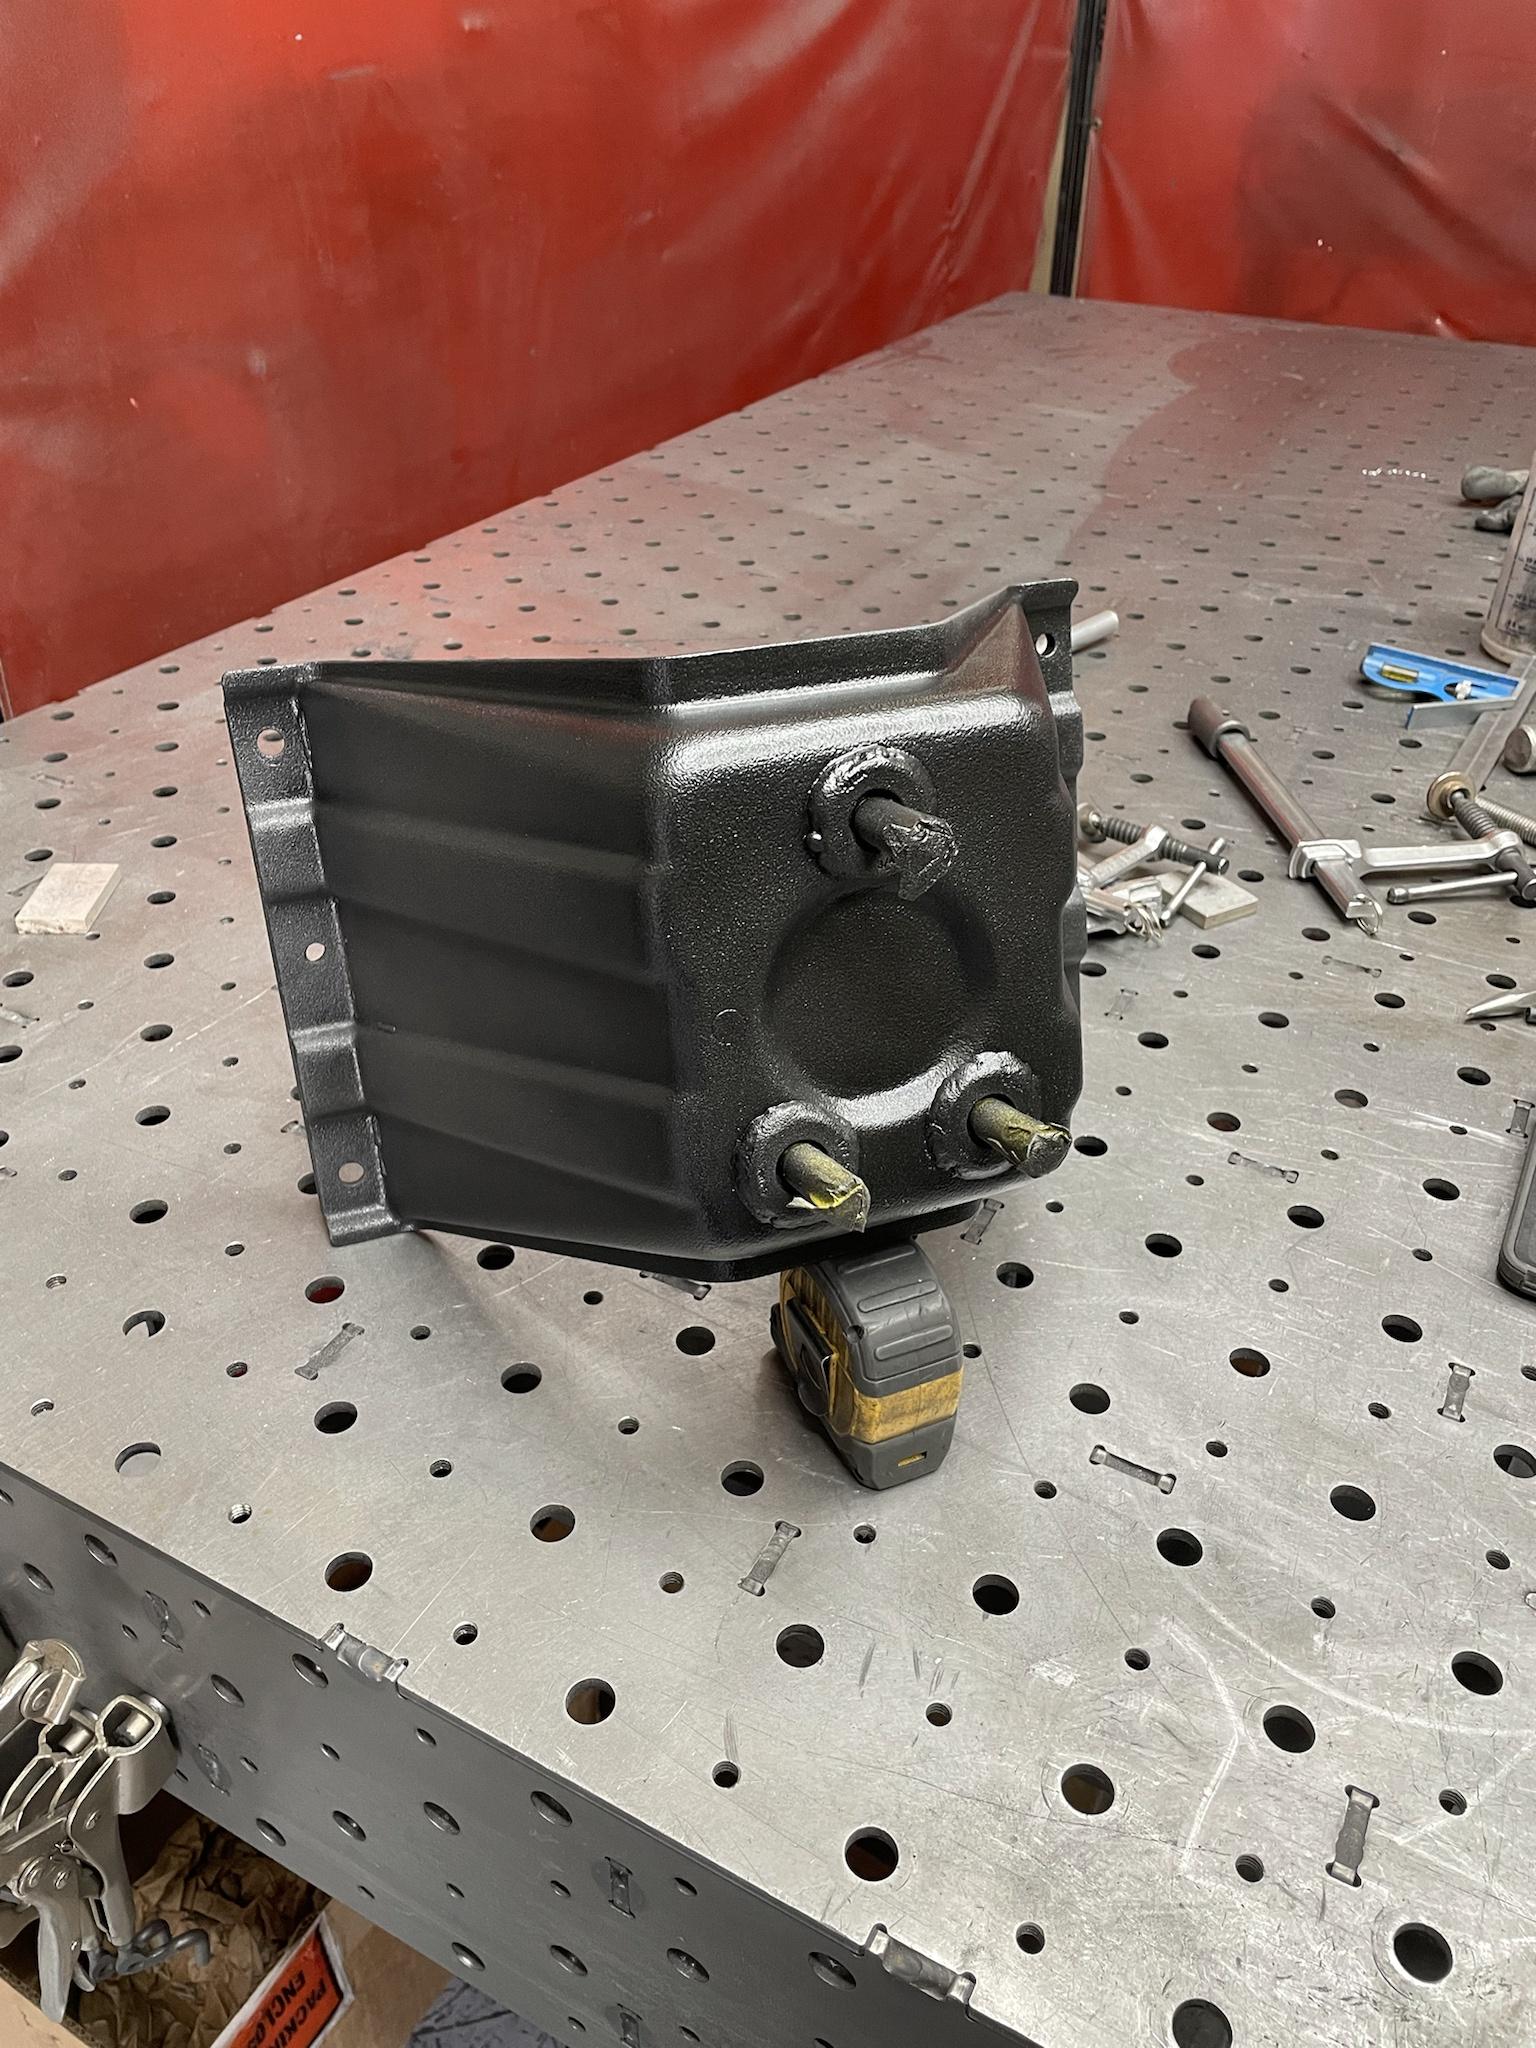
Name:  wwmKNcT.jpg
Views: 72
Size:  360.0 KB

Name:  pfehXHx.jpg
Views: 73
Size:  392.2 KB

Ready for paint.

Name:  IAP0eYY.jpg
Views: 75
Size:  394.0 KB

Went with bed truck liner because.. thats all i had.

Name:  3duLAH1.jpg
Views: 78
Size:  444.1 KB

Installing tomorrow!

 
Reply
Old Jul 19, 2021 | 08:16 PM
  #674  
ArmyRover's Avatar
Super Moderator
Joined: Jun 2008
Posts: 10,388
Likes: 1,753
From: Augusta, GA
Default

Excellent work
 
Reply
Old Jul 19, 2021 | 09:12 PM
  #675  
Saturnine's Avatar
Thread Starter
|
Pro Wrench
Joined: Jan 2018
Posts: 1,721
Likes: 258
From: Denver
Default

Thank you sir.

Got some new rubber finally. Decided on some Cooper Maxx ST's (err ST Maxx? -- whatever)

Liking them so far

Name:  5gPRxHu.jpg
Views: 72
Size:  553.2 KB

Name:  4ed2MKt.jpg
Views: 71
Size:  419.9 KB

Attending to the rear bumper and exhaust next..
 
Reply
Old Jul 19, 2021 | 11:05 PM
  #676  
Fastercat's Avatar
Recovery Vehicle
Joined: Nov 2017
Posts: 788
Likes: 295
From: Amherstburg Ontario
Default

Lookin good
 
Reply
Old Jul 21, 2021 | 02:59 AM
  #677  
The Deputy's Avatar
Camel Trophy
Joined: Oct 2016
Posts: 4,860
Likes: 1,401
From: Michigan
Default

Is the front bumper for the rover, too? Tire carrier turned out nice.

 
Reply
Old Jul 21, 2021 | 06:55 AM
  #678  
Saturnine's Avatar
Thread Starter
|
Pro Wrench
Joined: Jan 2018
Posts: 1,721
Likes: 258
From: Denver
Default

I wish! That’s an Earthroamer LTi rear bumper

Originally Posted by The Deputy
Is the front bumper for the rover, too? Tire carrier turned out nice.
 
Reply
Old Aug 1, 2021 | 06:08 PM
  #679  
Saturnine's Avatar
Thread Starter
|
Pro Wrench
Joined: Jan 2018
Posts: 1,721
Likes: 258
From: Denver
Default

More busy work..!

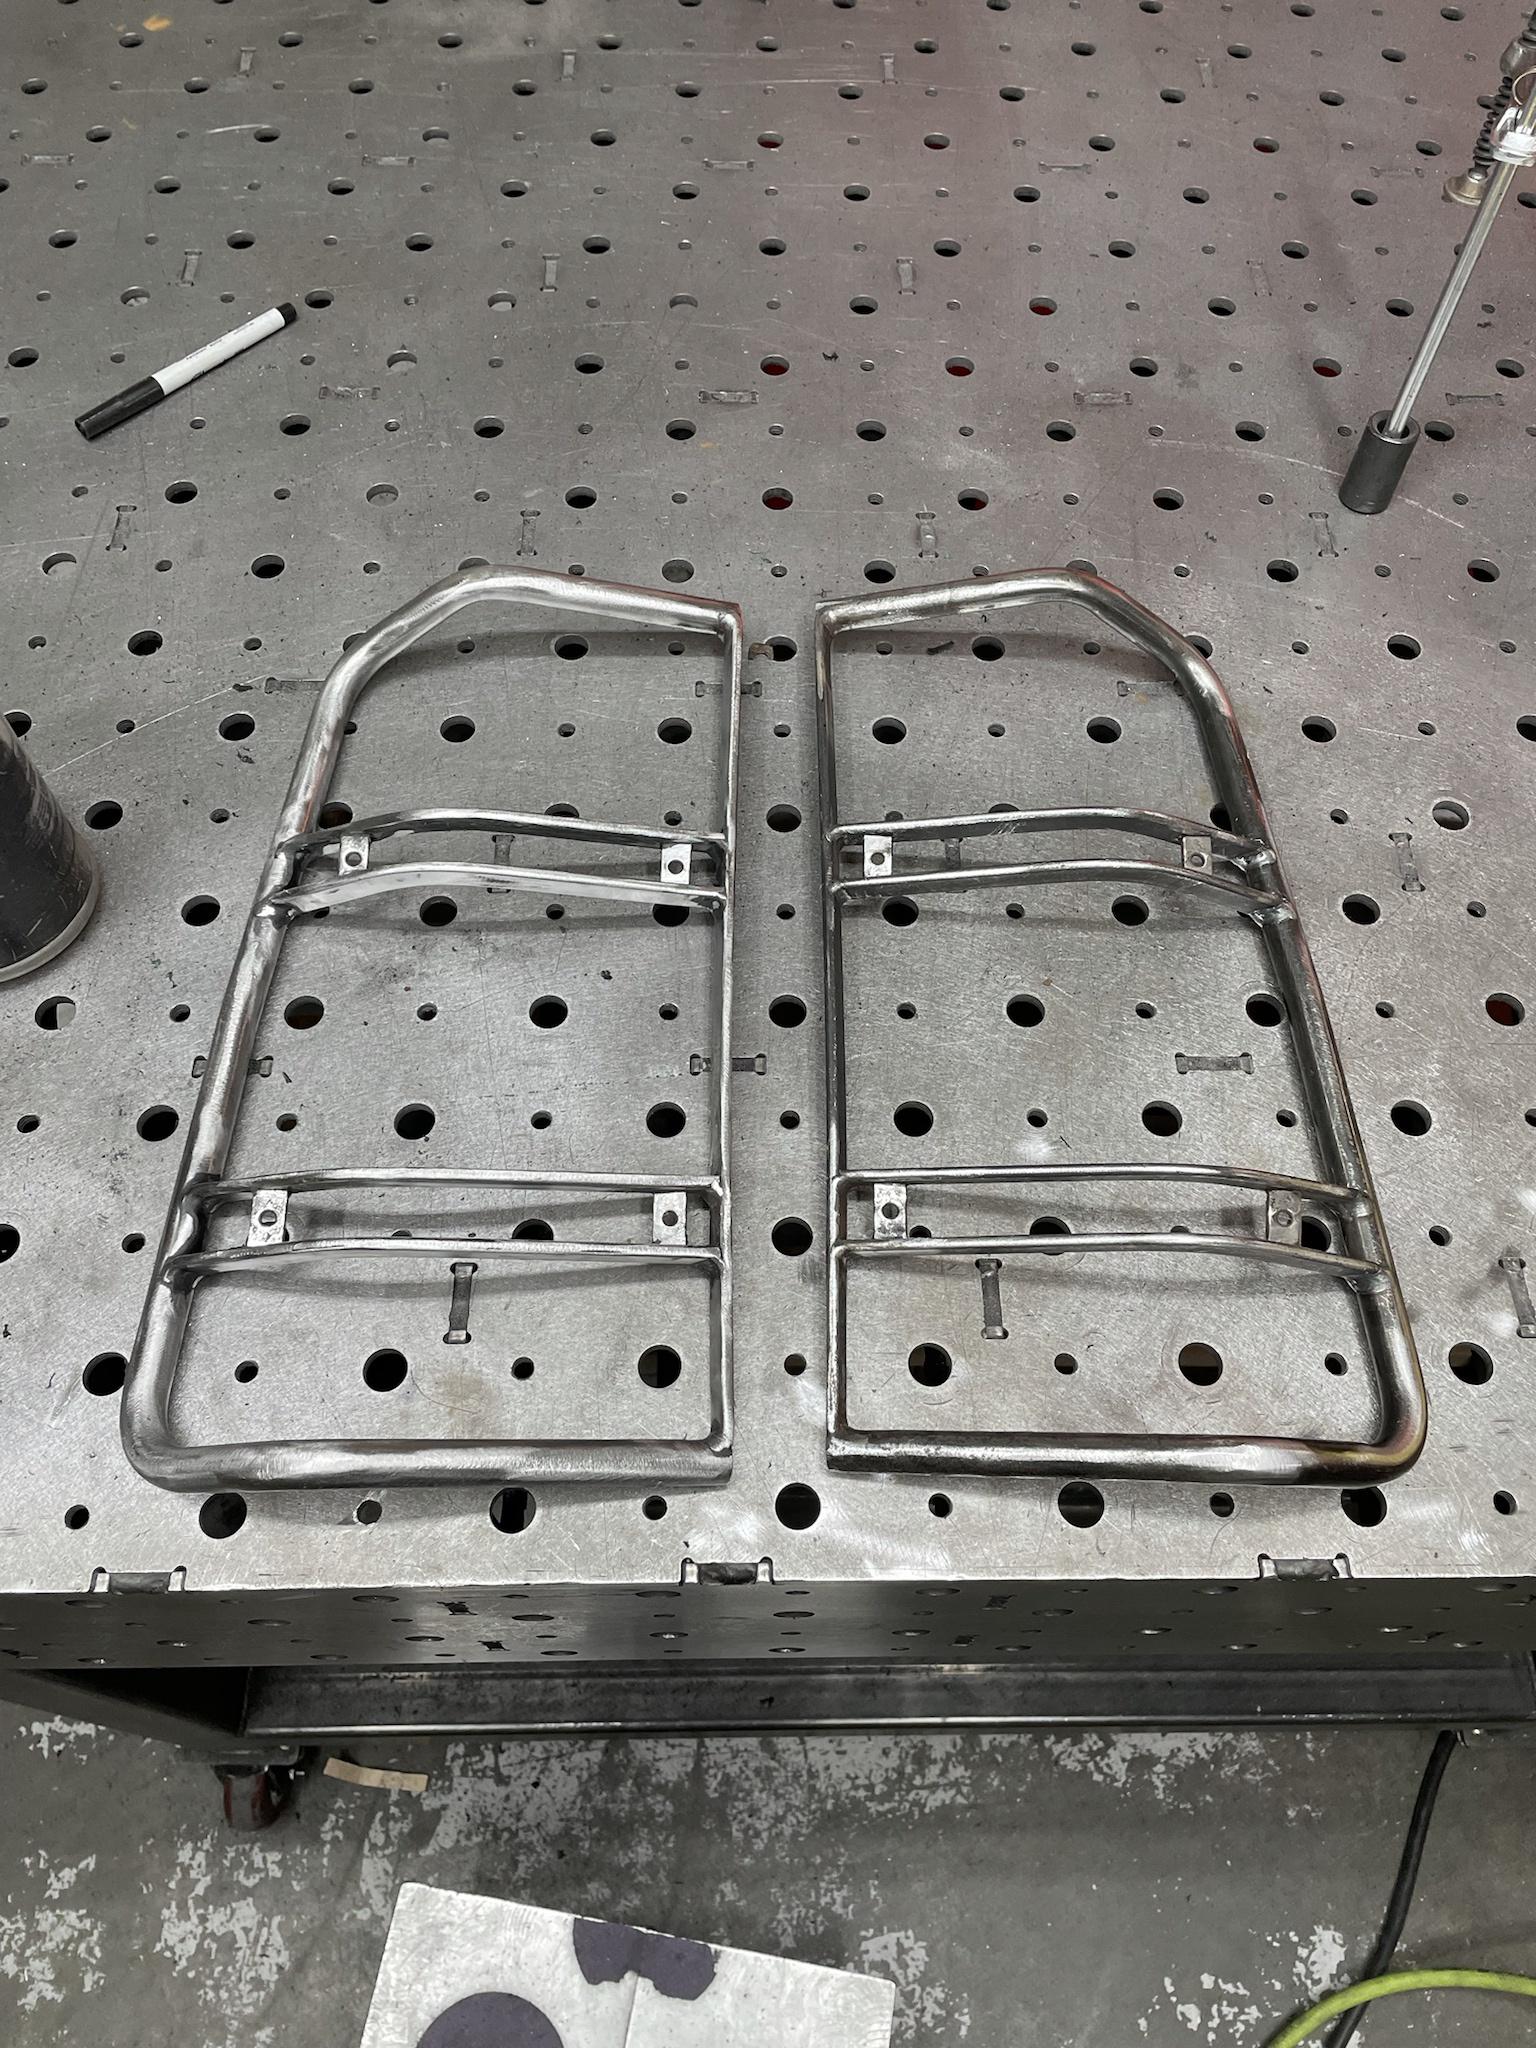
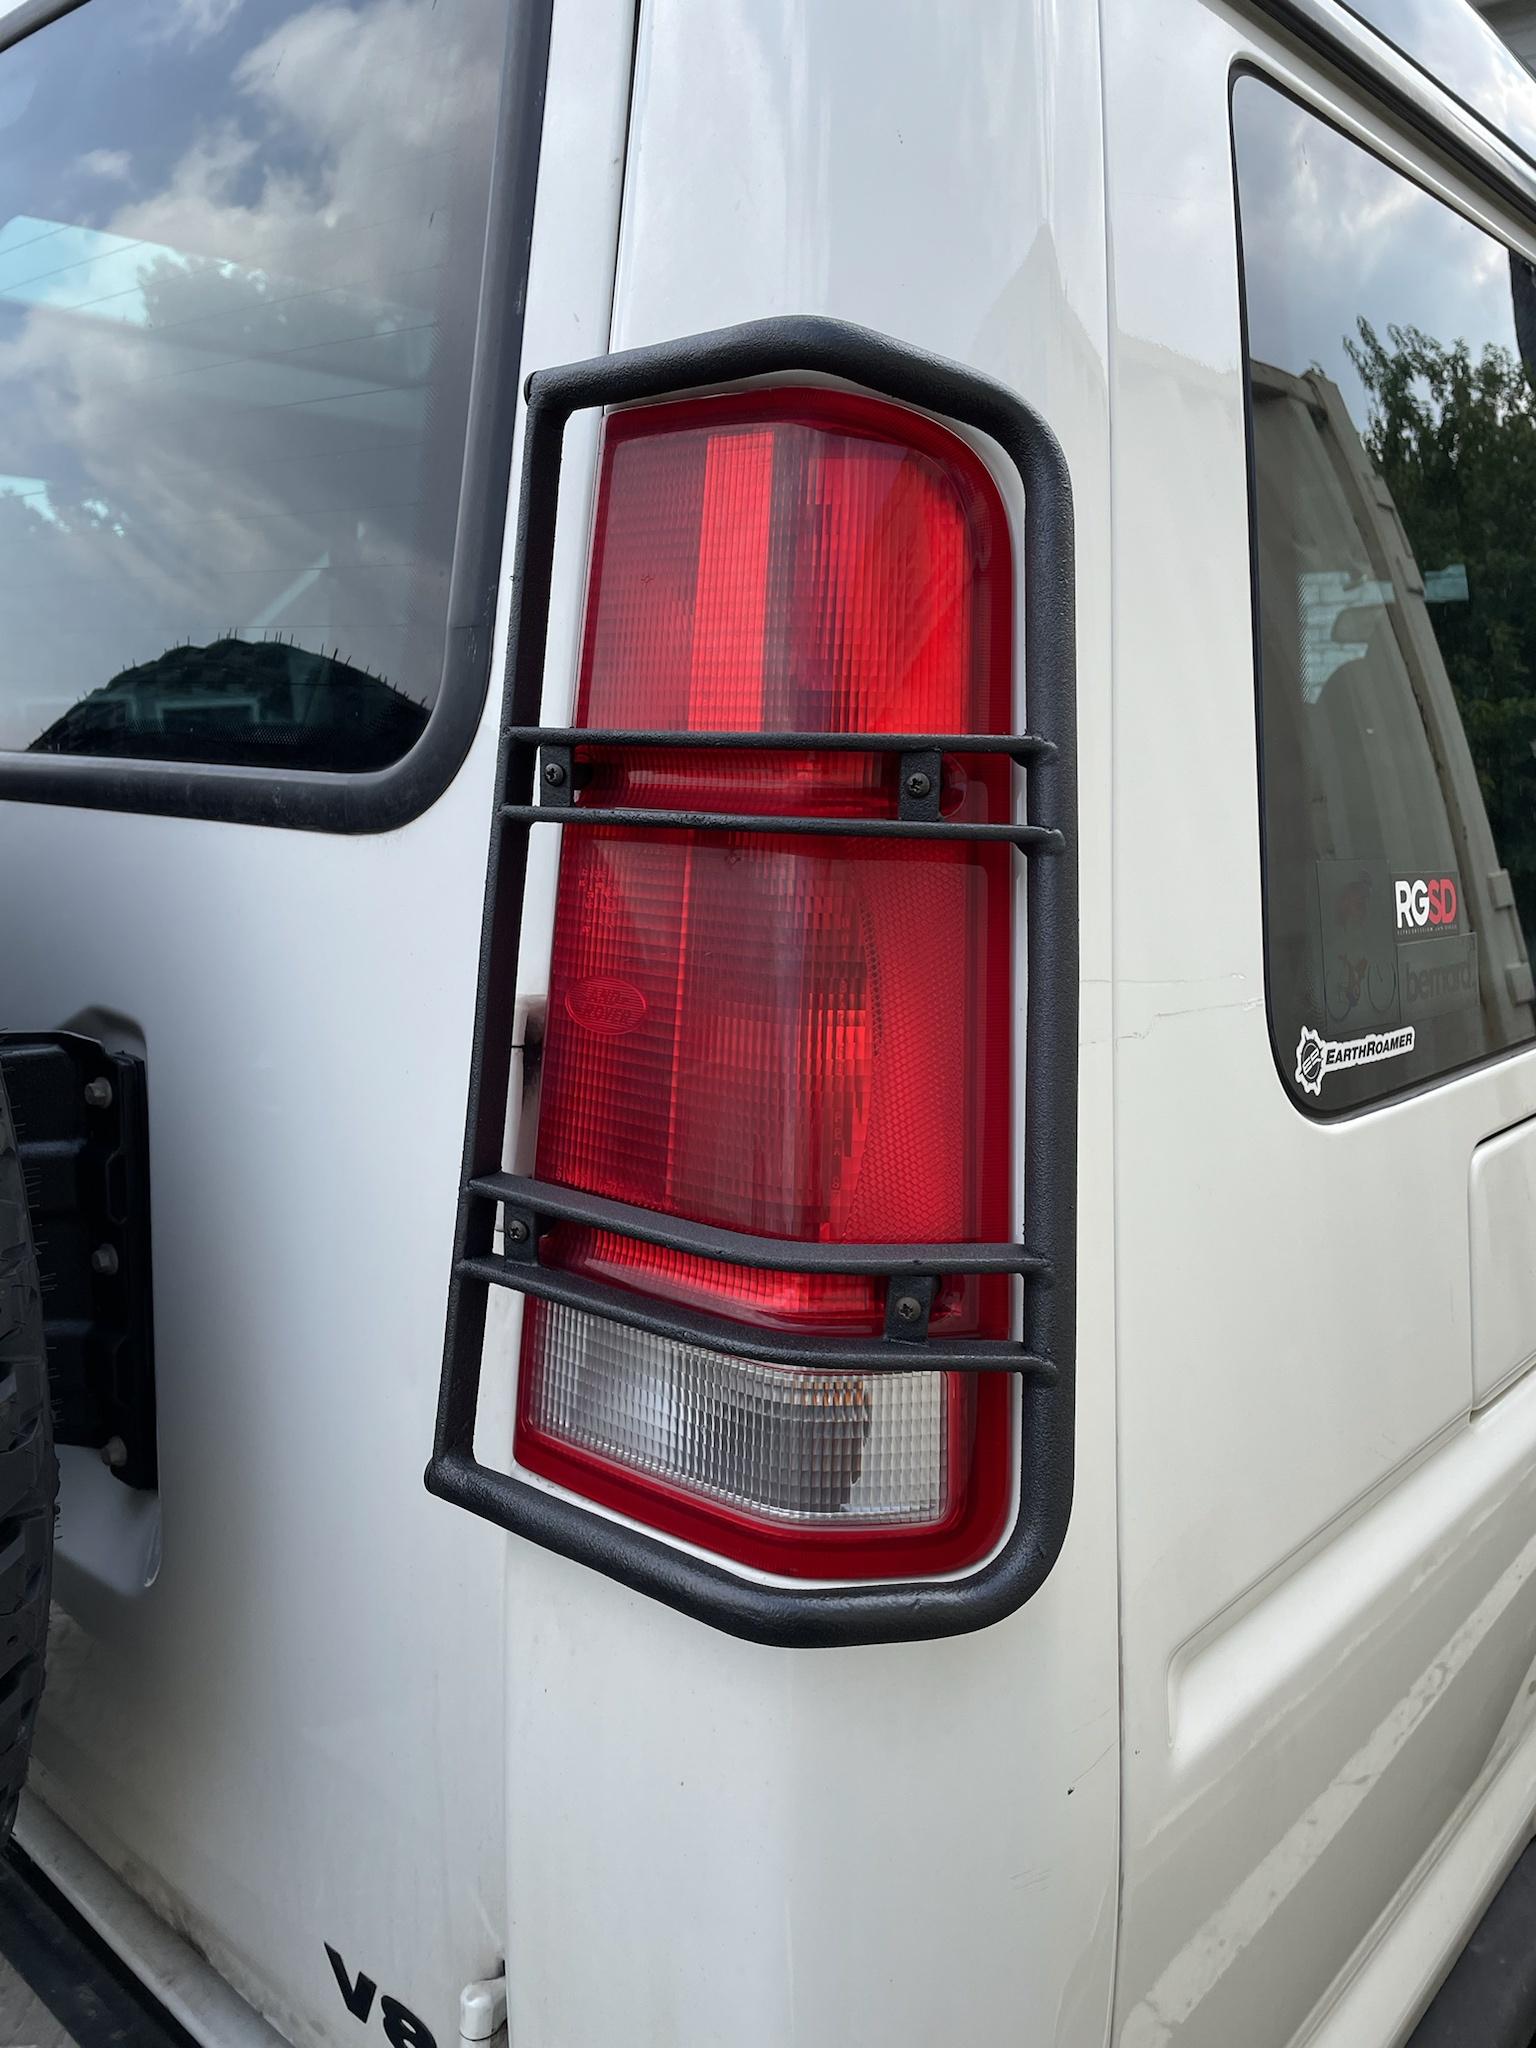
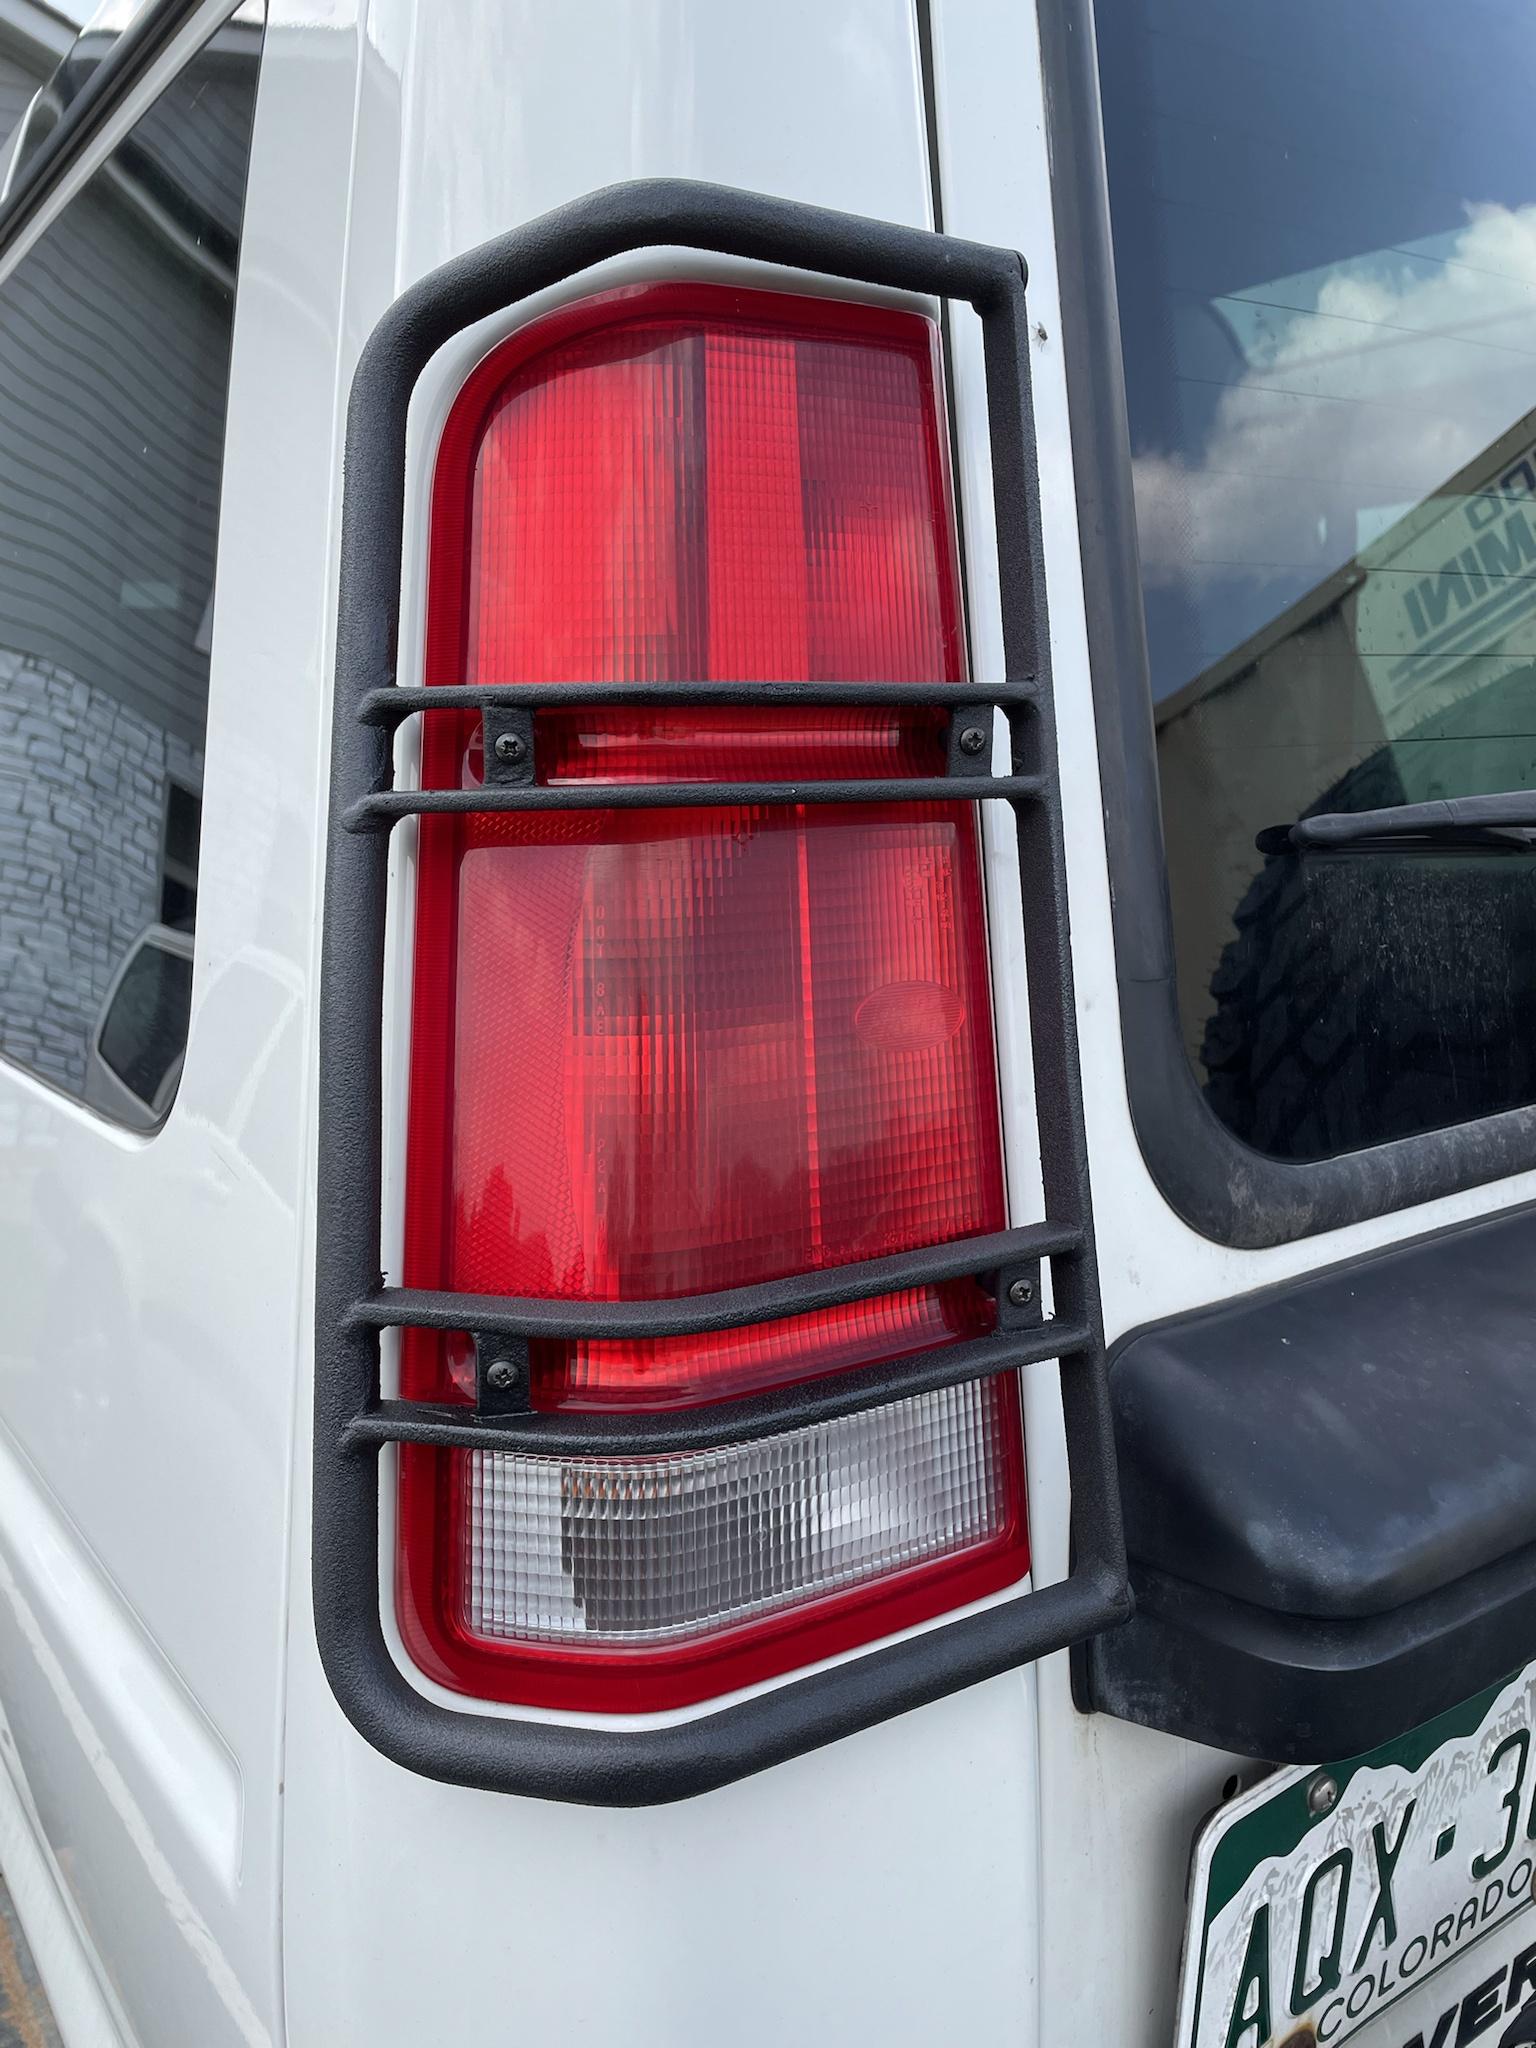
The rear taillight guards were always a little tatty, so I decided to clean them up - grind off all surface rust and give them a repaint. Took a lot longer than I thought it would but came out.. Ok. I still might have them blasted and powder coated but we'll see how they hold up over the winter.

Name:  h3iHOAu.jpg
Views: 70
Size:  451.3 KB

Name:  t2jhLkK.jpg
Views: 72
Size:  277.9 KB

Name:  aozljqo.jpg
Views: 72
Size:  617.1 KB

Name:  LCwozmn.jpg
Views: 69
Size:  532.6 KB

Name:  TUfaqSY.jpg
Views: 71
Size:  254.0 KB

Name:  DHi6ElM.jpg
Views: 72
Size:  321.4 KB

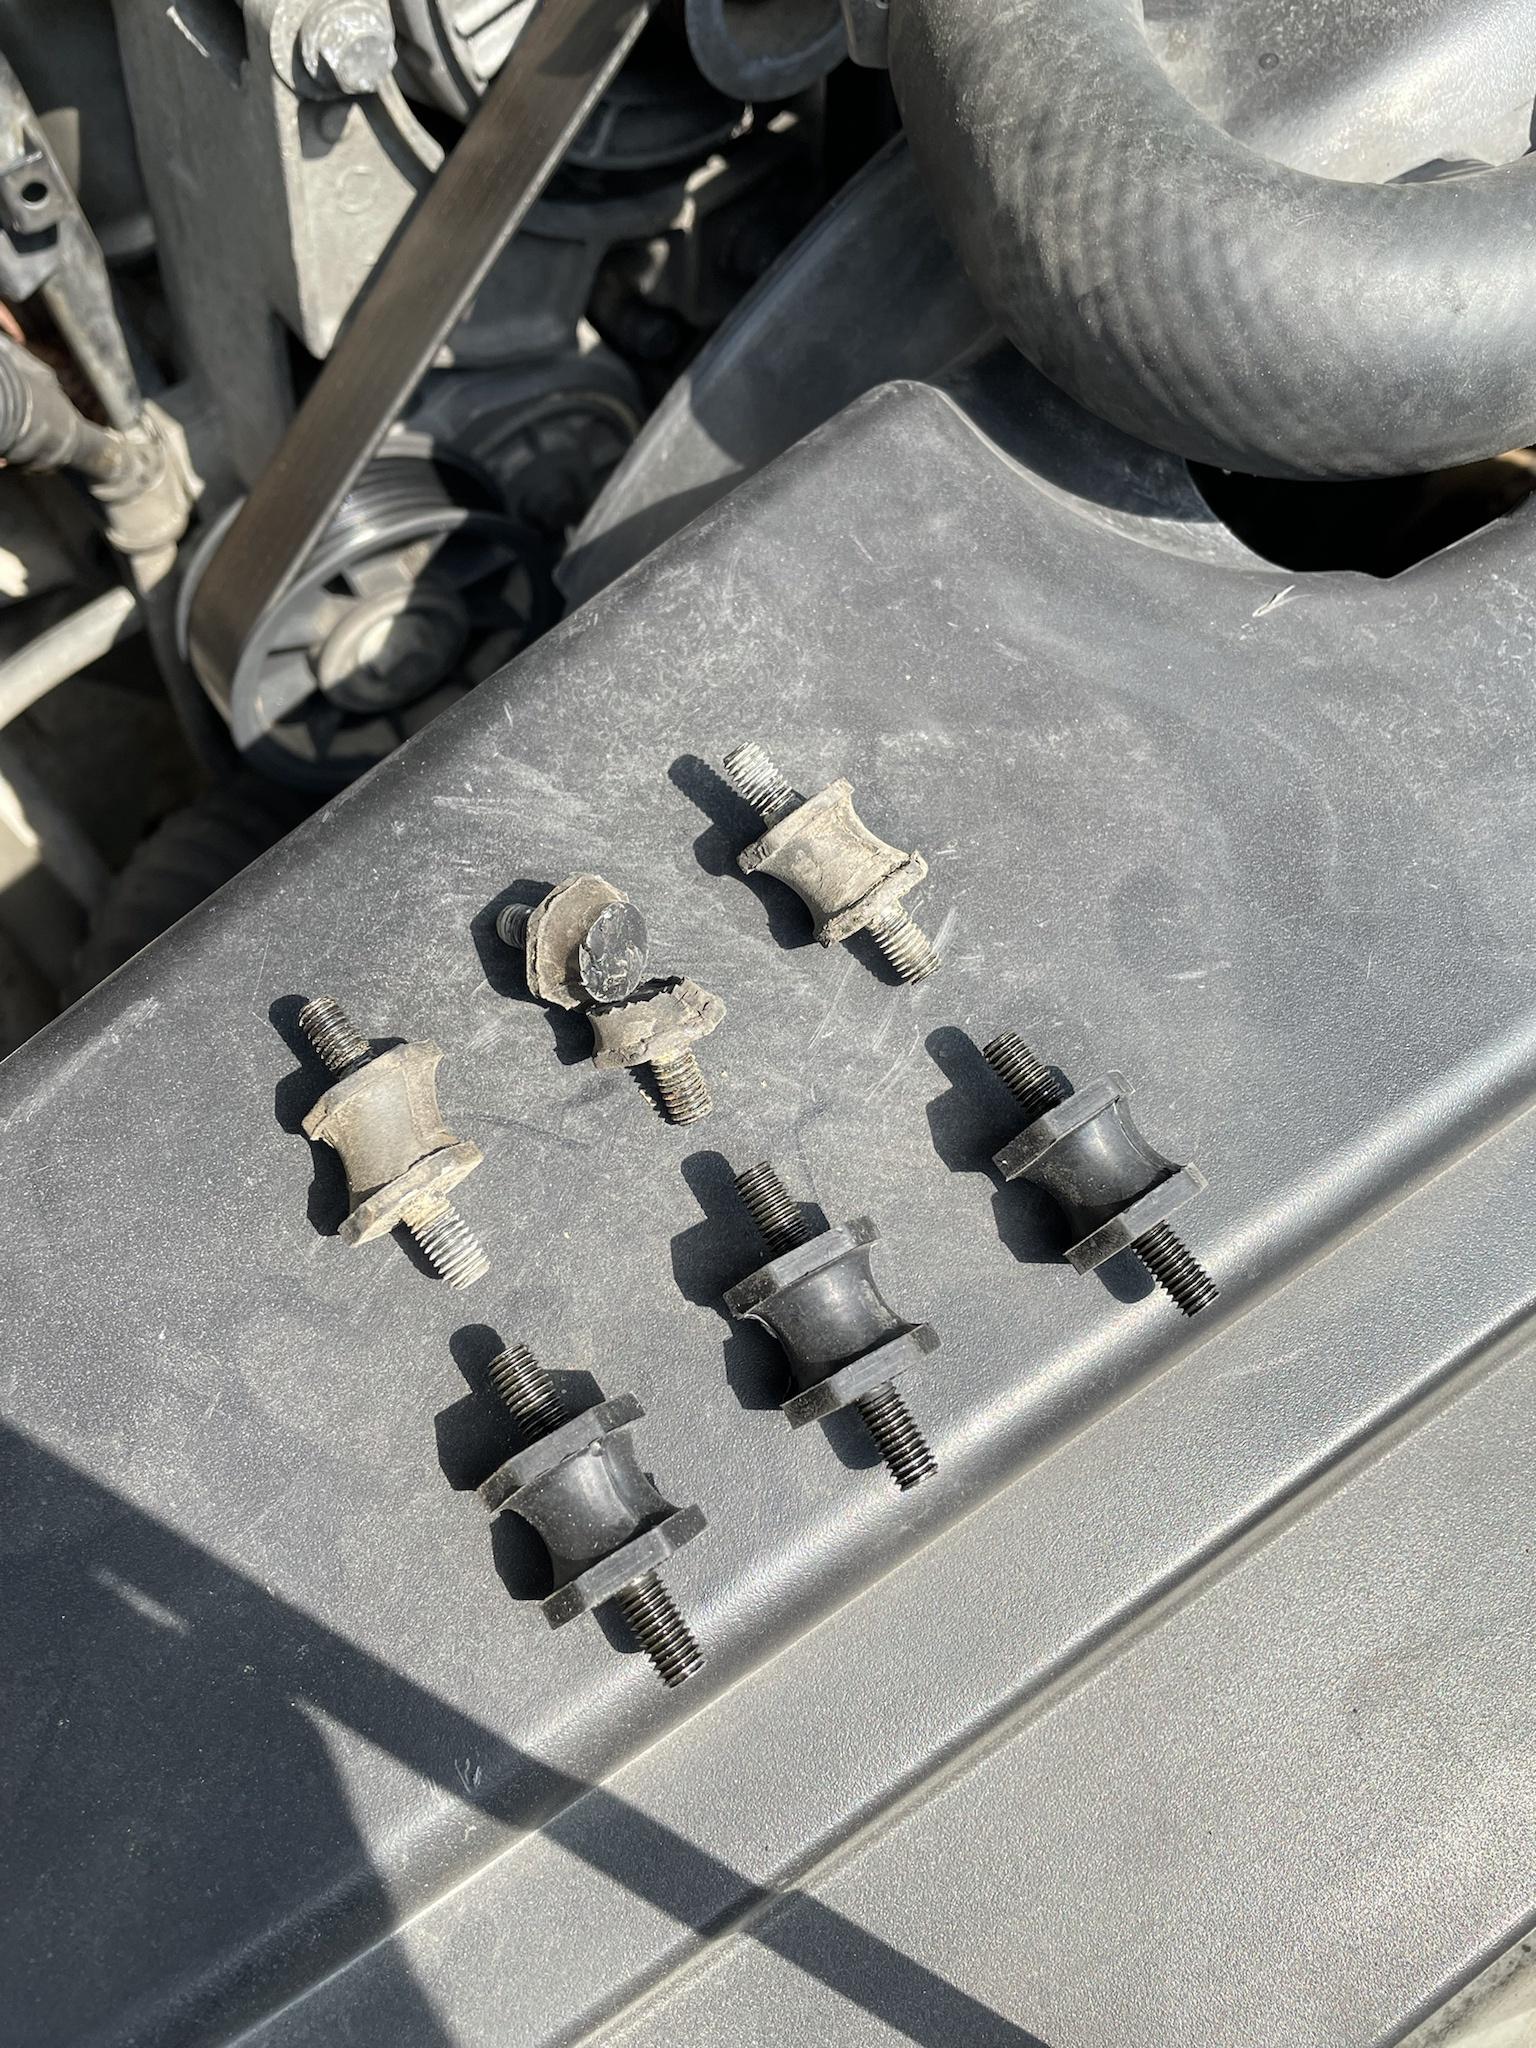
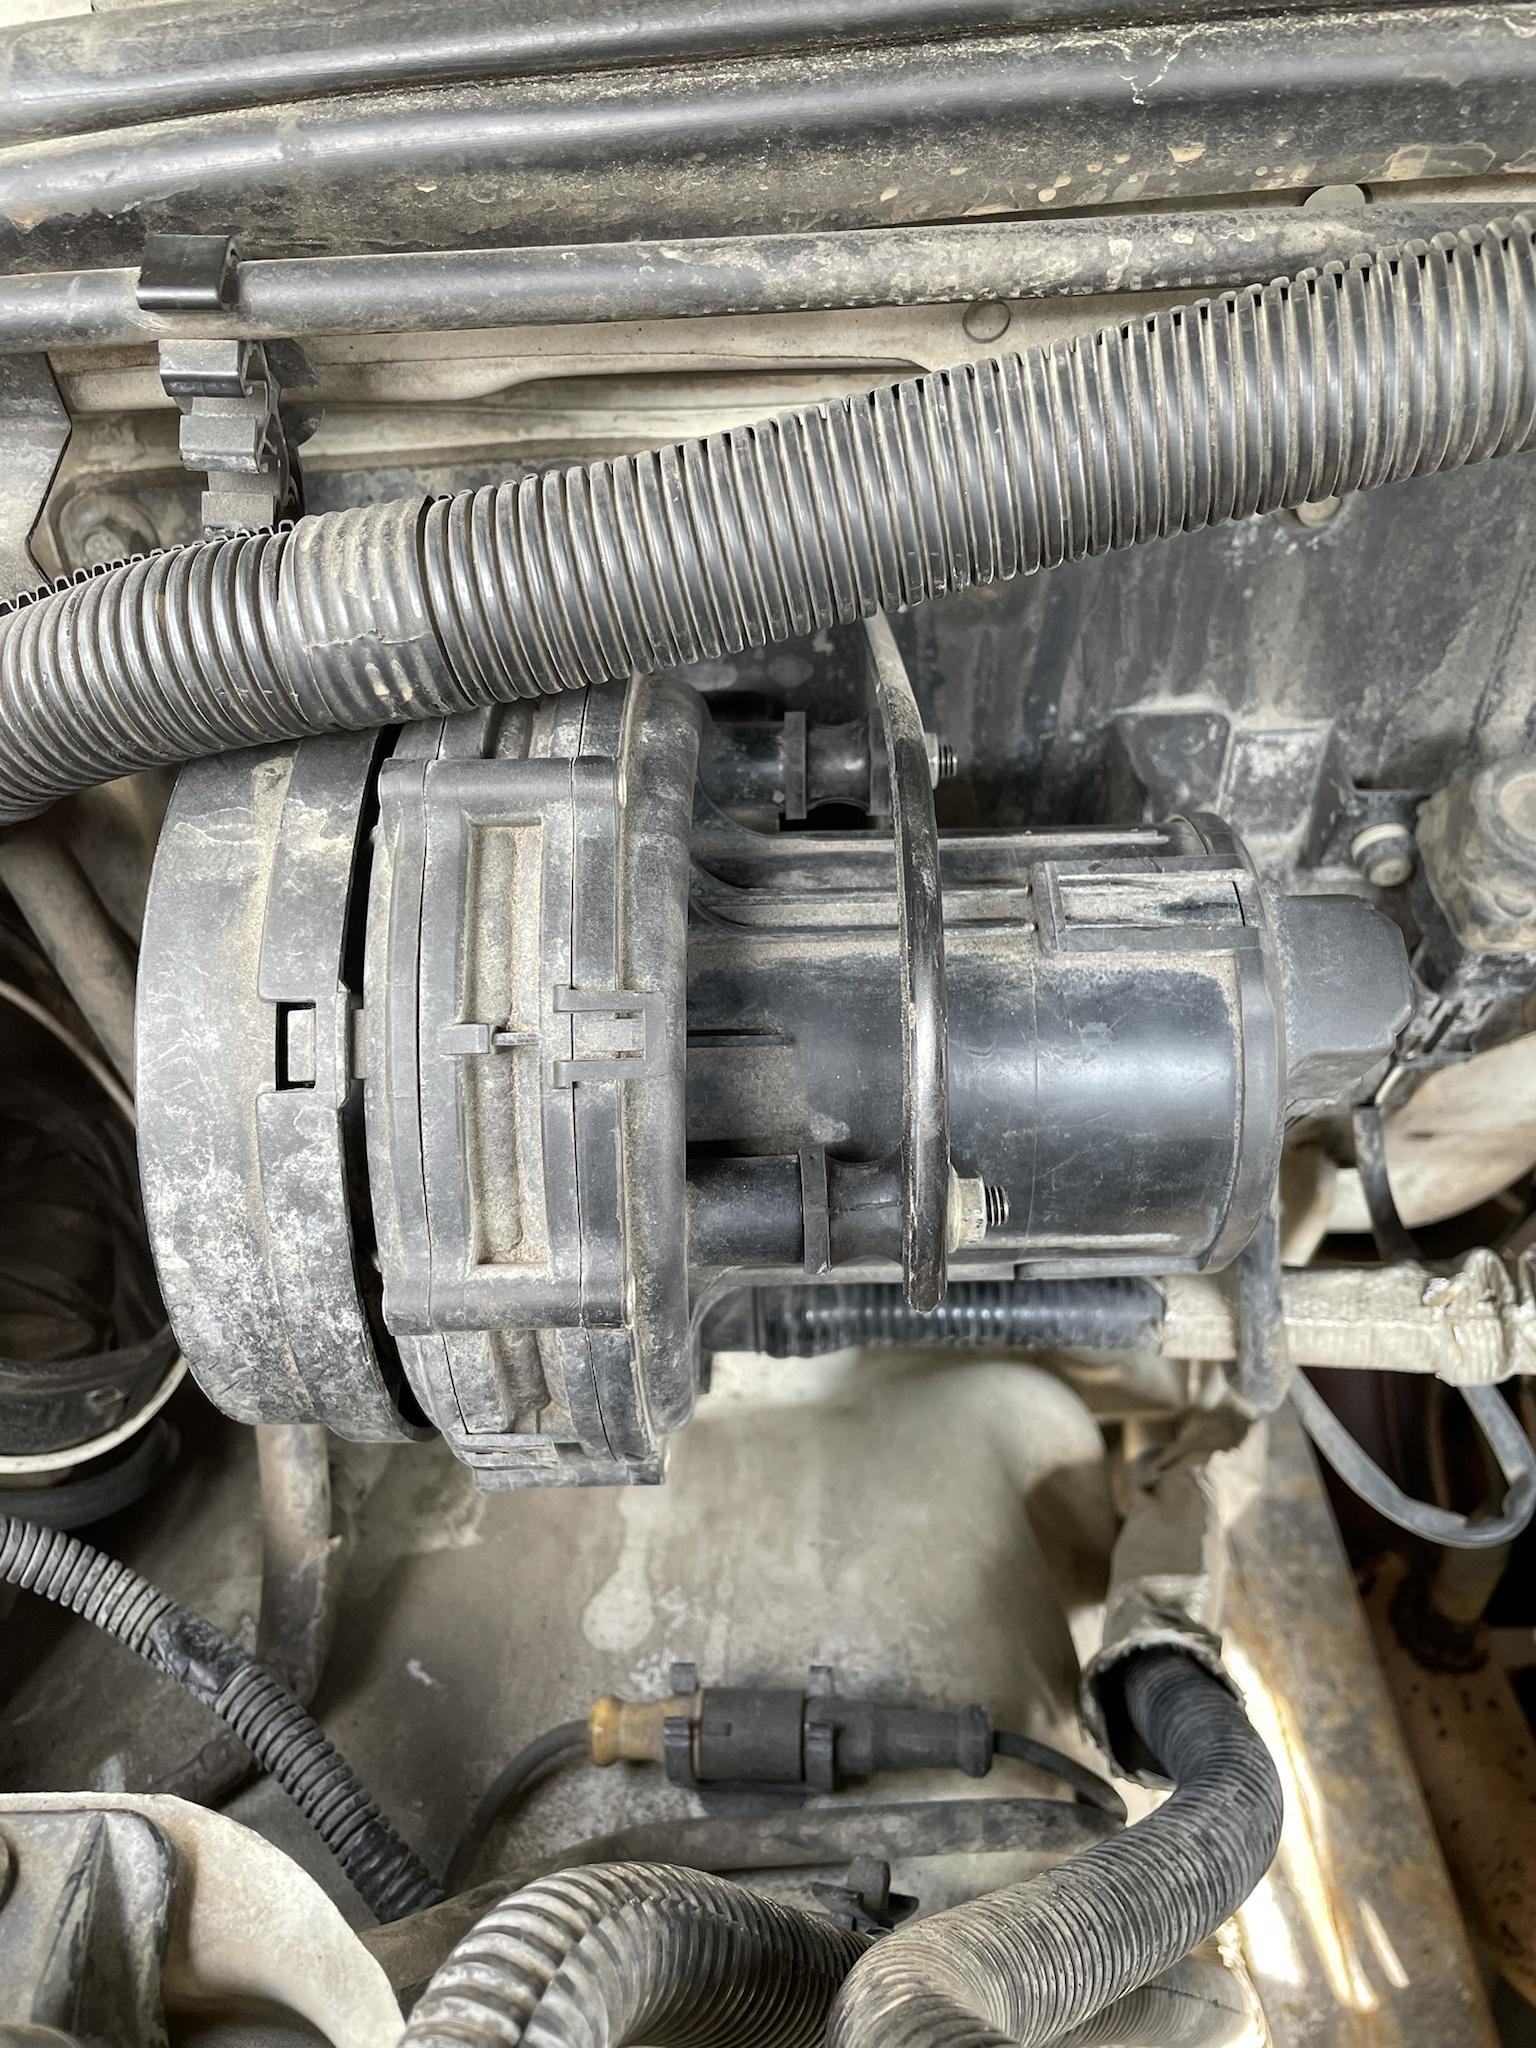
Replaced the SAI pump mounts with some new Dorman stuff - worked like a charm. The old mounts were certainly toast.

Name:  mrug7OM.jpg
Views: 66
Size:  610.6 KB

Name:  qXznzaj.jpg
Views: 63
Size:  498.7 KB

Also chasing down a battery draw that ive had for a few months now along with some new codes.

If I don't drive MagPie within a week the battery will be dead. Did a test today.. Something is certainly going on

Had about .1mA draw across the negative cable / Neg battery post via multimeter. If I pulled:

F20 (Interior fuse box - 15a - Transponder coil, header 294, header 72)
F13 (Engine bay fuse box - 10a - Inertia switch, BCU, IDM, instrument pack)
F11 (Engine bay fuse box - 30a - SLABS ECU)

- the draw would basically go away. So gotta figure those out

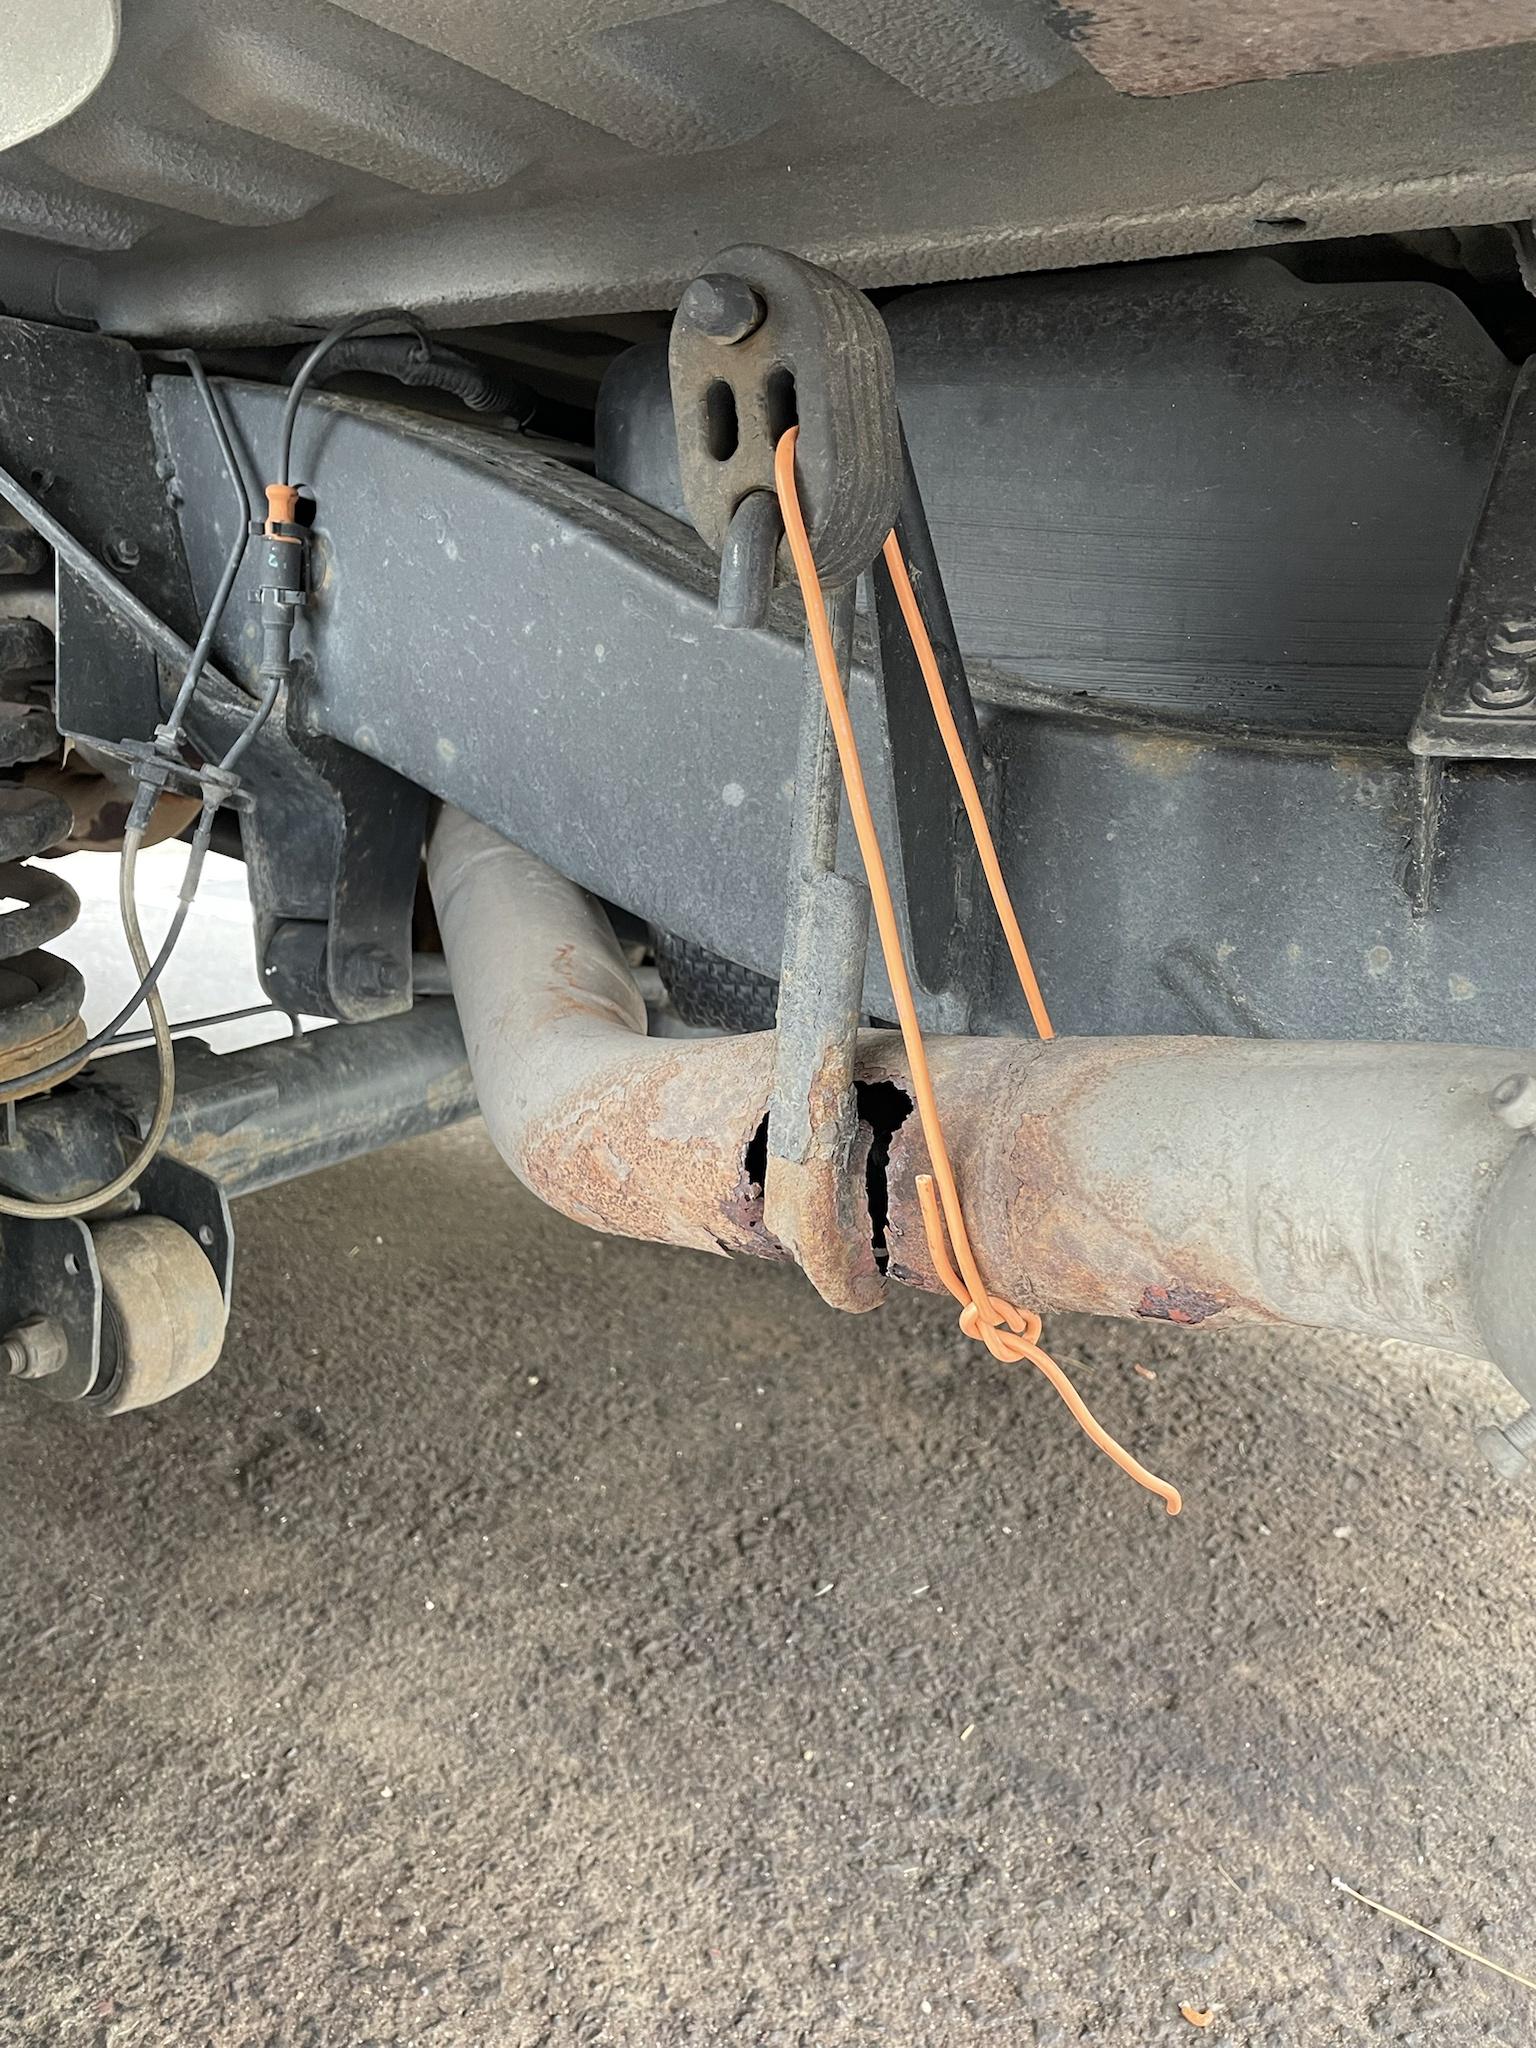
Oh, and this happened. Going to just lop off the end and weld on a new tip for a quick fix.

Name:  X7MEuI9.jpg
Views: 66
Size:  527.6 KB

Oh yah, codes. P01171 and P01174. Got my hands on a full set of Walker O2's so hopefully those codes will go away. Ive had P0134 code for a while now, just always cleared it until the other 2 codes started showing up within the last few weeks.


Last edited by Saturnine; Aug 1, 2021 at 06:15 PM.
Reply
Old Aug 1, 2021 | 09:34 PM
  #680  
ArmyRover's Avatar
Super Moderator
Joined: Jun 2008
Posts: 10,388
Likes: 1,753
From: Augusta, GA
Default

My excursion did a similar exhaust mod to itself a couple weeks ago about 500 miles into 4000 miles of towing. Good news was mine was under the second row seat area and right before the muffler......
 
Reply

Thread Tools
Search this Thread

All times are GMT -5. The time now is 11:08 PM.