
Pimpin' my ride


Pro Wrench
Joined: May 2009
Posts: 1,348
Likes: 3
From: North Carolina Coast
I like what you are doing, by the way. I'm kinda bummed that you hacked the roof off, it would have been cool with the whole roof over a truck like bed all open to the cab, with canvas windows you could pull down between the roof and the bed.

Thread Starter
|
Mudding
Joined: Apr 2010
Posts: 125
Likes: 8
From: Montreal
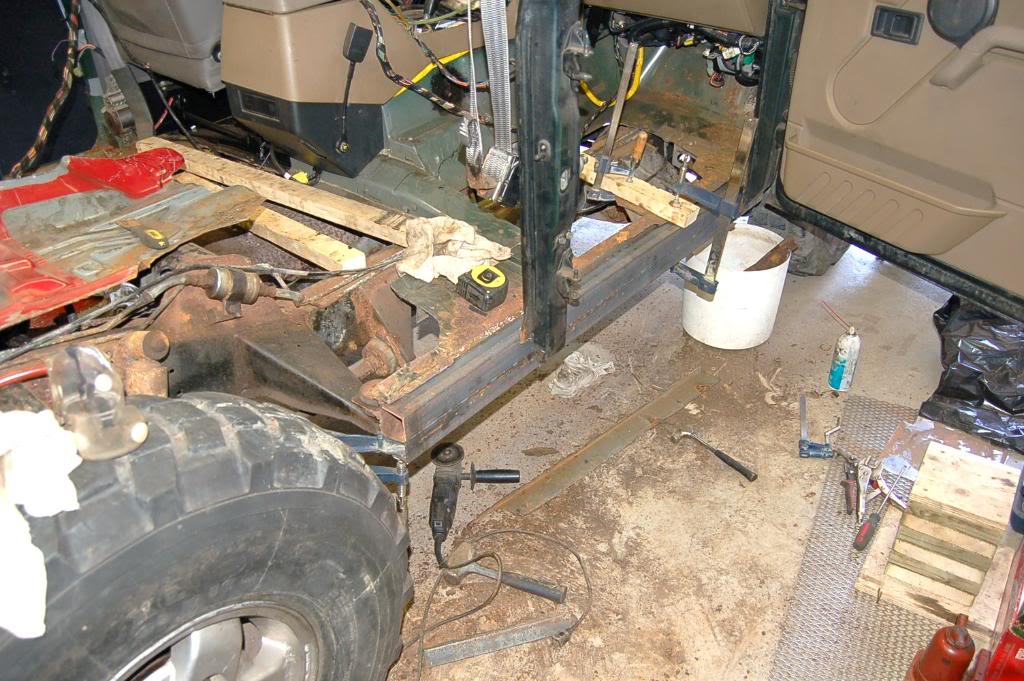
During demolition I discovered that my right side is not as healthy as I was hoping.So rust repair...
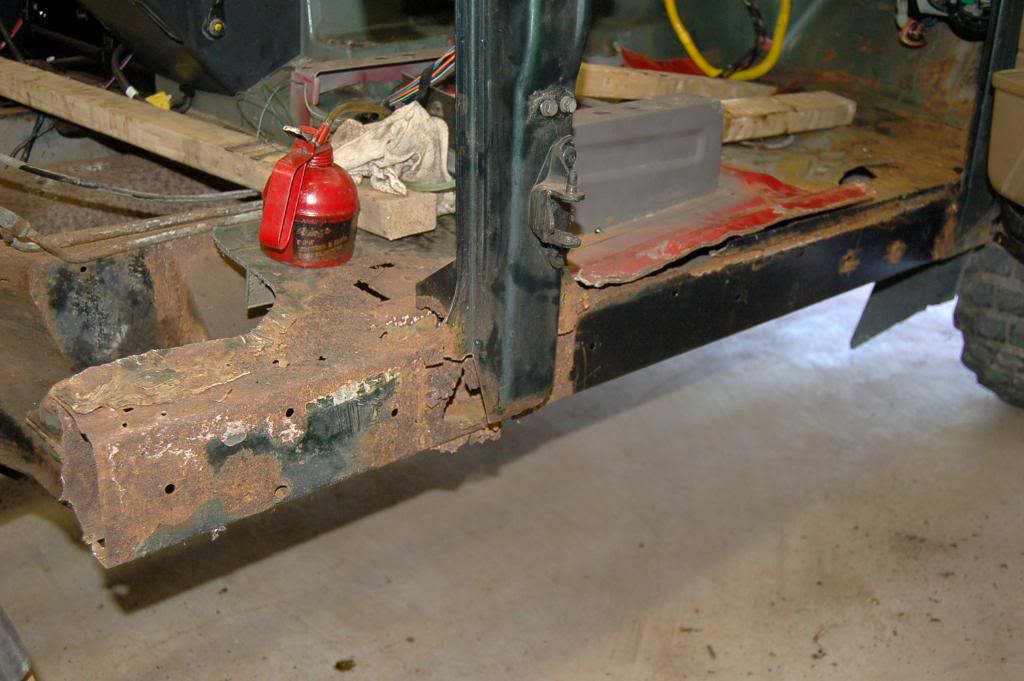
I cut out what I taught is too rusty...
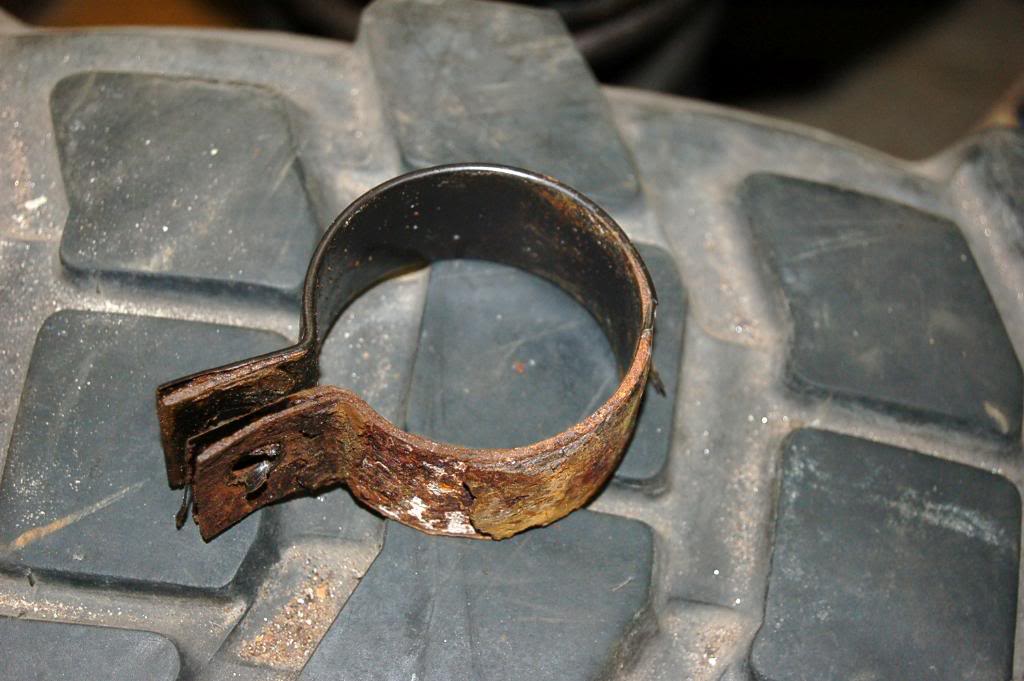
More rust I cut more rust I see...under the truck you can see L channel thickness 1/8 , this is my material for repair...
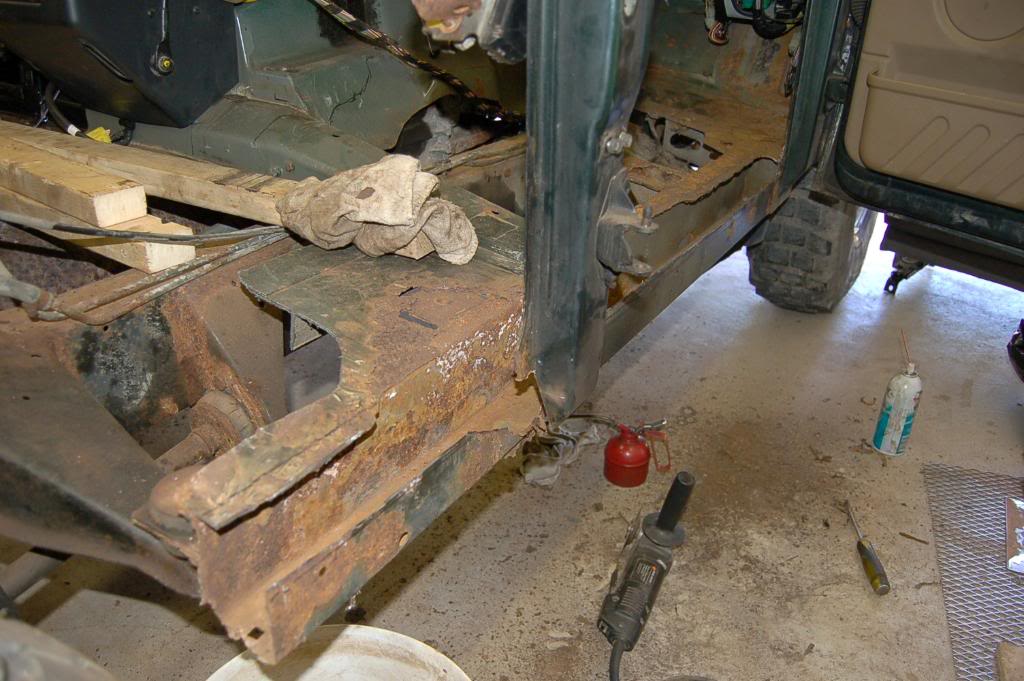
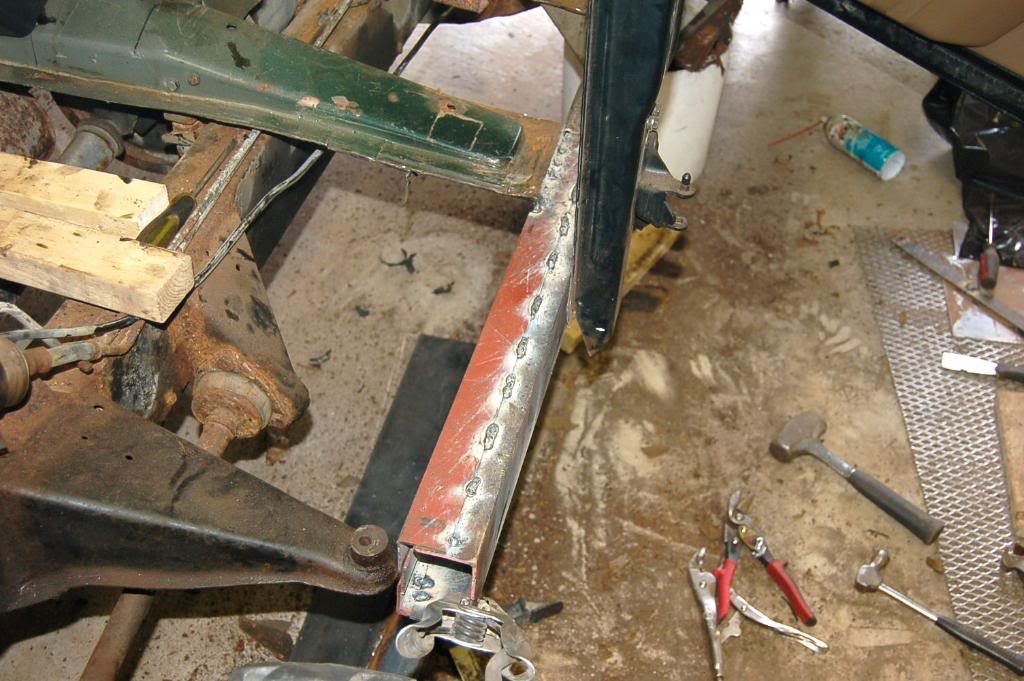
I welded them together ...
Test fit ...
Folding over what I taught it was good...now I see it is rusted...so more cutting...

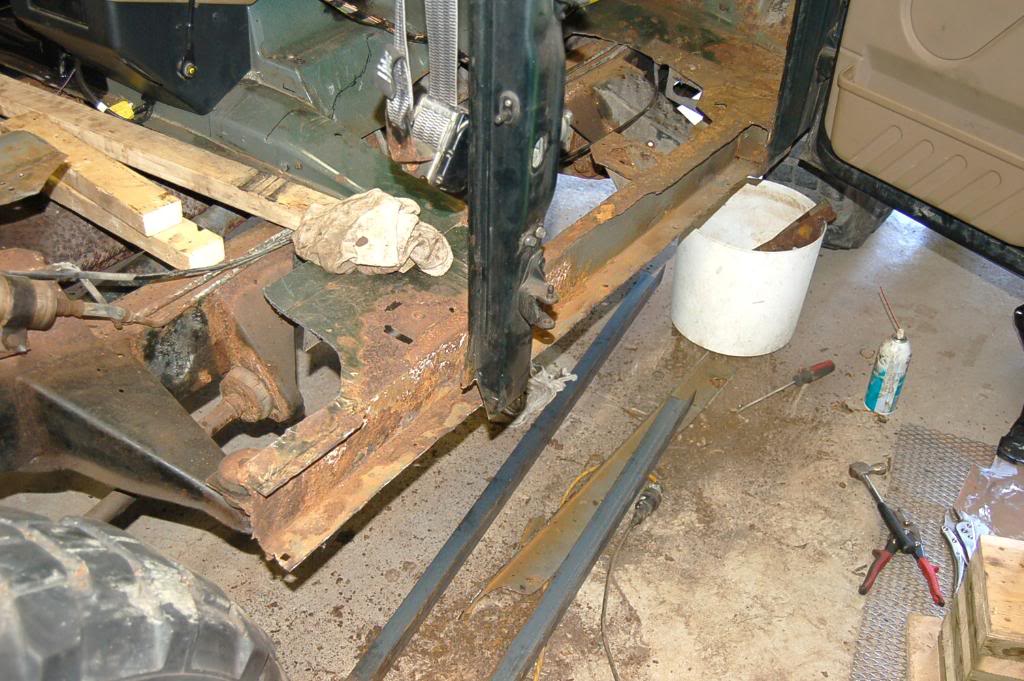
New piece in...
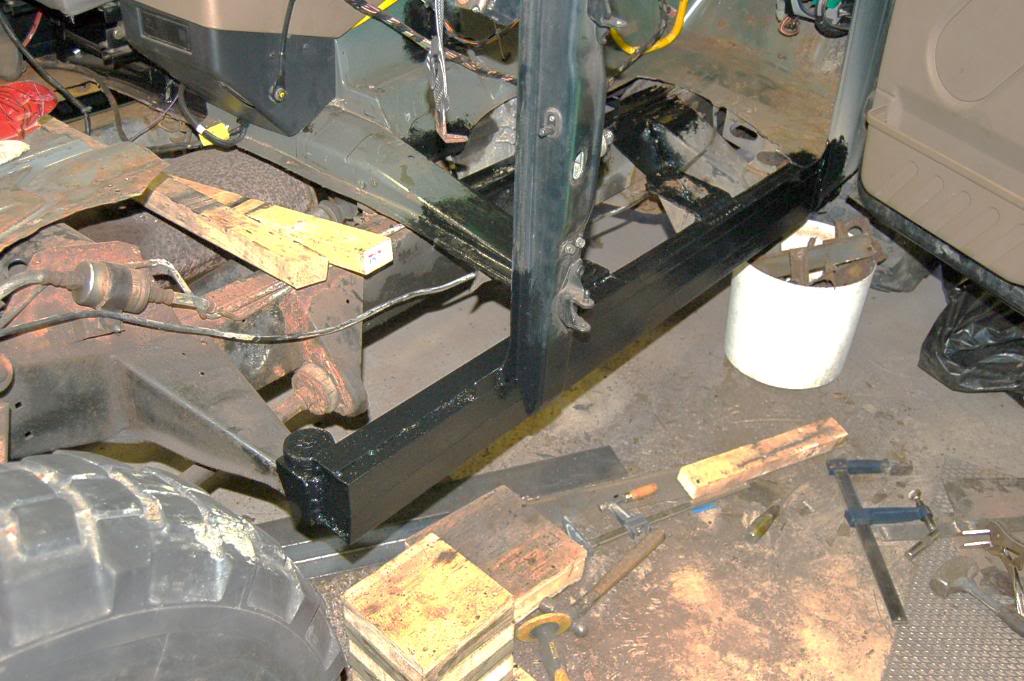
I made end cap from 1/4 piece of metal ...I know it is overkill , but this is what I have at hand...

made new support body to the frame also 1/4 material ...that one will not rust rot any time soon...

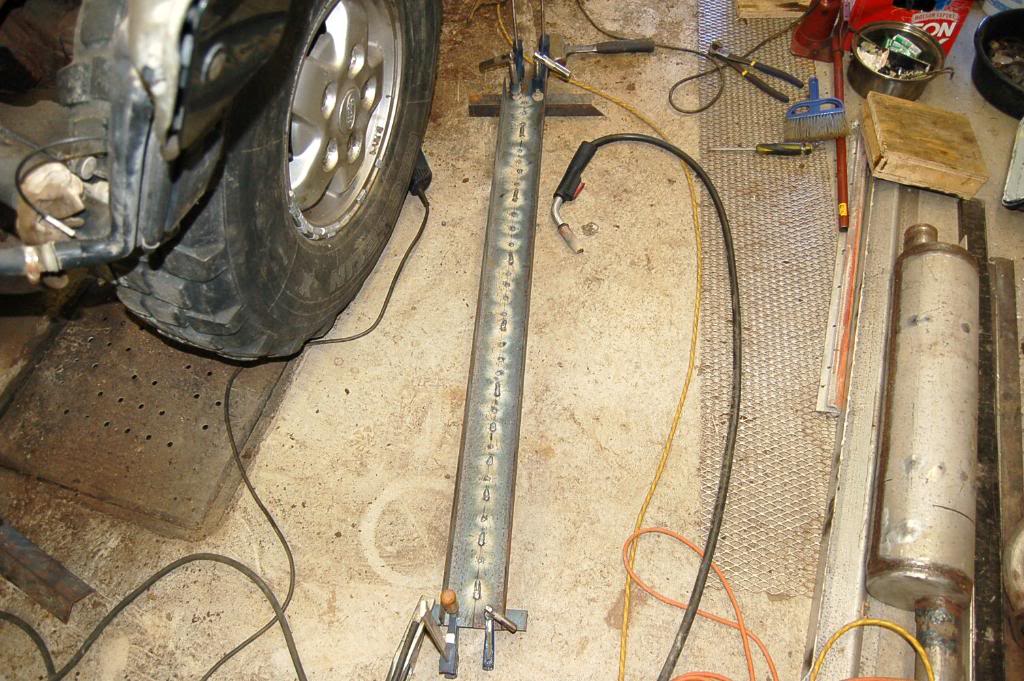
little bit pimping with black paint and voila my weekend is over.
I cut out what I taught is too rusty...
More rust I cut more rust I see...under the truck you can see L channel thickness 1/8 , this is my material for repair...
I welded them together ...
Test fit ...
Folding over what I taught it was good...now I see it is rusted...so more cutting...
New piece in...
I made end cap from 1/4 piece of metal ...I know it is overkill , but this is what I have at hand...
made new support body to the frame also 1/4 material ...that one will not rust rot any time soon...
little bit pimping with black paint and voila my weekend is over.

Thread Starter
|
Mudding
Joined: Apr 2010
Posts: 125
Likes: 8
From: Montreal
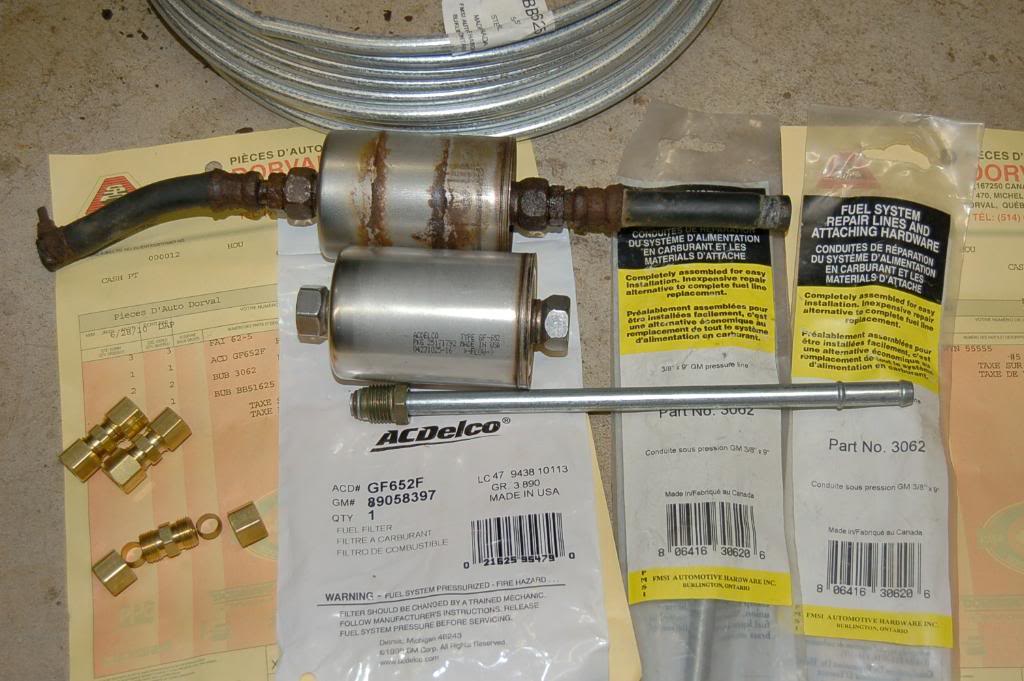
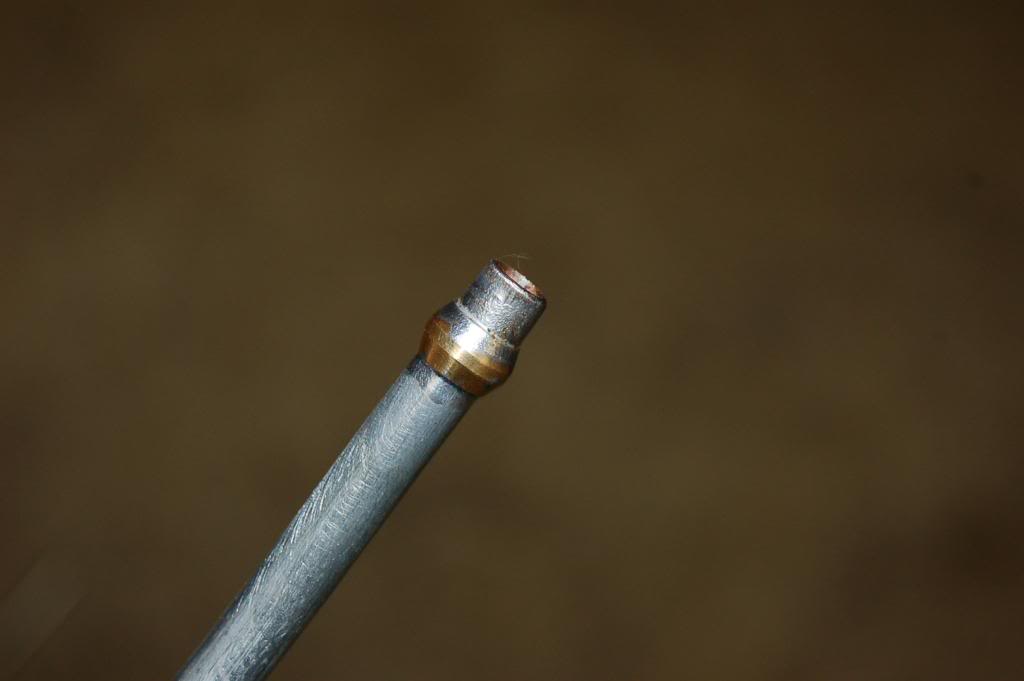
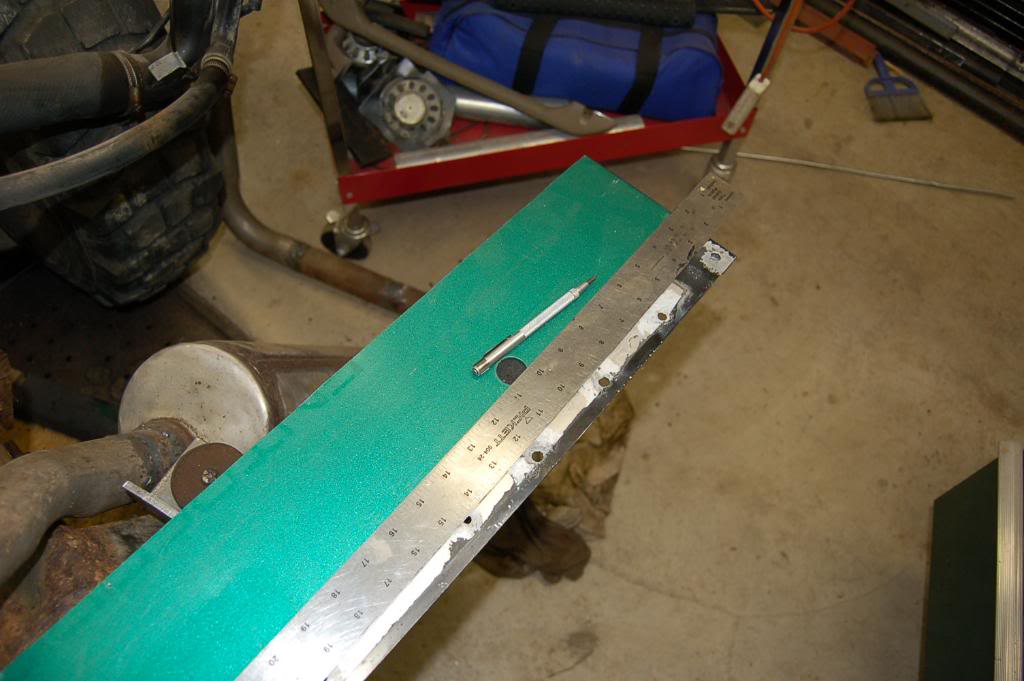
Finally I make myself start the fuel line repair while everything is open.I went to the auto parts store and asked for fuel filter I brought with me , got some fuel line in coil and some fittings.Everything under 50$.Clerk started to ask me for what vehicle ? I said never mind what vehicle just give me the same piece.This is what I got.
Cutting the line.
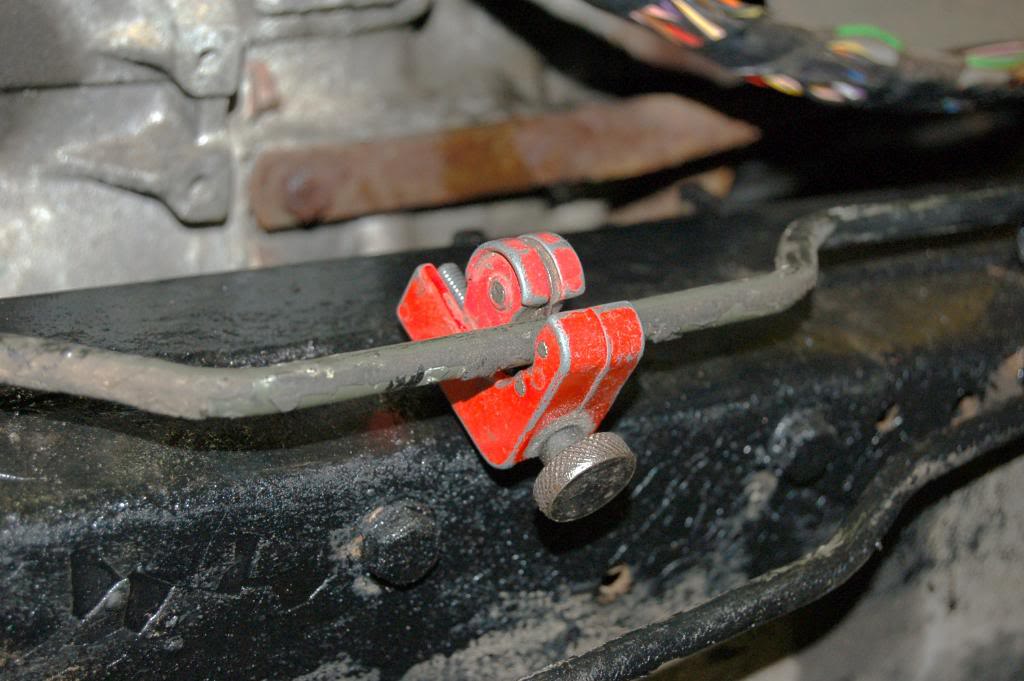
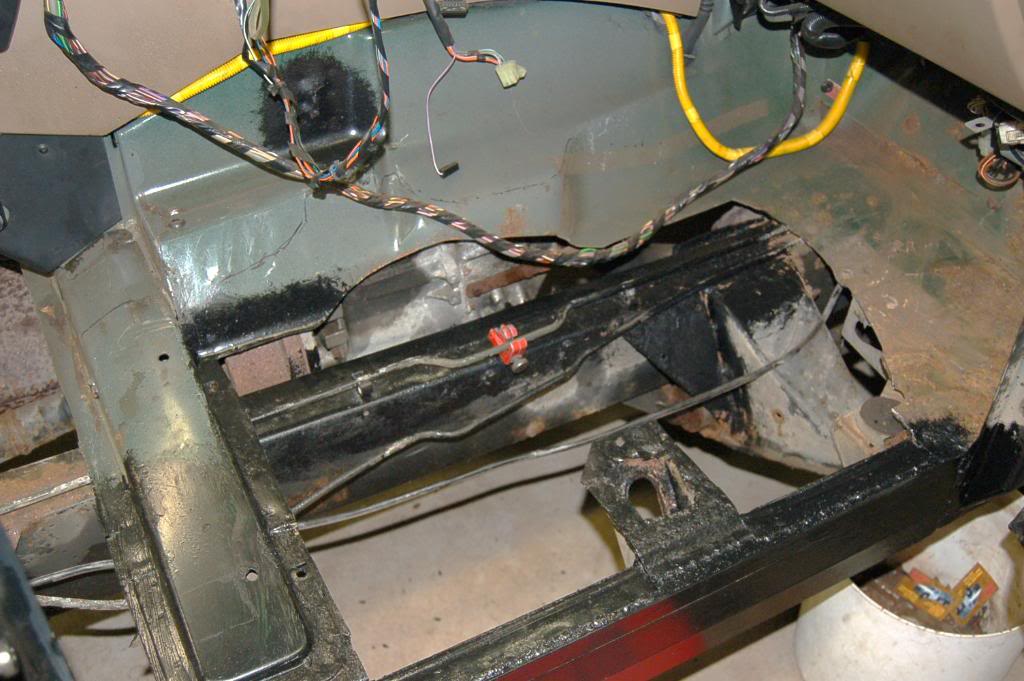
I decide to replace only rusted line , everything around engine bay looks good.I guess Rover was leaking so much oil around engine bay that rust protected lines and frame.Who said oil leaking is no good.I cut lines under the passenger seat.
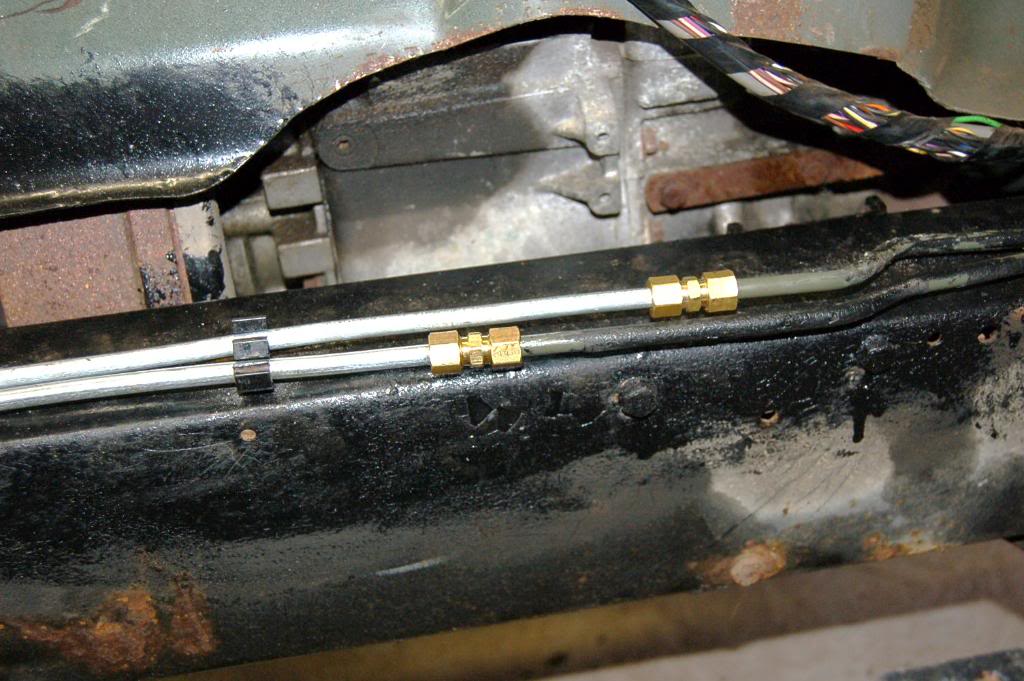
This is how I connect them.
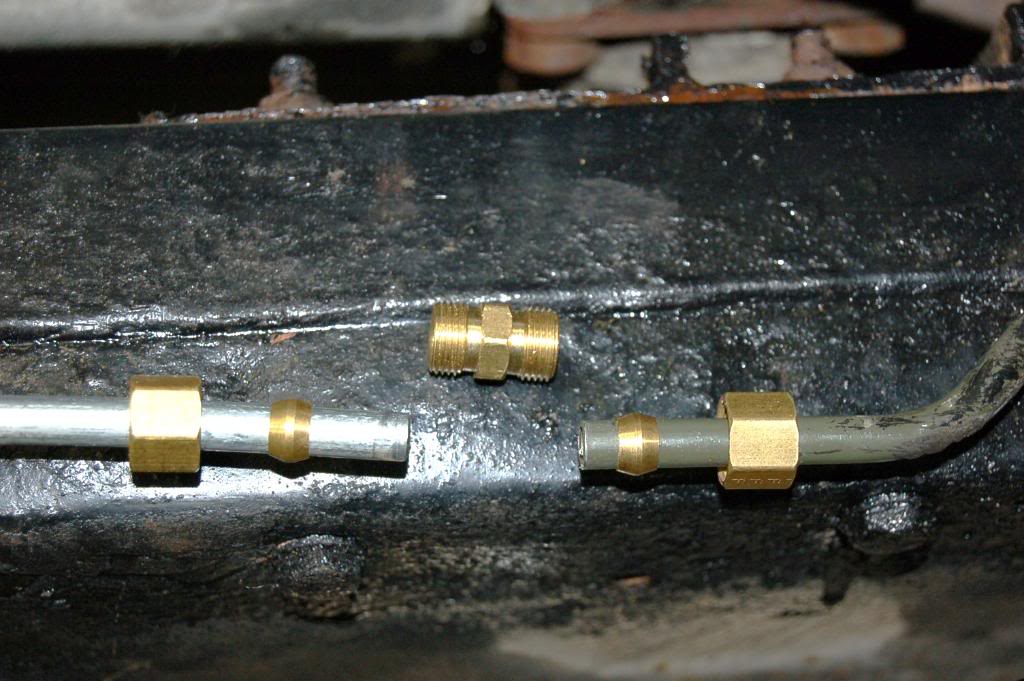
This is connection to the fuel pump.
This is soldered together.
I tried to replicate this original connection

Both lines done.
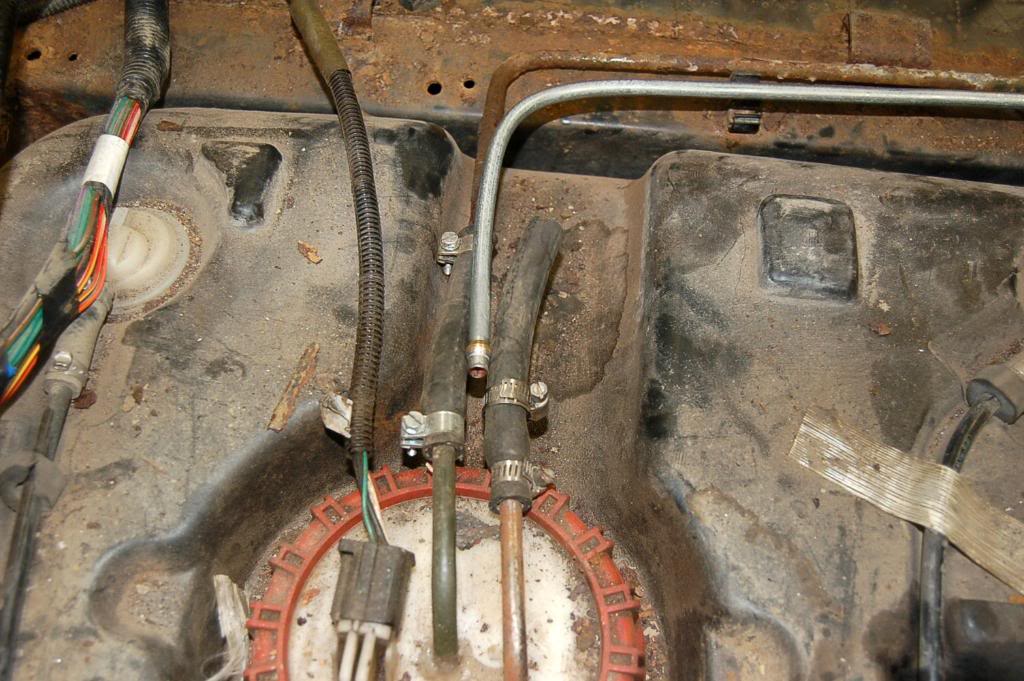
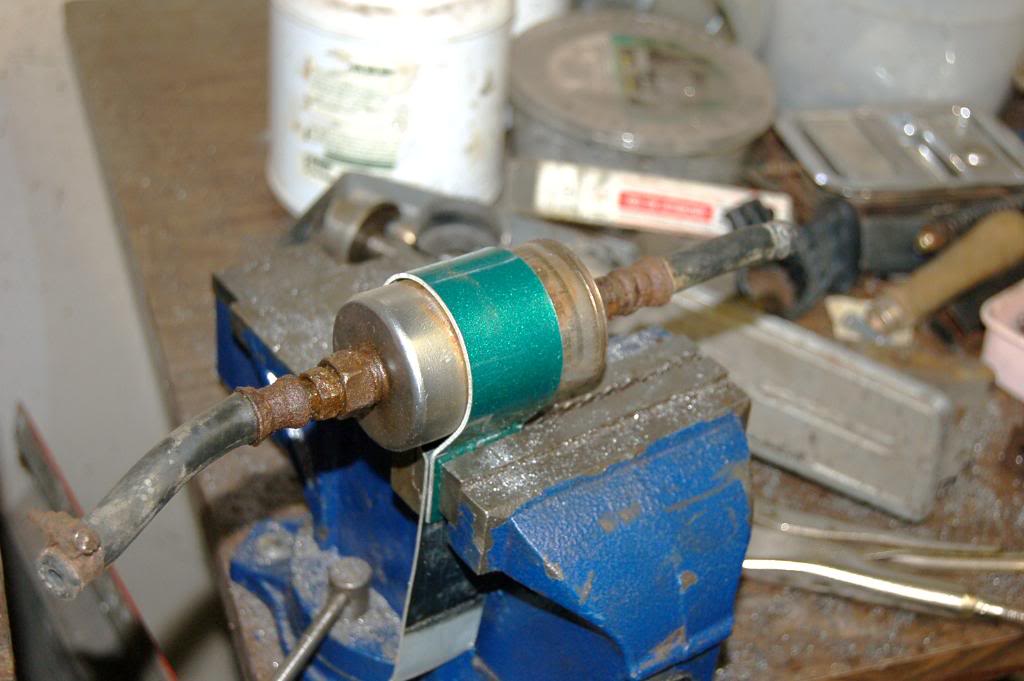
Fuel filter.
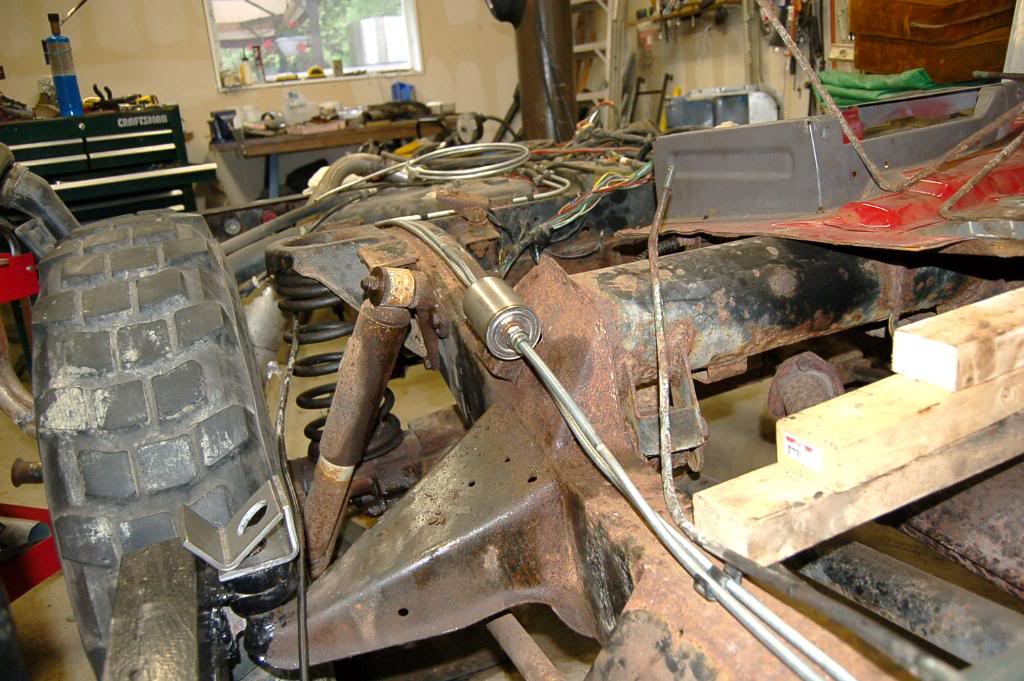
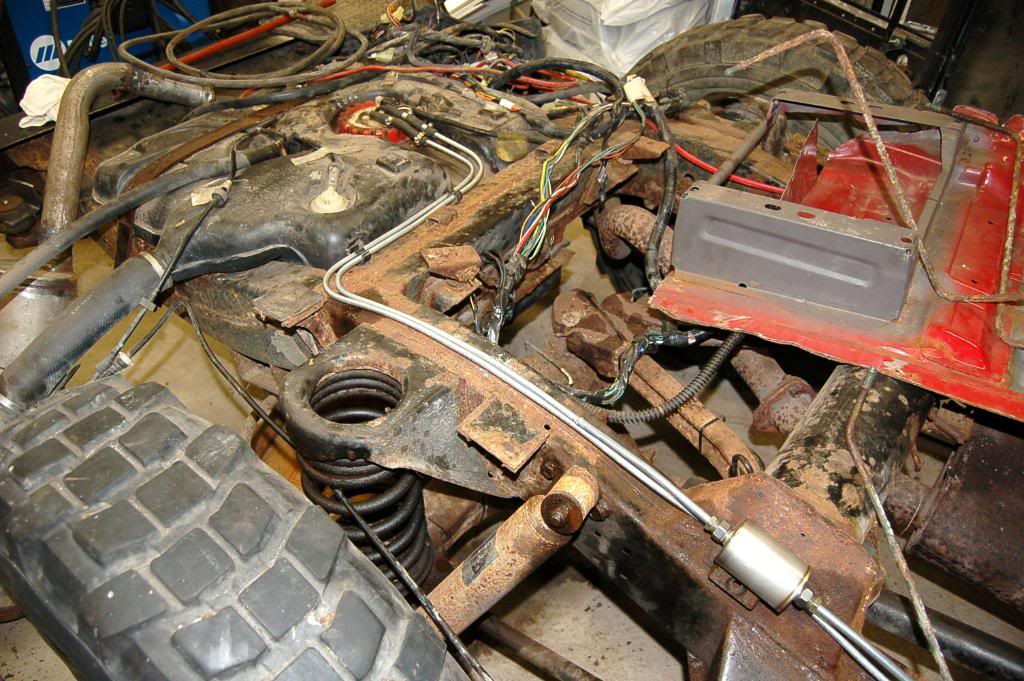
Whole line...
old fuel filter bracket...I decided to make new one.
material 2 mm aluminum plate
I wrapped it around the old filter to make shape...
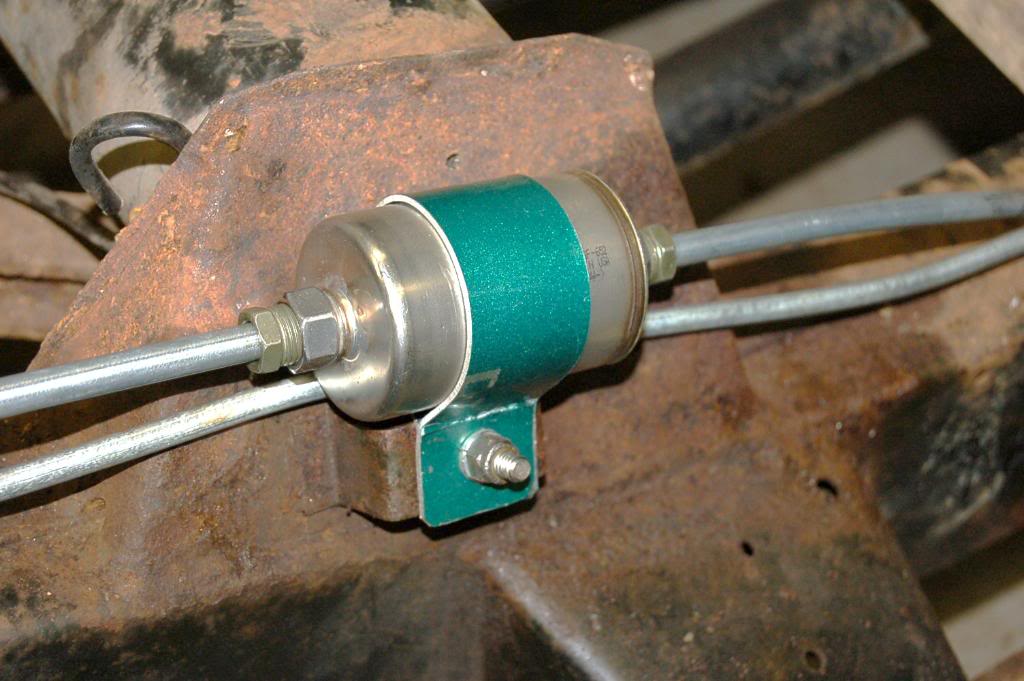
Installed.
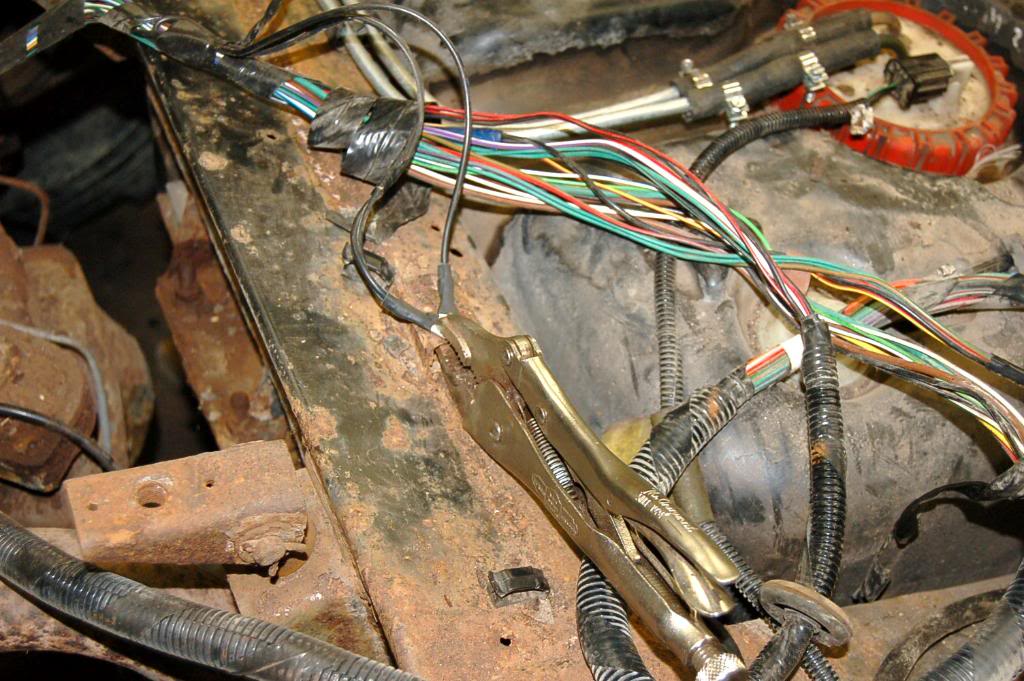
I tried to start the truck but fuel pump didn't work.So I checked the wiring and notice that two grounds are not connected to the body or frame.These two grounds were connected to the cargo door pillars.I disconnected them when I was doing demolition.So quick connection to the frame with the wise-grip pliers and truck is alive.All my gas connections were solid-no gas leaks .I will sleep good tonight.
Cutting the line.
I decide to replace only rusted line , everything around engine bay looks good.I guess Rover was leaking so much oil around engine bay that rust protected lines and frame.Who said oil leaking is no good.I cut lines under the passenger seat.
This is how I connect them.
This is connection to the fuel pump.
This is soldered together.
I tried to replicate this original connection
Both lines done.
Fuel filter.
Whole line...
old fuel filter bracket...I decided to make new one.
material 2 mm aluminum plate
I wrapped it around the old filter to make shape...
Installed.
I tried to start the truck but fuel pump didn't work.So I checked the wiring and notice that two grounds are not connected to the body or frame.These two grounds were connected to the cargo door pillars.I disconnected them when I was doing demolition.So quick connection to the frame with the wise-grip pliers and truck is alive.All my gas connections were solid-no gas leaks .I will sleep good tonight.


Thread Starter
|
Mudding
Joined: Apr 2010
Posts: 125
Likes: 8
From: Montreal
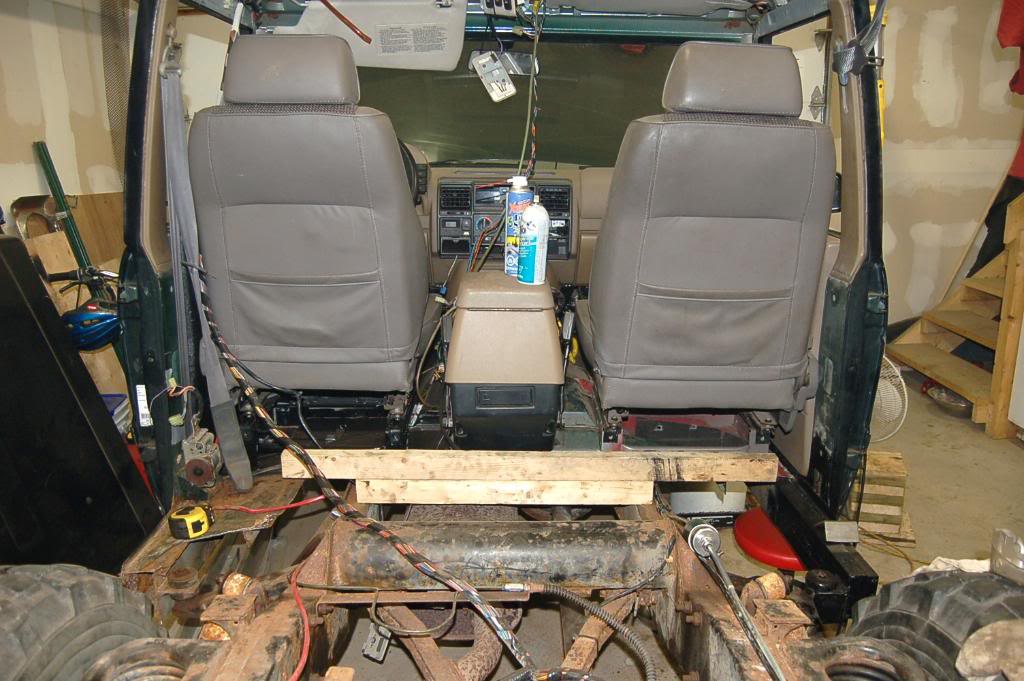
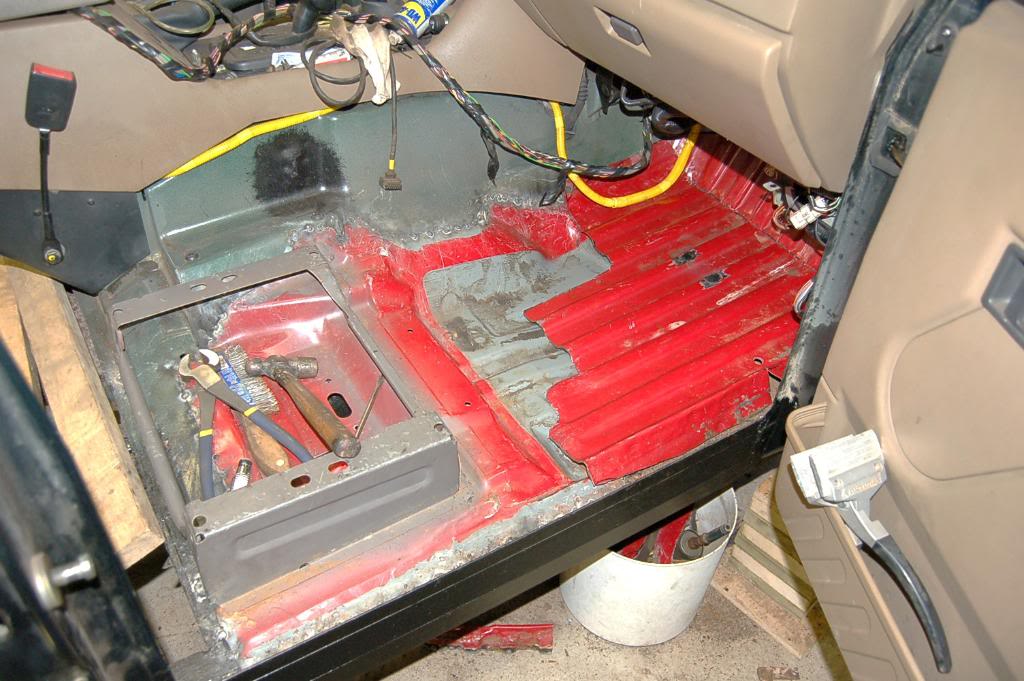
Nothing exciting today , just installed passenger side floor today.This is how I measured for level to the frame.These two pieces of the wood are sitting on the frame , so seats must be parallel to them.Drivers seat looks higher , this is because Isuzu seats have adjustment for the height.
Seat mount is tacked in and rest of the floor is just test fitted .
Another view

Tacked in

Another view
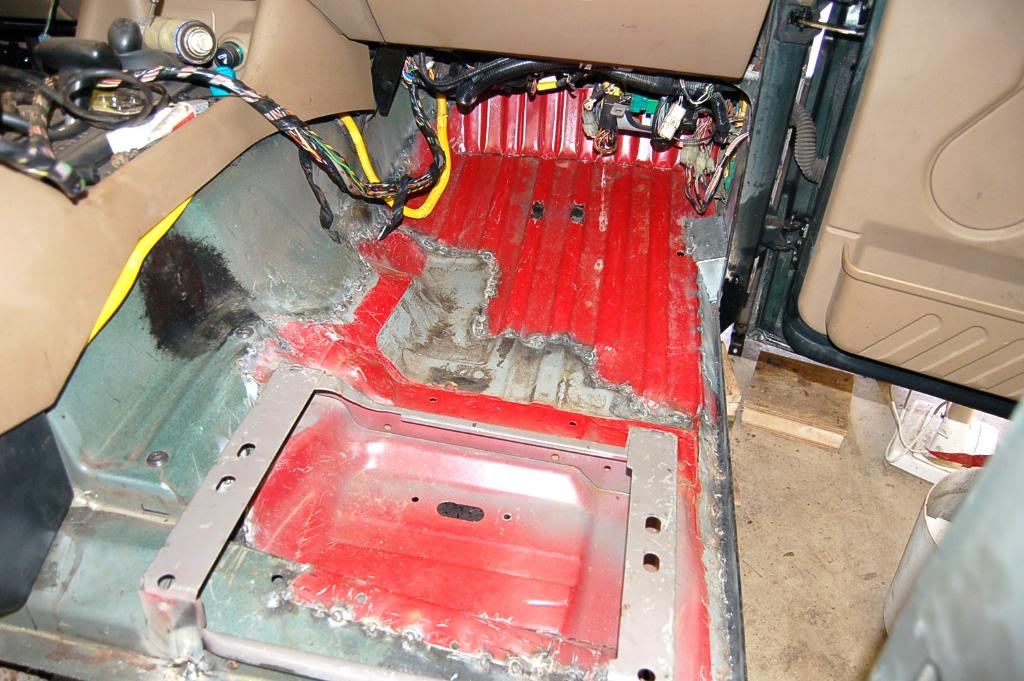
Caulked...
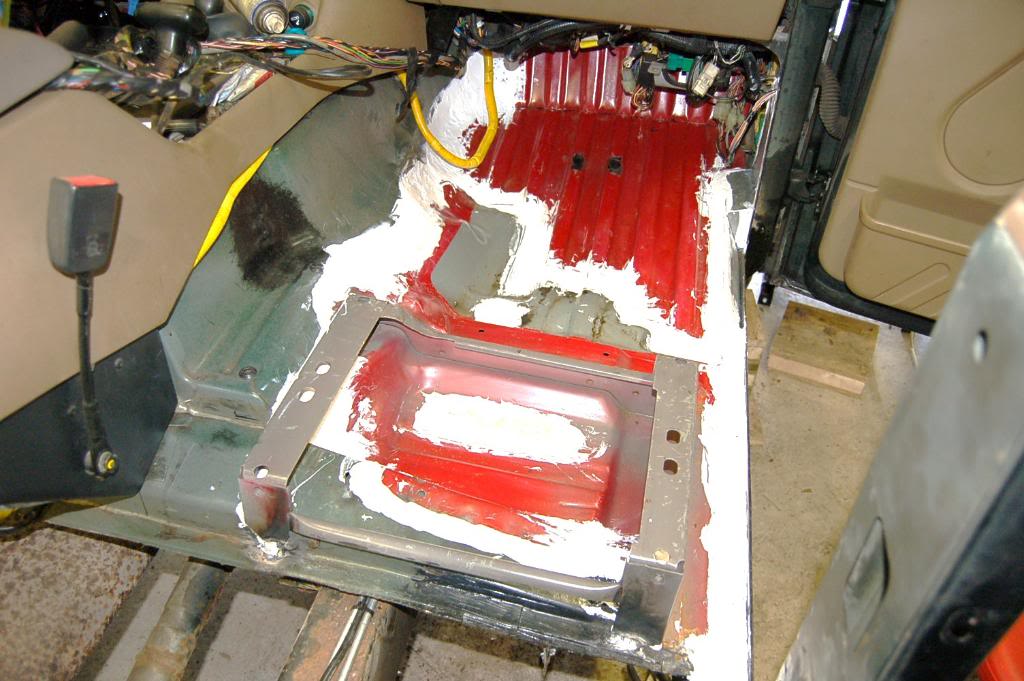
Another view.
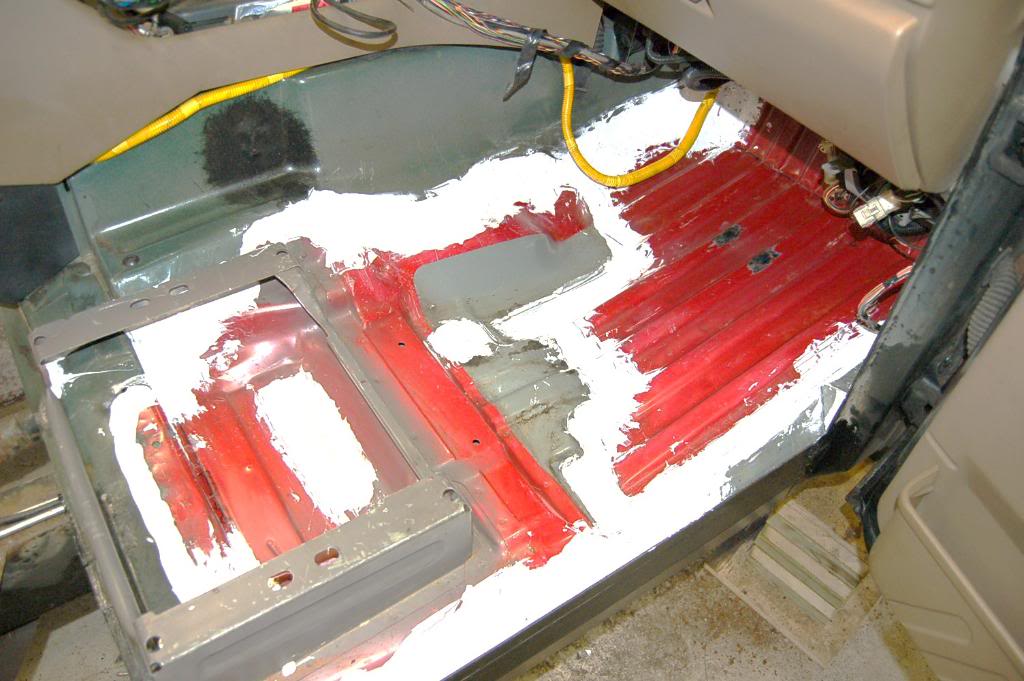
I re engineer Rover floors. Original floors have slant toward side , so any water that enter your truck stays in the truck but your feet stays dry ( in process floors rust).My floors have slant towards back of the truck , so any water that enters the floor stays under the feet.
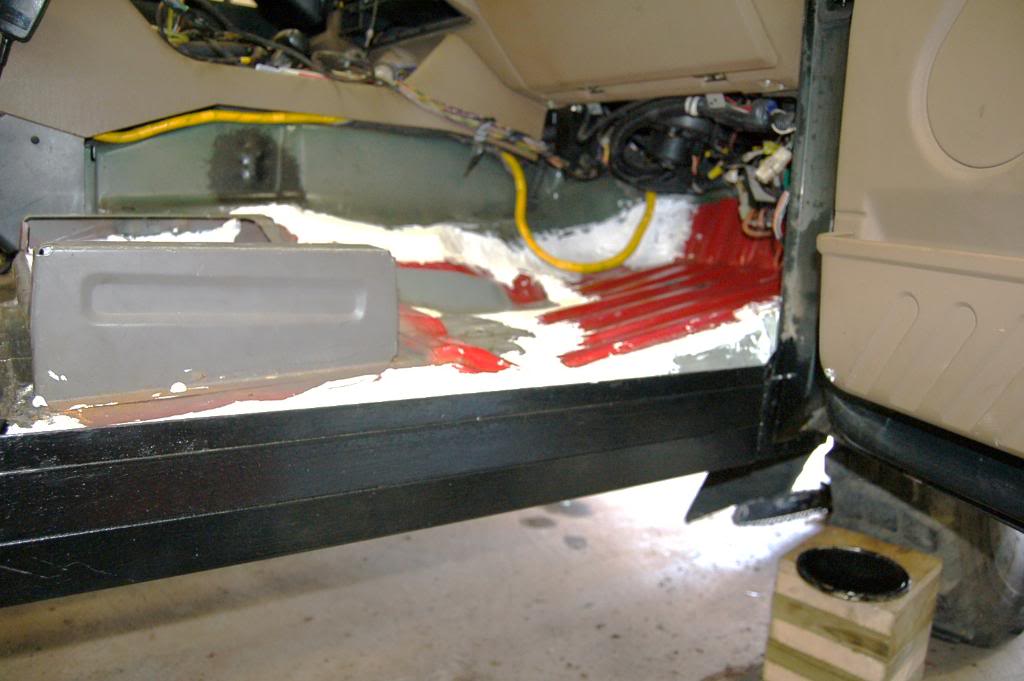
Because of this modification now I can't close the door. Door pocket is in the way.
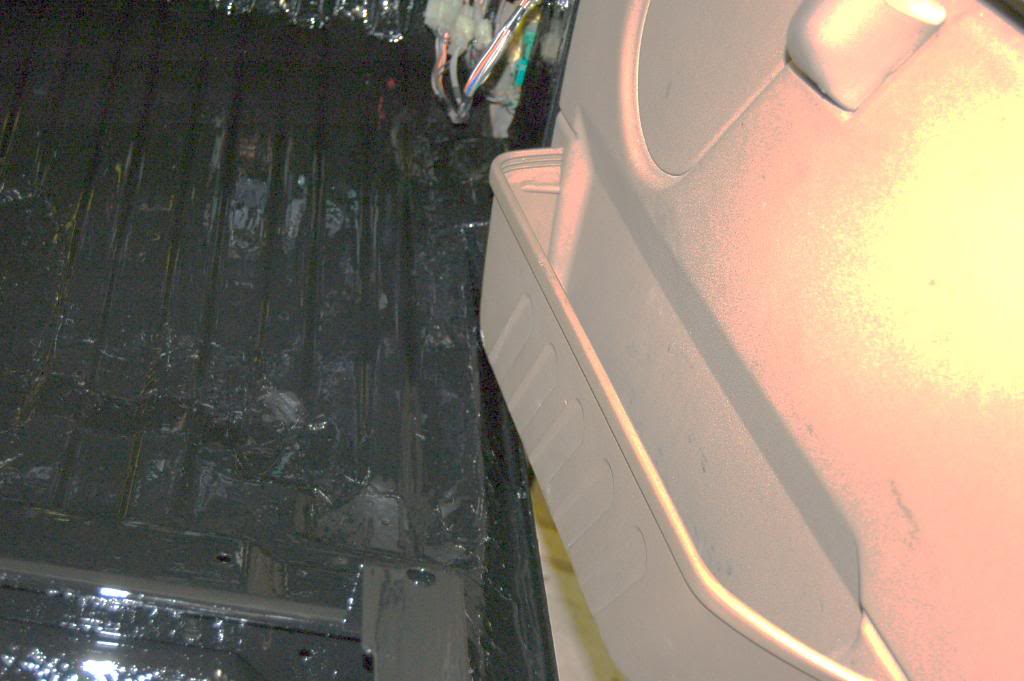
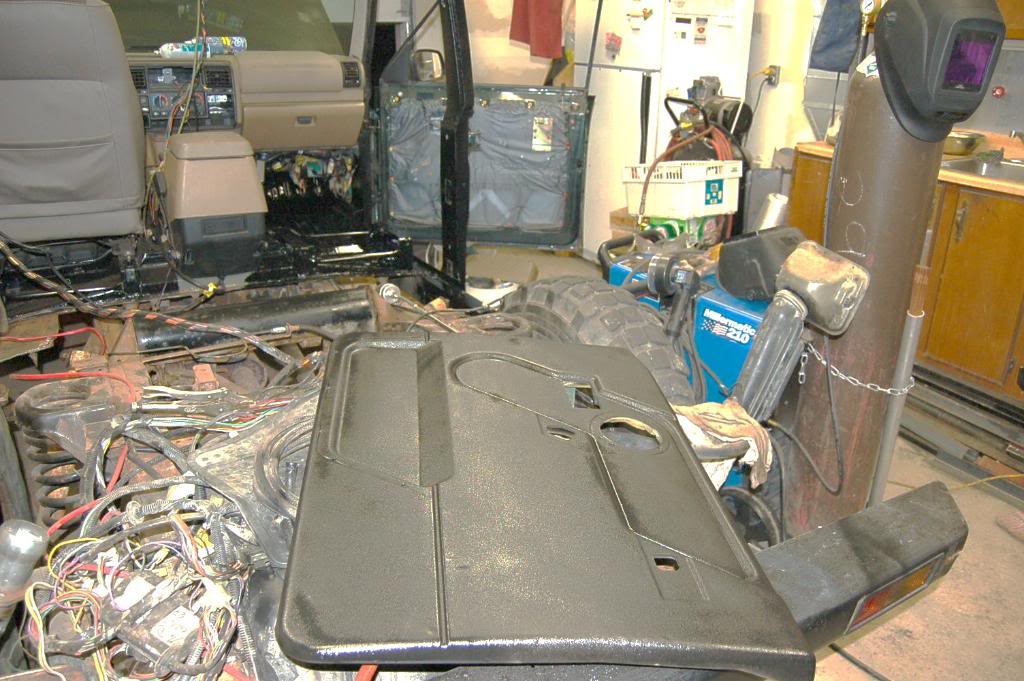
So door pocket goes to garbage . I painted door panel flat black , I am not big fan of this beige color , remember I am pimpin' it.
Seat mount is tacked in and rest of the floor is just test fitted .
Another view
Tacked in
Another view
Caulked...
Another view.
I re engineer Rover floors. Original floors have slant toward side , so any water that enter your truck stays in the truck but your feet stays dry ( in process floors rust).My floors have slant towards back of the truck , so any water that enters the floor stays under the feet.
Because of this modification now I can't close the door. Door pocket is in the way.
So door pocket goes to garbage . I painted door panel flat black , I am not big fan of this beige color , remember I am pimpin' it.