When you click on links to various merchants on this site and make a purchase, this can result in this site earning a commission. Affiliate programs and affiliations include, but are not limited to, the eBay Partner Network.
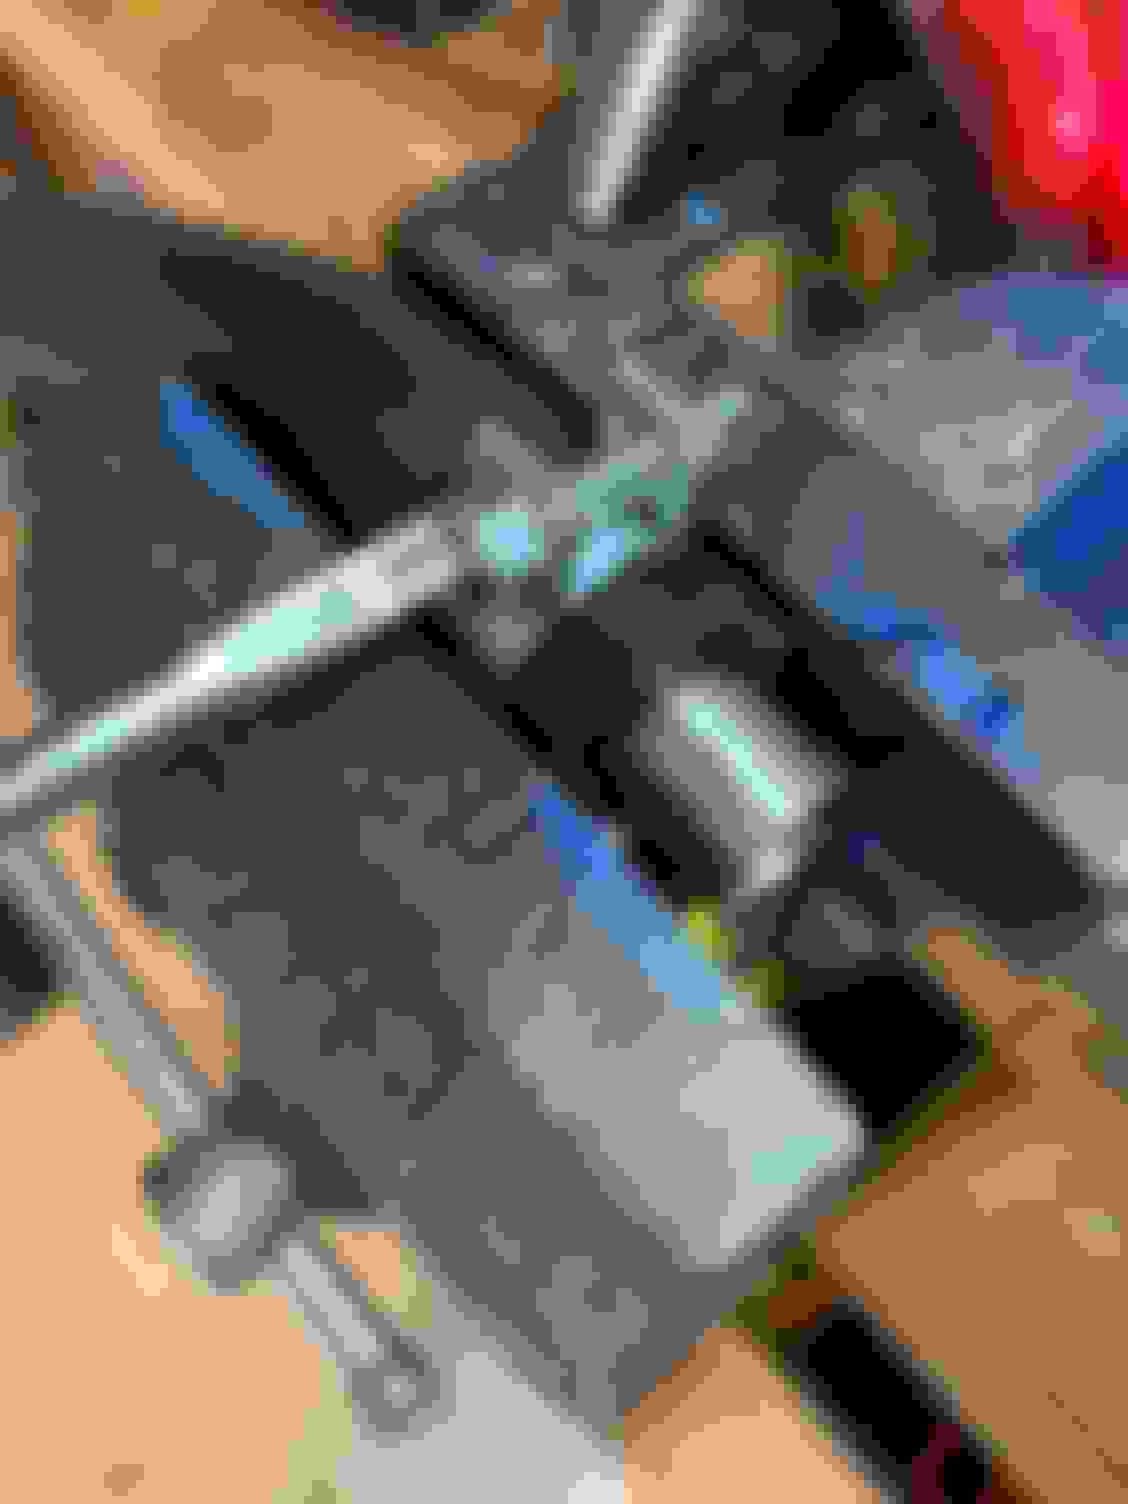
Pulled the spark plugs to inspect them and also used a borescope camera to look in the cylinders. Spark plugs are white or rust colored which suggests they are running to lean or wrong plug. I am using NGK Iridium IX Spark Plugs BKR6EIX-11 plugs. What are other people using?
Not sure about the cylinders. They look ok but I’ve got nothing to compare them too. #6 looks like some oil may be getting past the rings. Thoughts? Anything to be concerned about?
Oh and no disco project would be complete by me if I didn’t screw something up. I cross threaded the #1 plug. Going to get a back tap tomorrow. 7 7 5 5 3 3 I 1 2 2
4 4
6 6
8 8
Last edited by cvhyatt; 12-21-2019 at 07:16 PM.
Reason: Mispell
The plugs are all fairly even which is good. Orange deposits can be normal or hot. Gap looks a bit big on some plugs, could be the angle. Need to check 02 sensor output rich/lean ratio while running and under acceleration.
Agree, a bit of oil in 6. rings or valve seal? Probably does not matter. Drive and enjoy.
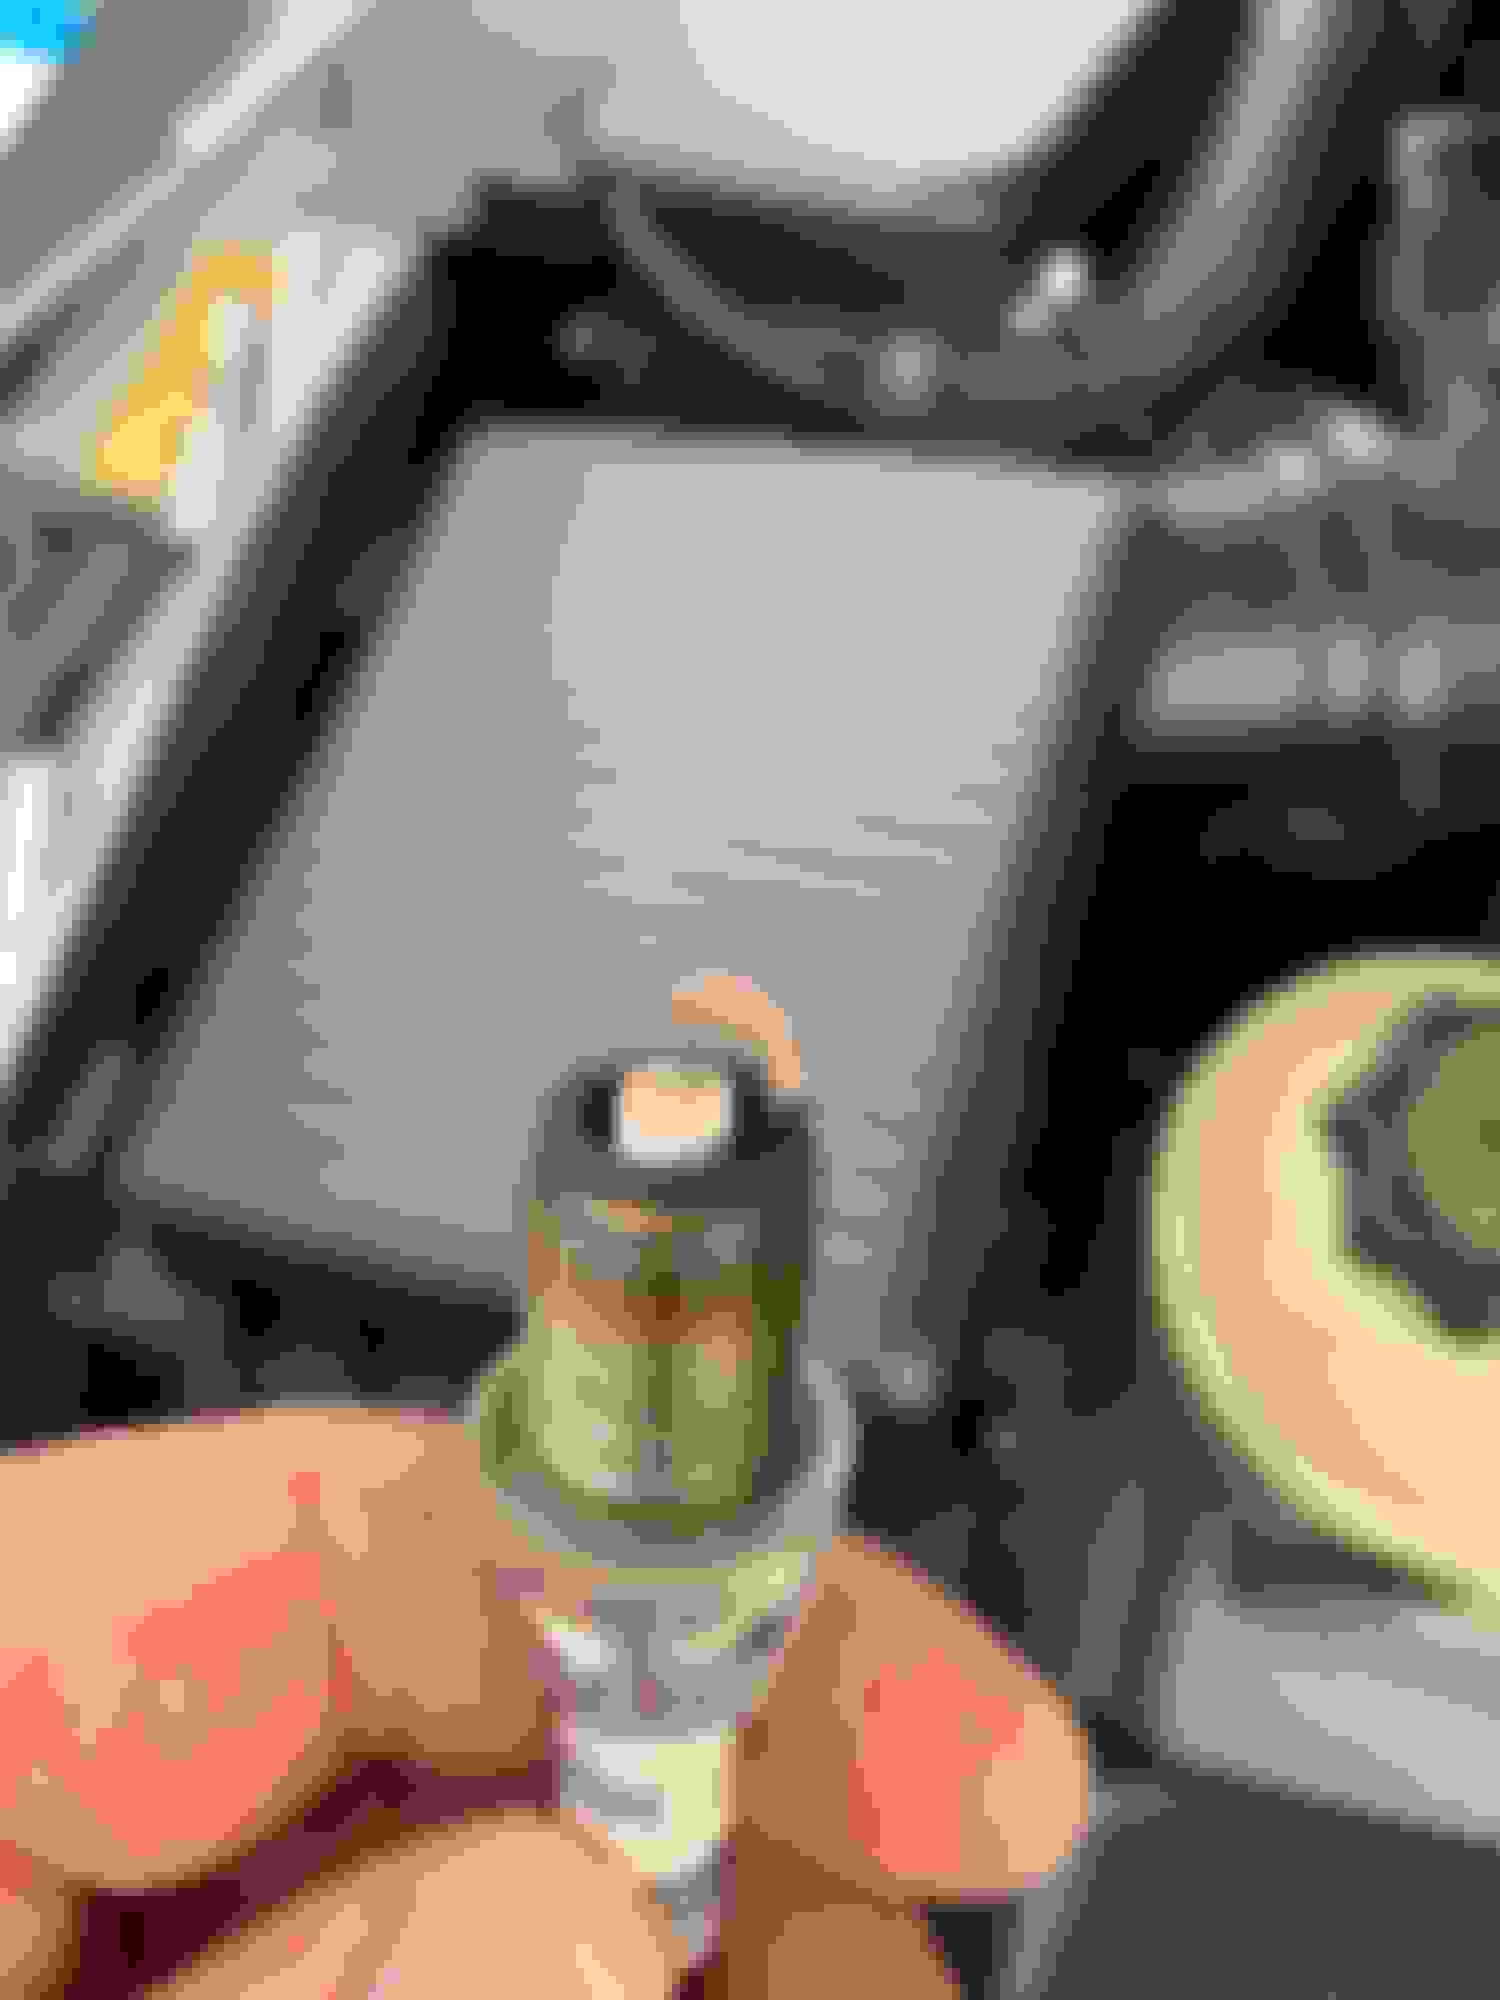
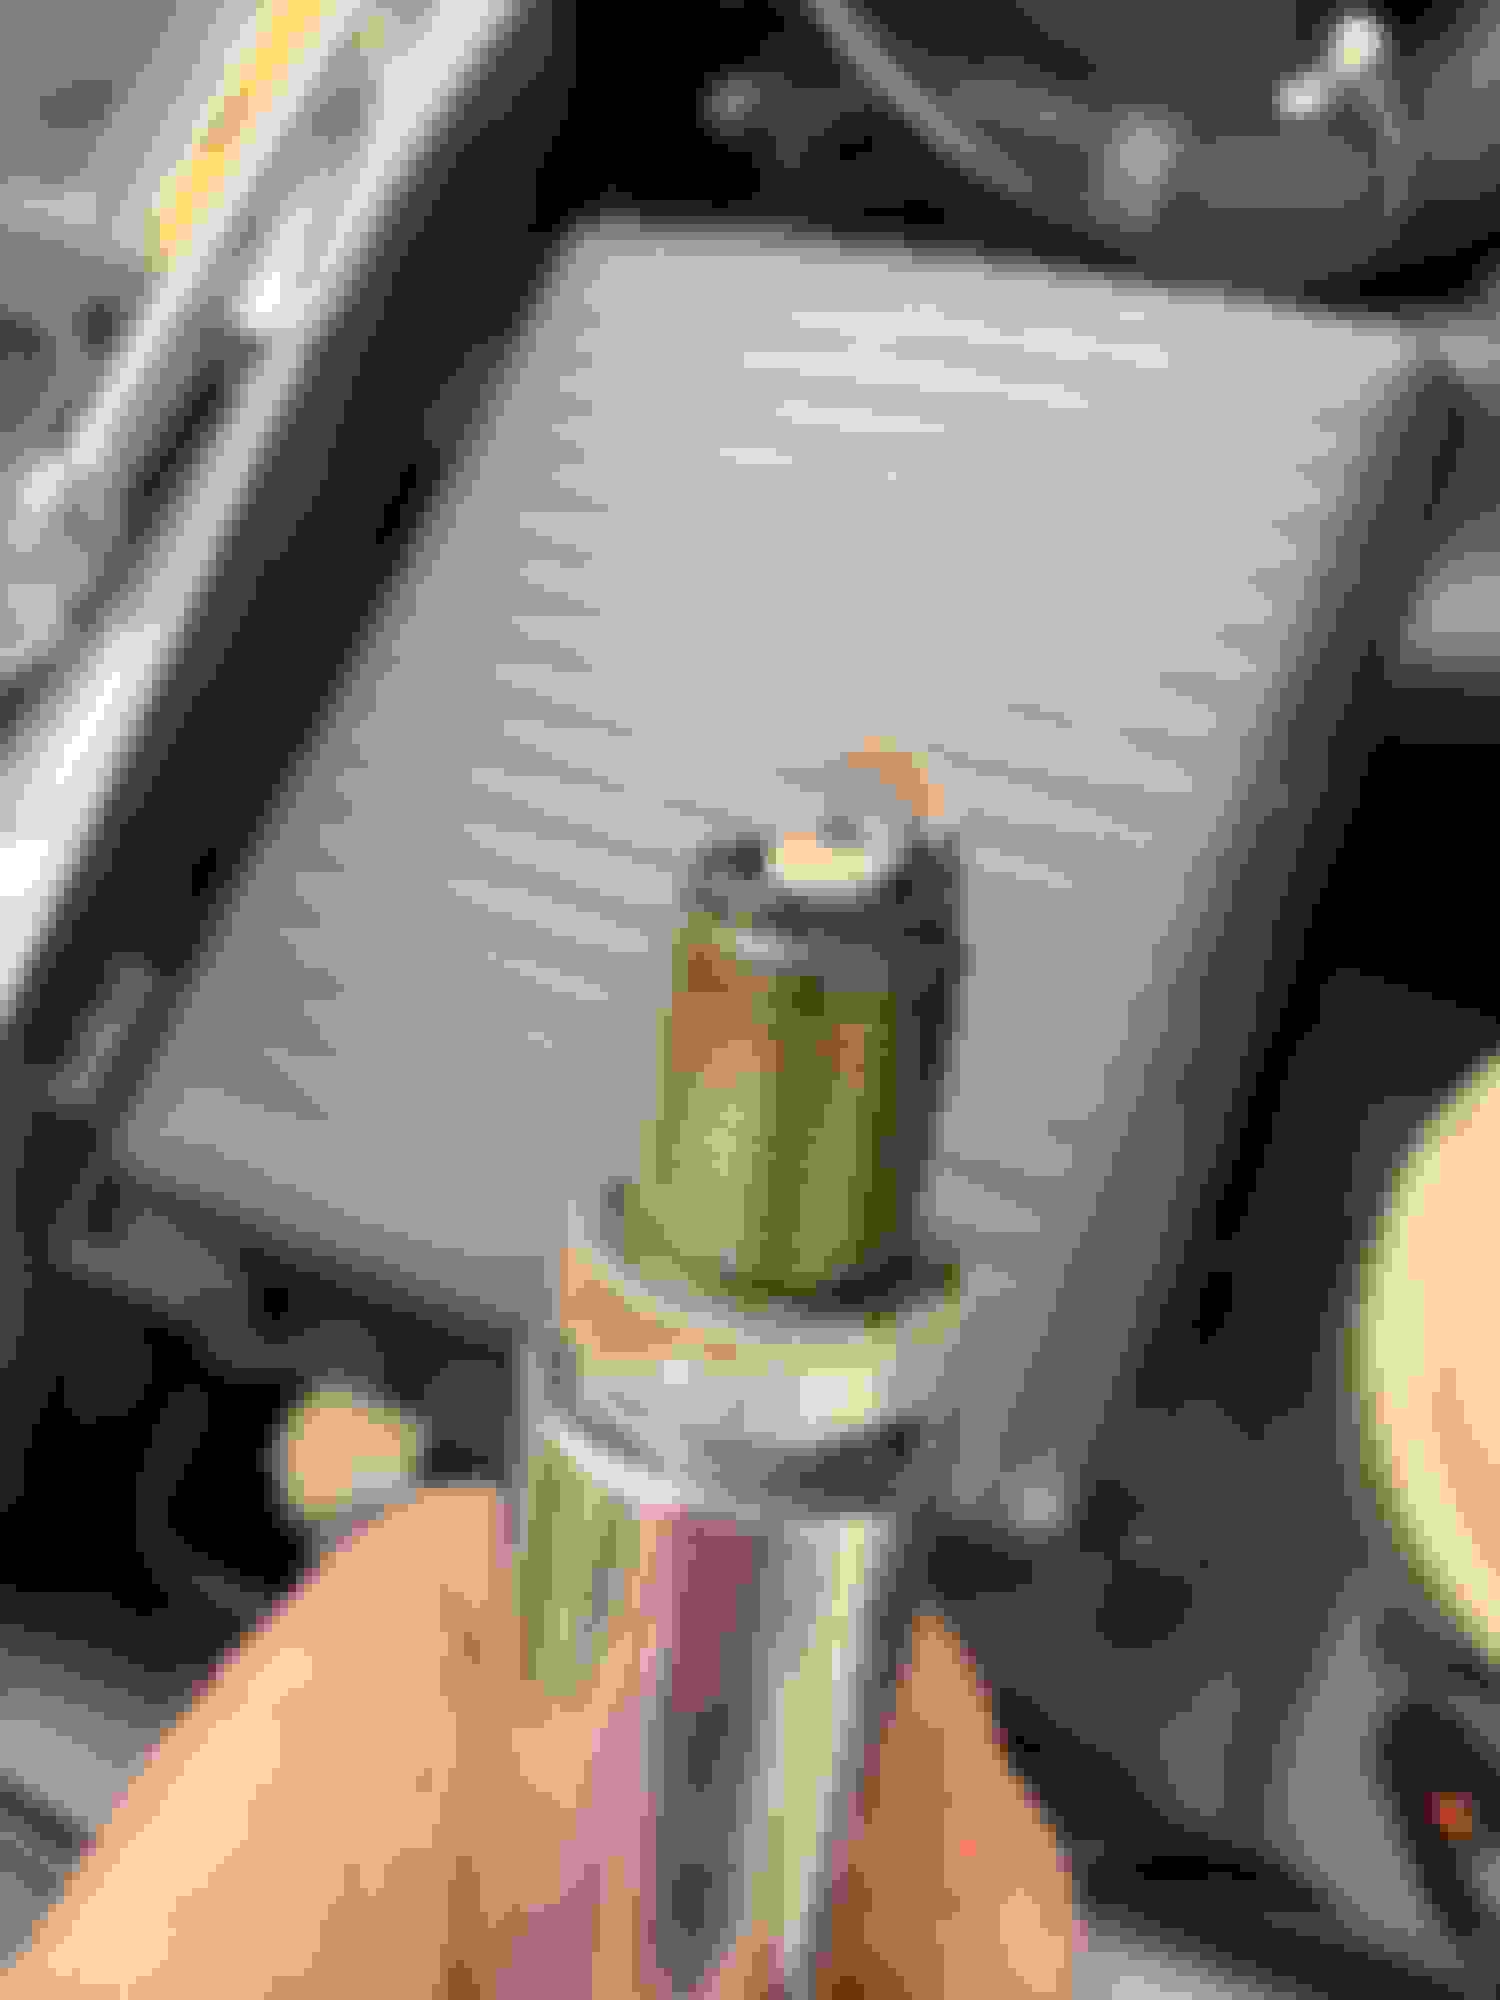
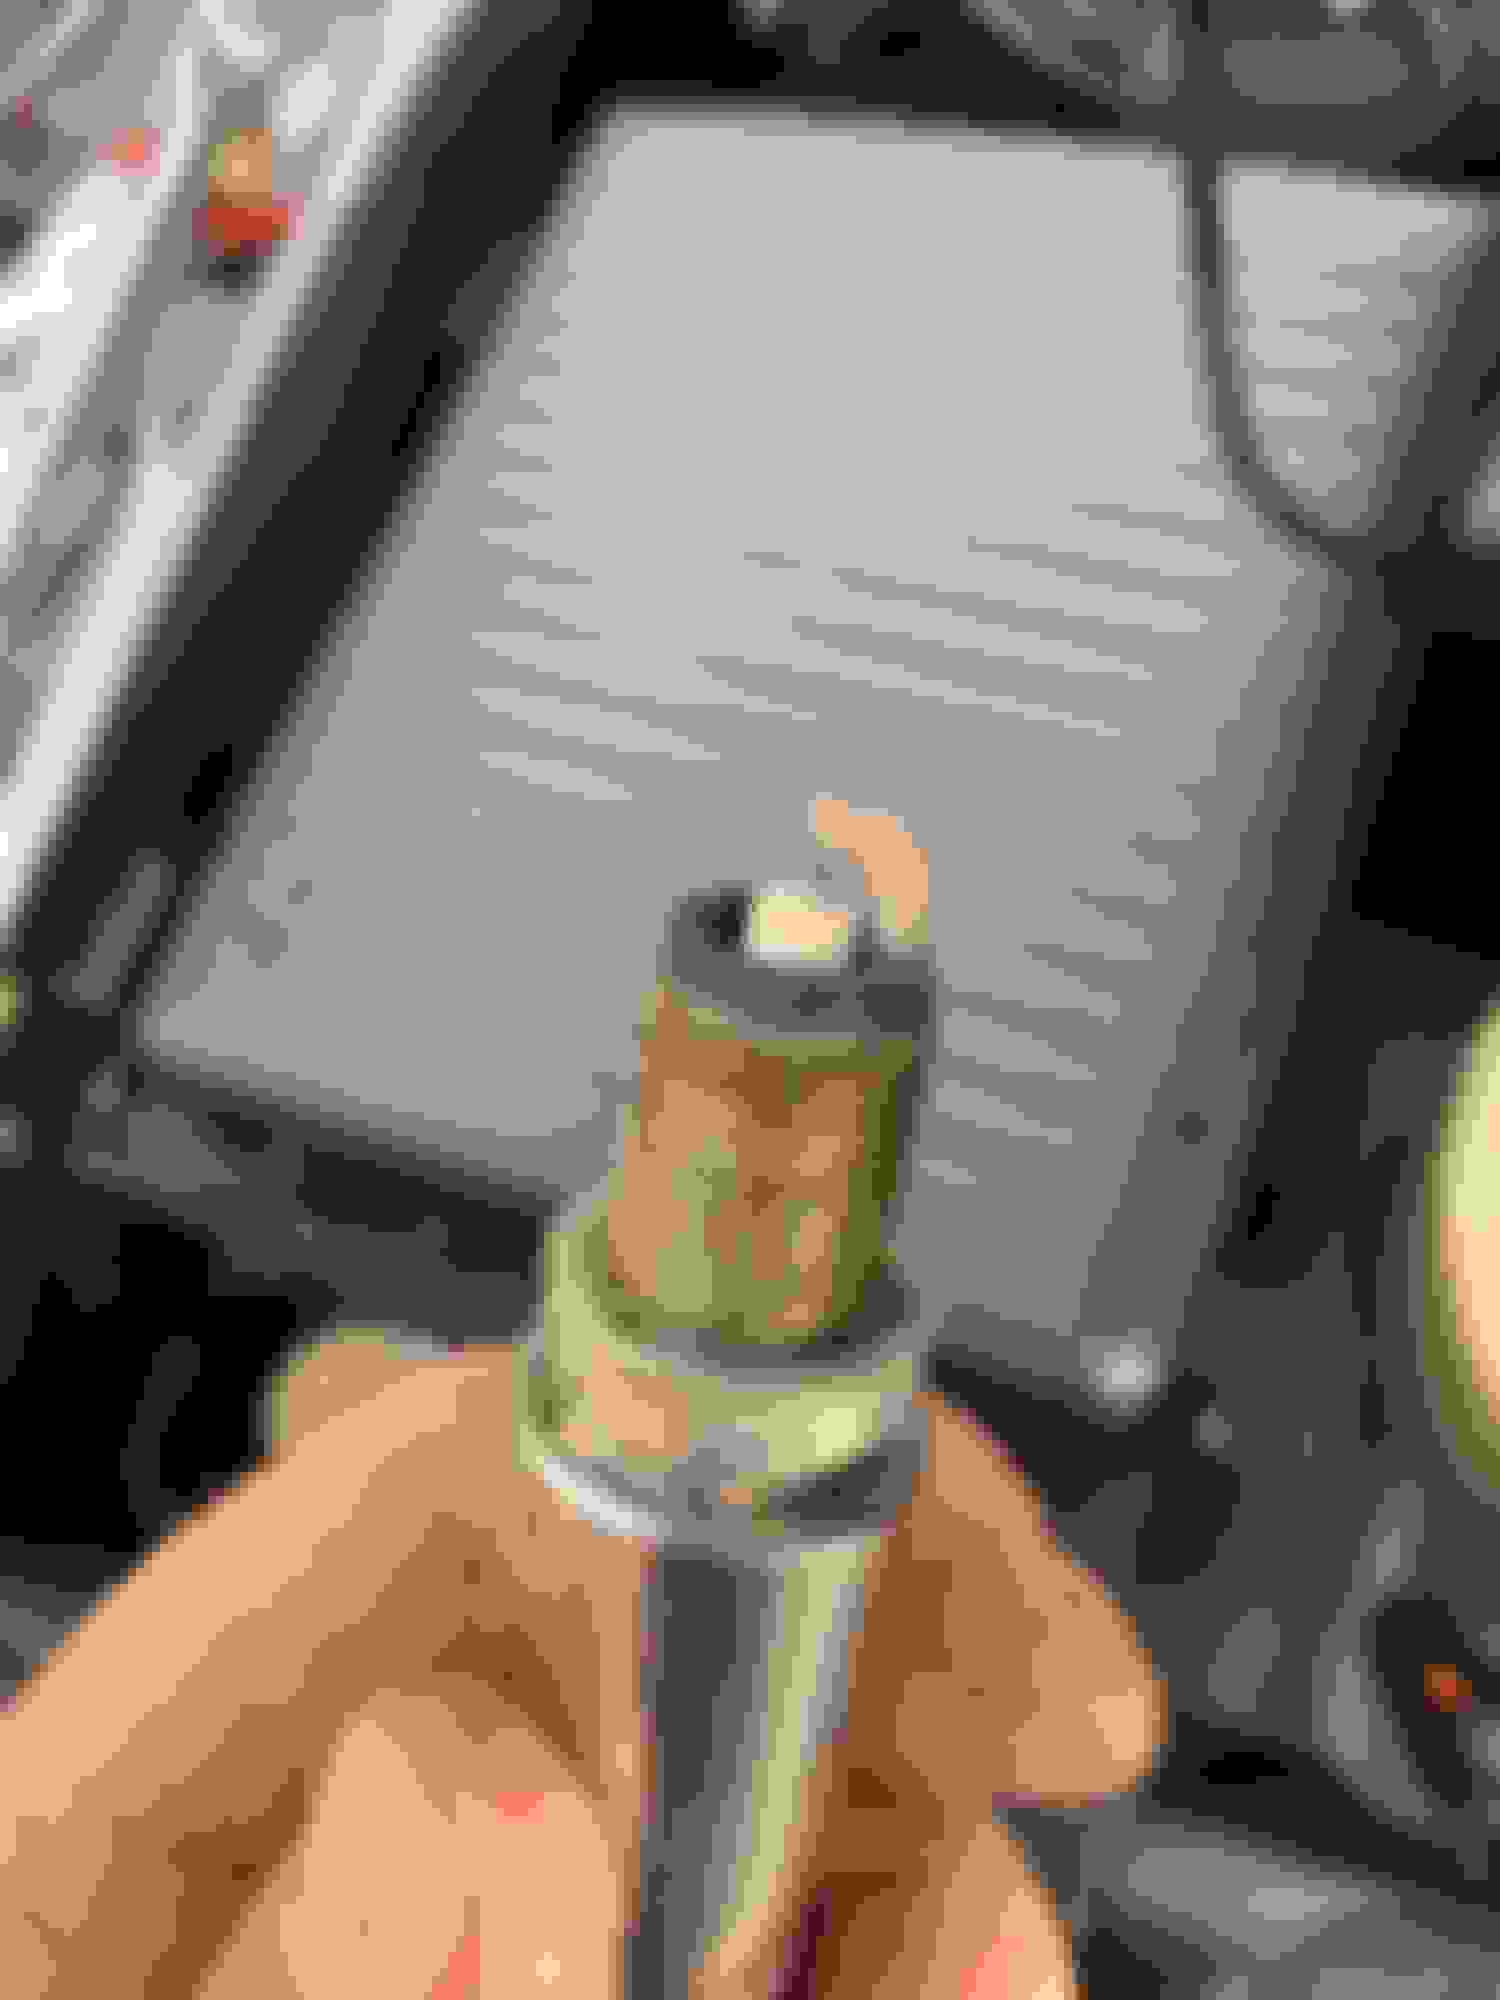
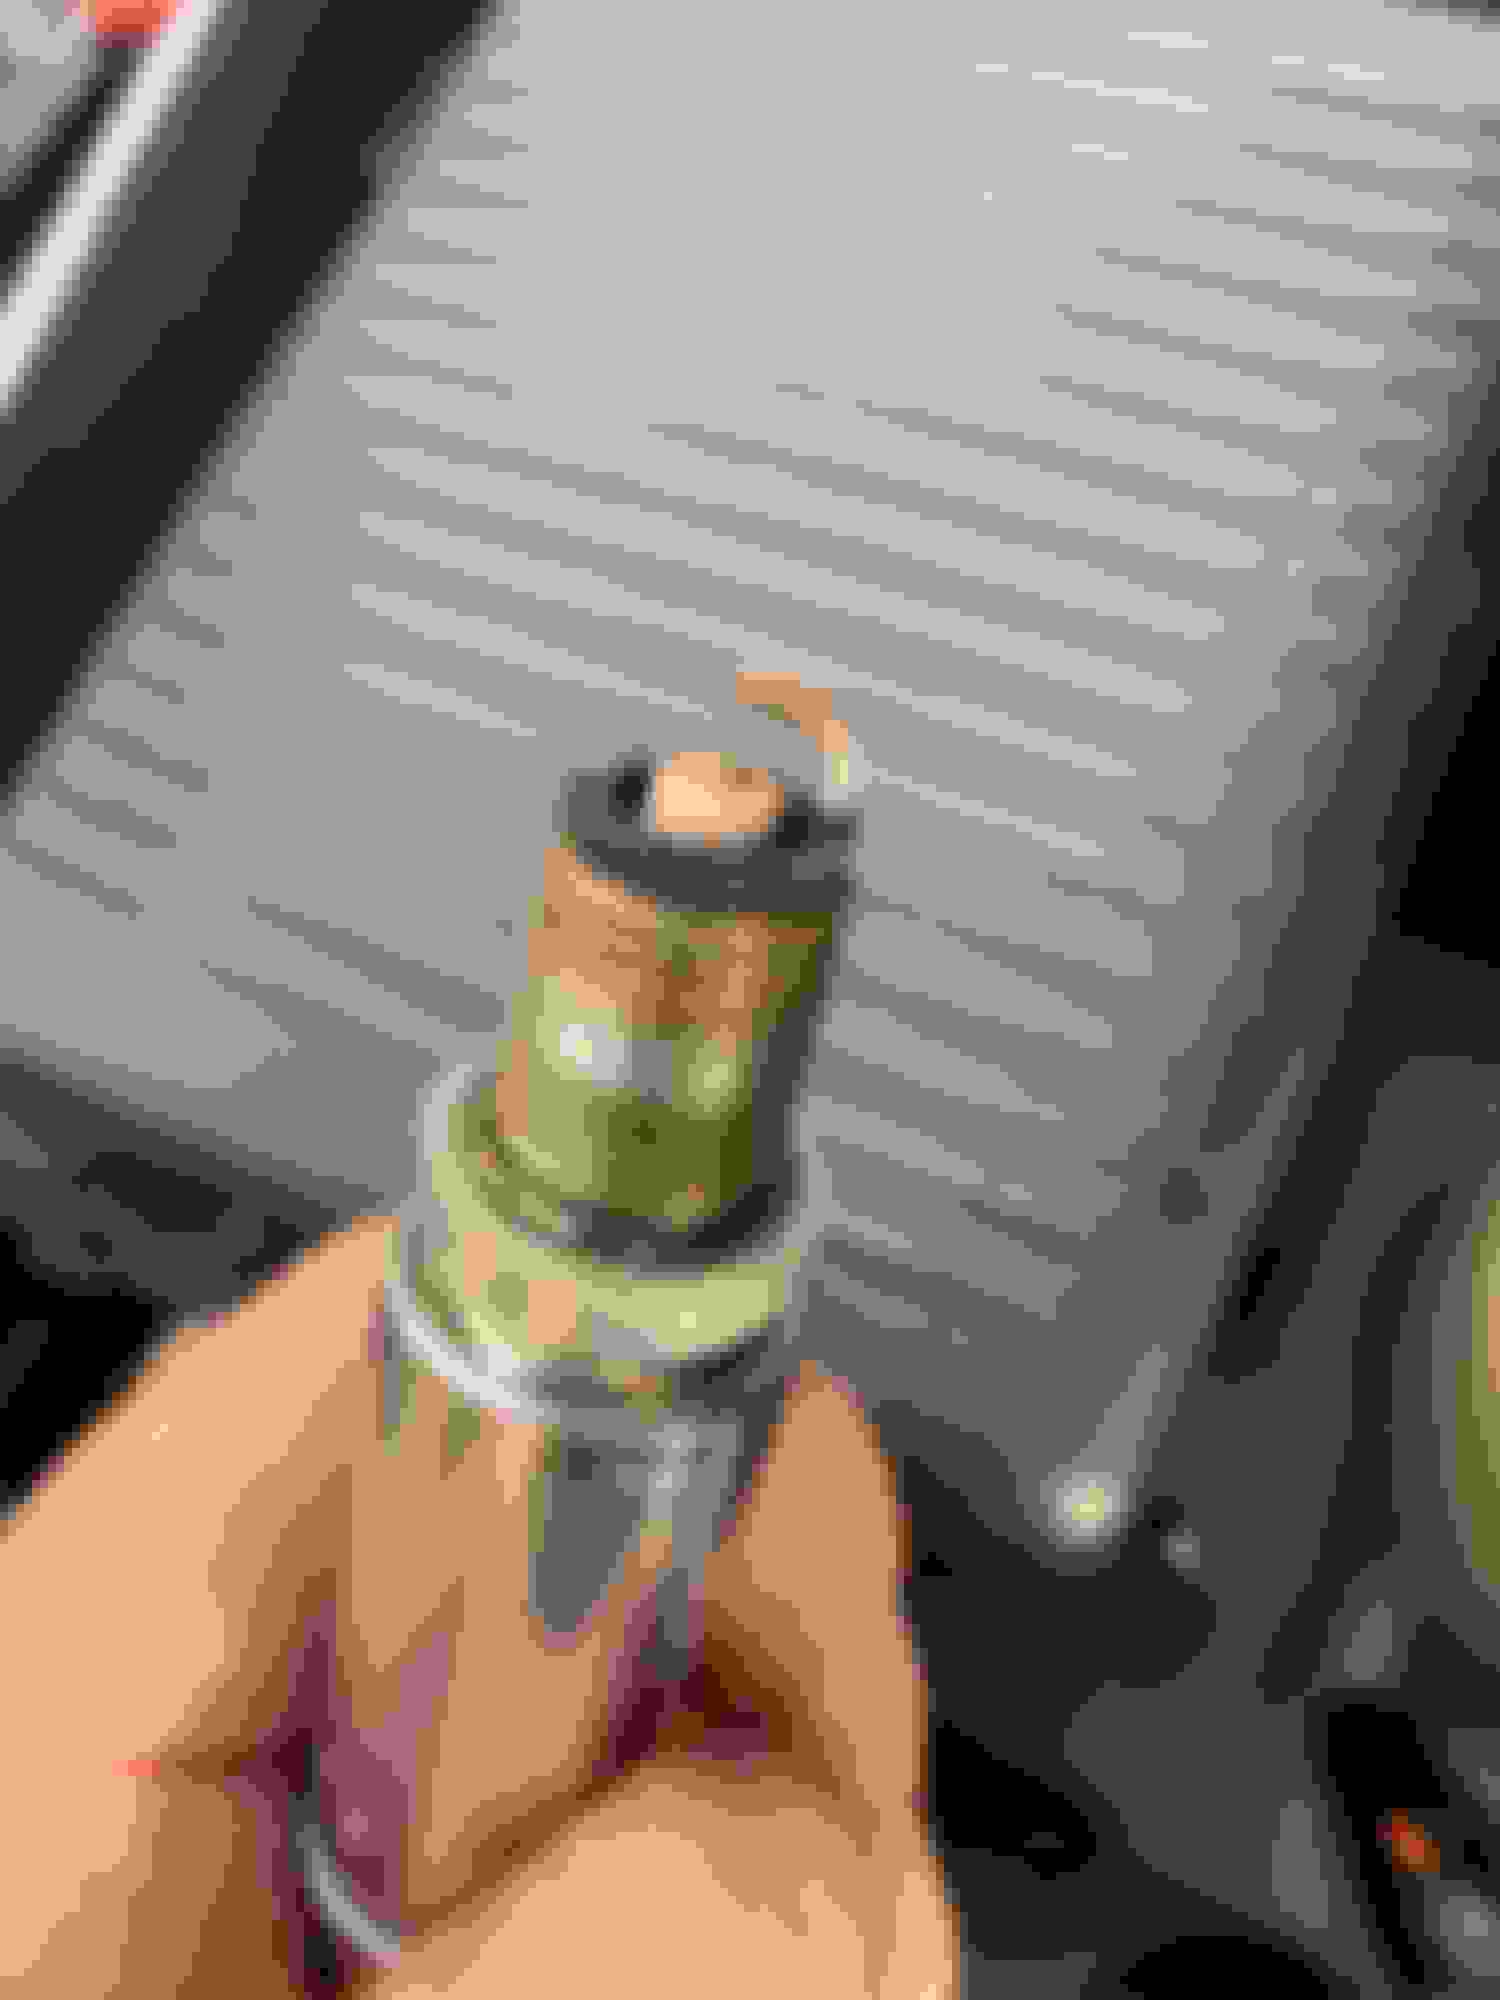
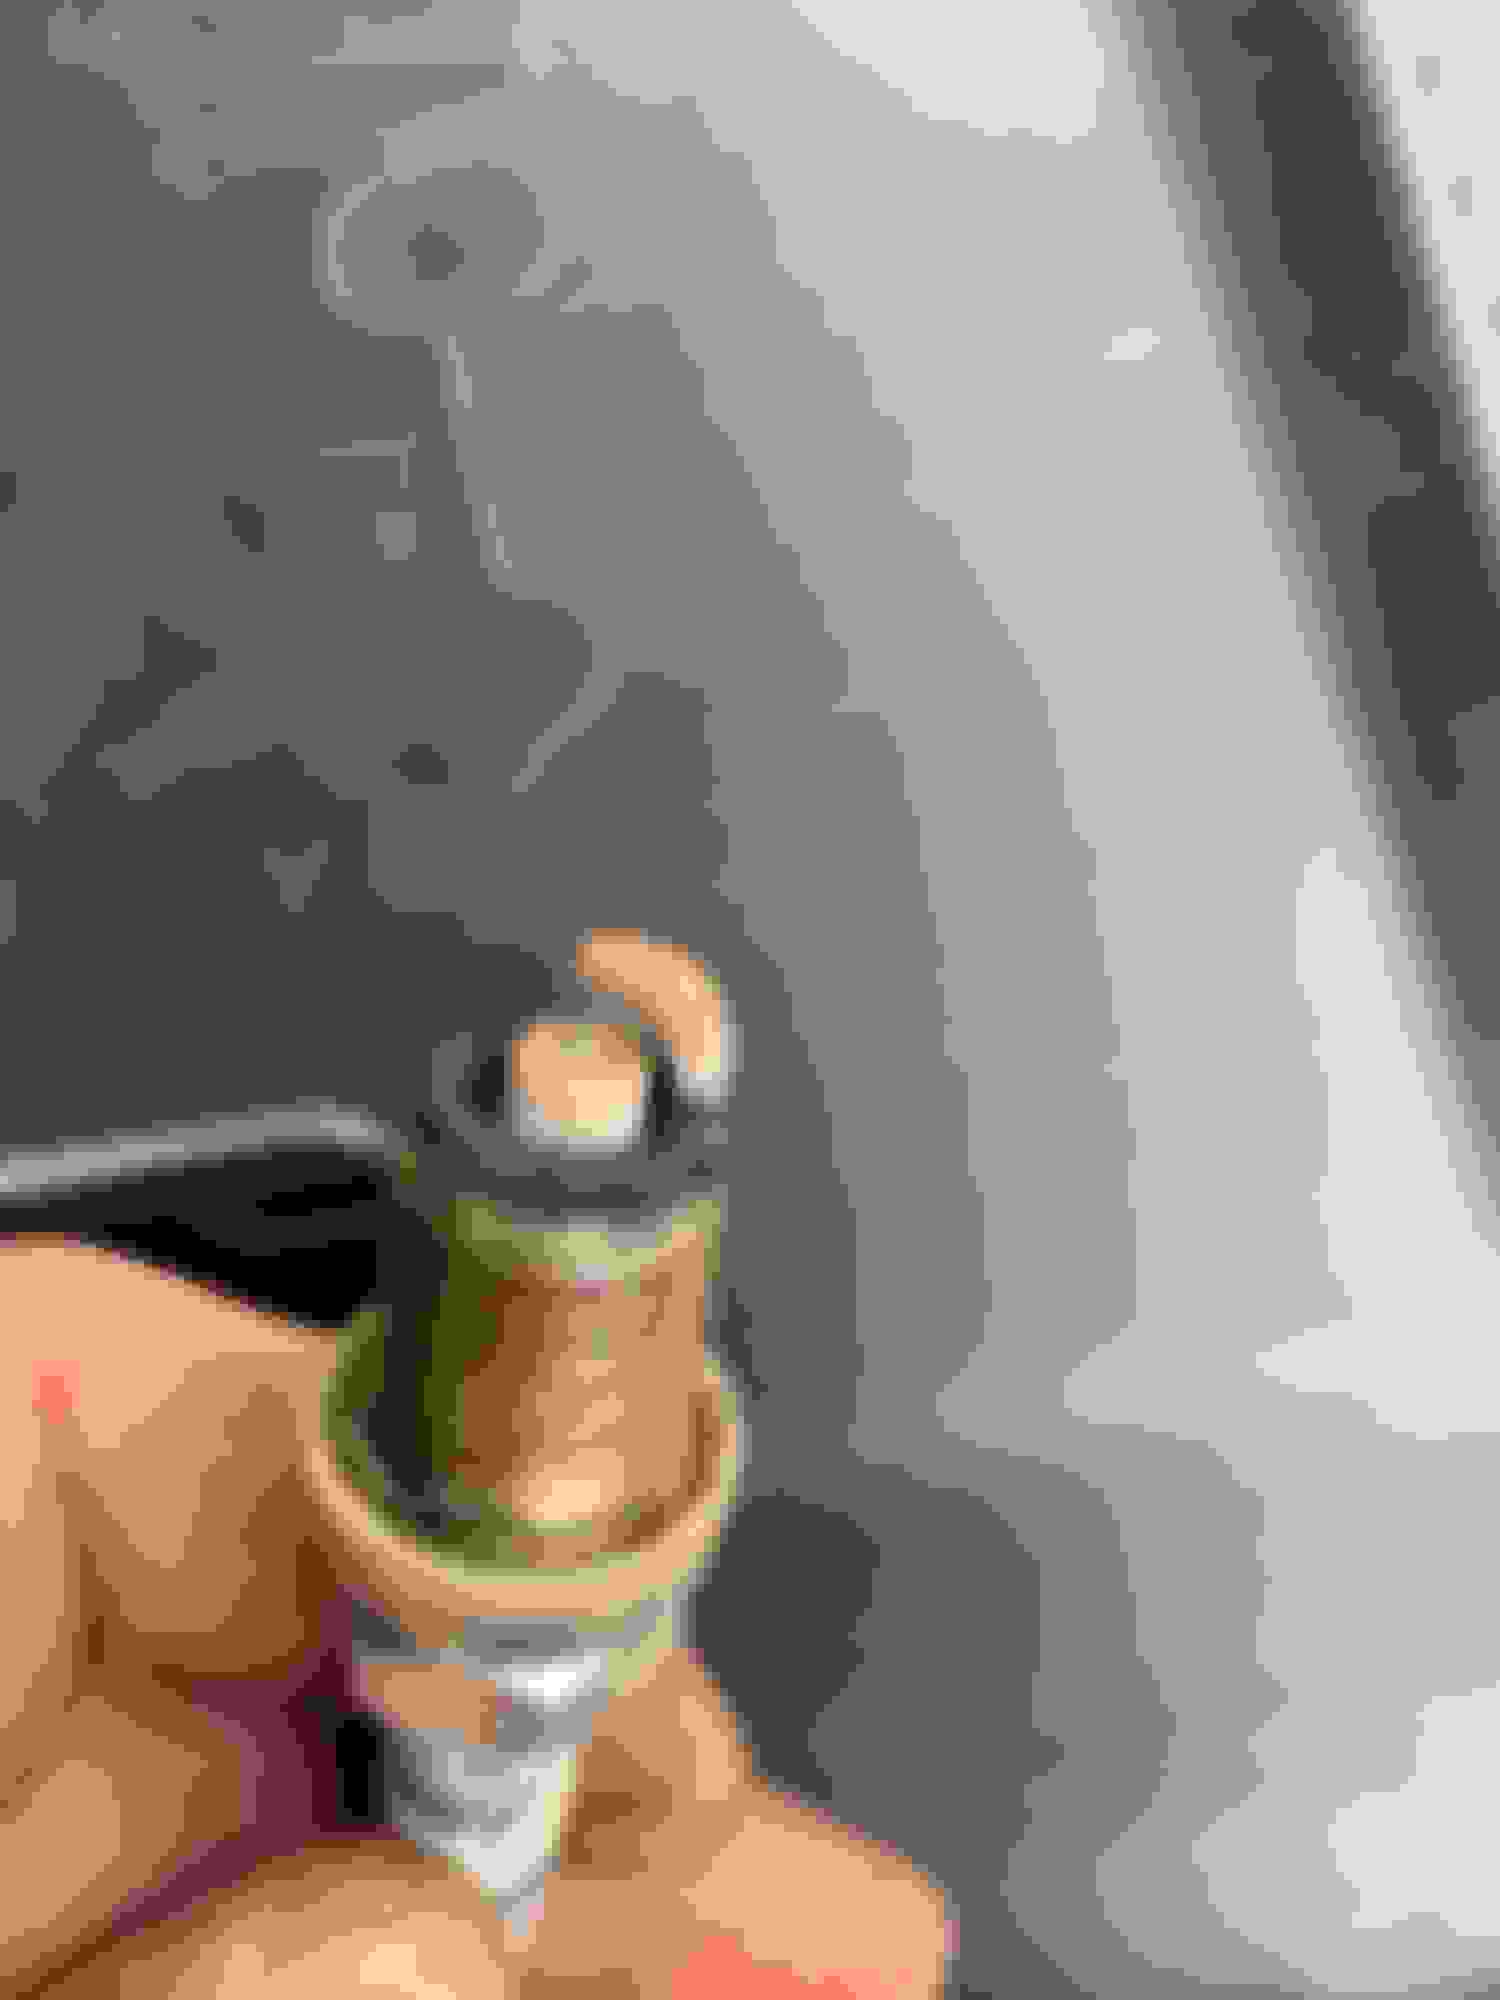
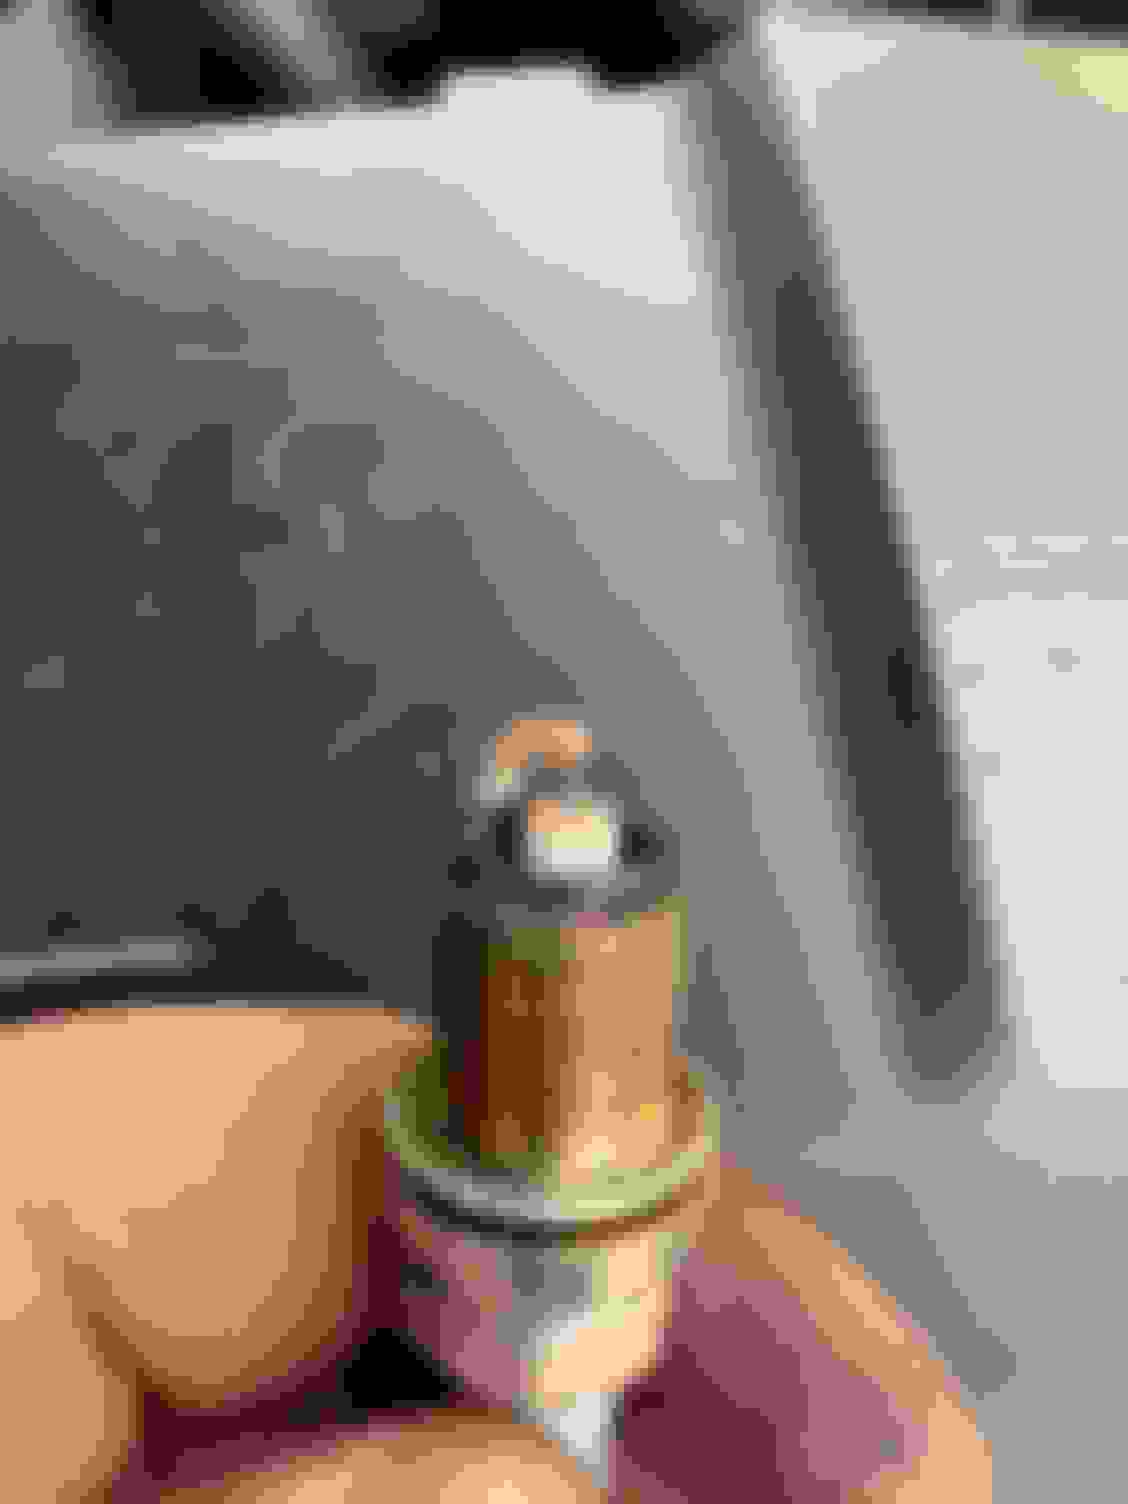
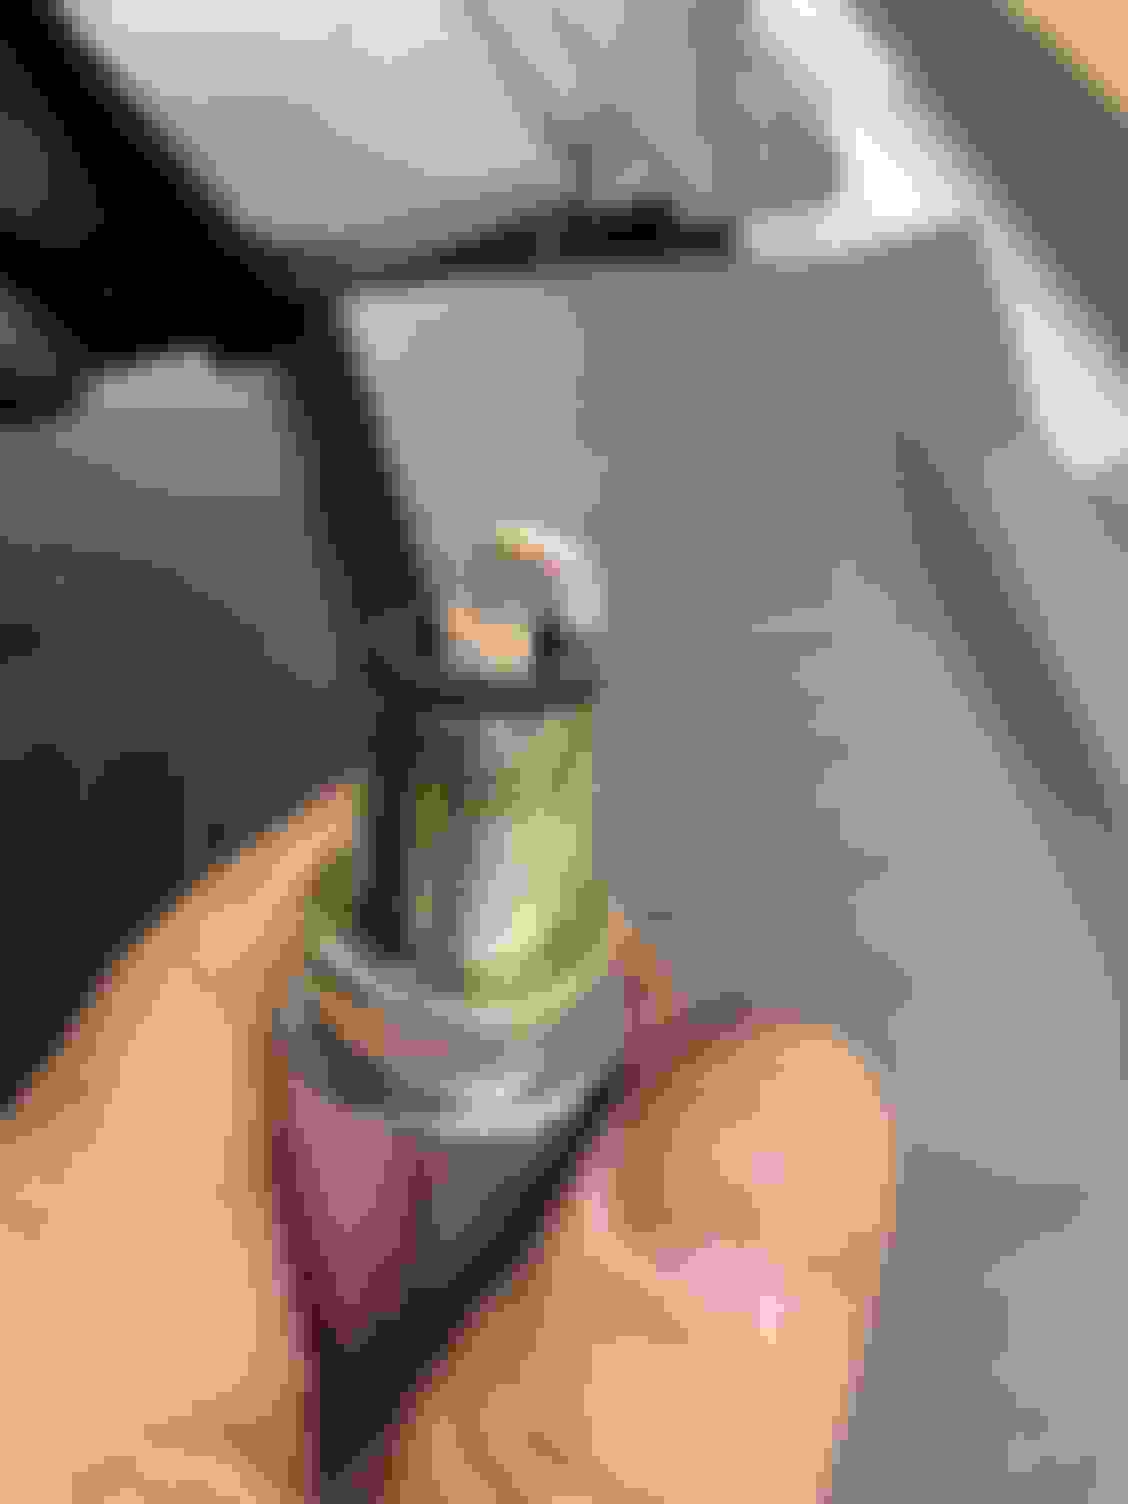
Waiting on the backtap to come in for retapping the #1 spark plug hole. While waiting I thought I would get started on @Best4x4 pcv mod. Getting the part tomorrow.
Back tap I ordered.
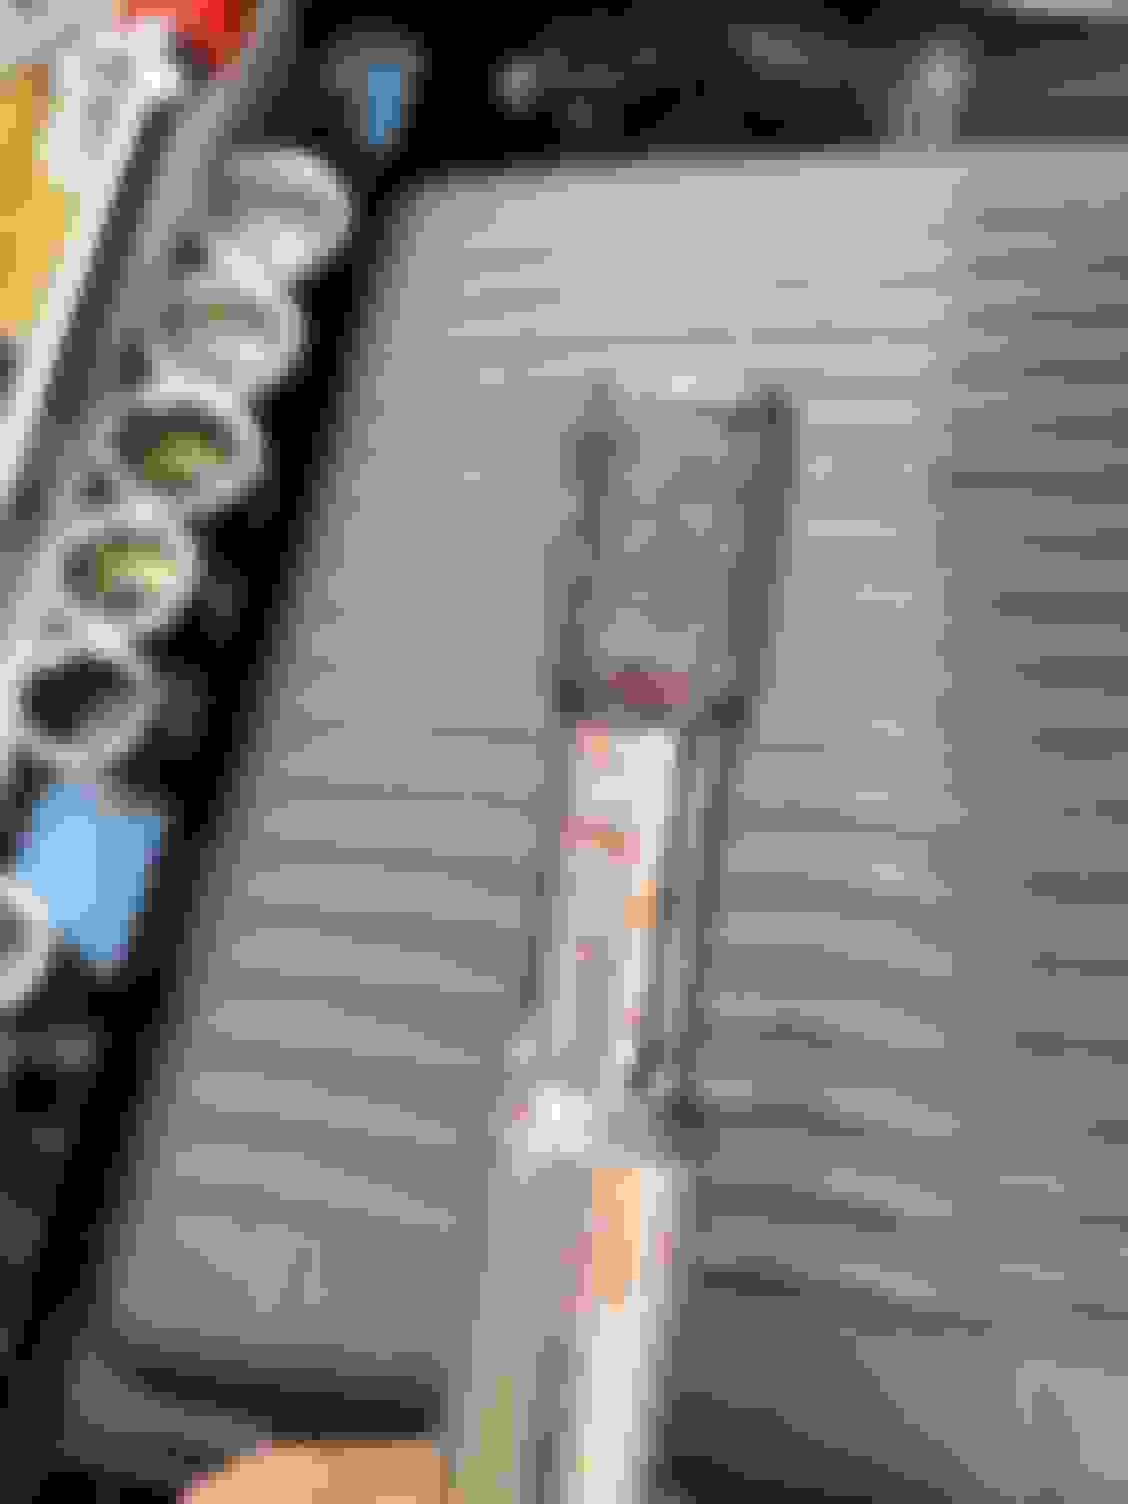
Removing the tube Came off ok Remaining plug in valve cover - wrapped it in electrical tape and some pbblaster and wiggled it out with vise grips. Yeah, I�d say it�s clogged Punching out the oil separator Drilling out the tube One end is ready to go. PCV valve should be here tomorrow.
Made some progress on the disco today. Got the new A pillar trim installed. That was a pretty simple job of about 30 minutes.
Broken trim on passenger side OEM trim Cleaning up the drivers side. Installed Installed
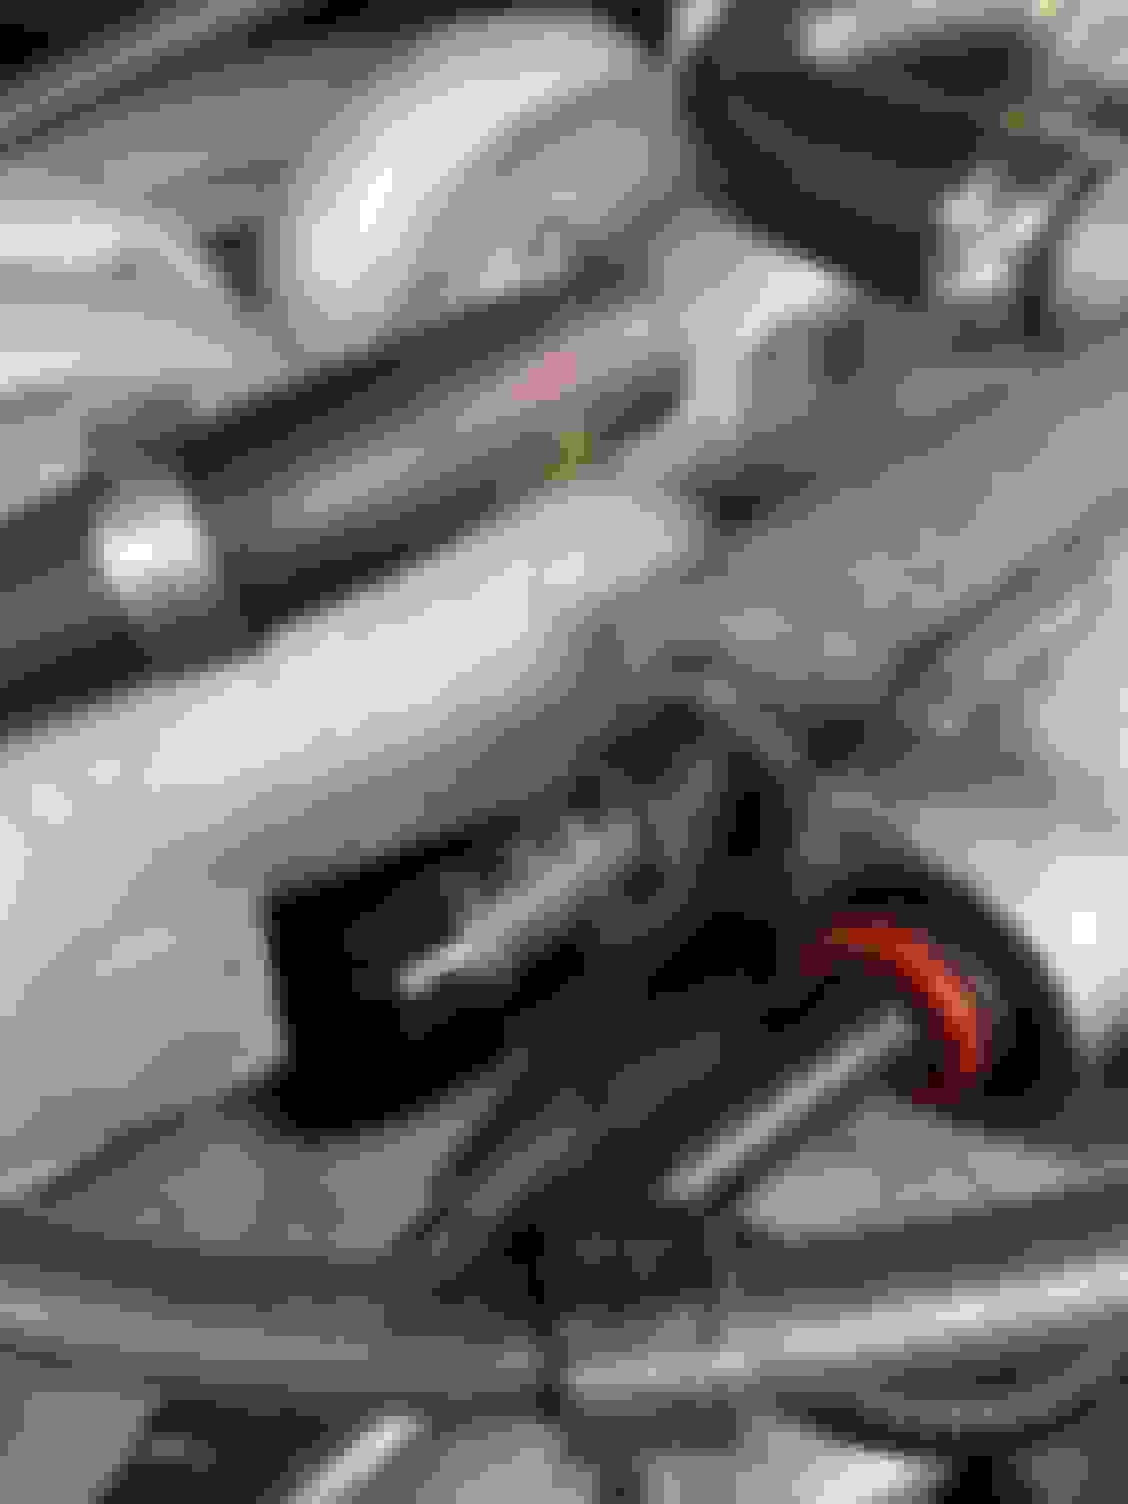
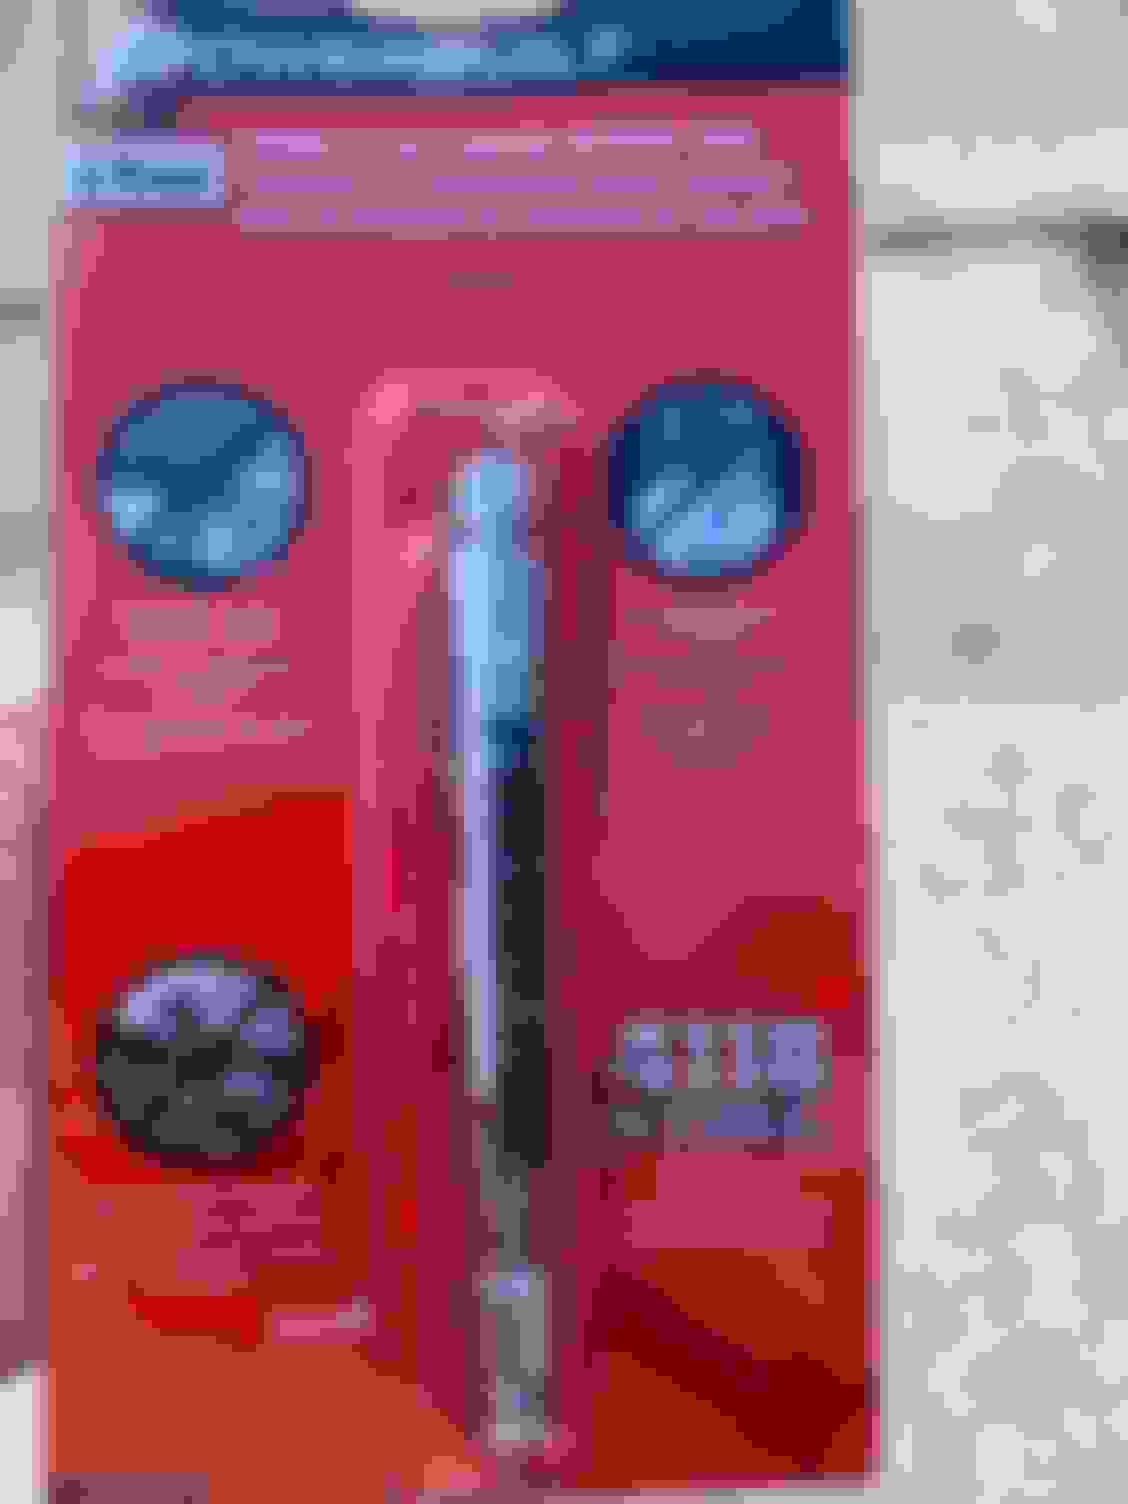
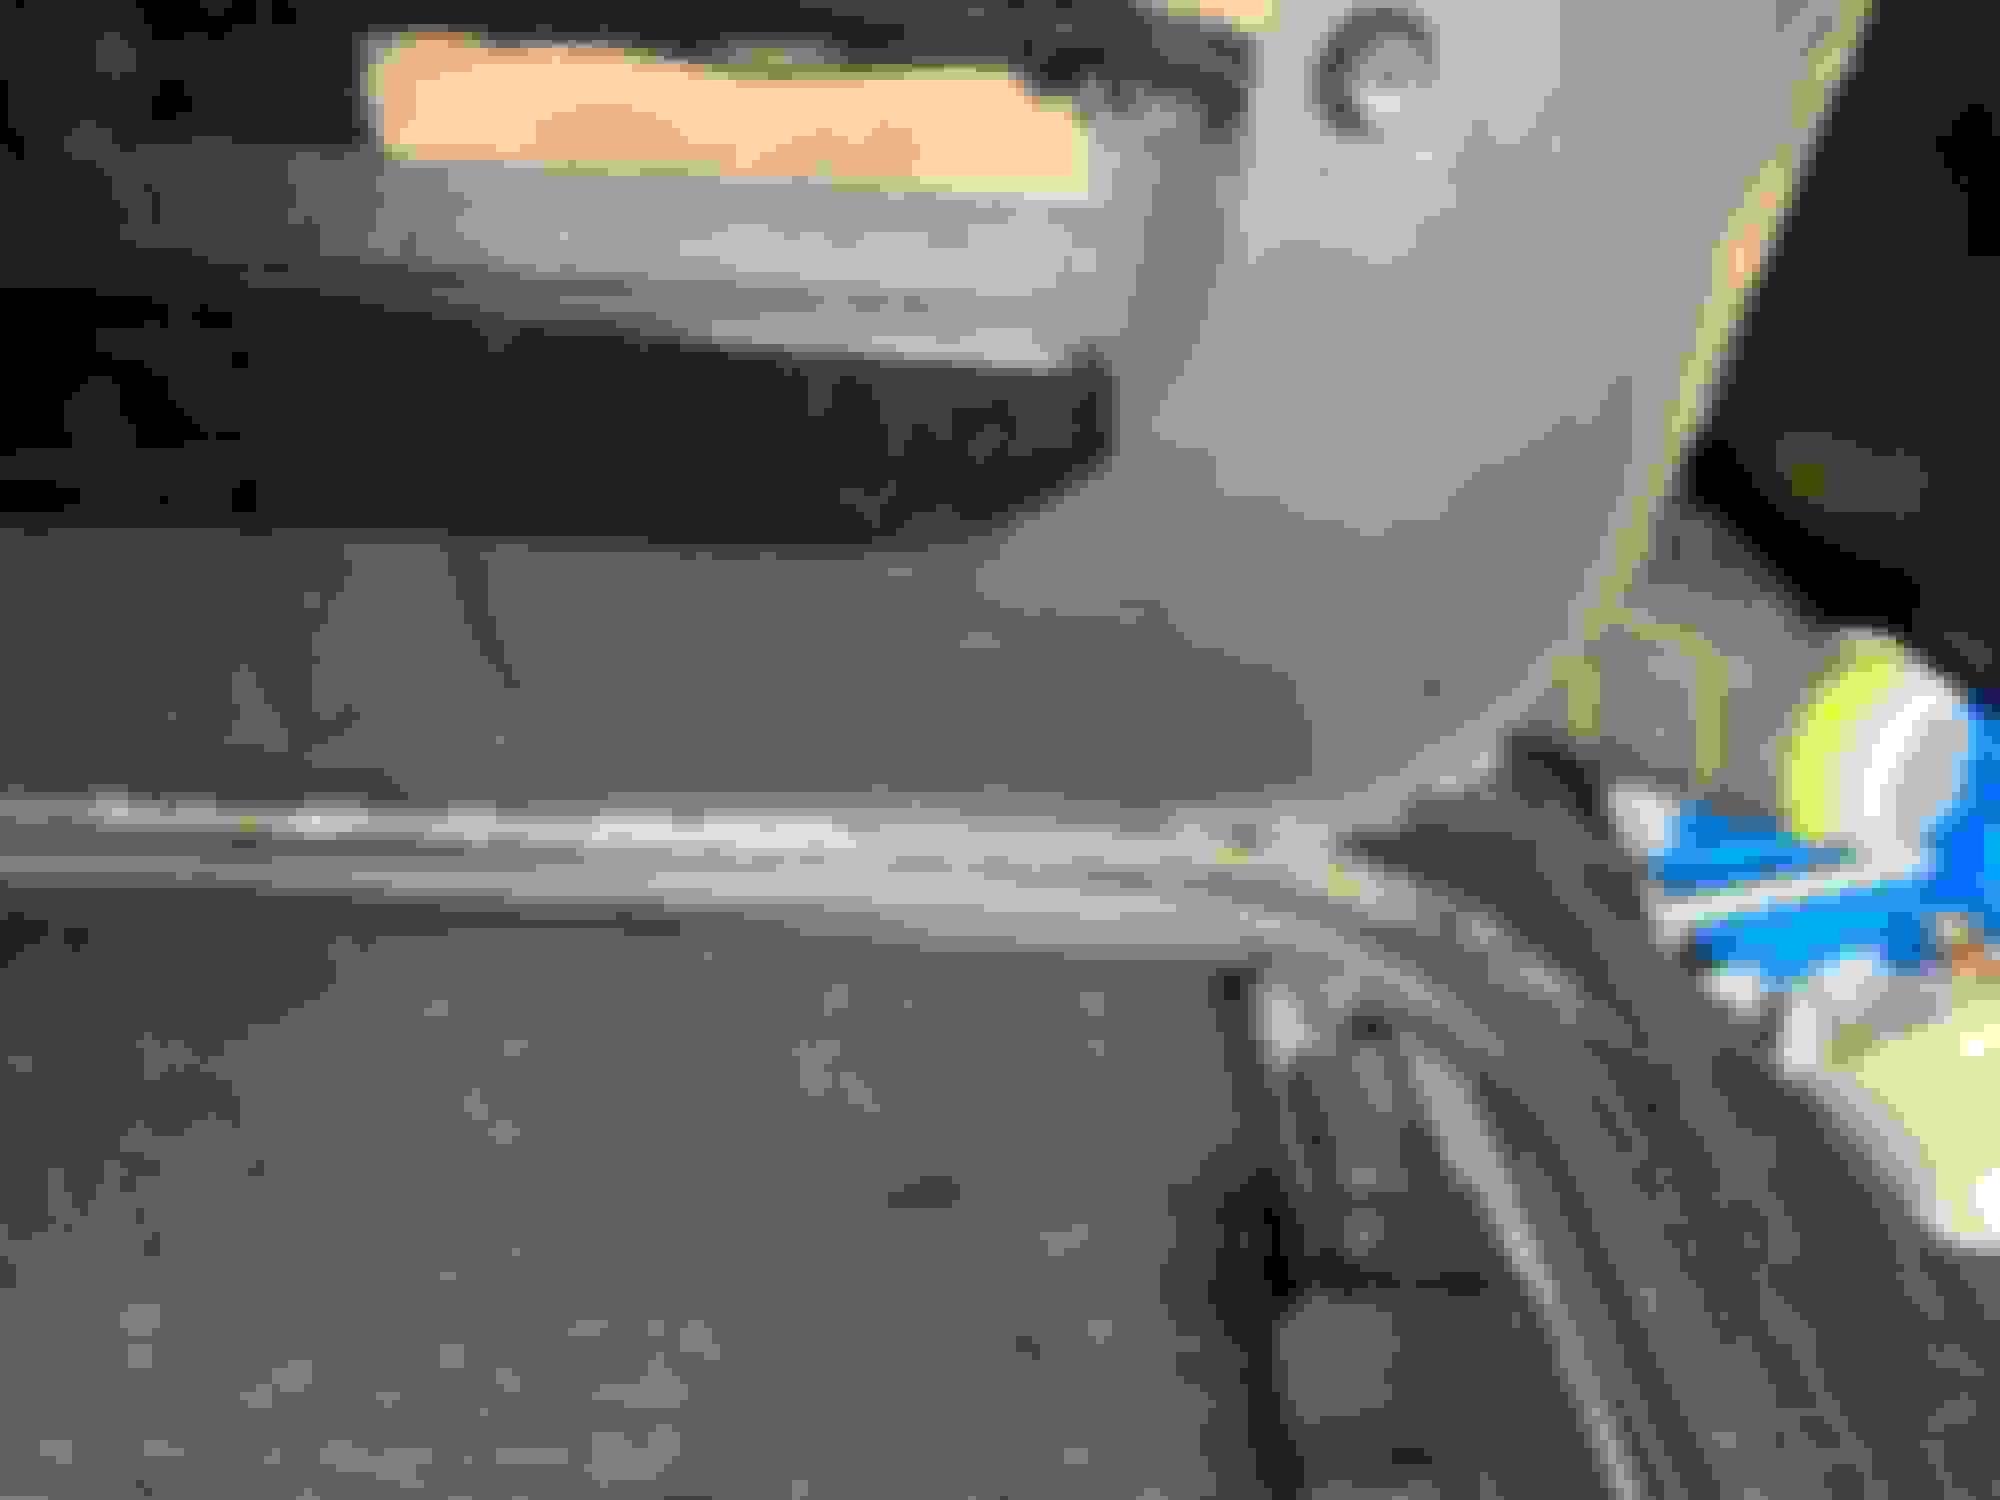
Also used the back tap tool (everyone needs one of these) to repair the threads on #1. Worked great! The back tap tool I used Used a crow foot to remove one end of the SAI tubing Slowing back tapping the threads from inside out. Found some aluminum!
Now I am just waiting on the PCV valve to come tomorrow so I can finish up that mod.
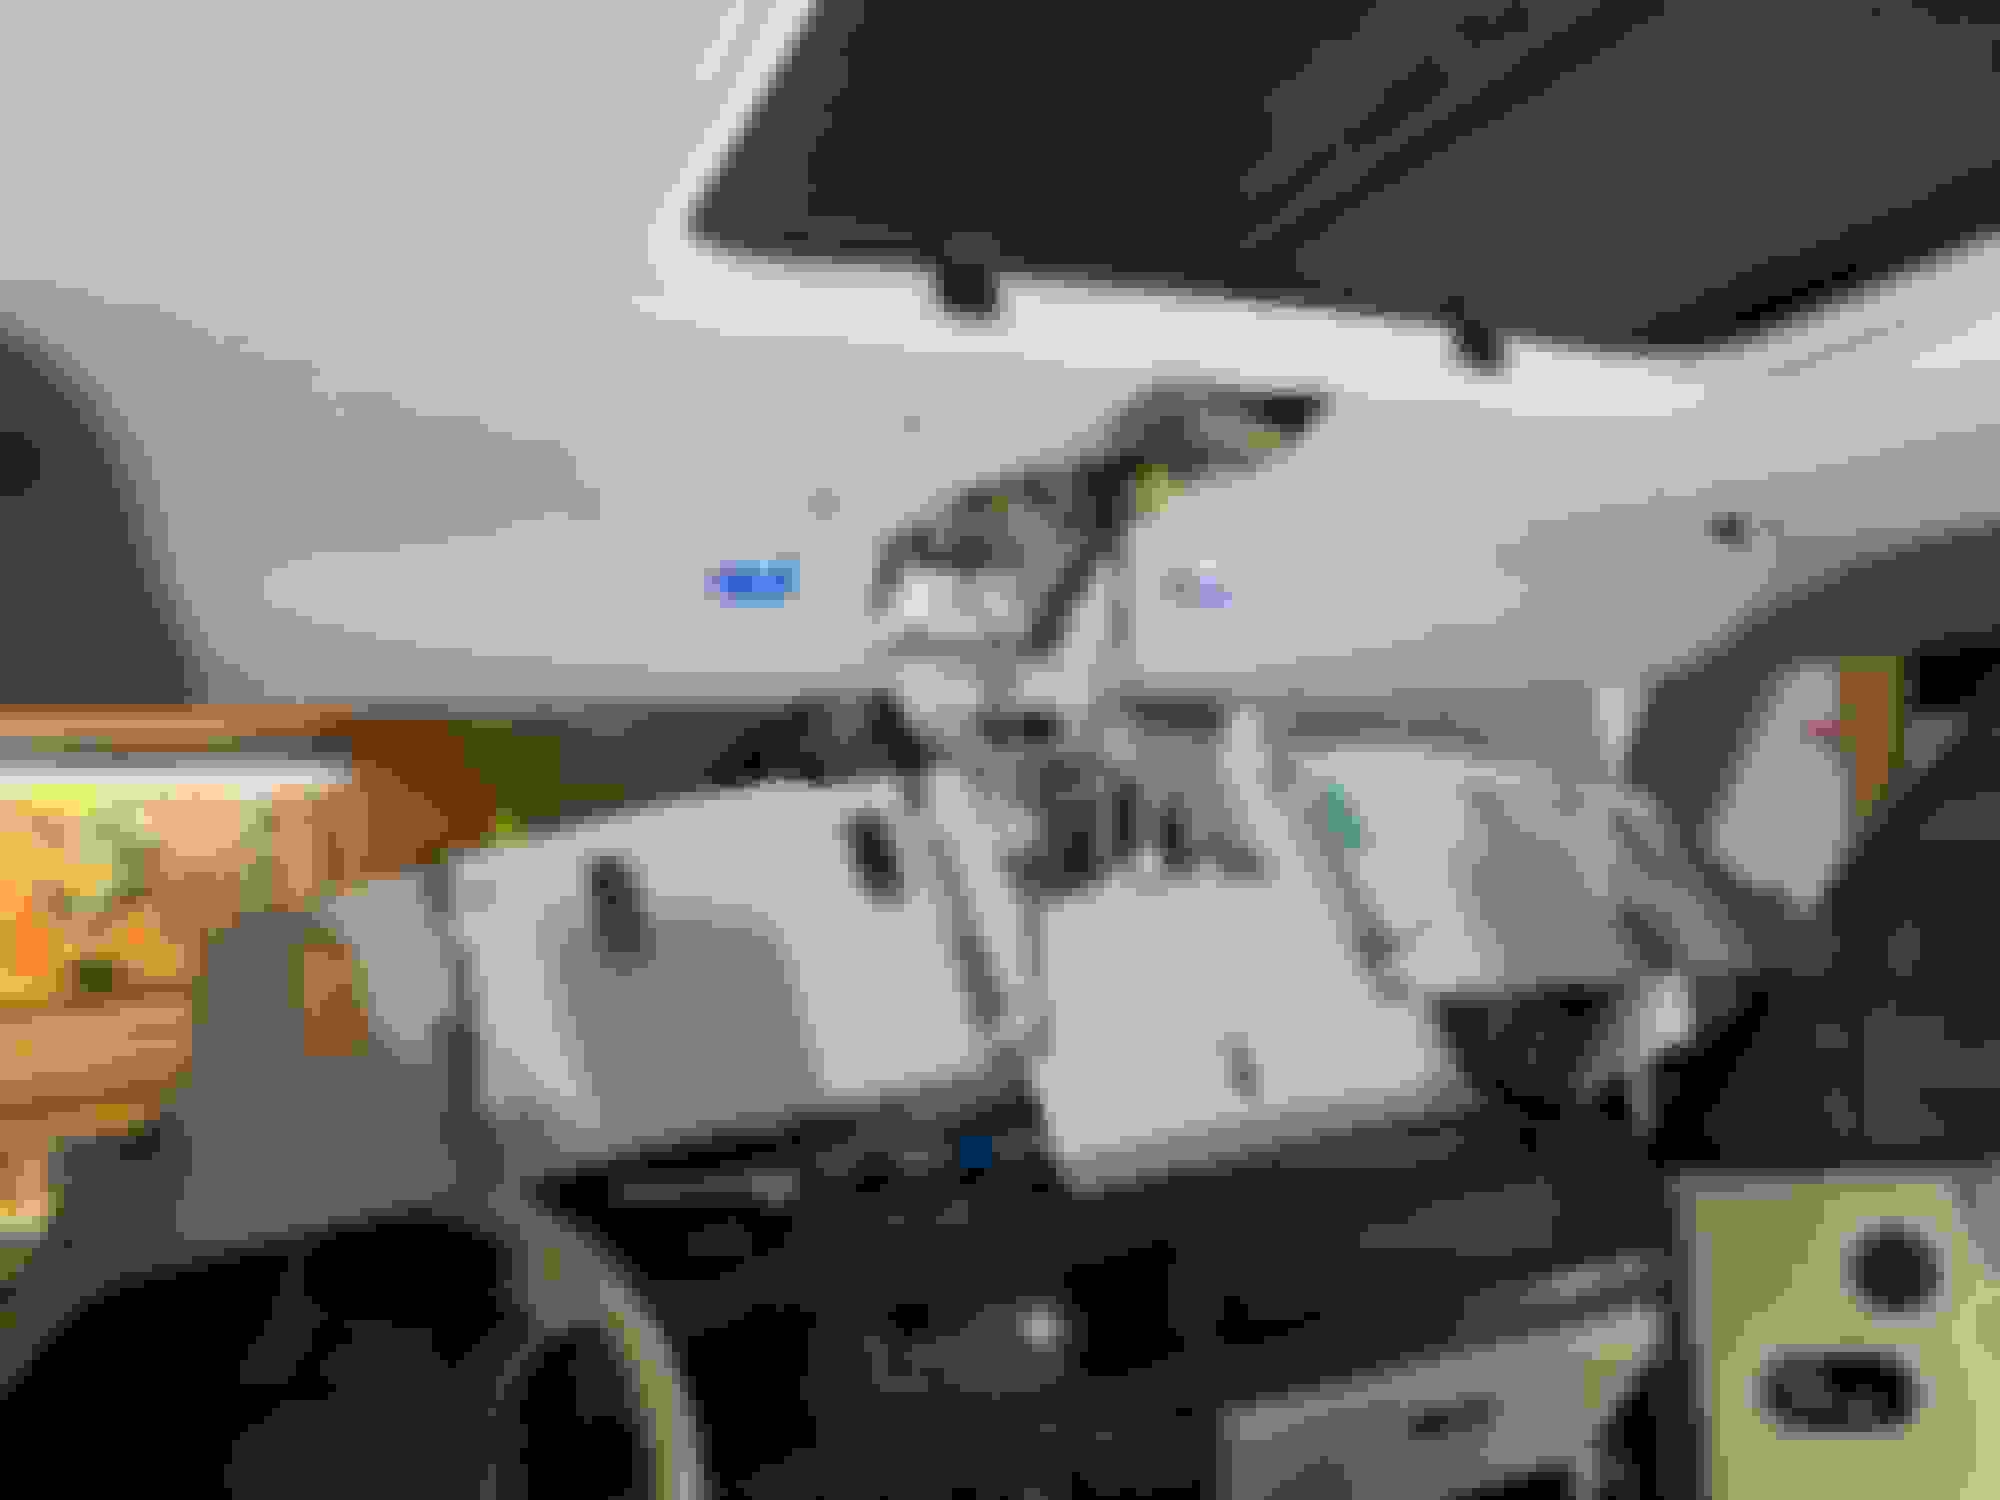
Raining here in Florida a lot which is turning my headliner into an aquarium. So here goes: removing the headliner to hopefully fix the sunroof leaks once and for all!
Getting there. Trying not to rush, label everything and be deliberate.
Headliner fully out
Last edited by cvhyatt; 12-29-2019 at 11:21 AM.
Reason: Added picture
This thing was really trashed. Someone had sealed the glass and that seal was failing. As best I can tell, one of the drain tubes was leaking and the seal between the body and the sunroof frame was dry rotted.
I cleaned it up and added some flexiseal to the body/sunroof frame.
Heading to homedepot to get an adapter to help blow out these drain tubes and some radiant heat barrier for the roof. On track to finish up later tonight! Had to use a power tool to separate the glass from the frame.
Made some good progress. Got the sunroof cleaned and resealed. Added to radiant barrier to the roof and got the headliner back in. Just have front seat belt pillars, dome lights and front trim to add back tomorrow.
 12-21-2019, 01:21 PM