When you click on links to various merchants on this site and make a purchase, this can result in this site earning a commission. Affiliate programs and affiliations include, but are not limited to, the eBay Partner Network.
I know this was discussed a while back, but the answer was a little confusing. Does anyone recommend LED or standard bulb replacements for the climate control buttons? And can you link in what bulbs to buy for 2002 Dis SE?
I know this was discussed a while back, but the answer was a little confusing. Does anyone recommend LED or standard bulb replacements for the climate control buttons? And can you link in what bulbs to buy for 2002 Dis SE?
Thanks!
S
Check few post below about some electronics does not function because of the LED lights. The wattage is lower and the computer cant determine the actual load. But, not sure with climate control. You can always try if you can find the right socket or base.
I have used LED's for 5-10 years in the D2 climate control module, I seem to recollect they were T5's but don't quote me on that. If they don't illuminate you have to fit them the opposite way around, they are polarity sensitive. (there is an earlier post on here some years back on this subject)
I got led in my climate control, I got them from superbriteleds.com or something like that, they have them in green already since the green sock thing that goes over the bulb won't work with a led, the only downside is that they are quite a bit brighter than the rest of the backlight bulbs
I figured I'd post this info here in case someone searches the forum and doesn't want to read all 436 pages of the "What did you do with your DII today?" where I added my info about adding LEDs to the clock, door unlock button, Climate control and window switches.
PLEASE!!!! Totally disconnect your battery before working on your Disco!!!!
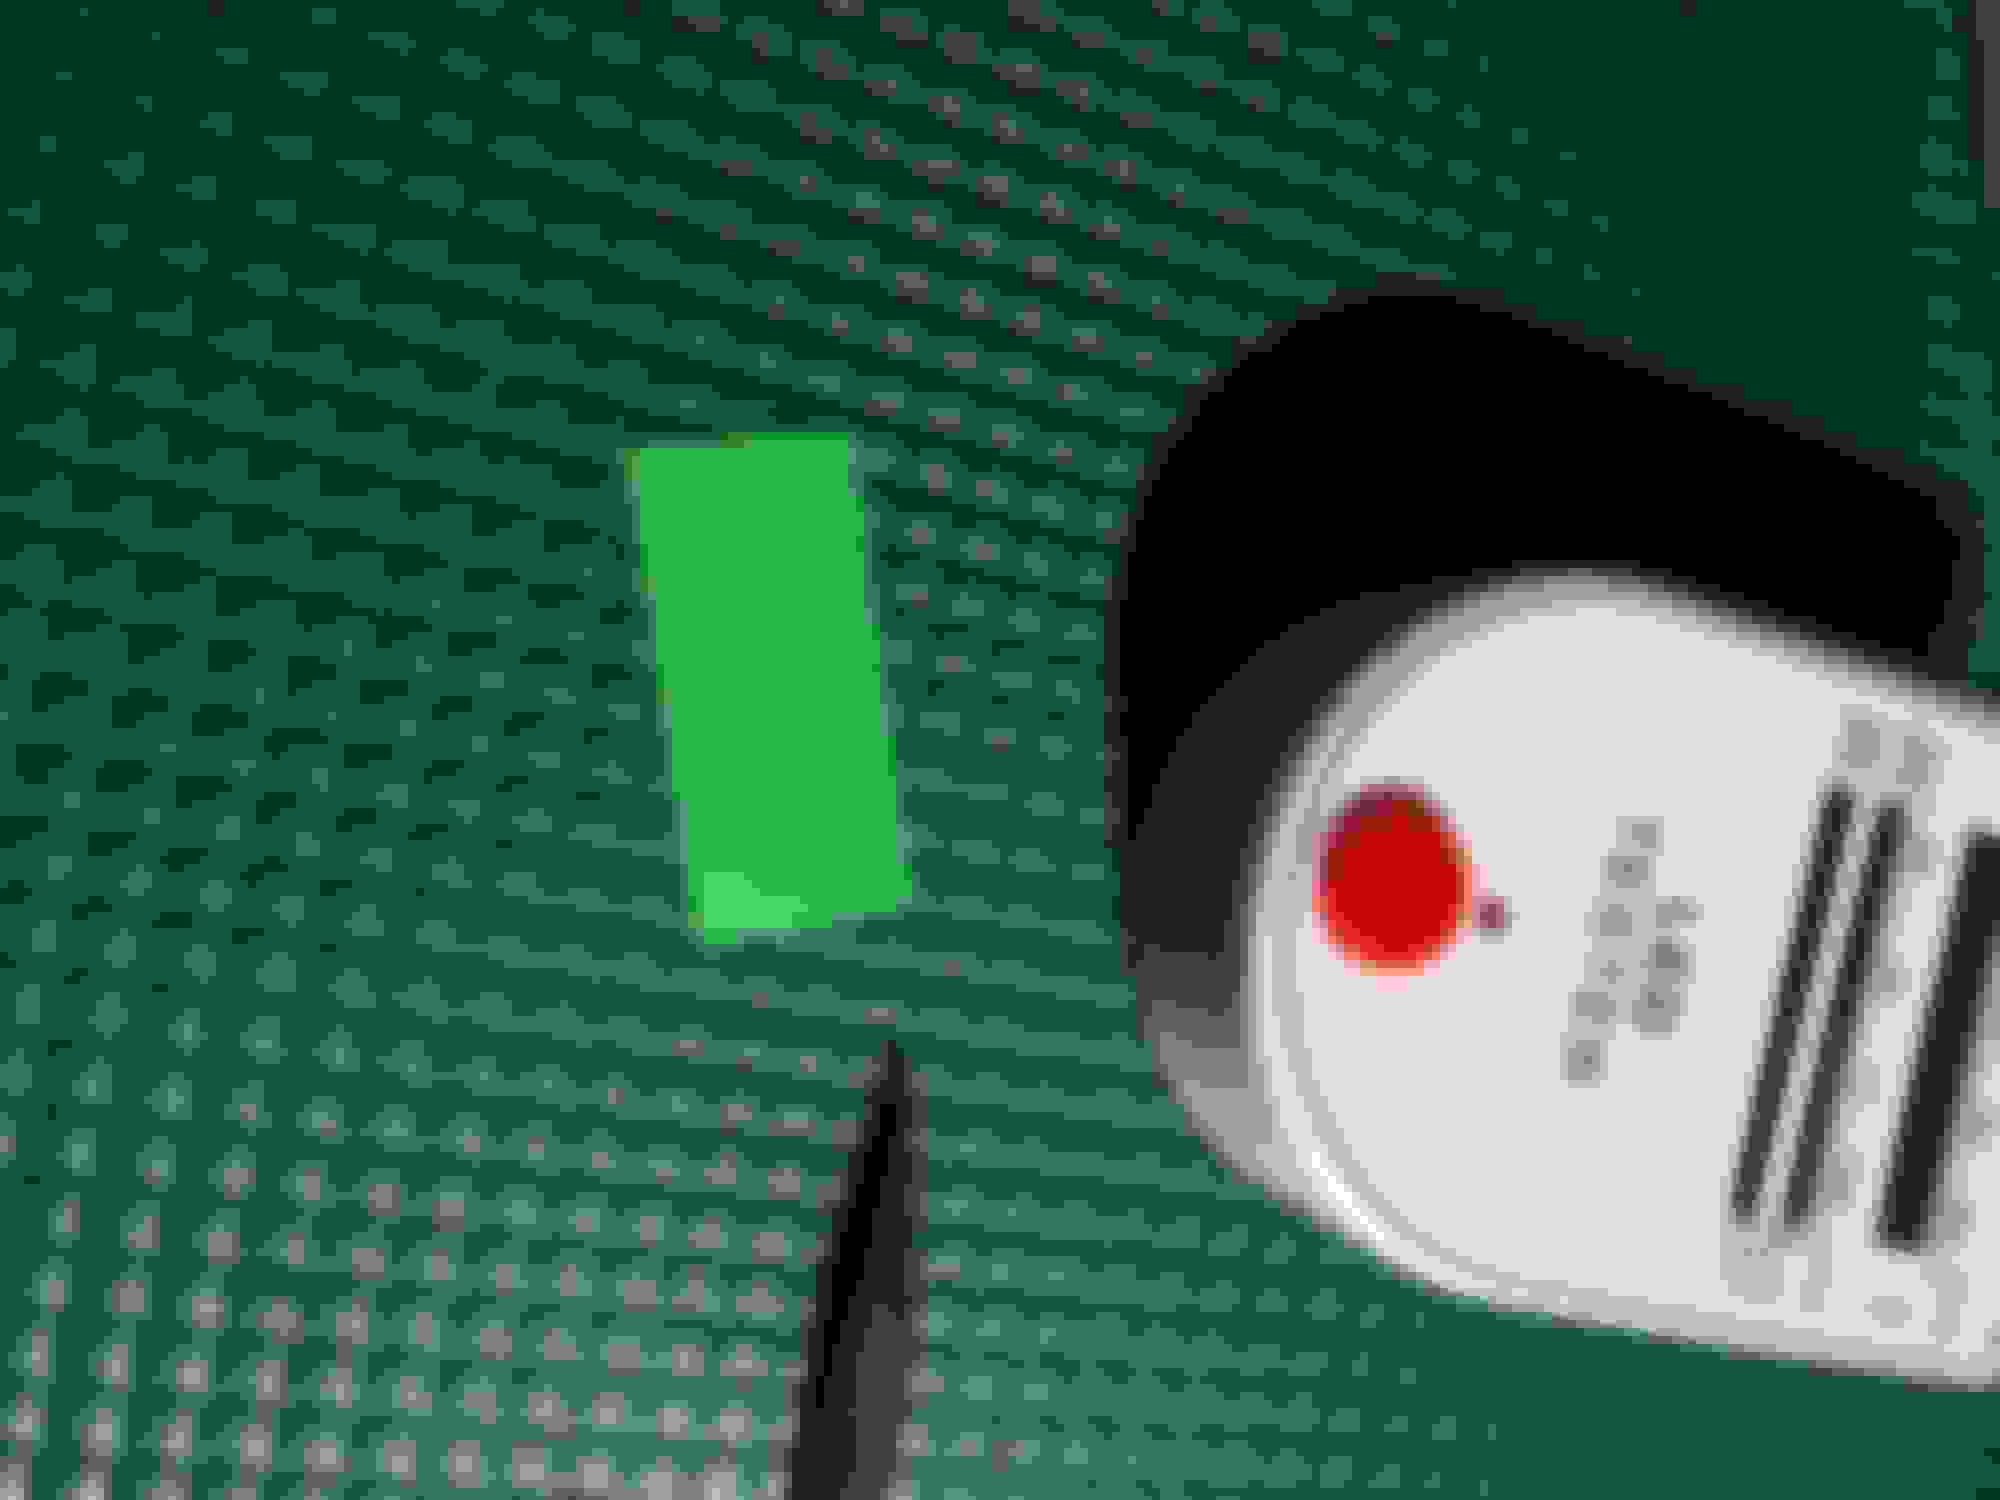
Second ... the clock:
There are numerous Youtube videos showing how to remove the clock and replace the bulb. They don't tell you that you have to totally disassemble the clock to remove the green screen from inside the clock so you can see the true LED colors. In the below picture is what you need to remove from behind the illuminated clock.
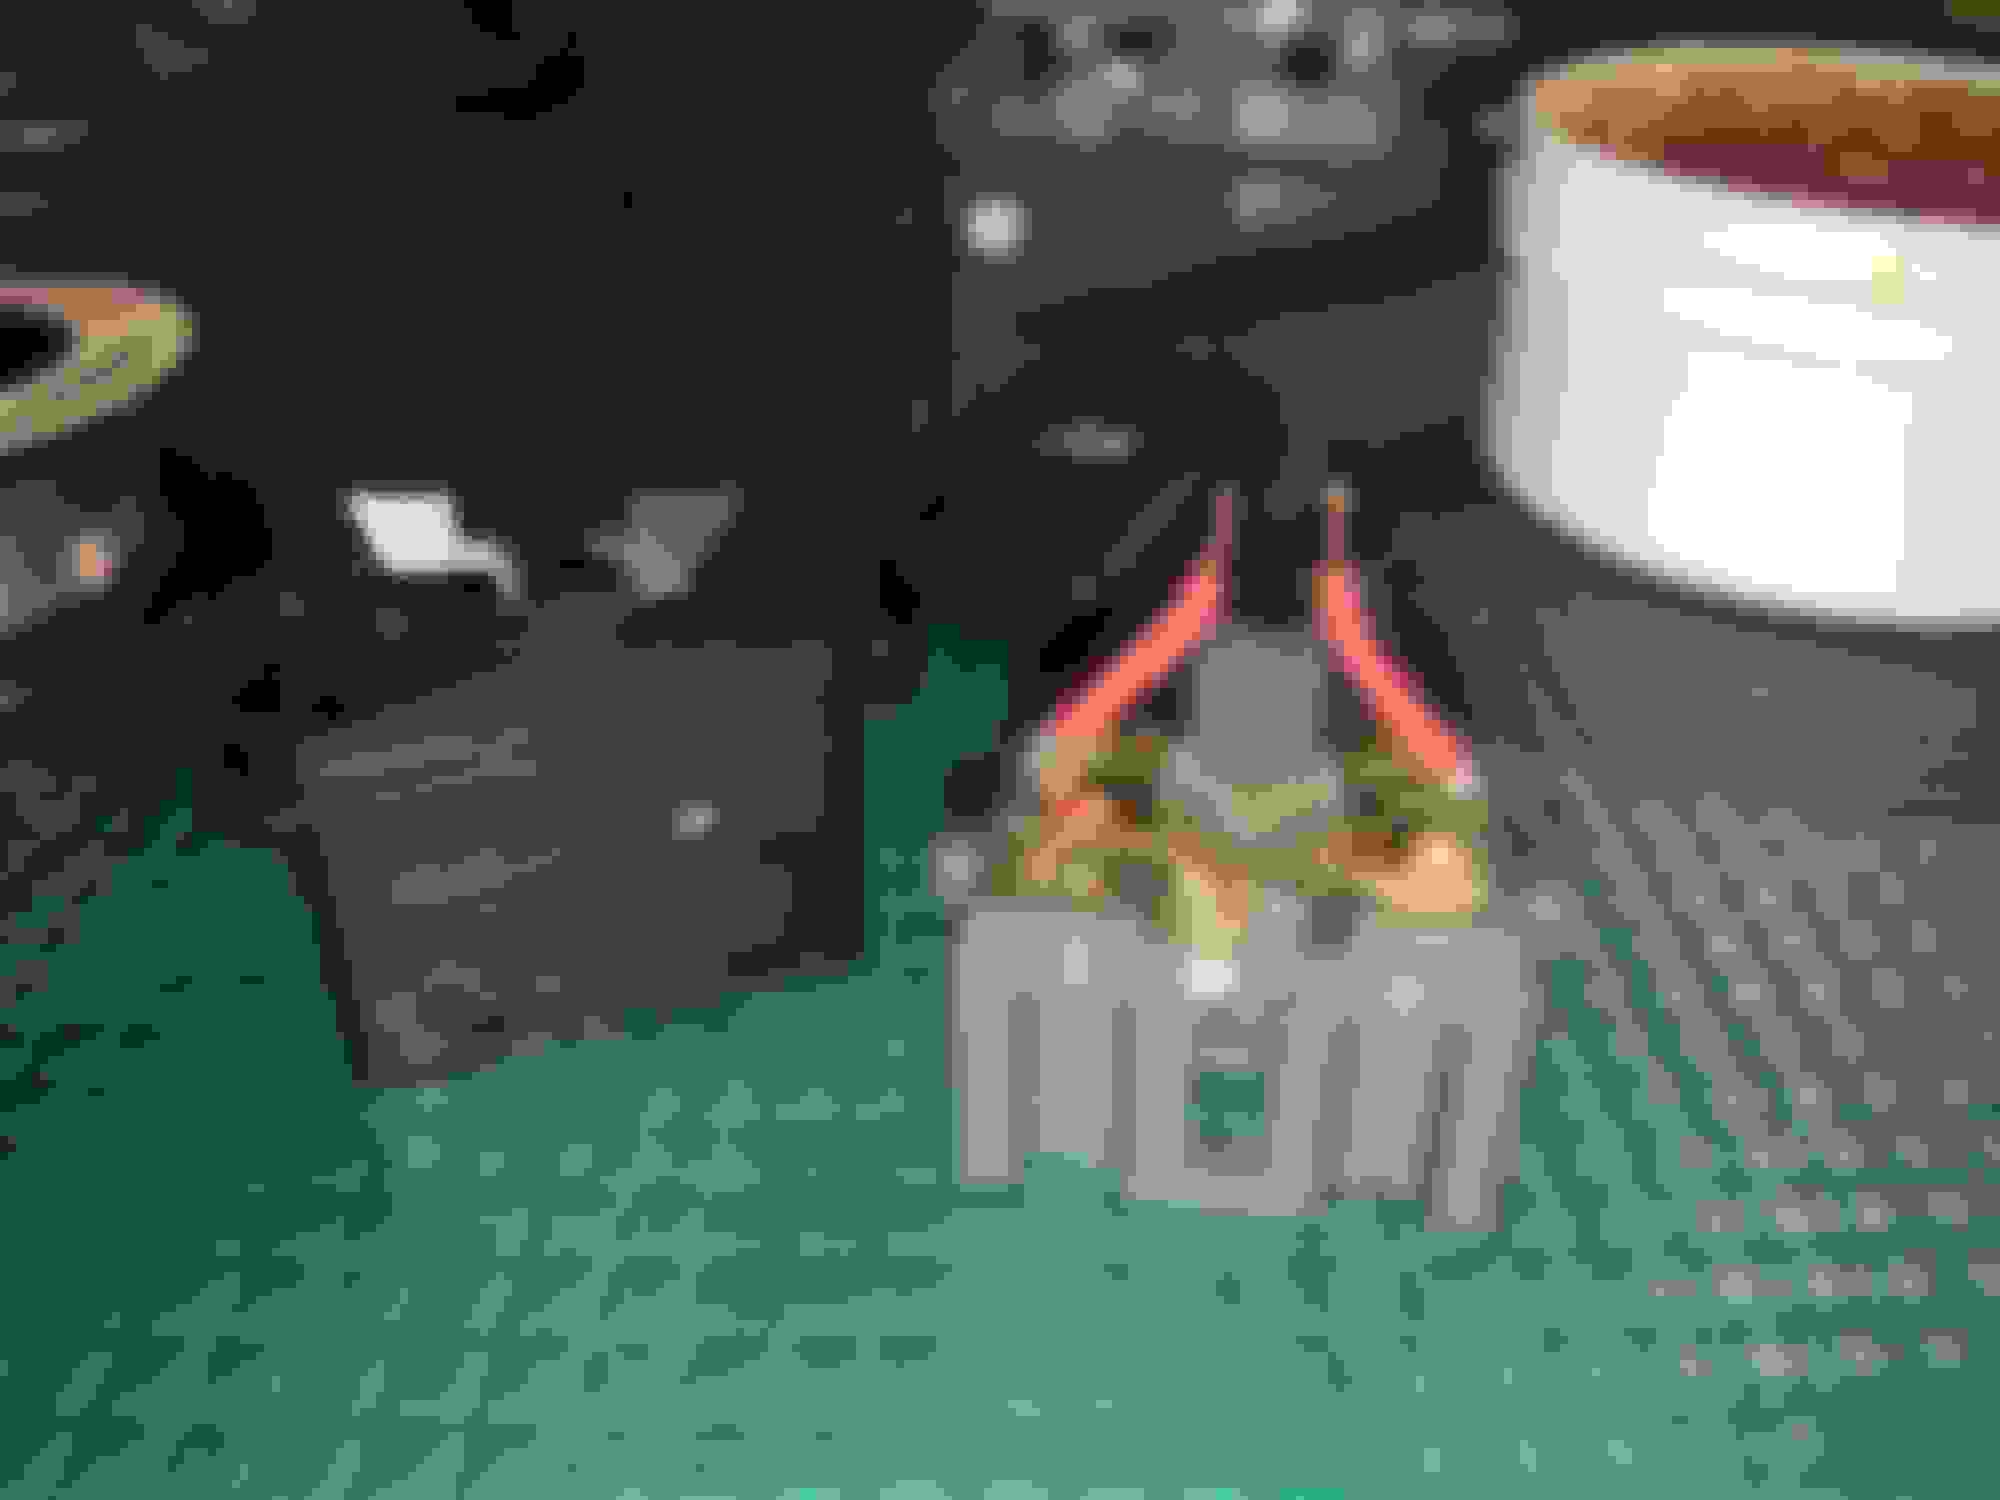
Third... the unlock button:
With this mod you have to totally disassemble the unlock button switch to remove the old green LED and solder in your new LED. But be careful of the two each contact points that will fall out of the switch. Pay attention to which way they are positioned inside the switch so you can reassemble afterwards. Also, this is a great time to see if the contact areas of the switch are pitted. From my own experience, both front window switches were more pitted that the the rear switches due to use. You can use a wire brush or sand paper to clean the contact areas. Wipe clean after doing this.
Removal of the old green LED is easy. Just wiggle it loose or pry the clasps away to remove the old green LED.
Before soldering in the new LED, pay attention to the polarity. I always use a LED Tester to verify the polarity of the LED (Anode=Positive vs Cathode=negative) and also to check the the LED actually works before using it.
You need to flip the switch upside down to see the inside 6 contacts points and familiarize yourself of what will be the positive and negative contact points of the switch. On the switch, Terminal one is negative ground and terminal six is positive 12V... so ... the cathode lead (negative) of the new LED is soldered to terminal one, and the anode lead (positive) of the new LED is soldered to terminal six.
Take two small wires and solder them to the area where the old LED was clamped in. Place the two contact pieces in place that you examined for pitting.
Now put the top piece of the switch back together paying attention the notch on one side of the switch so it will snap together to allow the wires to protrude up the middle portion of the switch. Now solder in the new LED towards the middle of the switch paying attention to the polarity of the LED. Make sure to actuate the switch up and down to ensure it doesn't bind up from the solder in LED leads. Also, add the top cover. Test the switch that the LED works with no problem before installing back into the clock slot.
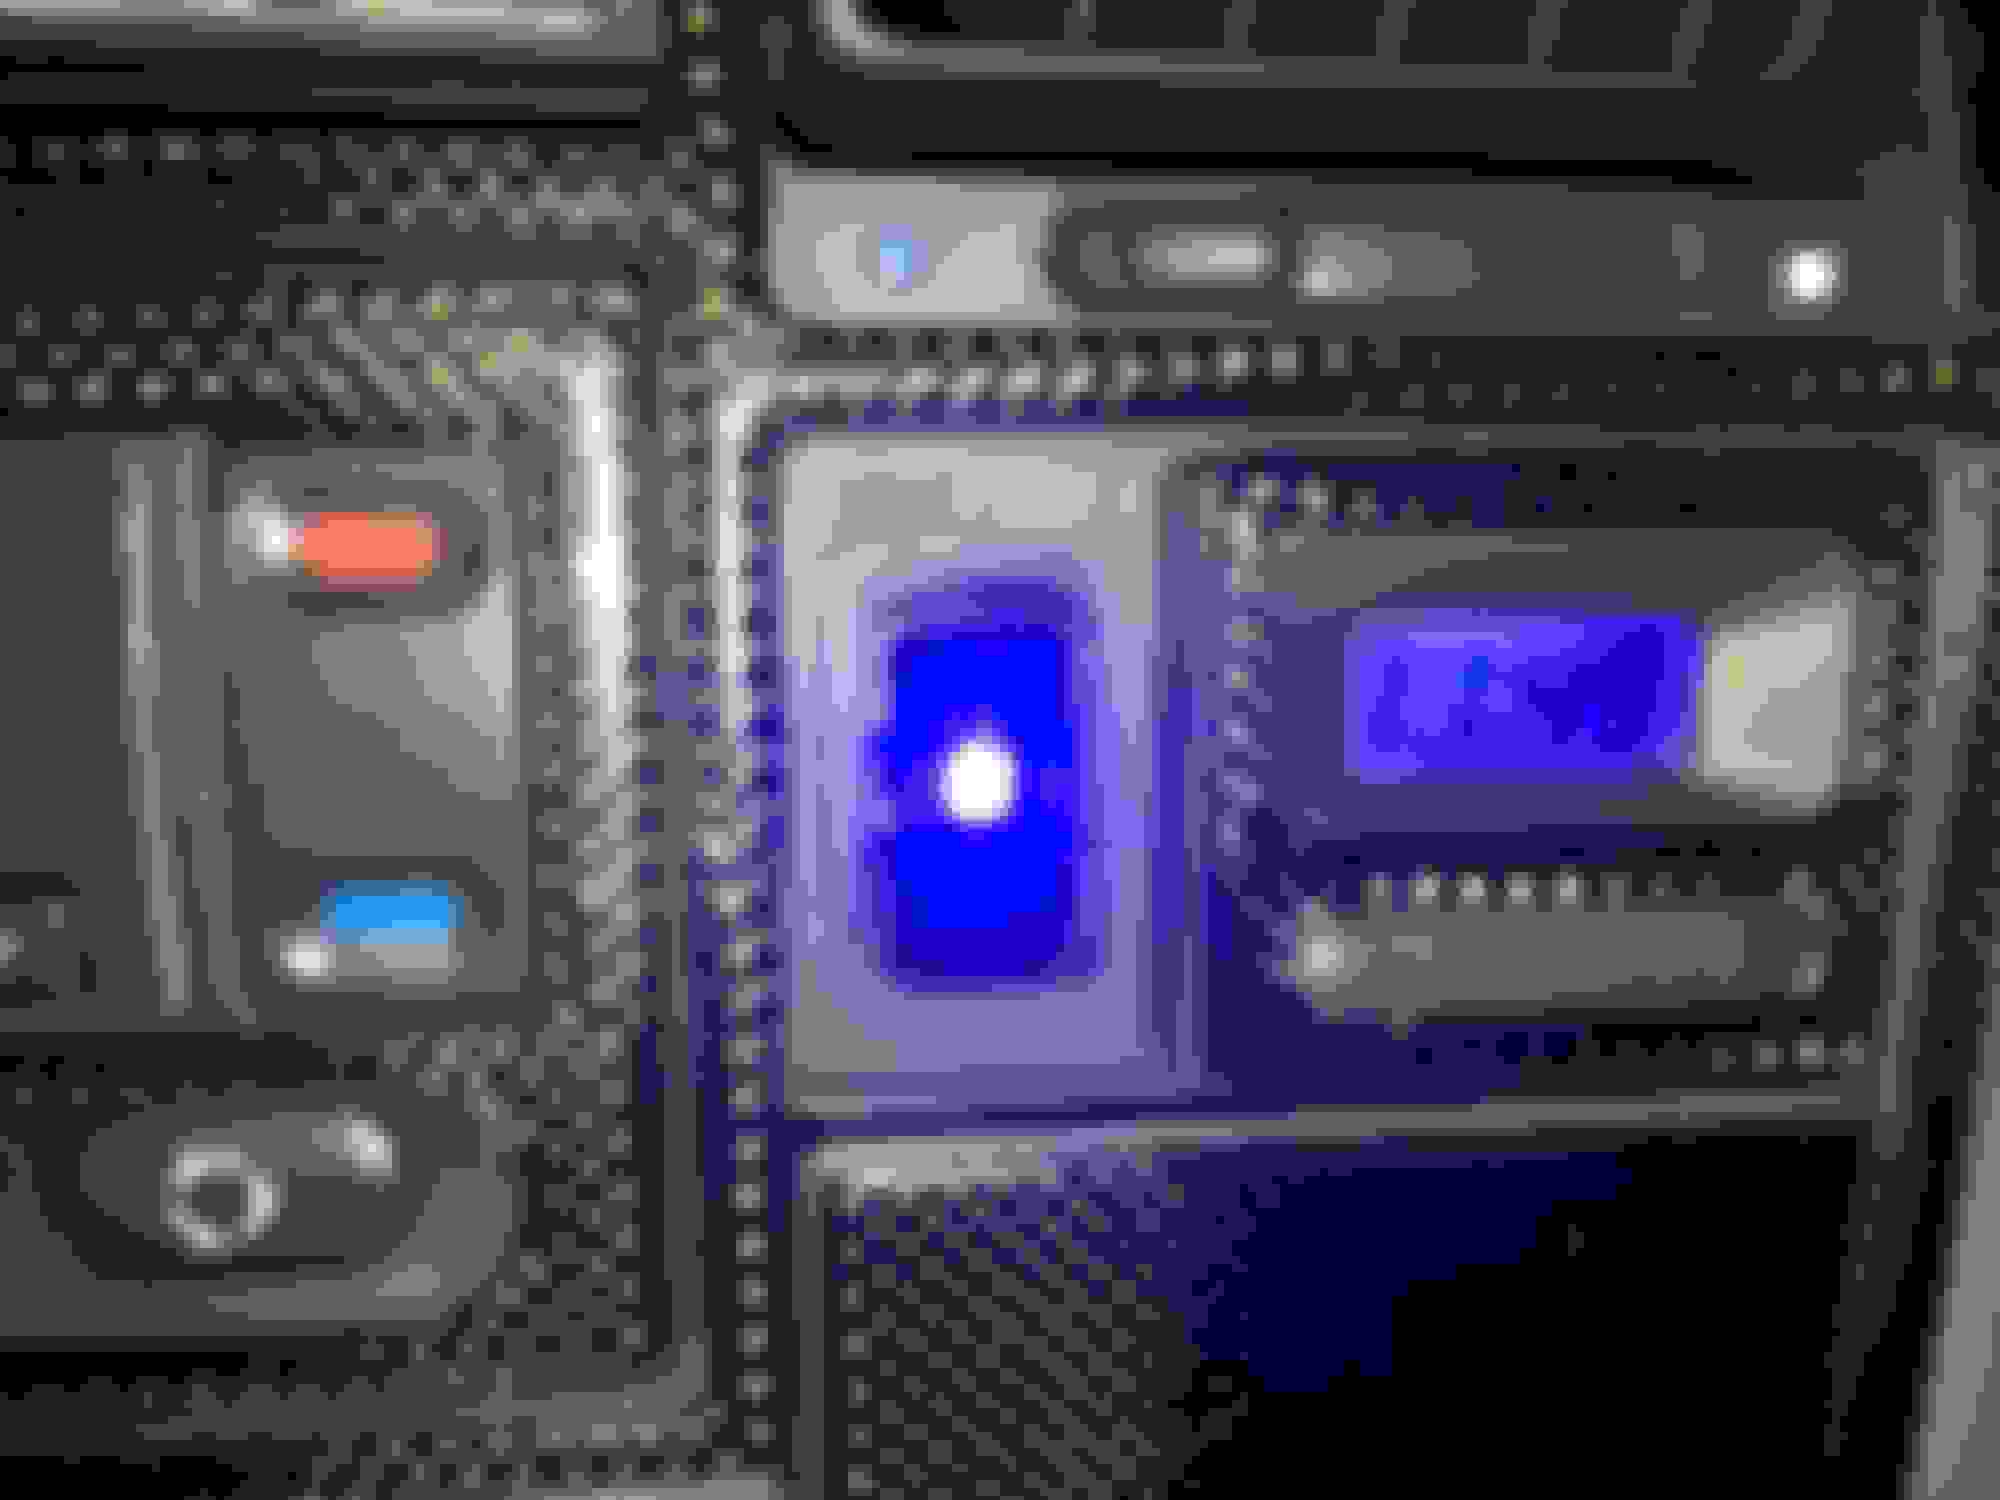
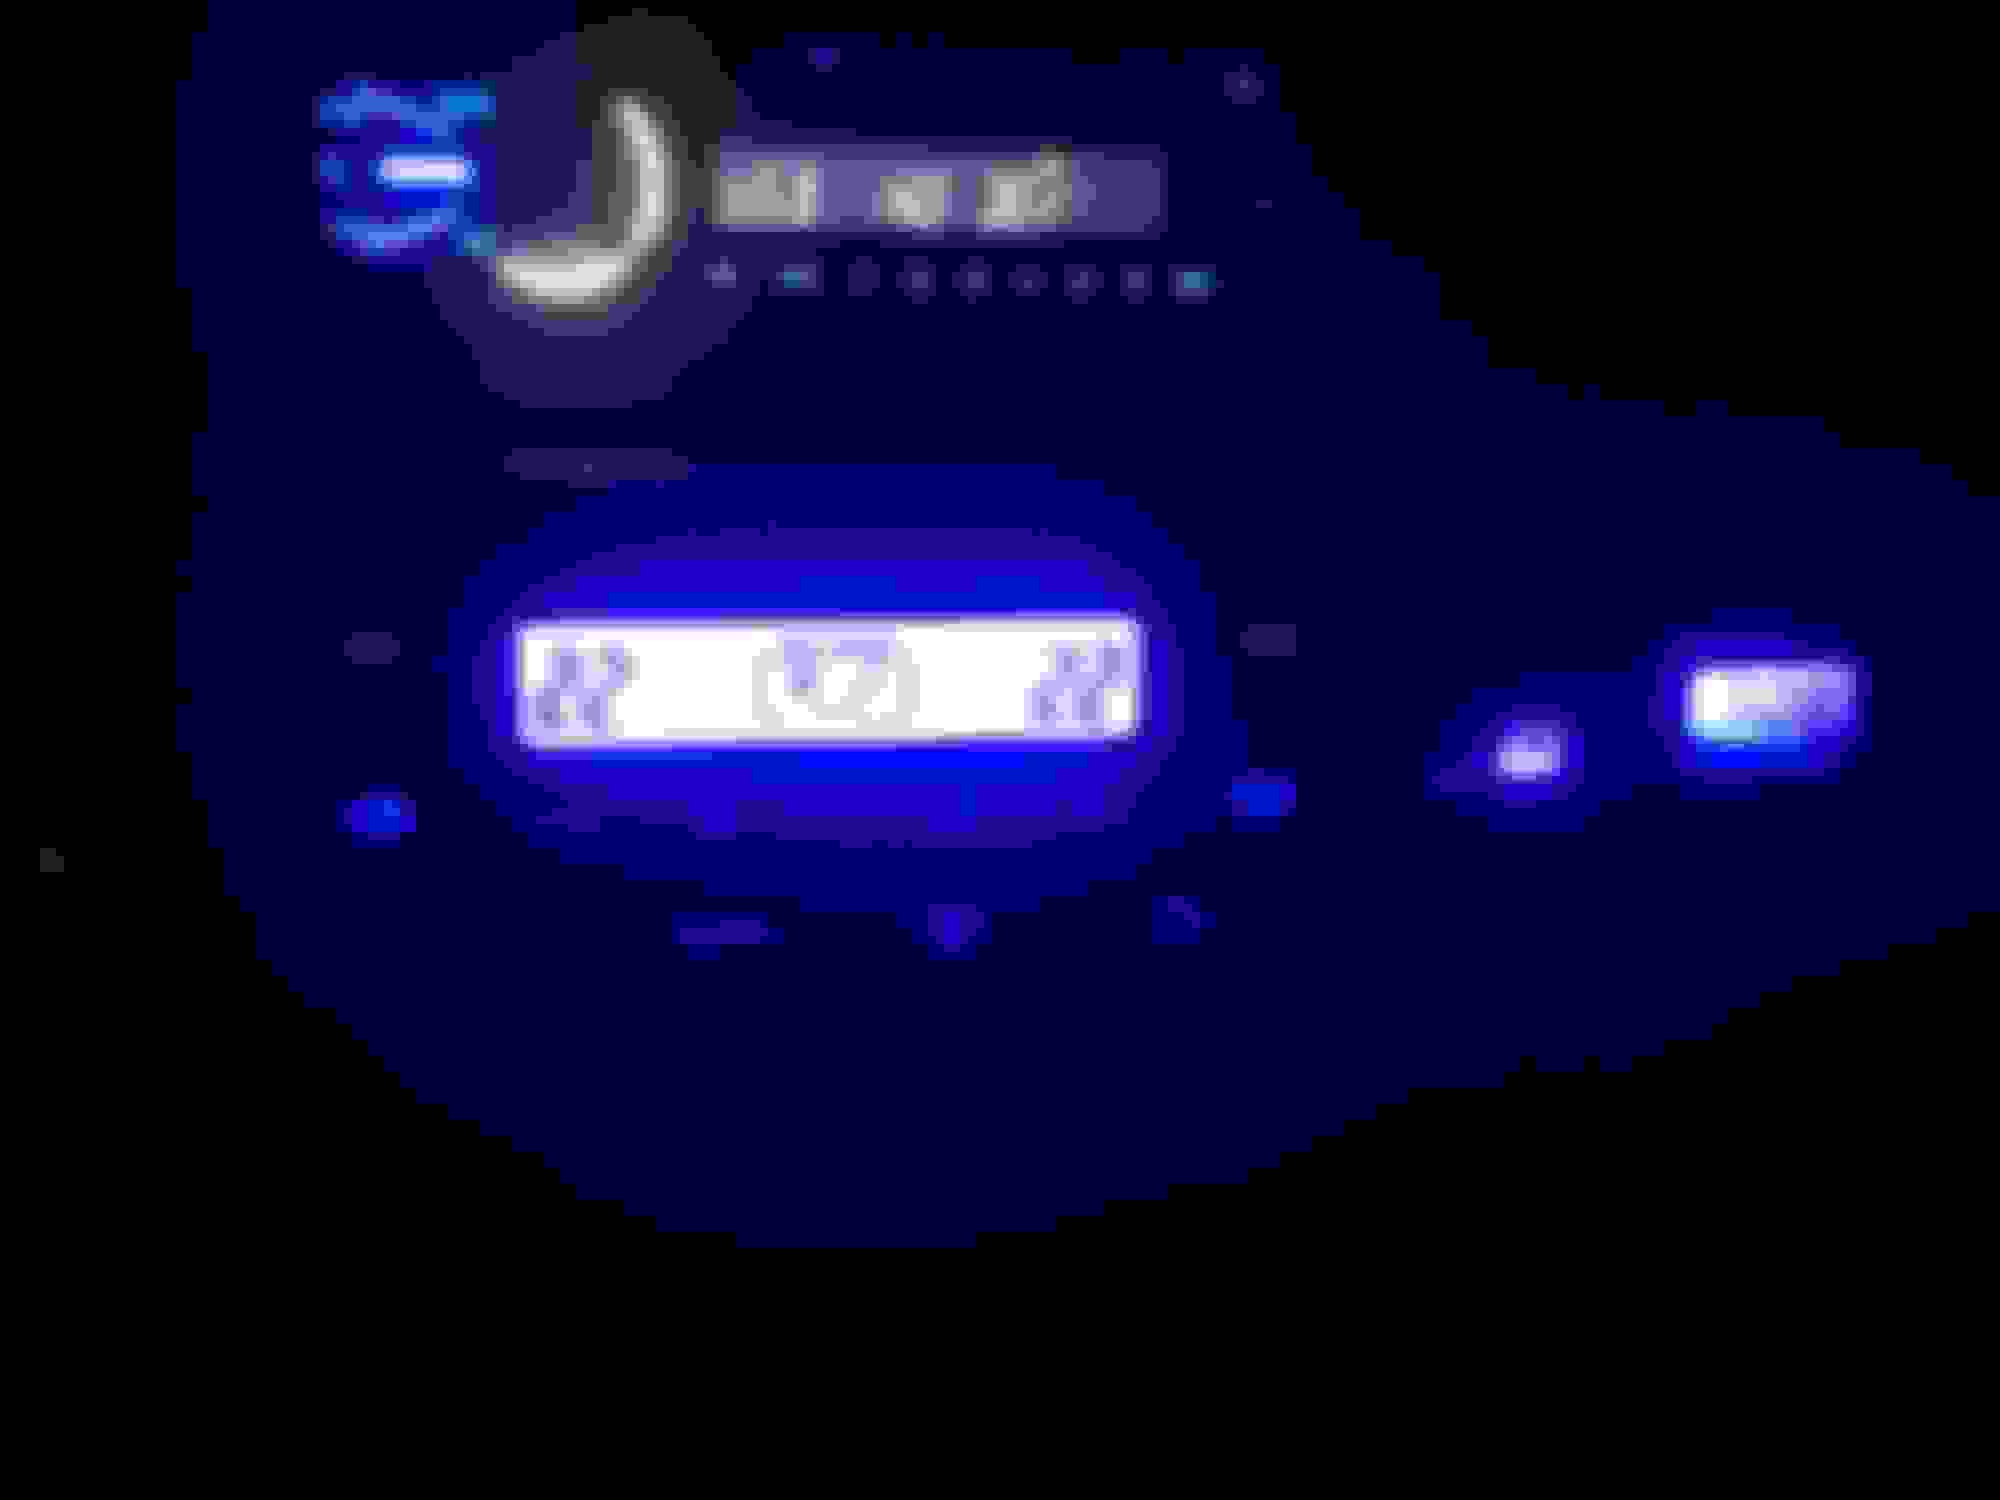
Fourth... the Climate Controls bulbs:
There are various YouTube videos showing you how to remove the Discovery climate control and add bulbs. Keep in mind the original bulbs are the same T5 bulbs I mentioned earlier from eBay distributer. There is no soldering involved but only twist and turn the old incandescaent bulbs and replace with the new LED T5 bulbs.
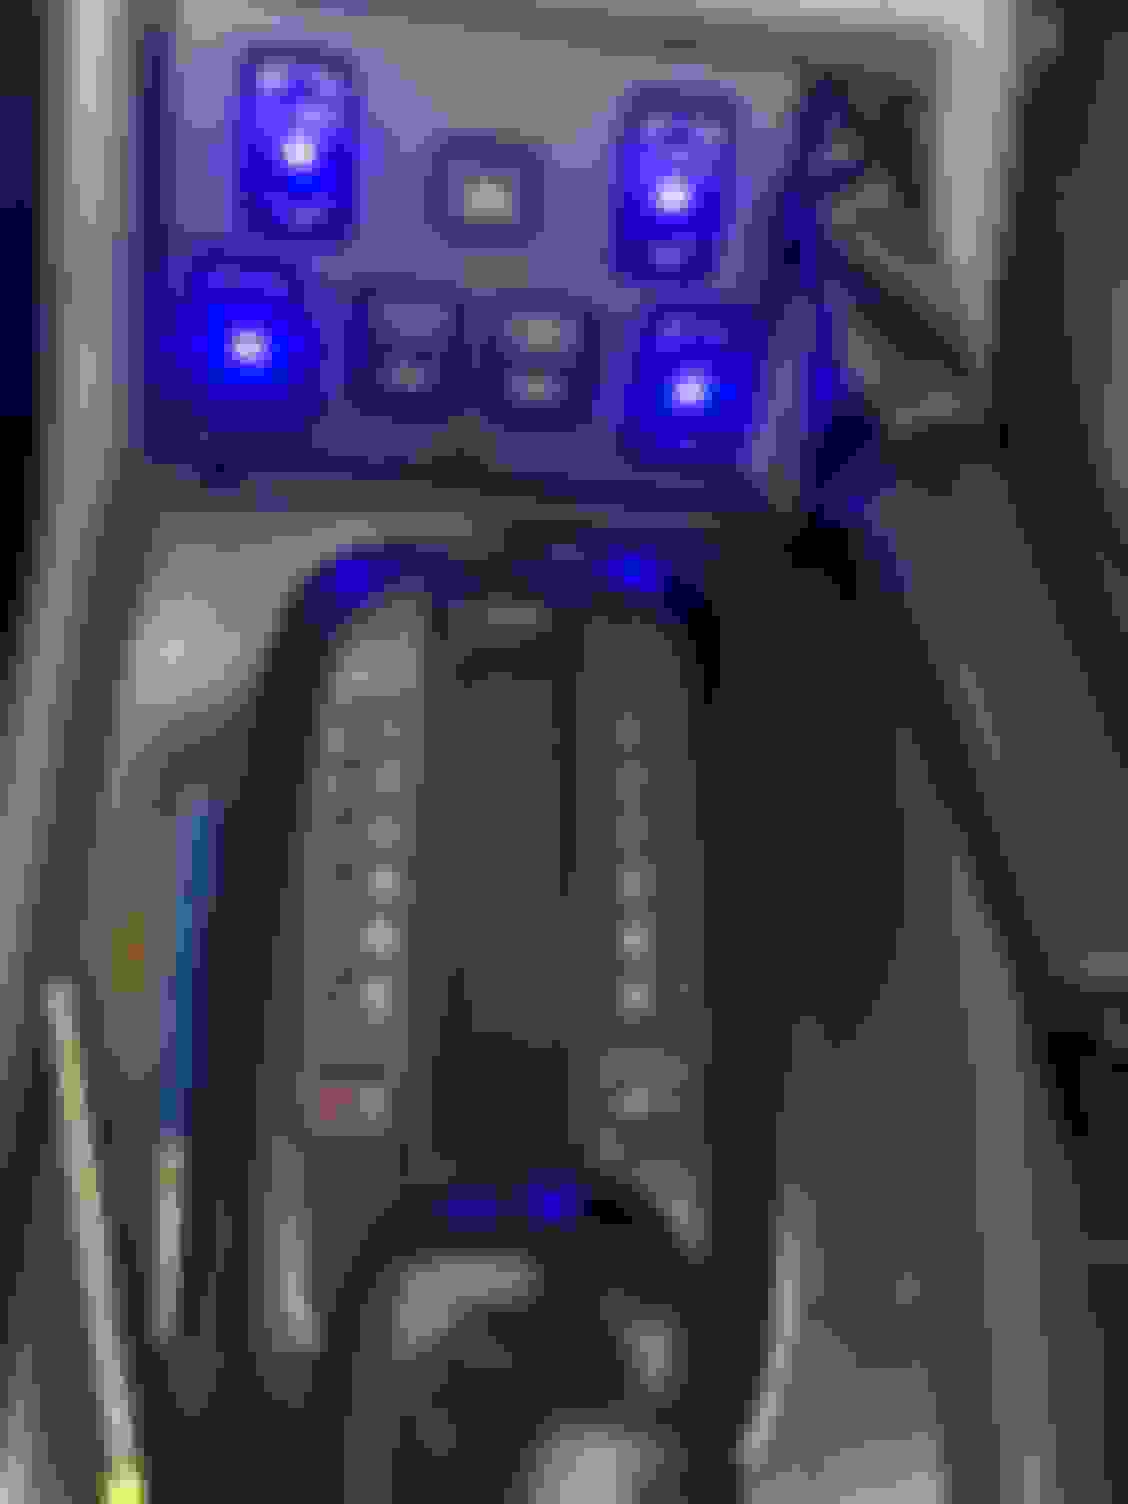
Fifth... power windows switches:
You can follow the same info as I stated the door unlocks switch but x4 for the center window switches.
Ye Olde green LEDs for the center window switches
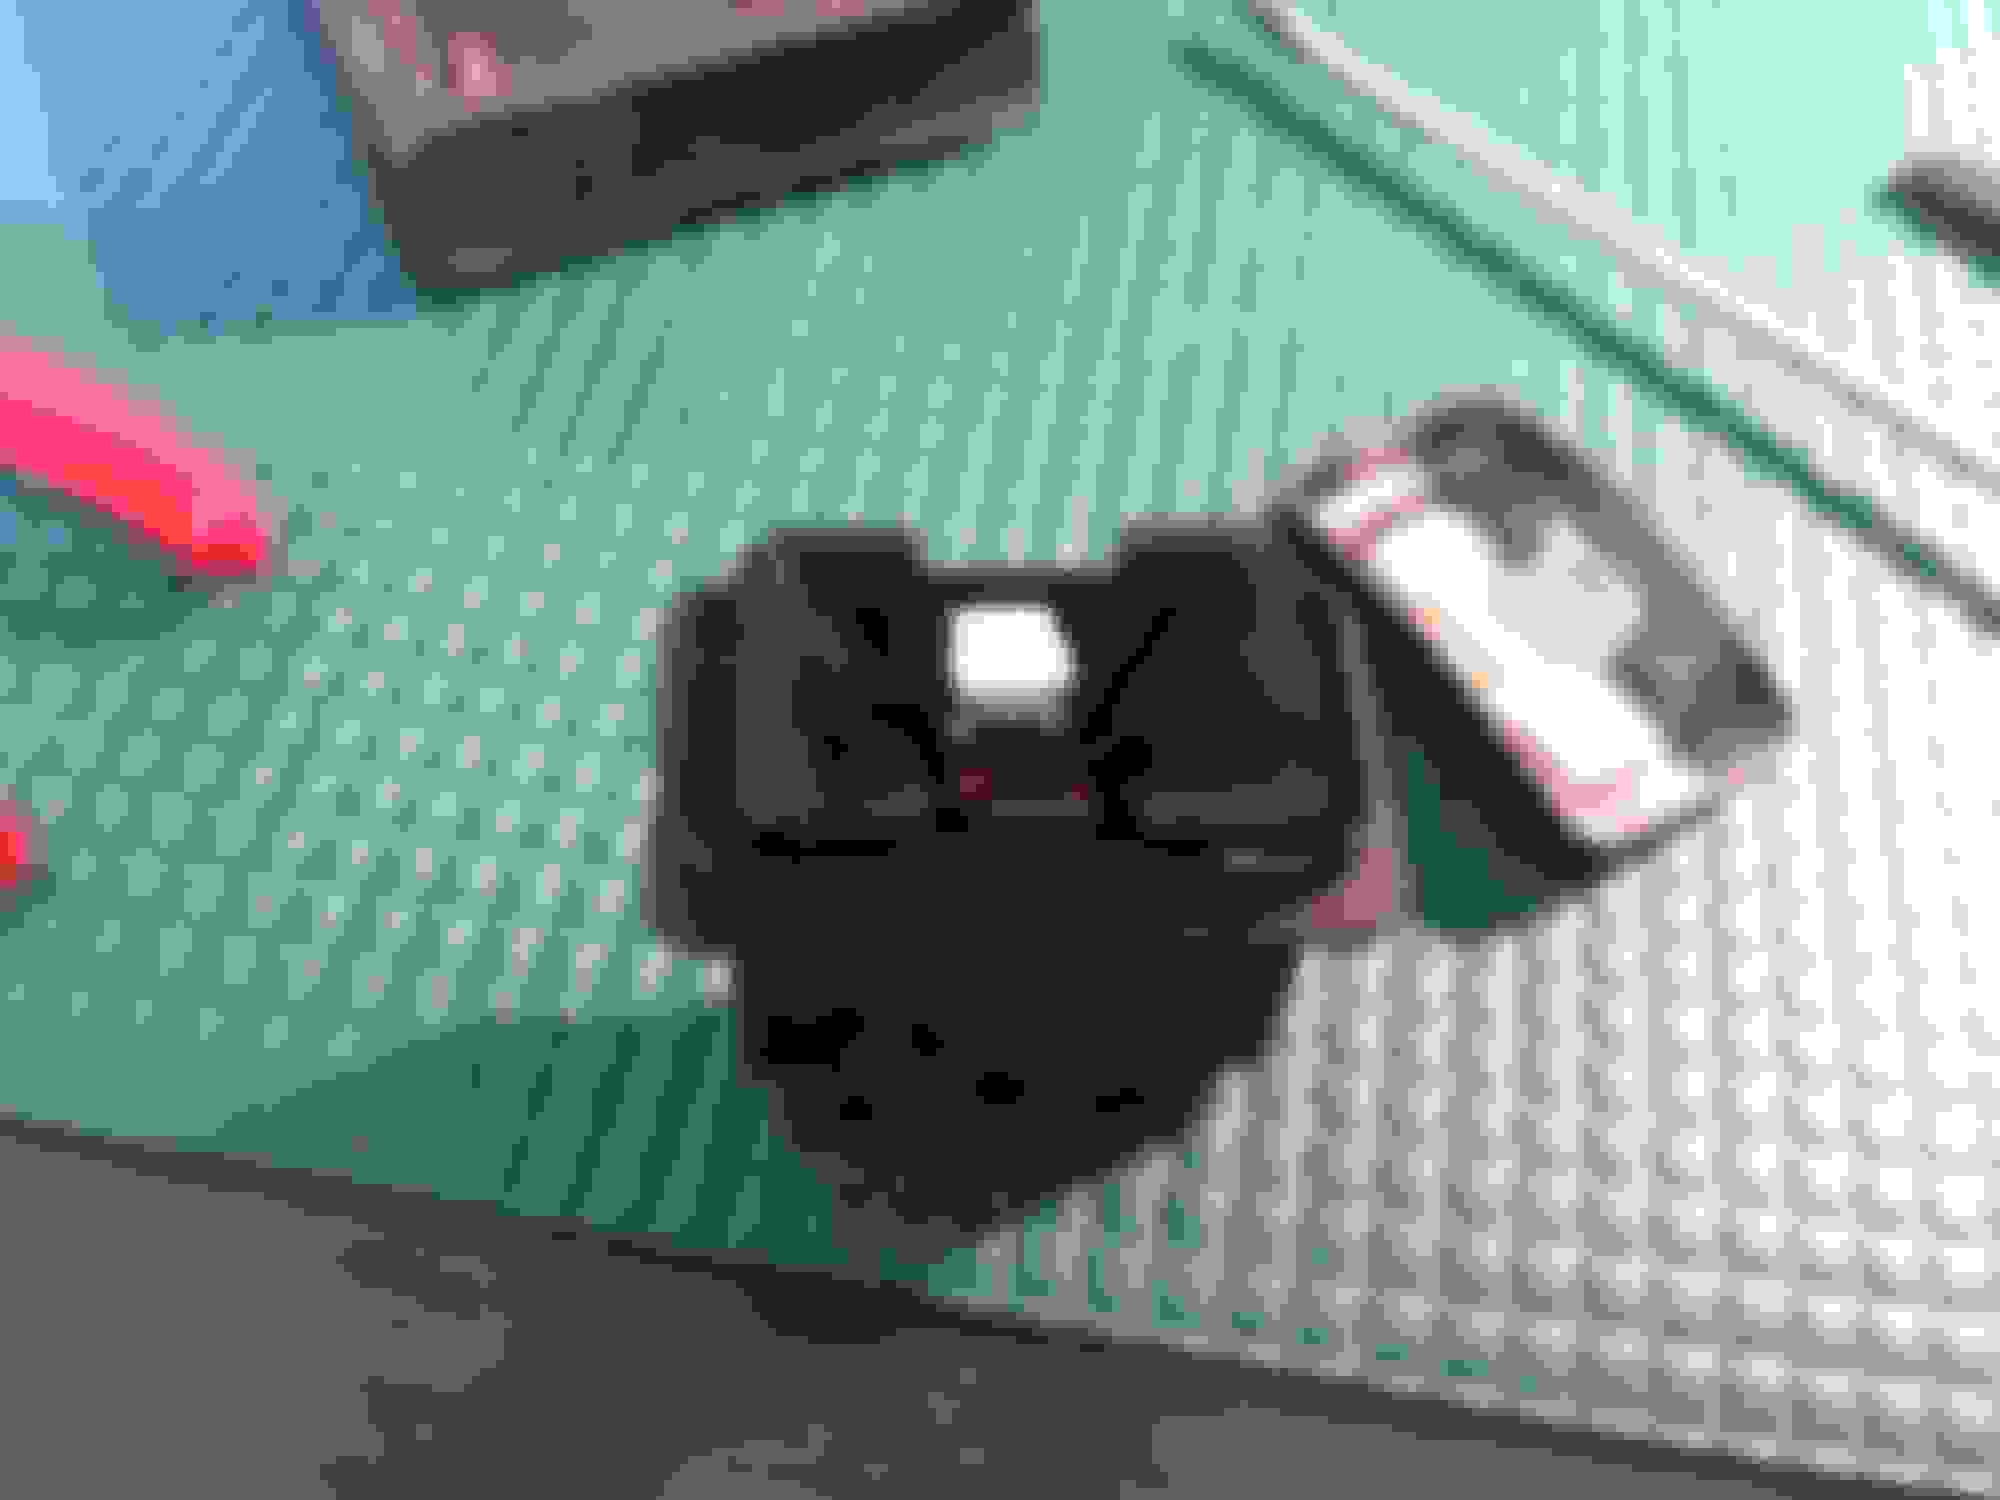
New blue window switches LEDs. the iPhone camera makes these extremely bright like a Disco ballroom but they are not.
nuff said...
The dimmer switch near the drivers side still dims the LED's with no modification.
I need a beer now...
Last edited by JUKE179r; Aug 26, 2017 at 05:52 AM.