When you click on links to various merchants on this site and make a purchase, this can result in this site earning a commission. Affiliate programs and affiliations include, but are not limited to, the eBay Partner Network.
Condenser Fan was noisy and blew the fuse. After searching the forum, I found a thread from 2013, which gave the aftermarket part numbers for fan replacement.
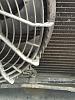
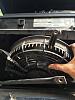
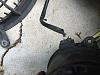
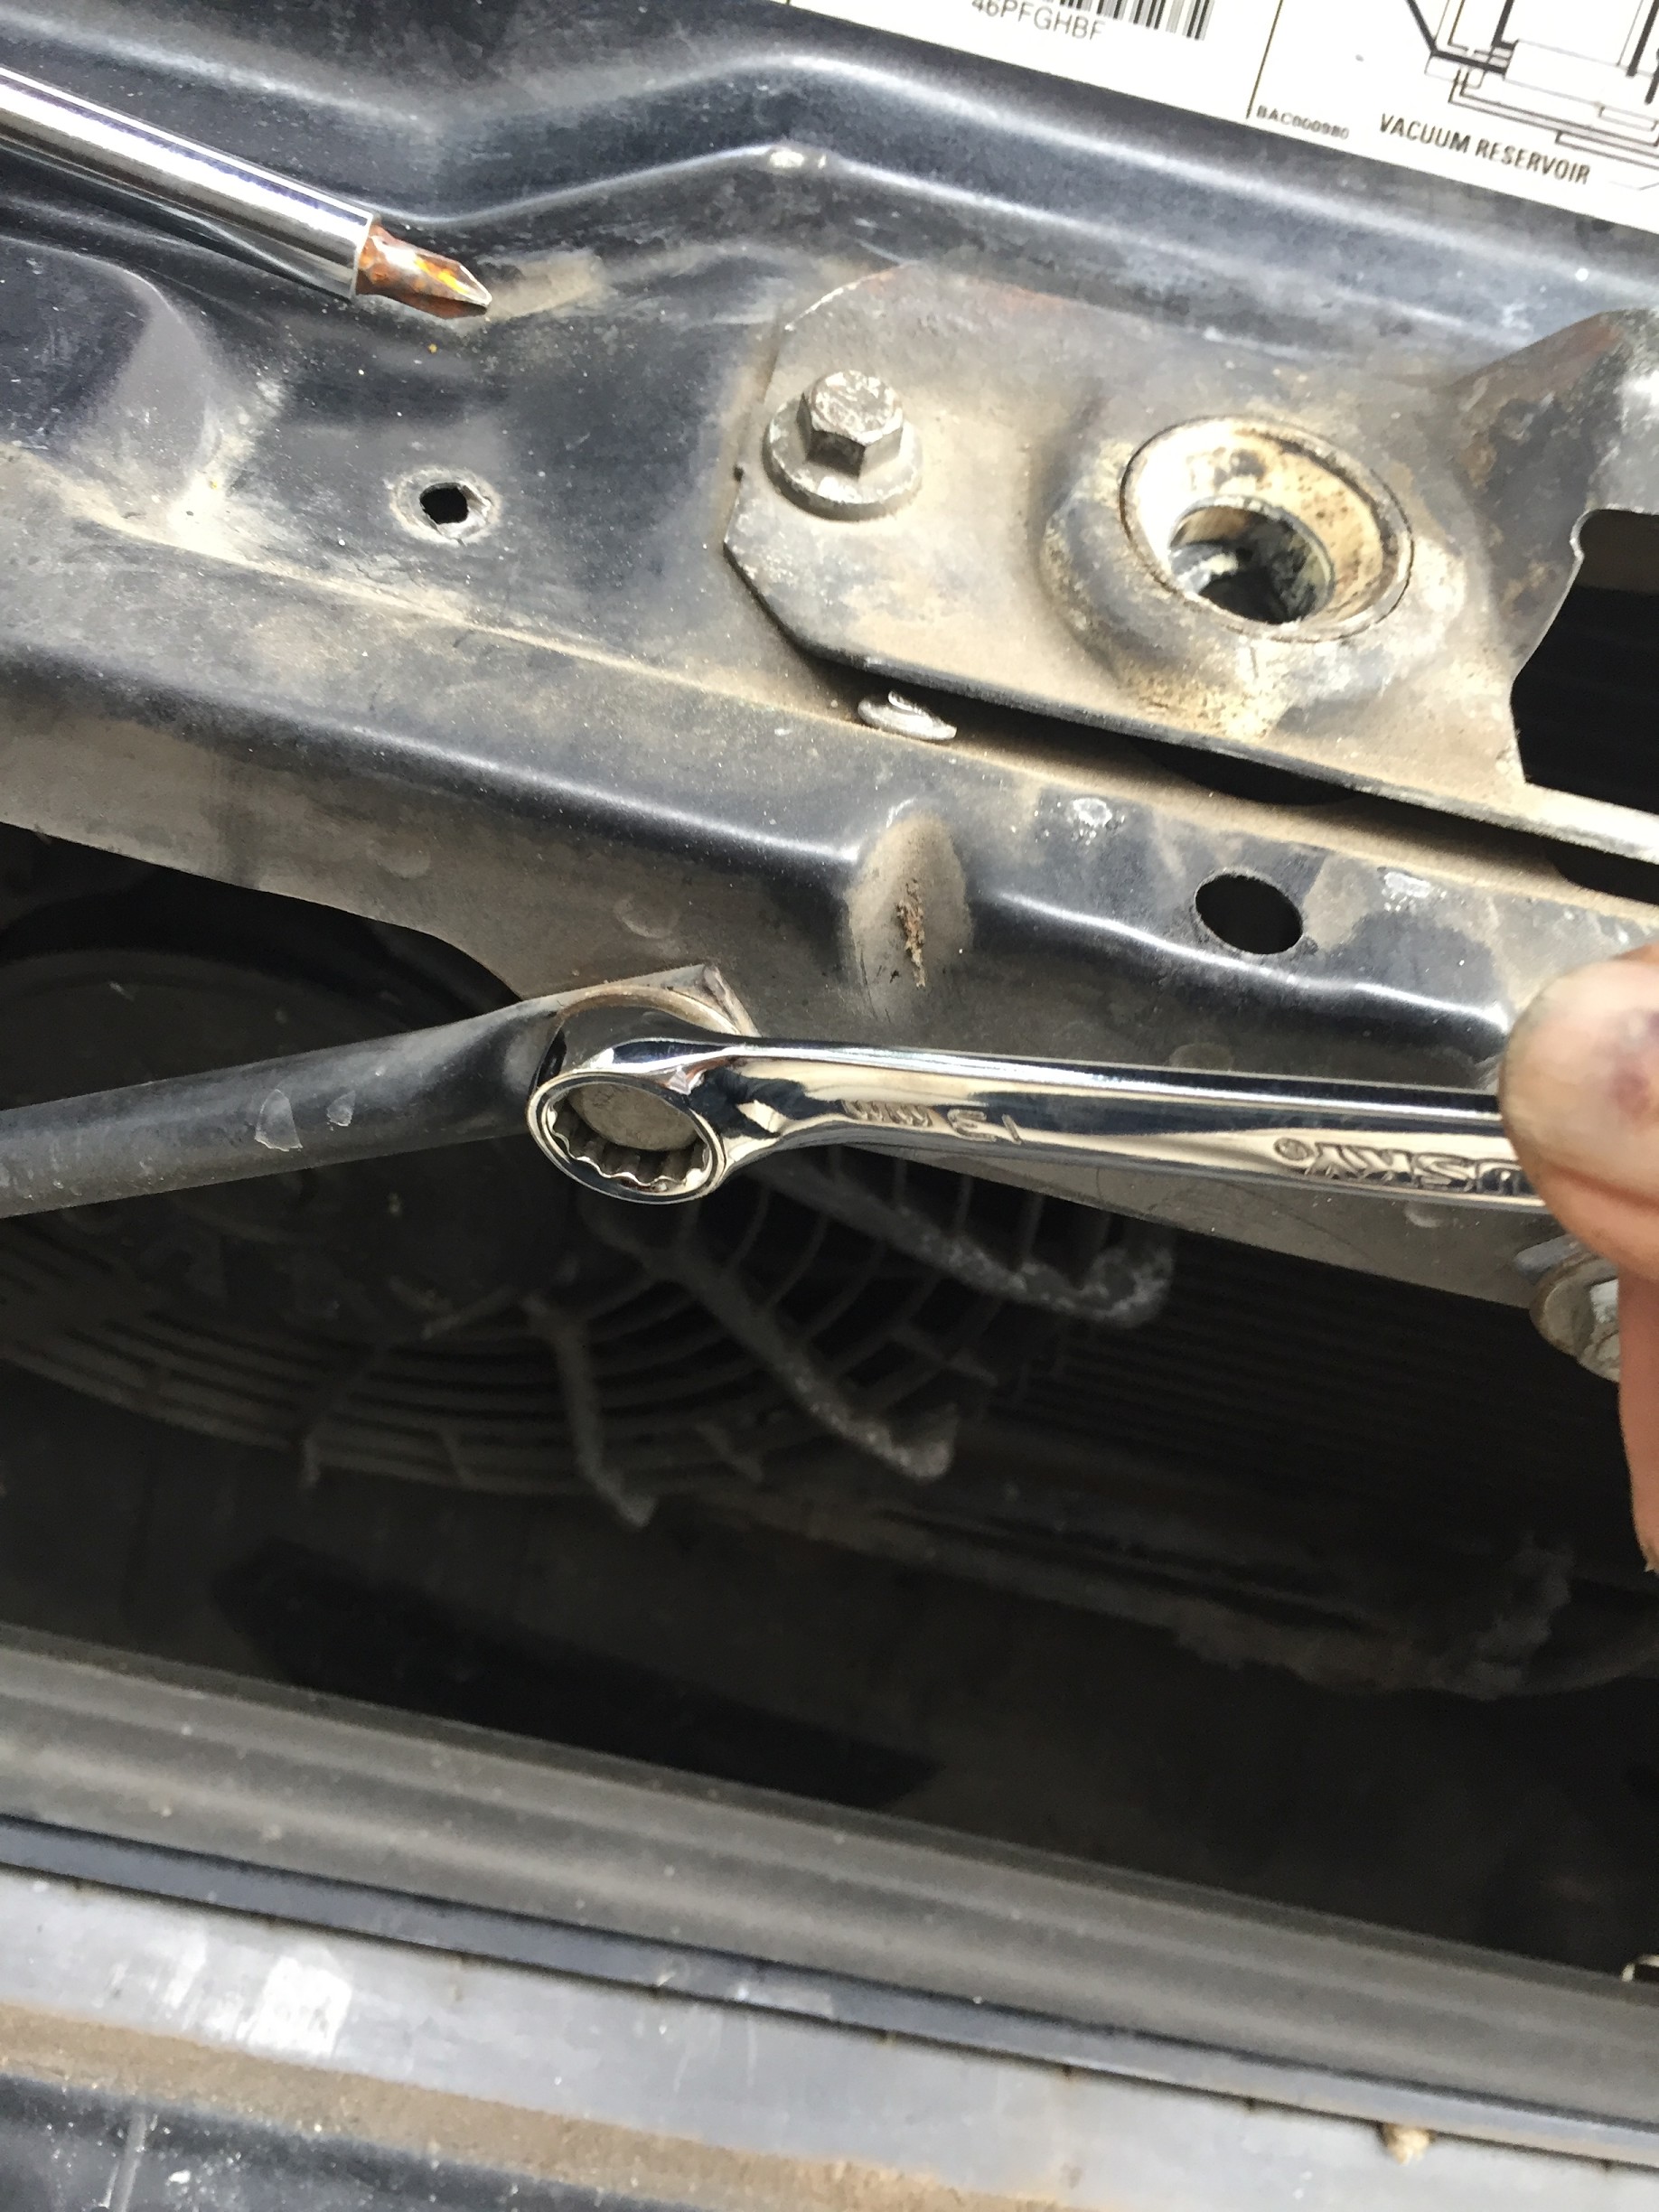
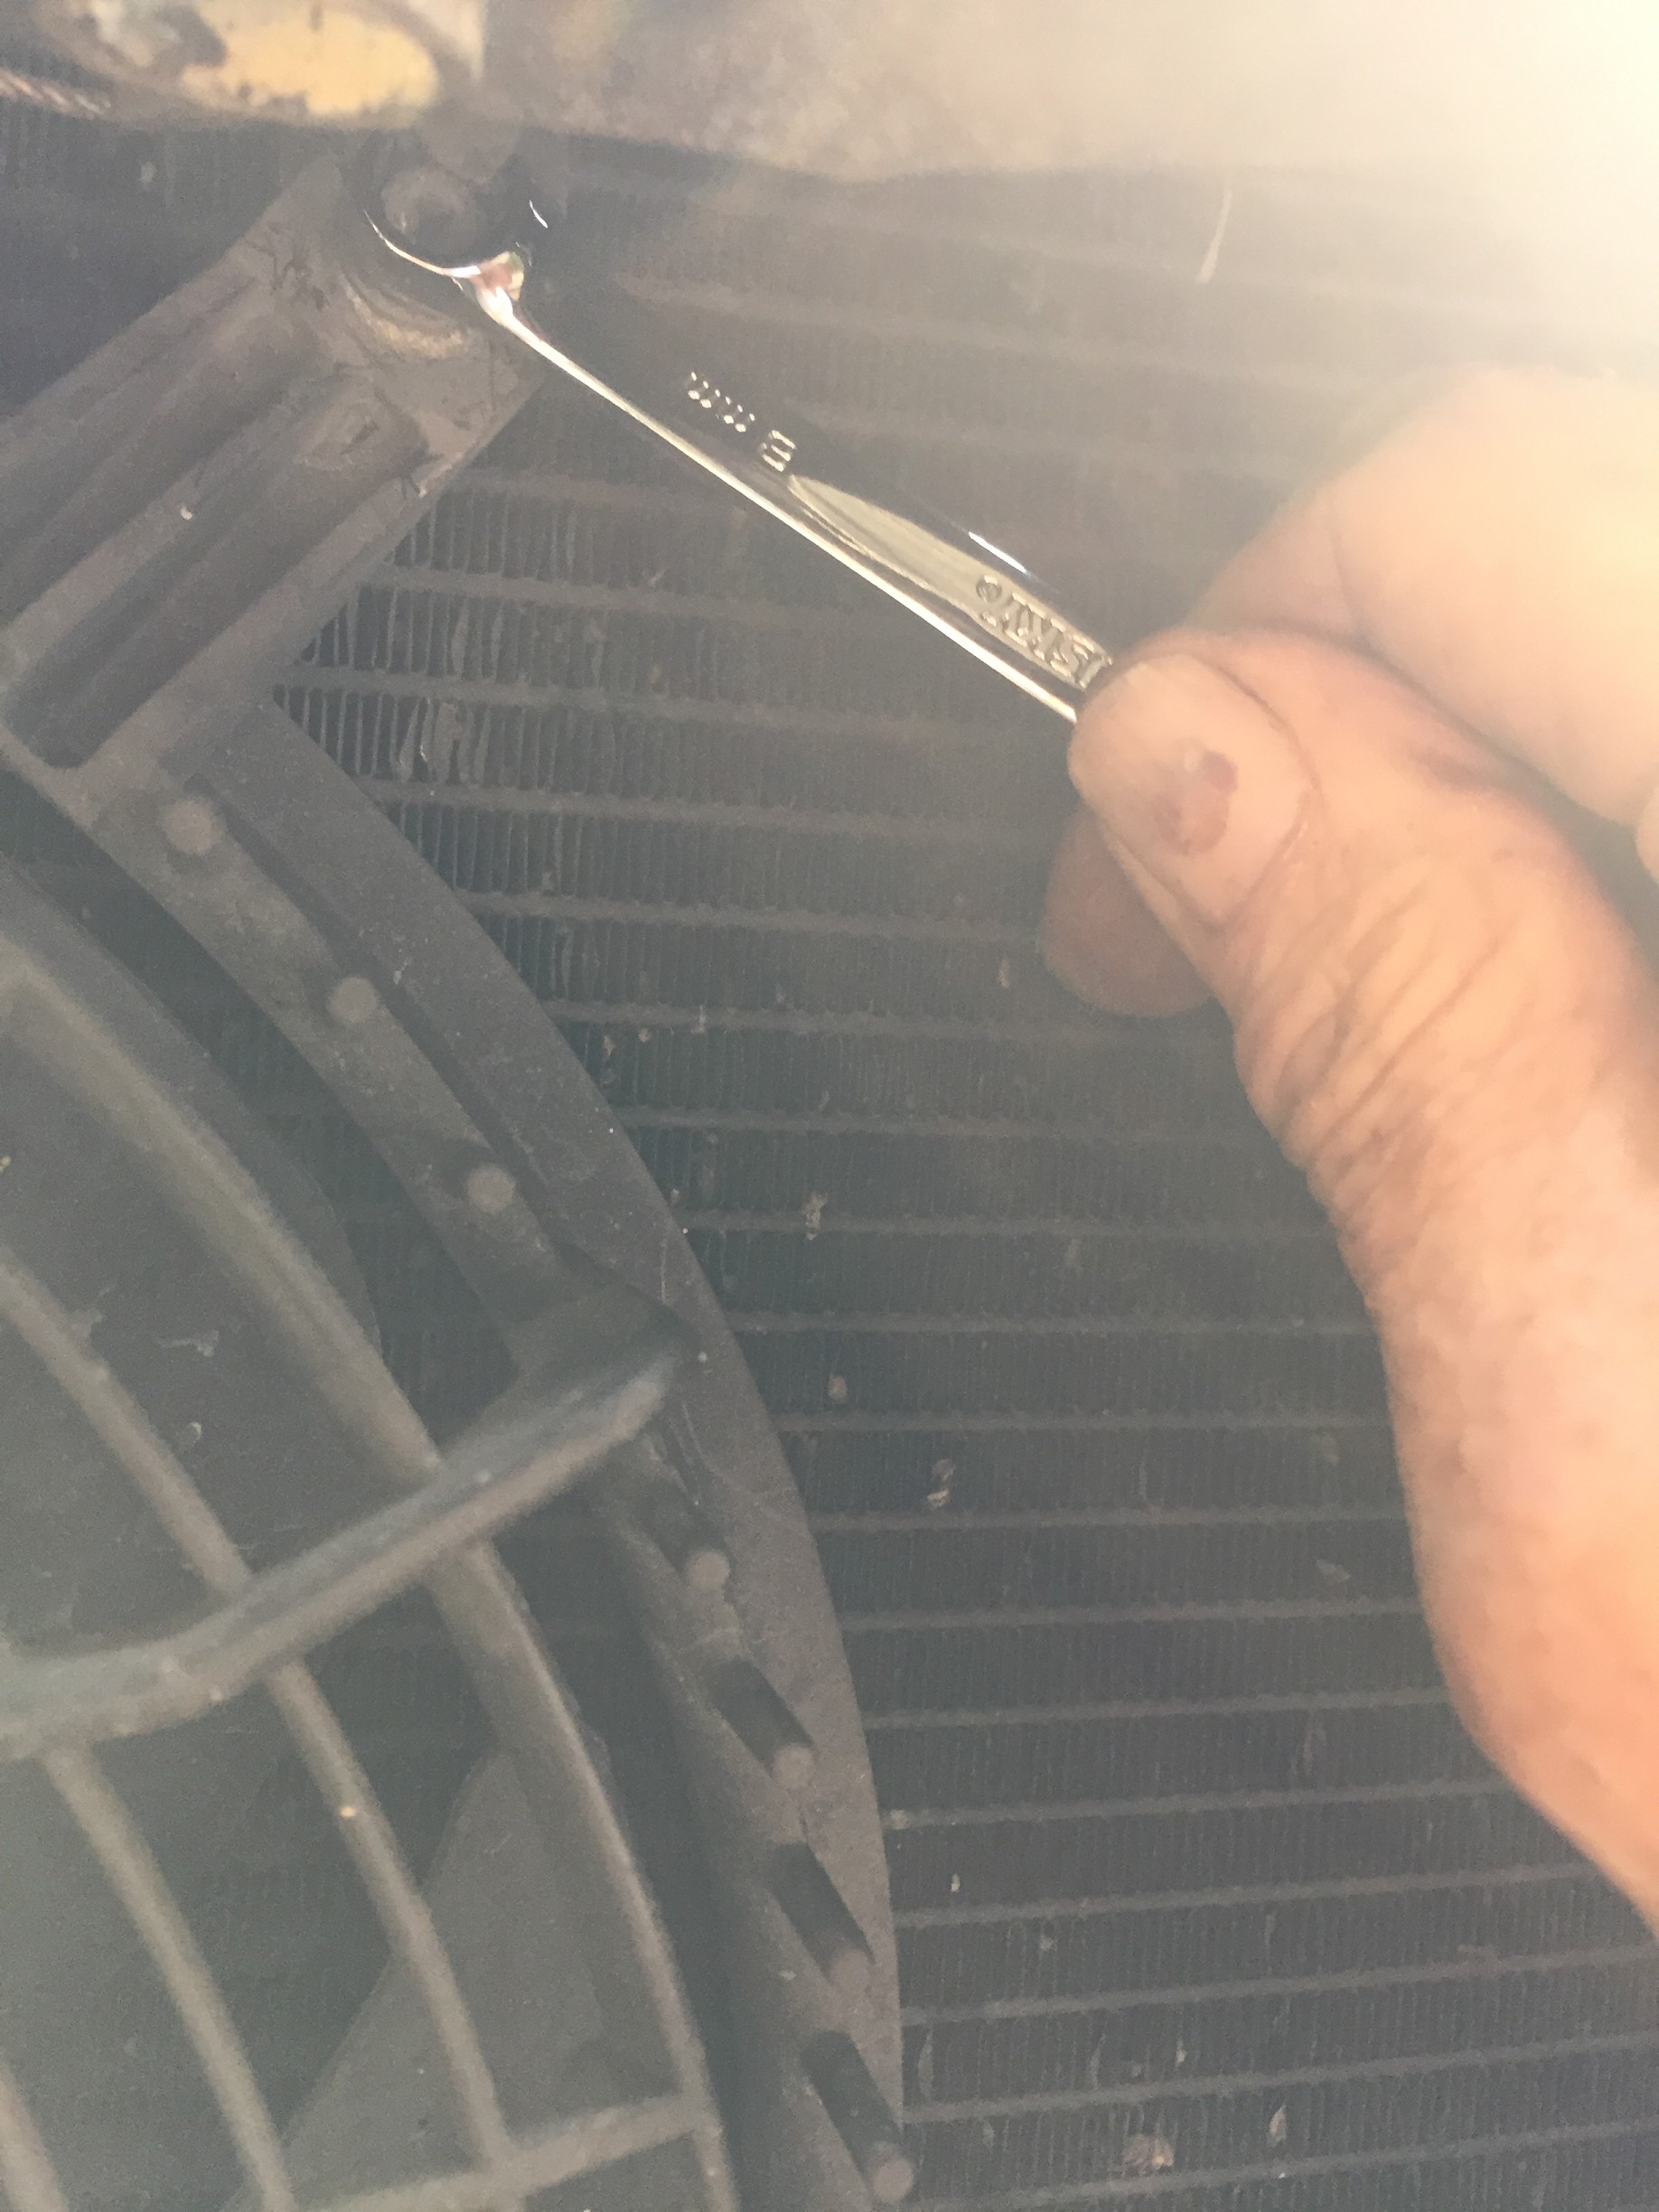
First things first, I removed the grill to get to the fan. Then removed the top bolt on the brace on the left side and loosened the bottom one.
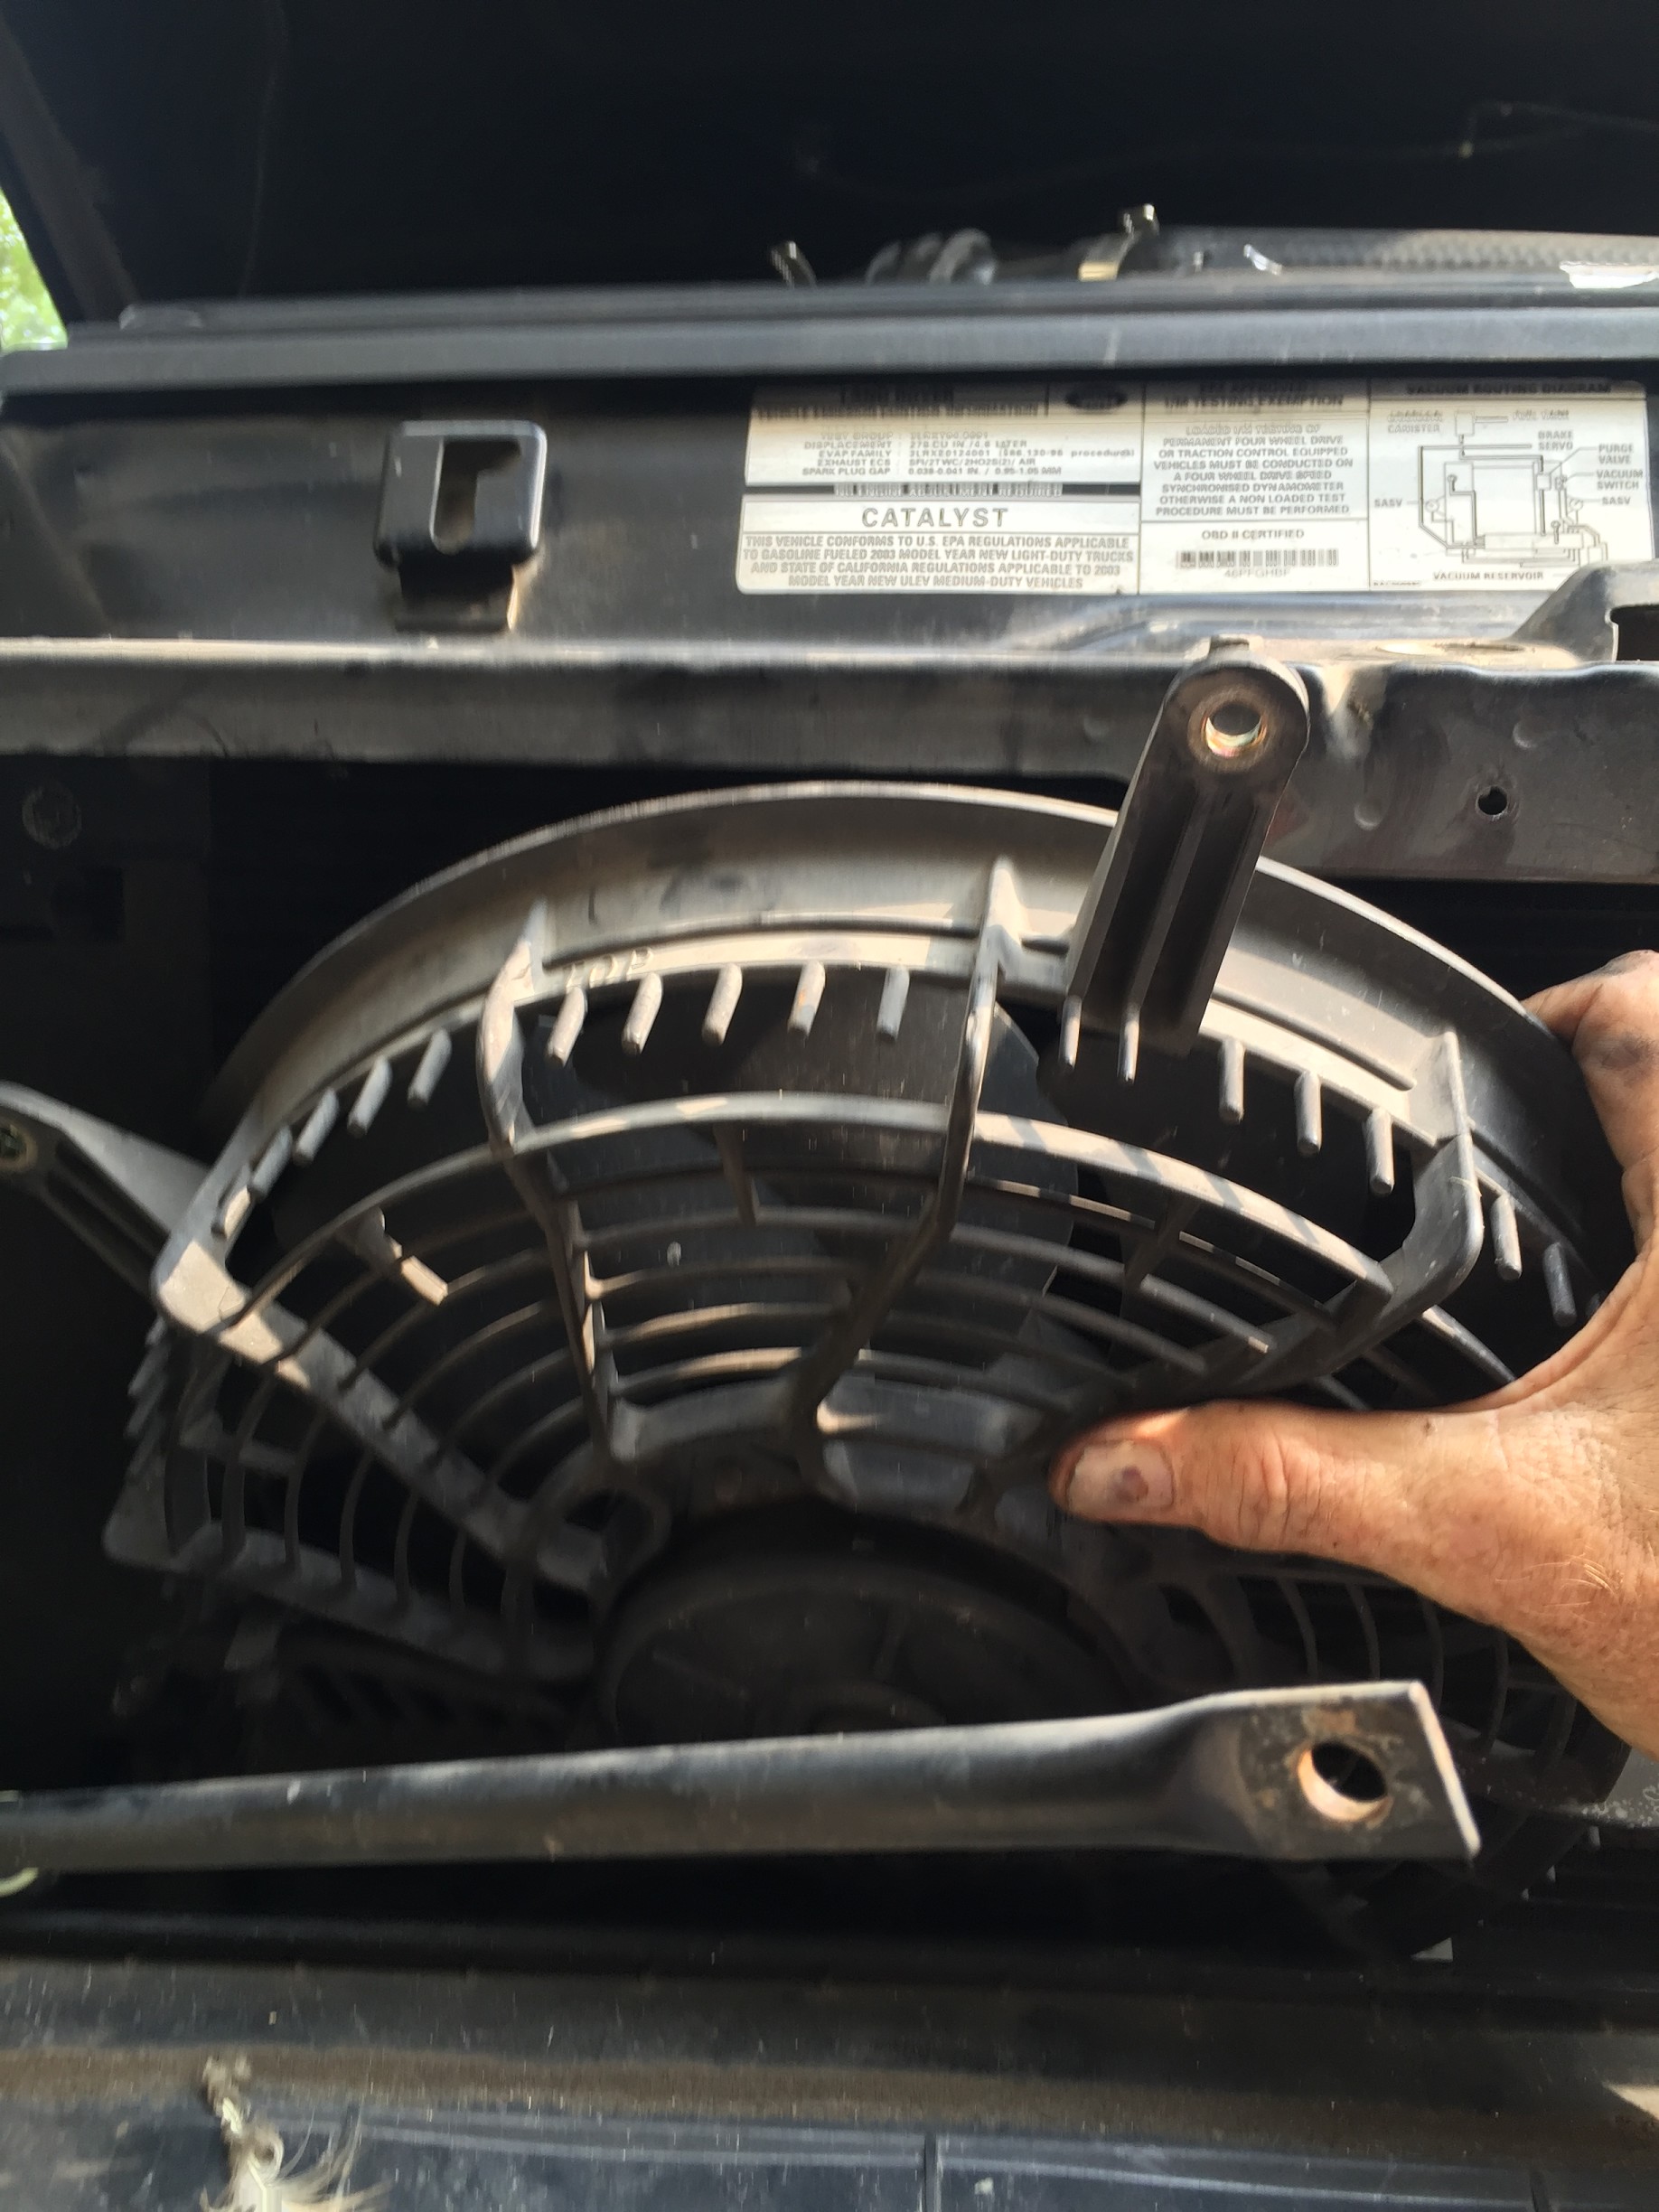
Unplugged the fan and removed the four bolts that hold the fan
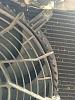
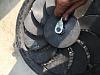
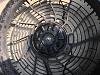
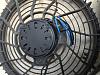
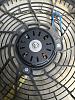
Pulled the fan out
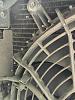
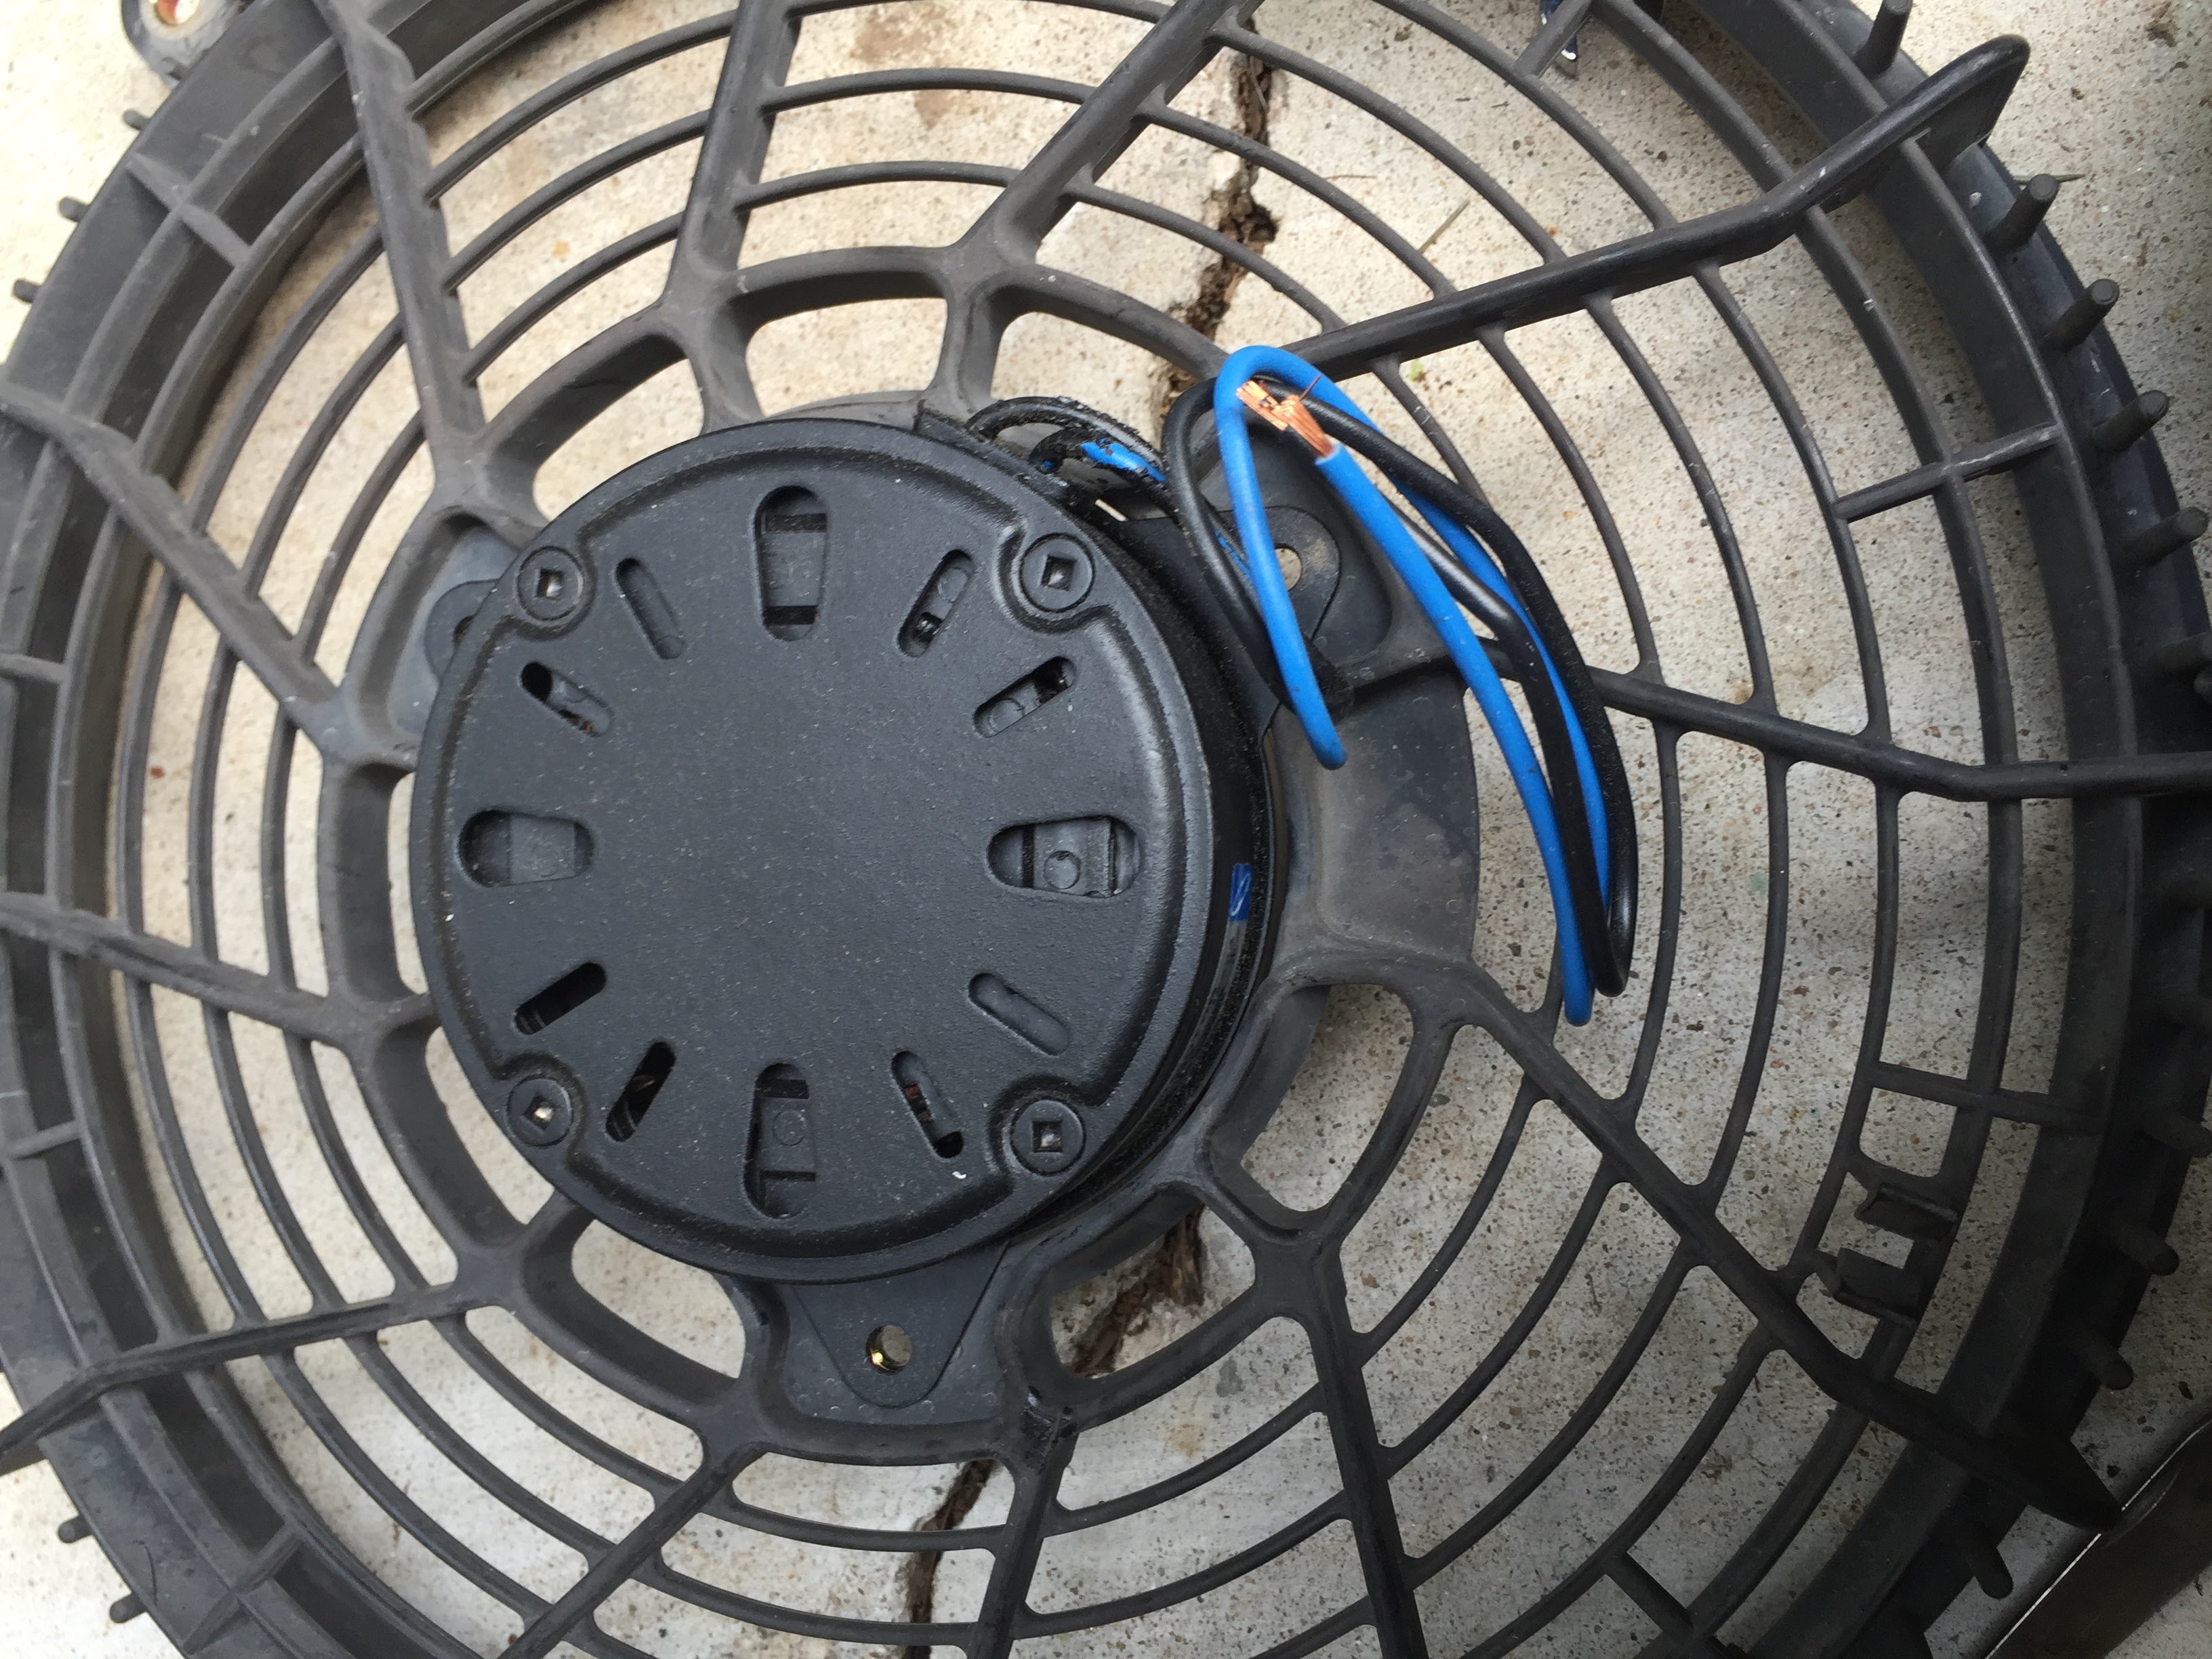
removed the nut holding the fan to the motor
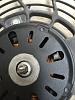
unscrewed the 3 screws that hold on the motor
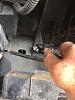
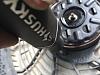
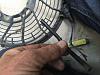
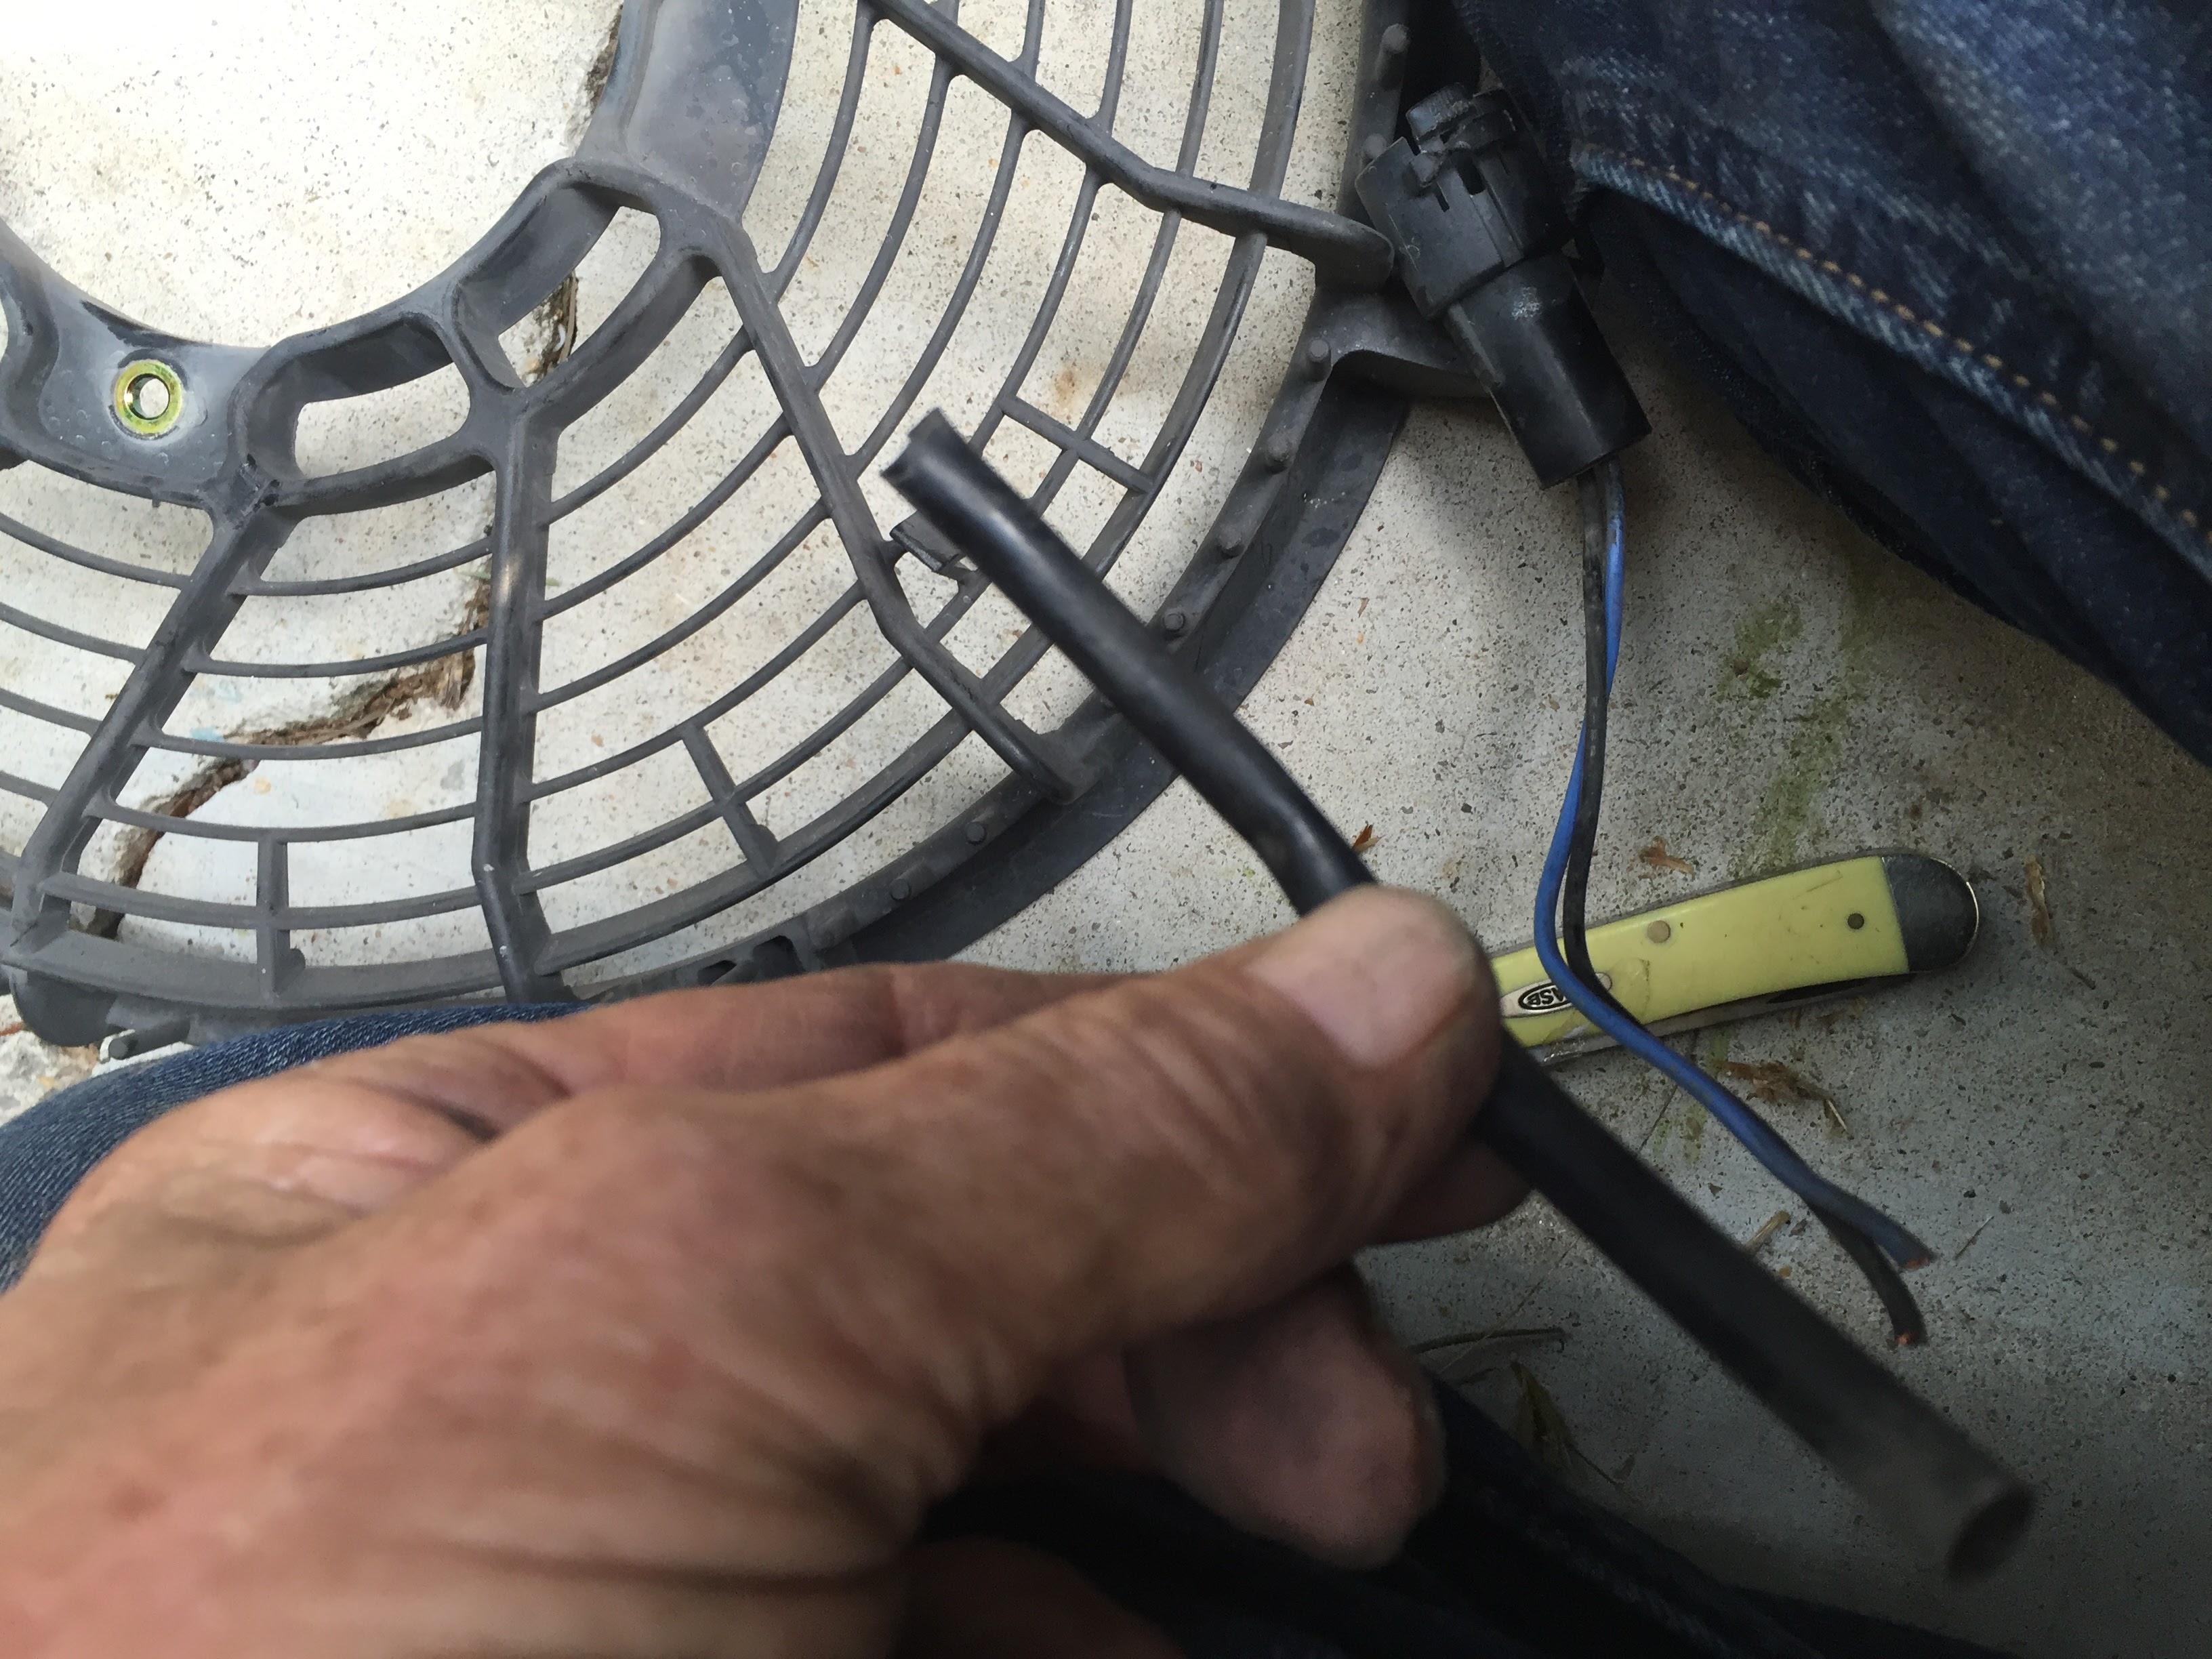
cut the oem plug off the motor(pic shows cutter at plug, I actually cut it off at the motor)
pulled the cover off the oem wiring and installed on the new motor wiring
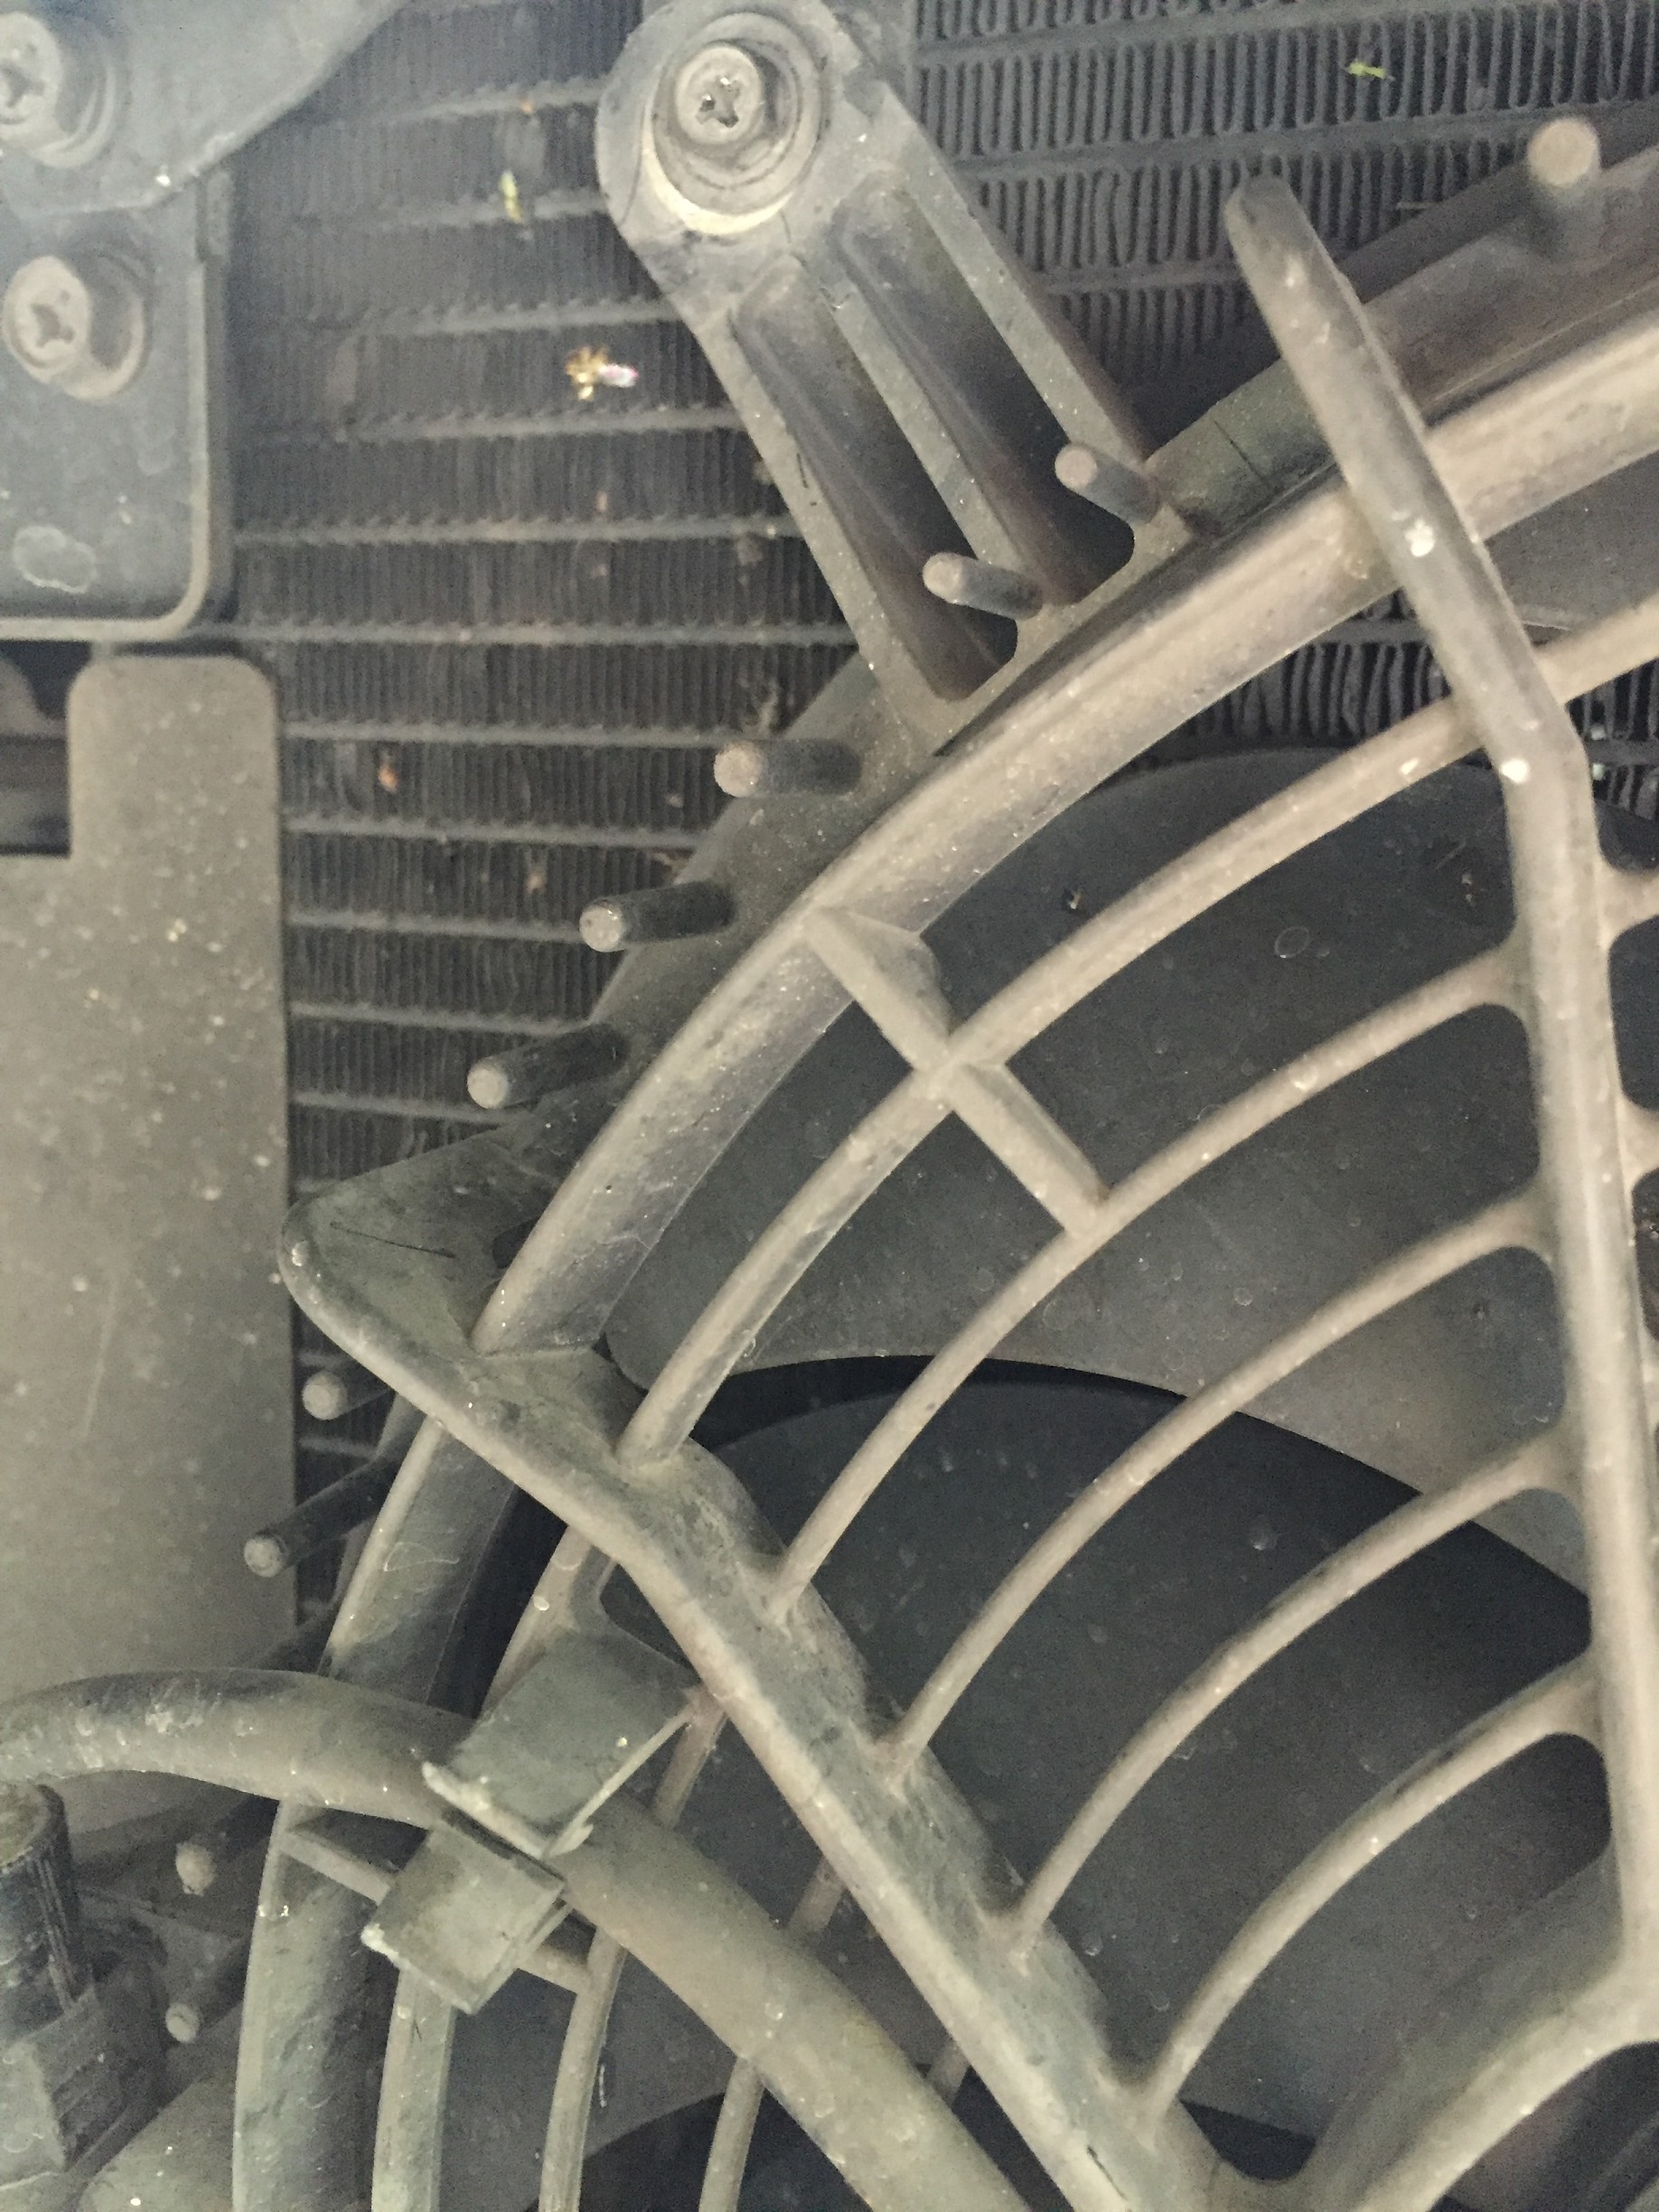
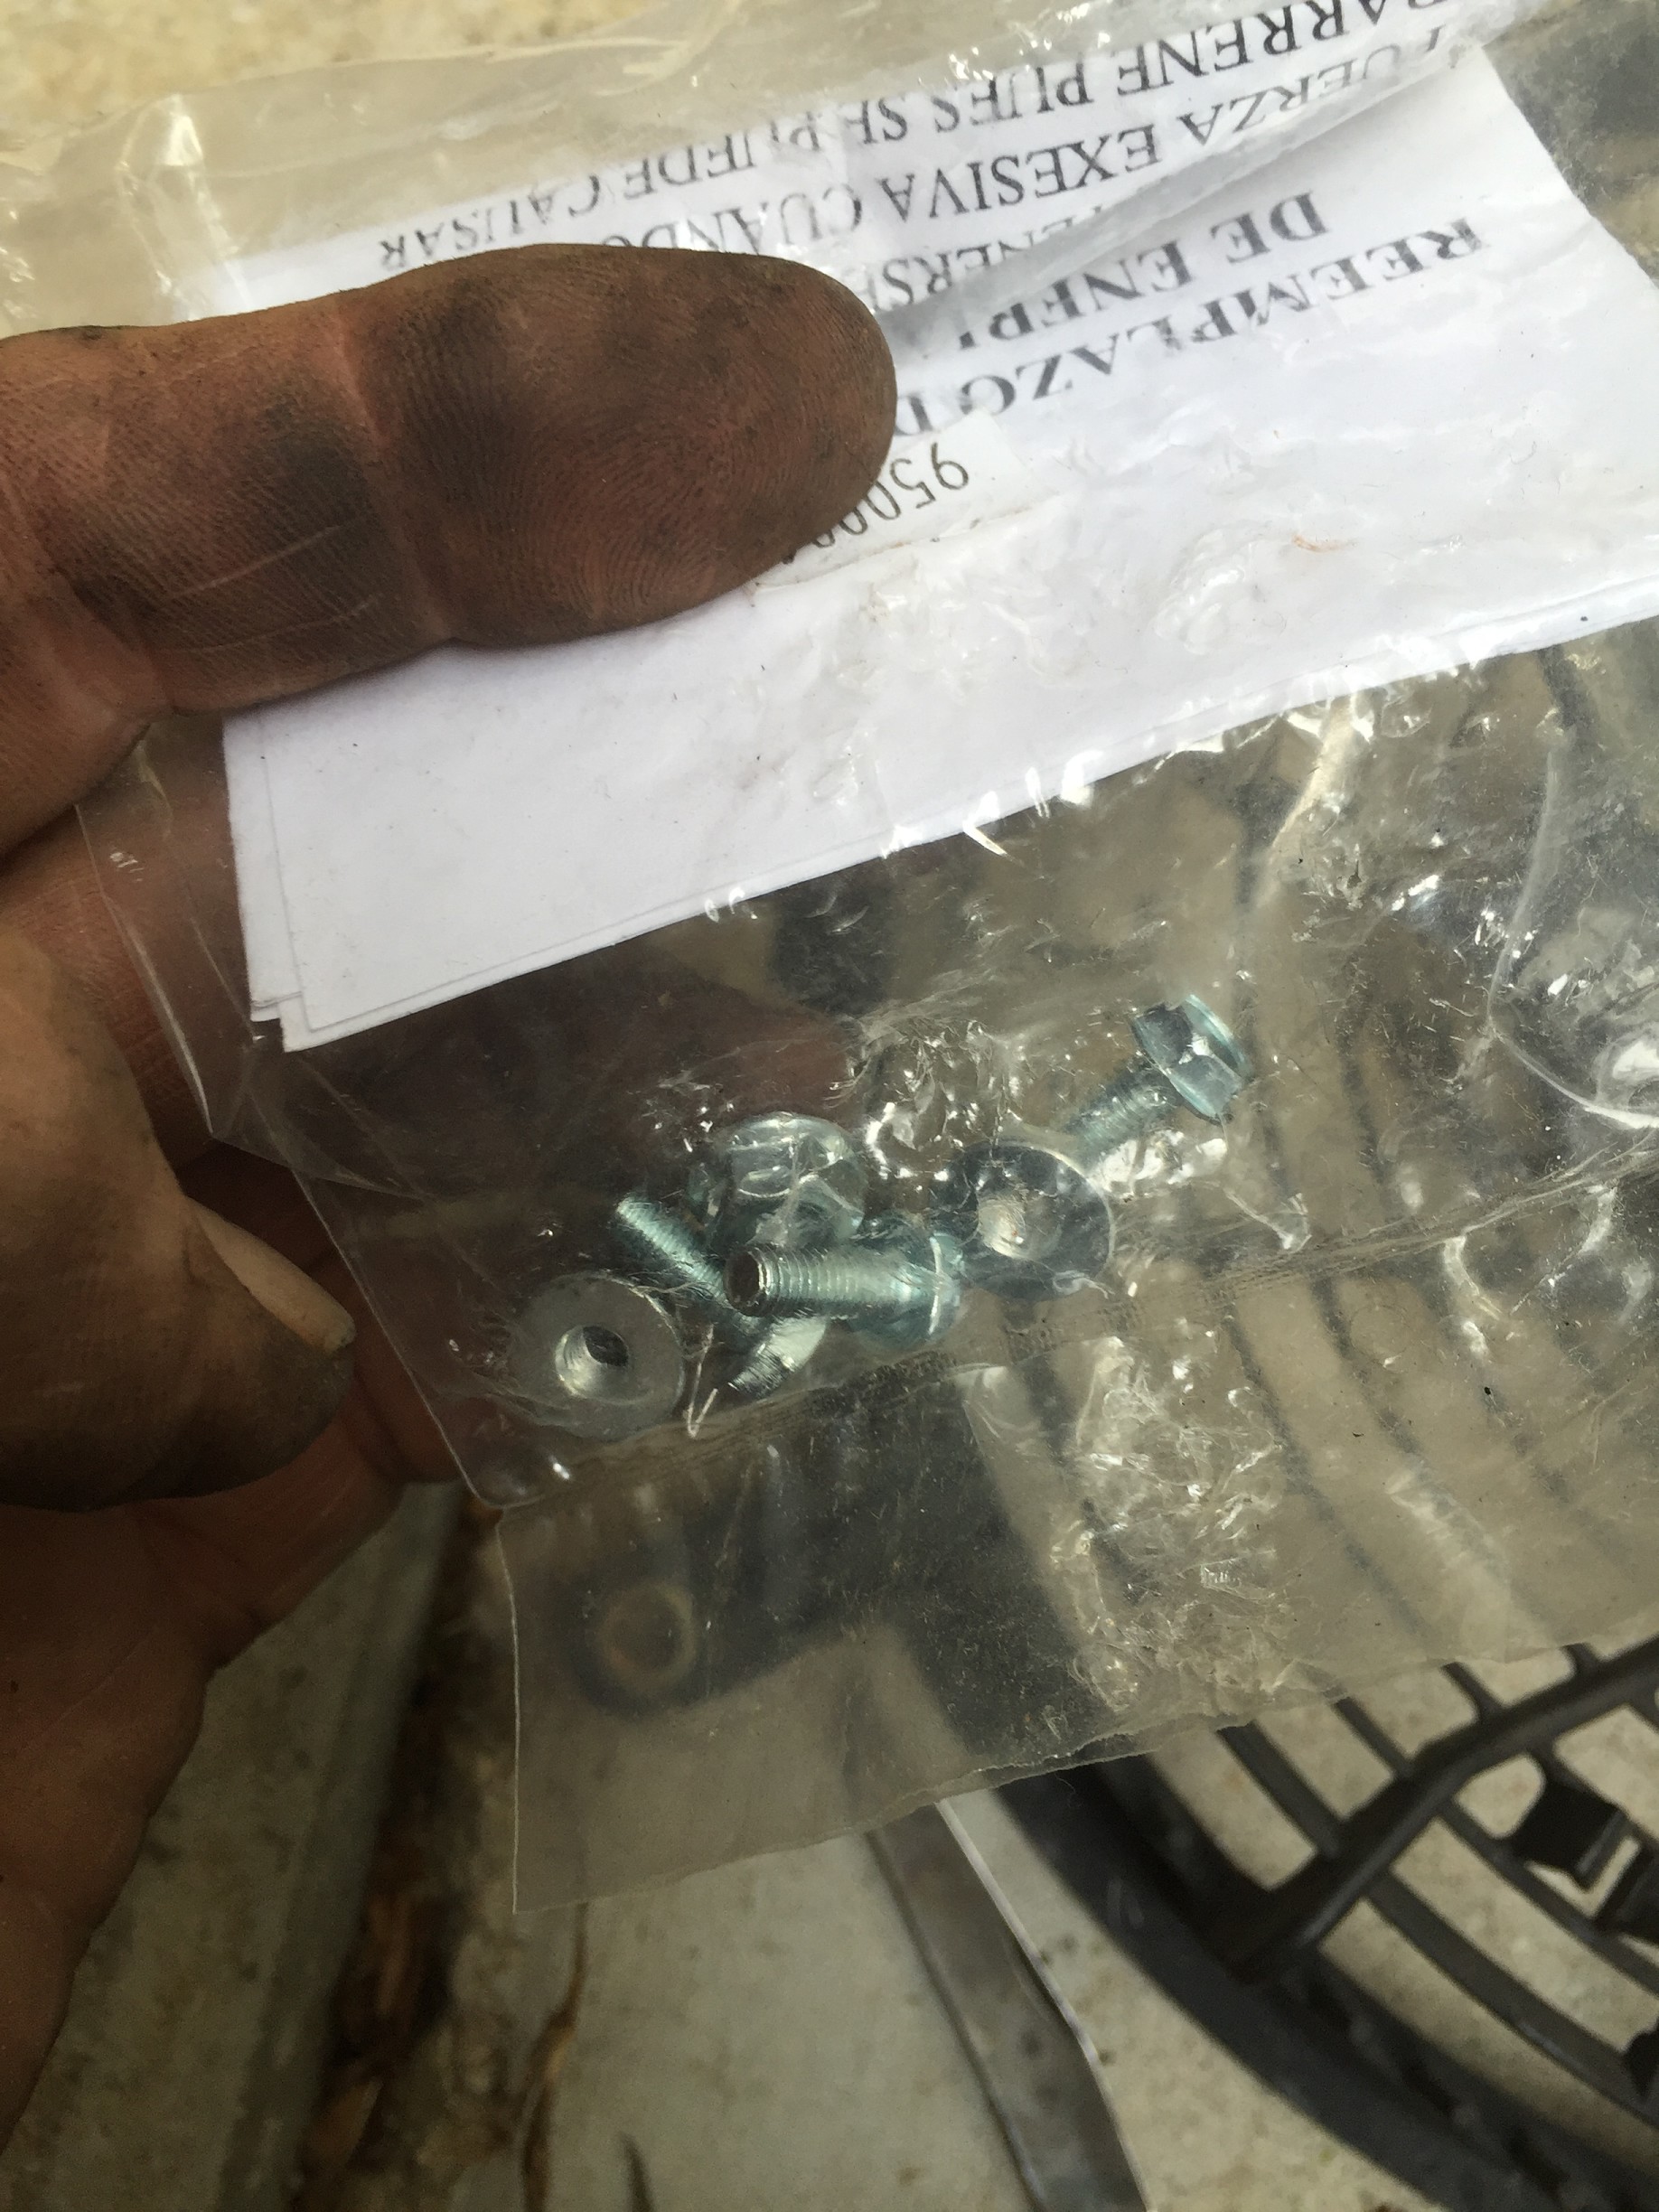
installed motor onto fan shroud using nuts and bolts included with motor(afterthought, install flat washers between motor as spacers to keep from having to trim the fan to keep from rubbing the shroud, I trimmed the fan with dremel)
I then trimmed the fan with a dremel, because the new motor is slightly shorter and it rubbed, I took off about a 1/4 inch. I used the oem nut and installed the fan onto the motor and put it all back in reverse order.
My phone died so I could not take pics of finished product.
Replaced blown 40 amp fuse and started the engine, turned on the A/C and fan came on immediately. Very happy camper and cost was 54.55 including tax.
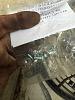
This is the fan I got from Advance Auto Supply. CARQUEST or Factory Air 4 Pole Radiator or Condenser Fan Motor 35110: Advance Auto Parts
I used TRT30 coupon code which gave 30% discount
This write-up is great, thanks Joemama! My condenser fan has seized up and I'm trying to find a cheap way to replace it. Like the idea of just replacing the motor.
So I did this motor replacement today.
But I didn't see the need to cut anything on mine?
Fan cleared the guard just fine and is no where near touching the condenser.
I didn't like the open back of the motor.
So I took a clear shallow salsa container cut to small holes to pass the motor leads thru and another small hole on the opposite side to use a small zip tie to hold that end against the guard.
I think this will keep water and junk from blowing straight into the motor.
My biggest problem was the 2 bottom mounting bolts breaking off.
They broke the heads off so I had little rusted studs sticking out.
I used some big zip ties to hold these tabs tight.
Maybe I'll go back in there some day and drill the broken bolts out?
So I used a new ACDelco motor, and the dimensions look the same as the OEM motor that's seized. I reassembled it, and put the fan on the motor, and if I tighten the nut too much, the fan won't rotate. Is that normal? I back it off and it rotates, with resistance from the motor. The fan blades seem to have plenty of clearance from the shroud. There is no slop or play in anything where the fan attaches to the motor.
should I loctite the nut that secures the fan to the motor?
If this fan blows up and takes out the condenser, will that coolant leak draw from the main radiator and eventually overheat my engine? I have an ultragauge.
Replaced my condenser fan motor today as well. All good, but the flat washer trick won't work because putting them between the motor and shroud will actually pull the motor closer to the shroud and more would have to be trimmed from the fan. I think trimming the fan is the only option when using this motor or similar. I used a VDO PM9116. Everything else fit perfectly.
The replacement fan motor is open in the front, so I went to home depot and found a plastic electrical blank plate for outside that would fit. Had to get 2.5" long 10_34 screw to accommodate the added distance to the threads.also, took off the insulation from the plate and drilled out the holes to accommodate the screws.
It looks janky, but I am going to paint it before install.