When you click on links to various merchants on this site and make a purchase, this can result in this site earning a commission. Affiliate programs and affiliations include, but are not limited to, the eBay Partner Network.
I just finished mine this weekend. It was my third time so I really wanted this one to come out good. I have the grey/black interior so I matched the original color.
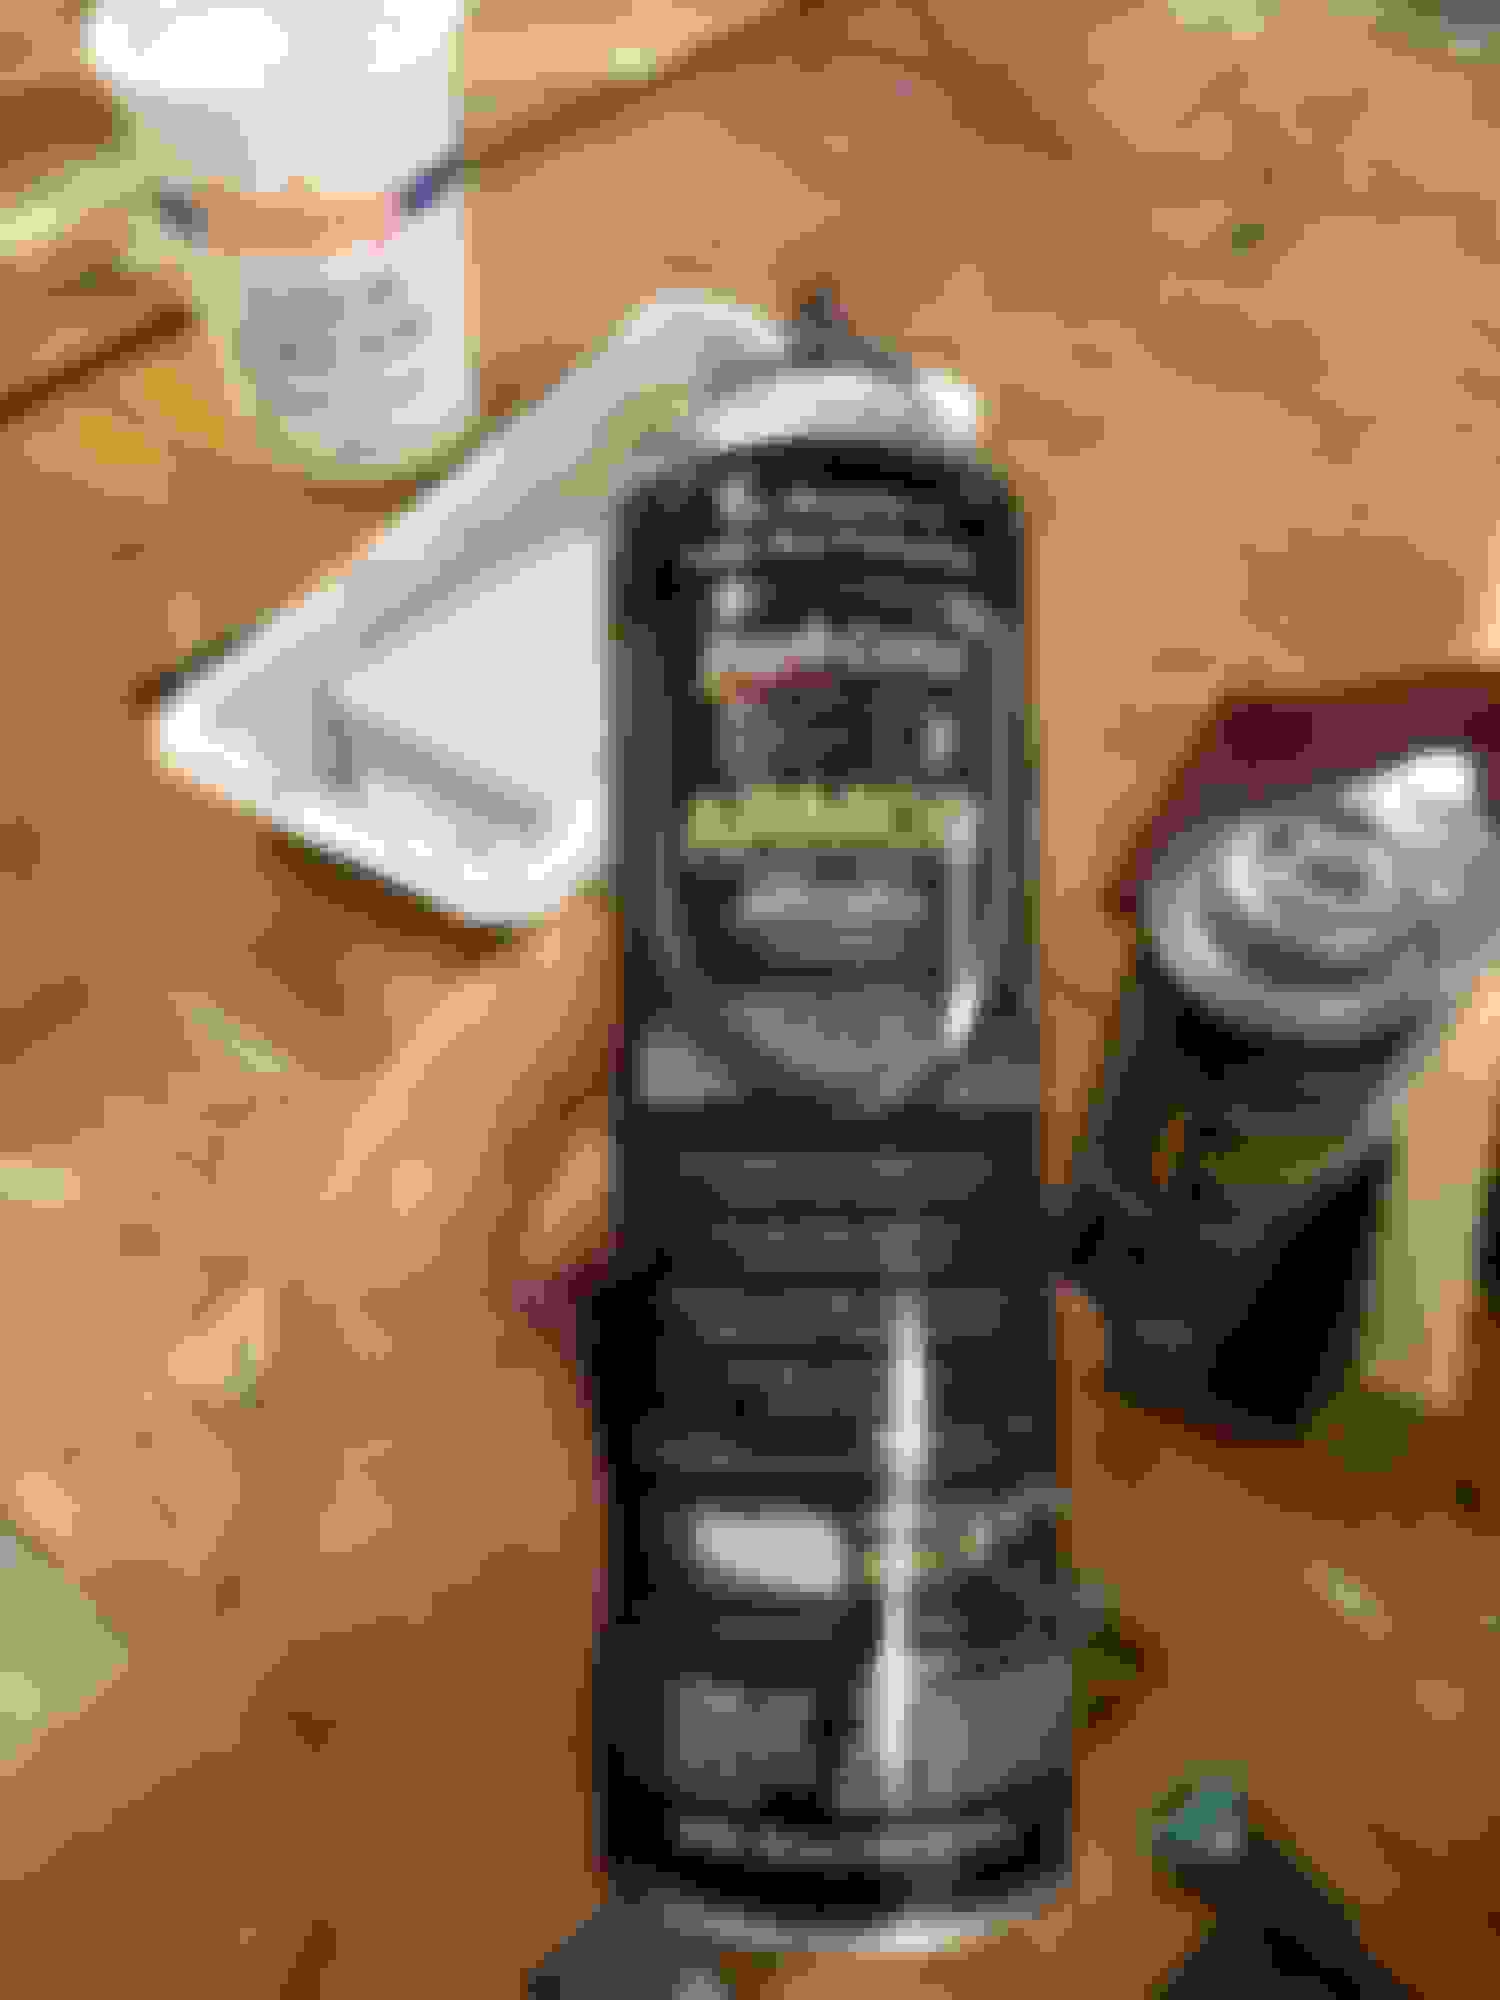
I scrubbed the hell out of it then took a bunch of old spray paint in various colors and put on a thick coat over everything. Then I took a random orbital sander with 120 grit pad and sanded it out. Then I coated the whole thing with black bedliner. Brand is important here beacause you want the splattery stuff with texture. I used this:
After that use 2 coats of your final color with a shorty 3/8" nap roller.
In my opinion, painting is the way to go. The headliner will never again sag.
I did mine 8 1/2 years ago and I smile every time I think about it. No sanding was necessary; the pebble finish of the fiberglass shell is great.
Removing the headliner shell is tedious but not difficult. Once you have it out, pull off the sagging fabric. You'll find that it's not the factory adhesive that failed, it's the thin layer of foam in between the fabric and the fiberglass shell that breaks down.
Once you have the fabric and most of the old foam cleaned off (I used a stiff brush), use denatured alcohol to clean off the rest of the foam and the adhesive residue. Denatured alcohol works great.
Once the shell was clean, I primed it with Kilz, then rolled on two coats of a good exterior latex paint, using a brush in the corners. I took a piece of the old headliner fabric to The Home Depot and they matched the color very well. A pint was more than enough. I love the results.
While you are there, shorten up the top chords on the cargo nets. They have little metal clips with teeth that grab the chord. Just pry out a bit and pull about 3'' of slack up and squeeze the clip down. Looks tons better.
Also be real gentle with those plastic posts that have the metal nut on them. They snap off very easily.