Looking to the future... Bobbed, chopped, and trimmed.
#1
 11-14-2015, 11:09 PM


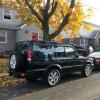
This is really a follow up to my previous thread, Fender Trimming. I am looking into the future of what I would like to do with my truck. I want it to be more capable off road, I want it to be good looking, and I want it to be fun as well as versatile. As for the tire question which I was contemplating in the other thread, I have settled on a set of 315/75r16 Mud Claw Radials with some minor fender trimming and 4.11 gears with HD axles. This thread is more of a body thread. I want to make this a fun desert/beach/overland expedition/daily driver vehicle. The last of those, well, I'm not picky about how it drives as long as it is street legal...ish. Here are some pictures of what I'm thinking. I photoshopped them myself, so be kind.

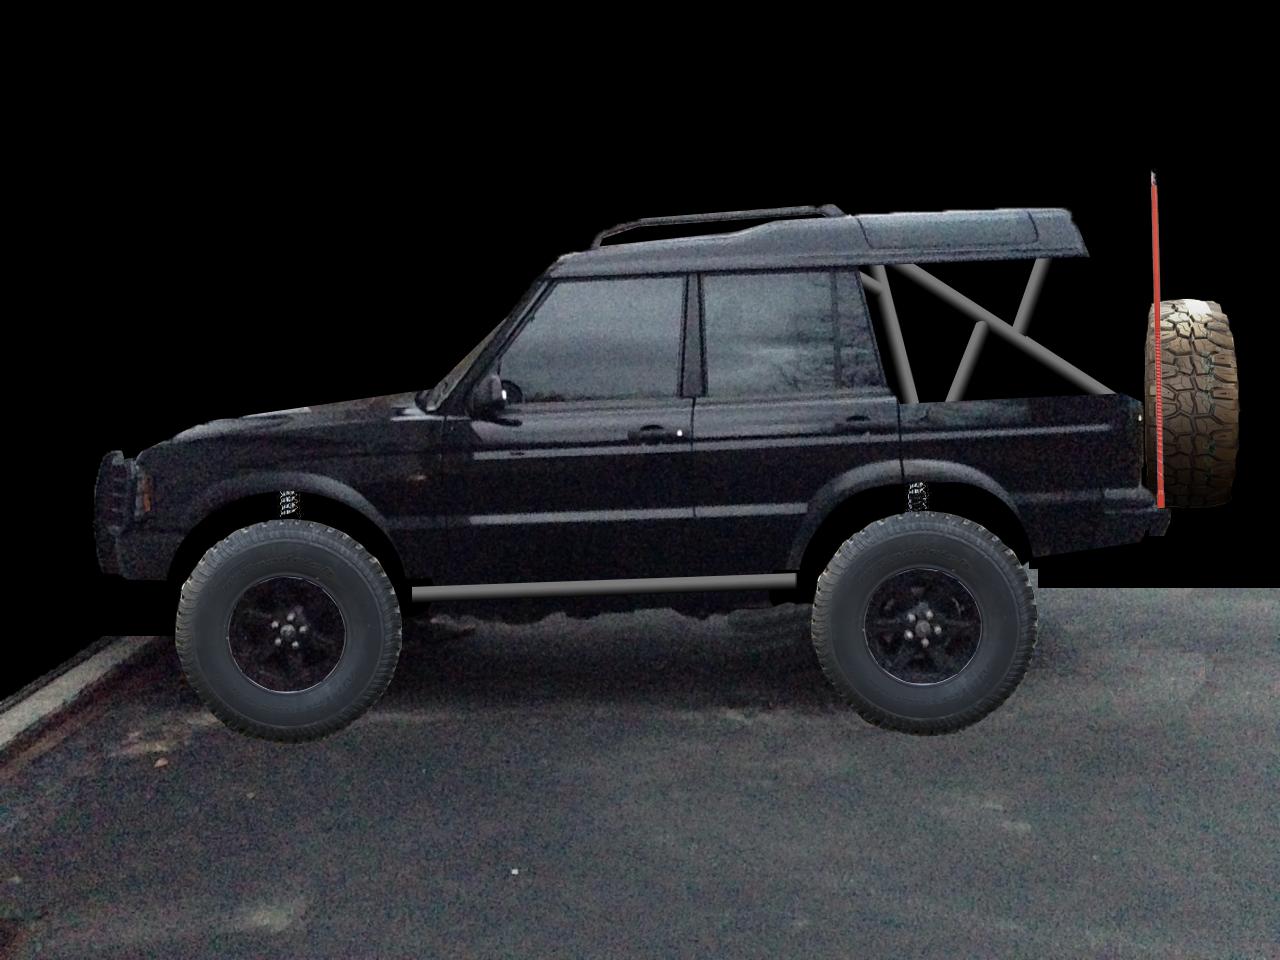
So, what I've done here is added 35" tires, a full cage tied directly to the frame, bobbed the truck about 4-5" (the distance between the alpine windows and the roof rails), moved the rear wheels back about 2-3", added coilovers, added rock sliders, and made the whole top section removable. There will also be a winch added, a front hitch receiver, front and rear bumpers, and either steel rims or more preferably some 1.25"-1.5" wheel spacers.
This will, of course, not be easy. I'll have to replace the gas tank with one which is shorter, re-route fuel lines, cut and weld the frame, shorten the body, and shorten the top. Then I would have to pay a shop to paint and bondo to make it look nice. I would also have to add different brake/signal lights lower down. I actually already have a rear door which is cut down to size.
Now, I am having a little trouble with a couple of things. Firstly, I want the truck to be fully enclosed when the top is on, so I need to figure out something with the sides and rear. I think the sides can be fixed up to bolt on and off the same as the top as long as I also shorten the factory sides, though it will be a little more work making up mating surfaces. Maybe I can figure something out with that parts truck I have and its extra fenders. I want to keep the side rear windows full length, so I'd have to chop the fender its self on either side of the window. I don't really know what to do about the rear door. I will probably do a full chop apart and mock up on the parts truck, but any ideas would be greatly appreciated.
Secondly, I'd like some kind of sun/rain canopy on the cage that I could easily take on and off, but I don't know how I would attach it in the front so that the rain would run down the front of the wind shield and the sides of the windows. Come to think of it, I'm not perfectly clear on how I would get the roof to mate back up over the windshield either. Suggestions there would be much appreciated.
Here's one not body related; I'm not sure how the best way to go about moving the rear axle back would be. I know that kits were made for the D1, but I don't know of anything similar for the D2. Would I be best to cut and re-weld the radius arm mounts? I'd also do a watts delete in the rear. I've got a front panhard with mounts from my parts truck that I plan to weld in the rear when I get my welder.
I'd also love just some general feedback on how you think it looks and such!
Last edited by Alex_M; 11-14-2015 at 11:41 PM.
#2
11-15-2015, 07:35 AM
#3
11-15-2015, 10:19 AM
Thanks coors! I look forward to when I can start working on it.
Supercharged LT1 would be sick, but I'd like to avoid a drive train swap. I'm trying to keep the drive train and suspension as stock as possible.
Supercharged LT1 would be sick, but I'd like to avoid a drive train swap. I'm trying to keep the drive train and suspension as stock as possible.
#4
11-15-2015, 02:24 PM
#5
11-15-2015, 02:34 PM
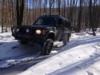
The truck actually does look a little like that already because I have it leveled at the wheel arches instead of the body line, but for the most part I believe that's just how the picture was taken. I prefer the look leveled at the arches instead of the body line personally, but with coil overs (which will come farther into the future than the other work since I already have 3.5" lift, so they're not super necessary) I should be able to adjust it however I please.
As a visual thing, you've angled the whole truck in Photoshop so it's lower at the front than the back. But the suspension is equal back and front.
Do you intend to have the truck angled like that with suspension changes, or accept it looks like that when going down hill?
Do you intend to have the truck angled like that with suspension changes, or accept it looks like that when going down hill?
Last edited by Alex_M; 11-15-2015 at 02:44 PM.
#6
11-15-2015, 10:36 PM
Ok, so here's an idea on mating the panels between the top and bottom side pieces. since I have two sets of quarter panels, why not cut a little high on the bottom panel and then take a second panel, cut a little low on it, and fold the top of the bottom and the bottom of the top to make a mating surface which will have holes which will line up for bolts to secure the two. Perhaps old bicycle tubes between the two for waterproofing. Thoughts? This is just for the quarter panels. I have not figured out the roof piece yet.
I'm also chewing on the idea of a fold down tailgate instead of a swinging tail gate much like an RRC. I'd have to make a seperate swinging spare mount, perhaps based on the factory door hinges, which would swing to the side before the door could fold down. Thoughts?
I'm also chewing on the idea of a fold down tailgate instead of a swinging tail gate much like an RRC. I'd have to make a seperate swinging spare mount, perhaps based on the factory door hinges, which would swing to the side before the door could fold down. Thoughts?
#8
11-16-2015, 07:11 AM

#10
11-16-2015, 09:32 AM

I agree. For the amount of work they did, drop the bed line lower, fill in the old brake light cut out, and place new brake lights lower