
My Disco Engine rebuild/refresh


Baja
Joined: Feb 2011
Posts: 9,298
Likes: 318
From: Boston Strong
looking good.
i thing you might want to look at replacing those studs on the timing cover bottom with bolts,that way if you ever have to pull the front cover again you will not have to drop the oil pan.
i thing you might want to look at replacing those studs on the timing cover bottom with bolts,that way if you ever have to pull the front cover again you will not have to drop the oil pan.

Recovery Vehicle
Joined: Jan 2012
Posts: 1,064
Likes: 16
From: San Antonio,Tx
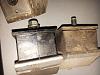
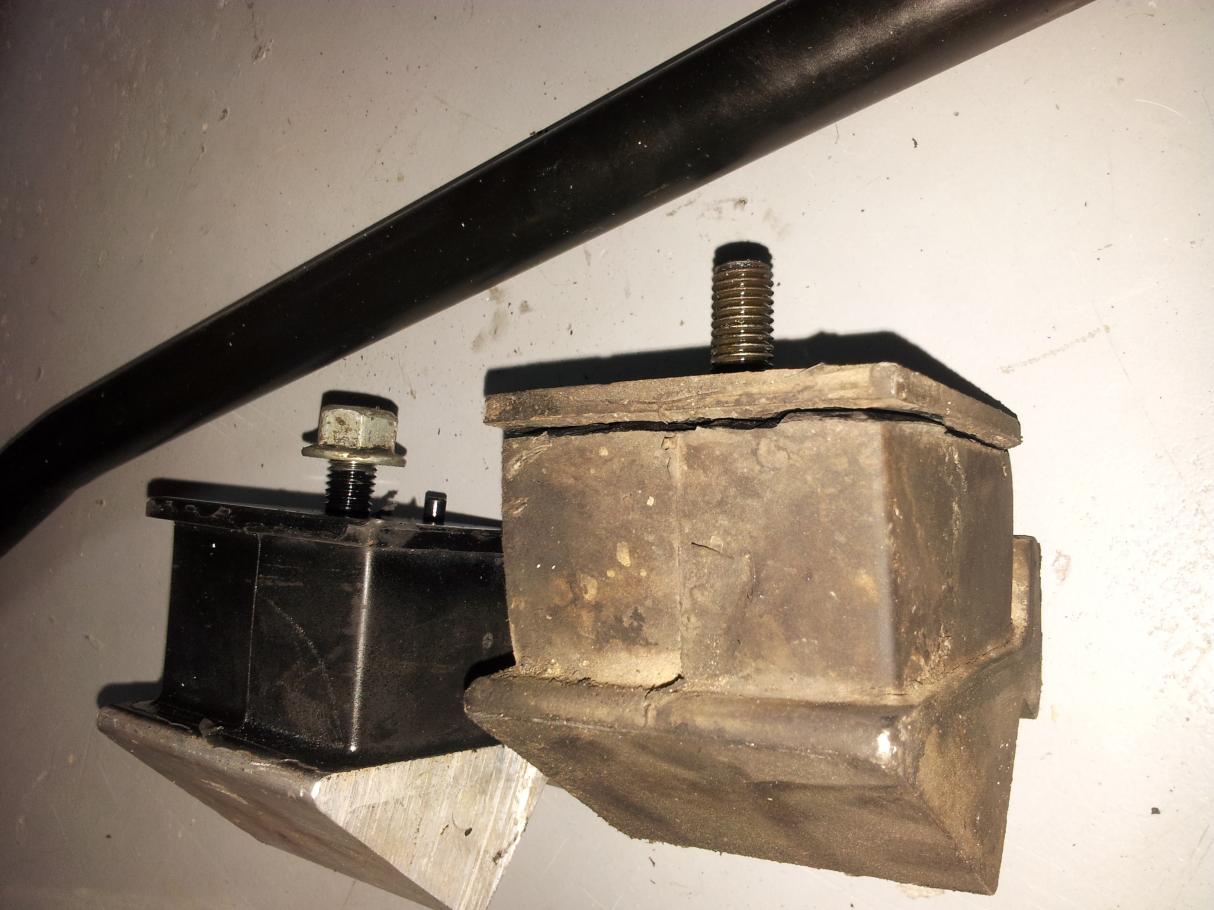
It is also a great time to put in some new motor mounts if yours are looking bad. Mine were toast and they would have be a piece of cake to replace if my engine looked like yours does now.


Thread Starter
|
Drifting
Joined: Jan 2011
Posts: 48
Likes: 1
Cam is in, timing gear set, new heads/gaskets/arp studs are on and bolted up! I didn't get to putting the front cover or oil sump back on, but those should be very easy. New timing chain is MUCH tighter than the one I removed. The "new" cam gear I got (eurospare brand) did not fit with the chain. The sprockets were ever so slightly larger than the OEM, so every couple rotations it would skip a tooth. Put the OEM cam gear back on (didn't look to have much wear).
A note to anyone looking to do this in the future. the ARP studs are 100% worth it if for ease of installation alone. You don't have to fumble with a stupid angle torque gauge and the nuts are 12 point and have much more engagement than the stock hex heads. I got them from summitracing, at 213 dollars it was the cheapest source for the correct fit 157-4301 kit. You could try your luck with the cheaper 124-4003 at 157 dollars, but just wasn't worth the gamble for me.
Hopefully will be firing it up near the end of may. Getting married in 2 weeks, so this will go on the backburner until after.
Last edited by wallyman424; Apr 28, 2014 at 04:44 PM.
Recovery Vehicle
Joined: Jan 2012
Posts: 1,064
Likes: 16
From: San Antonio,Tx
Looking good and congratulations on the upcoming wedding. I'll be married 8 years this June and I'm loving every minute. Just remember she's always right, ALWAYS, and you'll be fine.

Recovery Vehicle
Joined: Nov 2013
Posts: 798
Likes: 3
From: Las Vegas Nevada
That is an amazing idea. I wish I would have done that... it would make the top end rebuild much easier.

Thread Starter
|
Drifting
Joined: Jan 2011
Posts: 48
Likes: 1
Back to reality now. Had a great wedding and honeymoon, now to get this damn truck done!
Bolted up the new valvetrain and checked my tappet clearances, they are a little high at .08-.09, so I'm going to try my hand at making some shims from sheet metal tomorrow. The only shim kits I've found have been in the UK and end up costing over 100 usd when shipped over here. Once I get the valvetrain finalized I can bolt the front cover and oil pan back on. Hopefully things will pick up pace once thats done.

Bolted up the new valvetrain and checked my tappet clearances, they are a little high at .08-.09, so I'm going to try my hand at making some shims from sheet metal tomorrow. The only shim kits I've found have been in the UK and end up costing over 100 usd when shipped over here. Once I get the valvetrain finalized I can bolt the front cover and oil pan back on. Hopefully things will pick up pace once thats done.
Recovery Vehicle
Joined: Jan 2012
Posts: 1,064
Likes: 16
From: San Antonio,Tx
Welcome back. The truck is looking good. Did you pull back the rocker arms and springs and use oil to lube the rocker shaft before installing? The guy at the machine shop told me to be sure to do that before installing. It might not be necessary but I followed his advice and I'm just passing it on.
Large picture HERE >>> https://landroverforums.com/forum/at...h-100_1957-jpg

Large picture HERE >>> https://landroverforums.com/forum/at...h-100_1957-jpg
Last edited by Jared9220; May 24, 2014 at 05:17 PM.
Thread Starter
|
Drifting
Joined: Jan 2011
Posts: 48
Likes: 1
Welcome back. The truck is looking good. Did you pull back the rocker arms and springs and use oil to lube the rocker shaft before installing? The guy at the machine shop told me to be sure to do that before installing. It might not be necessary but I followed his advice and I'm just passing it on.
Large picture HERE >>> https://landroverforums.com/forum/at...h-100_1957-jpg
Large picture HERE >>> https://landroverforums.com/forum/at...h-100_1957-jpg
Also, got some 0.027 inch sheet metal stock at home depot just now. Will post about my shim making tomorrow. 0.027 times the rocker ratio 1.6 gives about 0.04 of shim adjustment which should put most of my tappet clearances around 0.04.