When you click on links to various merchants on this site and make a purchase, this can result in this site earning a commission. Affiliate programs and affiliations include, but are not limited to, the eBay Partner Network.
My key started getting weird so I replaced it with a push button start. I got the RF ID type so I hid the sensor in the center counsel right next to where my knee sits. It is a stand alone system so it doesn’t effect my keyless entry at all. I’ve had it on my other Rover for a while and it worked great. Plus I like the look of the push button. I didn’t want to mess with my existing ignition so I simply removed it. So I can put it back in if I ever want. The only down side is there is no longer a steering wheel lock.
wow, that could really come in useful for those of us with worn out tumblers. please provide some more details on exactly how to get it, and also the wiring if you wouldn't mind!
I don�t know how to share a product from Wish so i did a screen shot. I will open it back up tomorrow and shoot a video showing how to do it. It was actually very simple.
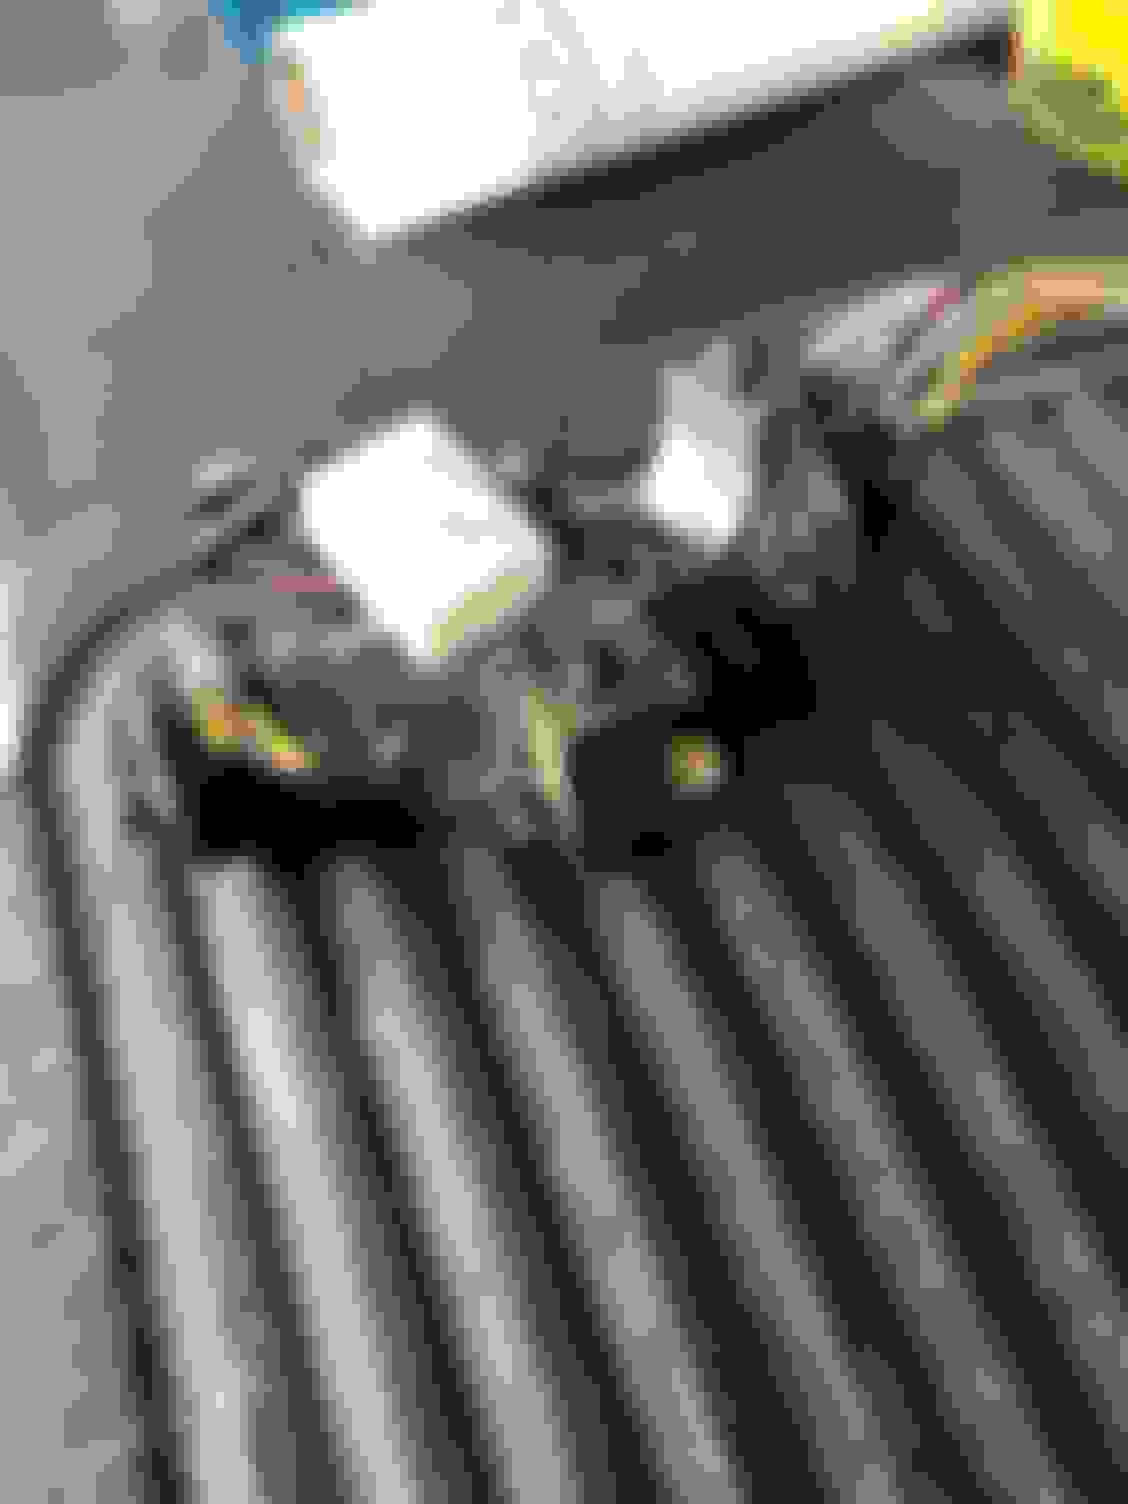
I took some time and pulled the main wire harness so I could show you guys how it is hooked up. I am going to just tell you what wires hook to the different colors on the supplied harness because the directions that came with the kits have disappeared.
The brown plug is where your ignition plugs in. This is the group that needs to be connected to the new box.
I soldered the wires and then put heat shrink on them. I wrapped the pack with electrical tape.
Brown - thick white
Blue - green/grey
Yellow - white/red
Red - brown
White - yellow
The black wire needs to be grounded. I used one of the bolts holding in the steering assembly as a ground.
There here is a round sensor that you will need to hide. To Activate the system you have to touch the blue ref tag to the sensor. I put this in the center counsel. On my other Rover I put it in the plastic under the steering wheel. Either place works quite well.
The only only other thing you have to hook up is the brake wire. There is a plunger that plugs in at the top of the brake pedal. There are 3 wires connected to that plunger. You will want to splice into the thick green wire. It is pretty easy to tell which one is the thick wire. The wires on my 2001 are different then my 2003, but it was always the thick one. I plugged in the button/sensor/brake plugs and attached the unit to the fire wall with red 3m double sided adhesive. It holds it quite well and it is out of the way.
There are 2 screws on the top of the ignition. Just back those out and remove a couple plugs and you can pull it out pretty easy. Here is a link to that video. MAKE SURE YOU TURN THE KEY TO RELEASE THE STEERING AND SHIFT LOCK BEFORE YOU REMOVE THE IGNITION.
mount the button to the existing hole. I used some clear adhesive to hold it in place. It makes putting everything back together much easier. Put everything back together and you are good to go. Touch the blue chip to the sensor and you will hear it beep. Pus the button twice, put your foot on the brake and hit it again and it will start up. First push is ACC position, second push is run position, third activates the starter, just in case y’all were wondering.
The whole ole thing took 40-60 mins to install. You can buy rf tag duplicators on Wish or Amazon. You will need this to make more keys. I have blue chips and a credit card style key.
Hope this helps.
Last edited by jdbayer; Apr 14, 2019 at 02:12 PM.
Reason: Spelling, added links