Discovery II Talk about the Land Rover Discovery II within.
Sponsored by:
Sponsored by:

Restoring Interior Plastic Project

Thread Tools
 
Search this Thread
 
  #1  
Old 02-20-2017, 07:08 PM
LR03NJ's Avatar
TReK
Thread Starter
Join Date: Feb 2009
Location: Linden, NJ
Posts: 2,186
Received 199 Likes on 176 Posts
Default Restoring Interior Plastic Project

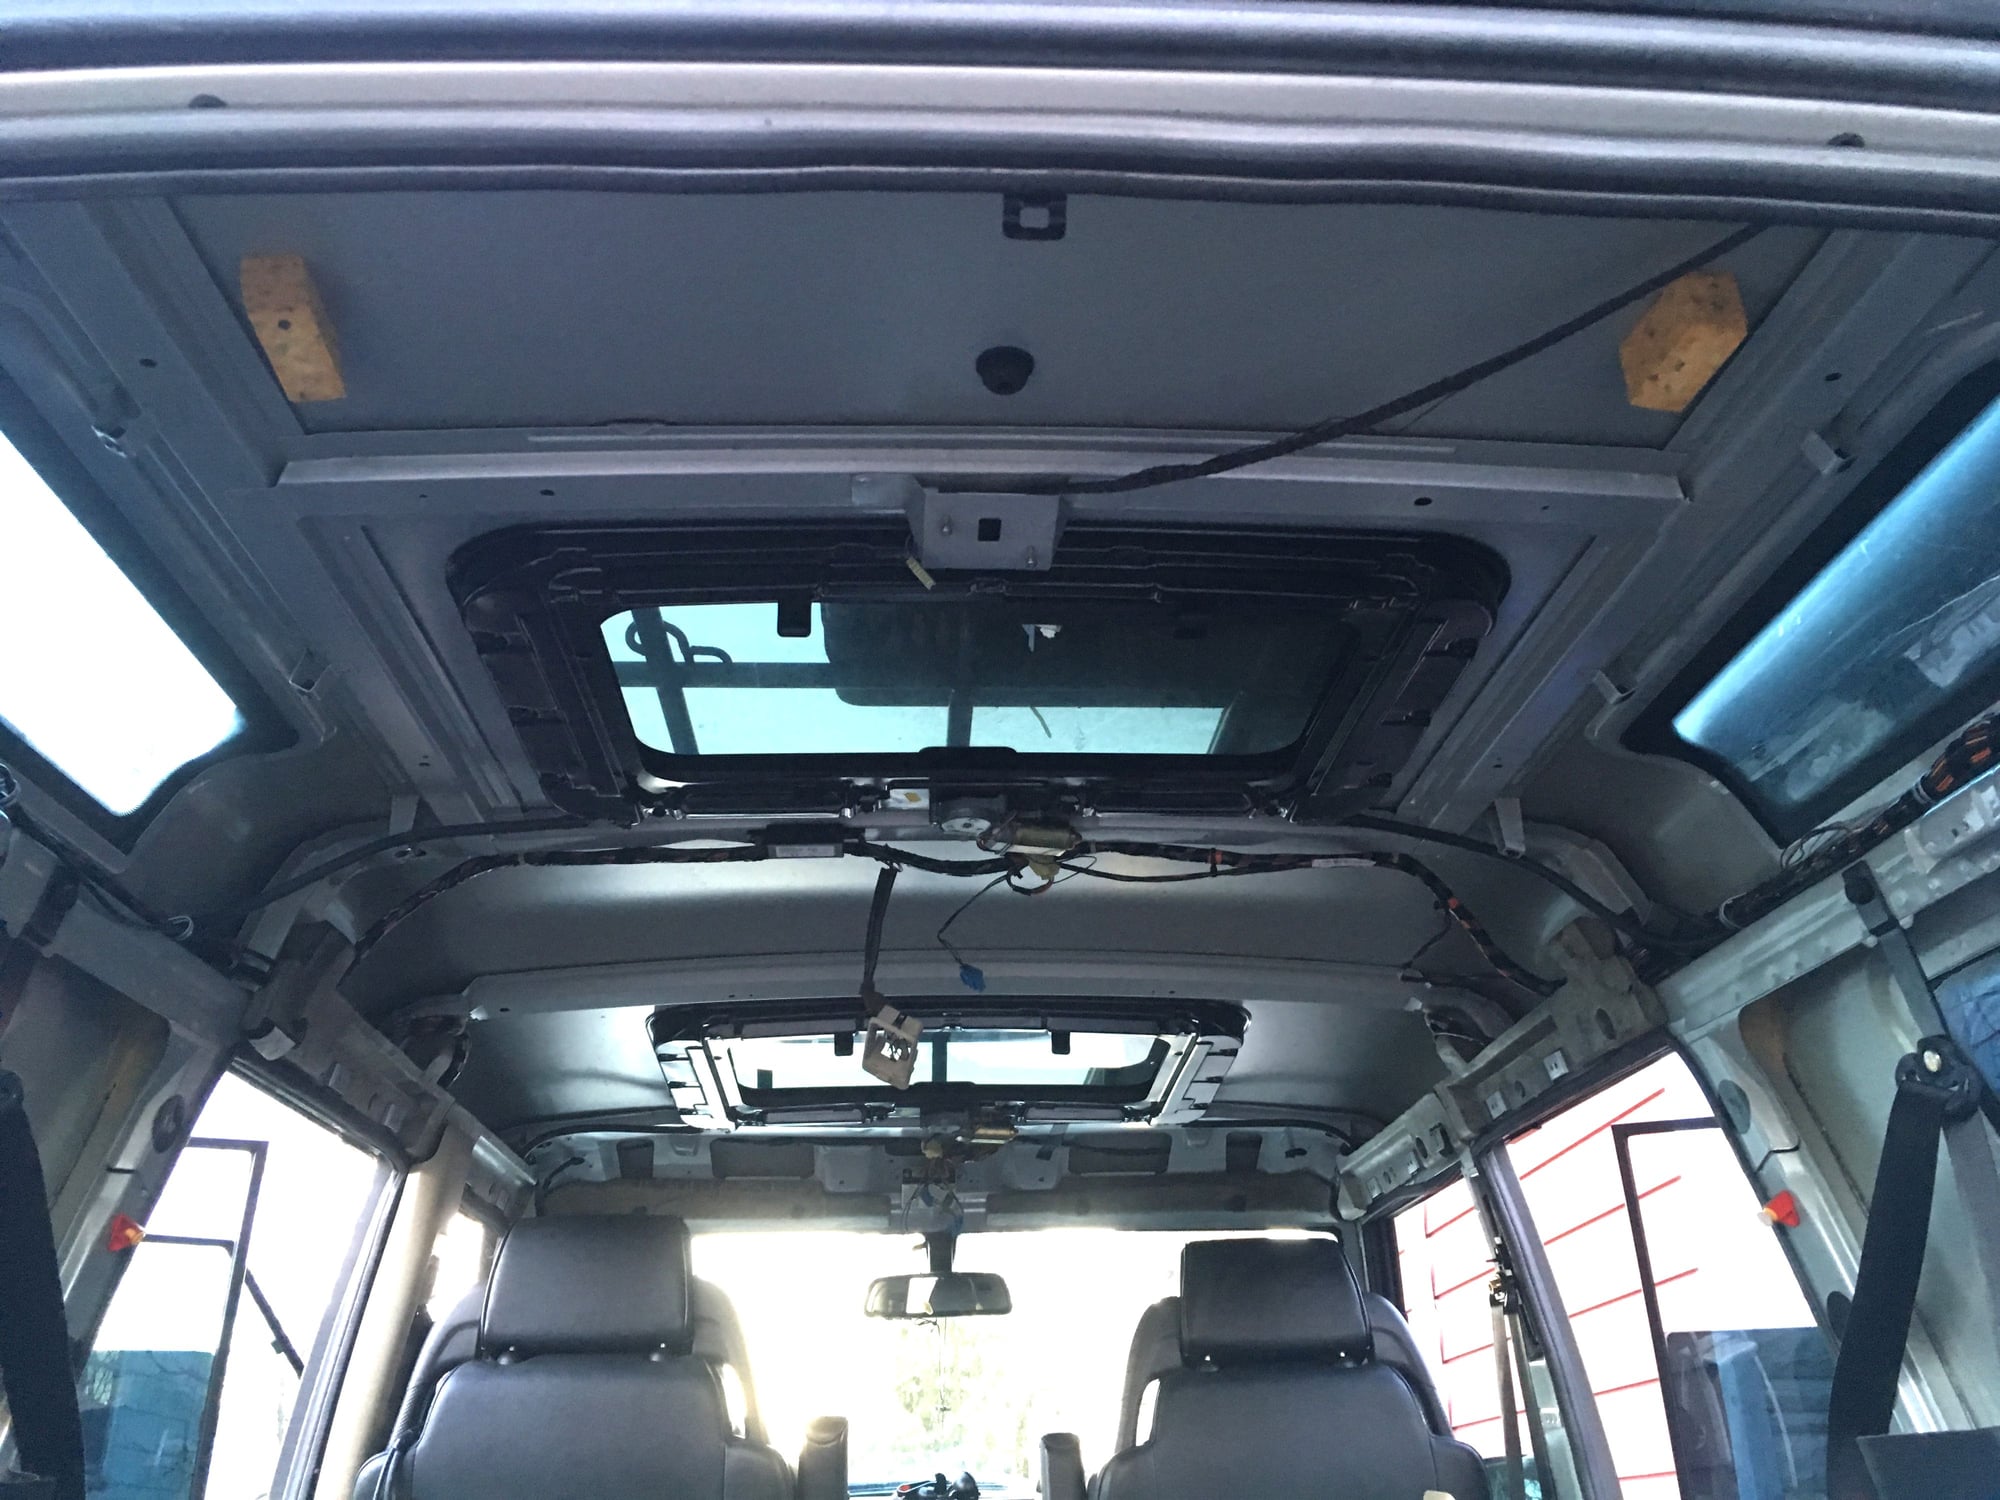
Well got some time to do the headliner. While waiting for it, I decided to restore some beatup plastic panels etc.


Removed headliner.


  #2  
Old 02-20-2017, 08:14 PM
chubbs878's Avatar
Pro Wrench
Join Date: Apr 2015
Location: Dallas, TX
Posts: 1,387
Received 111 Likes on 104 Posts
Default

What's all that Crap in the back?
 
  #3  
Old 02-20-2017, 08:50 PM
LR03NJ's Avatar
TReK
Thread Starter
Join Date: Feb 2009
Location: Linden, NJ
Posts: 2,186
Received 199 Likes on 176 Posts
Default

Originally Posted by chubbs878
What's all that Crap in the back?
Essential crap! Need to install my MacPro editing sytem back once I get the headliner.
 
  #4  
Old 02-20-2017, 09:10 PM
Luckyjayb's Avatar
Pro Wrench
Join Date: Nov 2016
Location: Bham, Alabama
Posts: 1,611
Likes: 0
Received 112 Likes on 108 Posts
Default

Looks good. Did you use rattle can for vehicle interiors or regular plastic rattle can
 
  #5  
Old 02-20-2017, 09:14 PM
Jeff Blake's Avatar
Pro Wrench
Join Date: May 2016
Location: Lake Tahoe
Posts: 1,617
Received 183 Likes on 157 Posts
Default

Nice work. I simply gutted it all, haha. So much more cargo room.
 
  #6  
Old 02-20-2017, 09:38 PM
KingKoopa's Avatar
Recovery Vehicle
Join Date: Jul 2016
Posts: 949
Likes: 0
Received 54 Likes on 49 Posts
Default

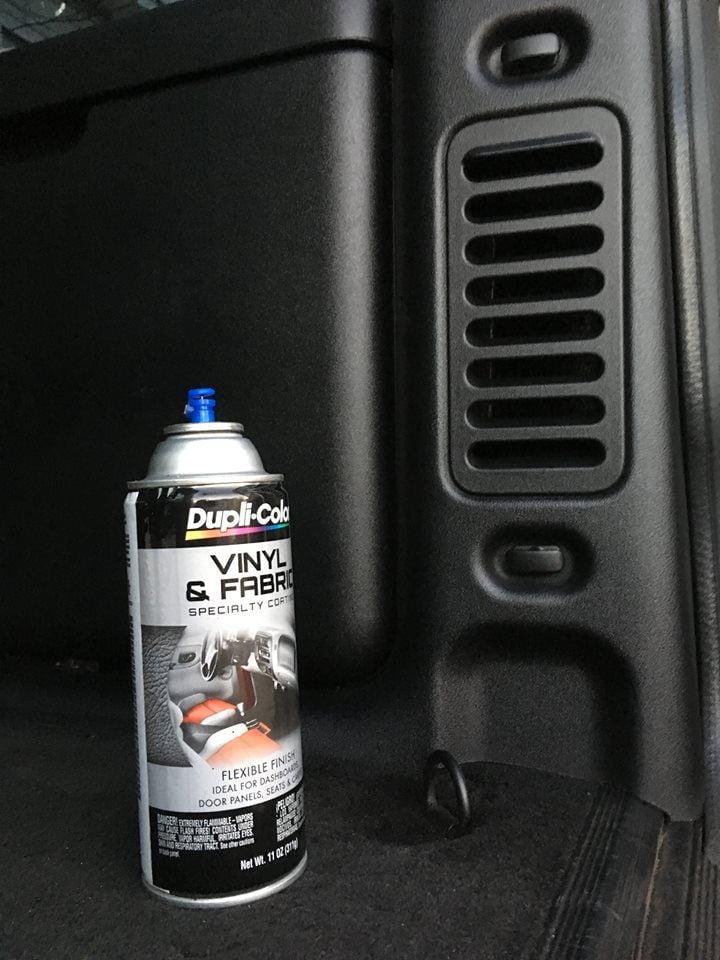
Looks good. What paint did you use?

Fyi, for those plastic parts that start to get brittle and fade, you can soak them in synthetic motor oil and they will regain their elasticity and loose the milky faded color
 
  #7  
Old 02-20-2017, 09:44 PM
LR03NJ's Avatar
TReK
Thread Starter
Join Date: Feb 2009
Location: Linden, NJ
Posts: 2,186
Received 199 Likes on 176 Posts
Default

Her is the paint.


  #8  
Old 02-21-2017, 12:13 PM
Crisis In My Nomex's Avatar
Three Wheeling
Join Date: Jan 2017
Location: Woodinville, WA
Posts: 69
Received 2 Likes on 2 Posts
Default

Looks great. Did you have to do any sanding, or does the paint fill in small gouges?
 
  #9  
Old 02-21-2017, 12:21 PM
LR03NJ's Avatar
TReK
Thread Starter
Join Date: Feb 2009
Location: Linden, NJ
Posts: 2,186
Received 199 Likes on 176 Posts
Default

Originally Posted by Crisis In My Nomex
Looks great. Did you have to do any sanding, or does the paint fill in small gouges?
Do not sand any factory textured panel. You can apply that spray first, let dry then use a (sand) textured paint, then re apply final coating. For upper trim, use fine sand textured spray and for those lower black binsand trim, use medium sand texture before applying final coat. If peeled surfaces, use contact cement, apply both sides and let completely dry before sticking both together. Then apply sand texured paint by brushing it with a small tip brush along the edges.
 
The following 2 users liked this post by LR03NJ:
CamelChad (04-08-2018), Crisis In My Nomex (02-21-2017)
  #10  
Old 02-21-2017, 02:23 PM
Join Date: Aug 2013
Location: Near Bordeaux, France
Posts: 5,845
Received 368 Likes on 344 Posts
Default

Originally Posted by LR03NJ
Do not sand any factory textured panel. You can apply that spray first, let dry then use a (sand) textured paint, then re apply final coating. For upper trim, use fine sand textured spray and for those lower black binsand trim, use medium sand texture before applying final coat. If peeled surfaces, use contact cement, apply both sides and let completely dry before sticking both together. Then apply sand texured paint by brushing it with a small tip brush along the edges.

Right LR03NJ, mine is in some need of a spruce up internally, oh and externally also, soooo, you can have free accommodation in France and do mine as well.


Quick Reply: Restoring Interior Plastic Project


All times are GMT -5. The time now is 10:31 PM.