
heater core replacement (pix)


Thread Starter
|
Three Wheeling
Joined: Dec 2010
Posts: 81
Likes: 0
From: Apple Valley, MN
dead rover party!
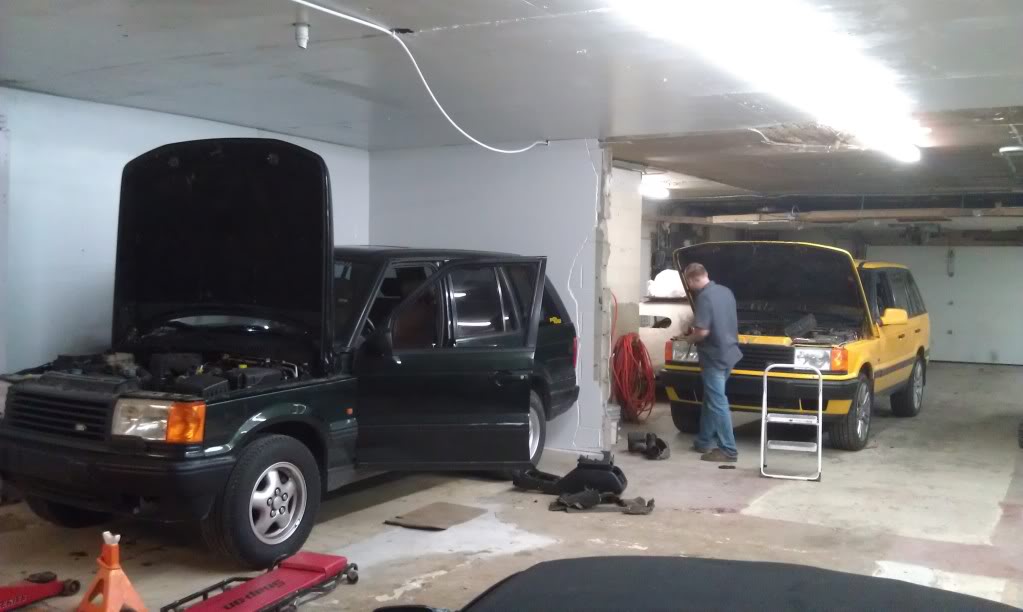
well, not really, just some really needed winter maintenance.
the vitesse needed a much needed tune up and injector cleaning because it was down to only 8 mpg and thats just horrible by anyone's standards. after some wrenching and cleaning its back up to a dazzling 14 mpg.
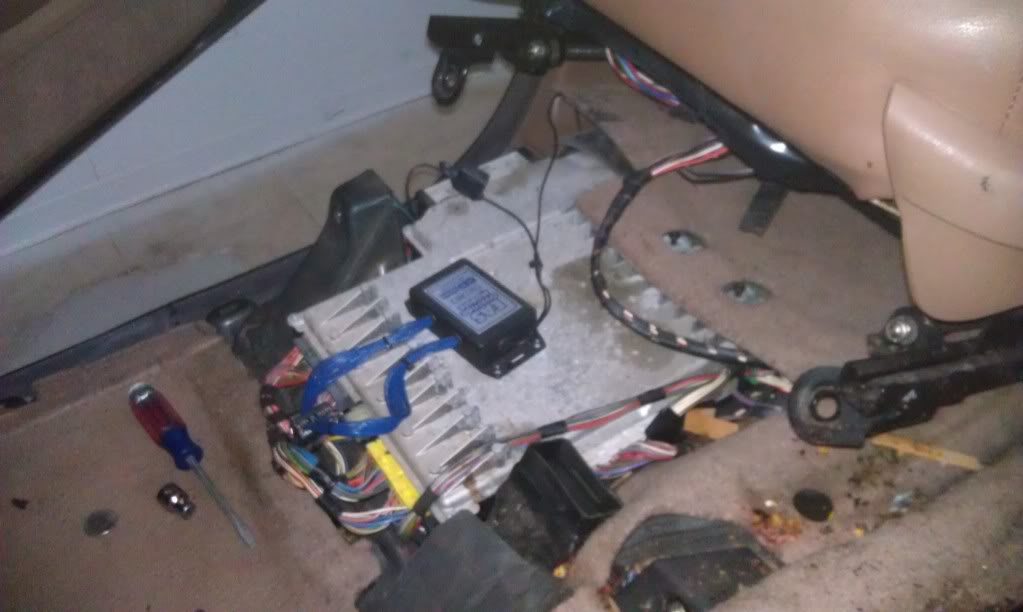
my 4.0 SE needed some much more labor intensive work, consisting of a new heater core, which had a catastrophic failure and ruptured the first time i drove it when i bought it. this is a big job on these trucks. as most of you know, rover basically built the rest of the vehicle around the heater core, and thats really no joke. its impossible to get to without taking all kinds of **** out...not just in the interior but also in the engine bay as well...all the way up to the friggen front bumper.
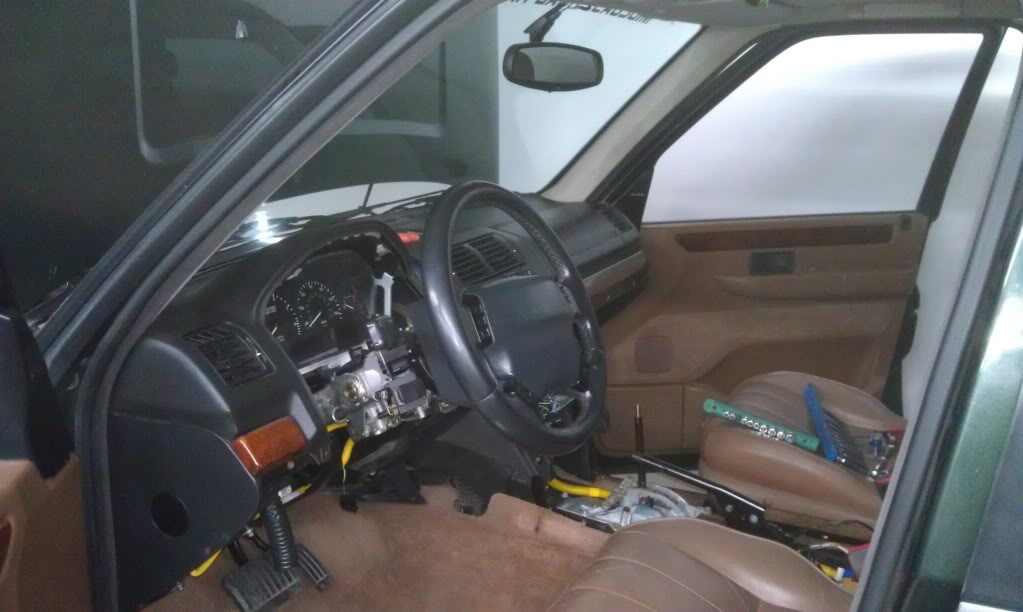
there is a short cut for this job, which involves cutting one of the main dash support brackets to allow the heater core to slide out of its compartment, but i really didn't want to cut up an otherwise very good dash that doesn't rattle. in hindsight, i wish i would have cut it, this is a full 12 hour job.

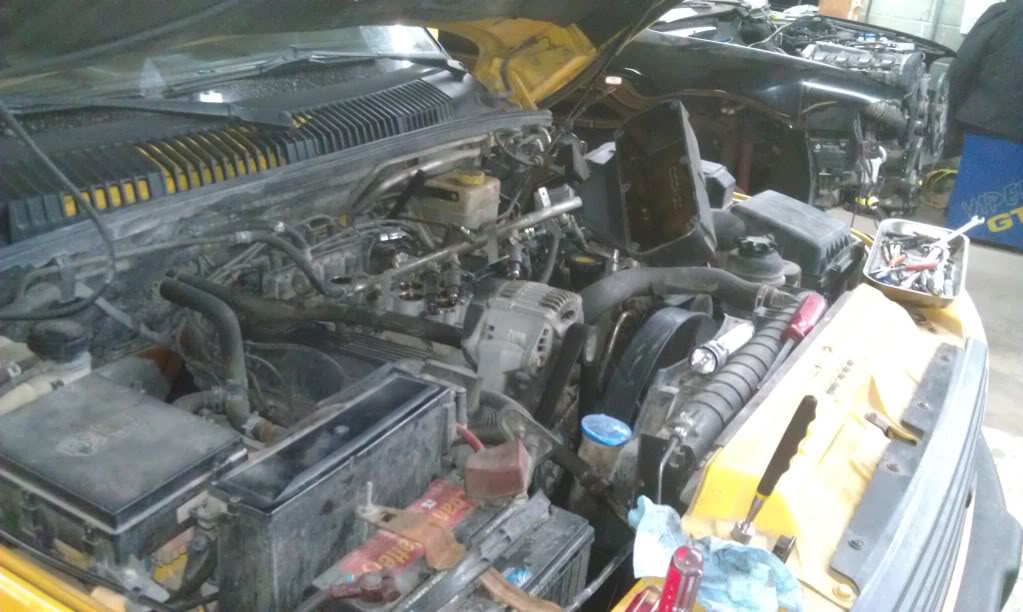
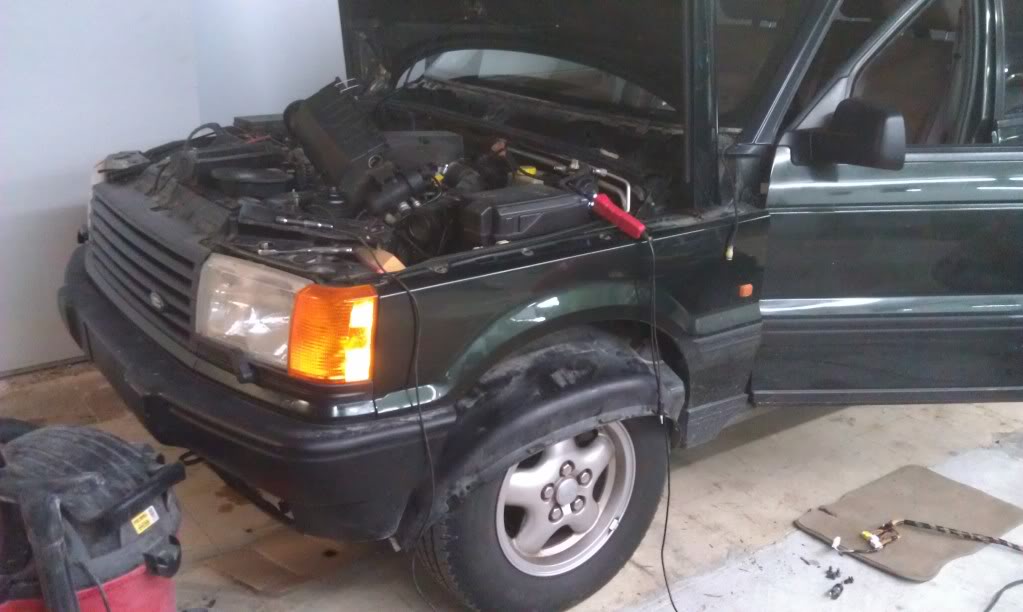
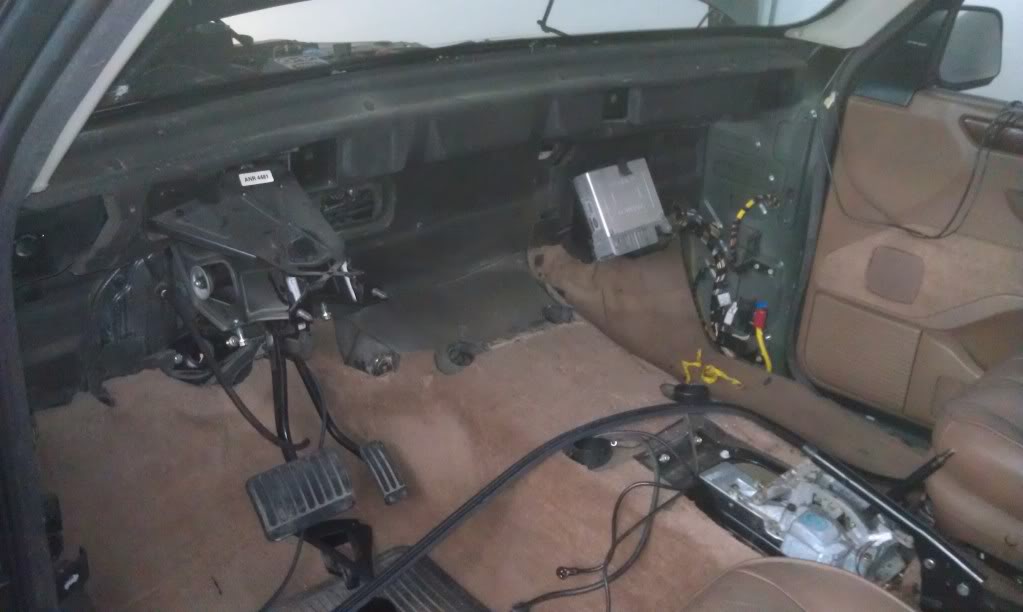
next i had to remove the front fender liners and some accessories in the engine bay. unlike the rest of the dash's wiring harnesses which all unclip inside the vehicle, they did not give a place for the airbag harness to disconnect at the firewall, it goes all the way up front to the crash sensors. so they both had to be pulled all the way up front through the fenders. not looking forward to fishing them back through.
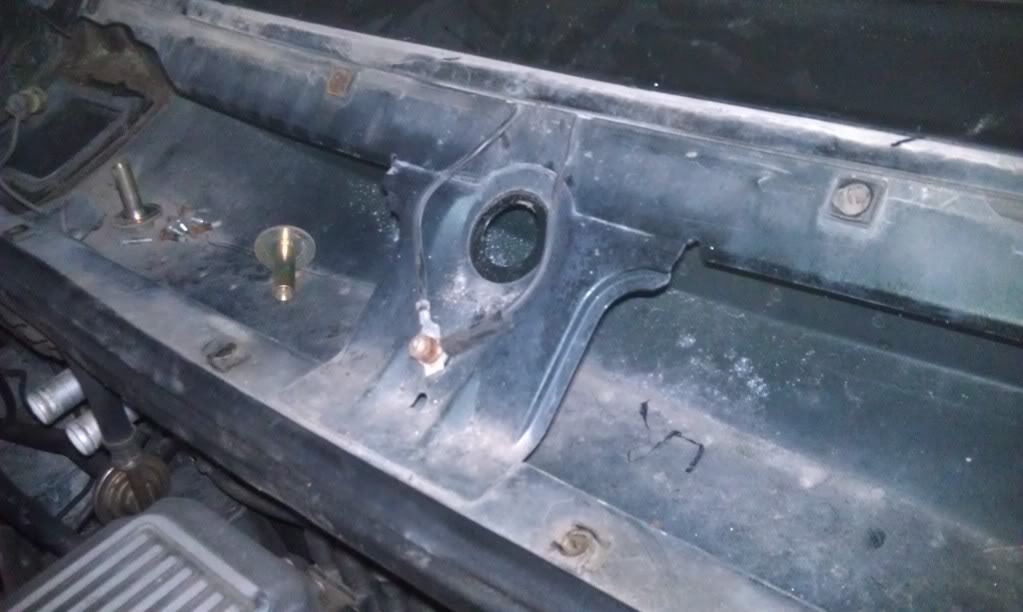
cowl, and wiper motor also had to come out. dash mounts through the firewall. even this cowl was a bit of a rubix cube with 4 layers of covers and plastics to expose all of it.
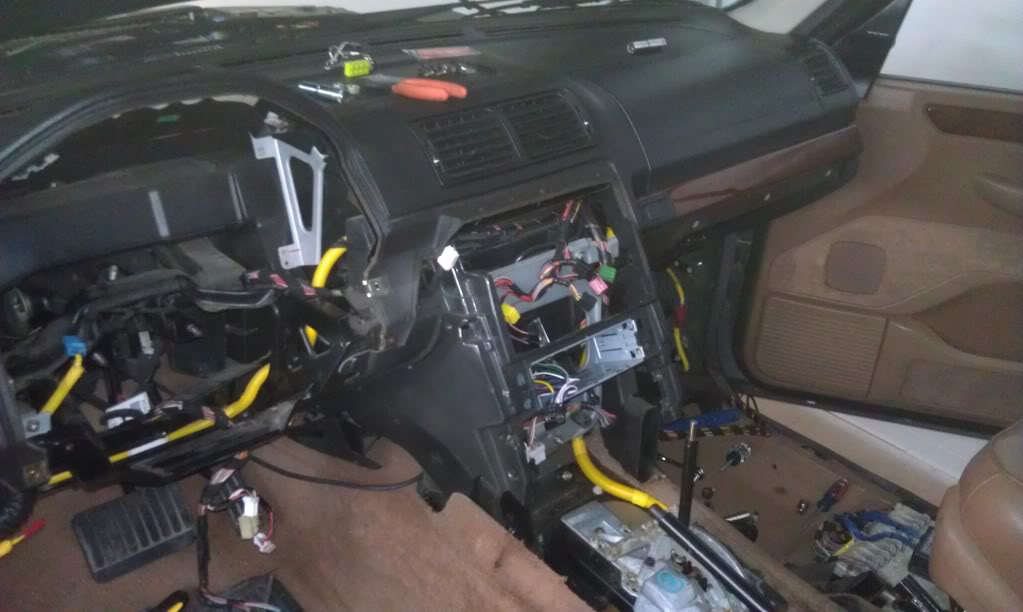
dash out, all 150 pounds of it.
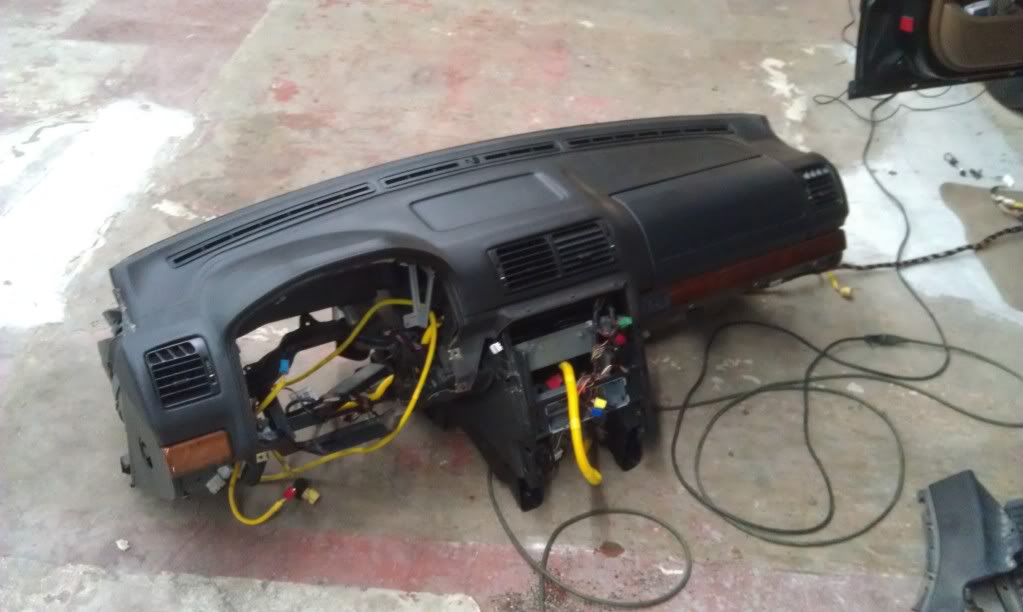
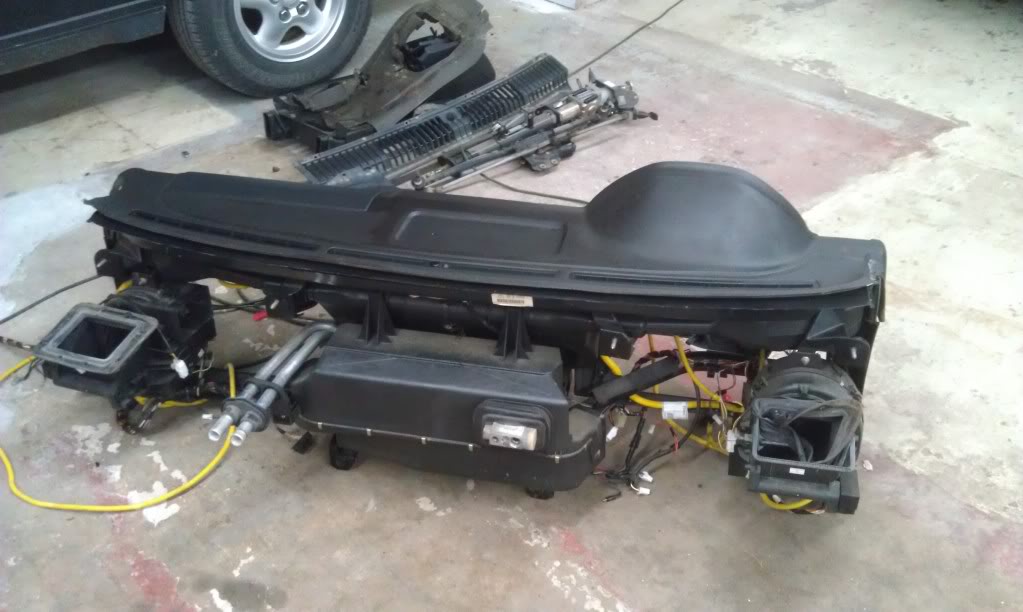
much to my surpise however, the re-install was actually pretty easy. i needed help with the dash of course, thats a two man job no matter what, but the rest of it i got done pretty quick actually, and now my heat works perfect!
major PITA -- but i will say this, i'm very proud of myself for doing this project the right way and not taking short cuts. and without a doubt, i know my rover literally inside and out now, and that to me means a lot.
well, not really, just some really needed winter maintenance.
the vitesse needed a much needed tune up and injector cleaning because it was down to only 8 mpg and thats just horrible by anyone's standards. after some wrenching and cleaning its back up to a dazzling 14 mpg.
my 4.0 SE needed some much more labor intensive work, consisting of a new heater core, which had a catastrophic failure and ruptured the first time i drove it when i bought it. this is a big job on these trucks. as most of you know, rover basically built the rest of the vehicle around the heater core, and thats really no joke. its impossible to get to without taking all kinds of **** out...not just in the interior but also in the engine bay as well...all the way up to the friggen front bumper.
there is a short cut for this job, which involves cutting one of the main dash support brackets to allow the heater core to slide out of its compartment, but i really didn't want to cut up an otherwise very good dash that doesn't rattle. in hindsight, i wish i would have cut it, this is a full 12 hour job.
next i had to remove the front fender liners and some accessories in the engine bay. unlike the rest of the dash's wiring harnesses which all unclip inside the vehicle, they did not give a place for the airbag harness to disconnect at the firewall, it goes all the way up front to the crash sensors. so they both had to be pulled all the way up front through the fenders. not looking forward to fishing them back through.
cowl, and wiper motor also had to come out. dash mounts through the firewall. even this cowl was a bit of a rubix cube with 4 layers of covers and plastics to expose all of it.
dash out, all 150 pounds of it.
much to my surpise however, the re-install was actually pretty easy. i needed help with the dash of course, thats a two man job no matter what, but the rest of it i got done pretty quick actually, and now my heat works perfect!
major PITA -- but i will say this, i'm very proud of myself for doing this project the right way and not taking short cuts. and without a doubt, i know my rover literally inside and out now, and that to me means a lot.
Last edited by PKG Vitesse; Nov 27, 2011 at 11:20 AM.

TReK
Joined: Dec 2009
Posts: 2,243
Likes: 10
From: Albany, NY
Proud of yourself, I don't think so, the heater core orings are what leaks on those and they take less then an hour to replace.
The only time they go bad is when you strip out the screw to the heater core orings.
if you had looked up the info on the range rovers.net and here and few other places you would seen the shortcuts.
Regular book time for the job pays 3.0 hours. the heater core pays 12.
The only time they go bad is when you strip out the screw to the heater core orings.
if you had looked up the info on the range rovers.net and here and few other places you would seen the shortcuts.
Regular book time for the job pays 3.0 hours. the heater core pays 12.

Thread Starter
|
Three Wheeling
Joined: Dec 2010
Posts: 81
Likes: 0
From: Apple Valley, MN
Proud of yourself, I don't think so, the heater core orings are what leaks on those and they take less then an hour to replace.
The only time they go bad is when you strip out the screw to the heater core orings.
if you had looked up the info on the range rovers.net and here and few other places you would seen the shortcuts.
Regular book time for the job pays 3.0 hours. the heater core pays 12.
The only time they go bad is when you strip out the screw to the heater core orings.
if you had looked up the info on the range rovers.net and here and few other places you would seen the shortcuts.
Regular book time for the job pays 3.0 hours. the heater core pays 12.
So yeah, i did need to replace the whole thing.
Last edited by PKG Vitesse; Nov 27, 2011 at 06:39 PM.
Thread Starter
|
Three Wheeling
Joined: Dec 2010
Posts: 81
Likes: 0
From: Apple Valley, MN
i didn't get a pic of it but i should have, but i was in such a rush to get the whole thing back together i didn't bother. it cracked on the inlet side pretty much from top to bottom and made one hell of an awful mess. it filled the heater box compartment and dumped coolant out the floor vents on both sides of the vehicle when it went, which burned my legs, plus it scorched the top of the dash around the passenger airbag and instrument cluster with the hot steam that was rolling out of the dash for several minutes.


Drifting
Joined: May 2009
Posts: 47
Likes: 0
From: Philadelphia area
Wow!!! Good for you. I have to do something with my 2001 HSE. I'm going to try the O rings first. For now I bypassed the water lines.
However, I also have another issue with the blowing. Even when I adjust my fan motor switch up the blower motor doesn't blow hard. I have to figure out if its the temperature gauge or the actual blower motor. The temp gauge as a book icon on the display...and the numbers are starting to not show the full characters...
However, I also have another issue with the blowing. Even when I adjust my fan motor switch up the blower motor doesn't blow hard. I have to figure out if its the temperature gauge or the actual blower motor. The temp gauge as a book icon on the display...and the numbers are starting to not show the full characters...

Super Moderator
Joined: Jan 2011
Posts: 16,322
Likes: 88
From: Savannah Georgia
Does motor change speed or just have one speed working? Speed 31 switched by relay, speeds 1-30 require power transistor to work, see attached pix.
From RAVE:
Power relay
The coil of the power relay receives a feed from fuse 31 in the passenger compartment
fusebox. The feed passes on a GK wire to splice joint A9/A144. From the splice joint the feed
passes on a GR wire to connector interface C0765-1/C0778-1. From the connector interface
the feed passes, via splice joint A1, to the coil of the power relay. The coil is connected to
pin C0793-10 on the ATC ECU.
The power relay operates speed 31 of the blower motor. This fastest motor speed is
operated by the ATC ECU granting the earth path for the power relay coil. The energised
coil closes the relay contacts and allows the earth for the front blower motor to pass, via
splice joint A10, through the contacts. The earth path is completed on a B wire, via splice
joints A9 and B9, to earth eyelet connector C0910-1.
Power transistor
The power transistor controls speeds 1 to 30 of the front blower motor. The power transistor
is controlled by the ATC ECU on a PG wire to ECU pin C0792-8 and on a G wire to ECU pin
C0793-1.
Speeds 1 to 30 are controlled by the power transistor varying the resistance to the earth flow
from the front blower motor. The earth path from the front blower motor is connected on a B
wire, via splice joint A10, to the power transistor. The power transistor is connected on a B
wire, via splice joints A9 and B9, to earth eyelet connector C0910-1.
Last edited by Savannah Buzz; Nov 30, 2011 at 09:24 PM.