When you click on links to various merchants on this site and make a purchase, this can result in this site earning a commission. Affiliate programs and affiliations include, but are not limited to, the eBay Partner Network.
- changed the coolant expansion tank due to a leak. The previous one only lasted 15,000 miles.
- replaced the leaking transmission mechatronic sleeve. This was an opportunity to replace the transmission pan with a metal one, along with a new transmission fluid filter. I filled it up with Pentosin ATF1.
- changed all the brake pads and rotors, and flushed the brake lines. It had been about 60k miles since the last brake pad change! Oddly, all the pads still had more than 1/2 an inch left except for the passenger front, which were completely worn through. I'll have to figure out what's going on there.
Oddly, all the pads still had more than 1/2 an inch left except for the passenger front, which were completely worn through. I'll have to figure out what's going on there.
Sounds like a sticky front caliper... did you notice the piston being harder to retract than the others?
Sounds like a sticky front caliper... did you notice the piston being harder to retract than the others?
Also, grease them slider pins...
Both of the front pistons were difficult to retract, but the passenger one was definitely harder. Thank you for the tip on greasing the slider pins. I'll disassemble both of the front calipers and try your suggestion.
...this is a common update in the other side of the Atlantic. All the buttons work and it's plug-n-play if you use this new circut boards from here: http://blackbox-solutions.com/shop/c...eel-conversion
Works on most 2010-2012 LR4 or RRS Wheels.
My cruise buttons were flaking out too. Probably from excessive IIDTOOL use. The replacement switch was ridiculous price, so it was only a $100 more to upgrade!
I did not gave heated feature on my 2006 LR3, so it would require a new clock spring to enable that. I live in Virginia now, so that's low on the priority list.
it's nice having the vol and track controls on both sides of the wheel.
What do the round rocker switches at the top on each side do?
Are they partial duplicates of each other, or what is the difference?
What do the round rocker switches at the top on each side do?
Are they partial duplicates of each other, or what is the difference?
yes duplicate. Vol up/down and track/station foreard/back. I think the center is source (fm, sat, cd, aux). It's nice having the most common functions on both sides since my hands take turns driving.
1. Cleaned MAF - it was dirty.
2. Cleaned Throttle body - very dirty.
3. Checked battery and alternator - both very healthy
4. Checked brake switch - its already the newer version :-)
5. Checked the air filter - having just brought the LR, I have no idea when this was replaced and it was caked with very fine dust - when I dropped it on the floor there was so much dust that combined with the above dirty MAF and throttle body I'm surprised I never had any problems. I have to wait until Tuesday to get a new one, but its at least been shaken out as much as poss.
I do have an idle issue but that seems to be very likely one of the CPS sensors and its in the garage on Tuesday for that to be checked/replaced after reading I have the exact same issue as others on here.
Tomorrow - front and rear diff oils.
The previous owner(s) never did any undercoating and its a must here as the roads are salted heavily in the winter and there is some pretty heavy rusting underneath on the frame. A quick look at the rear bumper and I may end up simply replacing this as its pretty bad.
I noticed your reference to checking the air filter and dropping it. That was good; it told me that you had removed it completely and hence I presume that you had the plastic engine air filter cover fully removed.
I mention fully, as awhile back, I discovered that service types tend not to fully remove the cover, but instead just loosen the screws, tip the cover up and glance inside.
With most vehicles, there is nothing wrong with doing that, however with the 3, the bending occurs where the rubber gaskets with those two shiny screw clamps tie the round air duct bit together.
The upwards tipping action tends to pull out the rubber gaskets on the bottom where one cannot see it. The gaskets do not reset correctly when all is put back together and now one has an intake air leak that is not only non filtered air, but also perhaps non metered.
I discovered this when my gas mileage suddenly got worse after a routine oil change. I figured it was the MAF or something exotic, but instead just an intake piping air leak due to the rubber gaskets not being properly set. Incidentally, the air leak will get the MAF prematurely dirty.
bbayer - yep, always take them out and fully check as often top looks great and the underside - which is where the crap is collected - looks like crap. Regardless a new one is getting installed tomorrow. As you point out, equally important to ensure its correctly seated
I was going to deal with the diff oils today, but I dealt with the rear bumper corrosion instead and a good job. Once I dropped the spare wheel I found a lot more corrosion. The spare wheel itself is pretty much pooched and would not fancy doing more than 40mph with it fitted. Anyway I took off the rear bumper trim and found a chaffed wire in the rear LH light cluster. I guess that was the reason my rear parking sensor where not working.
As for the bumper corrosion, long story short it was actually ok once I knocked off the surface rust and treated the entire bumper to a vigorous cleaning. I'll deal with the rest of the underside corrosion next weekend, but for now at least the bumper and harmonic weights are now cleaned, primed with rust paint and coated with under seal - hence the black appearance.
fill and drain plugs not necessarily the same wrench
Re draining oil from the differentials / transfer case etc, loosen/remove the fill plug before you attempt the drain plug.
While this may seem silly, LR appears to use a variety of threaded plugs - (whatever was handy it seems), so the wrench whatever for the fill may be different from the drain plug.
Different as in, you will probably have the correct wrench for the drain but may not have the correct Metric/US/UK Torx square undoer for the fill.
The time to find out is when the oil is still in the can as my comment is unfortunately not an exaggeration.
Your rear bumper looks a lot better after than before. the pictures are appreciated.
Well done on finding the wiring problem. I find that whenever I start a project, I try not to be in a hurry as it gives me time to look about and invariably something shows up.
Yesterday I decided to to a bit of spring cleaning under the bonnet and to my surprise, while looking about, both batteries had white corrosion on the negative posts. I guess it developed over the winter - first time ever I have seen corrosion - 3 must be getting old as that sort of thing seems to show up on older vehicles.
Those harmonic dampeners seem to be important. Guys who have removed them often report their passengers getting car sick and attribute it to the removal of the weights, as putting them back on and all is well.
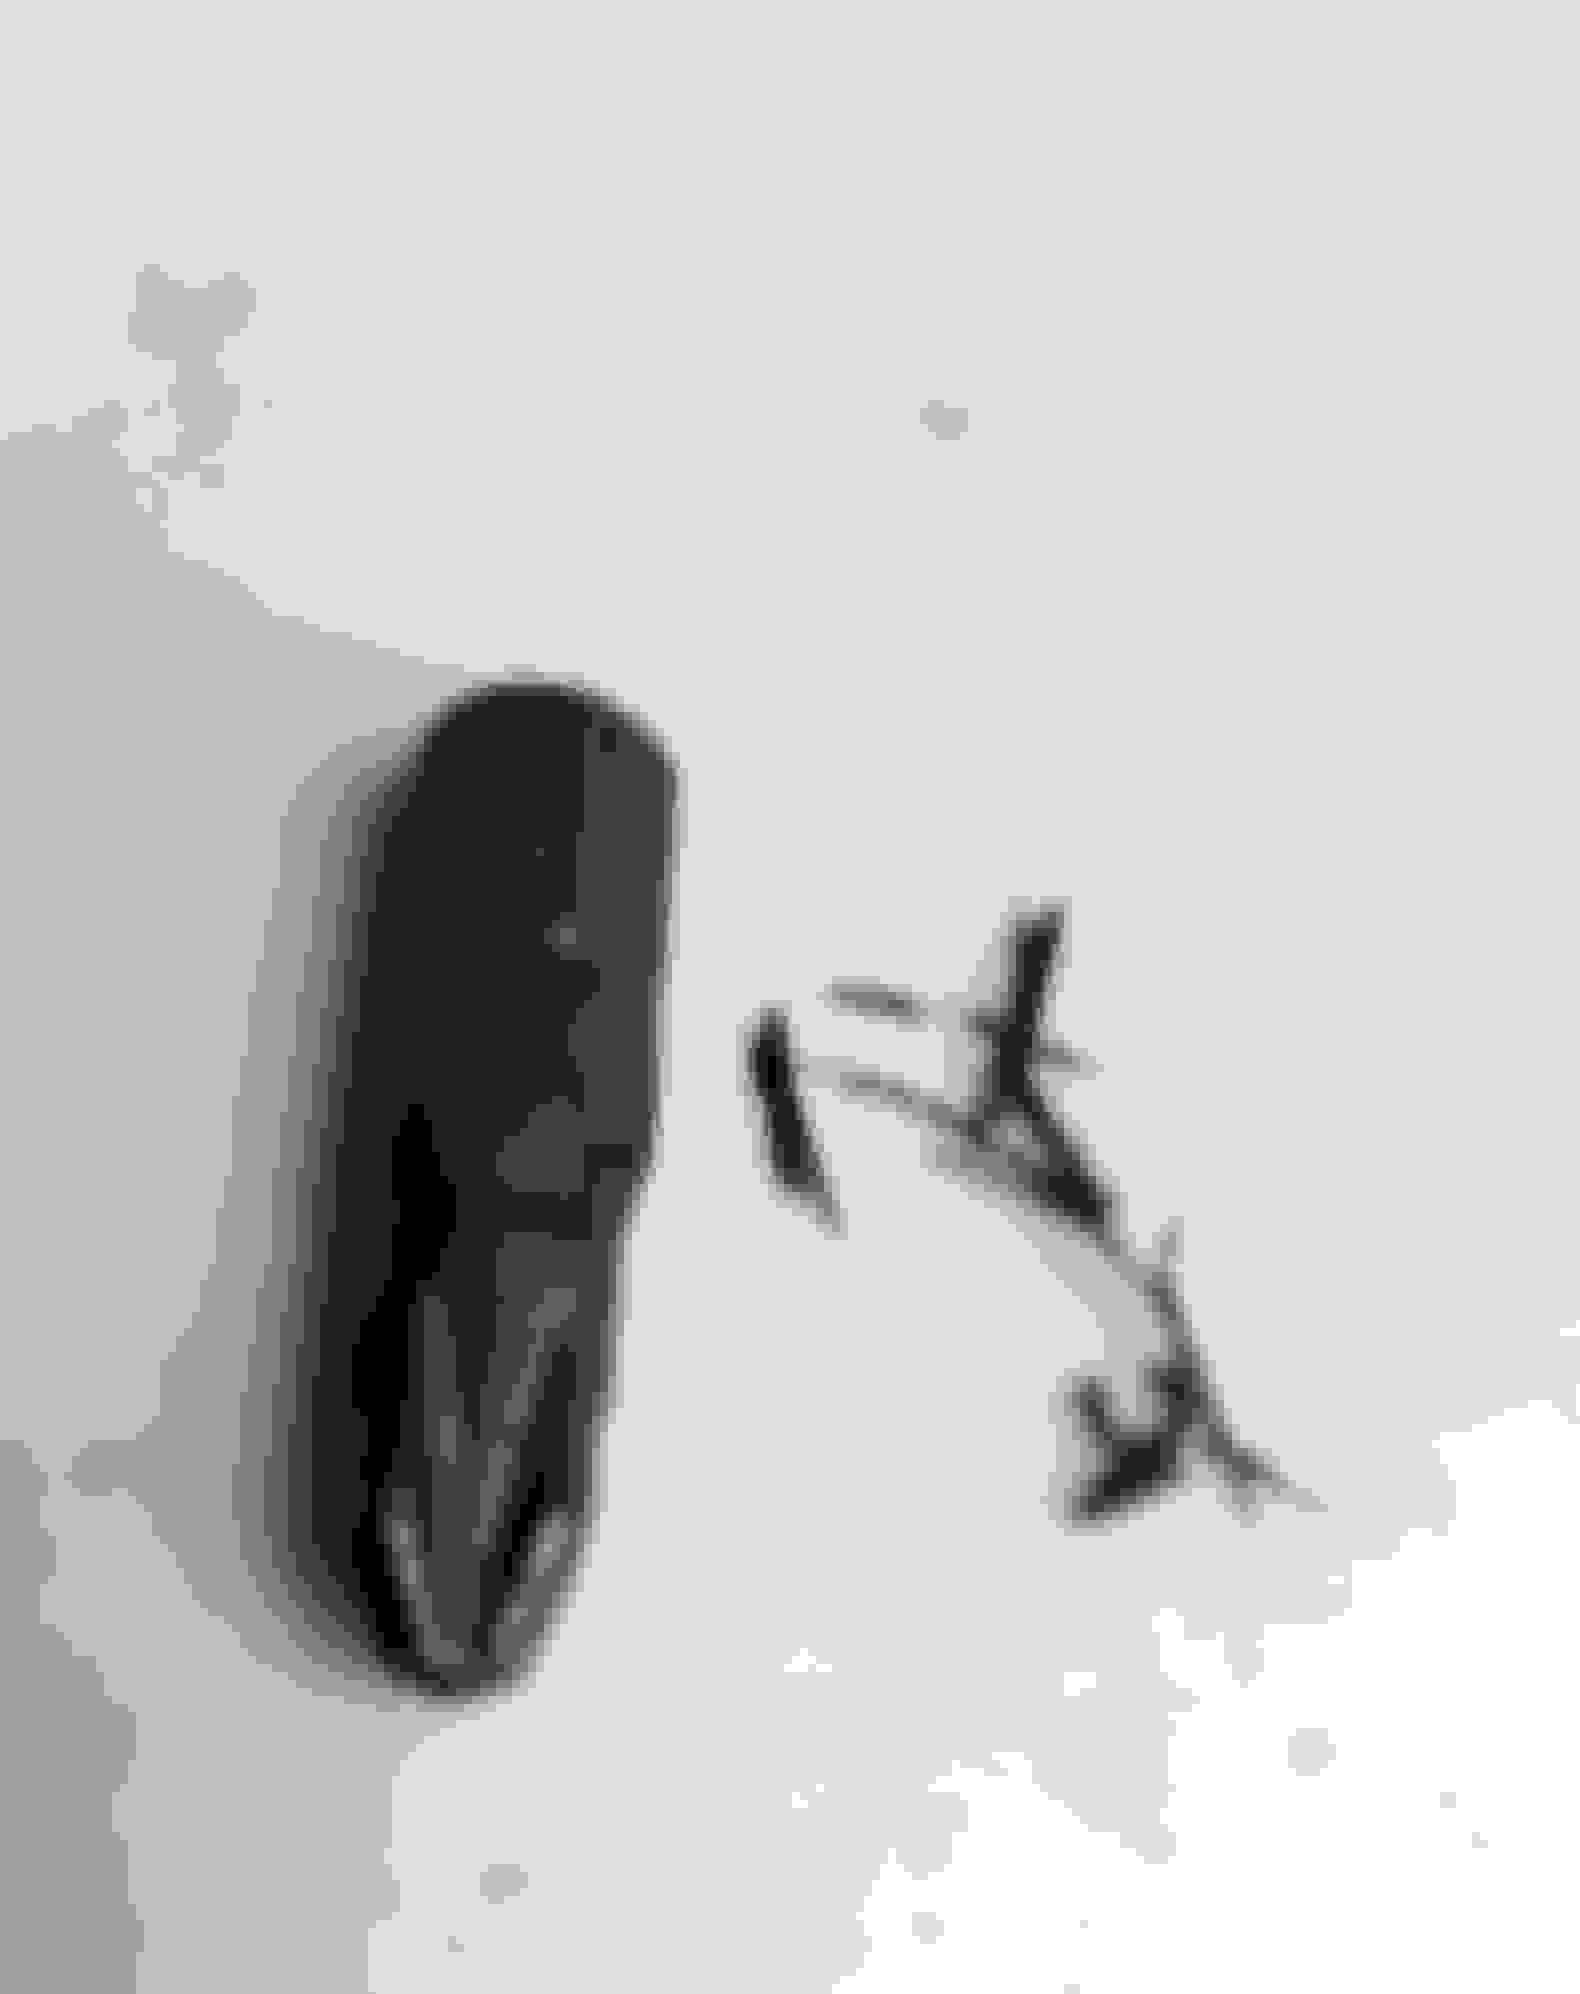
So I got round to the rear diff oil change today and was happy to see the oil was pretty clean. What surprised me was what I found on the mag plug. It at first looked like a sliver of metal. Once I cleaned it looked like the cut off end of a wire as it broke apart into what looked like individual strands of wire apart from the small circular bit - not sure about that. Ive had no noise form the diff, so however this got into the diff, the mag plug seemed to have done its job.