When you click on links to various merchants on this site and make a purchase, this can result in this site earning a commission. Affiliate programs and affiliations include, but are not limited to, the eBay Partner Network.
D1 / D2 Front Bumper Mods - HD look with Recovery Points on the Cheap
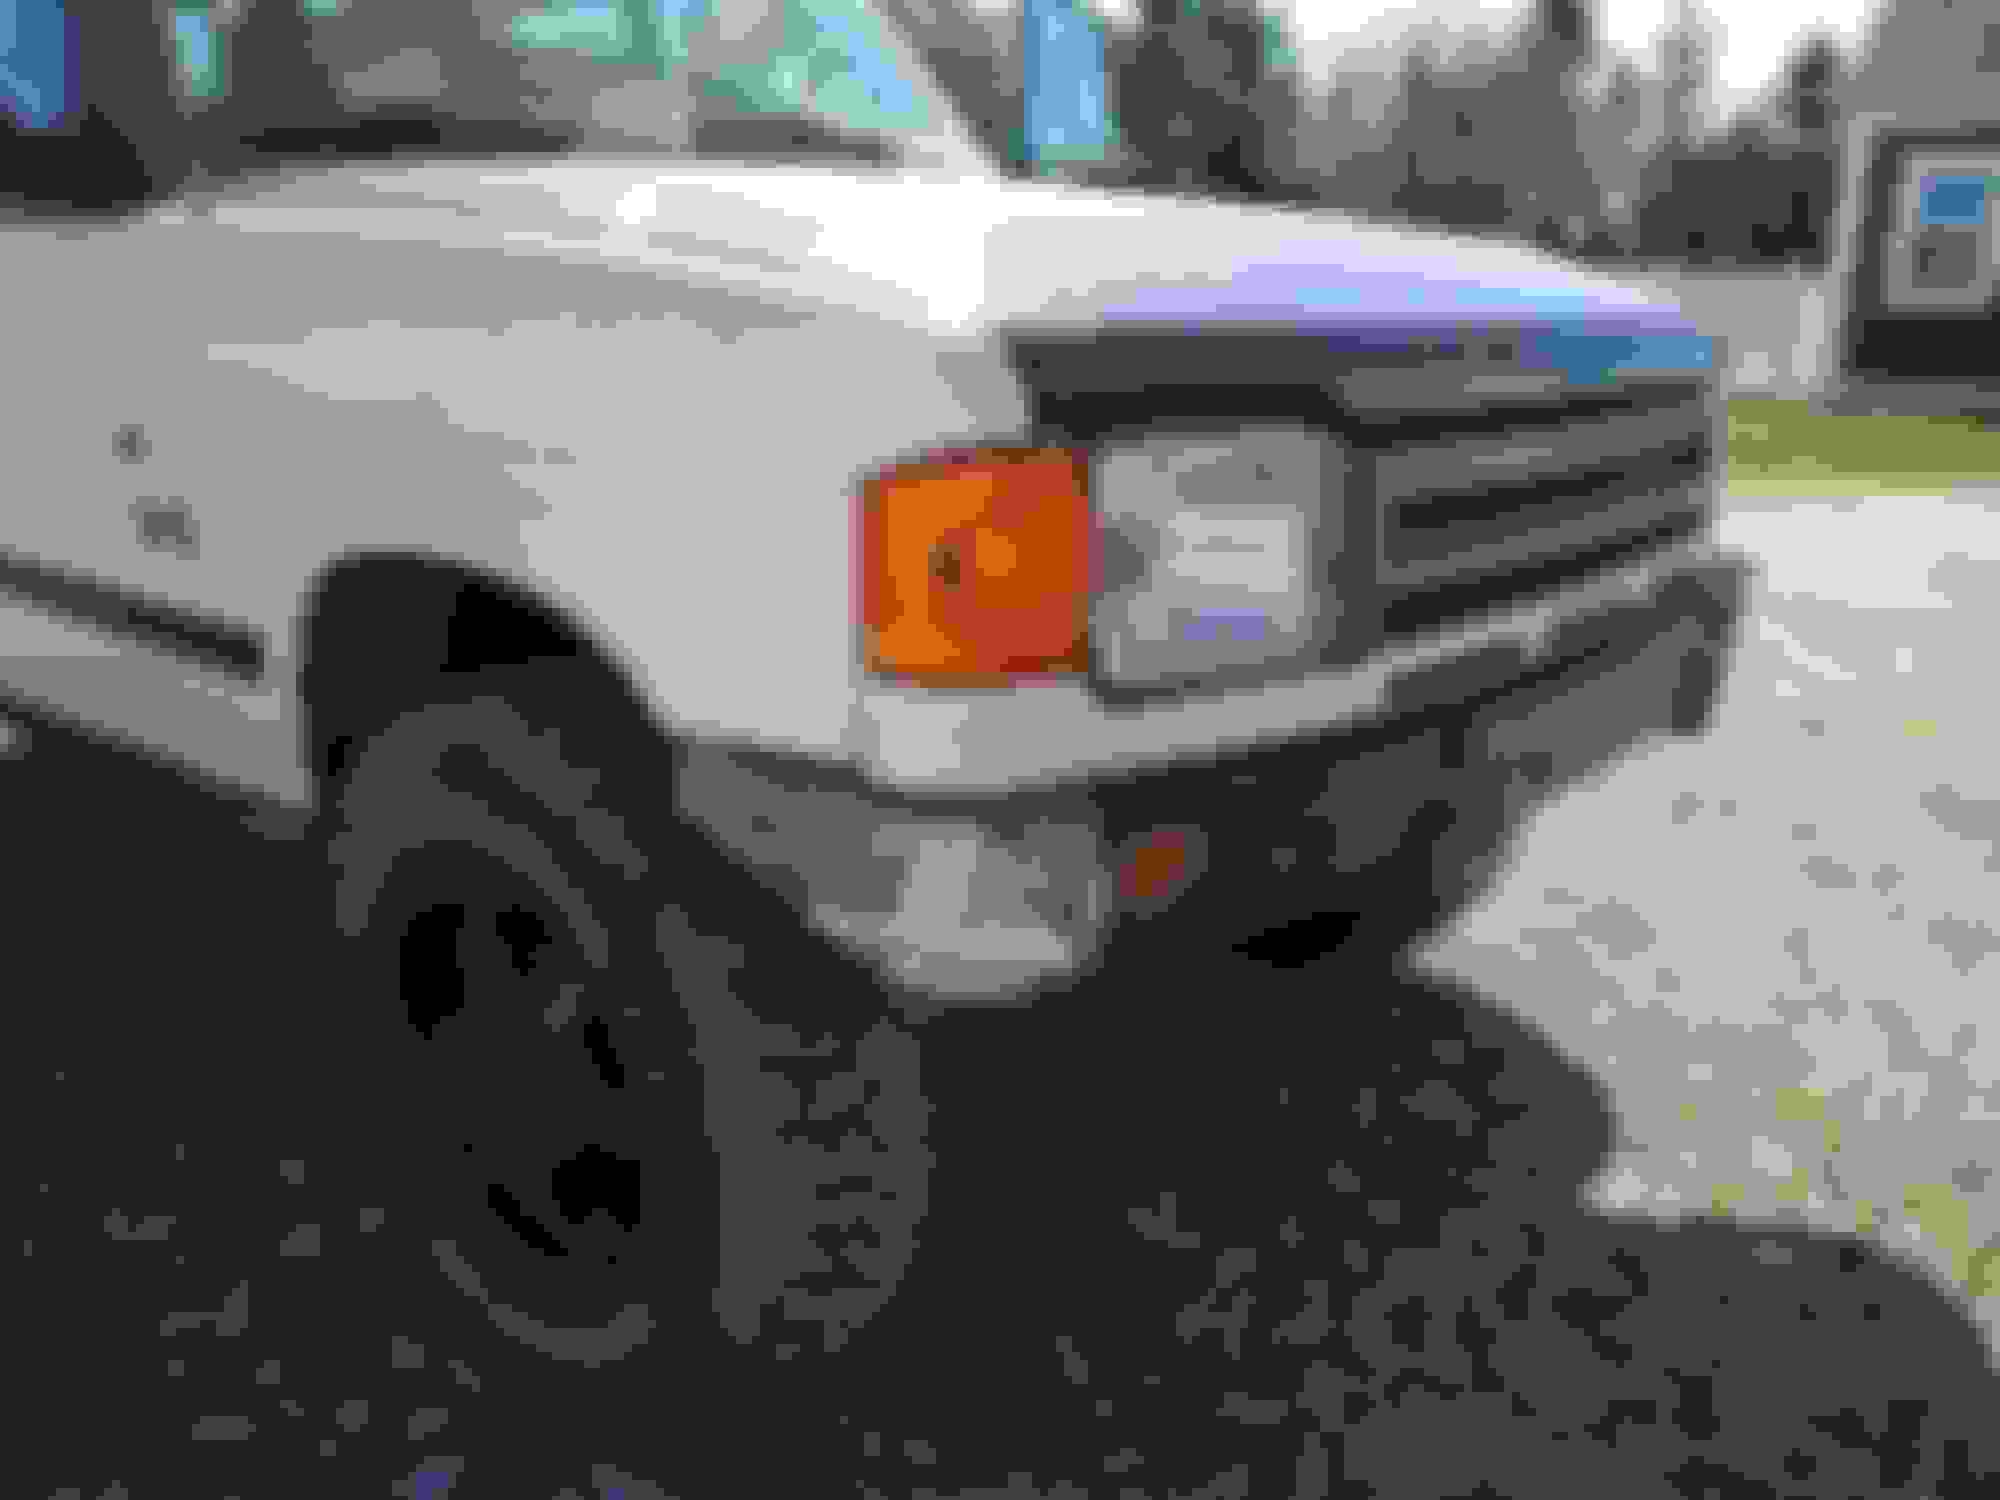
After completing my bumper modifications, I thought I would share this project with those who want a new option for a front bumper without spending tonnes of cash. So initially I knew I wanted to remove the bottom half of the front bumper from my D1 for approach angle, but didn�t like the look of the plastic end caps even when trimmed. I decided that it wouldn�t be too hard to fab up metal end caps and modify the centre plastic to fit, allowing this to work with my new tow hooks. I also did a bumper lift, which I will discuss in the end, which is particularly useful for those doing body lifts to close that gap.
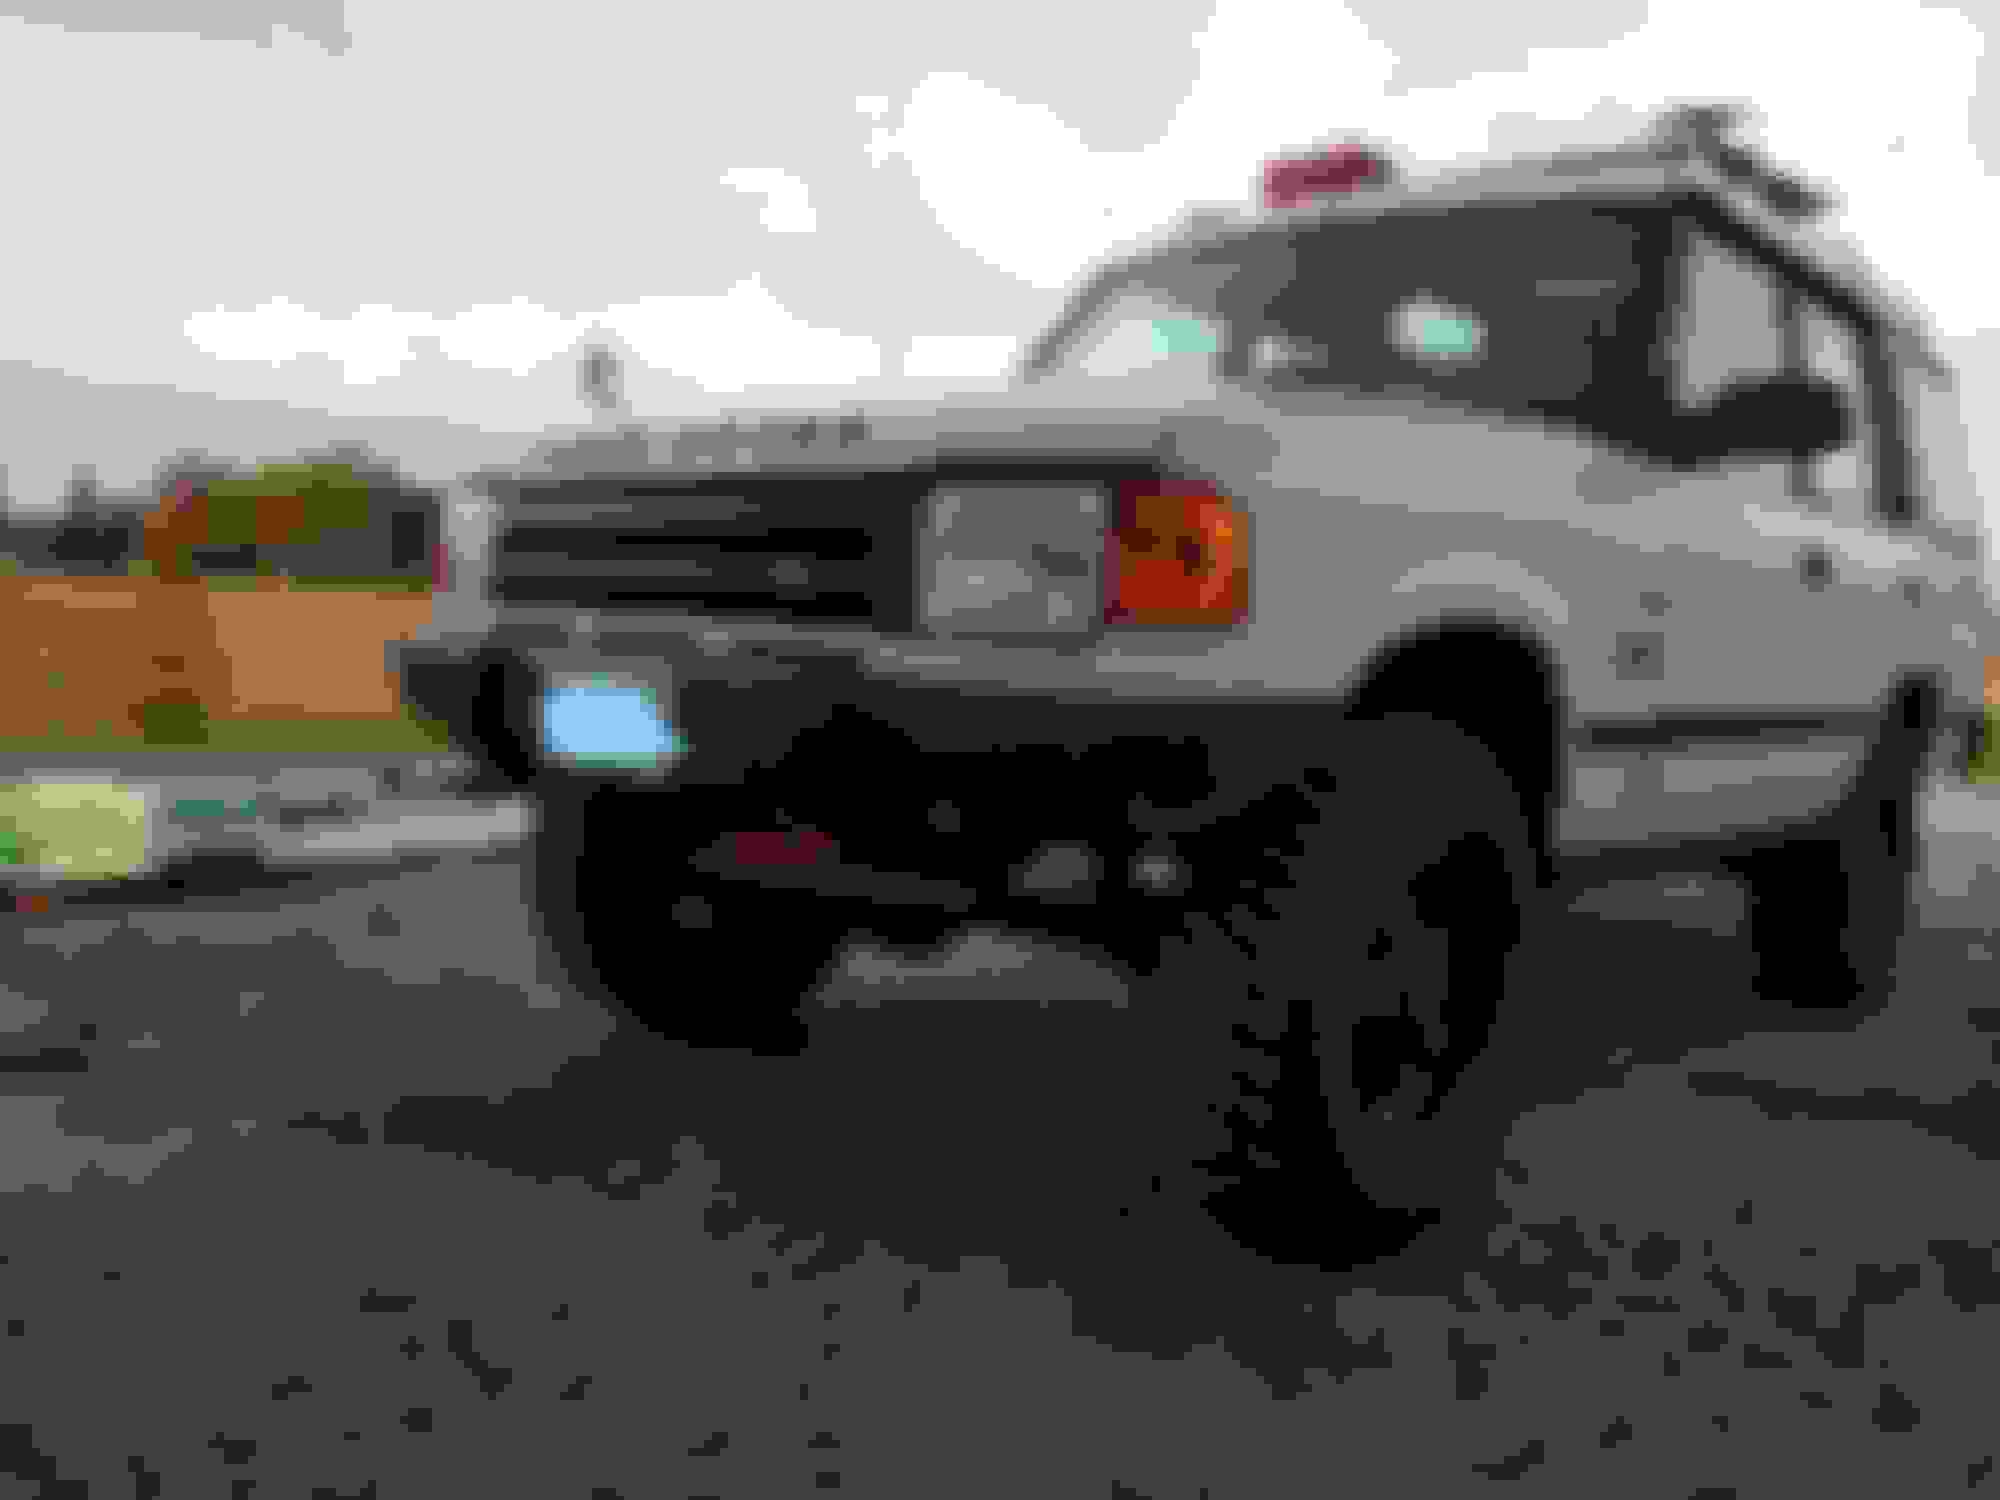
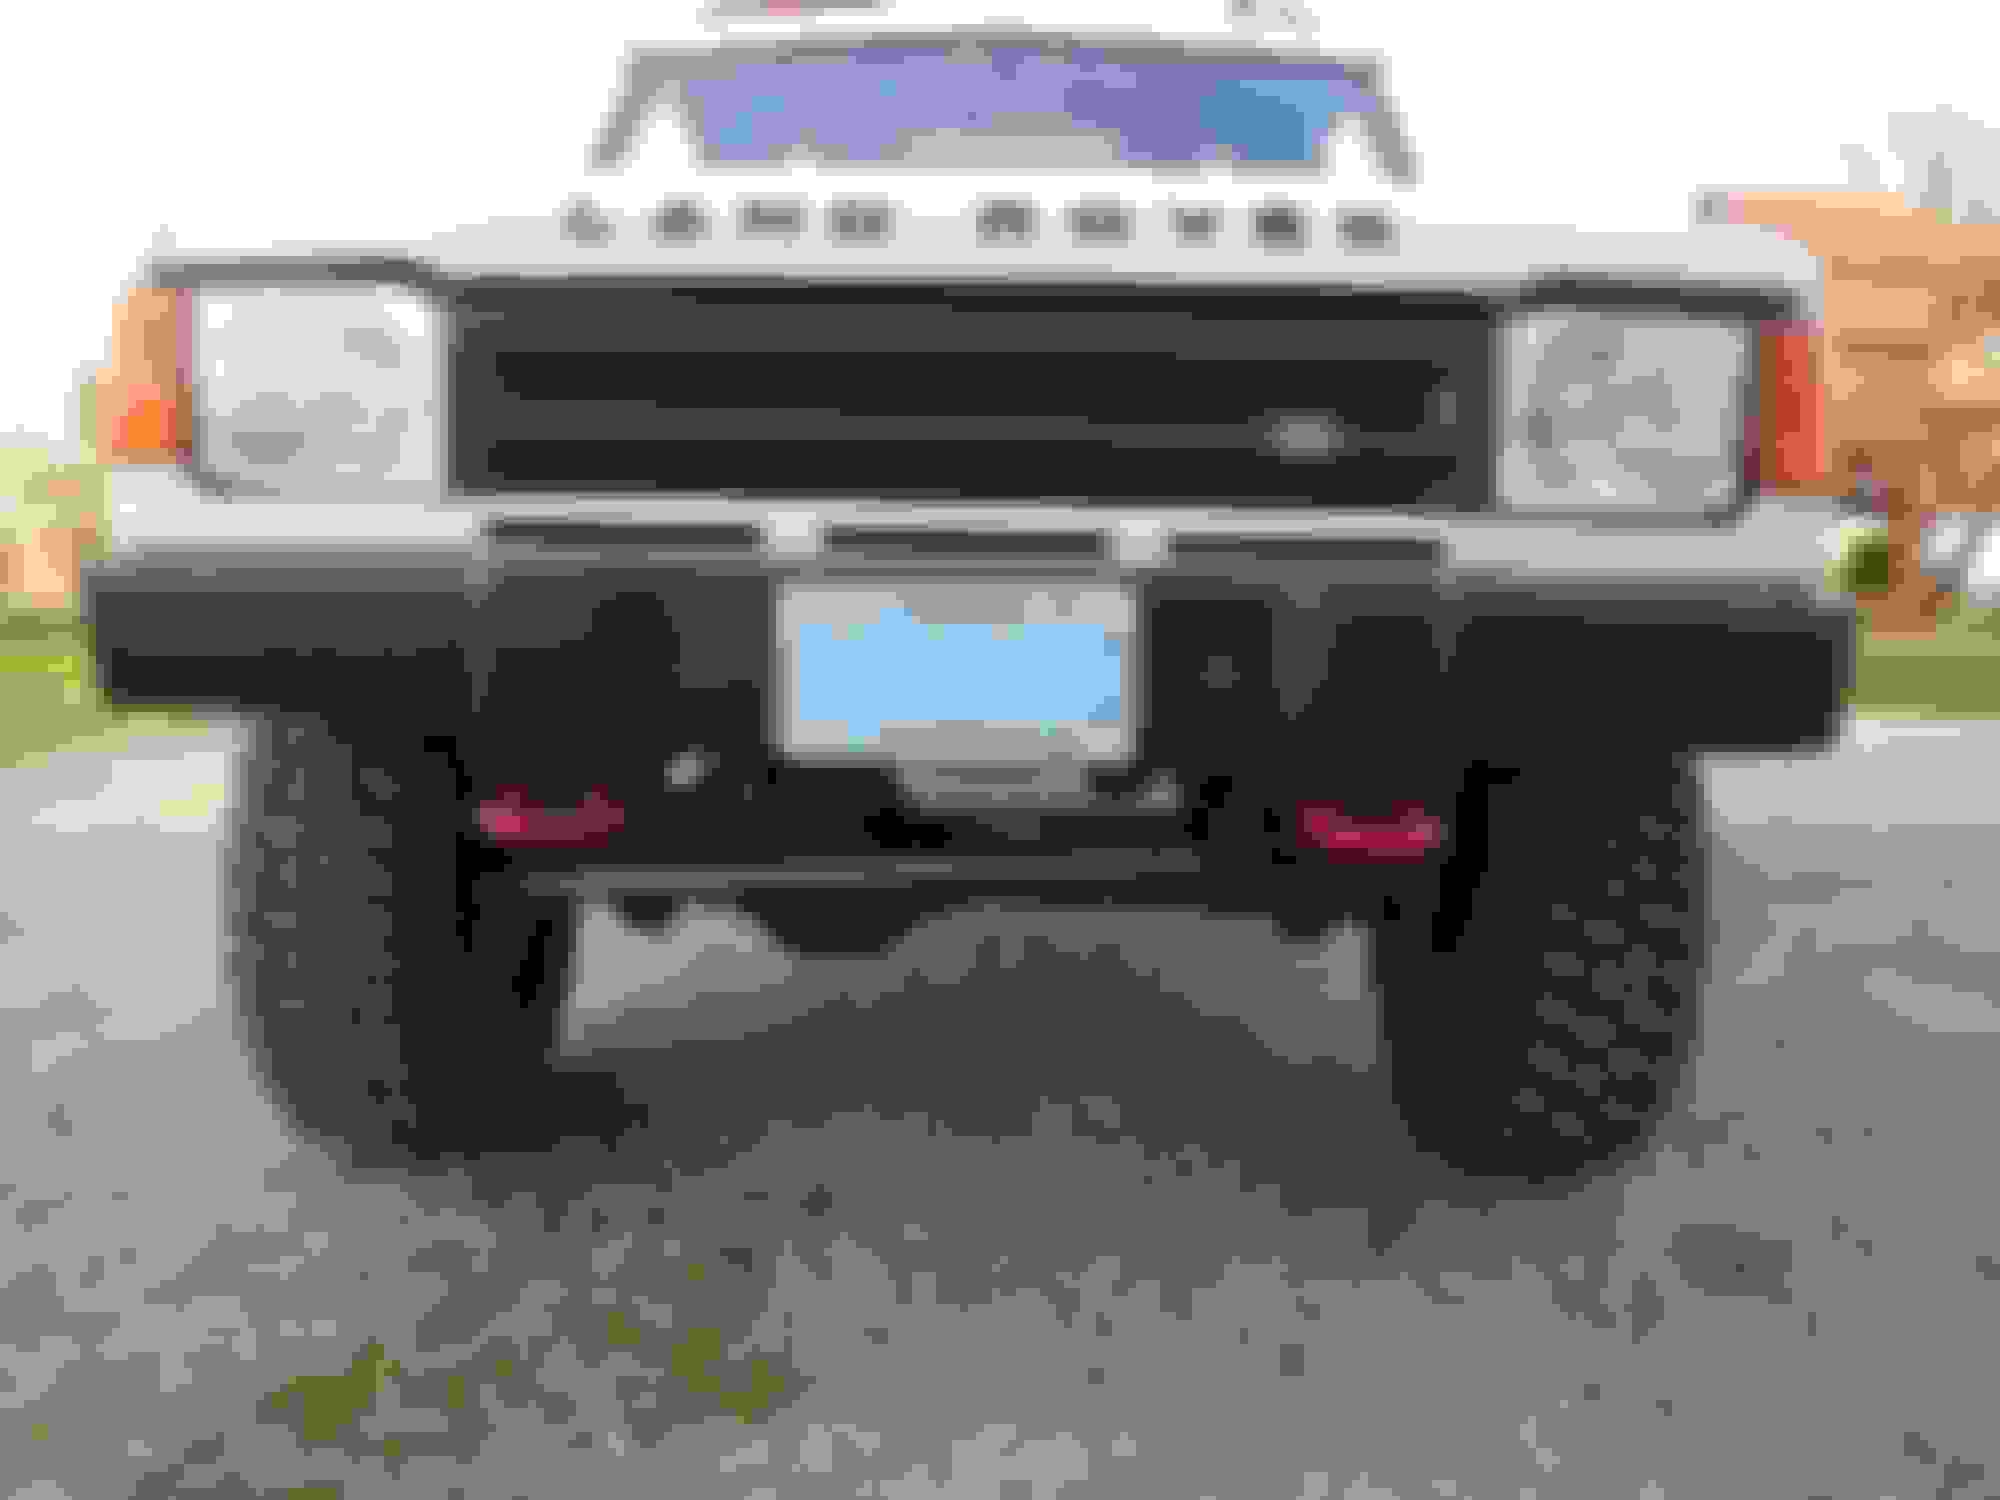
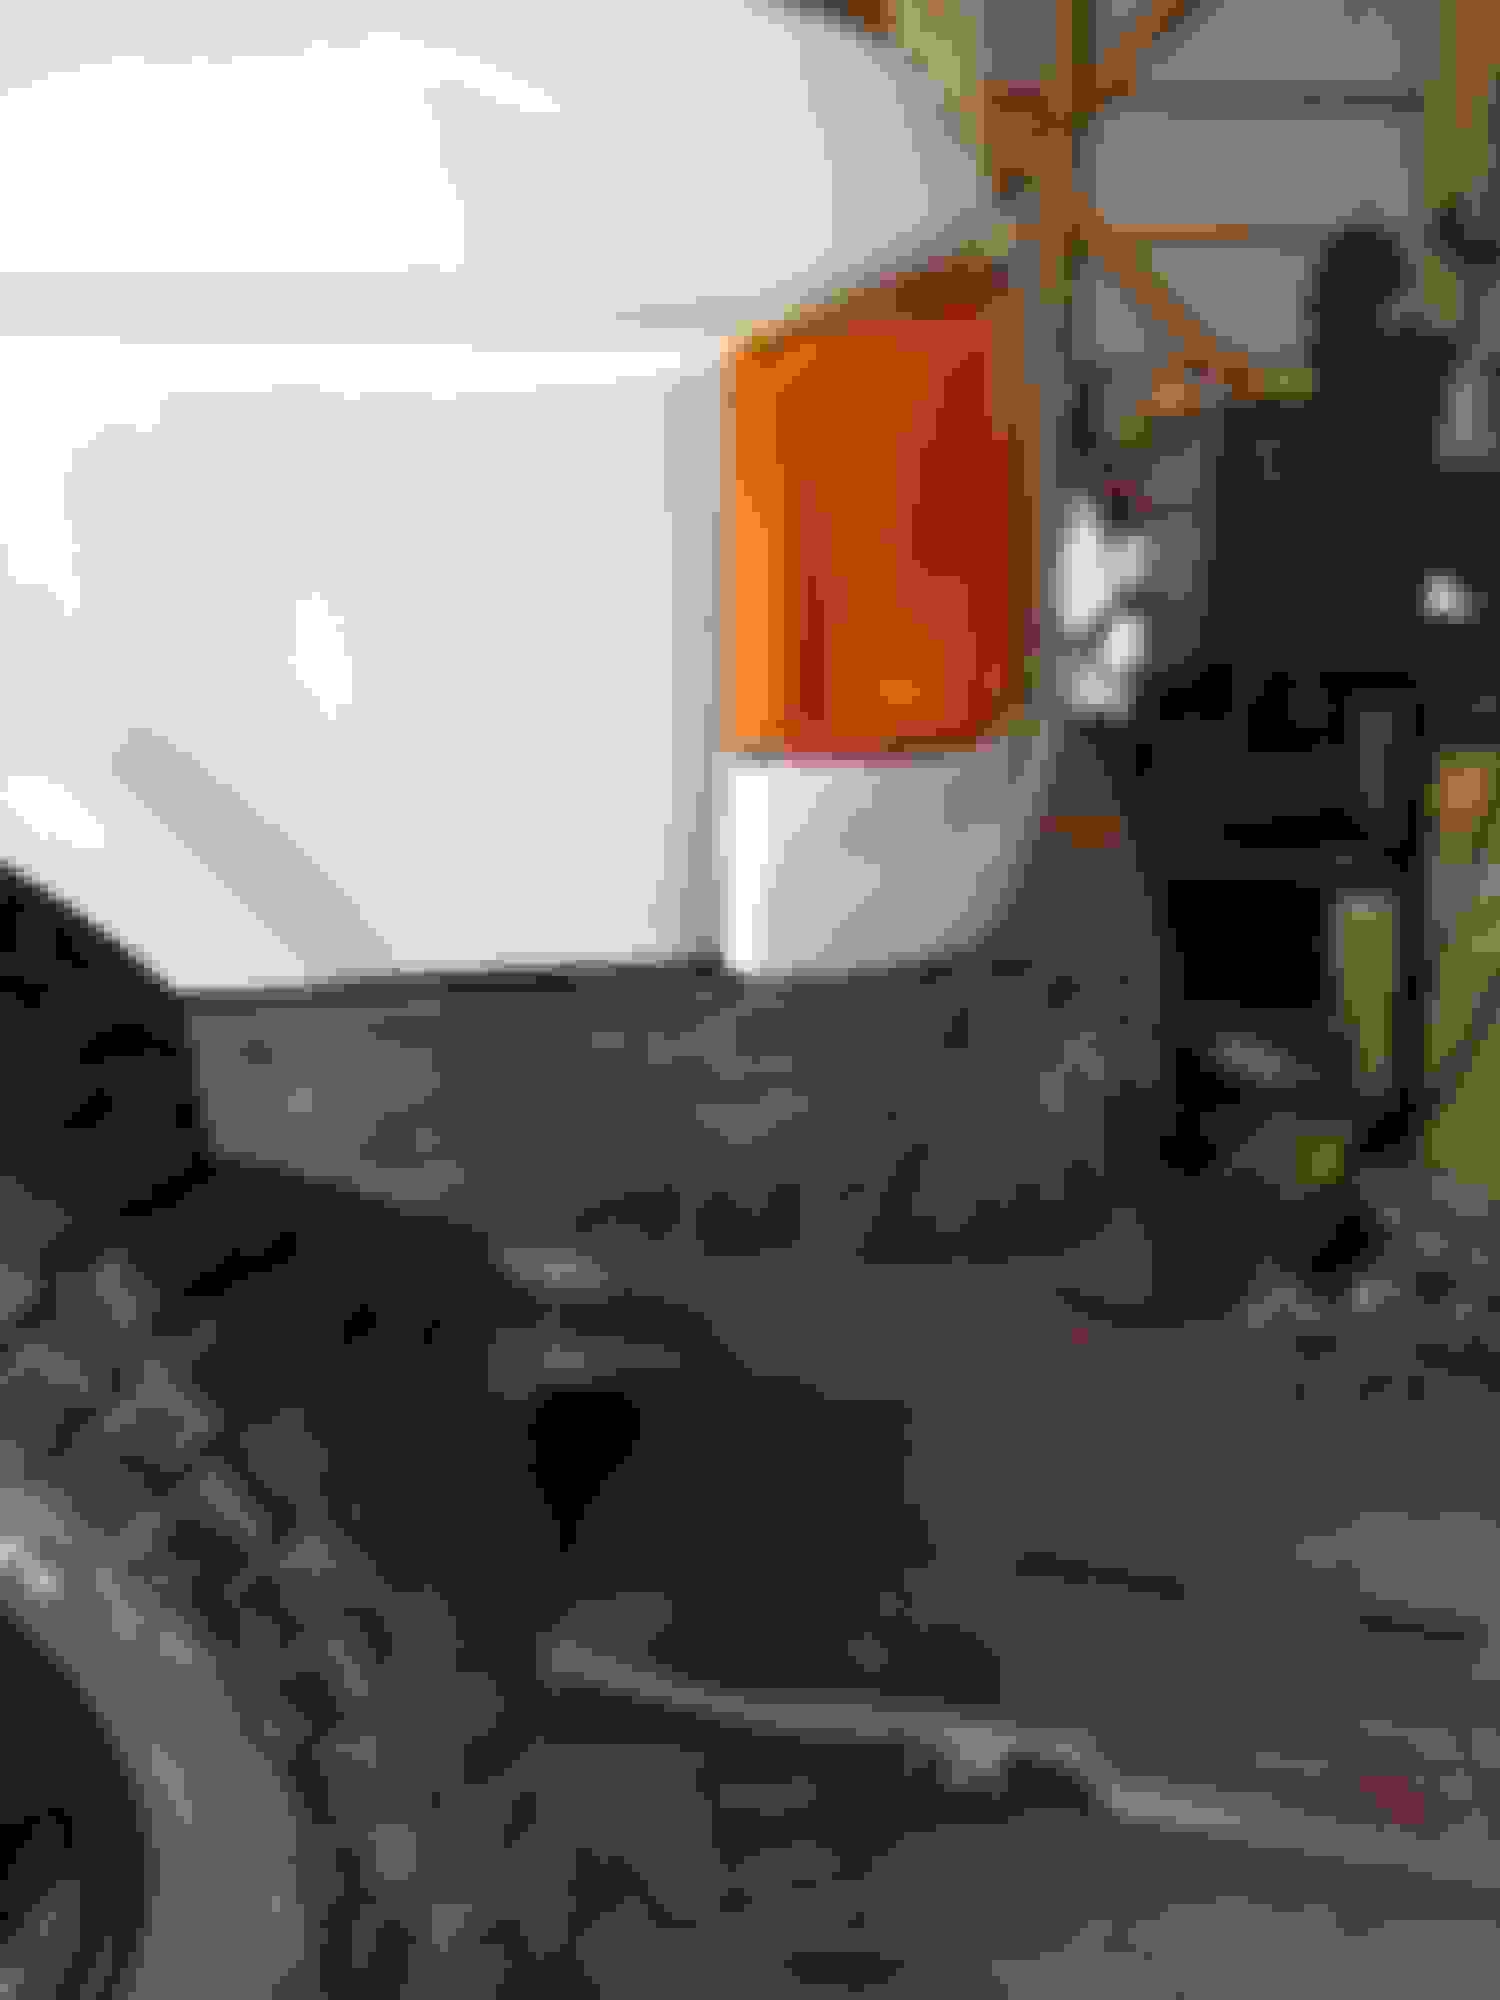
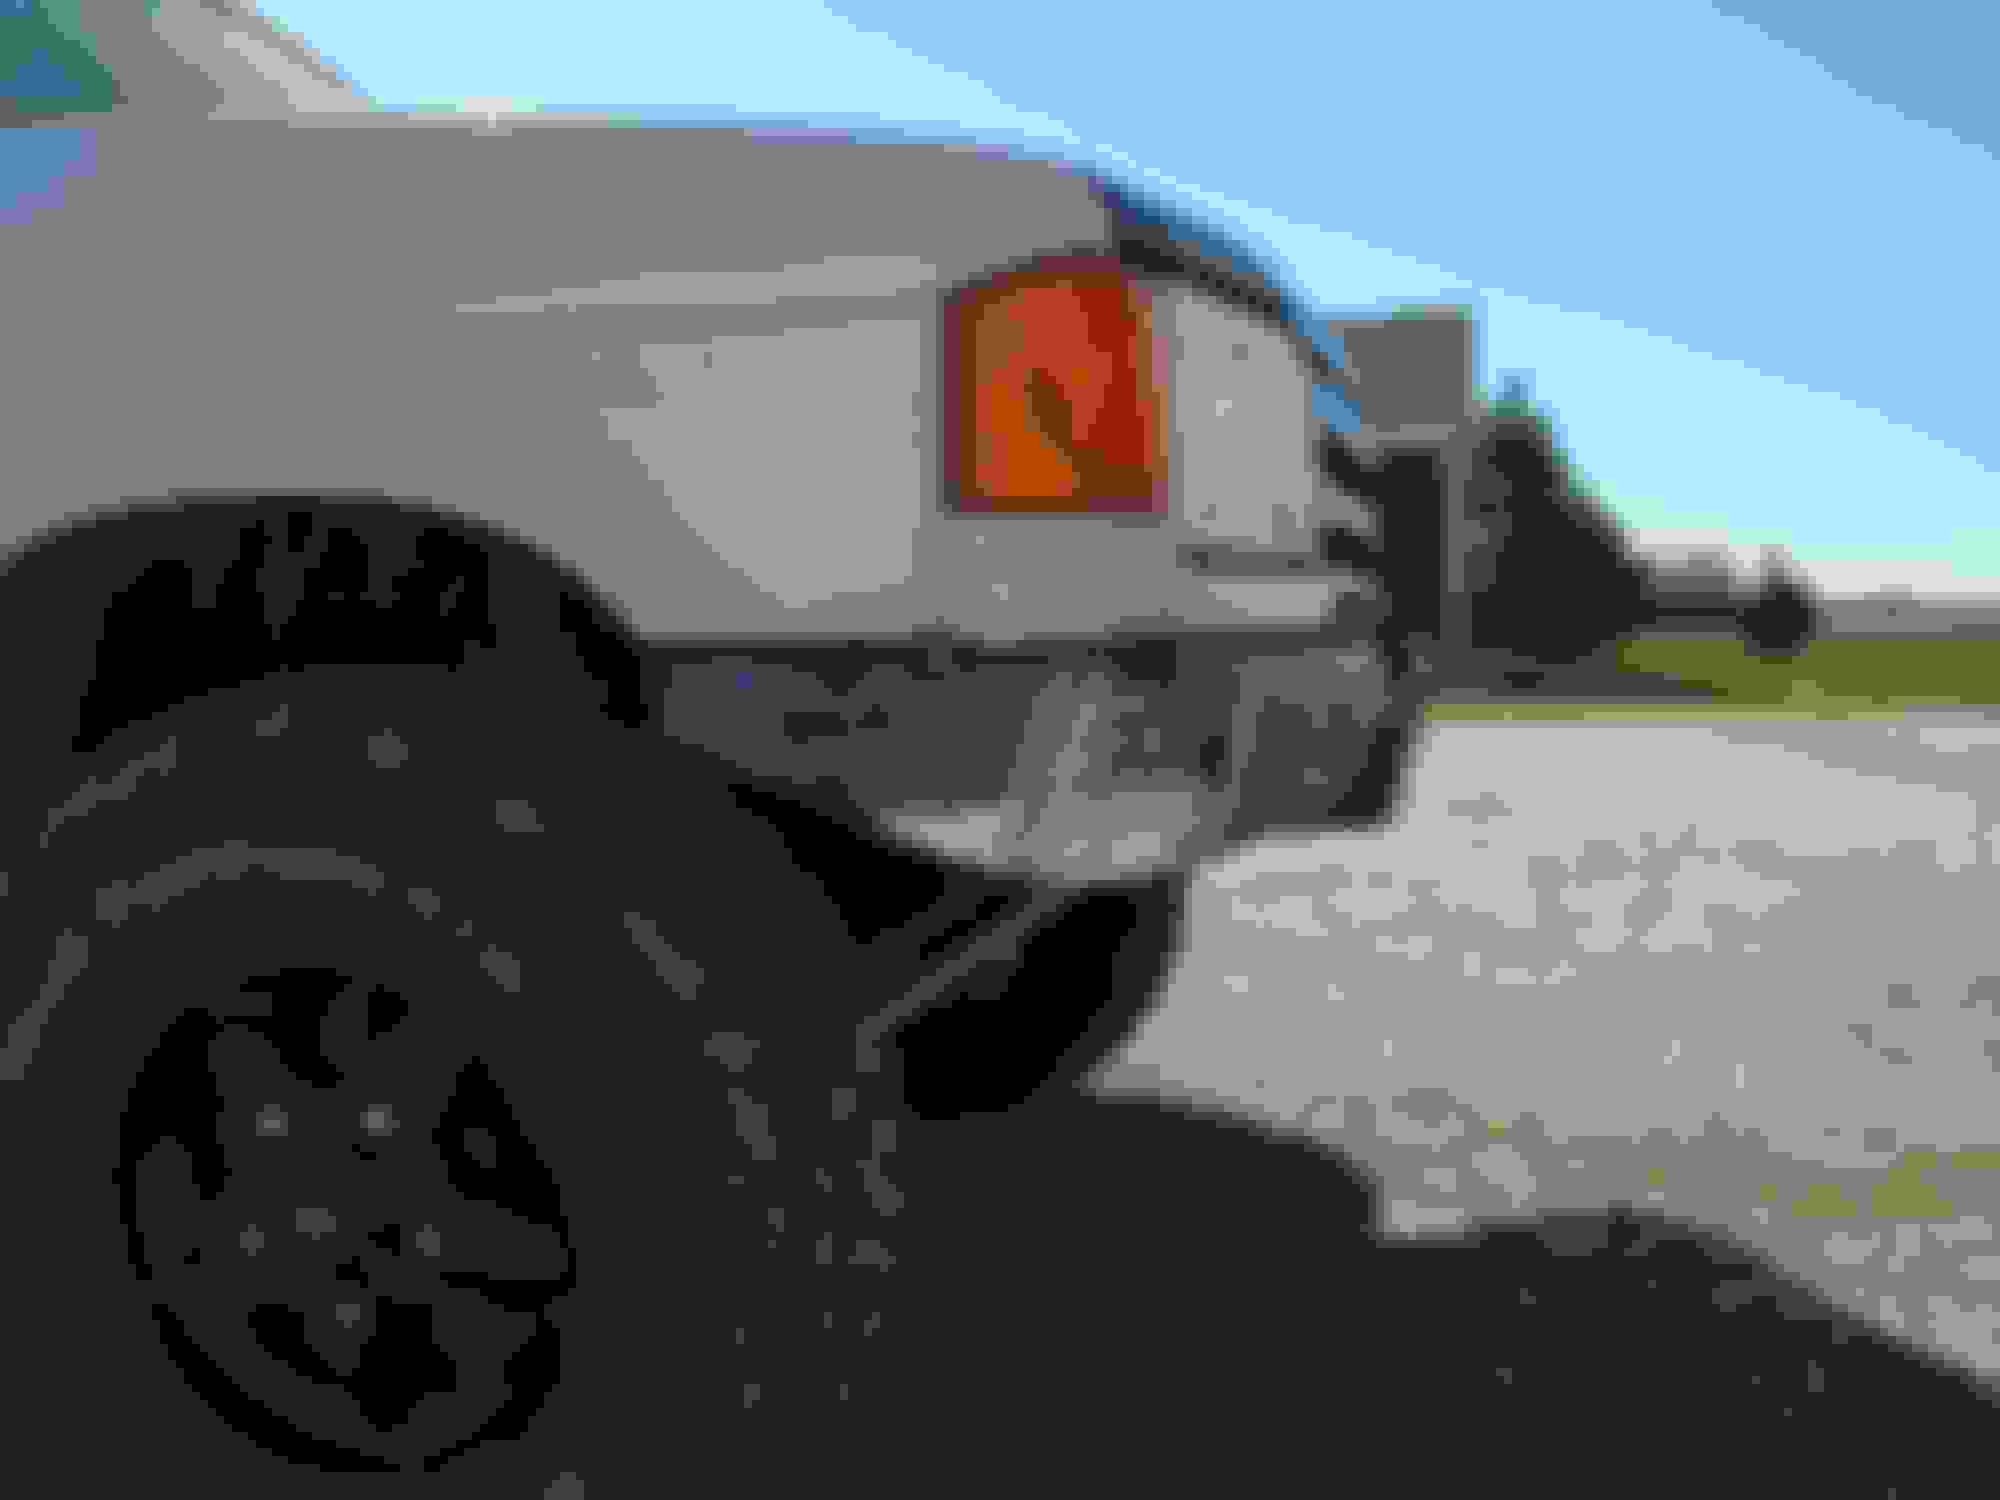
Here it is in all its glory. I actually intend to add a brush guard in the future, so I might add that to this forum if I end up doing it. You can see the centre plastic, the metal end caps, and the tow hooks. Some beauty shots of the finished product. Some beauty shots of the finished product. Some beauty shots of the finished product.
End Caps:
The first step is to decide what parts you want to tackle and what parts you don�t need or want, as that will help you with the design. If you don�t mind keeping the plastic end caps, you can skip to the other sections of the build. Here I will talk about how I formed the metal end caps. Also keep in mind that I lifted the bumper up to meet the body, your end caps might have a different design if you decide not to do this, so just be aware that this is more to prompt ideas than be a write up on the only way to do this. Just wanted to show it can be done with some time and a few hundred bucks.
First I came up with the design which you can see in the pictures, I formed the parts out of cardboard and cut them out on 1/8 steel that I bought from a local metal shop ( I think I got something like 4� wide and whatever length I needed, best to actually make all your cardboard first and then lay them out to figure out the material you need, also a pro tip, get this at a small-time metal supply shop rather than a big box store, to give an idea I paid about $100 for all of the steel for this project, and that is about 1/3 of the cost from big stores). I went through a few different designs including this one.
First designs.
As a side note, I used 1/8 because I didn�t need a super heavy duty bumper, I don�t plan on running into anything and will not be mounting a winch to it. If you have a winch you will likely need to start from scratch on a custom bumper or buy an HD one, so keep that in mind, since the base of this bumper isn�t strong enough for a winch. After I cut out all of the parts, I just welded them on together. You can see in these pictures that I also made a flat extension on the top which also steps down to follow the body line, I did this by using two separate plates and overlapping them at that point. I then welded along the joint and grinded it smooth. Keep in mind that this cannot stick too far in because it will hit on where the inner fender mounts. If you plan on undertaking this project, keep in mind that there will be a lot of testing and trial and error for getting the fit just right.
Final design. As my high school shop teacher would say, "A blind man would be happy to see that"
I also made this curved part to make it look more complete along the top, this also takes careful fitment to avoid it hitting anything behind it.
plated in the top to finish off the look
And lastly I made some end caps to finish it off. Depending on your tire setup these may not be an option, so check your clearance before finish welding.
After I was done fabbing, I used body filler to smooth out the welds and transitions and make it look really smooth. One thing I didn�t mention earlier is that I also welded up those weird holes in the bumper that if I remember right helped to hold on the plastic ends or something, as well as the headlight washer holes because my system didn�t work and I didn�t care to fix it, however these are optional, so I also covered these with body filler to smooth out (you can see this in the earlier pics).
After this I trimmed the centre plastic part to fit on the bumper. This part required me to take off material along the top inside edge near the grille, because I lifted the bumper up and moved it closer to the grille. Depending on how you do your bumper and how high it is you might have to trim more or less off. I also changed this part to bolt through the bumper rather than use those plastic threads, because one of mine broke. I did this by just drilling holes where those threads were and running a bolt with a washer through the bumper to the other side. I also added rivnuts to the plastic where the licence plate mounts to be easier to remove and just plain better than screwing into plastic.
top of the plastic trimmed back since the bumper is tucked up into the grille more. through bolts to hold it on
Tow hooks
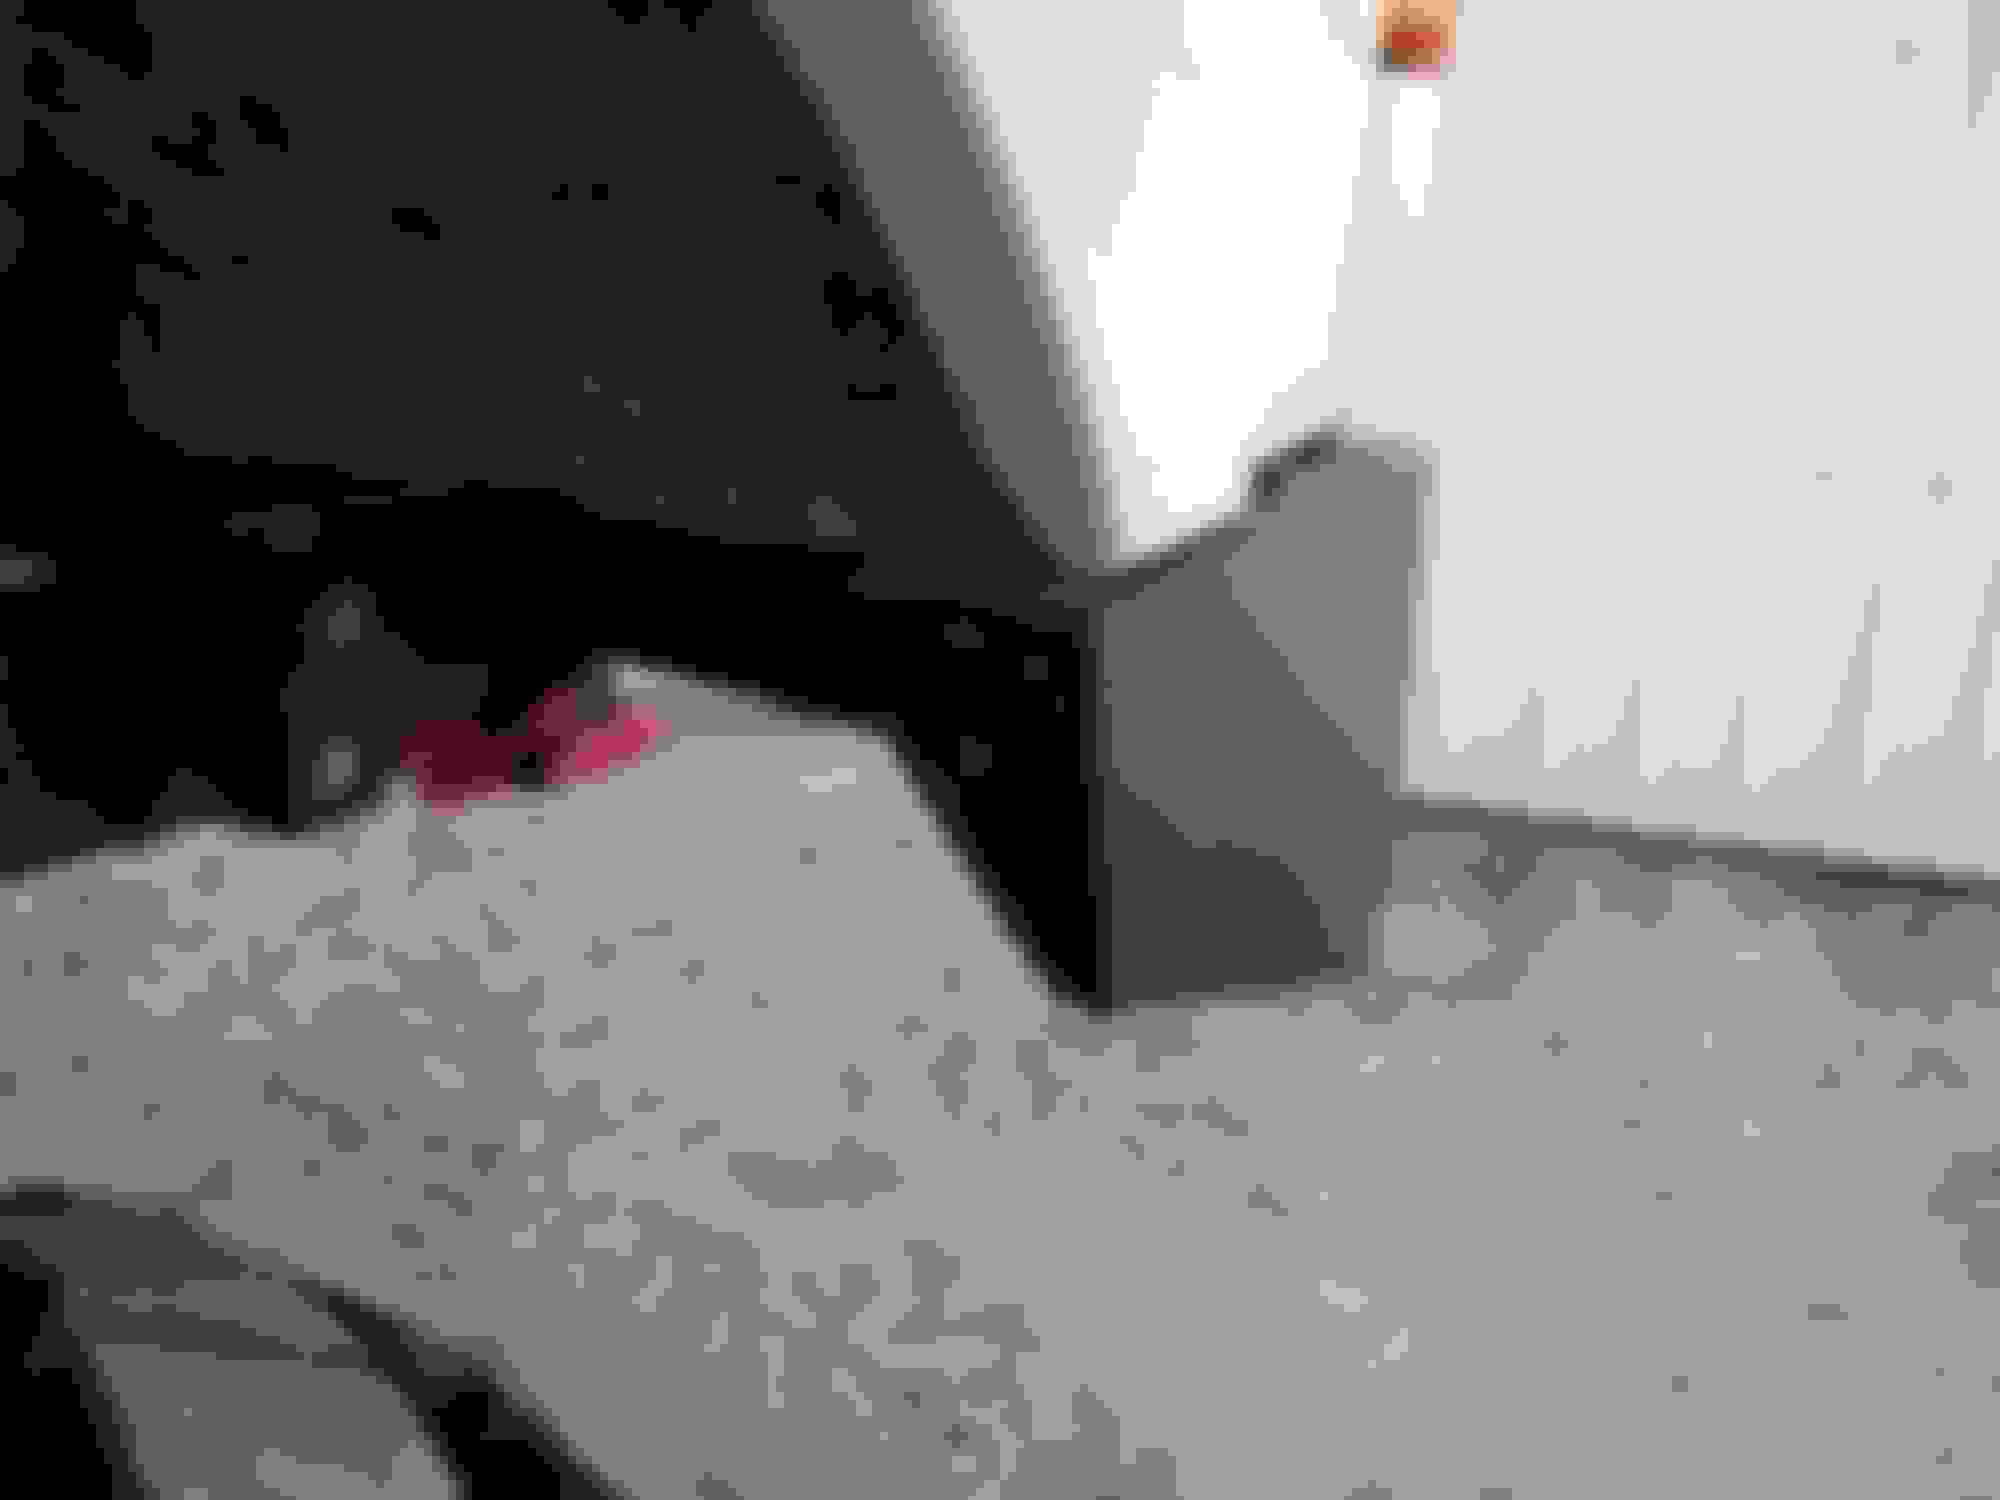
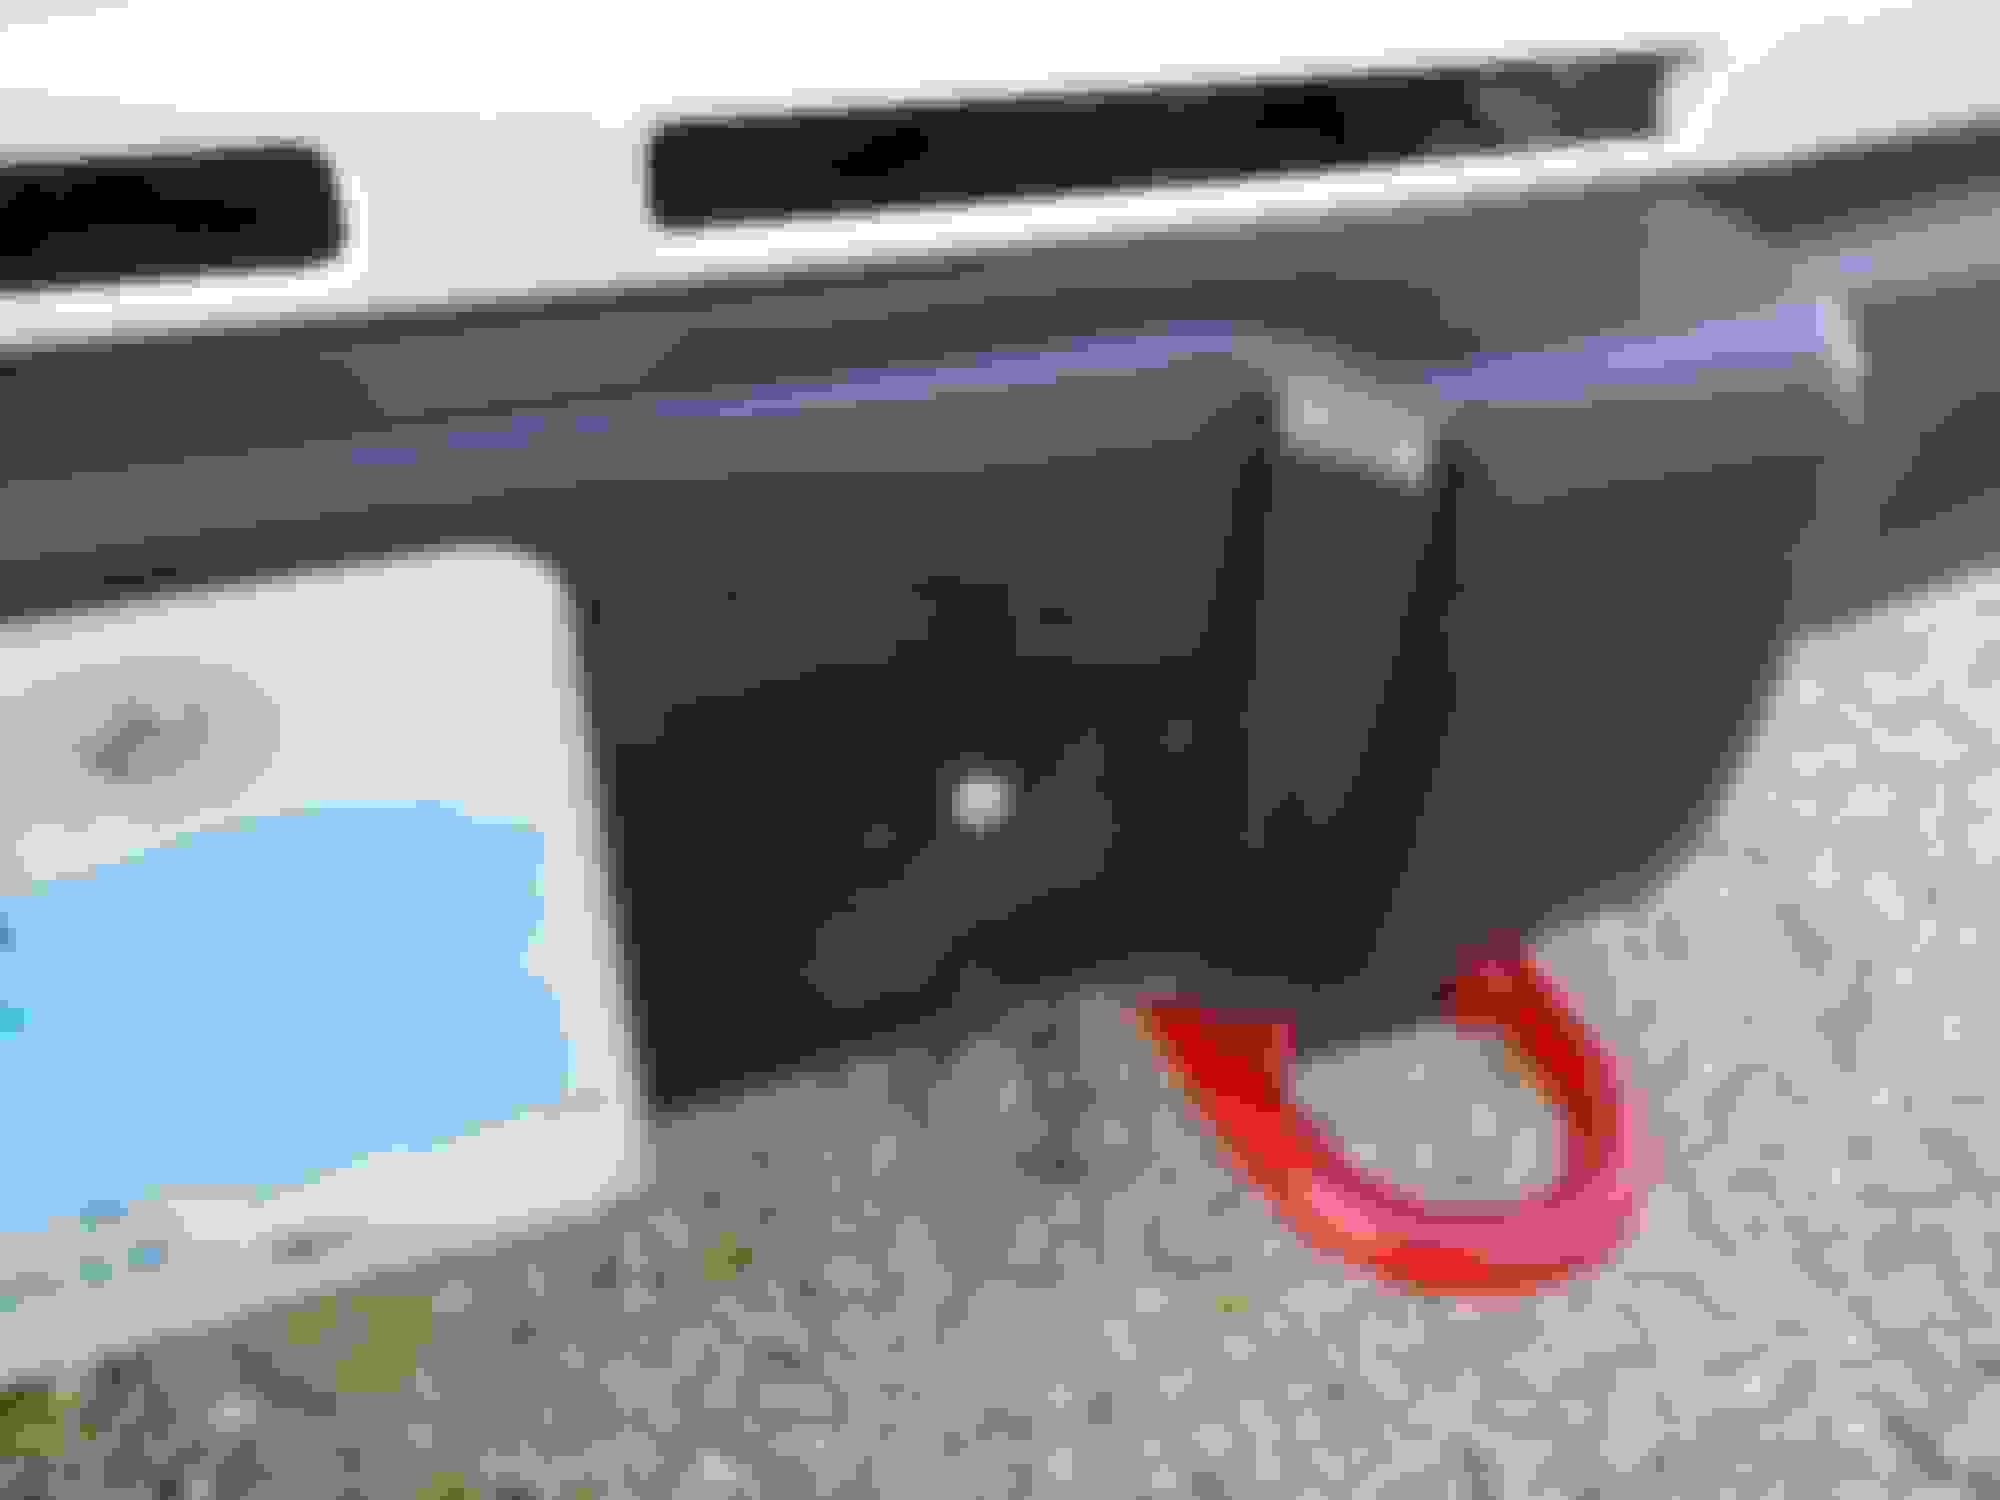
This was the most time consuming part of the project, but was the most important for me. By lifting the bumper up about 1� (discussed in the next section) I had a bit more room to tuck the tow hooks up and get them out of the way. Basically what I did was plate in the entire bumper horns in 1/4� thick steel all the way around to strengthen it for use as a recovery point. Keep in mind that these plates are layed on top of the original frame horn and welded to it as well as to each other. Seen here�
plated in, holes drilled and nuts welded on the inside (these were welded to the plate before I welded the plate on)
In the bottom plate I drilled 2 holes and welded nuts on the back to make it easy to mount the hooks, this also required drilling holes in the factory frame horns to that the nut could stick into it. Following this the project gets custom depending on the hooks you used, I got mine off a 2009-2014 f150 because that�s the truck I daily and I was able to test fit before I bought used ones online. However, you can get them off pretty much any 4x4 truck or some SUVs like hummers and some jeeps. Another option is to use weld on recovery points that you attach shackles to. These are available online and are pretty cheap. I will discuss mine to give you some ideas, but if anyone else attempts this please post pics of yours and where you got the hooks from to show others.
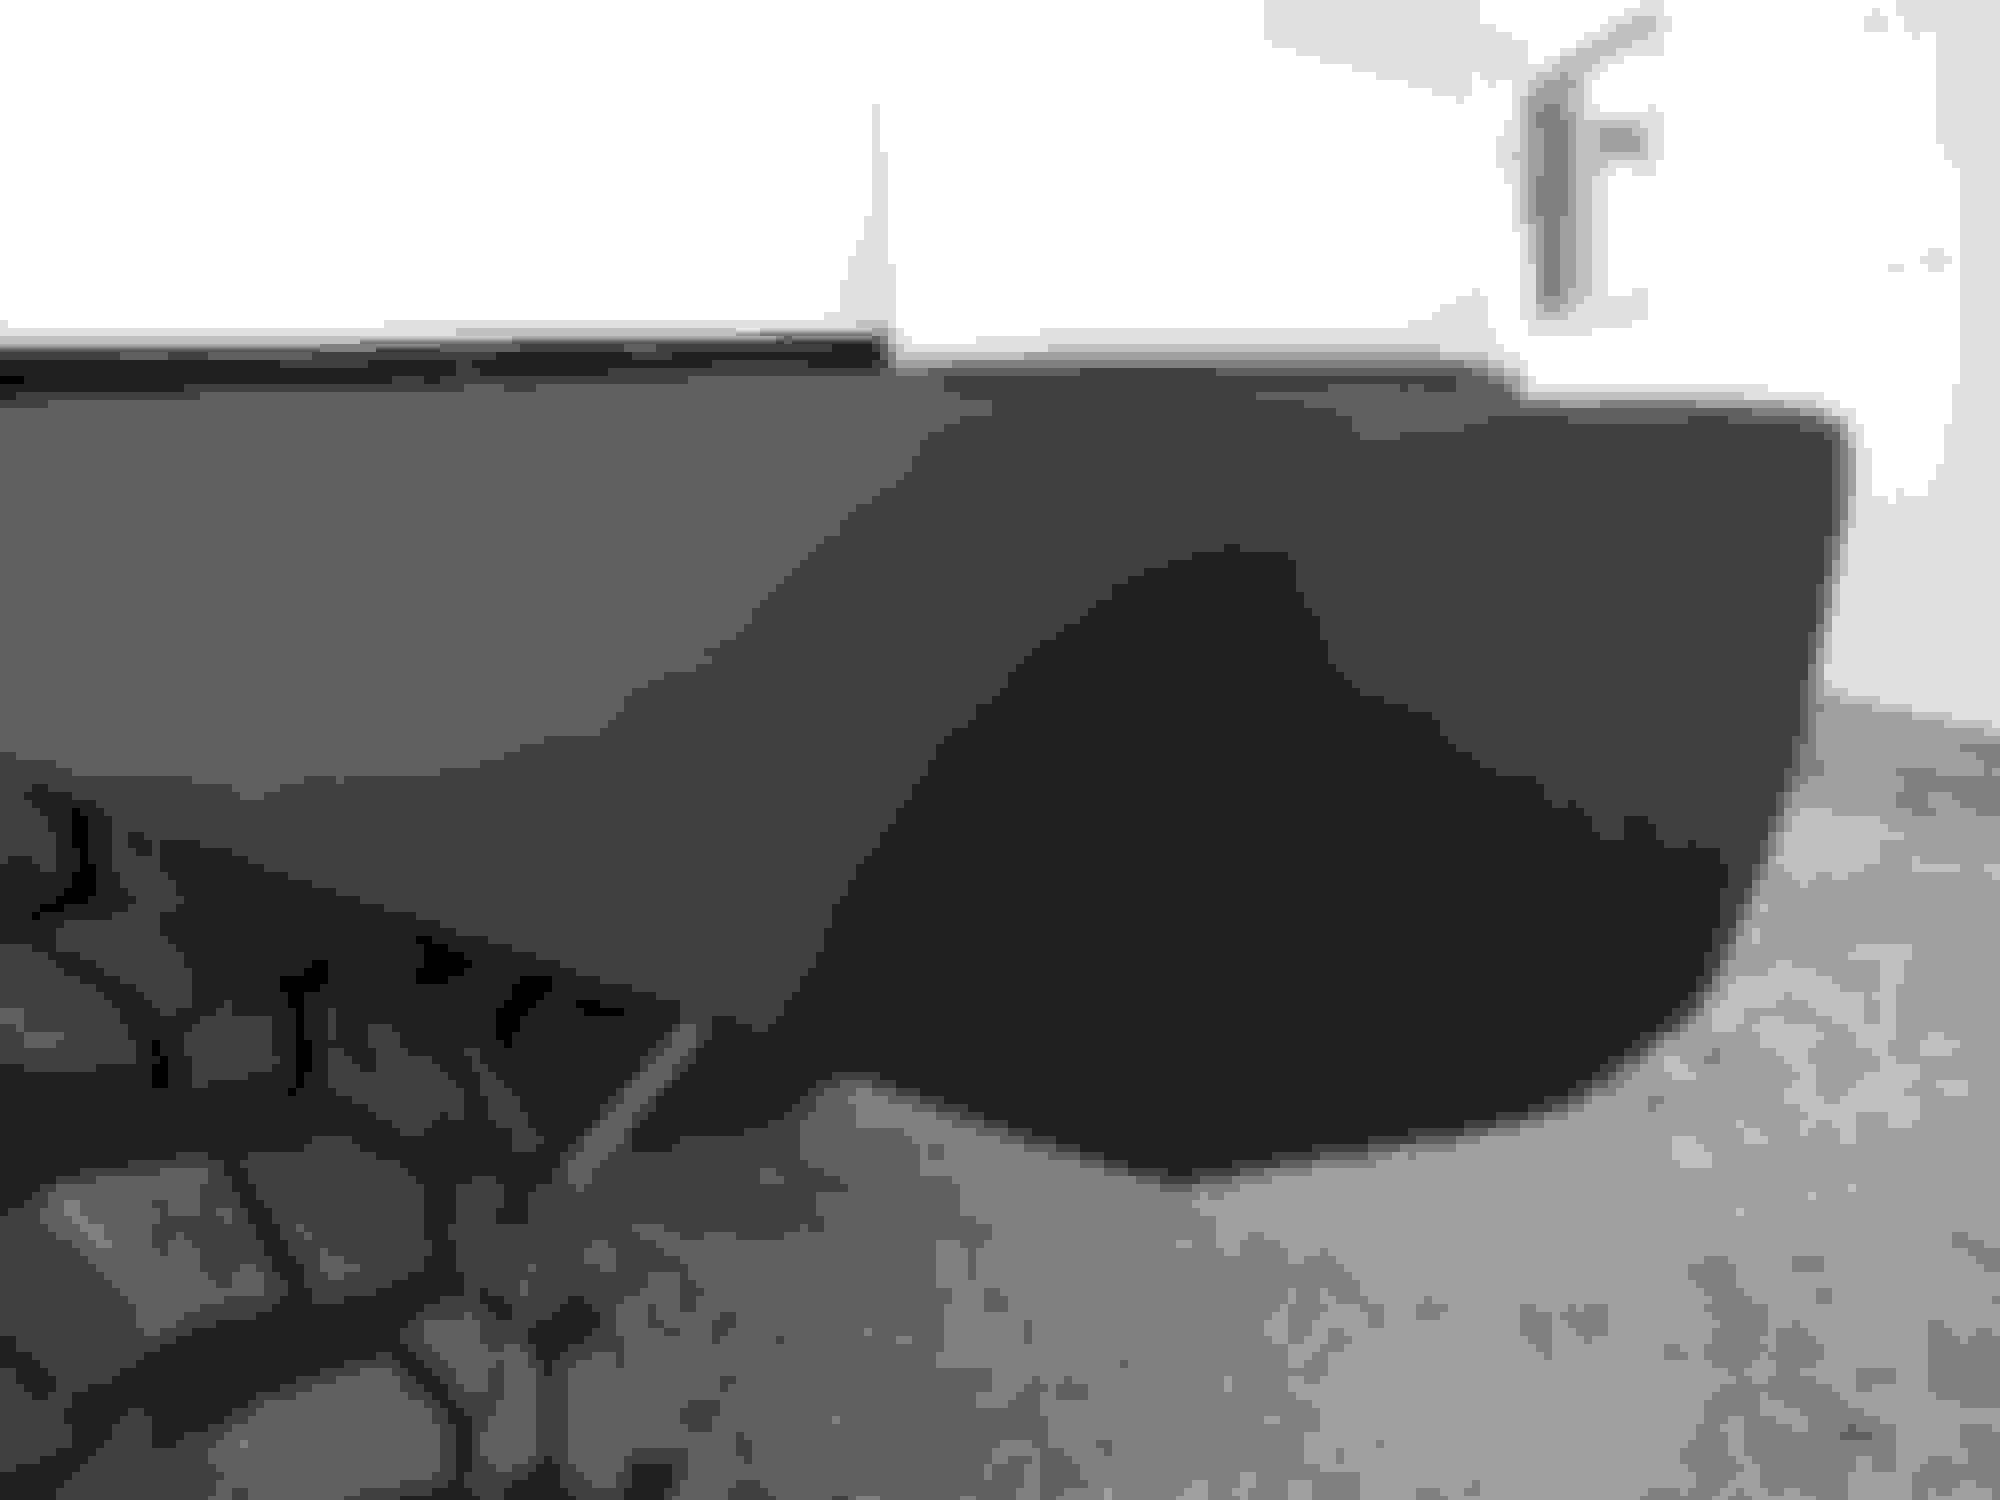
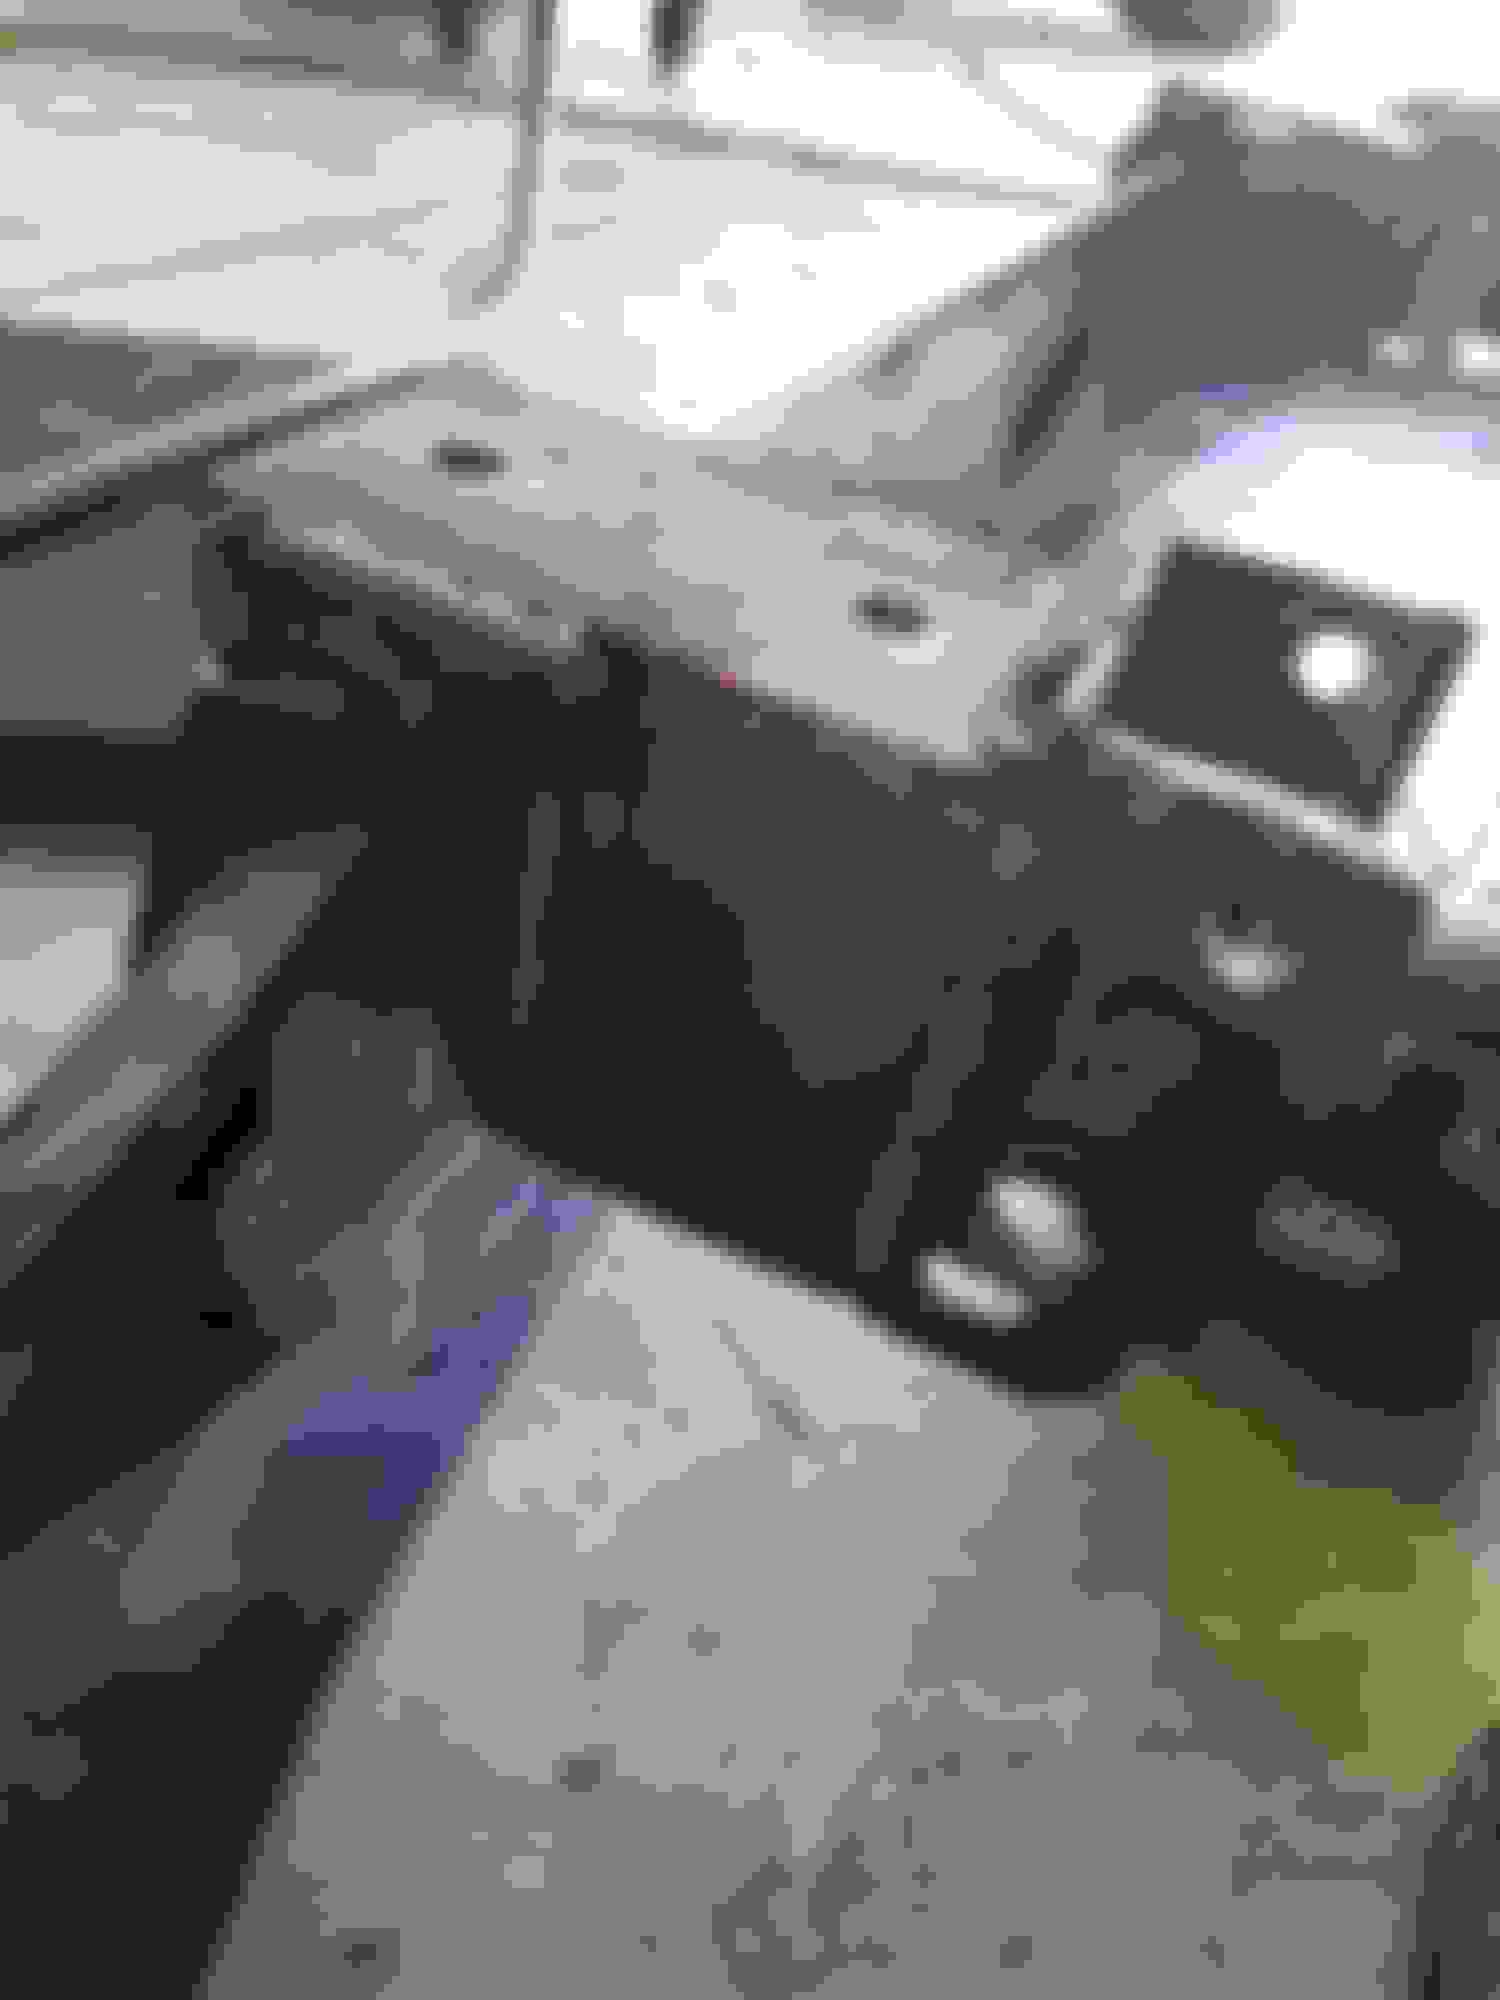
I ended up wanting the hooks as high up as possible, but wanted an extra brace to go back to the bumper bolts. So I made a spacer from aluminum to make the bottom surface level with the bottom of the frame.
Sorry I don�t have any good pics of this, but in the first one you can see my spacers below the main support and the second one shows the support more clearly.
here you can see the aluminum spacers above the support bracket here is the support bracket, which you can see goes up to the frame mounting bolts
To make the support bracket I used 3/16 steel flat bar to make a long flat going back level with the bumper mounts, then bent a piece of the steel to wrap up to the top of the frame. I drilled holes in it for the bumper bolts, and drilled holes in the bottom for where the tow hook bolts would go through into the nuts I welded on previously. This allowed for an extra part of steel reinforcing both the tow hook mounting point and the bumper mount, giving me extra insurance against ripping off.
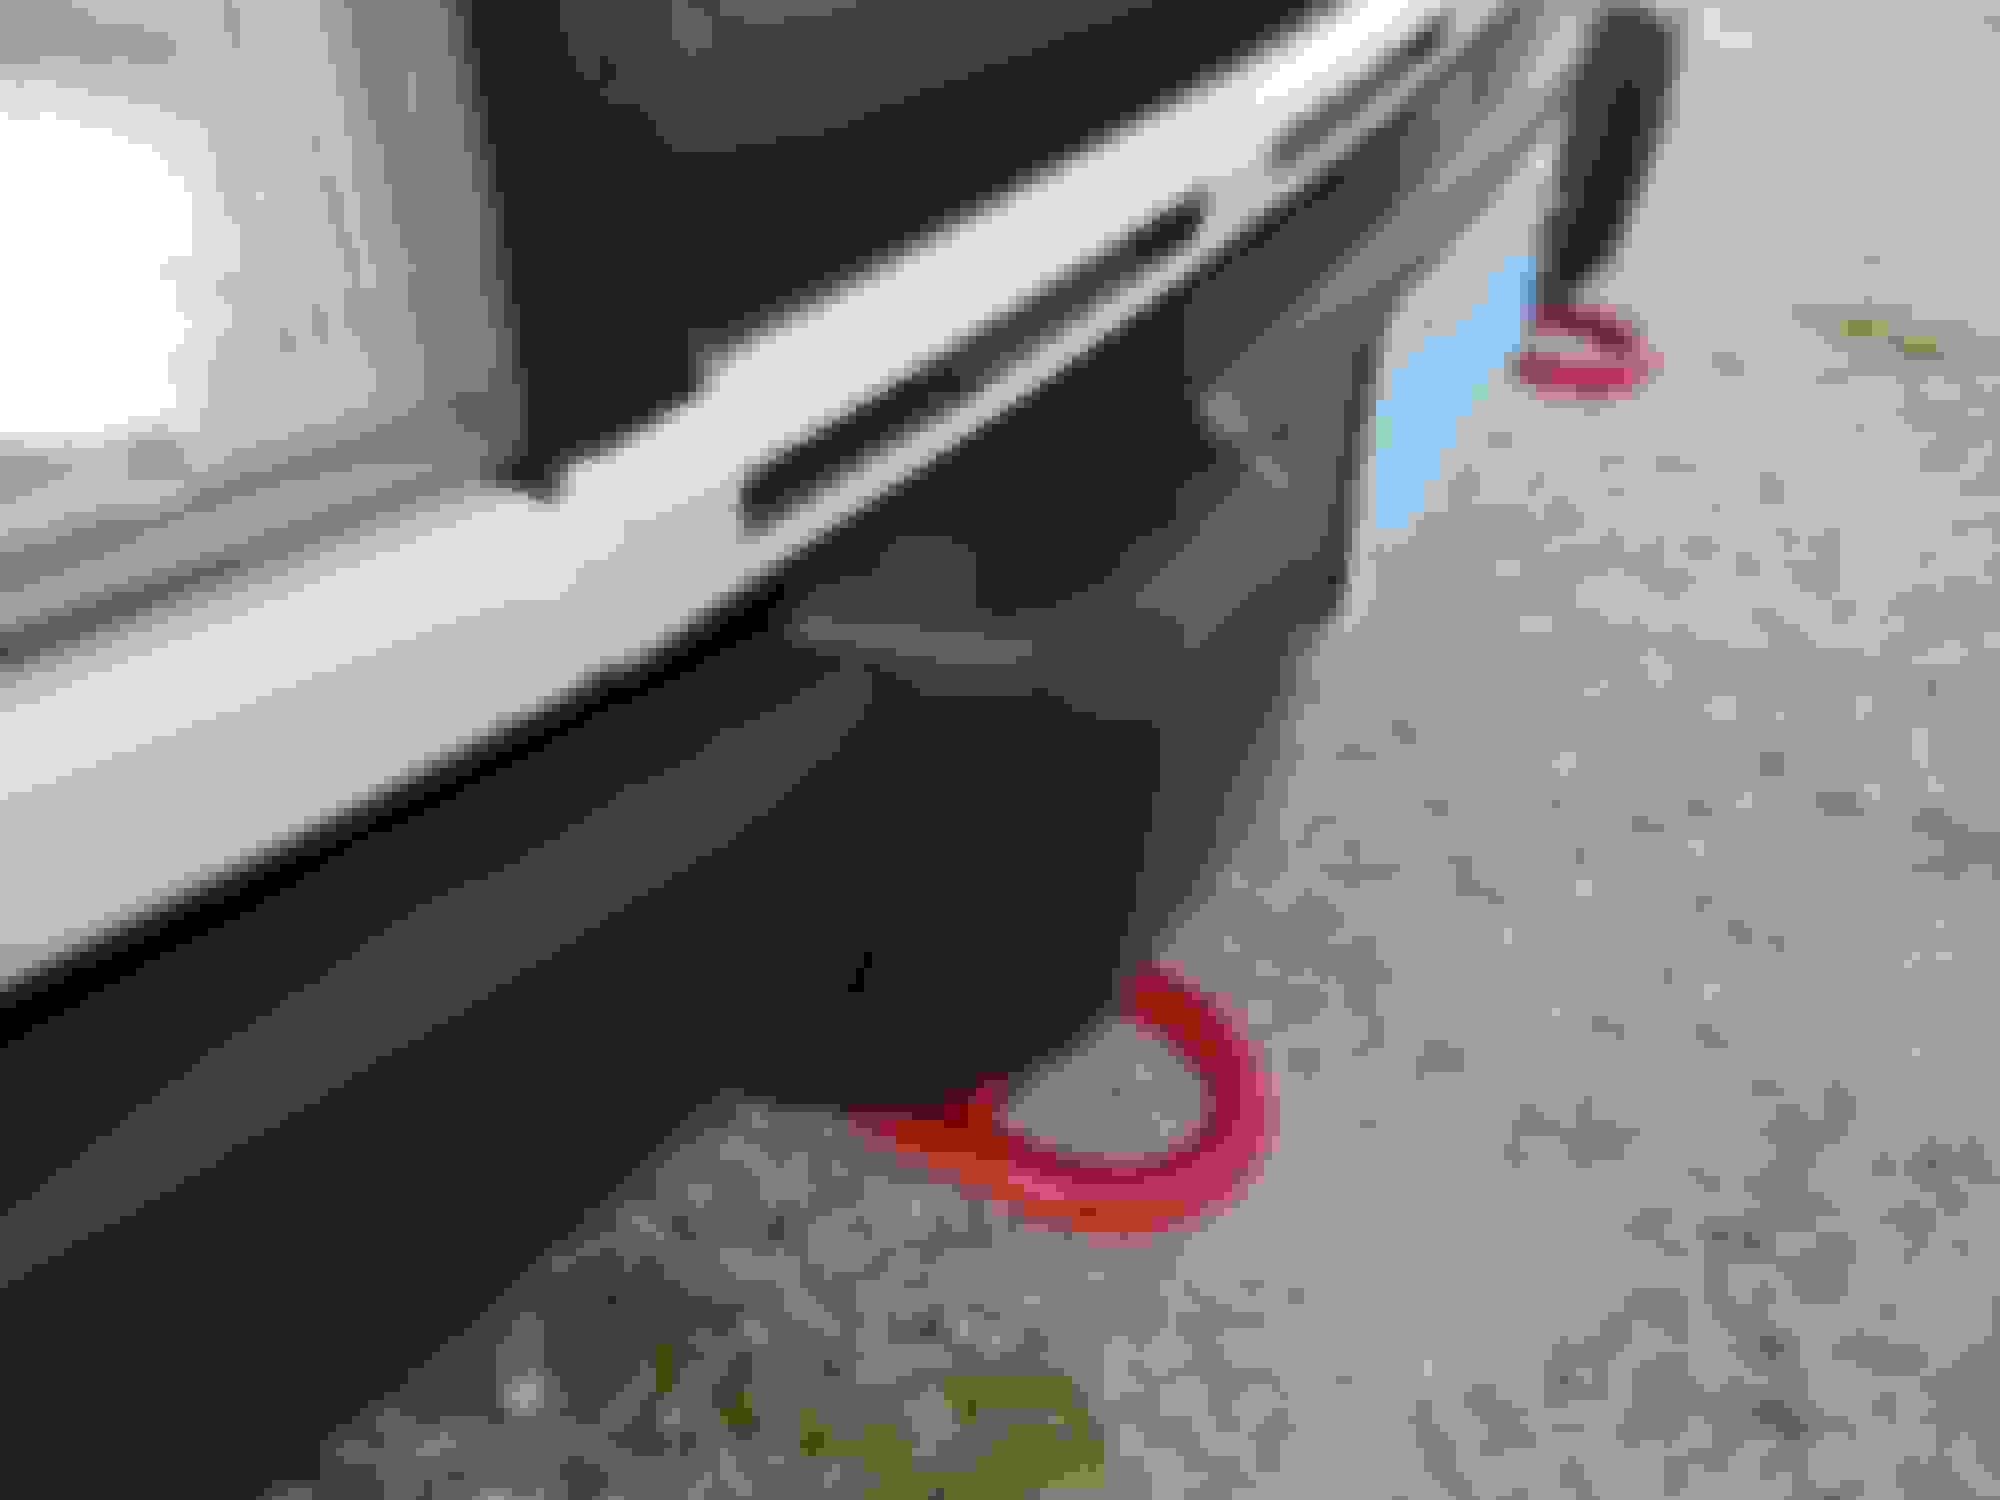
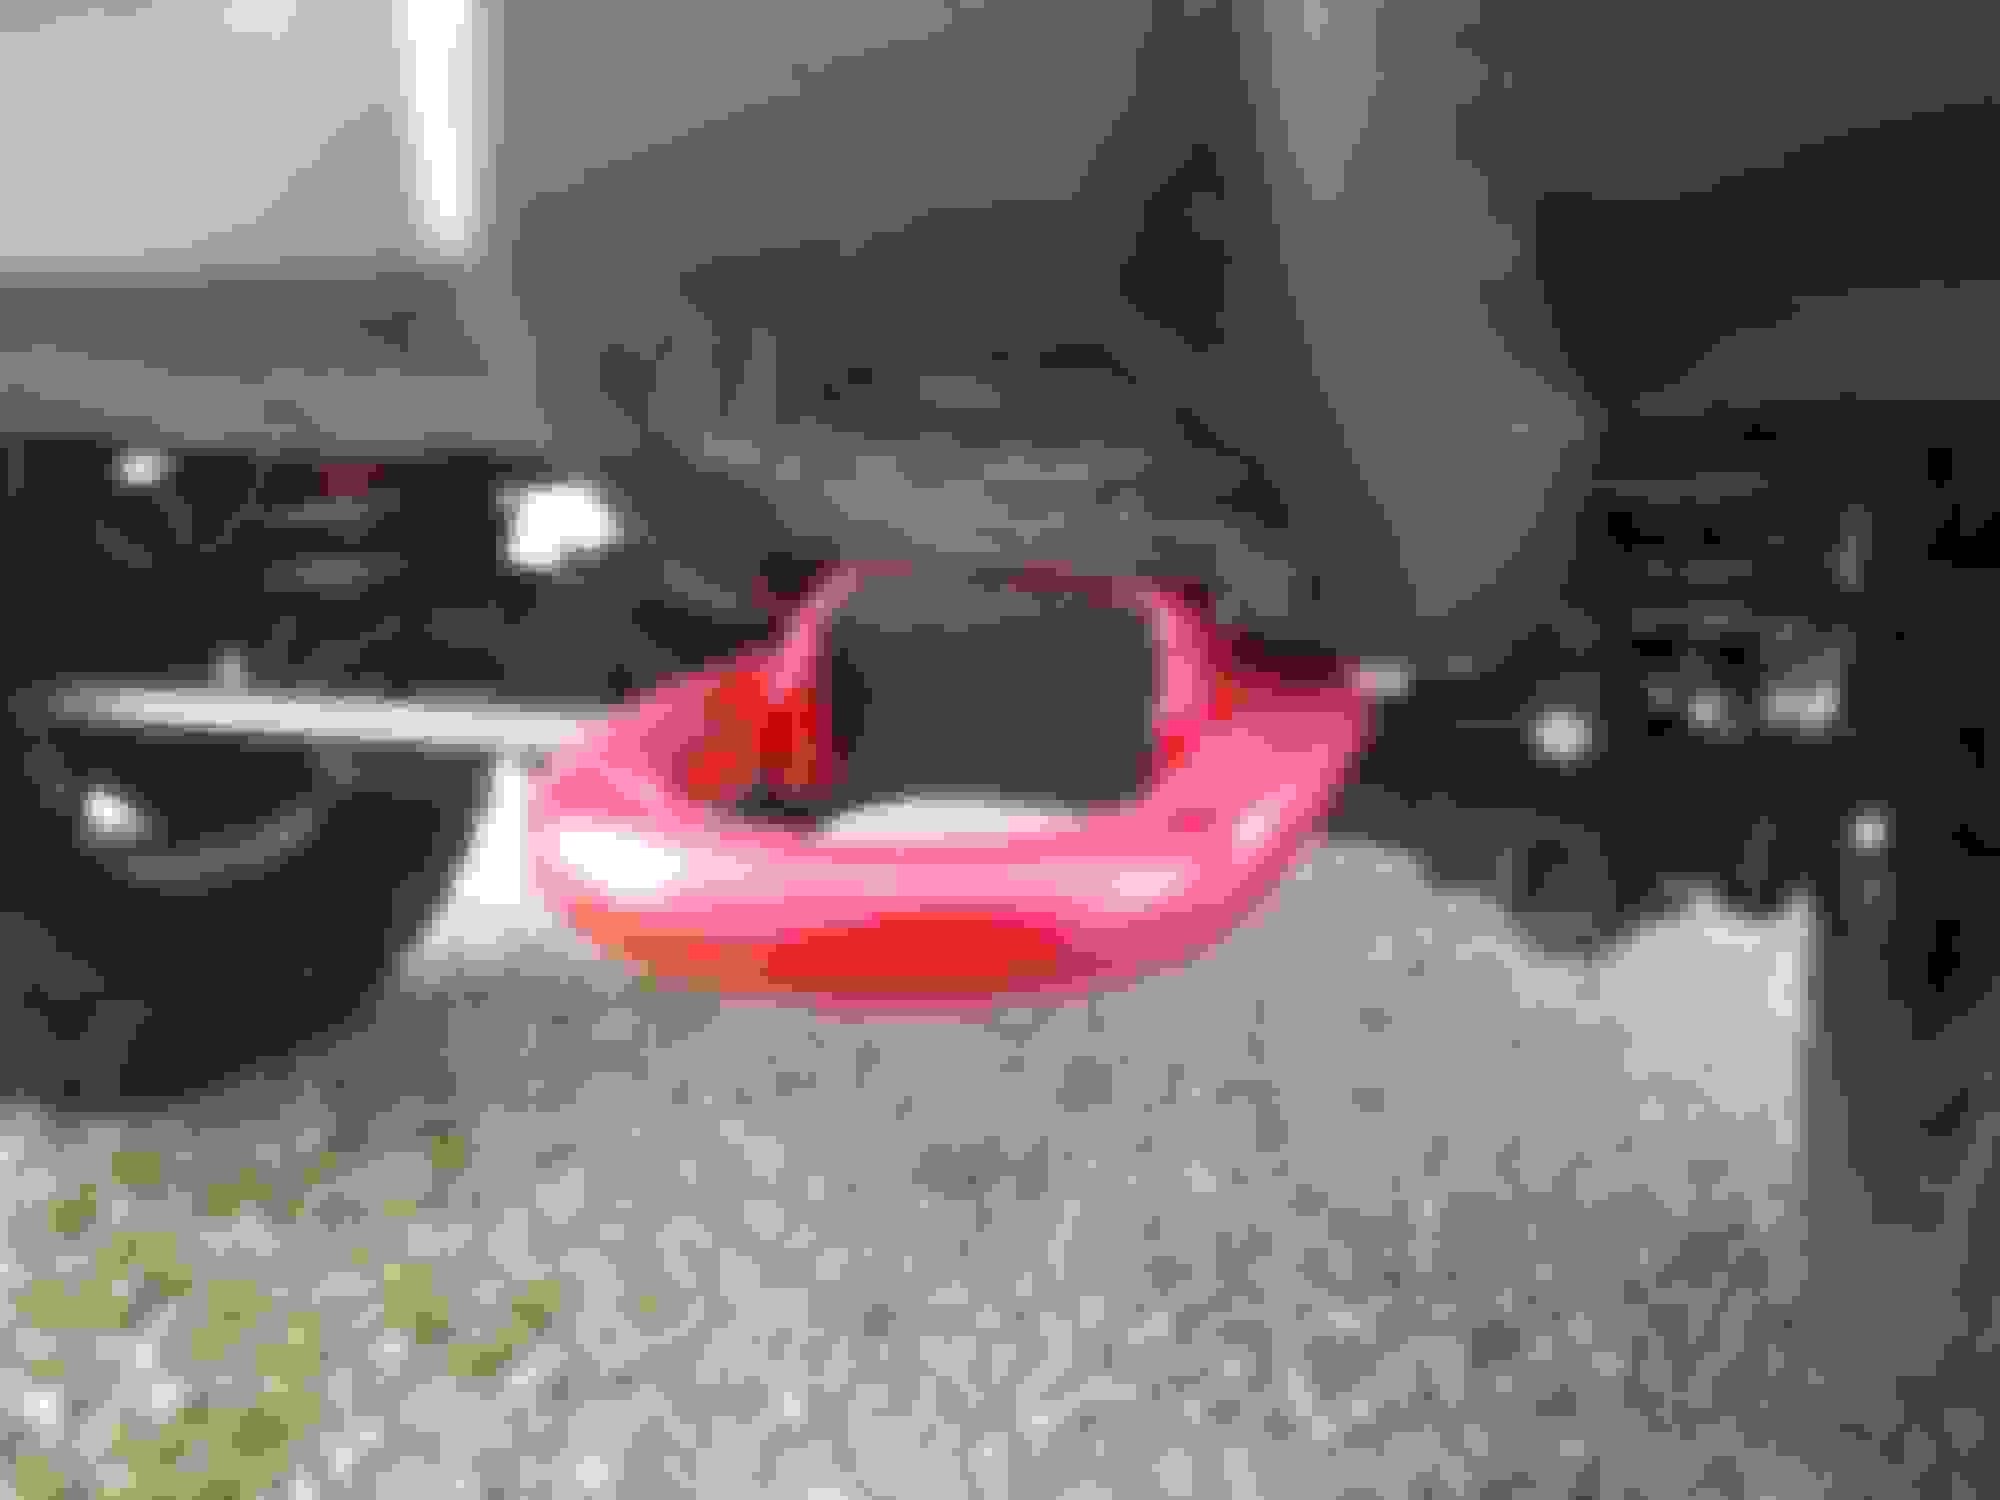
I also made a small trim bit at the end from sheet metal to cap off the bottom of the hooks for appearance. With this I had to trim the bottom of the front plastic for the tow hook to protrude from, this was easy and cleans it up nicely. I used grade 10.9 M12 for the tow hooks, and 10.9 M10 for the bumper (only used m12 because that�s what those hooks required, M10 would have been sufficient I am sure). I ordered my bolts from Fastenal (north America, for anyone else youd have to find a local hardware shop)
You can see that because of the bumper lift the how hooks are able to mount nice and high for good clearance, but also protrude enough to be easy to use even on an uphill pull.
Bumper lift
One other big modification of this bumper was lifting it up so that it fit flush with the body work, this was a personal preference and gave me more room for the tow hooks, but this is also perfect for body lifts. Keep in mind that some of my design elements as well as the plastic front bit that I trimmed were based on this fitment, and if you keep the bumper at its factory position you may have a slightly different design of the end caps than me, but nothing major.
So heres how I did it, I basically just used some 3/16 steel flat bar and bent into the C shape to match the dimensions of the bumper mount. Did this with a hammer and a vise. I then welded it on to just extend the length of the mount lower. Then its as simple as drilling new holes to mount the bumper and trimming the top wings of the mount from hitting the power steering cooler lines. (unfortunately I don�t have a good pic of this, but you can see in the pic below that with the bumper upside down the original mounting hole and the surrounding steel extend down and aren�t necessary, one the bumper is mouned in its higher position, those will hit the cooling lines for the power steering on the inside of both frame mounts. This is evident if you go look under your truck at the bumper, sorry for the lack of good pictures).
The holes for the bumper bolts require LOTS of patience, guessing, and luck, to get right. The closer they are to perfect, the easier your job will be. If you mess this up, you pretty much have to just cut off the extension and make a new one, its better than just making the hole larger and larger, ask me how I know. However! Don�t make the hole exact, it needs to be a little large so that you can adjust the bumper to be lined up with the body. Because I did the tow hooks and knew I would be reinforcing these mounts, I didn�t bother doing any more to strengthen them, if you aren�t convinced on the strength just add supports that go farther forward to cover more area, however I am sure that what I did using 3/16 is stronger than the factory mount which is maybe an eighth at best.
As a final note, I painted the bumper using tractor paint, and this is really a secret for some reason that I don�t see mentioned more often. I bought this at TSC (tractor supply, same in the US as here), in a can, and sprayed it on using a regular spray gun. Did 4 coats, no doubt it will last forever.
As a fitment note, it will absolutely be a pain to refit the bumper if you use a tow hook support design like I did. I was able to reattach it by bolting up one side normally without the hook, which held up the weight so I could screw with the other side. Use a rubber mallet to hammer things into place so they line up and bolt that side down, then go back and add the tow hook to the other side.
If anyone has any specific questions feel free to drop them below and I will answer, this forum has been a huge help to me on rebuilding this rig and I am hoping this will inspire or help a few people out. I built this whole bumper for around $200 CAD, or about 150 bald eagles, and it only took me a few full days of work. This can also be done in stages if you need to get it back on the road. IMO this is a great solution for people who want recovery hooks and a cleaner looking bumper without spending hundreds on an HD bumper.

 05-07-2020, 08:14 PM