When you click on links to various merchants on this site and make a purchase, this can result in this site earning a commission. Affiliate programs and affiliations include, but are not limited to, the eBay Partner Network.
Finally got some warm weather around here a couple weeks ago and I got around to installing a CB and Ham Radio. I know there are at least a few others who have posted pictures of their installations, but we each choose a slightly different way of doing it, so I thought I'd post my pictures as well.
First, let me state that I am not one of those people who has to have the absolute best performance at all costs (i.e. I'm not going to drill a hole in the center of my hood and mount an antenna). I also like to keep most things unobtrusive and as close to a factory look as possible. This means that my setup should break down when not in use and be pretty much out of sight. On the other hand, I also like to fiddle and tweak things to get the best performance I can while maintaining the look I want.
So... I decided to do both a CB and Ham Radio install. The CB is only because it seems the majority of people around here have a CB for trail runs, so if I want to communicate, it's that or nothing. The ham radio is more for emergency comms and for much better range if I happen to be running with other hams. I also like listening to general banter and making contacts on the ham bands.
I previously ran some 8awg wire to an aux fuse box in the rear driver's side quarter panel for a variety of other things. This is where I would be taking my power from.
For the CB:
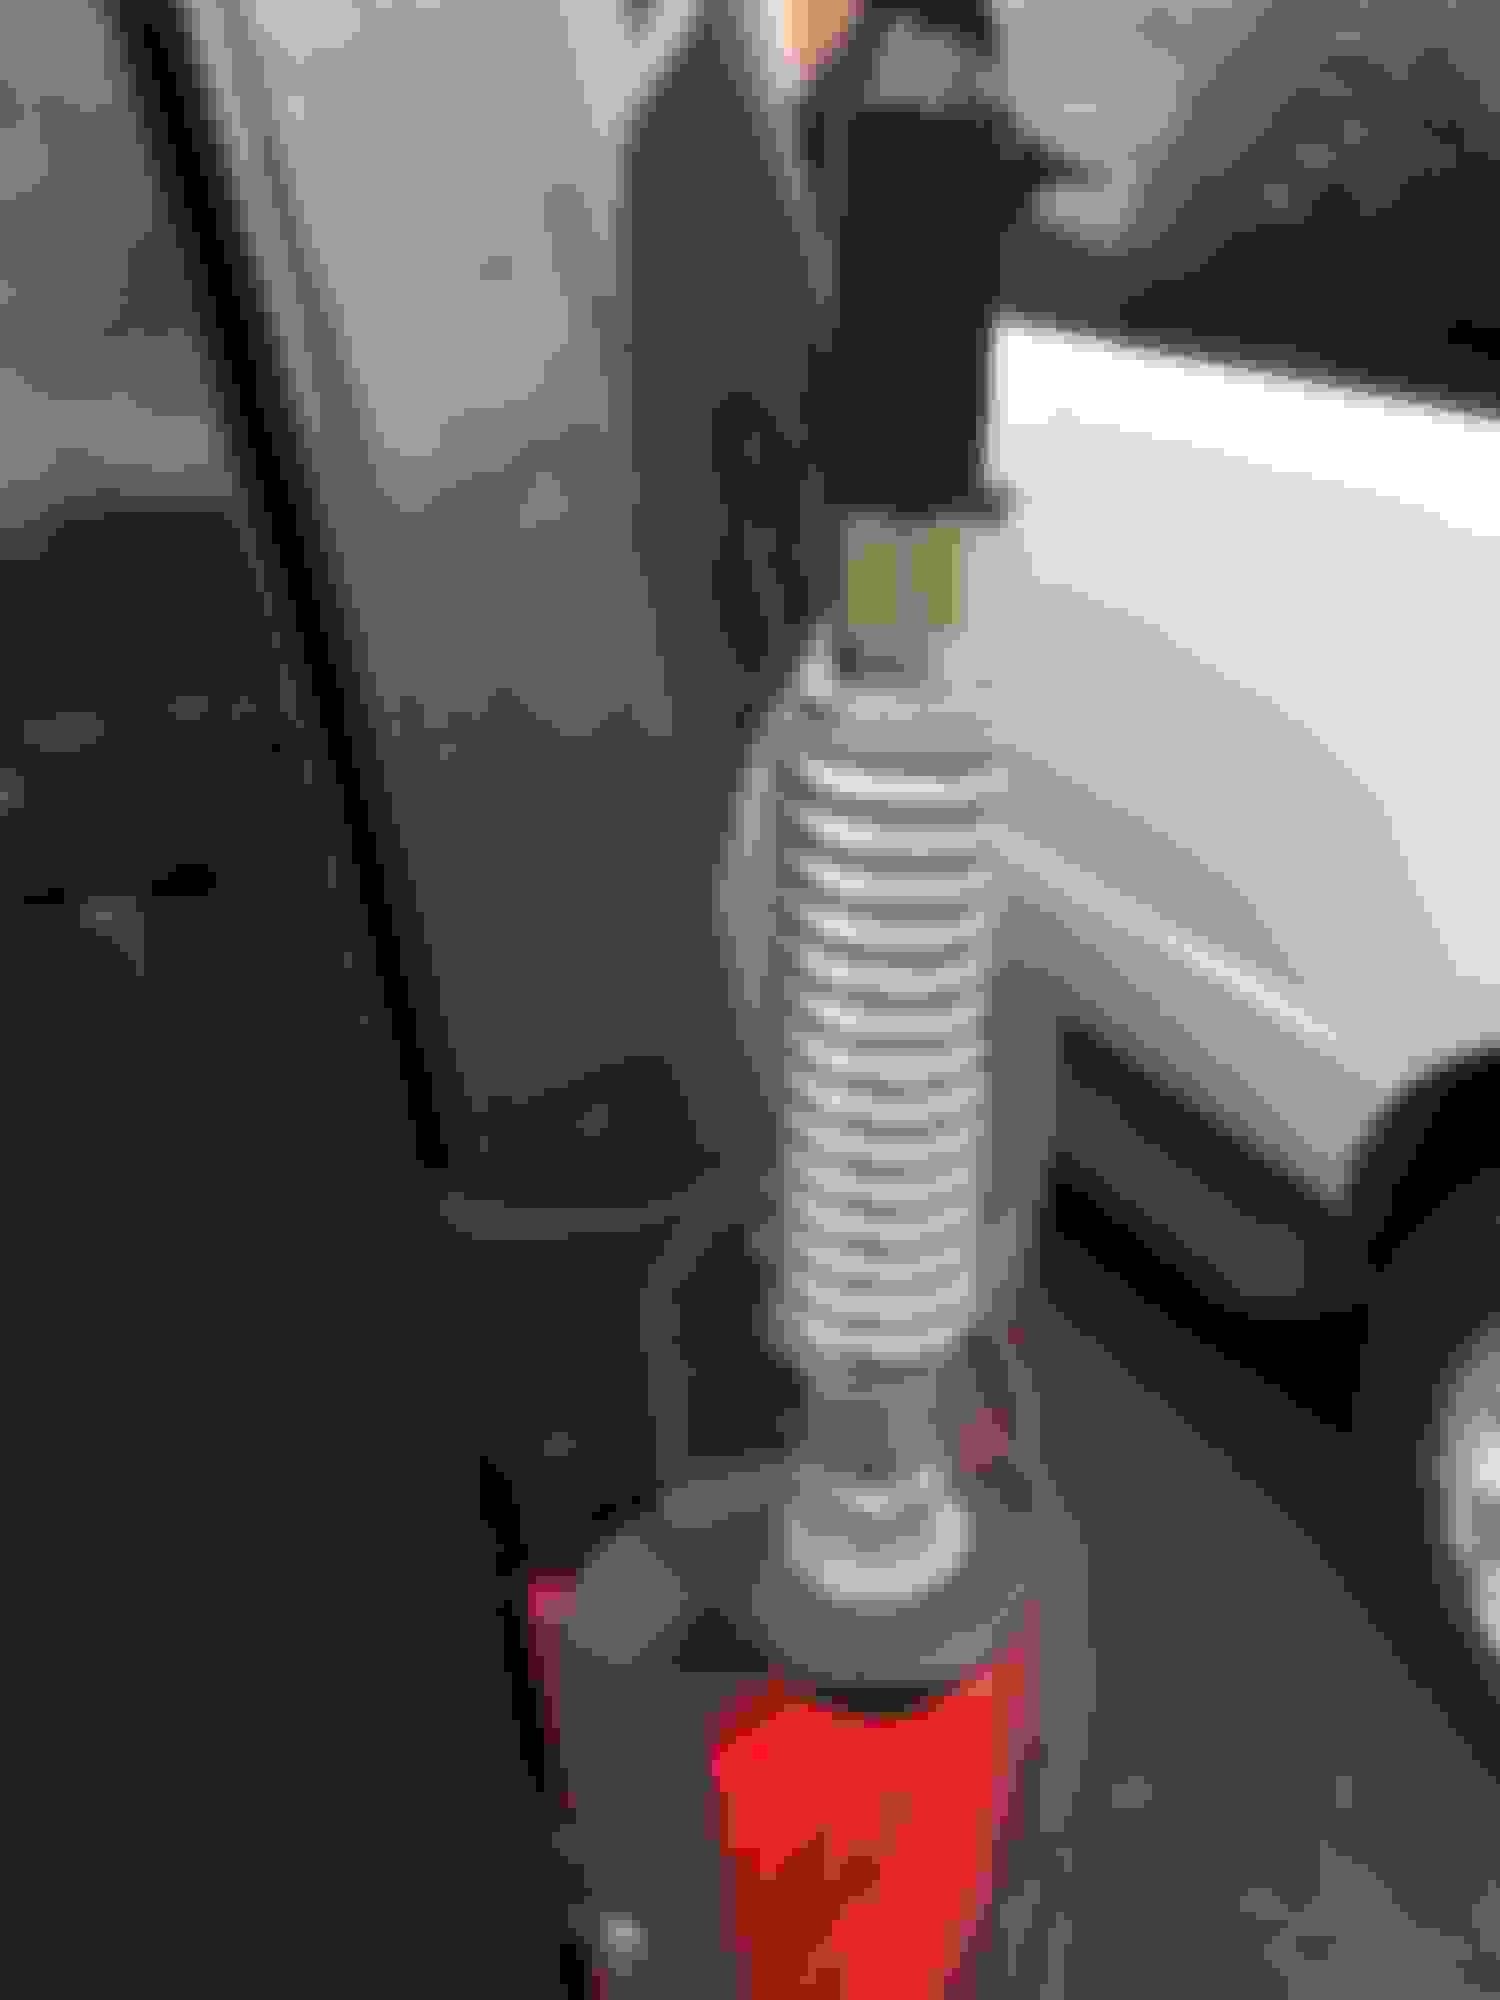
I purchased a Midland 75-822. This is a portable HT and mobile unit depending on which base you attach to it. I keep the battery pack in the glove compartment so that I can convert it to a HT when needed. For use in the car, I ran power from my aux fuse block to a 12v outlet under the driver's seat. I installed a Firestik II 4' antenna around the back passenger side tail light. I ran the antenna cable across the load space and up underneath the driver's seat as well. I then installed a PL-259 connector under the seat. Now, whenever I want, I can just plug the CB into the two jacks under the seat and it's hooked up and ready to go. When not in use, I unplug it and stow it in the glove box. The wires don't interfere with my legs at all while driving, and I barley feel them when actually talking on the unit.
For the Ham Radio:
I wanted a dual band and ended up purchasing a Yaesu FTM-350 for a few reasons. First, I got a good deal on a used unit. Second, it has APRS, which is something I wanted to tinker with. Third, it has a speaker in the main radio body, but also has dual speakers in the controller head. This is great because it means I can tuck the main unit out of sight and not have to worry about mounting an external speaker somewhere. Fourth, it has the option to plug the mic into the controller head or the main body.
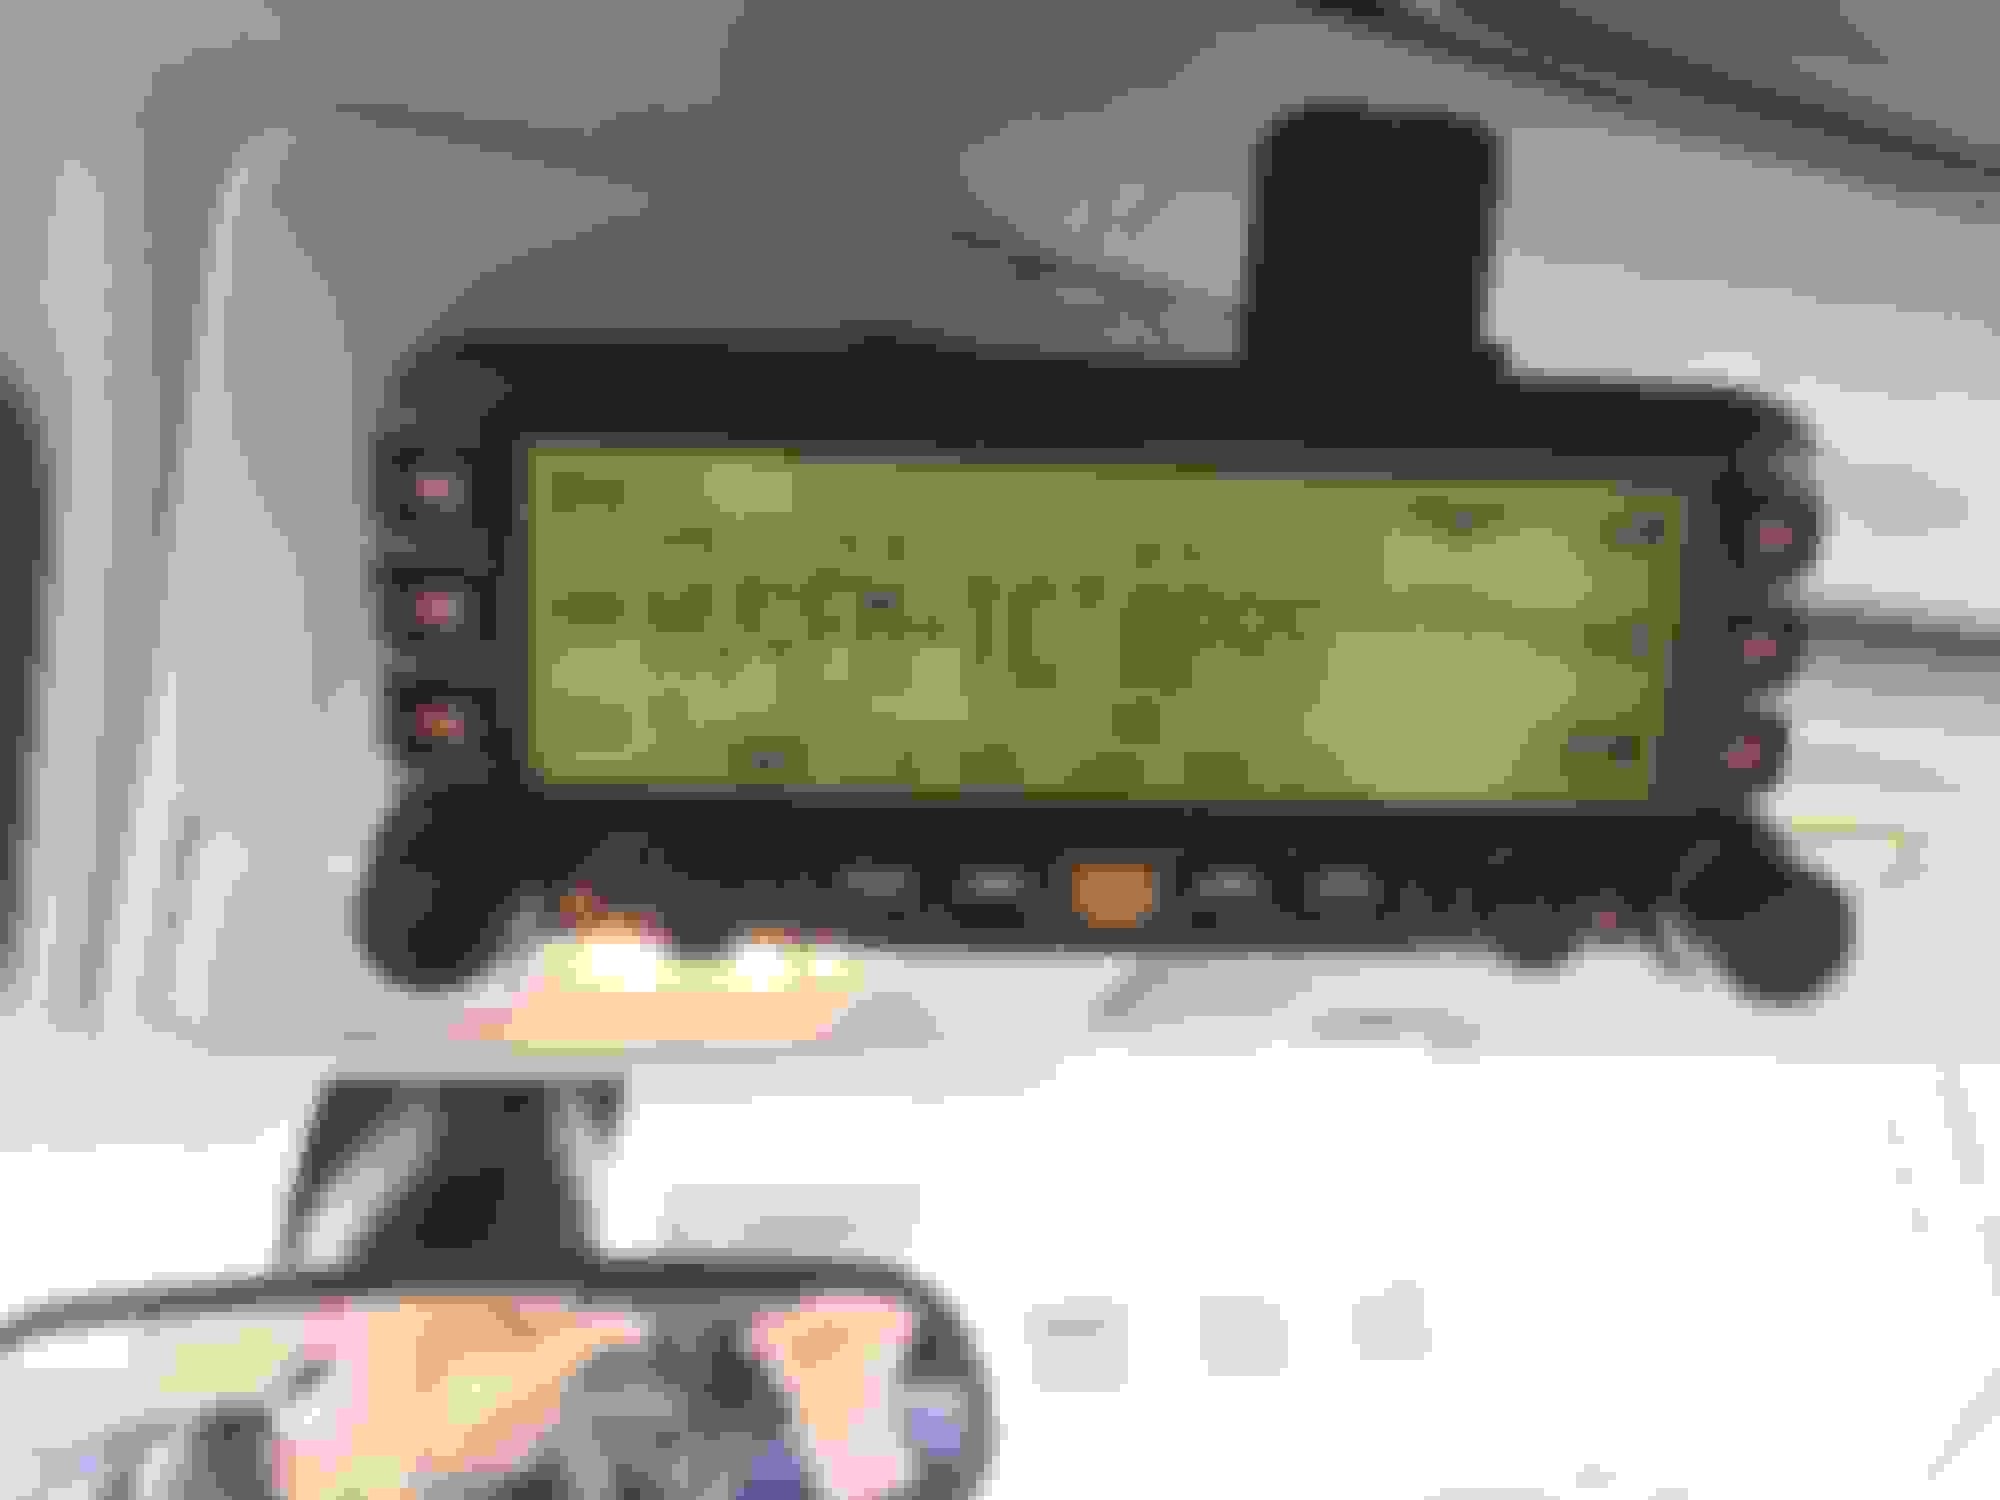
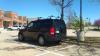
For the install, I mounted the main unit in the trunk behind the plastic panel on the passenger side. It sits with my LR4 Bluetooth module and my Wilson cell phone booster. I snaked Cat5e cable around the trunk and up under the driver's seat again. I also snaked Cat5e cable up to the B-pillar, then ran it across the roof to the dome lights/sunroof switch panel. This is where I mounted my control head. I figured up high would be best because I'm tall and because the speakers (and mic on the control head if I wanted to use it) would be closest to my ears and mouth. For my antenna, I opted for a Larsen 2/70NMO antenna. This way, both the CB and ham antenna stick up the same amount from the roof...
Anyway, I was able to get an SWR of 1.5 or less on both radios (for the worst frequencies), so I consider it a success. The pictures here, don't show both handsets at the same time (only the ham radio is shown) because my proclip dual mount hasn't arrived yet, but you'll get the idea.
FTM-350 body mounted in trunk
RJ-45 jack, 12v outlet and PL-259 connector under driver's seat
Well done, I like your install. You definately needed the ground strap on the roof, as the rails have no continuity to the body. I need to look at getting under the passenger seat to see about mounting some stuff under there. How are you managing access?
Well done, I like your install. You definately needed the ground strap on the roof, as the rails have no continuity to the body. I need to look at getting under the passenger seat to see about mounting some stuff under there. How are you managing access?
I don't think the factory rails are grounded to the chassis, but I have a Front Runner roof rack, which comes with it's own rails. These rails are bolted into the chassis in a few locations and thus seemed to be grounded on their own (at least there was continuity between a known good ground and the rails when I checked with my multimeter. Nevertheless, I figured a grounding/bonding strap couldn't hurt.
I was a little worried that the long runs of Cat5e in close proximity to power wire might introduce some noise, but when I asked for a radio check the other day, I was told 5x5... since I was on a repeater, the second 5 is meaningless to me, but the 5 for clarity makes me think everything is working fine.
Nice. And very clean install... I freakin' love the plugs all over that fascia plate under the drivers seat, great use of that space.
Where did that antenna bracket for the CB come from? That looks like such a good spot for an antenna. Also, what fuse did you tap into for the 12v plug, and where did you get the plugs from? That's the same CB I was looking to grab.
Thanks! Yeah, antenna placement was driving me nuts for a while, but I saw something similar on a Toyota Landcruiser and thought, why can't I do it that way? Oh yeah, because nobody makes a pre-fab mount for our cars... So, I ended up buying a Firestik SS-204 door jamb mount thinking that it might work. It didn't. It was just a hair too wide because it didn't follow the contours of the car, so it would hit the tailgate every time.
In the end, I used the piece of the SS-204 that actually holds the antenna and I built my own "vertical piece". I went to home depot and bought a bracket from their framing section. Then, I just bent it like I needed it and cut it to shape with my grinding wheel. My homemade machine press consisted of a bench vice, a butane torch, and a big *** hammer. It worked quite well because I'd notch across where I wanted the metal to bend before whacking it.
The 12v plug is just something I picked up on Amazon. I installed a few others throughout the car... one for the fridge, one up front, and two dual USB sockets in the rear "media panels". The radios and everything in the rear is/are powered from a Blue Sea auxiliary panel that I installed a long time ago. However, I'm going to be changing that out for a combined fuse/relay block from Bussman soon. I've already built the panel... just need to fab a mount for it and install it when I have some down time. I can send you details if you want.


 03-06-2016, 02:22 PM


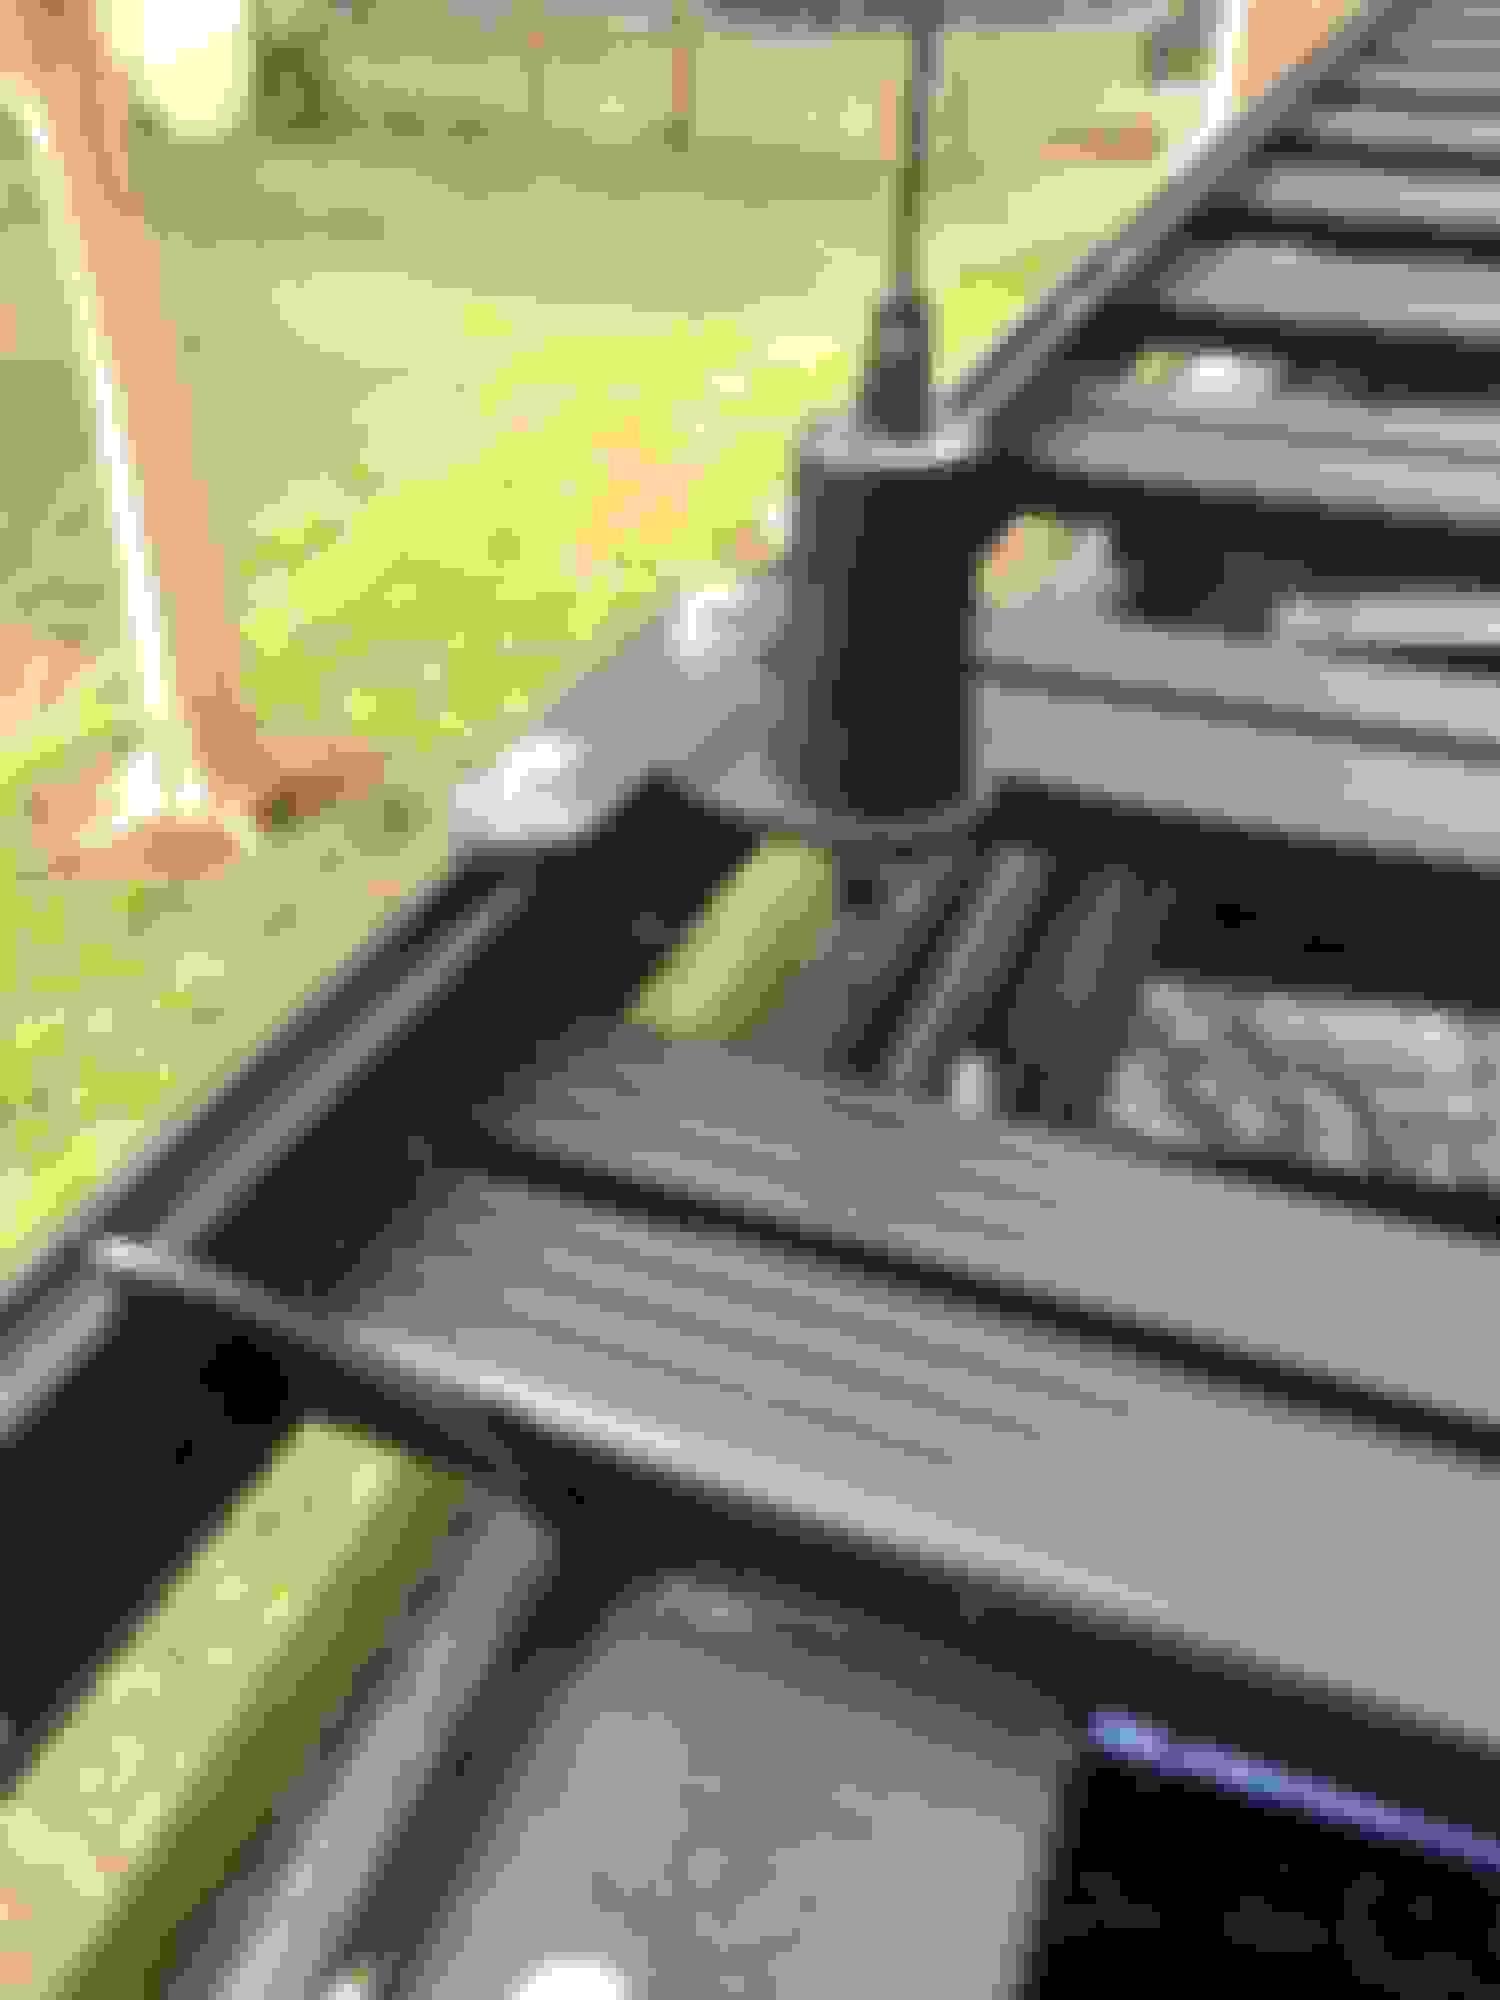


 So, I ended up buying a Firestik SS-204 door jamb mount thinking that it might work. It didn't. It was just a hair too wide because it didn't follow the contours of the car, so it would hit the tailgate every time.