When you click on links to various merchants on this site and make a purchase, this can result in this site earning a commission. Affiliate programs and affiliations include, but are not limited to, the eBay Partner Network.
They appear to simply be a yellow tinted lens of the stock lamps, which is great, as I like running yellow lights off-road, but I’m not confident in their actual output.
Last edited by MFESQIDAHO; Sep 25, 2023 at 11:05 AM.
Get Lamin-X tinted protective film. I did all of my OEM lights and off-road lights with it. I did yellow for the fogs. Plus if you don't like to color it comes right off. Was easy to install, clean surface, spray it with water, place film, cut excess tabs off (they help with install), use a hairdryer and supplied squeegee to smooth out the film. I did my headlight, fog light, all of my Off-Road lights (ditch lights, driving lights, light bar, & rear lights). Should help with rock chips as well. They also make other protection films for the Defender. I have a large strip for my OEM Ladder so I don't scratch the paint when I climb the ladder.
Get Lamin-X tinted protective film. I did all of my OEM lights and off-road lights with it. I did yellow for the fogs. Plus if you don't like to color it comes right off. Was easy to install, clean surface, spray it with water, place film, cut excess tabs off (they help with install), use a hairdryer and supplied squeegee to smooth out the film. I did my headlight, fog light, all of my Off-Road lights (ditch lights, driving lights, light bar, & rear lights). Should help with rock chips as well. They also make other protection films for the Defender. I have a large strip for my OEM Ladder so I don't scratch the paint when I climb the ladder.
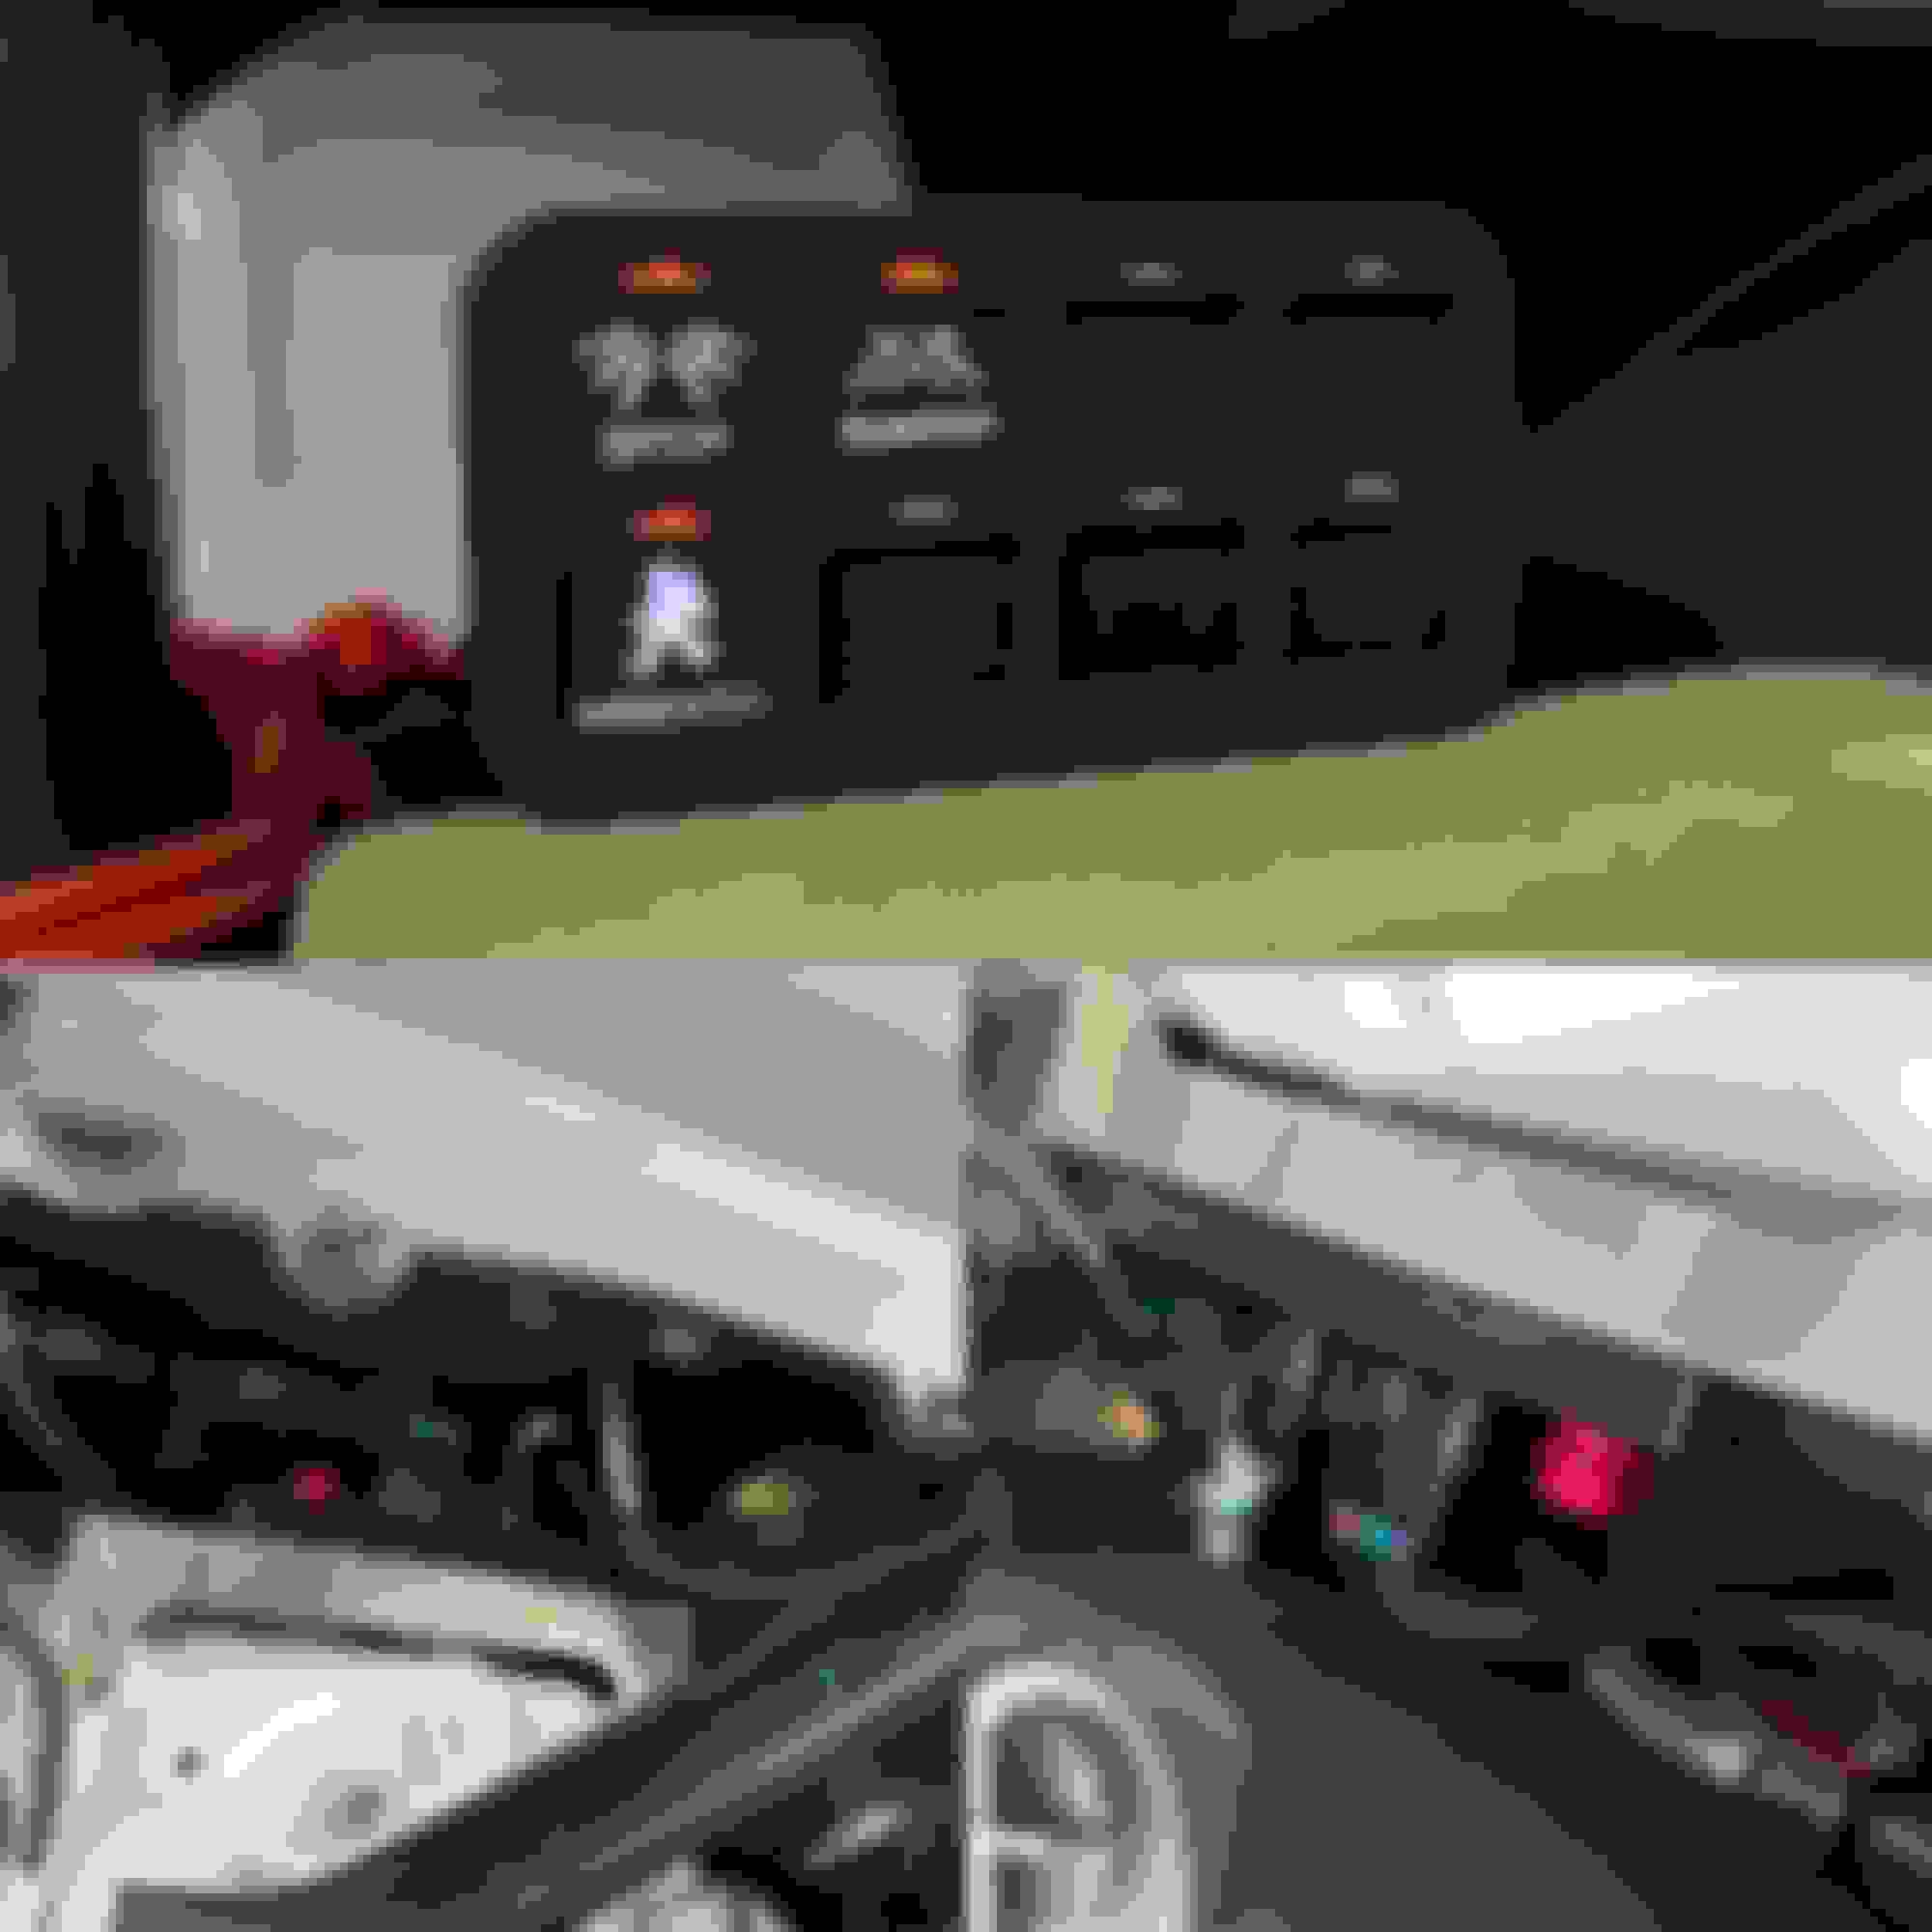
KC under hood light kit with a bracket I modified to hold the switch that utilizes the radiator shroud clip for retention.
Under hood lights:
KC under hood light kit with a bracket I modified to hold the switch that utilizes the radiator shroud clip for retention.
I secured the lights with large Stainless Steel fender washers and bolts with nylon locking nuts. I did have to poke holes in the liner to attach the lights…basically sandwiched the liner in between two fender washers.
I ran the wires under the hood liner (secured with heat resistant ducking tape) to the battery terminal under the hood, grounded at a factory underhood location.
ARB Dual Compressor with an external air coupling:
It is wired to the Switch-Pros SP9100 switch panel. Also, I added a ground bus bar to the Switch-Pros under hood bracket for future accessory installations.
I used the ARB Remote Hose Coupling Kit attached to a Jeep bracket (had to drill out the hole to match the quick connect coupling) to the ditch light bracket using a 1.5 meter ARB stainless braded reinforced hose connected the the ARB quick connect coupling from the ARB remote hose coupling kit.
KC under hood light kit with a bracket I modified to hold the switch that utilizes the radiator shroud clip for retention.
Under hood lights:
KC under hood light kit with a bracket I modified to hold the switch that utilizes the radiator shroud clip for retention.
I secured the lights with large Stainless Steel fender washers and bolts with nylon locking nuts. I did have to poke holes in the liner to attach the lights…basically sandwiched the liner in between two fender washers.
I ran the wires under the hood liner (secured with heat resistant ducking tape) to the battery terminal under the hood, grounded at a factory underhood location.
ARB Dual Compressor with an external air coupling:
It is wired to the Switch-Pros SP9100 switch panel. Also, I added a ground bus bar to the Switch-Pros under hood bracket for future accessory installations.
I used the ARB Remote Hose Coupling Kit attached to a Jeep bracket (had to drill out the hole to match the quick connect coupling) to the ditch light bracket using a 1.5 meter ARB stainless braded reinforced hose connected the the ARB quick connect coupling from the ARB remote hose coupling kit.