
04 DII Build Thread


Thread Starter
|
Rock Crawling
Joined: Nov 2014
Posts: 371
Likes: 12
From: Eugene, OR
Not really sure since it's the wife's. I think it's somewhere in the 188-198* range when driving. The front driveshaft was/is fine, or at least for now.
Thread Starter
|
Rock Crawling
Joined: Nov 2014
Posts: 371
Likes: 12
From: Eugene, OR
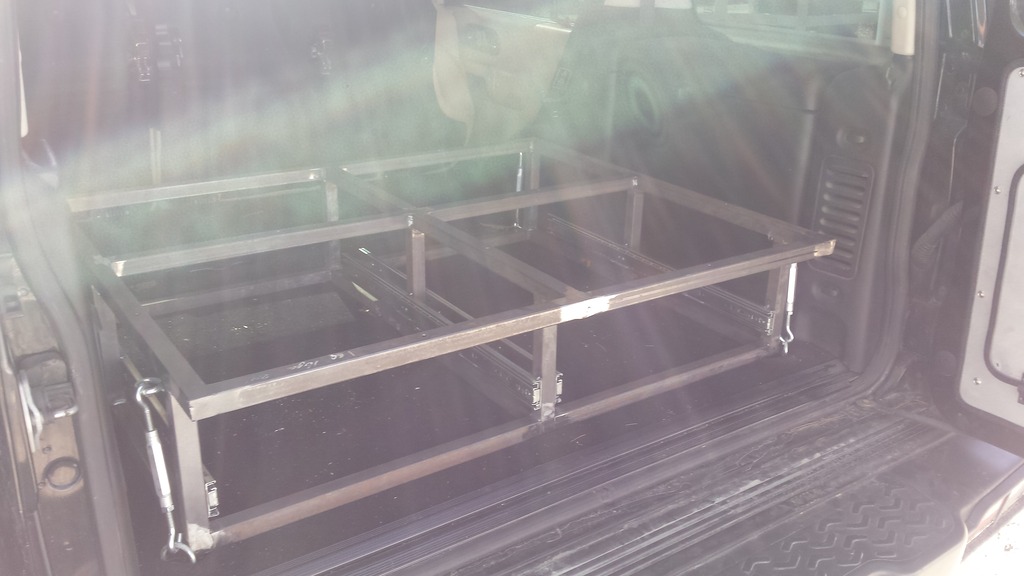
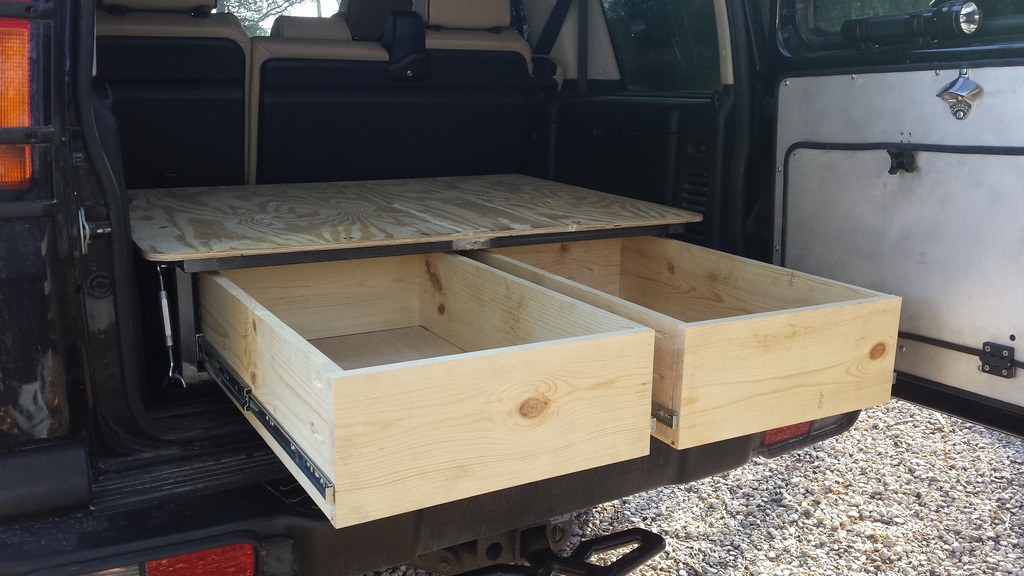
We had some good weather today, and I finally had some time to work on my own stuff. I spent the majority of the day today building the rear section of our platform. Tomorrow is supposed to be even nicer, and I plan on finishing the drawer fronts, and the top of the platform.
Made some progress today, and I'm very had with how this one turned out.
Added some turnbuckles in the front, and the back to make sure this doesn't shift.
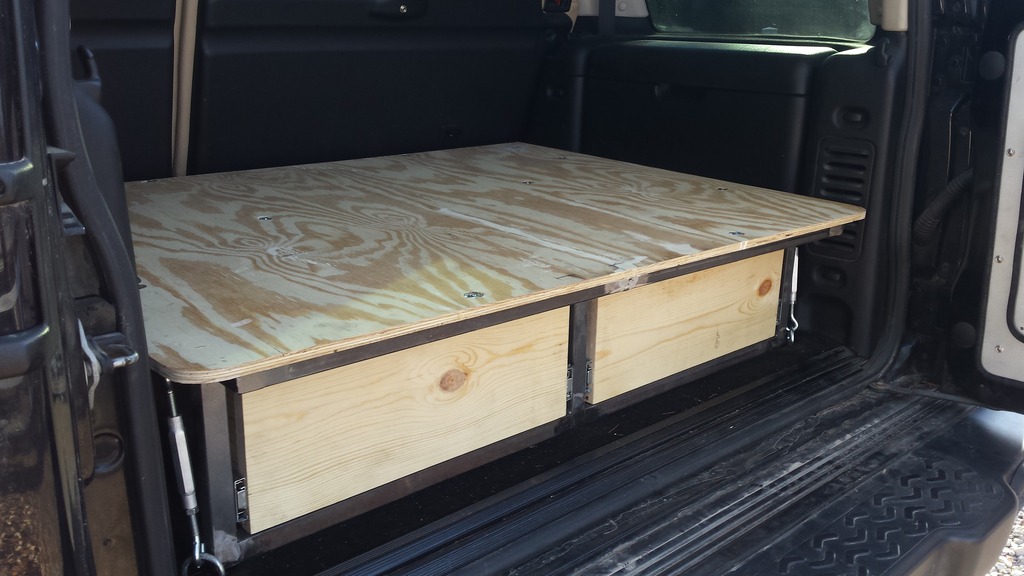
Got the deck on, and the drawers installed.
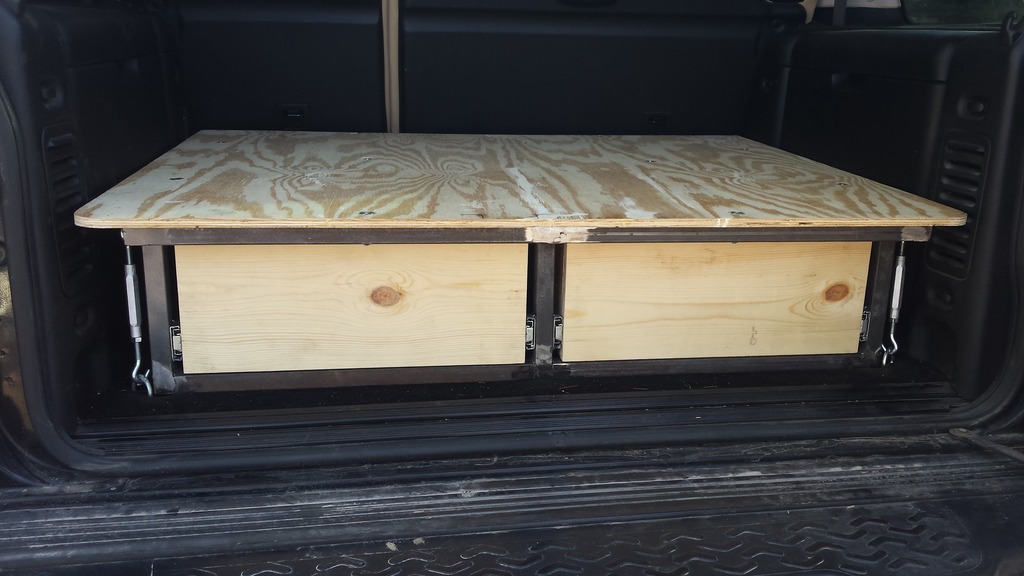
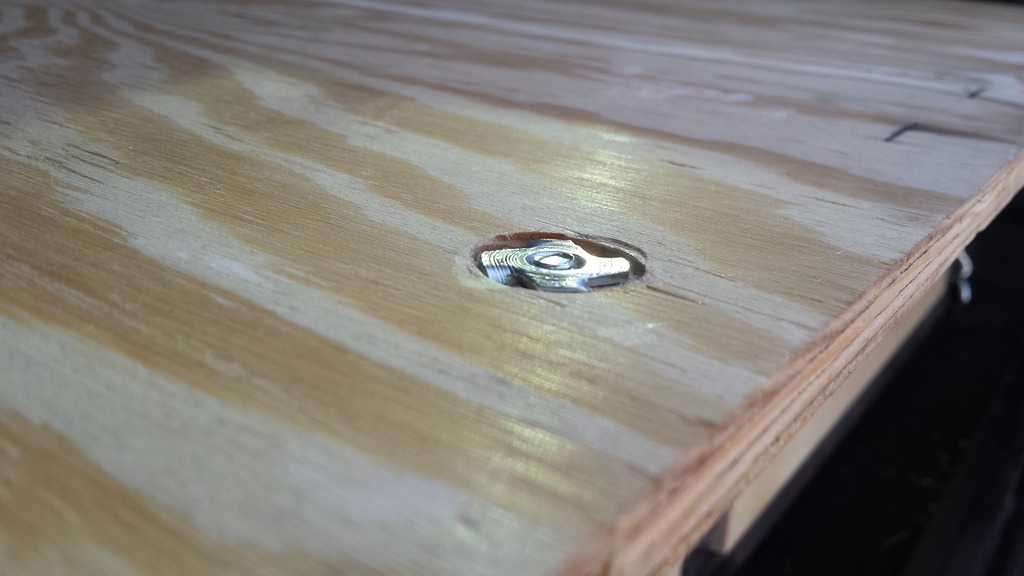
Since I'm going to be laminating the top I decided to recess the t-nuts flush with the top of the deck.
Two 28" long drawers side by side that are about 7" high.
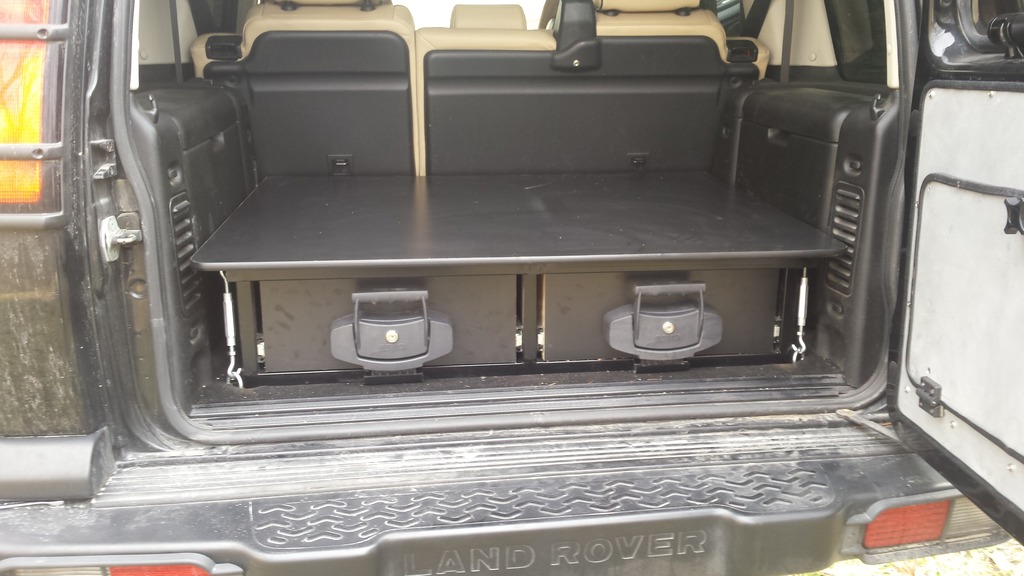
I was able to get the finishing touches done today. I added a matte black formica to the top, and drawer fronts. I also trimmed up the edging with some black plastic t-molding. For the drawer fronts I was able to use the ARB Safari drawer locks that I purchased awhile back.
Made some progress today, and I'm very had with how this one turned out.
Added some turnbuckles in the front, and the back to make sure this doesn't shift.
Got the deck on, and the drawers installed.
Since I'm going to be laminating the top I decided to recess the t-nuts flush with the top of the deck.
Two 28" long drawers side by side that are about 7" high.
I was able to get the finishing touches done today. I added a matte black formica to the top, and drawer fronts. I also trimmed up the edging with some black plastic t-molding. For the drawer fronts I was able to use the ARB Safari drawer locks that I purchased awhile back.
Last edited by Mstudt; Jun 19, 2016 at 06:23 PM.

Thread Starter
|
Rock Crawling
Joined: Nov 2014
Posts: 371
Likes: 12
From: Eugene, OR
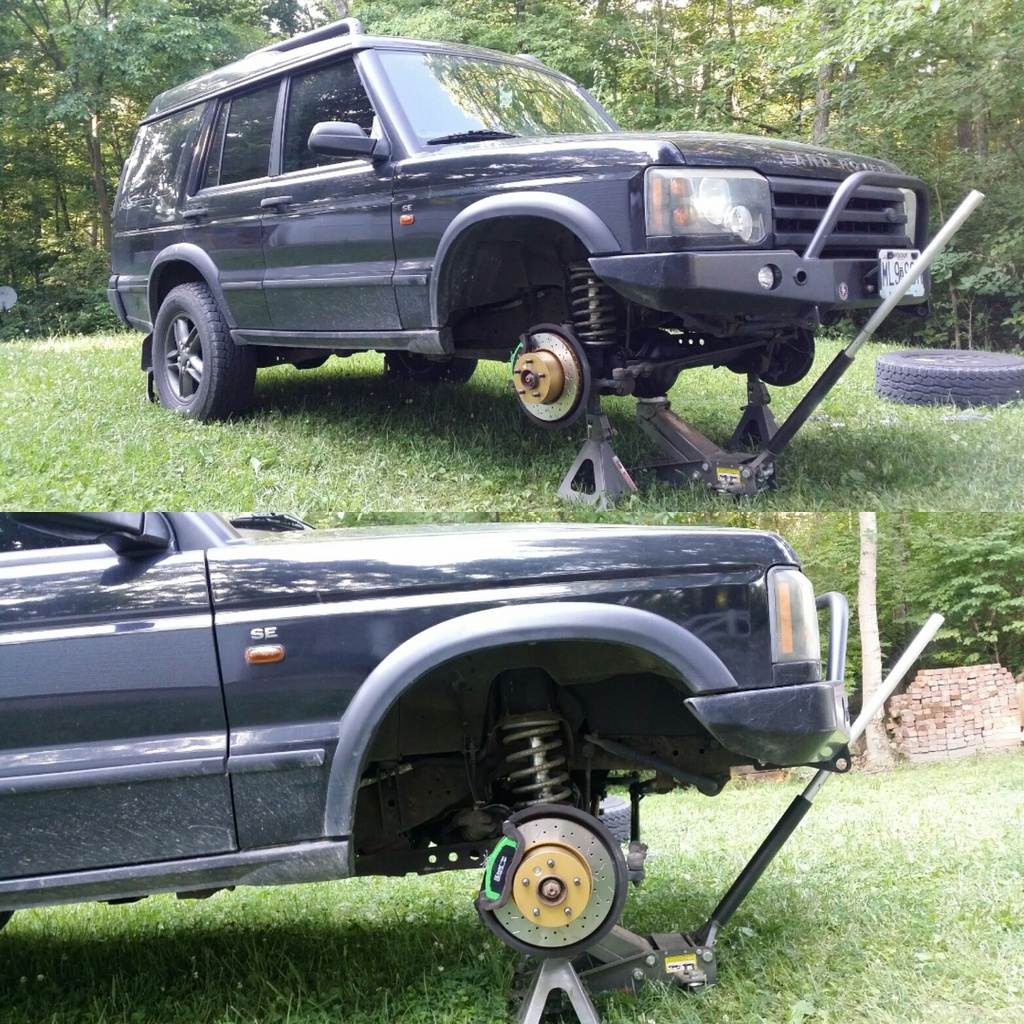
Had to show some lover to the Rover this weekend. This was still on OEM front pads, and rotors after nearly 90k miles. So it was time to do an upgrade on those. After researching options for about a week I finally made a decision on what to get. I went with DBA 4000 Series rotors, and EBC Green Stuff pads. Disc Brakes Australia (DBA) has long been used on Disco's, and are very good rotors.

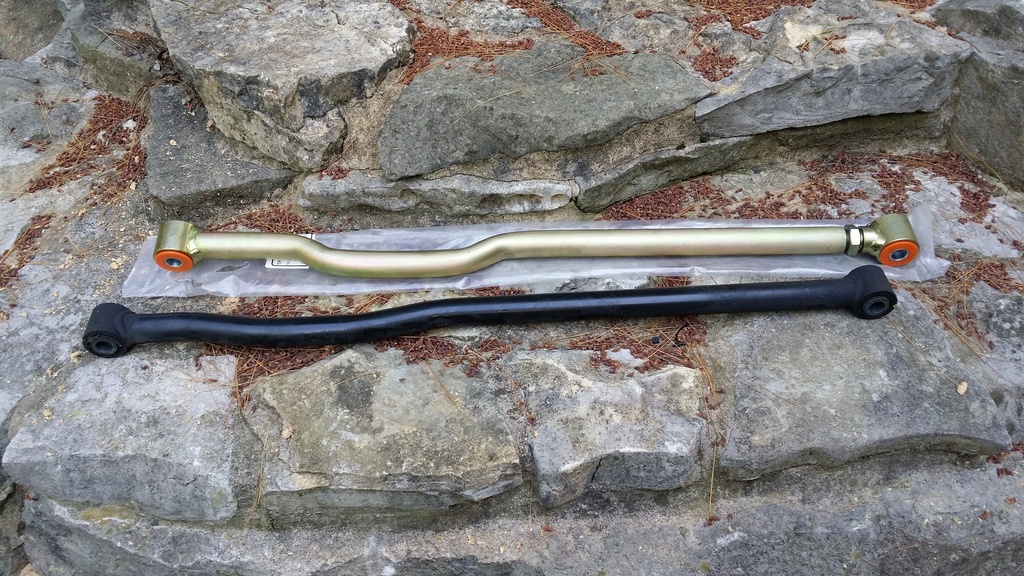
Next up was replacing the OEM pan hard bar with a Terrafirma adjustable pan hard bar. Having a little ability to adjust was good since this is lifted.
Next up was replacing the OEM pan hard bar with a Terrafirma adjustable pan hard bar. Having a little ability to adjust was good since this is lifted.
Thread Starter
|
Rock Crawling
Joined: Nov 2014
Posts: 371
Likes: 12
From: Eugene, OR
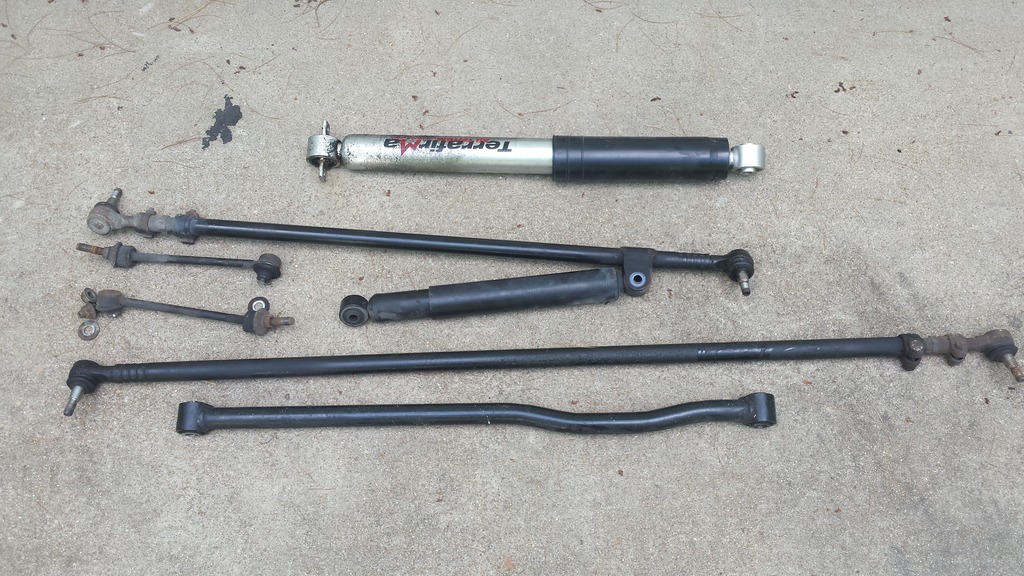
I took care of some more front end suspension parts this weekend. I was able to replace the steering stabilizer, track bar, tie rod, TRE's, and new passenger side shock. I also took on the task of building some new front sway bar links. Having made a couple sets of sway bar links over the last couple year I thought it would be pretty easy. Hardest part was cutting off the old ones.
The pile of old parts. Most of it is going in the trash since it's pretty well shot. Not sure how the front shock blew, but it had zero rebound to it. The TRE's were pretty dried up, and the stabilizer was dead as well.
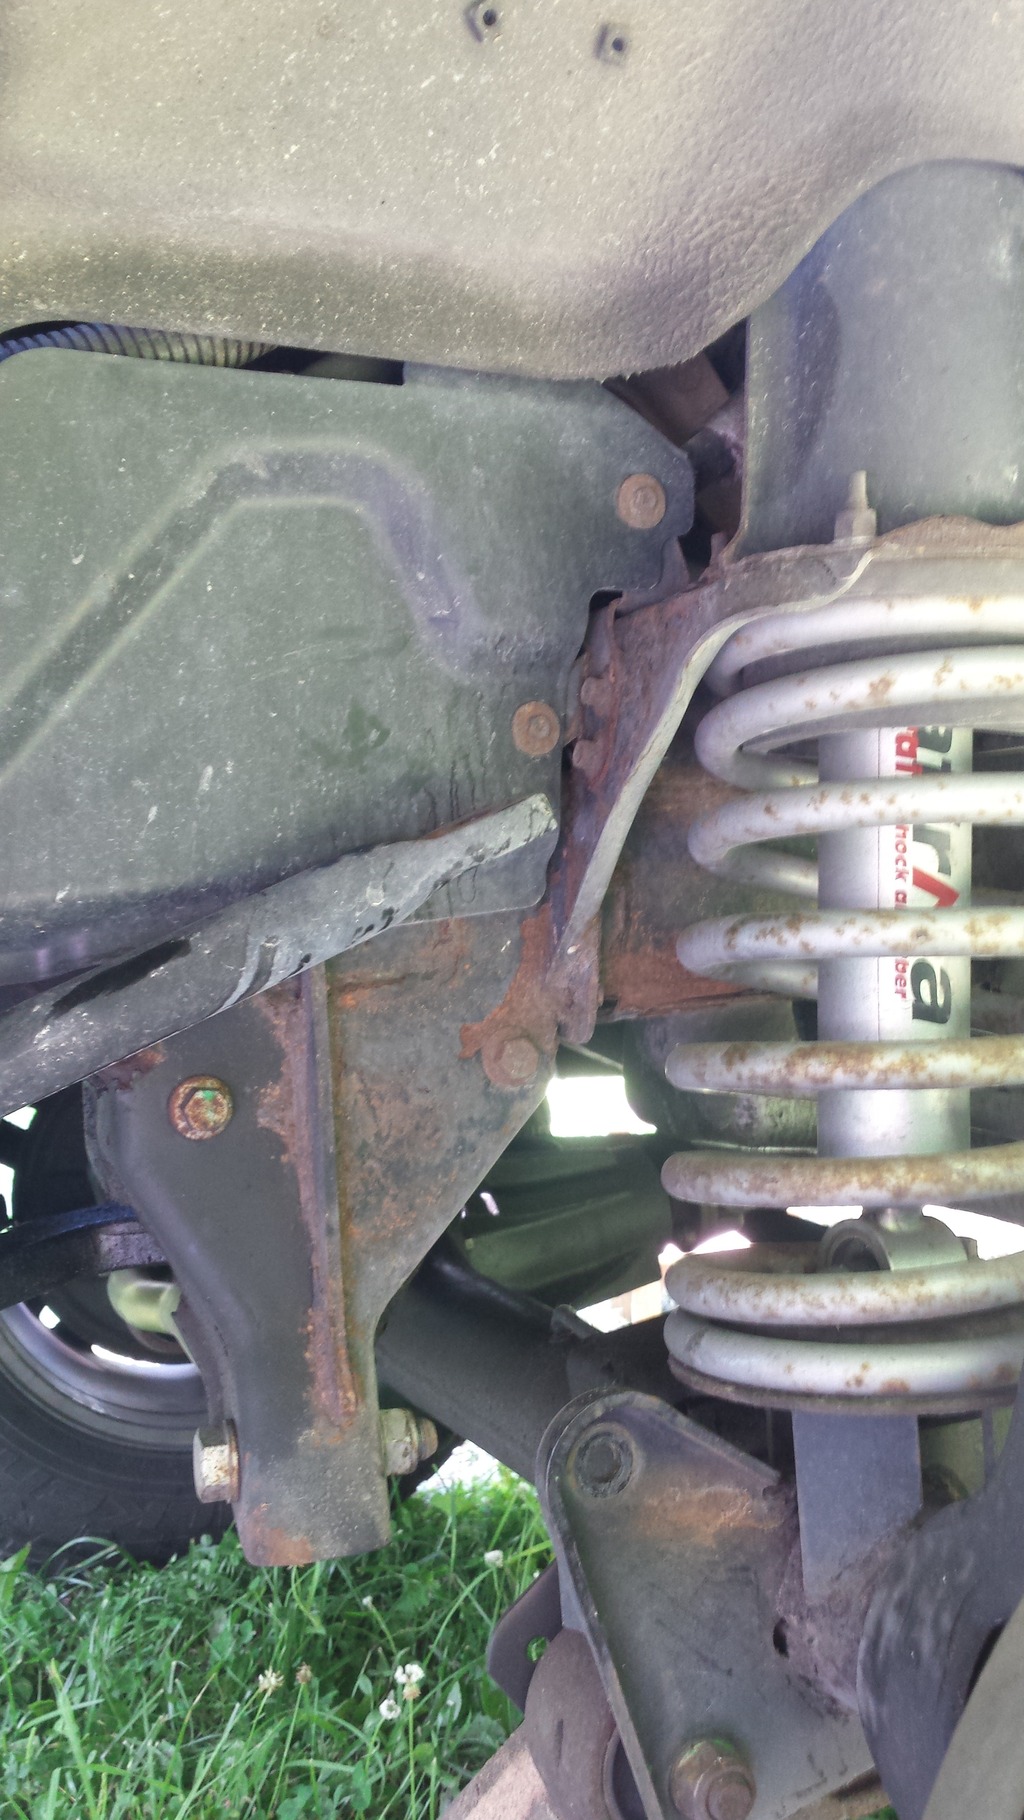
Just cut off the sway bar link on both sides.
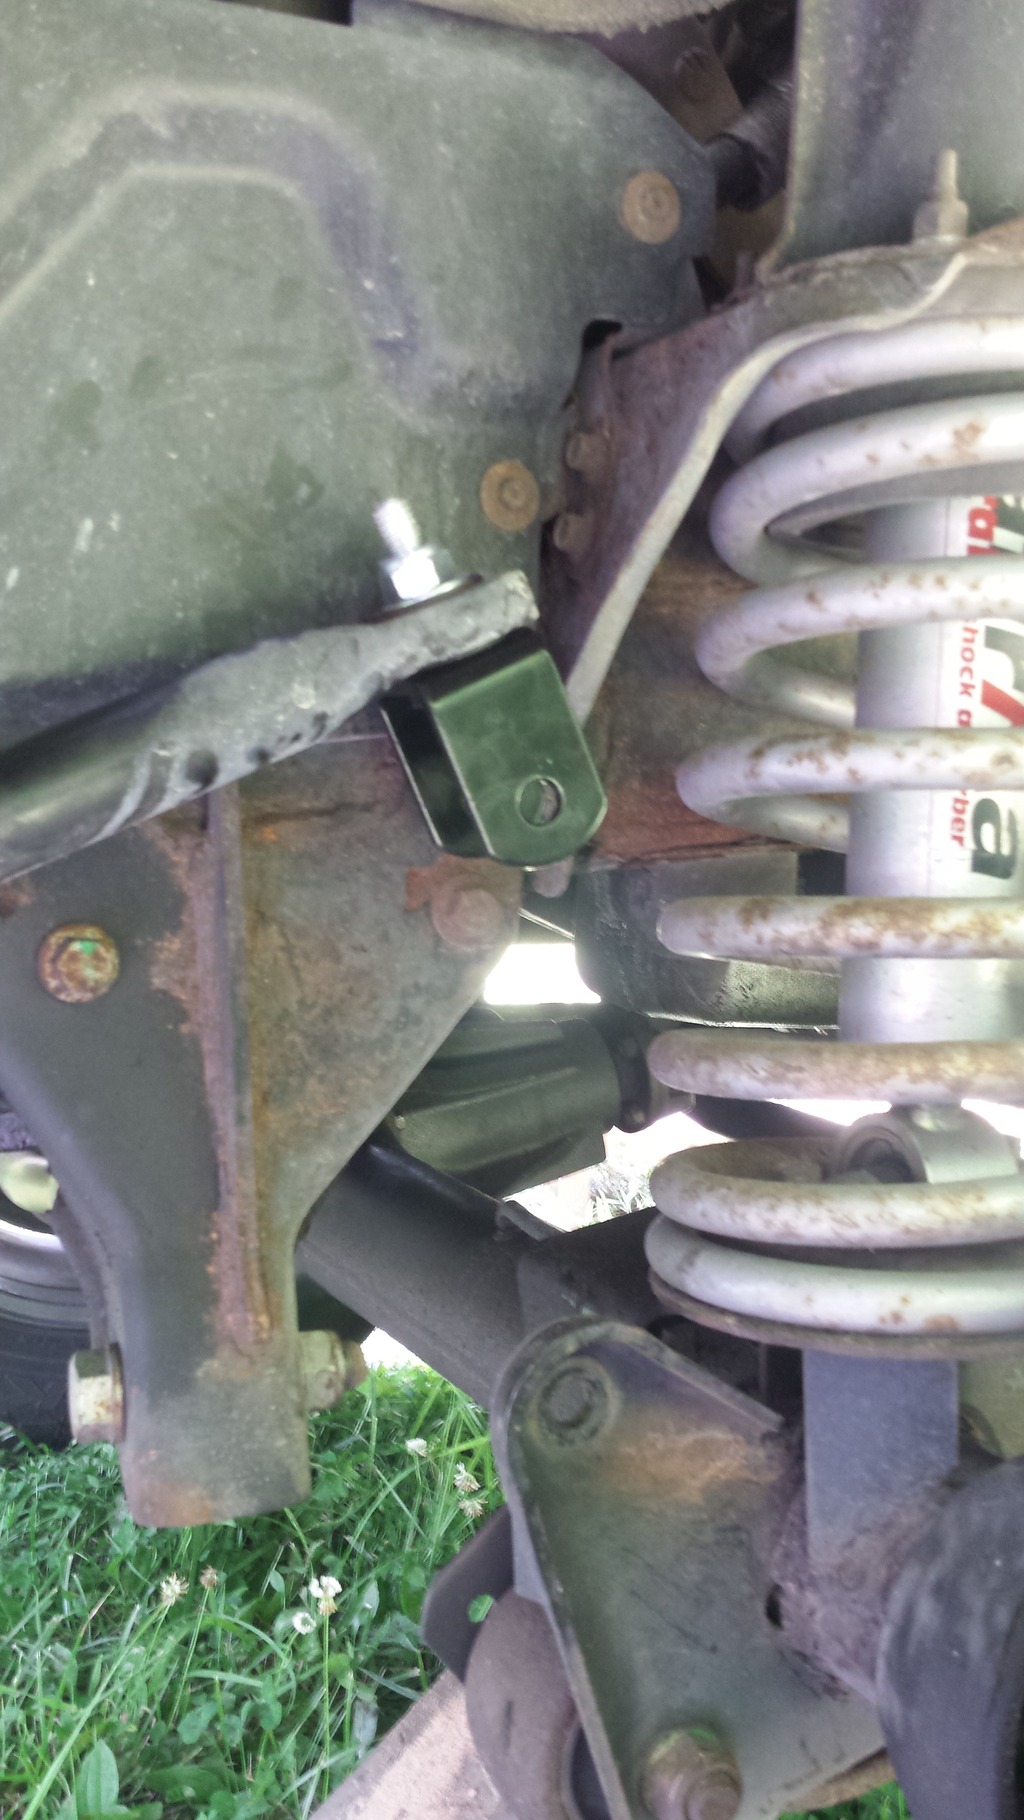
New drop clevis installed.
On to the heim.
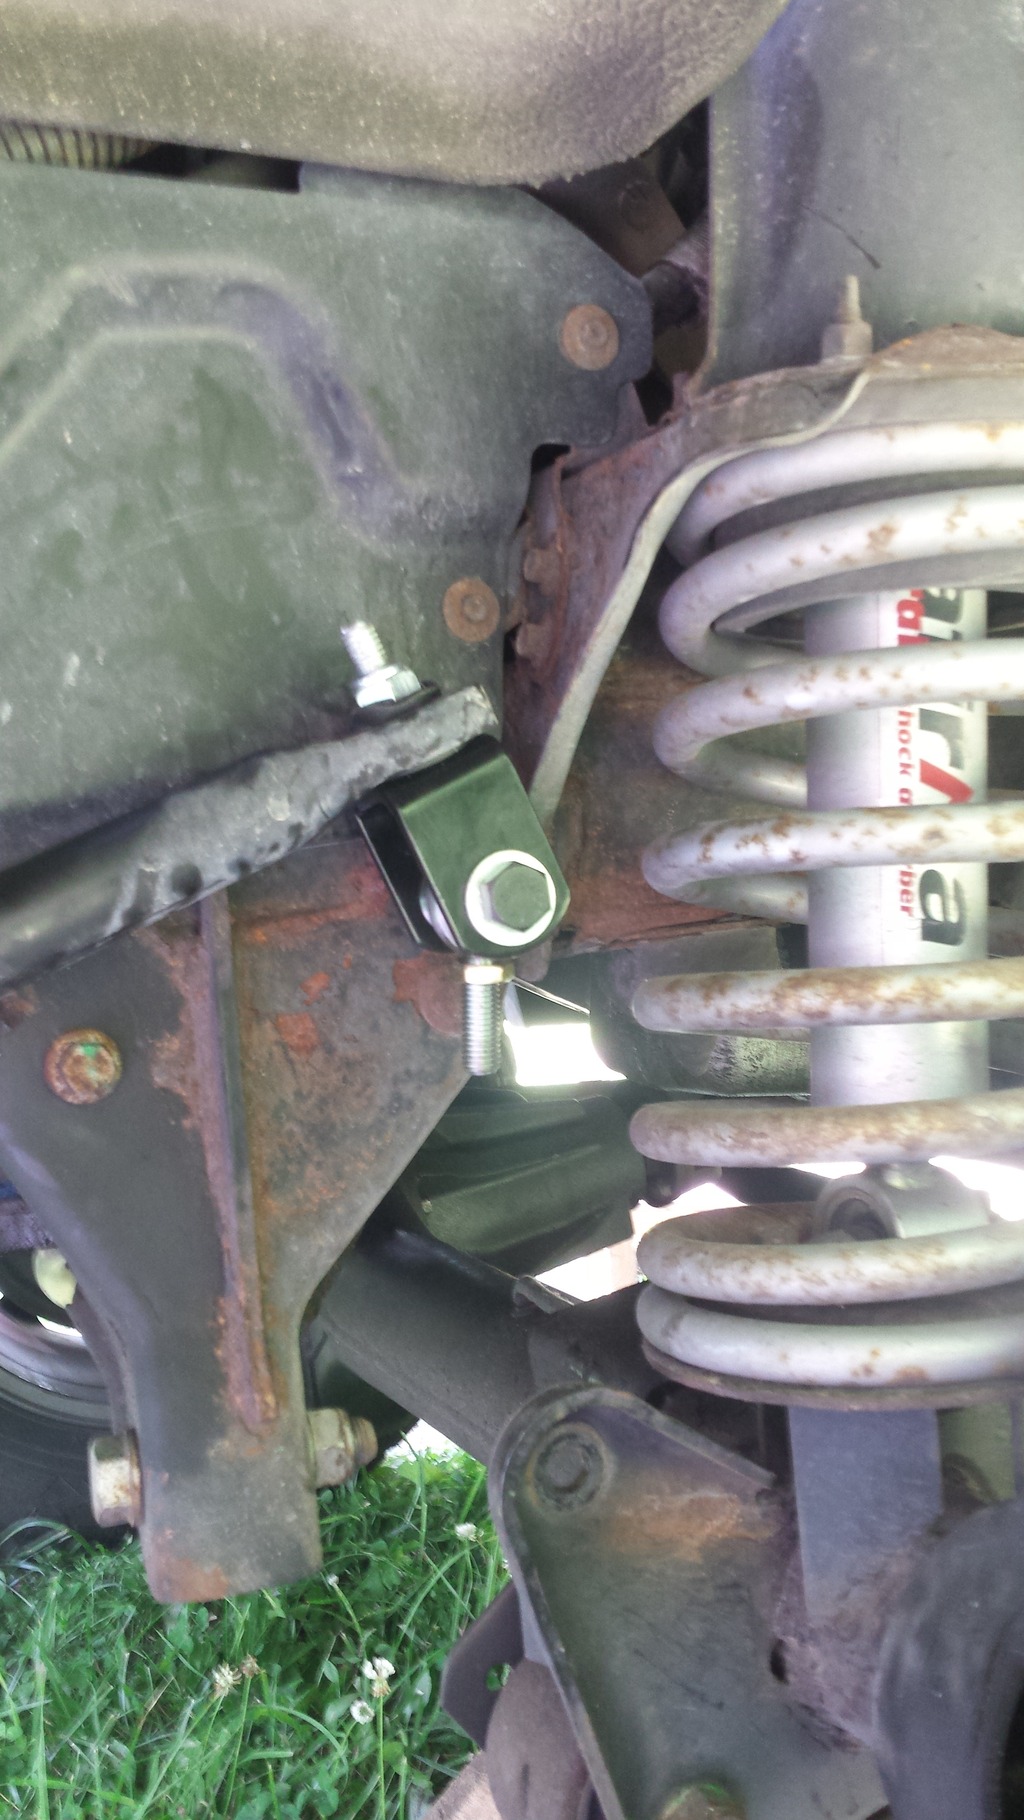
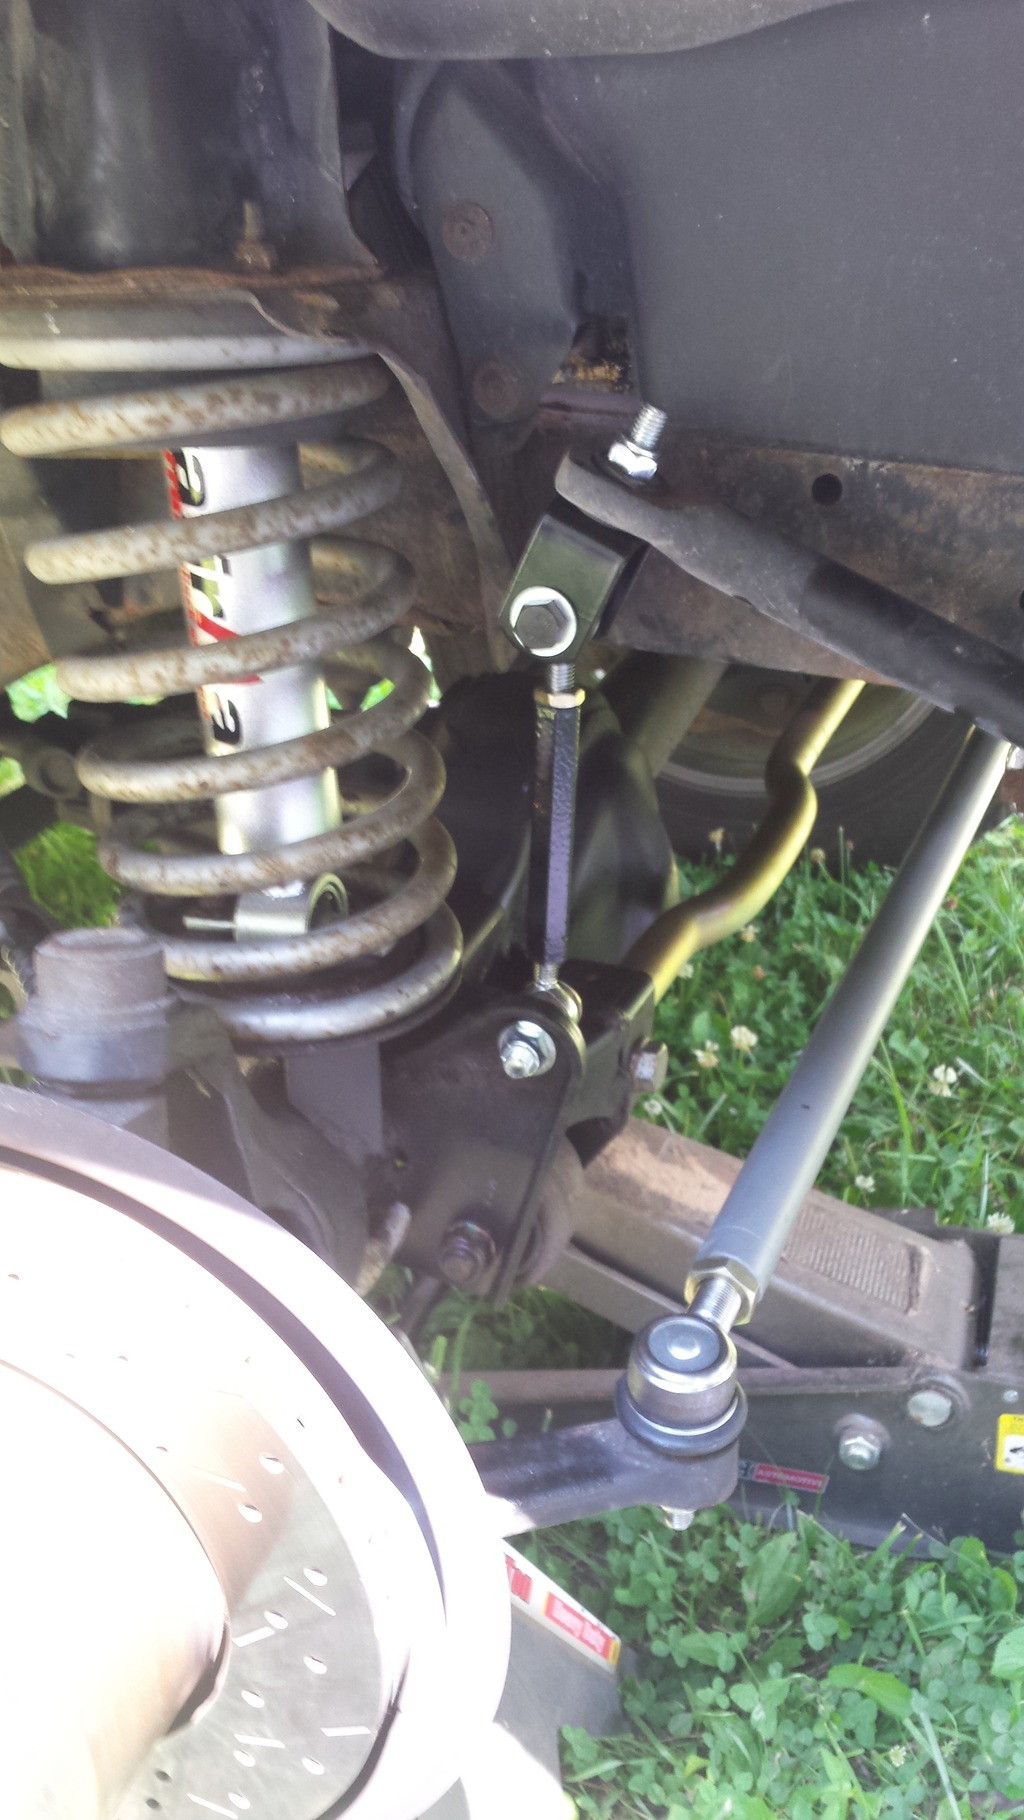
The newly assembled link, and the first set I've ever made for a Rover.
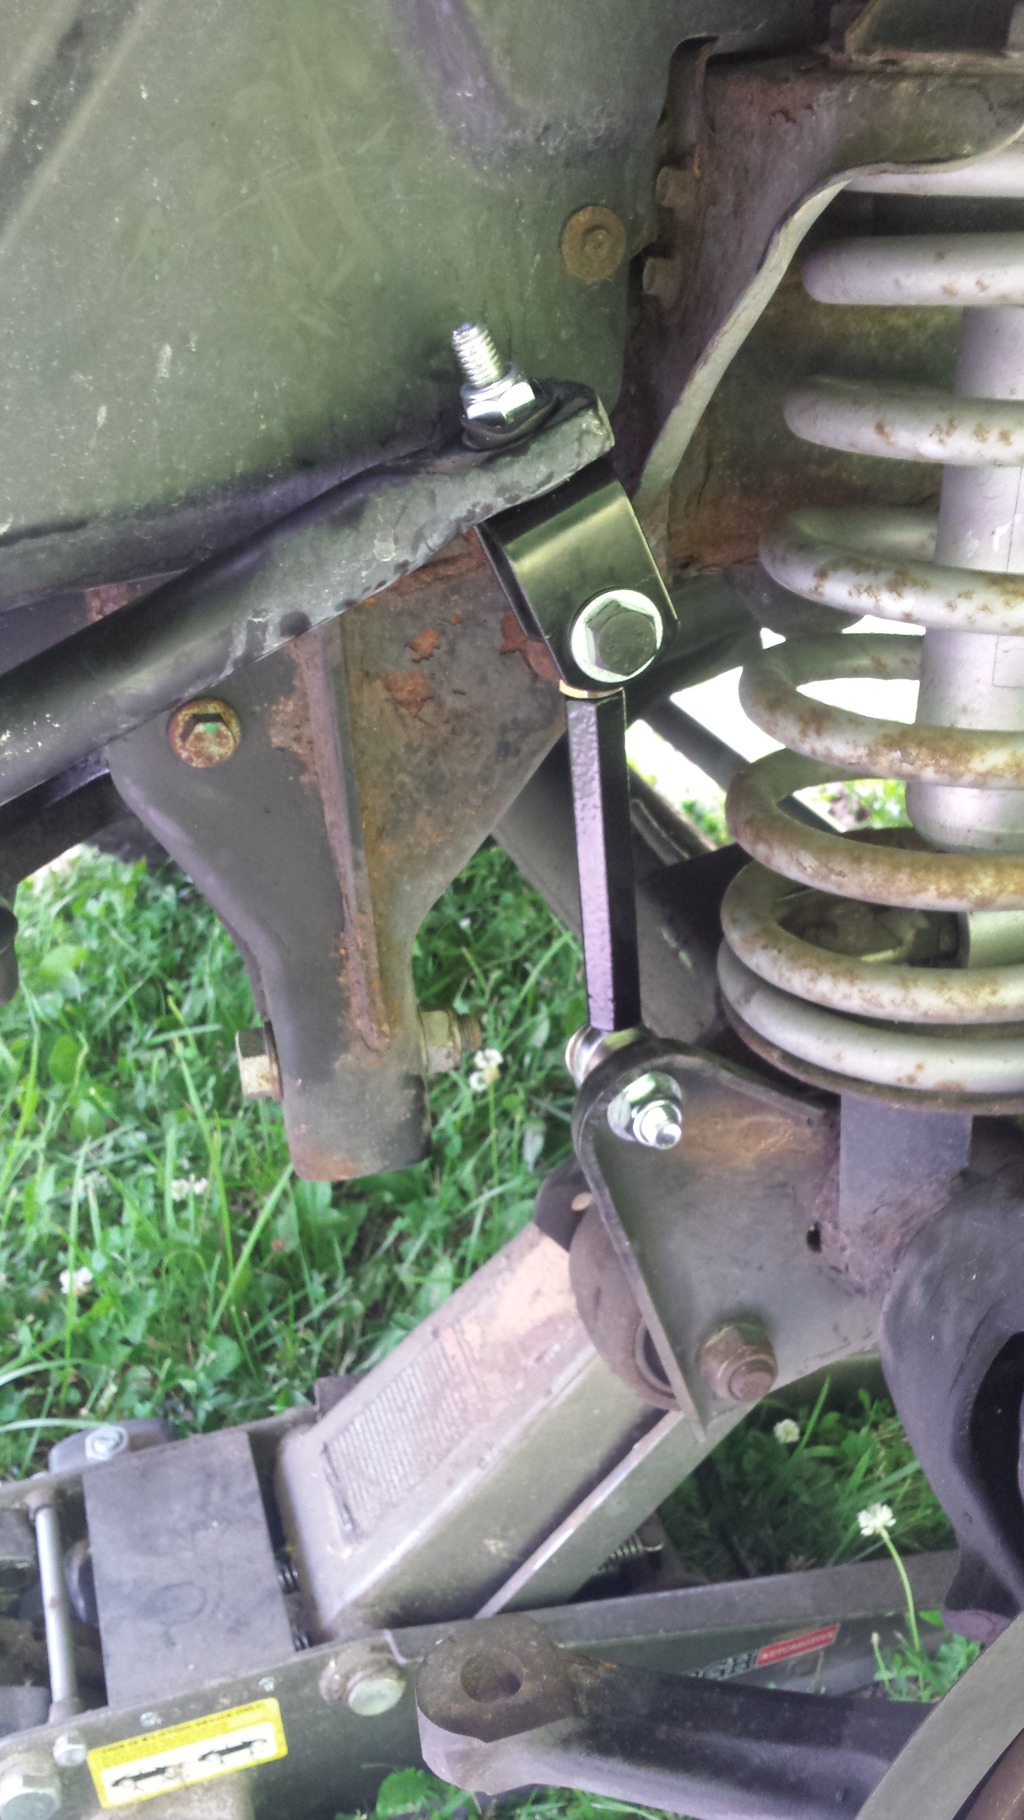
New sway bar link with the new steering, and pan hard bar.
The pile of old parts. Most of it is going in the trash since it's pretty well shot. Not sure how the front shock blew, but it had zero rebound to it. The TRE's were pretty dried up, and the stabilizer was dead as well.
Just cut off the sway bar link on both sides.
New drop clevis installed.
On to the heim.
The newly assembled link, and the first set I've ever made for a Rover.
New sway bar link with the new steering, and pan hard bar.
Thread Starter
|
Rock Crawling
Joined: Nov 2014
Posts: 371
Likes: 12
From: Eugene, OR
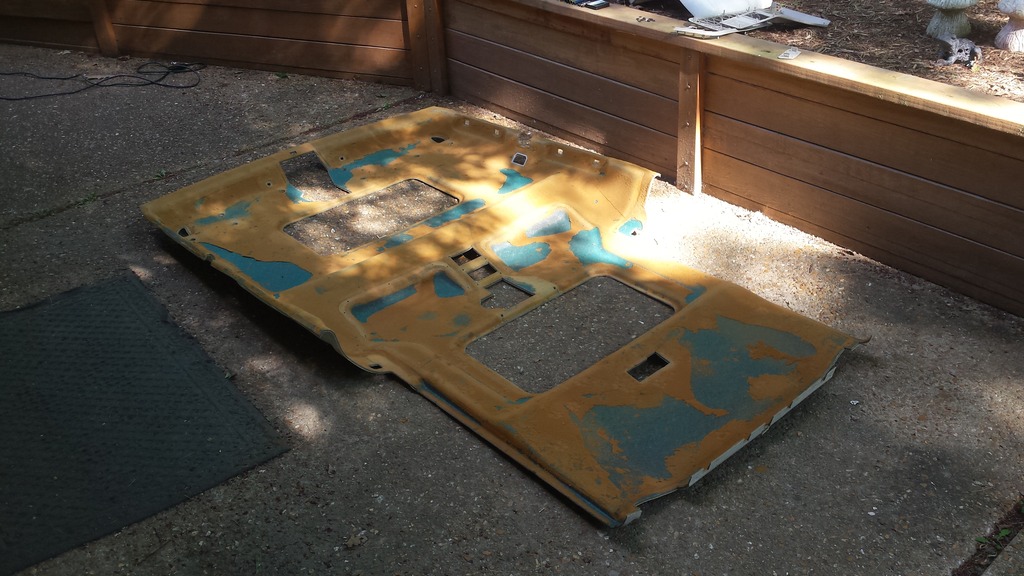
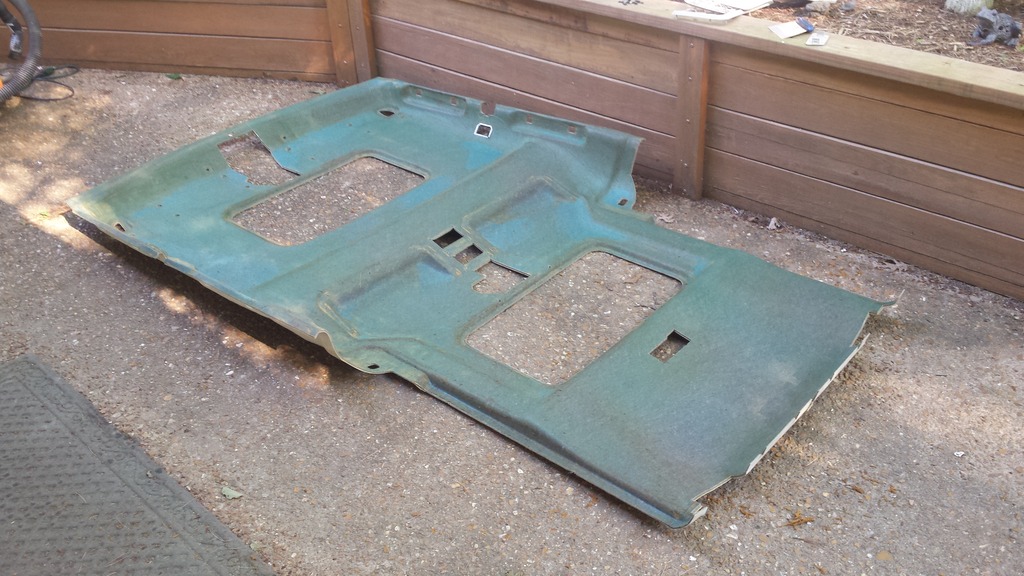
I was also able to help my wife with her project. Funny how this became mostly my project once I started. The headliner has been saggin in this thing since we got it almost two years. I was able to haggle some money due to it since it was supposed to be easy. Well, two years later I'm finally getting to this. The cleaning is done, and the prep work also. Now we have to wait until Tuesday for the new liner to show up. I'm not going to say what that is yet. So you'll have to wait until at least Tuesday.
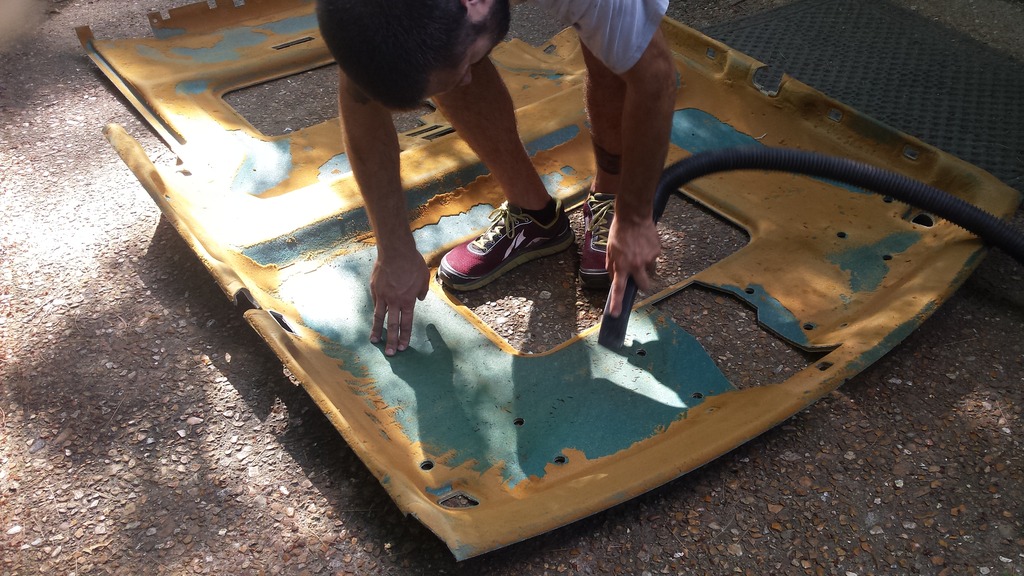
After peeling off the liner, and dealing with the sicky foam.
Using a body putty knife made quick work of the foam, and I used a shopvac to help in the clean up.
All cleaned up, and now waiting the liner.
[
After peeling off the liner, and dealing with the sicky foam.
Using a body putty knife made quick work of the foam, and I used a shopvac to help in the clean up.
All cleaned up, and now waiting the liner.
[

Thread Starter
|
Rock Crawling
Joined: Nov 2014
Posts: 371
Likes: 12
From: Eugene, OR
It wasn't as bad as I thought it was going to be. My wife and I got it out in about an hour. Just make sure you don't have anything in the back like a storage system. You'll have to remove that before it'll fit out the back.
