
Pimpin' my ride


Thread Starter
|
Mudding
Joined: Apr 2010
Posts: 125
Likes: 8
From: Montreal
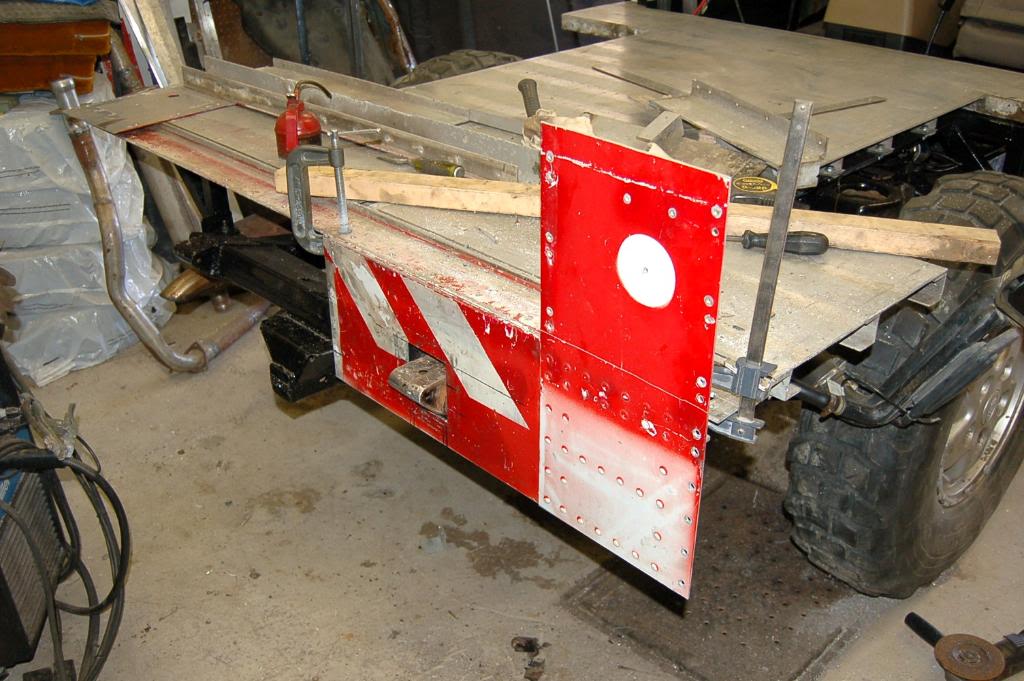
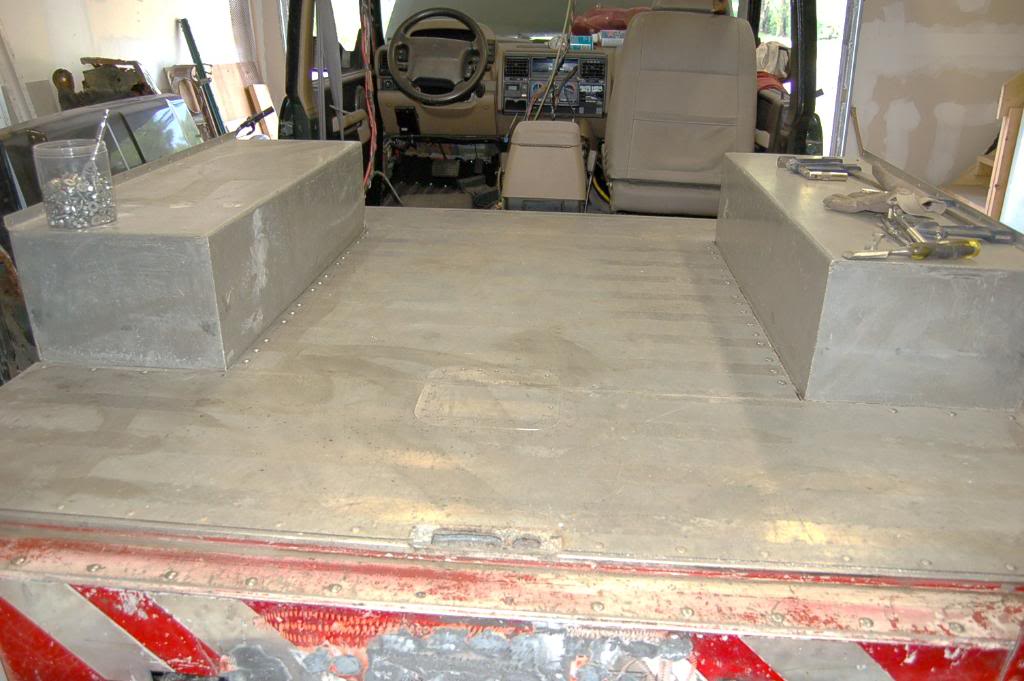
Here I test fitted and redrilled the holes for perfect alignment on the truck.What you see is floor and sub-frame upside down on my driveway...
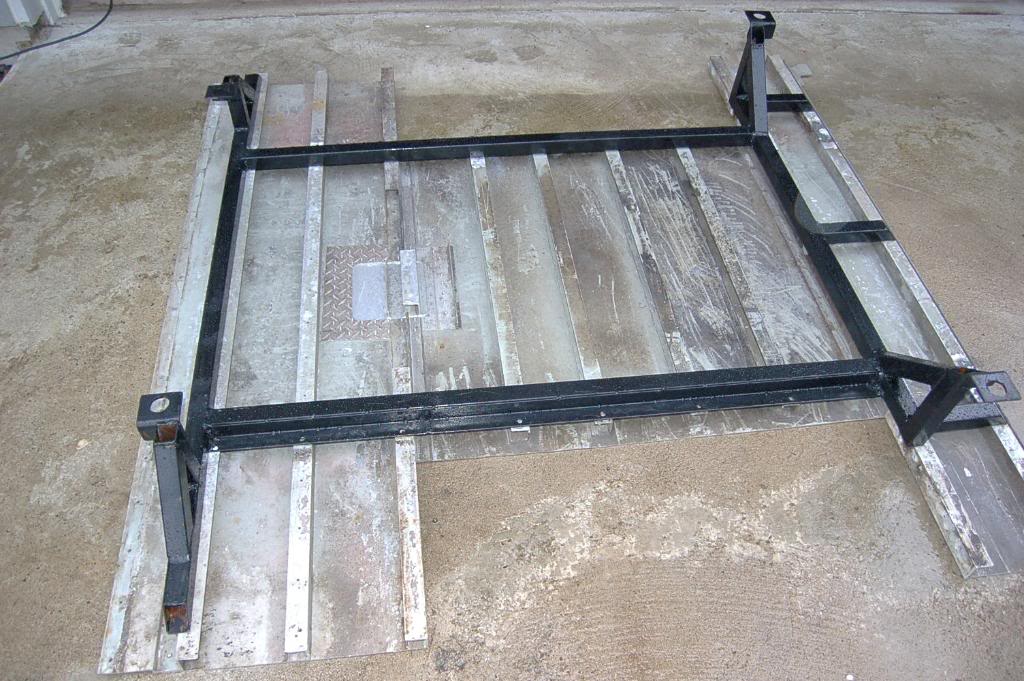
...it was rainy day...
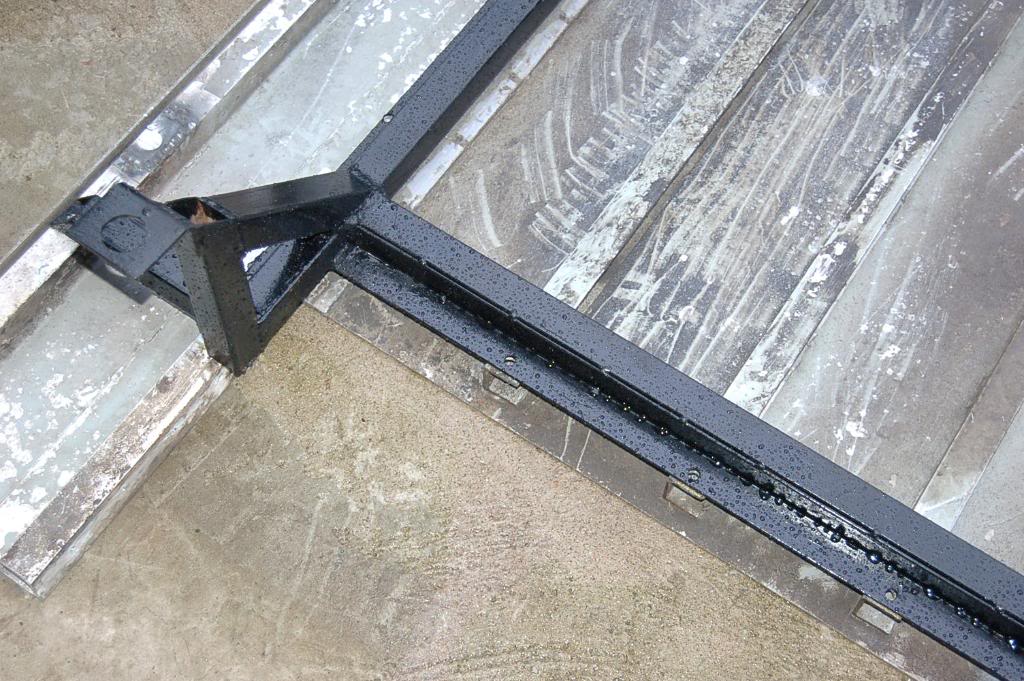
...sub-frame is permanently installed...floor is ready to go on too...
...I cut off brackets for the bumper and left rest for the recovery hooks...
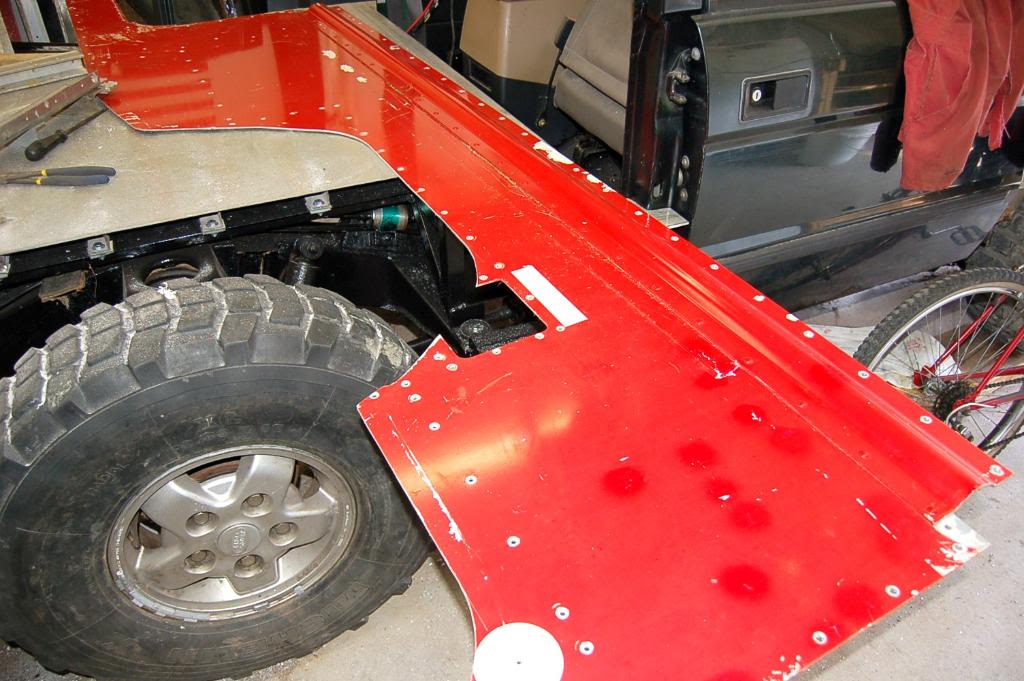
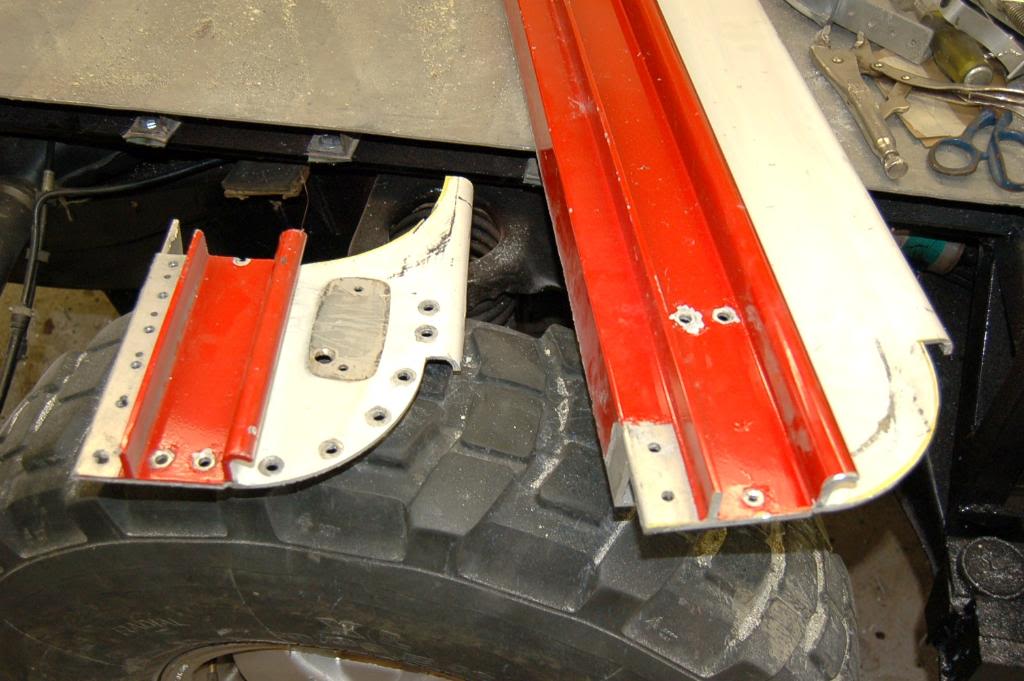
...here is my back skirt I have to trim it , it is too wide ...

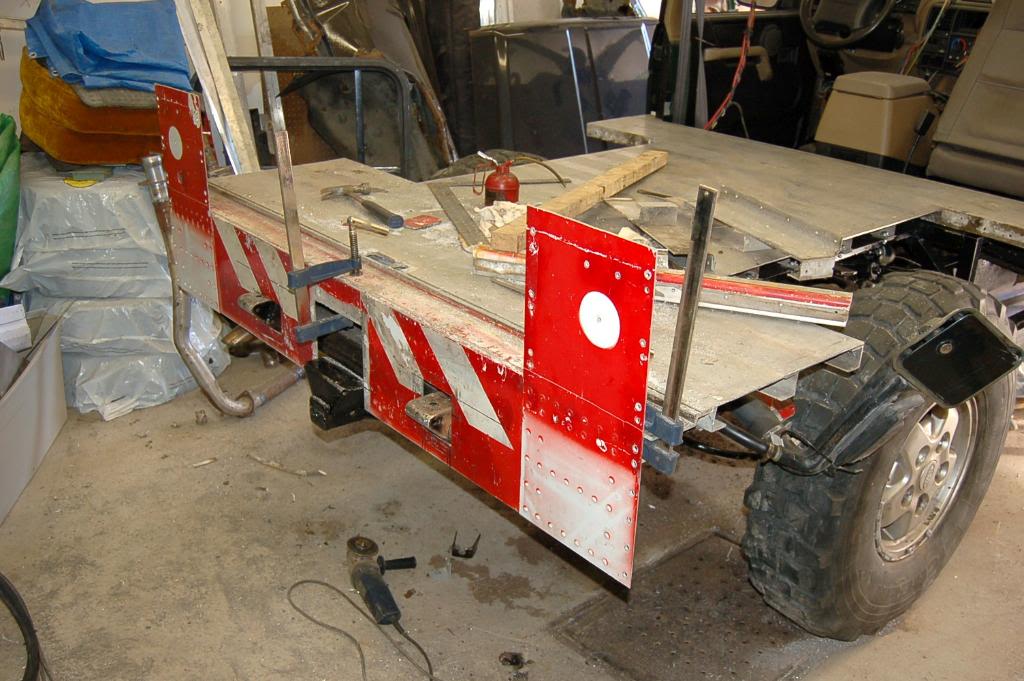
... right side is on the place , test fit...
...both sides are on the place and test fitted , now I just have to weld them together...
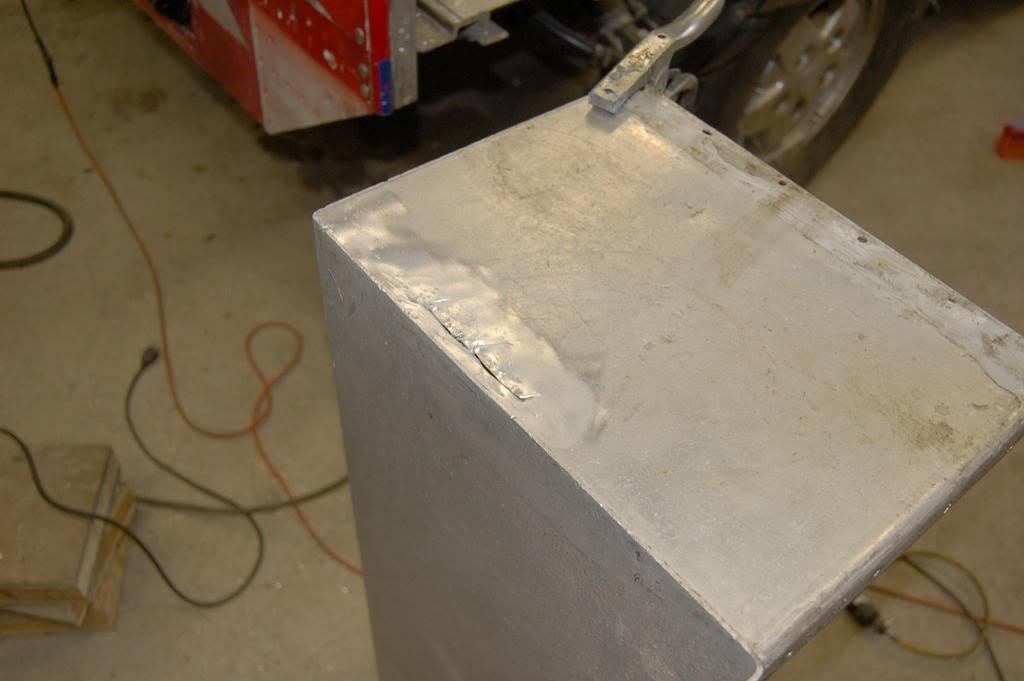
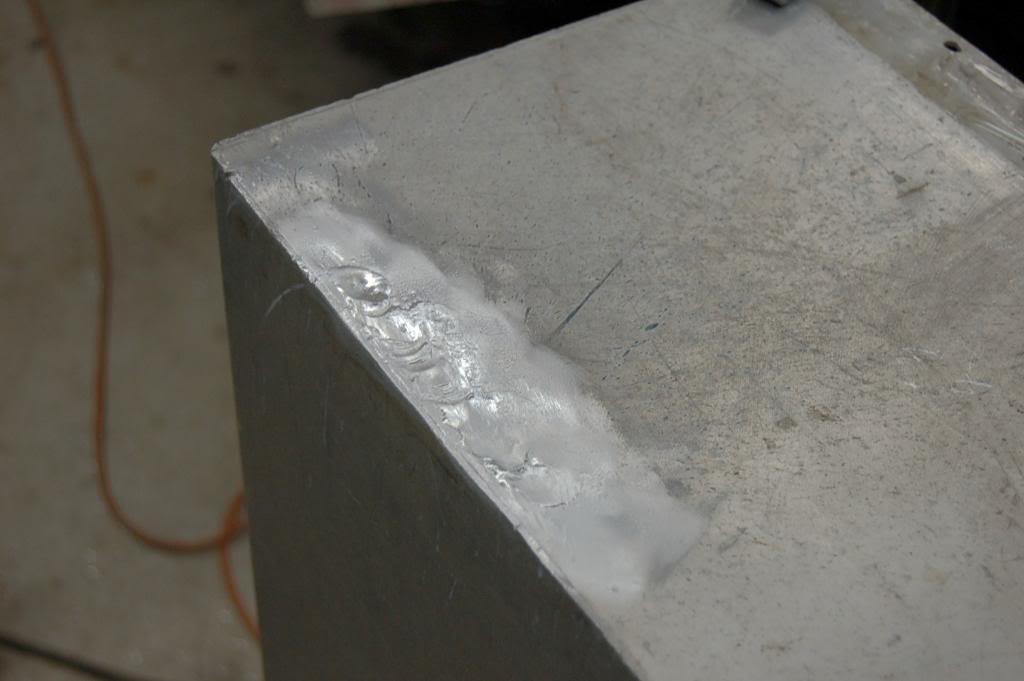
...here is some of the stuff welded ...
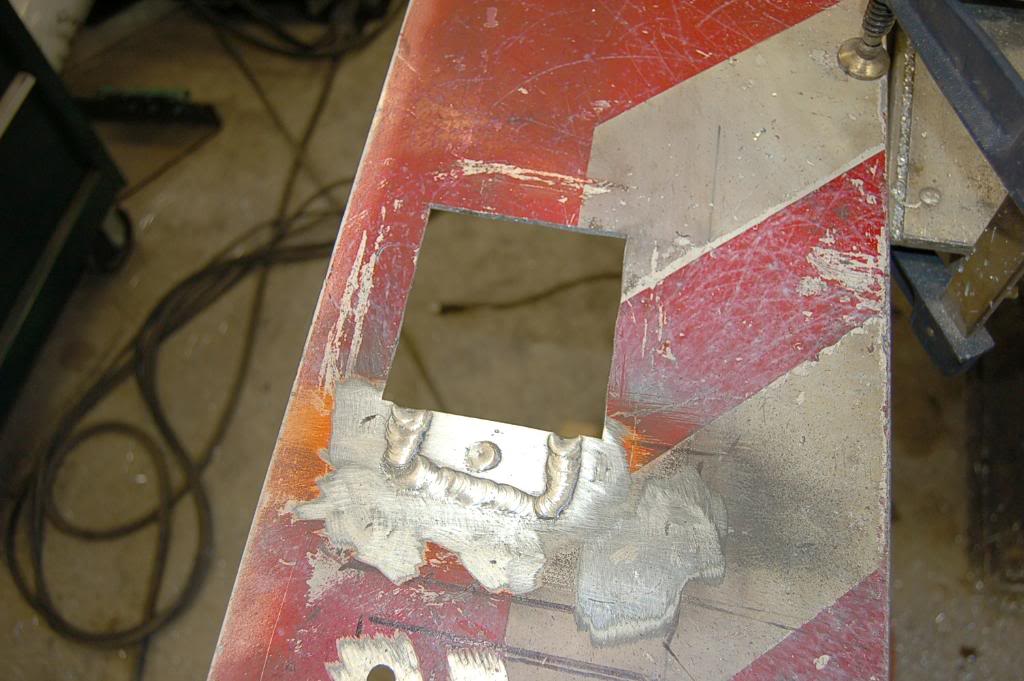
...and grinded flush ...
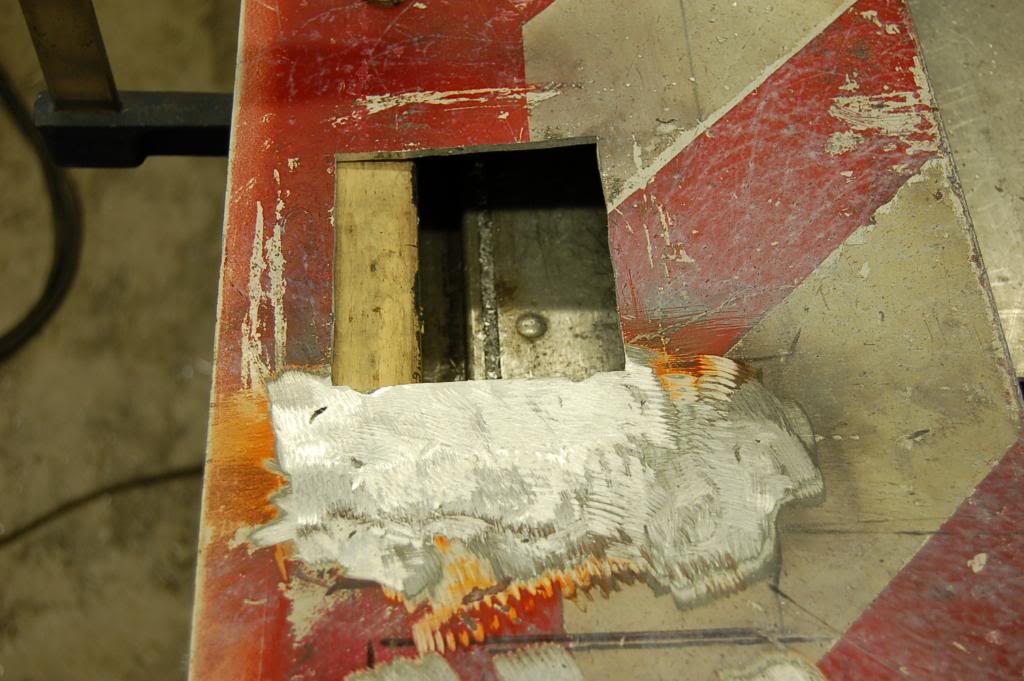
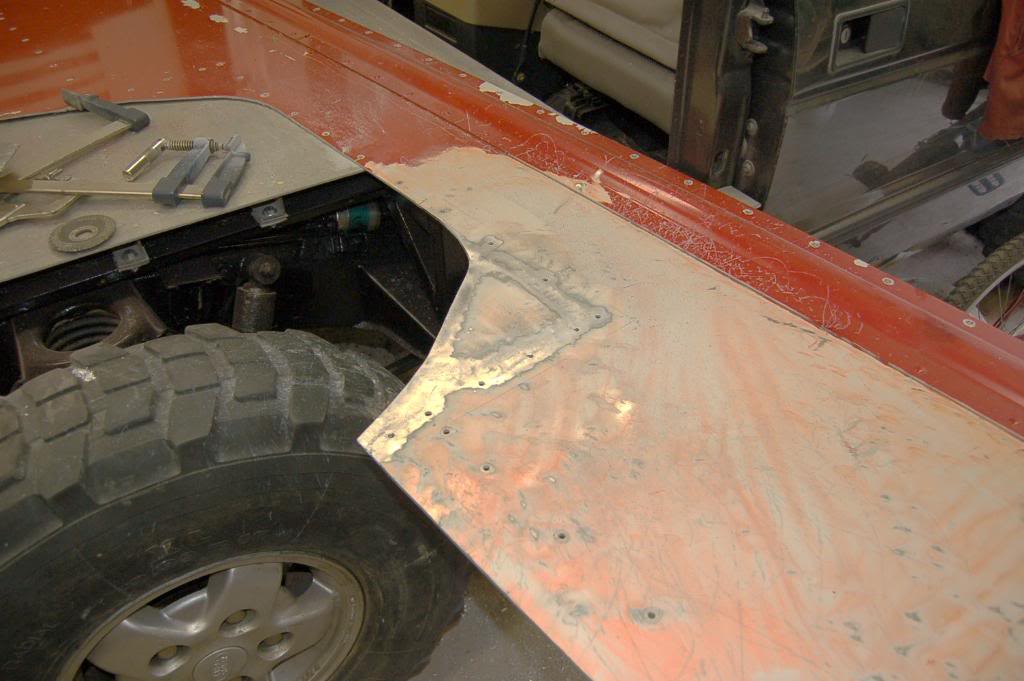
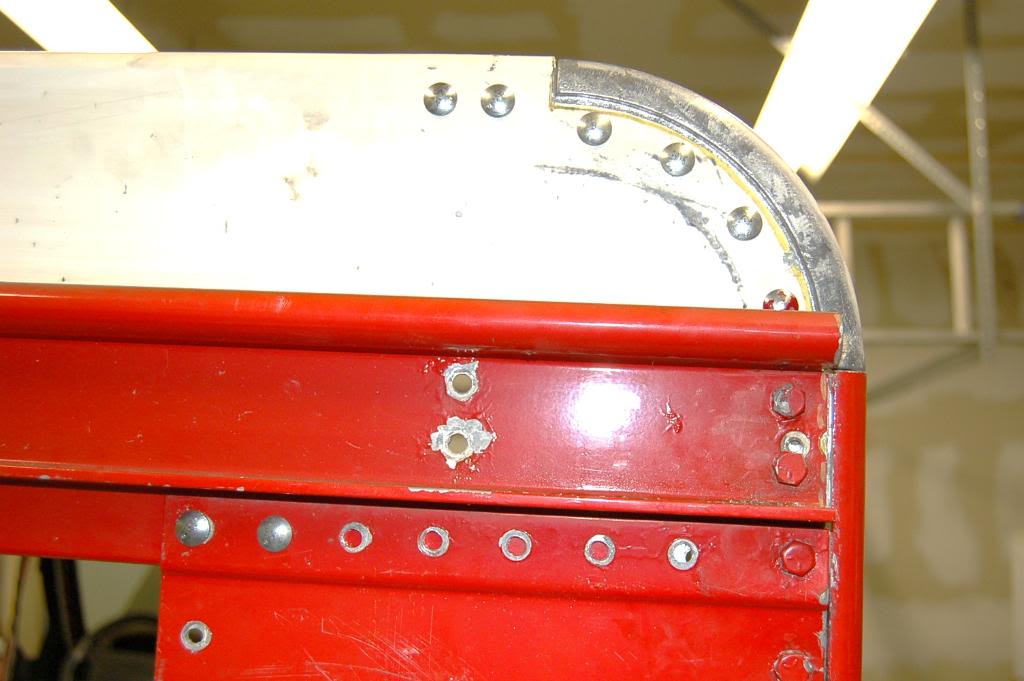
...donor truck have gas door on the left side and Discovery have it on the right side . So I have to weld piece of the aluminum on the skin of the left side and close this opening.I am doing this now before I install inner fenders.Truck bed is perfect working table without inner fenders.More tomorrow...
...it was rainy day...
...sub-frame is permanently installed...floor is ready to go on too...
...I cut off brackets for the bumper and left rest for the recovery hooks...
...here is my back skirt I have to trim it , it is too wide ...
... right side is on the place , test fit...
...both sides are on the place and test fitted , now I just have to weld them together...
...here is some of the stuff welded ...
...and grinded flush ...
...donor truck have gas door on the left side and Discovery have it on the right side . So I have to weld piece of the aluminum on the skin of the left side and close this opening.I am doing this now before I install inner fenders.Truck bed is perfect working table without inner fenders.More tomorrow...
Thread Starter
|
Mudding
Joined: Apr 2010
Posts: 125
Likes: 8
From: Montreal
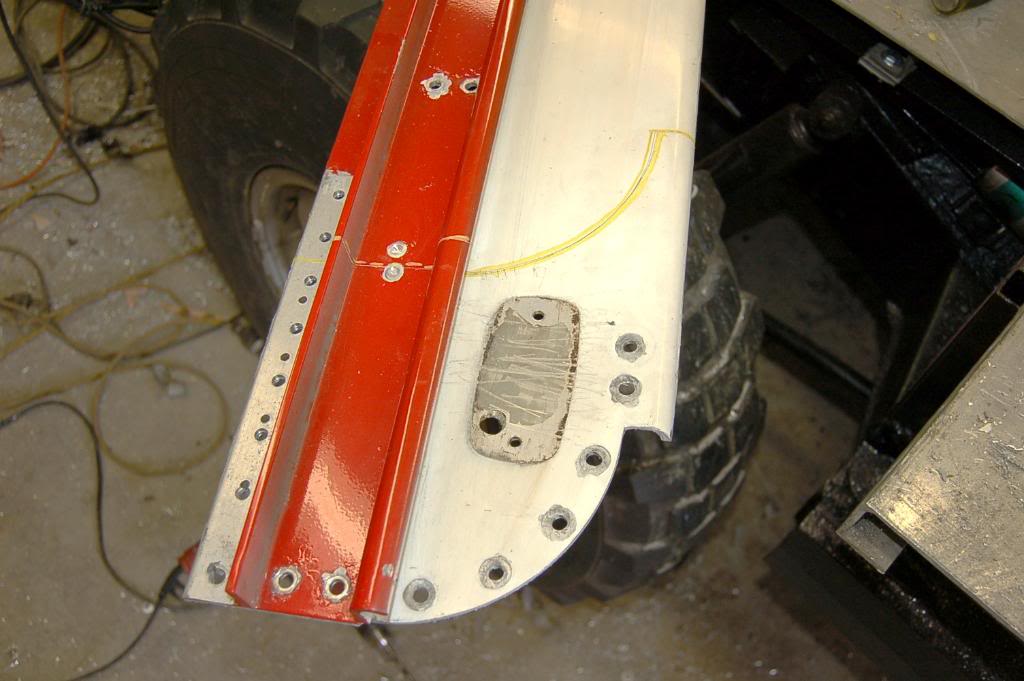
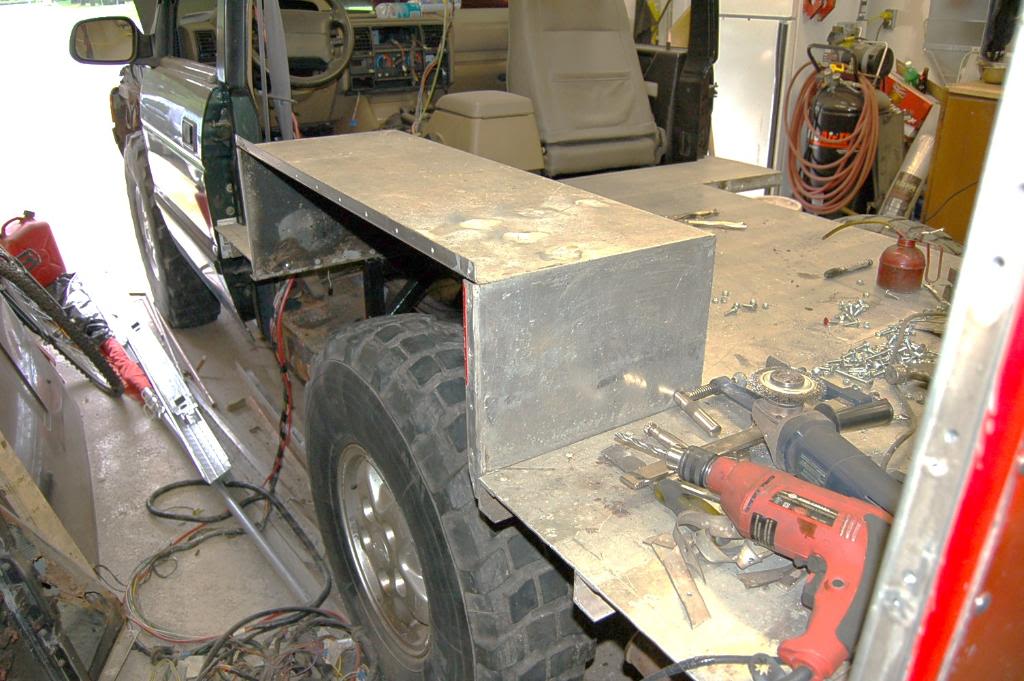
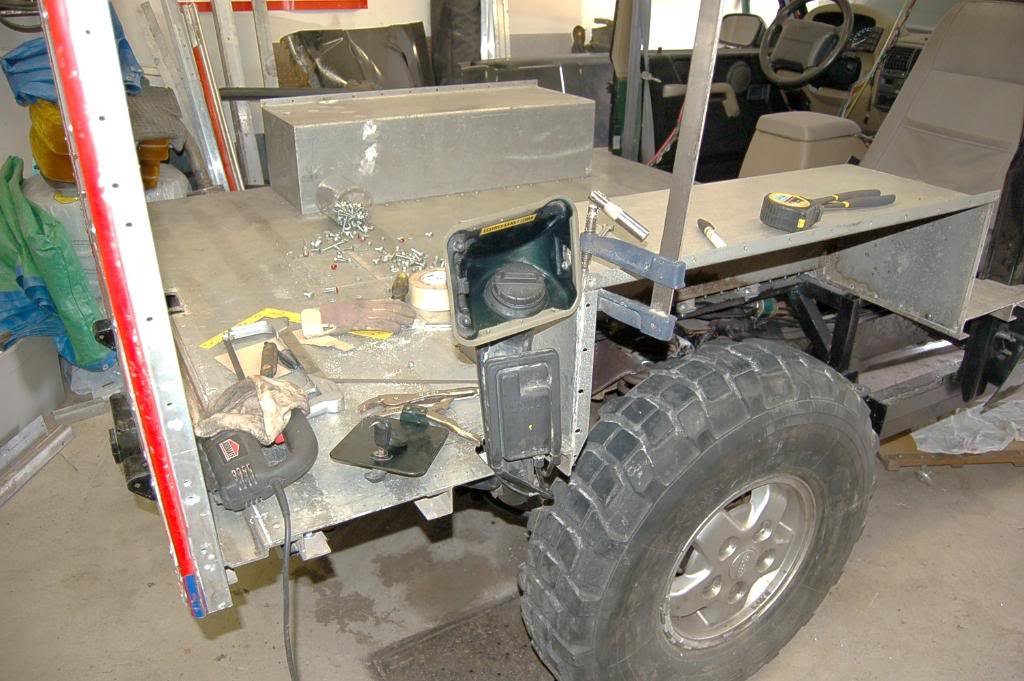
Thanks Greg , this is what I did today.So , I finished that side panel repair and put it aside ...
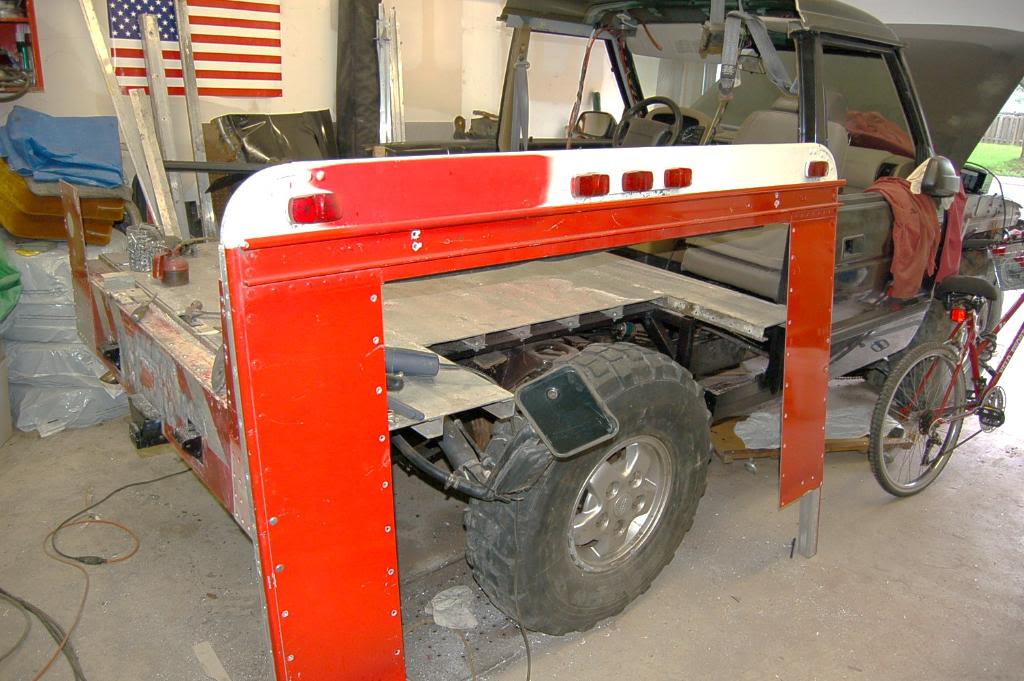
...I started with rear end trimming and fitting .First thing I removed those position lights , I think I will keep them they look cool.
... then I had to trim top part , it was too wide...
Done.
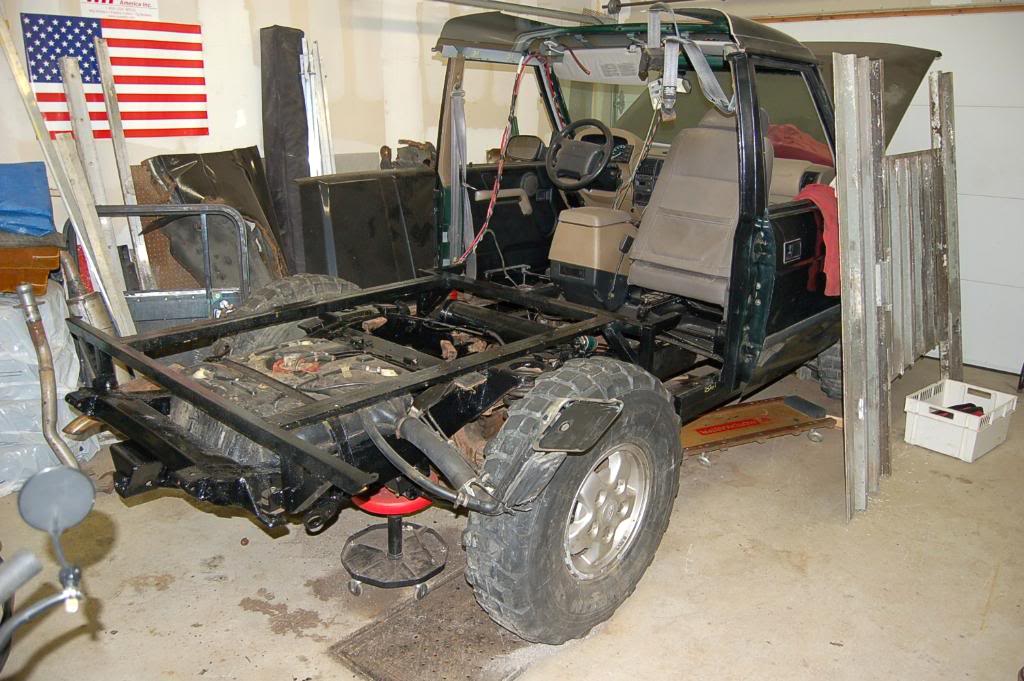
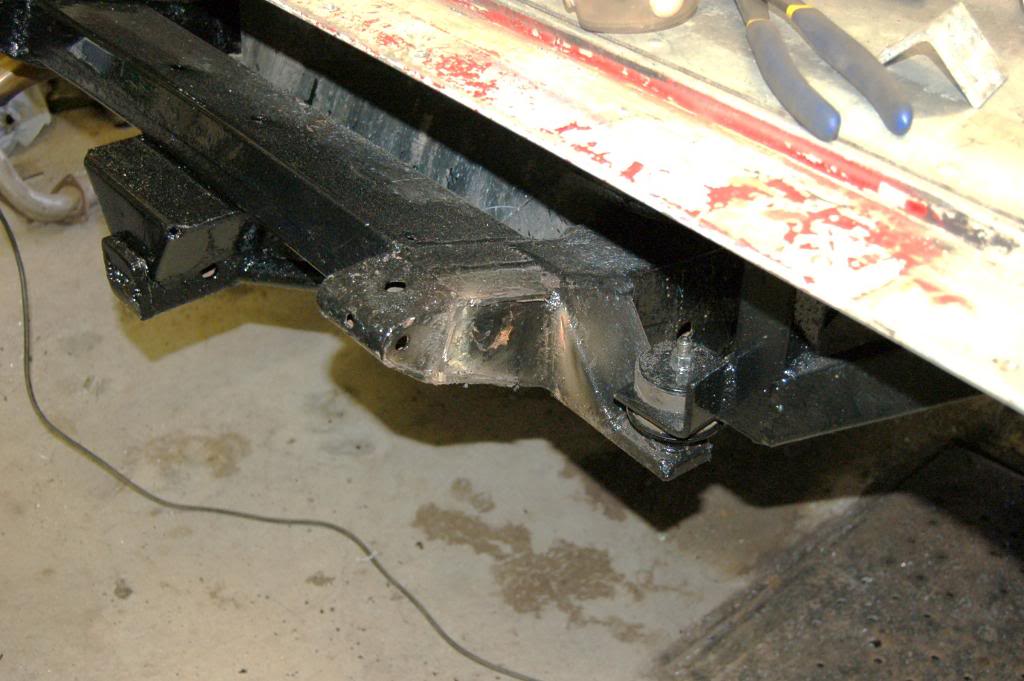
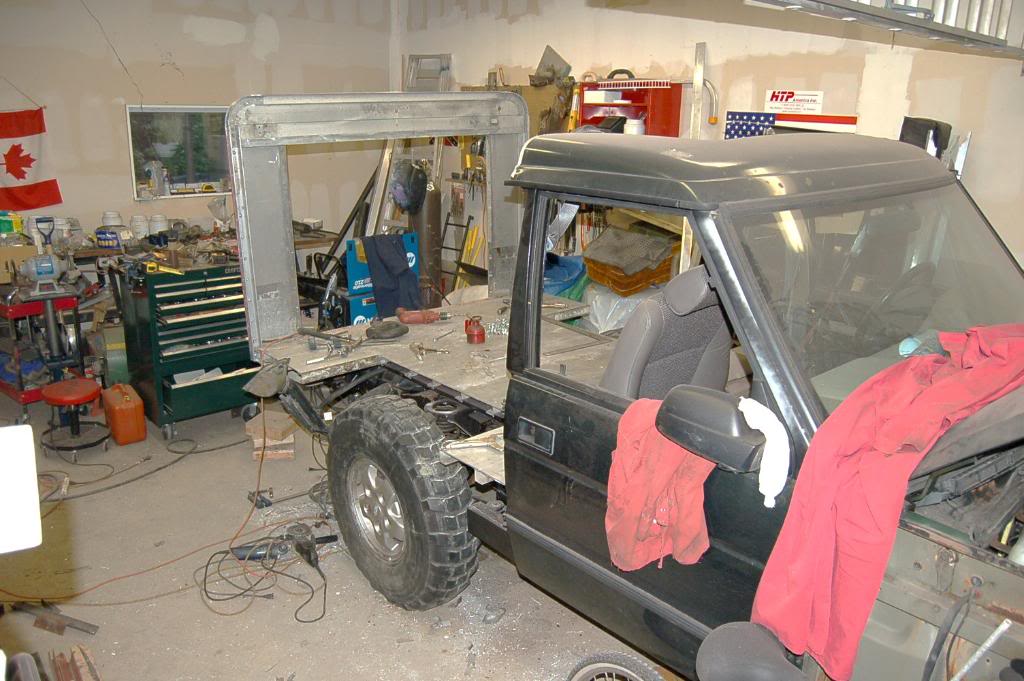
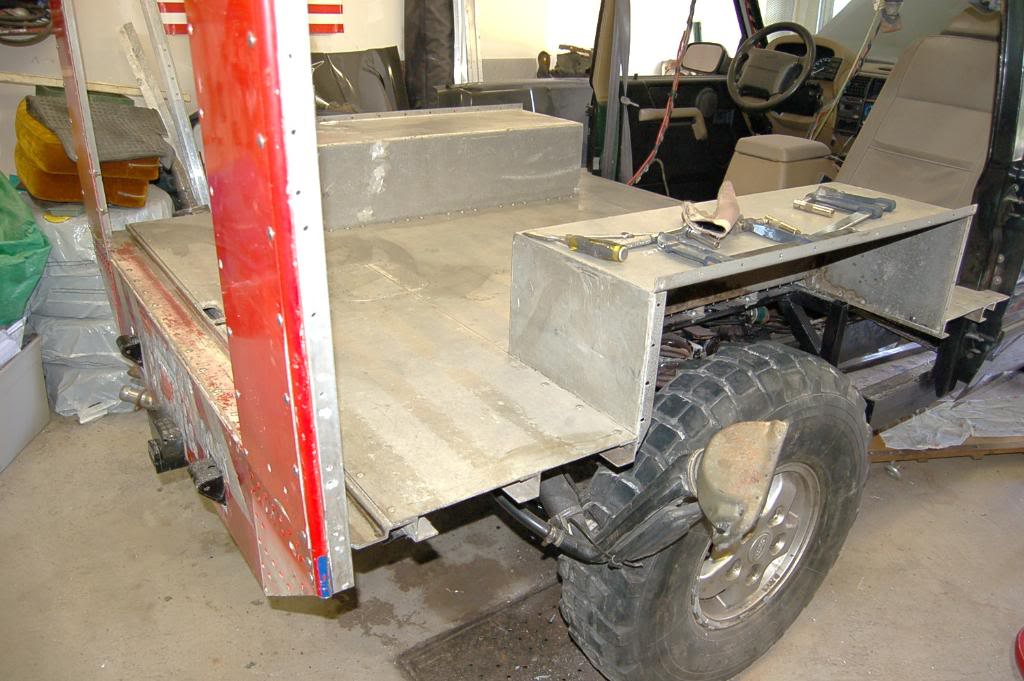
I started to bolt rear end in the final position...
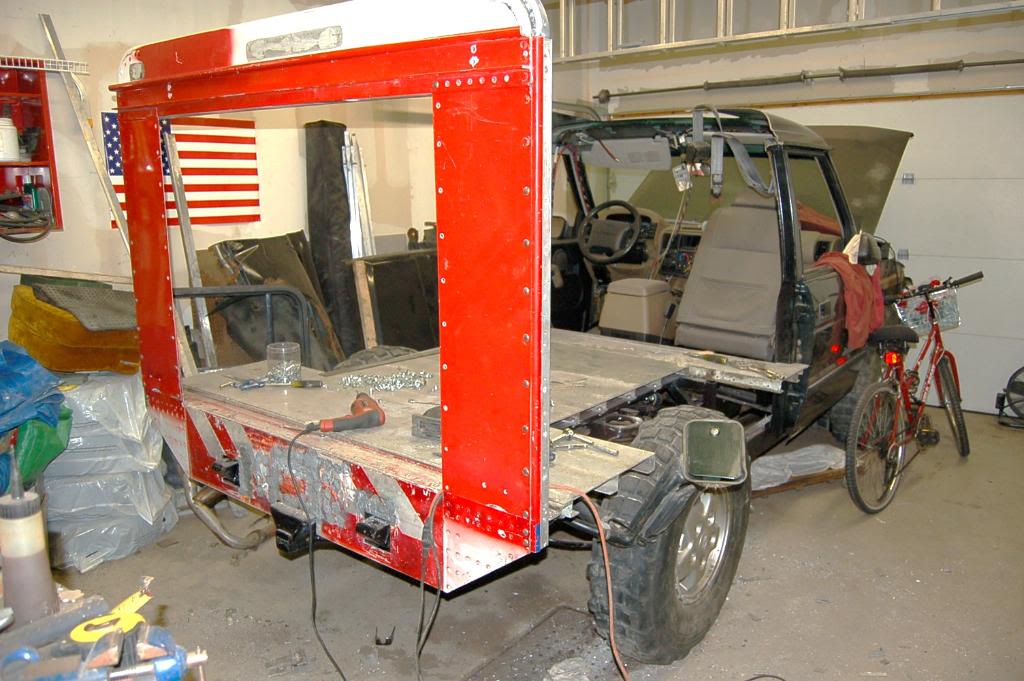
...this is view from the front...
...now my job is to bolt everything together with nuts and bolts , somebody asked me before why so many nuts , answer is I don't know , I didn't invent this truck , this is design of my donor truck.Rivets nuts and bolts.I love it , to me it is like big Lego play.If somebody would make it as a kit I am sure people would buy them.
...I started with rear end trimming and fitting .First thing I removed those position lights , I think I will keep them they look cool.
... then I had to trim top part , it was too wide...
Done.
I started to bolt rear end in the final position...
...this is view from the front...
...now my job is to bolt everything together with nuts and bolts , somebody asked me before why so many nuts , answer is I don't know , I didn't invent this truck , this is design of my donor truck.Rivets nuts and bolts.I love it , to me it is like big Lego play.If somebody would make it as a kit I am sure people would buy them.

Winching
Joined: Mar 2010
Posts: 749
Likes: 4
From: Briar, TX
Its hard to tell from the angle of the "from the front" pic but is the rear the same height as the remaining part of the DI cab or are you going to go with an elevation change in the roof line? And what are your plans with the old sun roof area? Are you putting it back in later or sealing that area up?


Winching
Joined: Jul 2006
Posts: 739
Likes: 5
From: west of chicago
Its hard to tell from the angle of the "from the front" pic but is the rear the same height as the remaining part of the DI cab or are you going to go with an elevation change in the roof line? And what are your plans with the old sun roof area? Are you putting it back in later or sealing that area up?
DM, ya beat me to it.
A&M, are those stainless bolts? (stainless works with anything)
If they're standard zinc plated, they may contribute to corrosion of the alum, unles you isolate with something like rubber/plastic washers, although craploads of paint on the alum will help.
NICE
luck,greg
Thread Starter
|
Mudding
Joined: Apr 2010
Posts: 125
Likes: 8
From: Montreal
Mamajama is 81 inch tall on the back .Height of the roof at the door 75 inch so it is definitely going to be elevation like on the Defender.While measuring , I checked height of the garage door , it is 83 inch so no problem to exit with mamajama .And as i set my mind now , no roof windows or openings , I have one piece of aluminum for whole roof no splices. And some bolts are stainless , some are just zinc plated lot of bolts are reused from original donor truck. And after 25 years of heavy duty service there was just surface rust nothing major.

Baja
Joined: Mar 2010
Posts: 5,584
Likes: 7
From: Pittsburgh PA suburbs.
WOW. Keep up the good work. You definitely will have a one of a kind Disco. I like the idea of a solid roof, however one friend of mine that had several Disco's now has his first SD and he bitches about how he misses the light and view from the Sunroofs.
Yours may be dark like a cave inside with no rear window, but I do like the concept and the way you are not letting little issues bother you.
Make it as beefy as possible. The new fuel cover panel reminds me of the aircraft I worked on in the Navy. I would go ahead and put a new RN ProLine fuel pump assembly in while you are going thru all that and avoid having to get in there anytime soon.
Also, with the rear end shortened, does that expose the gas tank to any more risk from rear end collision>? I would consider adding a shock/spring mounted rear bumper to help protect that area.
I would like to add a front mounted hydraulic powered ram to mine to use against those asses that cut me off in rush hour traffic. I try to maintain adequate space in front of me and these idiots insist on passing to tightly, cutting me off then hitting their brakes to avoid the car in front of me. I wish I could just hit a switch and clip them with the front bumper.
You will have a unique vehicle when you finish. Keep us posted.

 Another Disco lives again, Simply awesome creativity and work. What are your plans for the interior. I am following this thread with great interest.