Replacing Camshaft
#91
 04-16-2012, 10:09 AM

Recovery Vehicle
I just read your post about this on another thread and read about the product on their webpage. Good to know and I will follow exactly.
My products of the week will be Marvel Mystery Oil and Permatex Right Stuff
Hate my oil pan drip. Gonna ask you probably about those other repairs later.
My products of the week will be Marvel Mystery Oil and Permatex Right Stuff
Hate my oil pan drip. Gonna ask you probably about those other repairs later.
#92
04-16-2012, 02:04 PM

Baja
Join Date: Mar 2010
Location: Pittsburgh PA suburbs.
Posts: 5,584
Likes: 0
Received 7 Likes
on
7 Posts
Slang,
I am going to play the Devil's advocate here and ask a few pertinent questions regarding the oil pan re-installation. This may help several of us in the future since we all have a variety of backgrounds and experience levels. Please bear with me.
1. Prior to putting it back on, did you ue a straight-edge or any similar method to make sure the sealing surface was true (flat)?
2. When tightening the bolts, what pattern did you use to ensure the pan seated squarely?
3. You mentioned you do not have any kind of torque wrench, how did you decide how tight was tight enough?
4. After running the engine, did you go back and snug down the bolts?
5. If it is still leaking, is it all around the periphery of the cover or does it appear to be isolated to any specific point on the cover?
6. last of all, does the pan look like it has been banged around or was it in good shape?
I will be dropping mine at some later point, I was crawling around under it Sunday checking for leaks, so far mine is still looking pretty good, but I have not had it off yet.
I am pulling for you, you need some good results with it my friend.
#93
04-16-2012, 02:48 PM

Join Date: Aug 2009
Location: Golden, CO
Posts: 851
Likes: 0
Received 0 Likes
on
0 Posts
Back at it today.
Installed the intake.
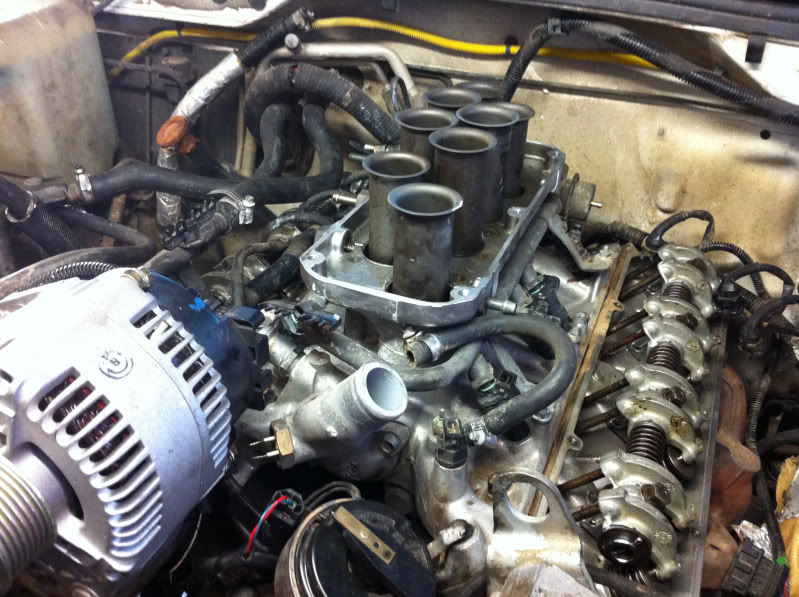
Got on a roll, installed rocker covers, upper intake, hoses (vacuum, fuel, evap and coolant), cap and wires.
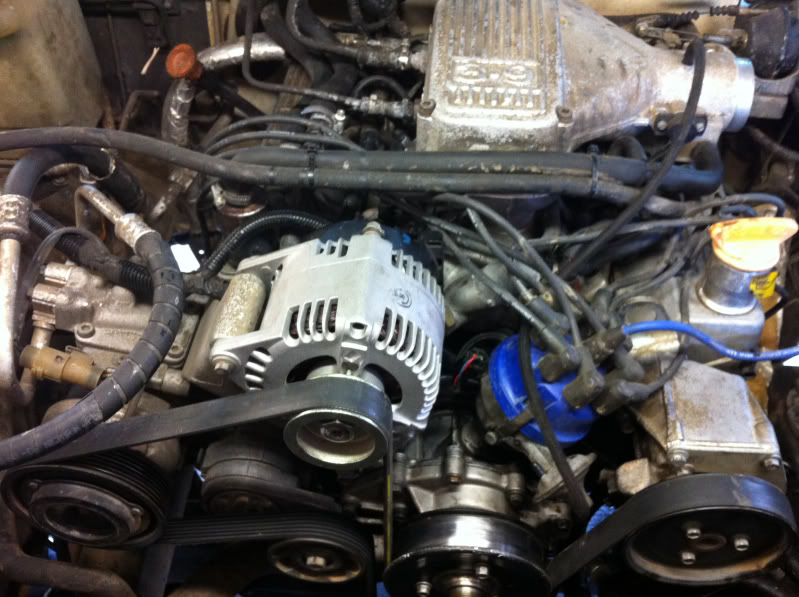
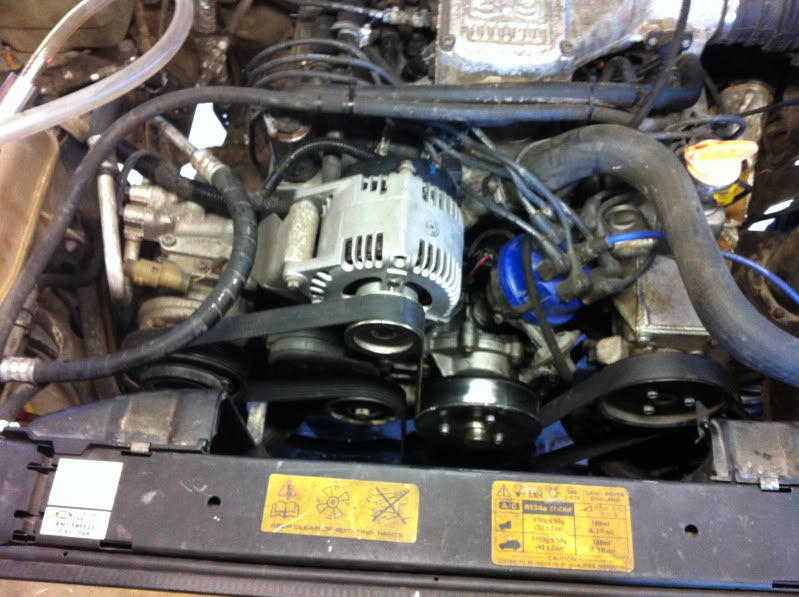
Installed serp tensioner and belt.

To finish up this afternoon, I am installing the radiator, shroud and waiting on the fan for access to the crank bolt, plan in feeding oil into the radiator access to the oil pump and cranking manually to build up the prime.
Installed the intake.
Got on a roll, installed rocker covers, upper intake, hoses (vacuum, fuel, evap and coolant), cap and wires.
Installed serp tensioner and belt.
To finish up this afternoon, I am installing the radiator, shroud and waiting on the fan for access to the crank bolt, plan in feeding oil into the radiator access to the oil pump and cranking manually to build up the prime.
#94
04-16-2012, 02:49 PM

Pro Wrench
Danny....
I was asking about his procedure and if he used anything else other than the gasket, like Jake suggested Right Stuff.
My pan has leaked since I brought it back from the independent rover guy here. We tightened it up a little but still leaks. When we put it back well use Right Stuff. I still need to figure out what I'm going to do with my tick.
But I can tell you:
-doesn't look banged
-leaking around seam, different spots prob drips at lowest point.
-leaks at the filter. im ordering new washers
-probably leaking on hose connections too
I've barely done anything by myself...yet.

#97
04-16-2012, 08:59 PM
Baja
Join Date: Mar 2010
Location: Pittsburgh PA suburbs.
Posts: 5,584
Likes: 0
Received 7 Likes
on
7 Posts
We all learn as we go. The important thing is to understand that when you are tightening something like that, the pattern is important to ensure proper seating.
Also with the cork gaskets, getting it tight without overtightening and crushing the gasket. Surface flatness and lack of surface scratches or dents is also critical.
Just wanted you to be aware of that.
Also with the cork gaskets, getting it tight without overtightening and crushing the gasket. Surface flatness and lack of surface scratches or dents is also critical.
Just wanted you to be aware of that.
#98
04-16-2012, 09:31 PM
Join Date: Aug 2009
Location: Golden, CO
Posts: 851
Likes: 0
Received 0 Likes
on
0 Posts


#99
04-16-2012, 10:00 PM
Recovery Vehicle


#100
04-16-2012, 10:09 PM
Join Date: Aug 2009
Location: Golden, CO
Posts: 851
Likes: 0
Received 0 Likes
on
0 Posts
