
Replacing Camshaft
#71
 04-13-2012, 12:24 PM


Winching
#73
04-13-2012, 01:51 PM

Join Date: Aug 2009
Location: Golden, CO
Posts: 851
Likes: 0
Received 0 Likes
on
0 Posts
I did a lot of reading on lrrforums and discoweb which is where I came across D&D.
For the record mine started only when warm. Came and went randomly. Became constant after 5k miles. If you are getting the noise only when warm you are probably headed in the same direction.
Last edited by ColoDisco; 04-13-2012 at 01:54 PM.
#74
04-13-2012, 02:34 PM
Join Date: Aug 2009
Location: Golden, CO
Posts: 851
Likes: 0
Received 0 Likes
on
0 Posts
Midday update:
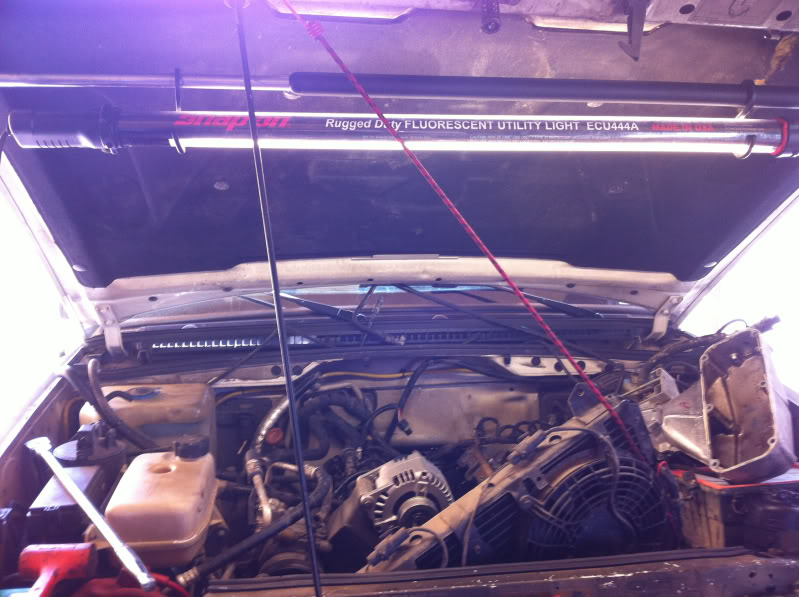
Secured the AC condenser to the hood with a bungee. You do not need to evacuate the system as you only need to move it up about 6 inches.
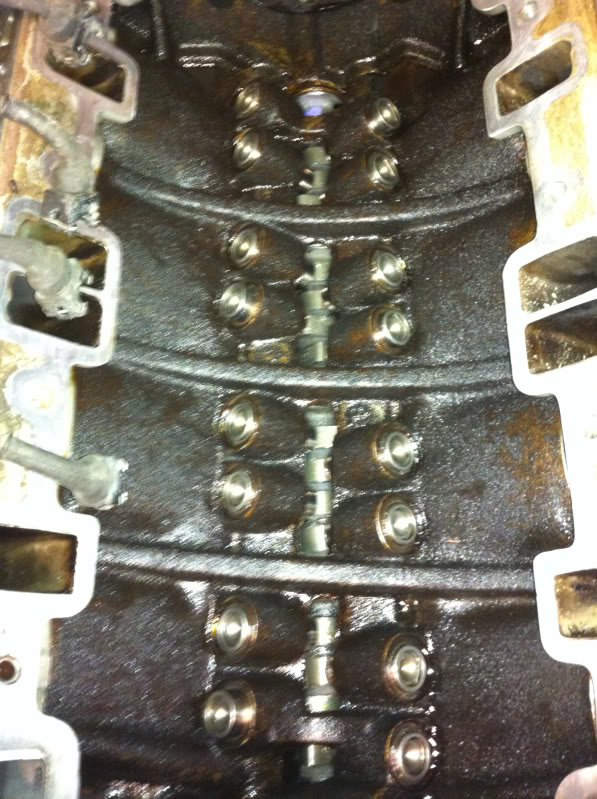
Cam removed:
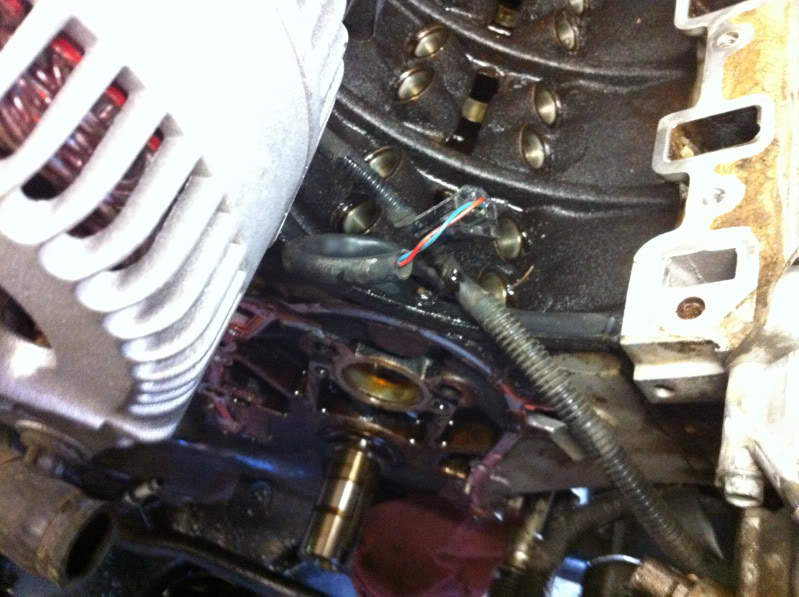
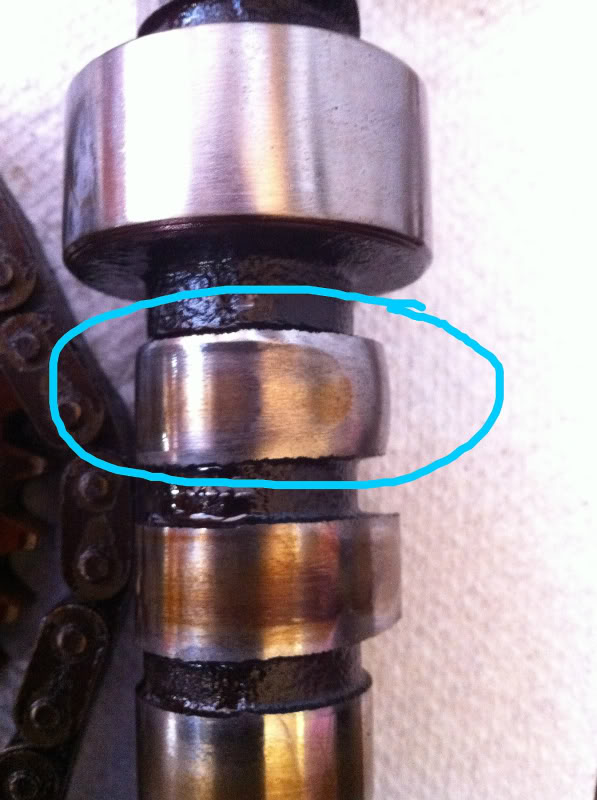
Cam lobe worn down. This is the same lobe as the bad lifter.
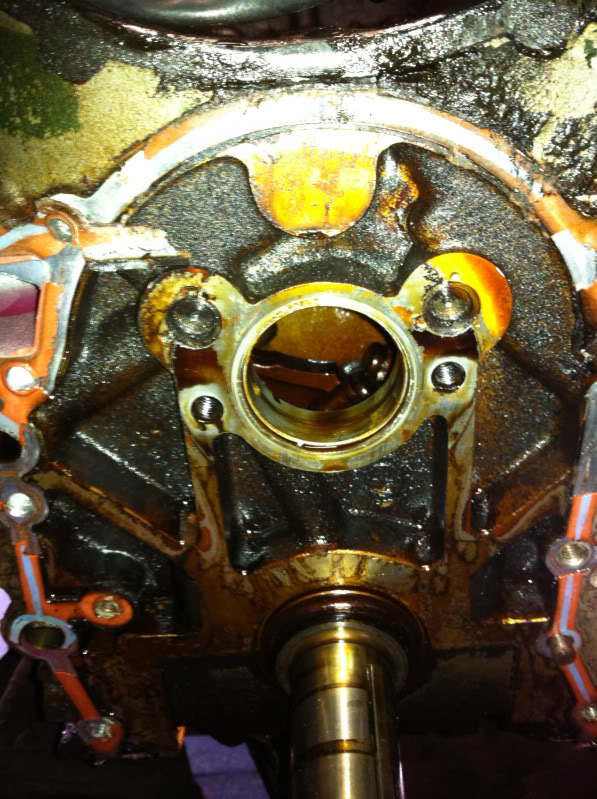
Cleaned up the gasket surface for the timing cover and lubed and installed new cam. Used the break in lube that came with the cam and lifters. The new cam is not machined to allow the retaining plate but per the tech blog it is not necessary. My cover has the stop built into it.
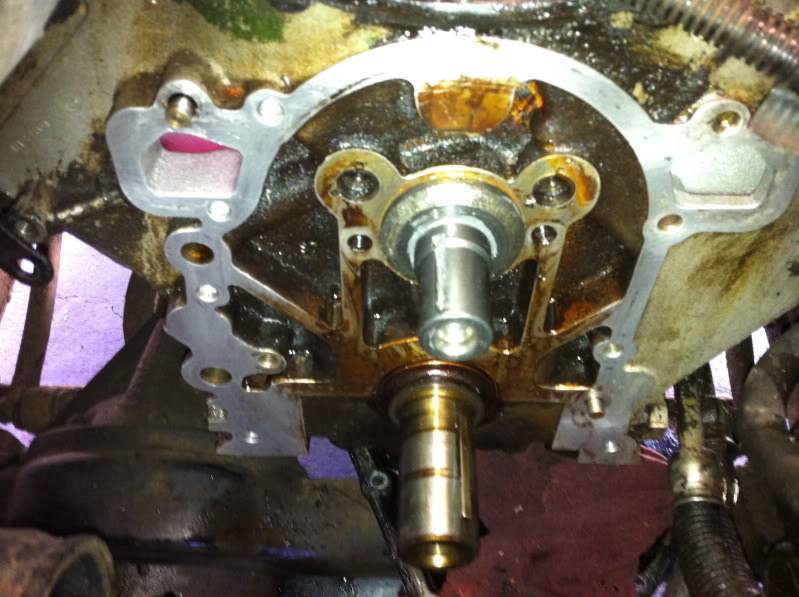
Used the same break in lube on the contact surfaces of the lifters/tappets. installed accordingly.
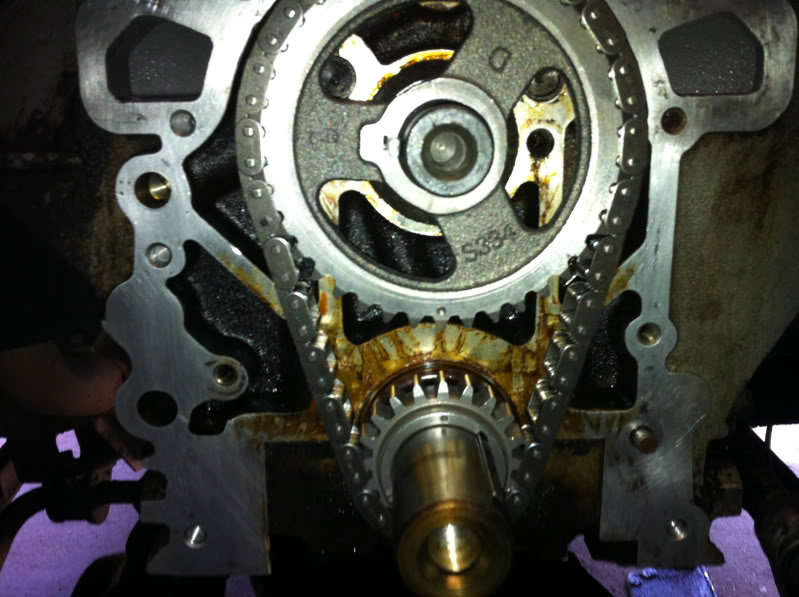
Attached gears one at a time and set timing marks. Removed them and set them in the chain so the matching marks aligned. Slid gears and chain on.
For this afternoon continue assembly.
Secured the AC condenser to the hood with a bungee. You do not need to evacuate the system as you only need to move it up about 6 inches.
Cam removed:
Cam lobe worn down. This is the same lobe as the bad lifter.
Cleaned up the gasket surface for the timing cover and lubed and installed new cam. Used the break in lube that came with the cam and lifters. The new cam is not machined to allow the retaining plate but per the tech blog it is not necessary. My cover has the stop built into it.
Used the same break in lube on the contact surfaces of the lifters/tappets. installed accordingly.
Attached gears one at a time and set timing marks. Removed them and set them in the chain so the matching marks aligned. Slid gears and chain on.
For this afternoon continue assembly.
#76
04-13-2012, 05:21 PM

Rock Crawling
#78
04-13-2012, 08:14 PM
Join Date: Aug 2009
Location: Golden, CO
Posts: 851
Likes: 0
Received 0 Likes
on
0 Posts
#79
04-14-2012, 07:42 AM

Pro Wrench
Colo...nice job...watching your progress to probably duplicate. My mechanic says the timing chain is the difficult part to get right. I see you marking stuff but you're totally replacing the chain and cogs. I'm not clear here how you do it. Also, I just did my front cover and chain so maybe my kit is cheaper.
#80
04-14-2012, 10:46 AM
Join Date: Aug 2009
Location: Golden, CO
Posts: 851
Likes: 0
Received 0 Likes
on
0 Posts
I loosened the crank bolt. Set it to TDC. Try to keep it there during disassembly. Only time I moved the timing again was removing the cam bolt. The cam can be moved into alignment by hand. The crank I put the securing bolt in and moved it into alignment. I did not tighten it just snugged it down. A quick jerk to the left it comes loose without moving the timing. The procedure is in the Rave.