When you click on links to various merchants on this site and make a purchase, this can result in this site earning a commission. Affiliate programs and affiliations include, but are not limited to, the eBay Partner Network.
On the docket for today: new hoses, radiator and inline thermostat. Wish me luck!
Probably not what you want to hear, but I'd super advise not installing those URO hoses. I went that route a few summers ago and they started collapsing and disintegrating within a few months. Like, around the clamps, they would literally turn to a schmoo-y goop. OEM LR for those puppies.
We I got everything done. @Brandon318 you were right about the URO hoses were junk. I ended up ditching them and going back to my old ones. I wish I had taken a look at them before I got started. Oh well.
Radiator went in without a hitch. Getting the air out was a pain in the *ss until someone recommended I raise the reservoir up high while filling. Once I did that, things went smooth.
I have to admit, I really thought the inline wouldn't make that much difference but I was driving it around town and it hardly went above 180. Really impressed (thanks @Extinct ) Tomorrow, I will take it on the highway at 75 mph and test it out.
Glad it all worked out! I'm like low key upset that anyone even sells the URO hoses. They're so bad they might as well not even be considered an option.
Keep your eye on the transmission cooler connections. I did the radiator swap and just moving the trans cooler around a little when installing the radiator caused the drivers side connector to fail a few days later. I almost lost the transmission and was surprised I didn't start a fire. I think they are one of those original connections that don't need much jostling to cut loose.
When you install that adaptor in the front cover port be careful and go slow. I did not have any problems but some other dude on the forum cracked the cover installing there.
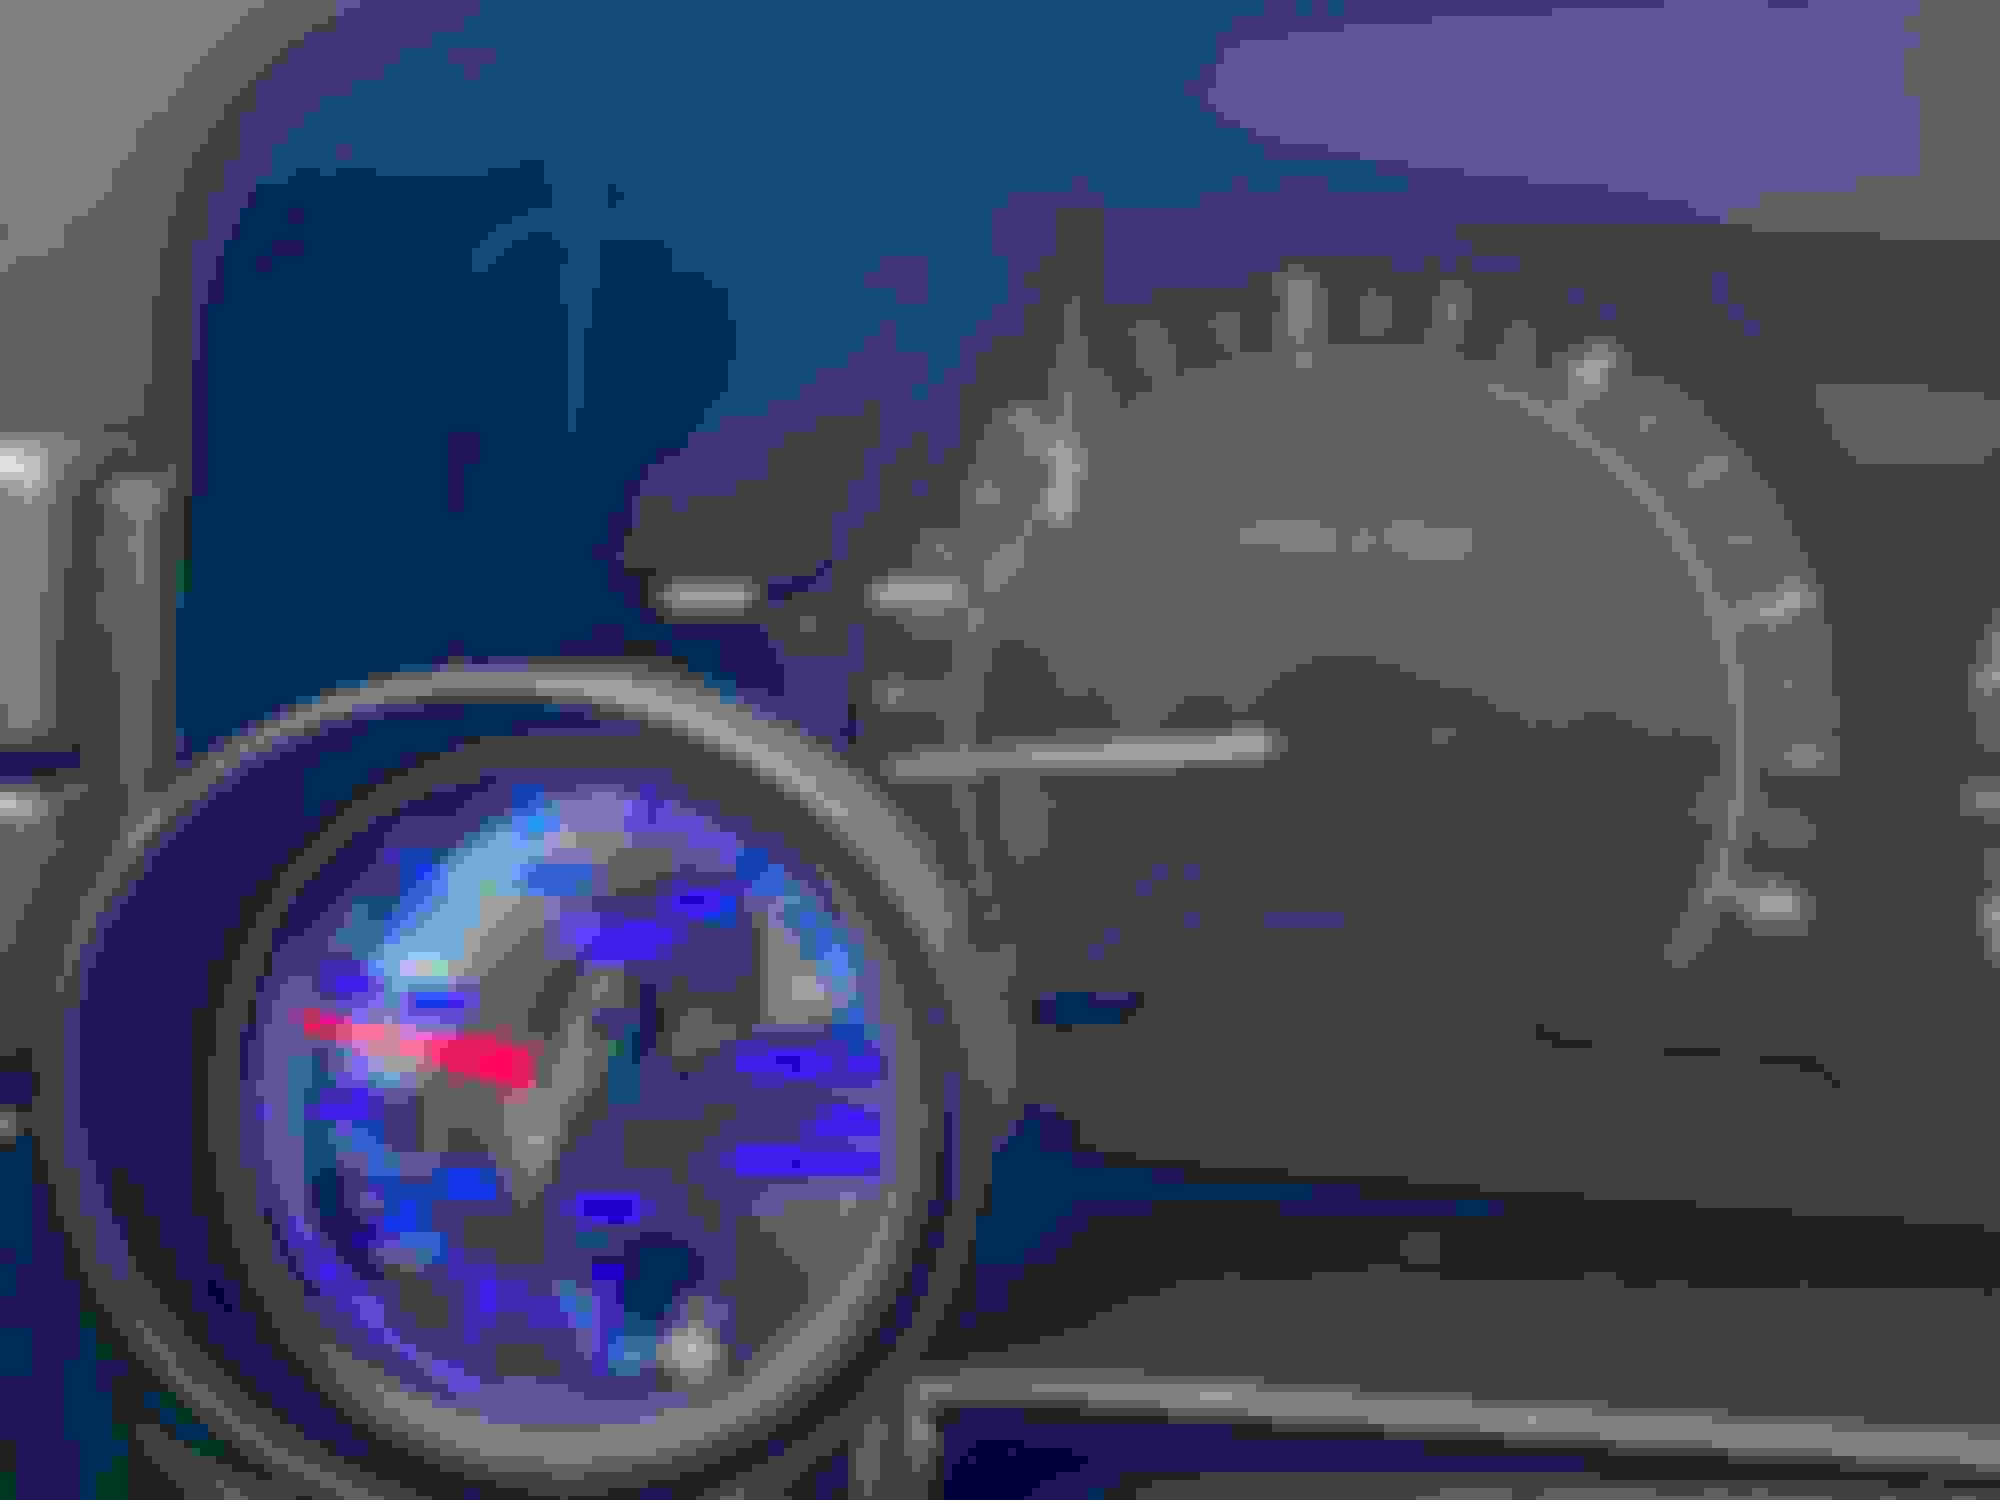
So yesterday I went to get Rotella at Wallyworld and they went completely out. So I grabbed their Supertech heavy duty diesel oil 15w-40 in the 2 gallon jug. I figured it was the same thing. Swapped my oil out then proceeded to install the glowshift oil pressure gauge. Had to make a couple of trips for fuses and �add a circuit� wiring. Lost steam yesterday but finally got it wired up today and mounted with a Velcro tape in front of the useless coolant temp gauge. Oil pressure seemed good. 50 at cold idle. 32 at hot idle. 52 at 2000 rpm�s.
Also finished the clean up of the patch in the cowling. Didn�t turn out as clean as I would have liked but I�ll live with it until I replace the cowling. Where I connected the oil sensor
A couple of odds and ends today. I pulled off the rear bumper again to trim the 1/4 panels which were too long and bowing against the bumper. Also working on resolving some rough idle issues. Pulled and cleaned the MAF then pressurized the exhaust and did a soap test looking for leaks. Looks like the junction of the exhaust manifold and exhaust flange is leaking a bit so I ordered some new gaskets to install next weekend. Lastly the URO radiator hoses I ordered were junk so I am going to try out some silicone ones from viper engineering in the UK. My hope is that I can use their flexible hose to replace the parts and couplers that I had to use when I installed the inline. I�ll post back once I have them installed. Small leak Bigger leak
 01-08-2022, 09:29 AM