When you click on links to various merchants on this site and make a purchase, this can result in this site earning a commission. Affiliate programs and affiliations include, but are not limited to, the eBay Partner Network.
Tracking down some random misfires this evening. Probably bad coils but trying to rule the simple stuff out before I take on that job.
So I decided to pull the plugs, clean them and check the gaps. Found a number of them which were at .050 so I regapped them all to .040. Got a cool device off Amazon that allows me to test the plugs under simulated load. Turned up the dial to 2500 and ran through reach of them before I put them back.
One question: I found oil around the plug holes but only on the drivers side plugs. Leaking valve cover or something else?
Also decided to rewire the rear fog lights/reverse lights since I pulled off the bumper on Sunday. Got them wired up but they wouldn�t light. �Oh well� I thought, �I�ll mess with them later. Now I just want to go for a test drive�. Started her up and she wouldn�t go out of park. Of course I panicked and starting doing research about the xyz switch. A bit more reading and I found fuse #25. It was blown because I miswired the reverse lights. New fuse and I was back in business.
Lesson learned (again) - start with what has changed before jumping to conclusions!
Most of my plugs looked like this Plug tester Oil around plug holes on drivers side
It looks like you have the NGK Iridium plugs I have. I learned the hard way to always check the gap on new spark plugs before installing them.
I found the same .050 gap on the new NGK plugs �after� I installed them.
keep up the good work!
Last edited by JUKE179r; Jan 25, 2022 at 11:32 PM.
It looks like you have the NGK Iridium plugs I have. I learned the hard way�
Thanks for the info. I guess I learned the hard way too! Not sure why I didn�t check them before I installed them. Must have read somewhere that they are �pre-gapped� and believed it.
Got the viper hoses in on Friday and installed them yesterday. Normally this would have been a simple job, but the larger viper hose is really stouts and has a thick wire spiraled through it. I really had to work the ends to make it fit on the flanges. Took my time and got it done. They�re silicone and spiraled hoses so they are a lot more stout and lower cost than OEM. Was able to get rid of the cheap URO hoses and at least one coupler.
i ordered 1 meter of 32mm super flex wire spiral and 1 meter of 19mm super flex wire spiral and 1 60 degree elbow and just cut everything to fit. In retrospect, I should have got the cuffed super flex and I would have had as much trouble, but it worked out in the end.
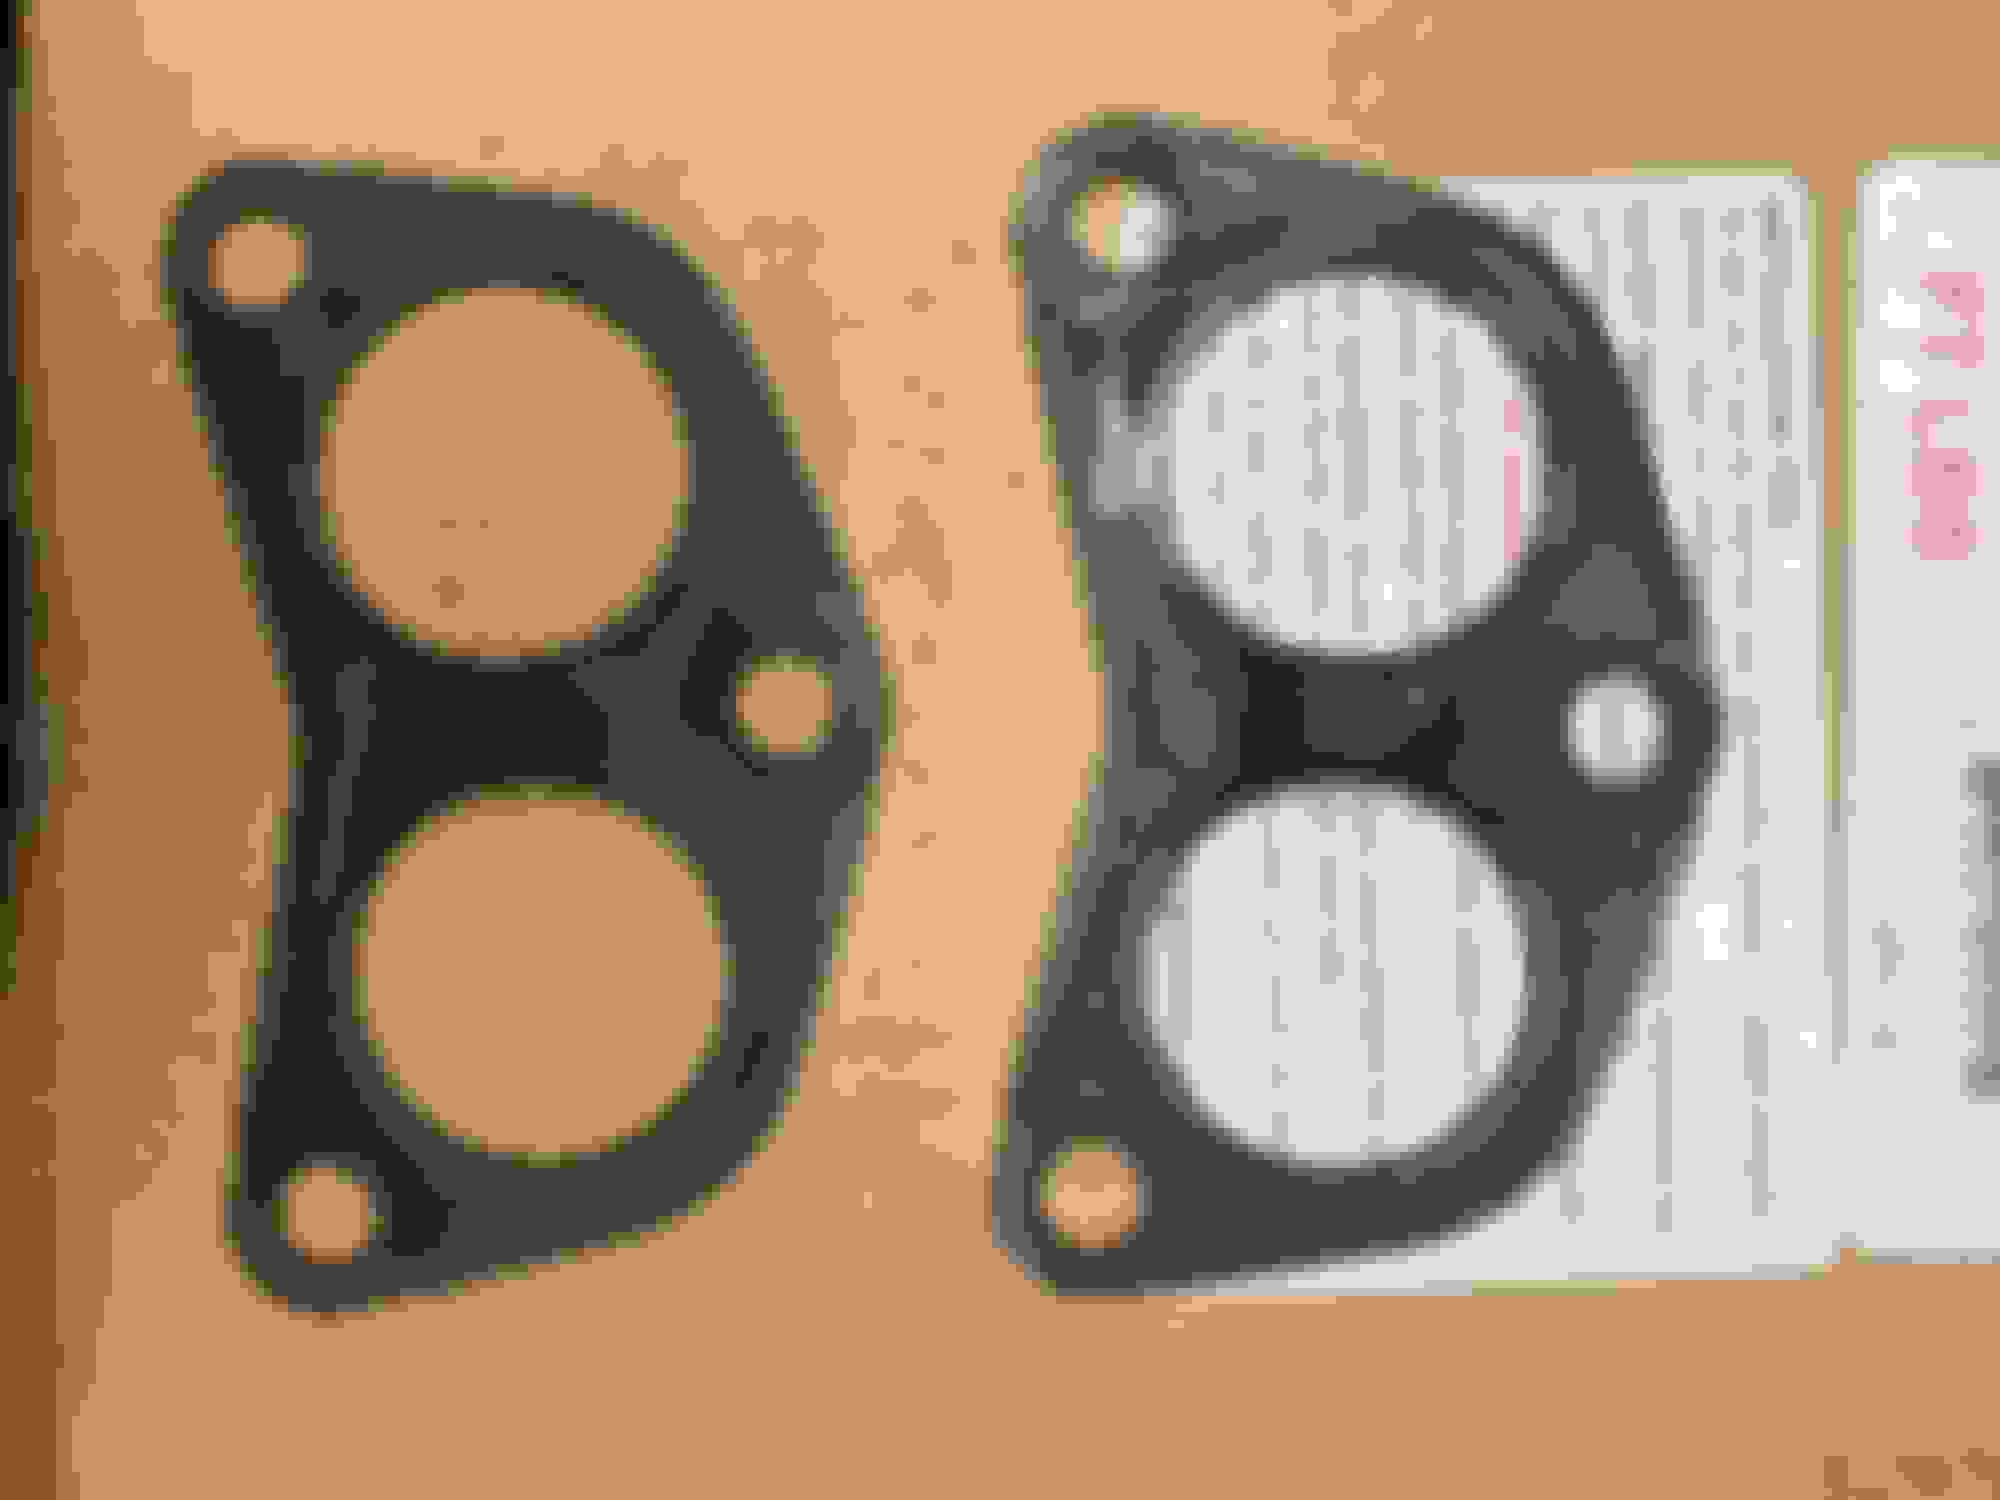
A couple more small projects this evening. Last week I did a soap test on my exhaust and found leaks between the manifold and exhaust. That explains the chug-chug-chug I hear. I finally got the Remflex gaskets in (recommended by @TimInNova ). These things are a lot thicker than factory and the crush down to form a better seal. Took me a while to separate the flanges from the manifold but I eventually got them. The old gaskets were already starting to fall apart so I�m glad I did this. Took it for a test ride after and it was a lot quieter - maybe a bit more power, too.
Also added the under hood lights that were in another post. This will make working on this thing so much easier! Remflex vs OEM Remflex on top - OEM on bottom Lining up the second flange The old gaskets What�s in the KC package
Nothing major to report - just tweaking some stuff while I get ready for the Moab trip. One thing that was kind of irritating though, was the fact that I never could get the steering wheel controls working for the new Boss Audio head unit. So I thought I would tackle that today. I called Crutchfield and it turns out I didn't have it grounded properly and I had missed a wire hookup. Pretty cool though. Now I can control volume plus switch to other interfaces like the tuner as needed.
I can confirm that the following works if you are installing an aftermarket stereo. You need the PAC SWI-CP2 Steering Wheel Control Adapter and you wire it up this way.
Got my new key and programmer from remote key UK. Probably the easiest upgrade I have ever done for my rover. I took all of 5 minutes to program the 2nd key. Highly recommended!
Just replaced front drivers side hub. Pretty straightforward- no major issues to speak of. Cleaned up the splines and mating surface with a wire wheel then added some anti-sieze.
Reused the hub nut. Seemed like it was in good shape.
My front driver�s side is due as well. Been putting it off for a few months while I focused on the head gaskets.
Who did you end up getting the hub from? Prices seem like they�re all over the place, and I�m just not sure whether it�s worth the expense for the high-priced ones.