
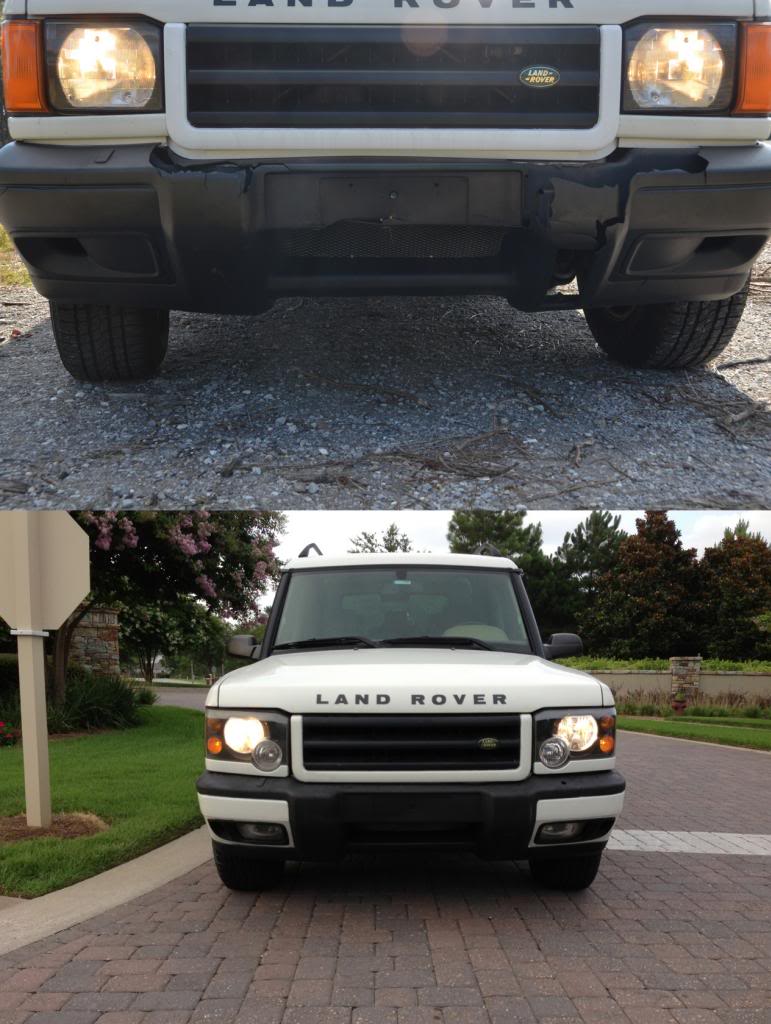
Bumper fix and 04 Headlamp Conversion


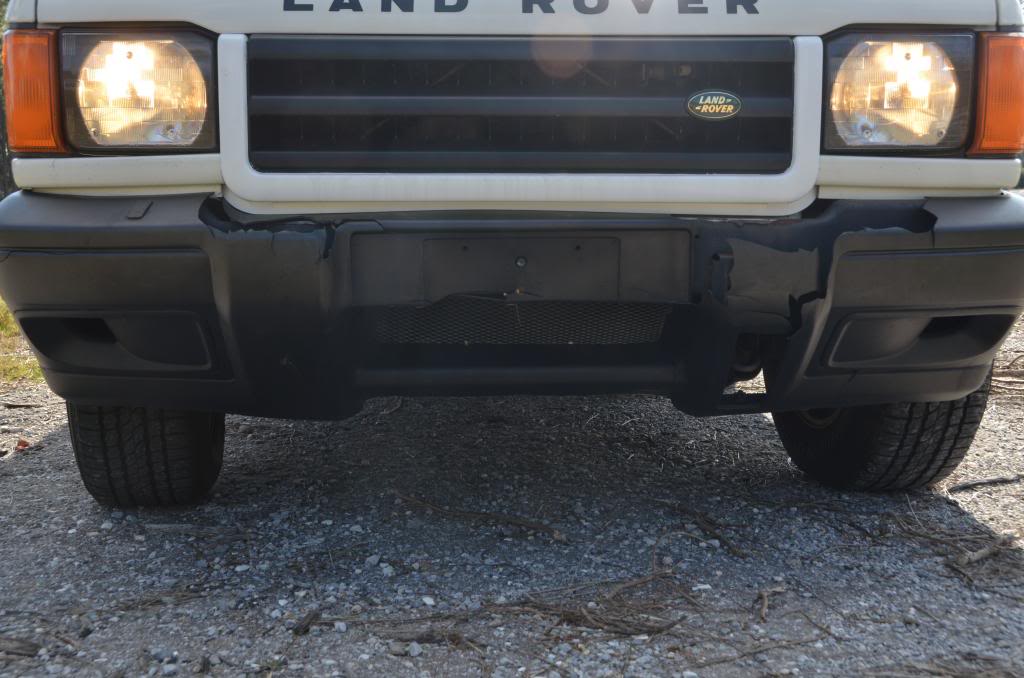
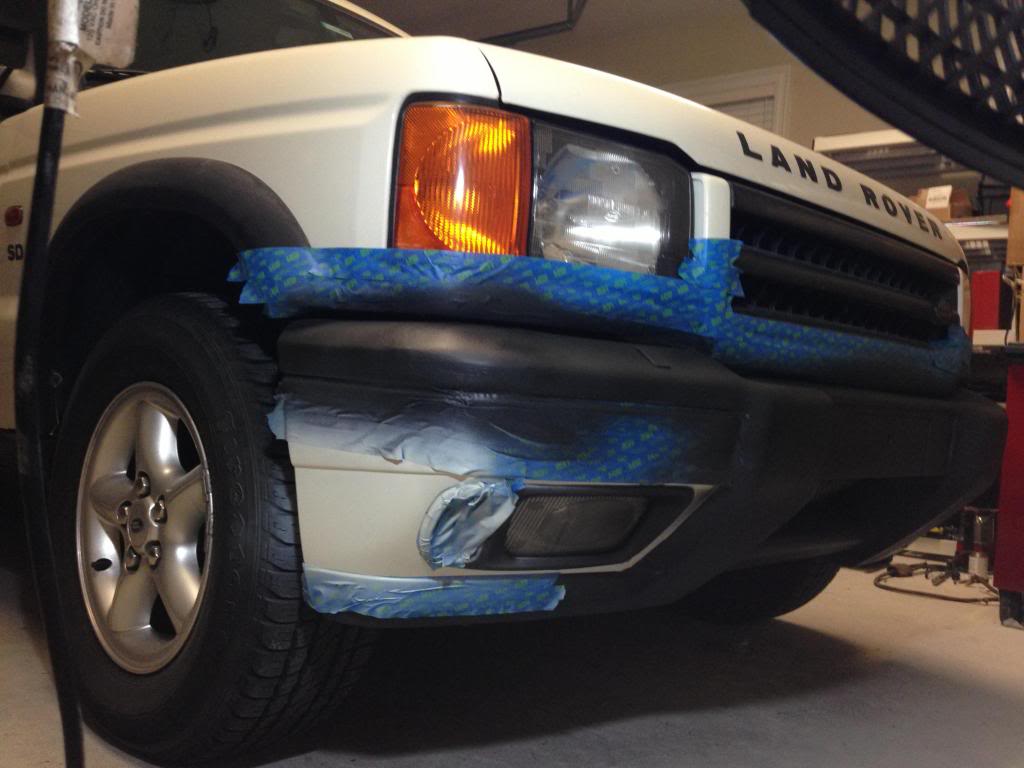
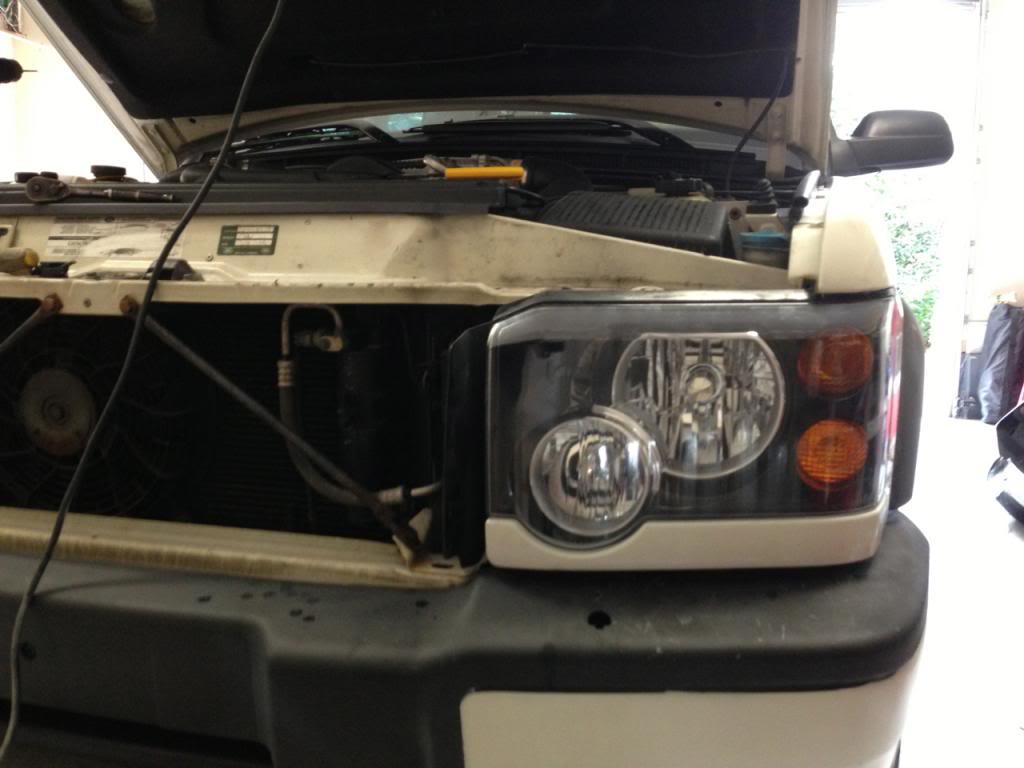
I finally got around to this project. I've had the headlamps for a while, I was just debating on an HD front bumper, or an 03 or 04 bumper cover. When out of no where I stumble on the deal of the century and bought a 2001 front bumper complete with all hardware and fog lamps, for $50! So that solved that.
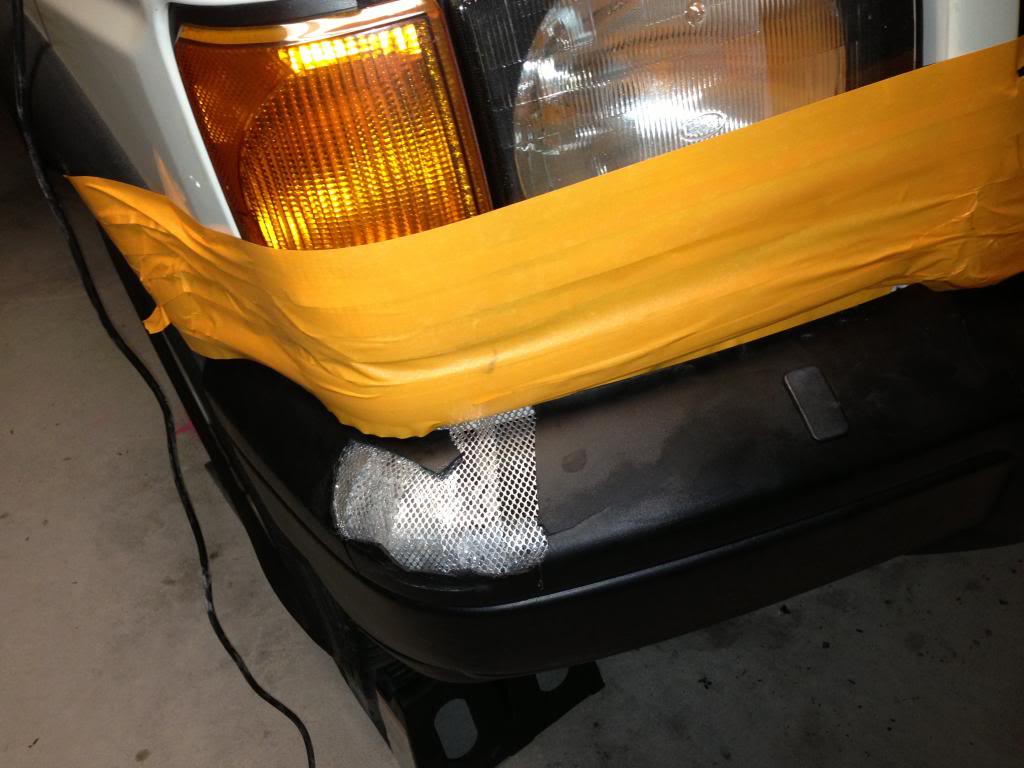
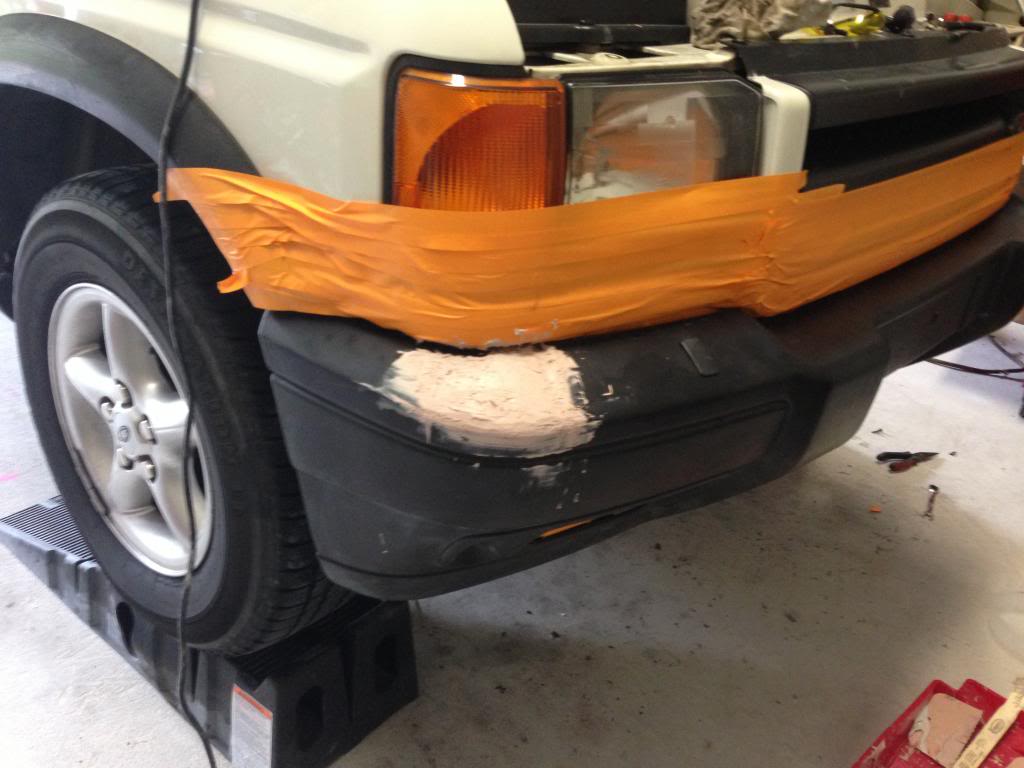
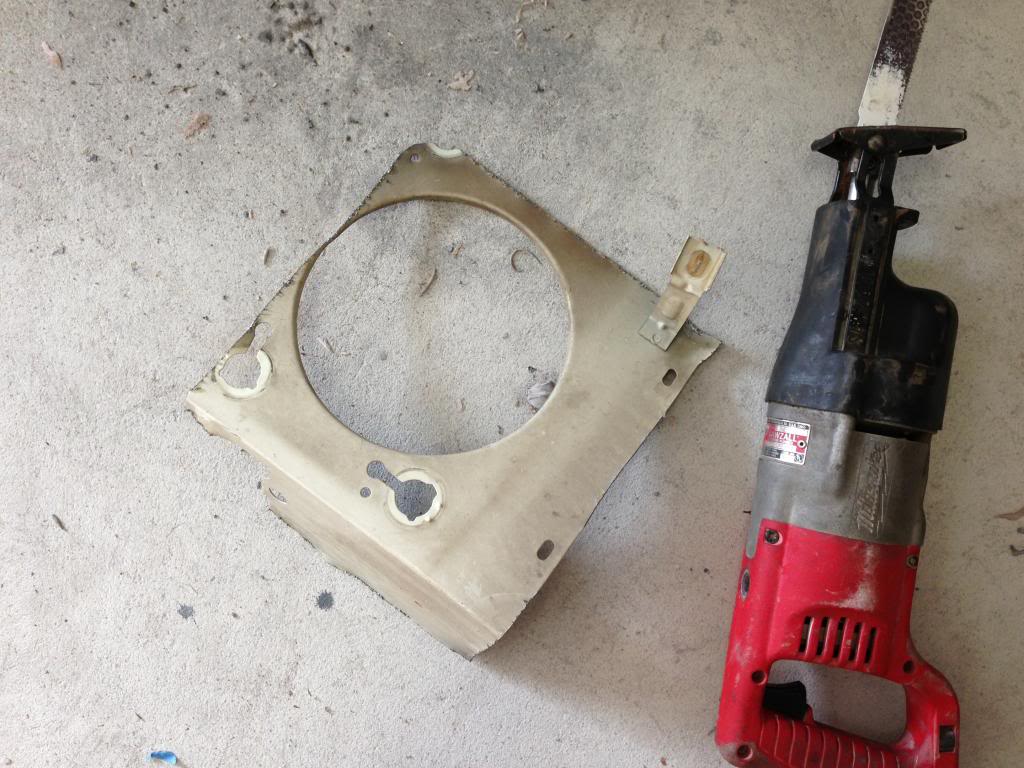
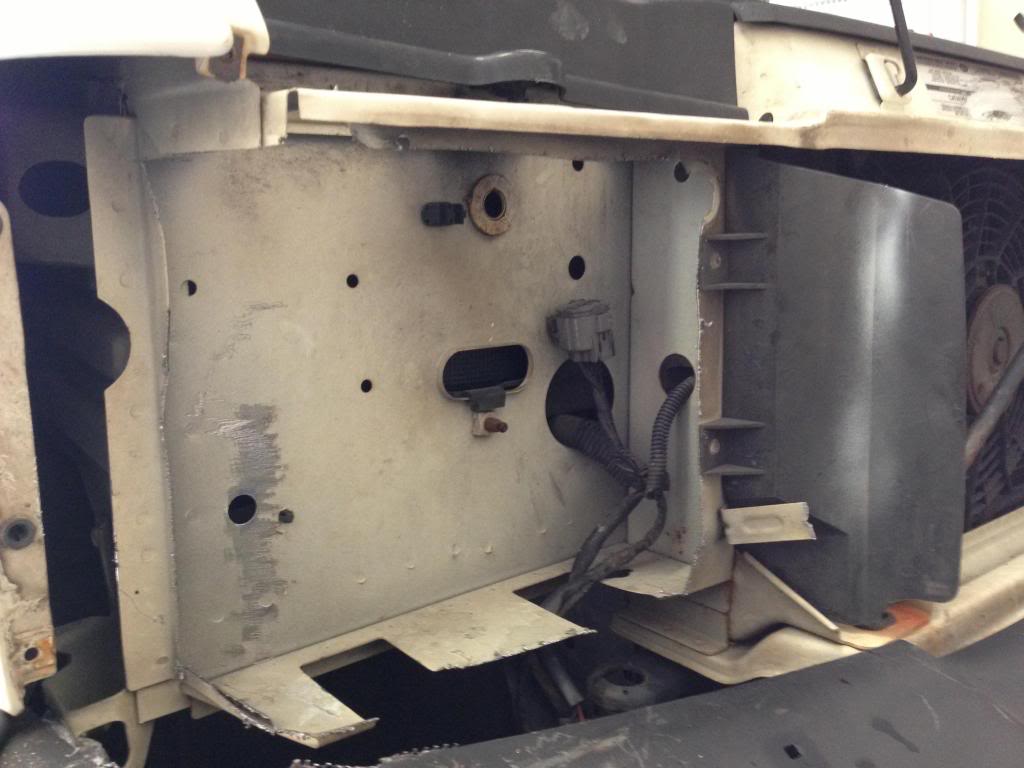
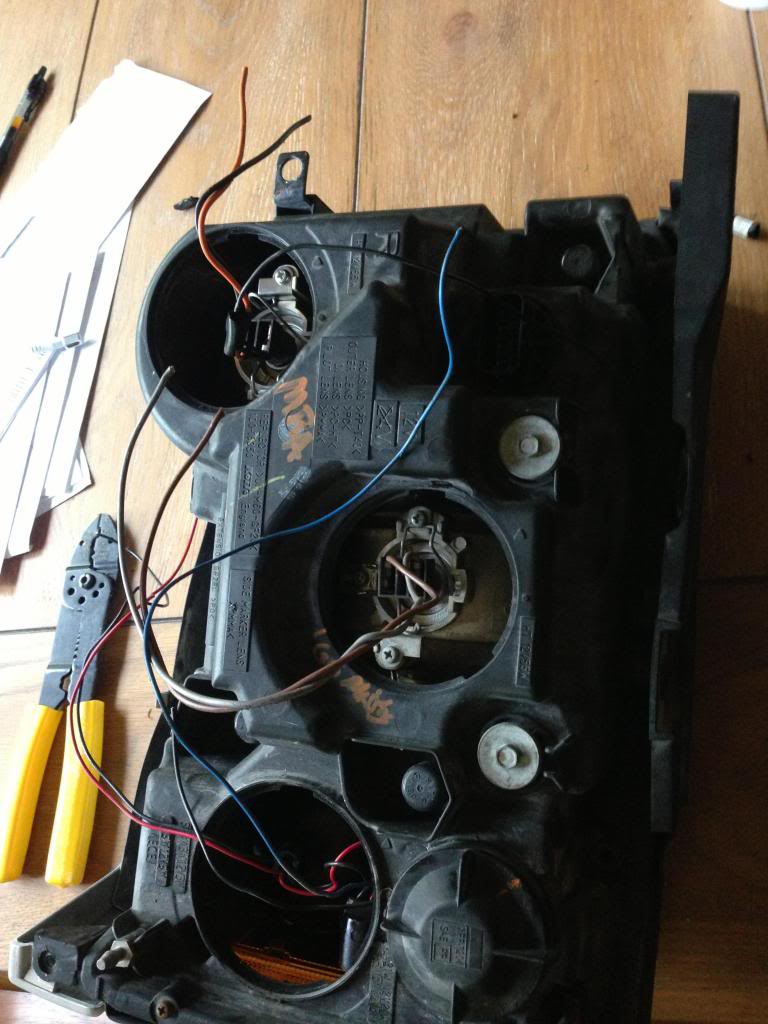
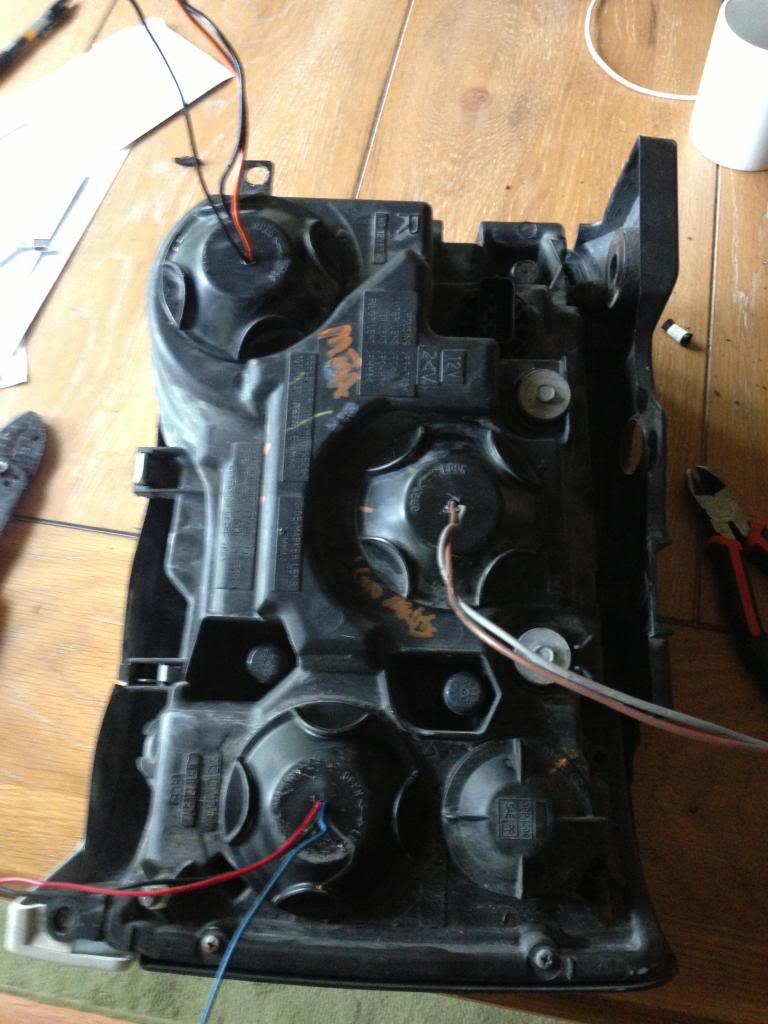
It did have one hole punched out in a corner so I actually bondo'd that, painted black, then added the chawton white to the fog lamp areas. Once the bumper was complete I tackled the headlamp upgrade today and it was much easier than I thought it would be. Although, I did have to break into the first aid kit a couple of times, there are some tight areas to be cutting in with a sawzall.
It's difficult to do a step by step write up on the headlamps because of the variables but these series of photos should be enough of a guide.
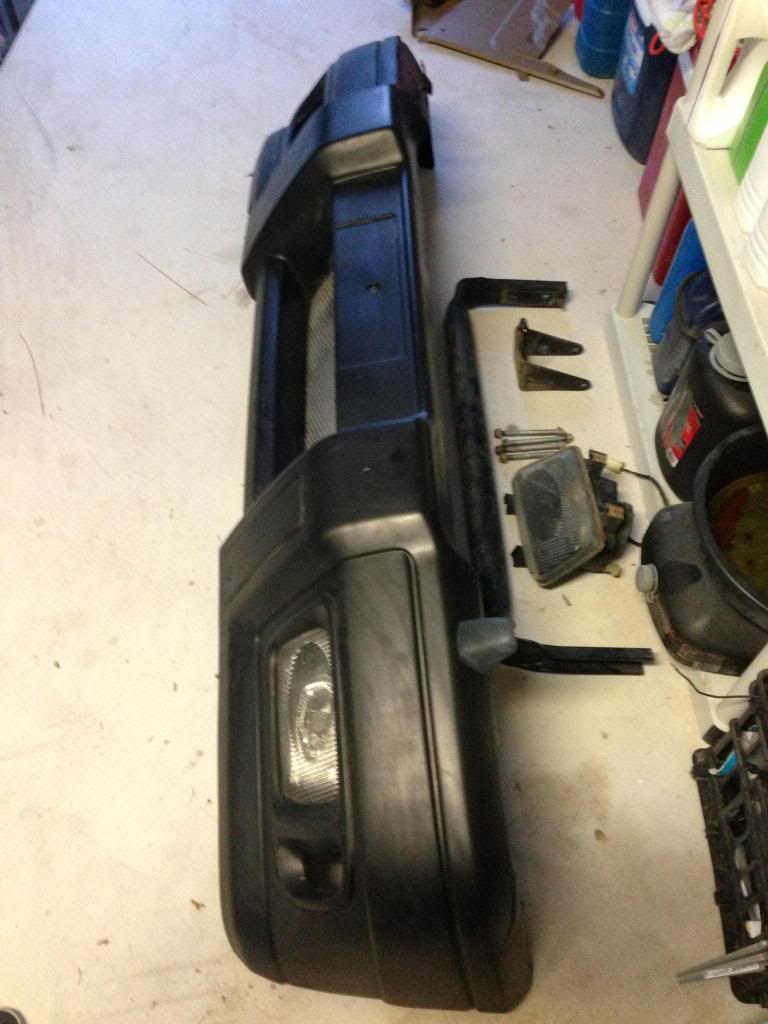
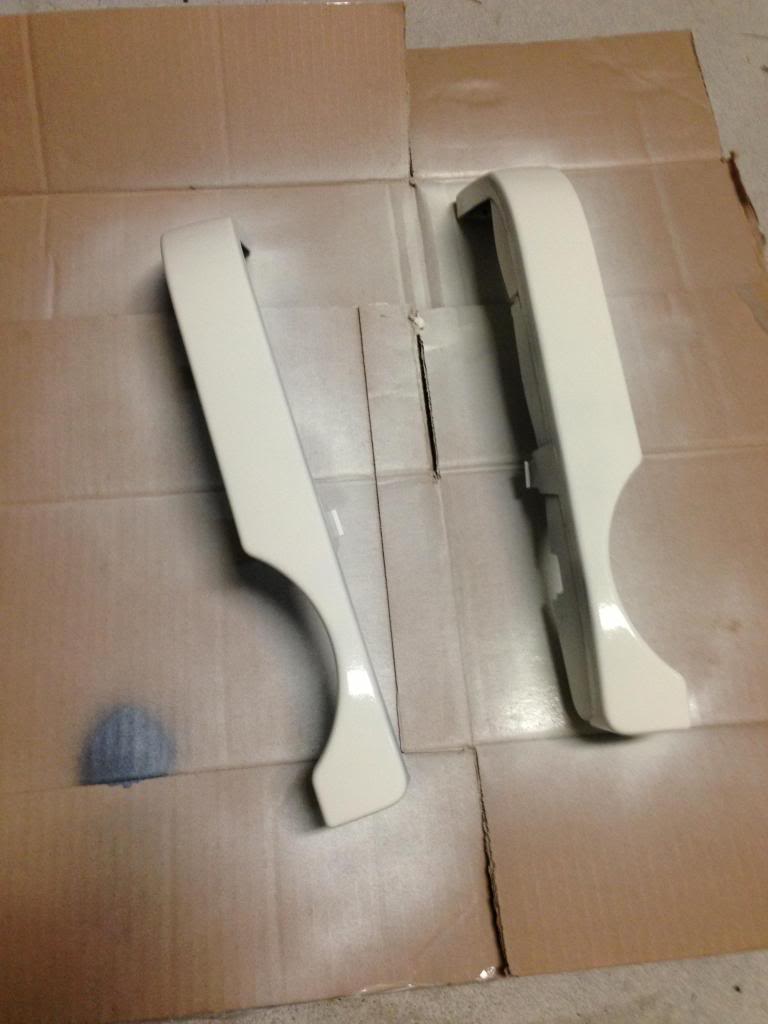
What I started with:
Bought for $50

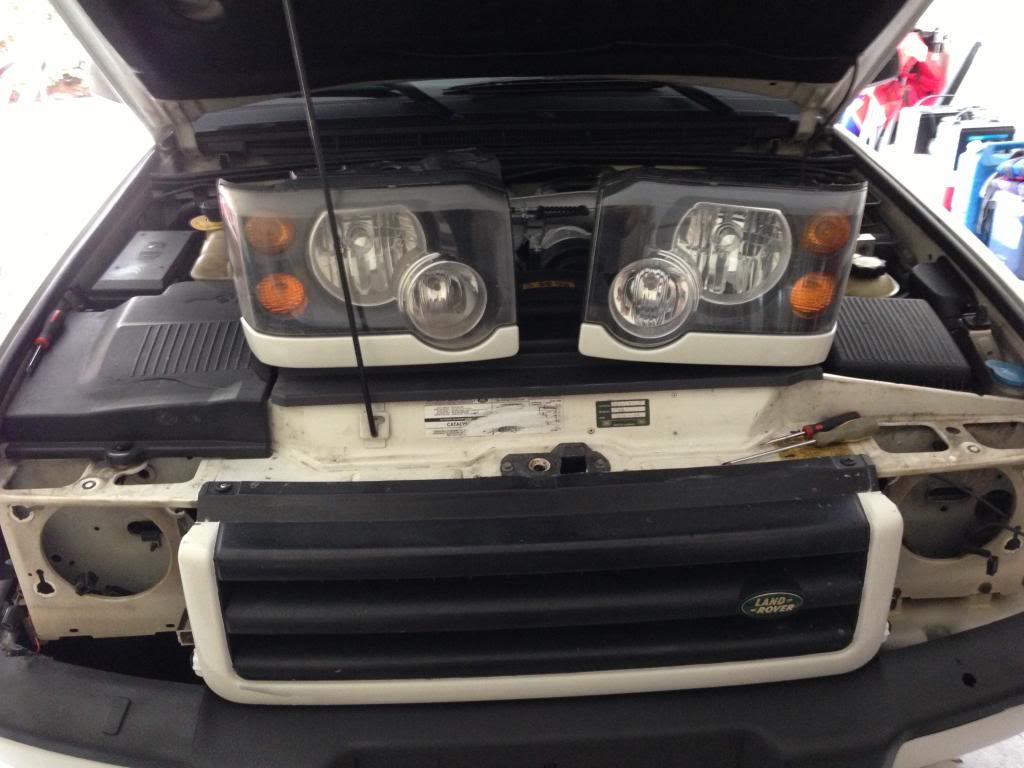

It did have one hole punched out in a corner so I actually bondo'd that, painted black, then added the chawton white to the fog lamp areas. Once the bumper was complete I tackled the headlamp upgrade today and it was much easier than I thought it would be. Although, I did have to break into the first aid kit a couple of times, there are some tight areas to be cutting in with a sawzall.
It's difficult to do a step by step write up on the headlamps because of the variables but these series of photos should be enough of a guide.
What I started with:
Bought for $50
Last edited by caymandrew; Jun 29, 2013 at 10:05 PM.


Pro Wrench
Joined: Jan 2011
Posts: 1,869
Likes: 44
From: Philly
Looks great. This project is definitely on my to-do list. You made it look really easy.
I see you have two screws securing the top of the housing. What secures the bottom of the headlight housing in place?
I see you have two screws securing the top of the housing. What secures the bottom of the headlight housing in place?
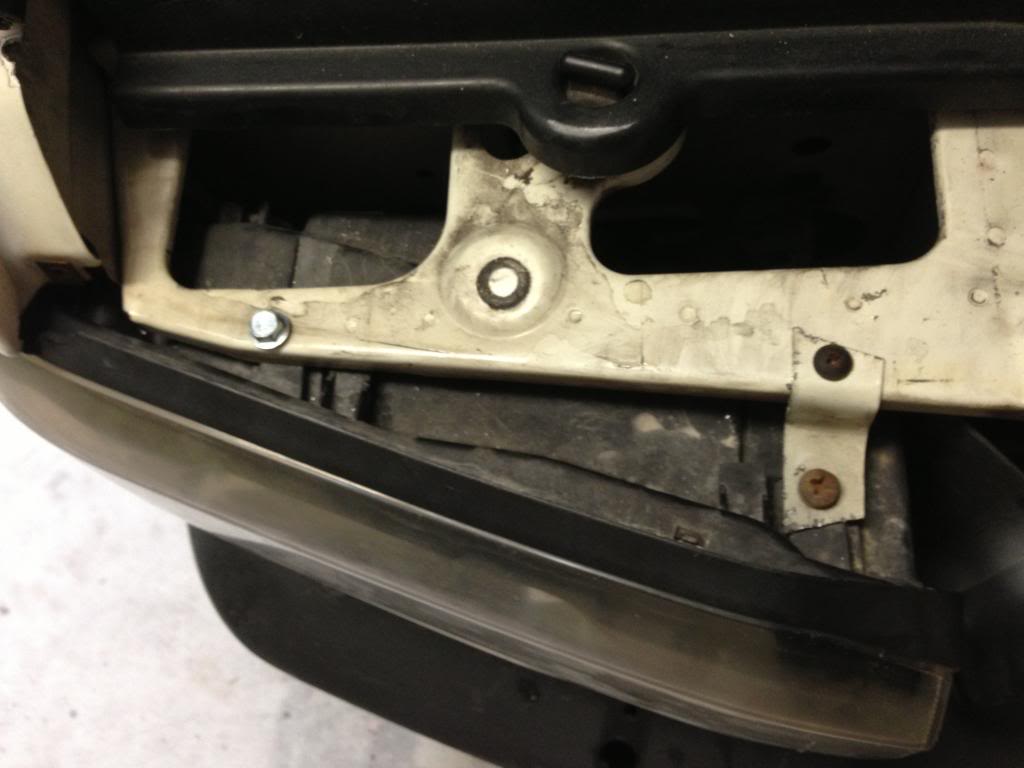
Here's a picture Zach sent me:
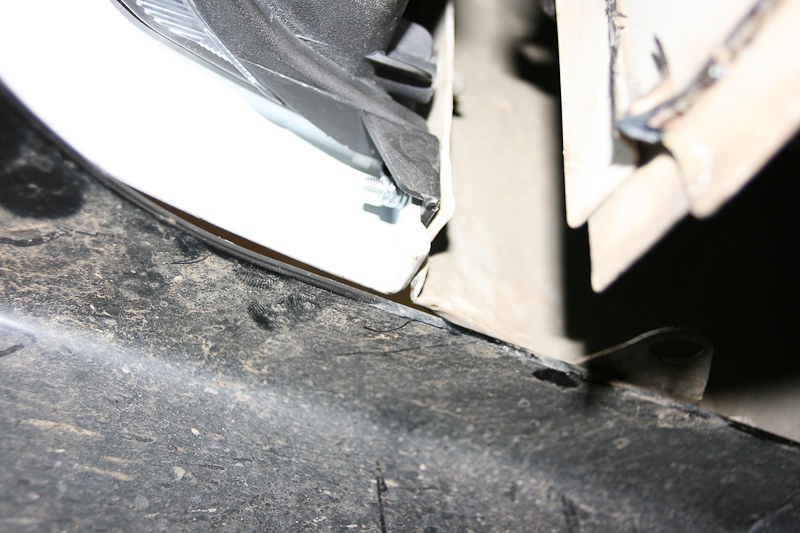
This is the underside of the headlamp trim piece. You can get to this screw from the wheel well. In this picture Zach used a nut and bolt to secure the new lamp at the bottom. I used a larger wood screw as the trim piece and headlamp are plastic, it worked well. With that one connection on the bottom and the two connections on top, the lights don't move at all.
This is the underside of the headlamp trim piece. You can get to this screw from the wheel well. In this picture Zach used a nut and bolt to secure the new lamp at the bottom. I used a larger wood screw as the trim piece and headlamp are plastic, it worked well. With that one connection on the bottom and the two connections on top, the lights don't move at all.
Last edited by caymandrew; Jun 30, 2013 at 10:31 AM.

Thread
Thread Starter
Forum
Replies
Last Post
Street Wolf
Modifications
5
Nov 28, 2011 05:37 PM