
Had my new Discovery for about a minute... and already have it taken apart!!!!!

#62
 04-24-2013 | 12:47 AM

Super Moderator
Joined: Jan 2011
Posts: 16,322
Likes: 84
From: Savannah Georgia


#66
04-24-2013 | 09:56 PM

Thread Starter
|
Mudding
Joined: Sep 2010
Posts: 214
Likes: 1
From: Wayne County, Ohio
As promised....
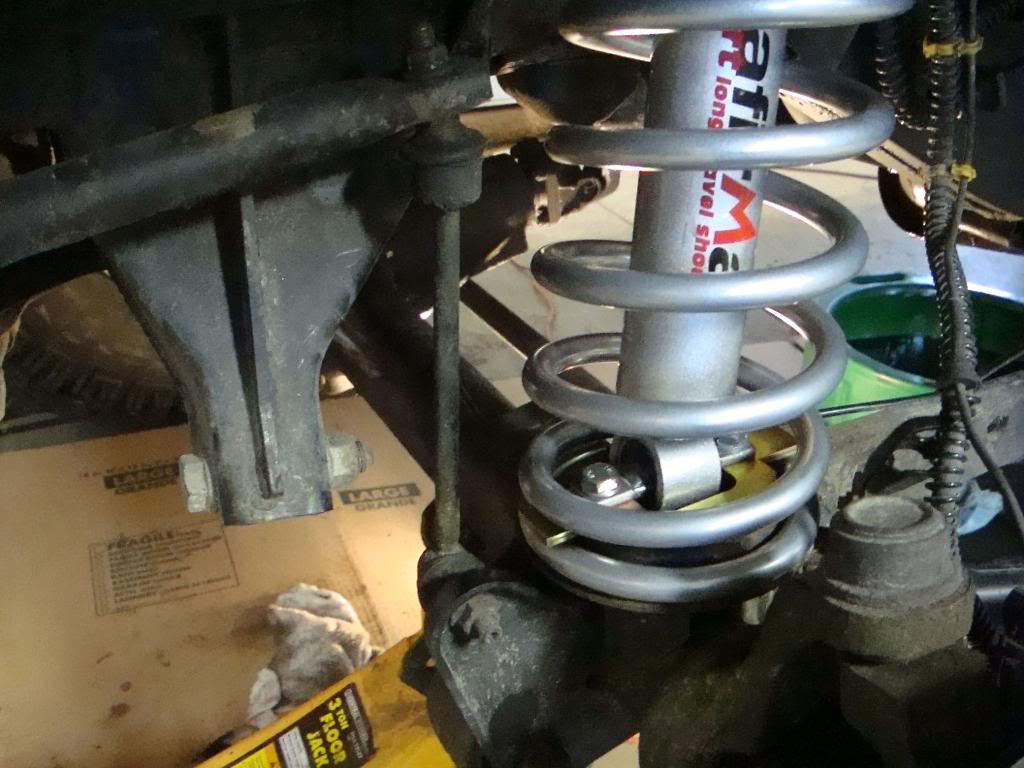
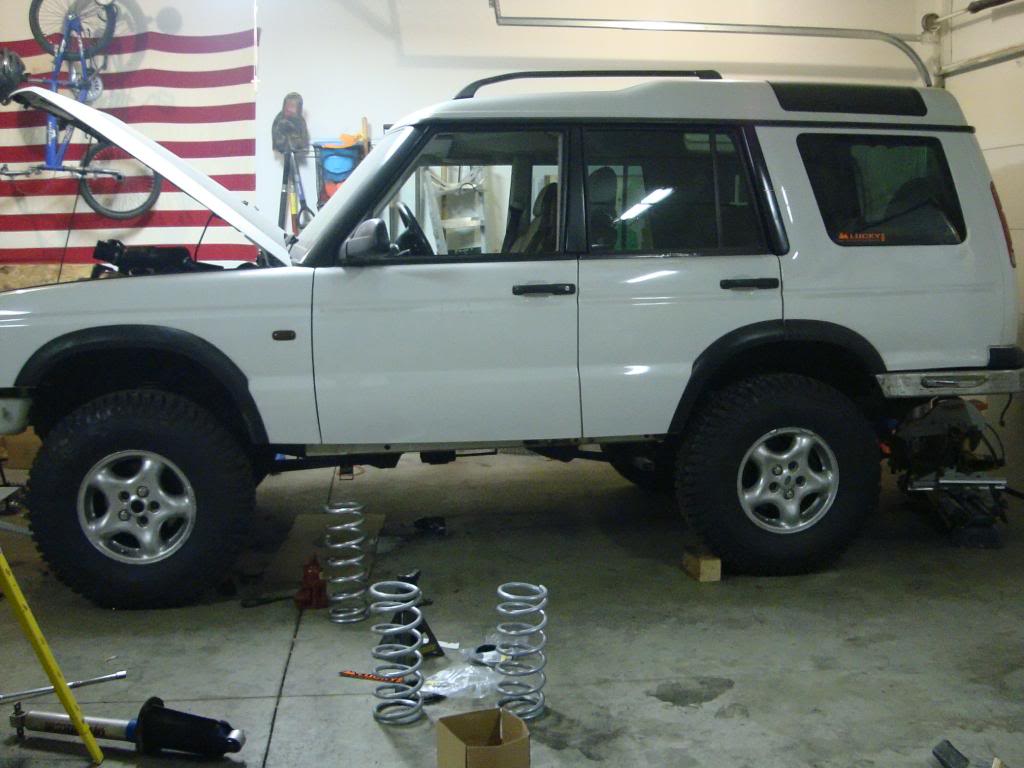
Needed to rework the front suspension lift because it pushed up over 4" and we all that requires a ton of extra stuff that Im not ready for. The front was way higher than the rear so we had to remedy that first and foremost.
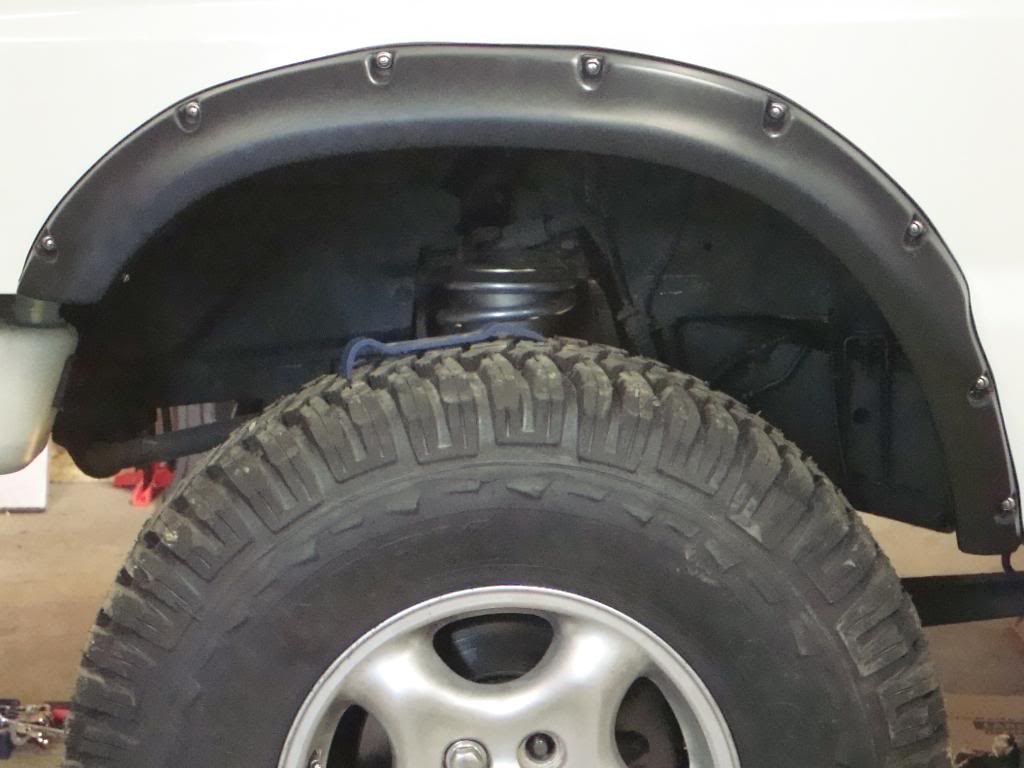
I removed the spacers Justin sent me and installed the Terrafirma shock turrets, and retainers.
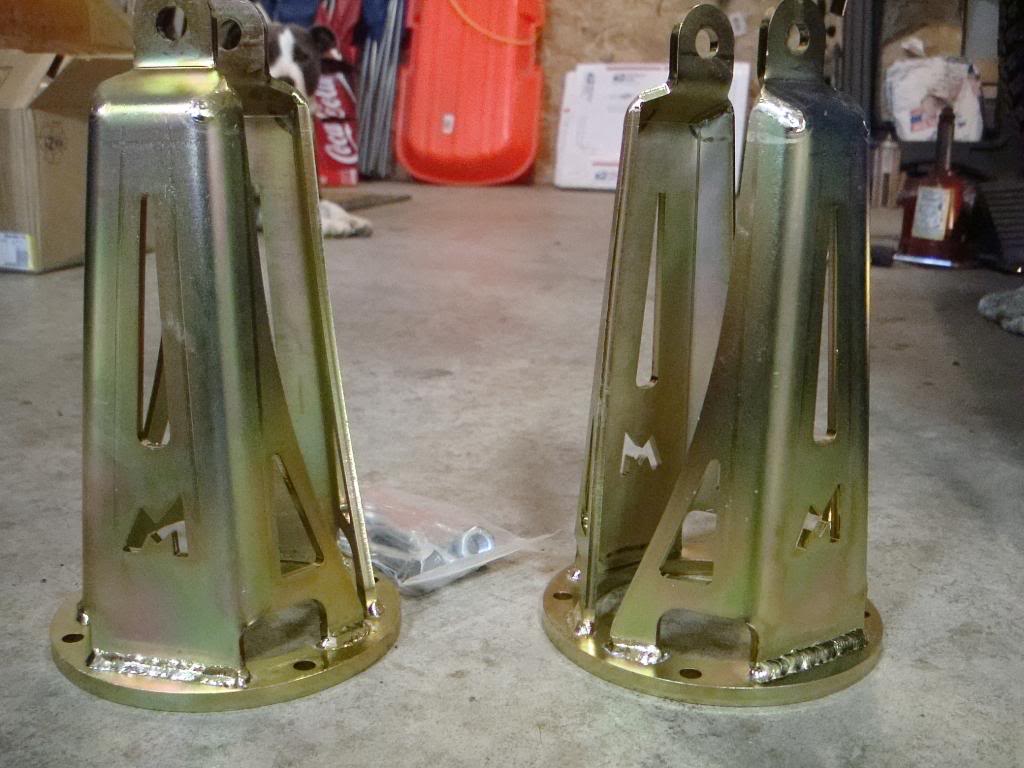
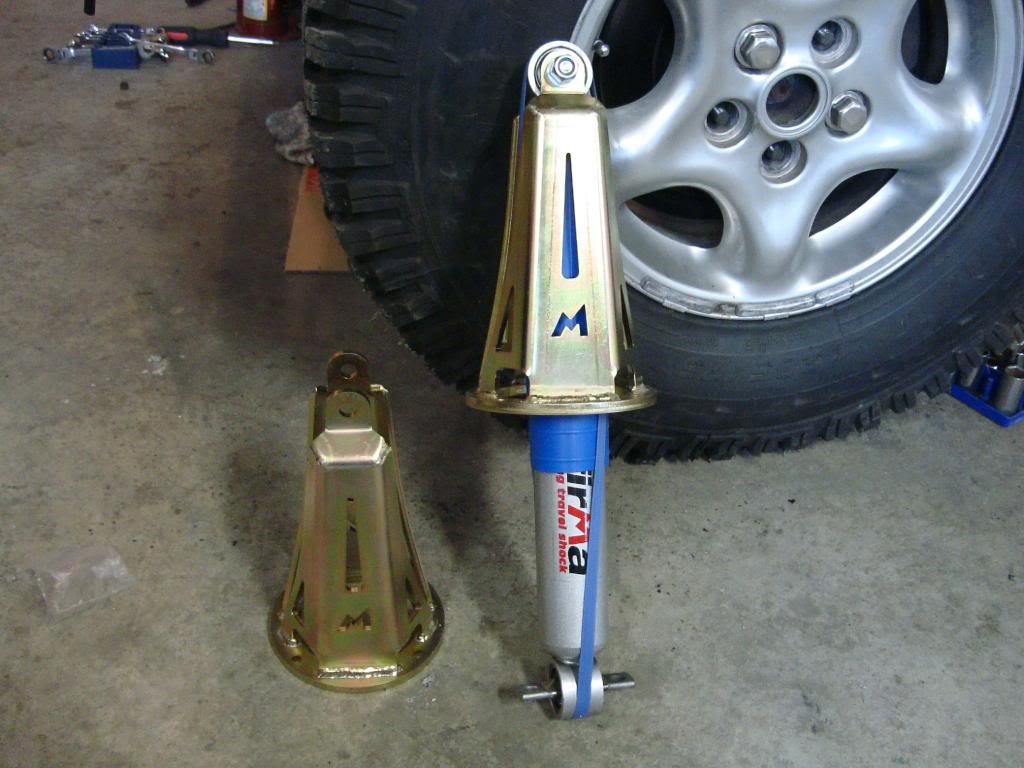
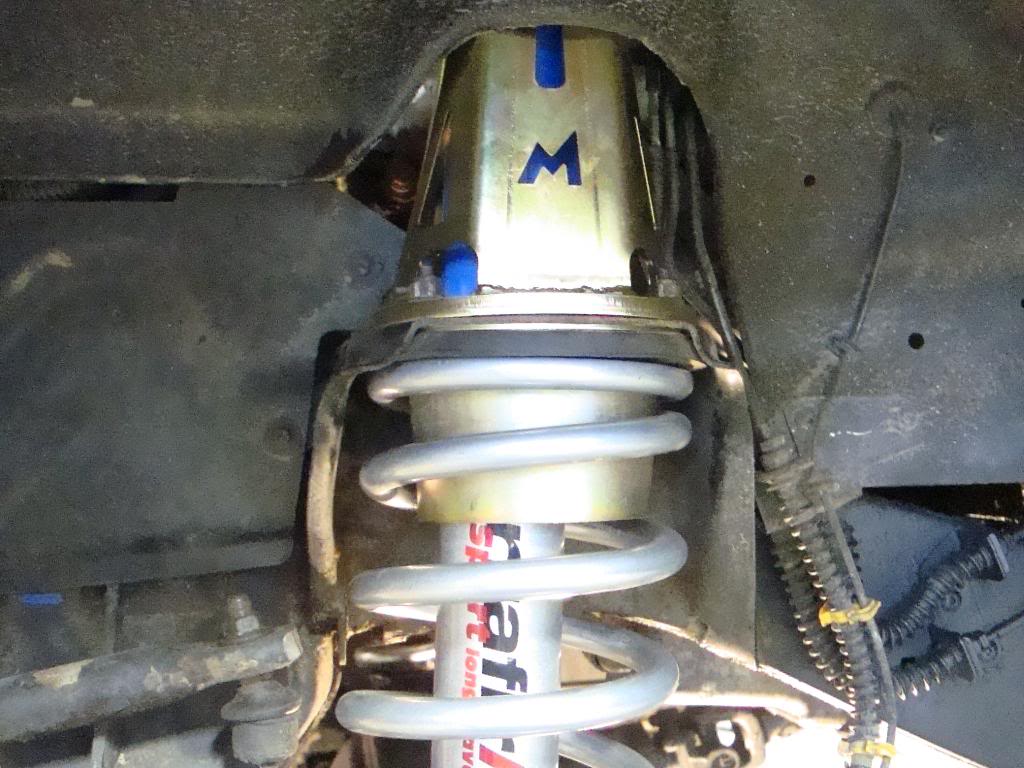
Observations on the turrets is as follows... heavy steel and well designed easy to install and look great. Are they worth the price... mmmm I don't think so, but really none of this stuff is really worth what we pay for it. I like them and they'll do the job. Did I have to get them? No... but I wanted something to replace the shot stock crap so I bought these. They bling up the wheel wells and hopefully will last the life of the truck.
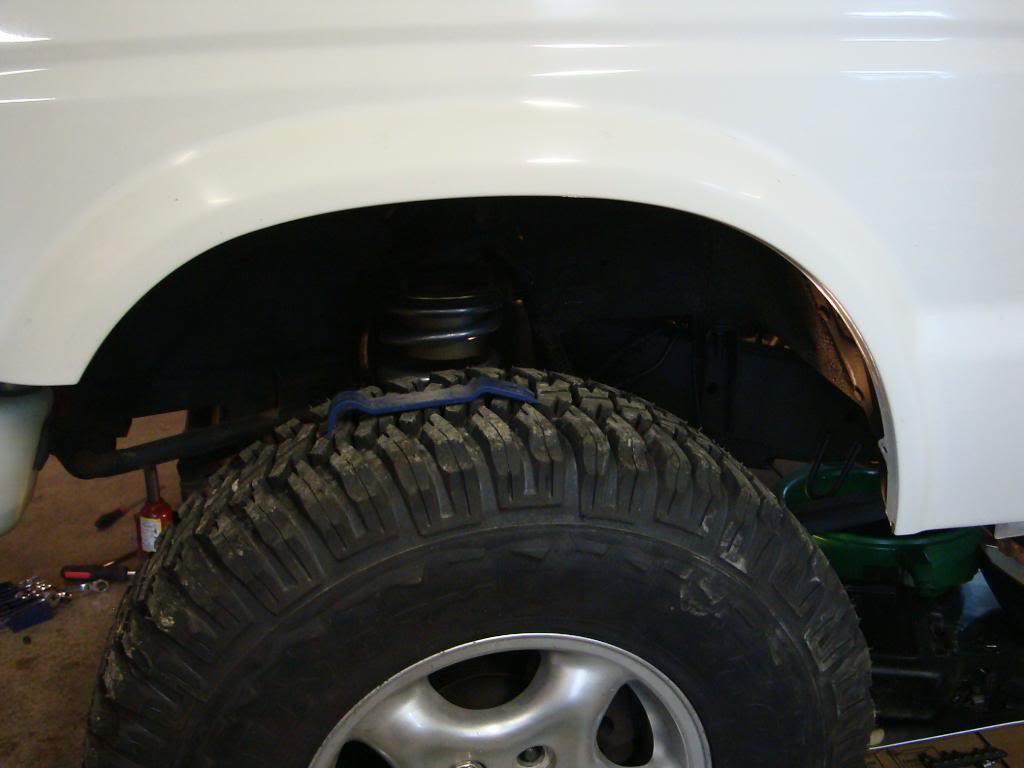
Heres a couple of shots of the stance without the spacers... I think it looks way better. I rear is still down a little but it will even out with the front bumper and winch.
Before
After
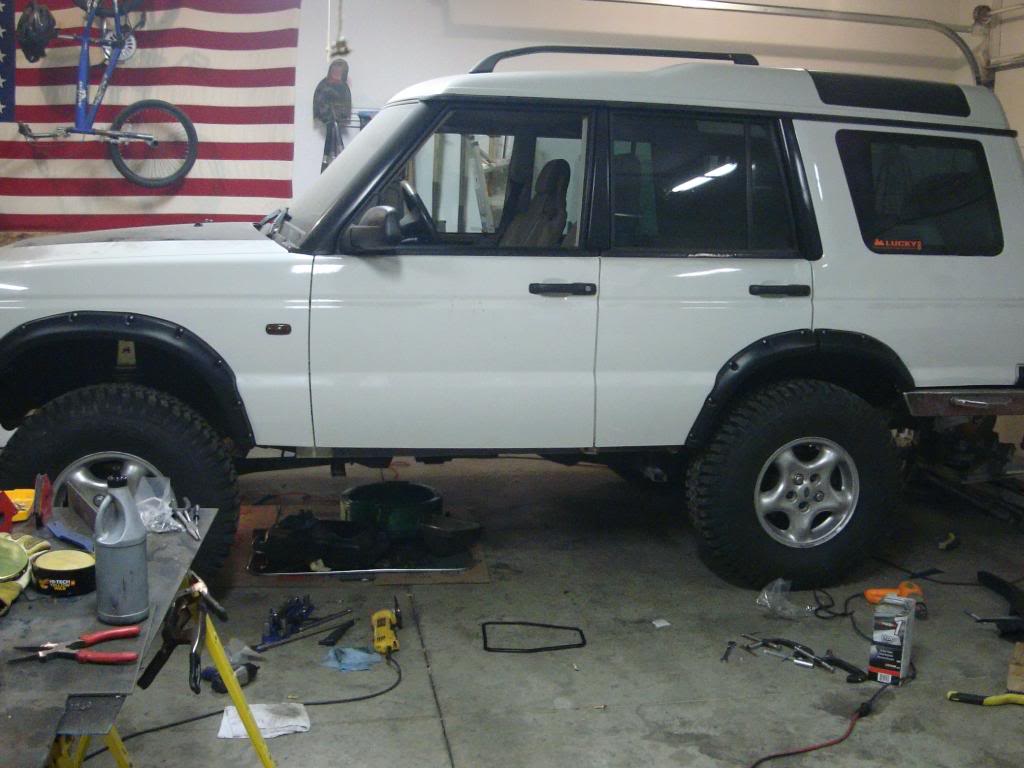
What do you guys think?
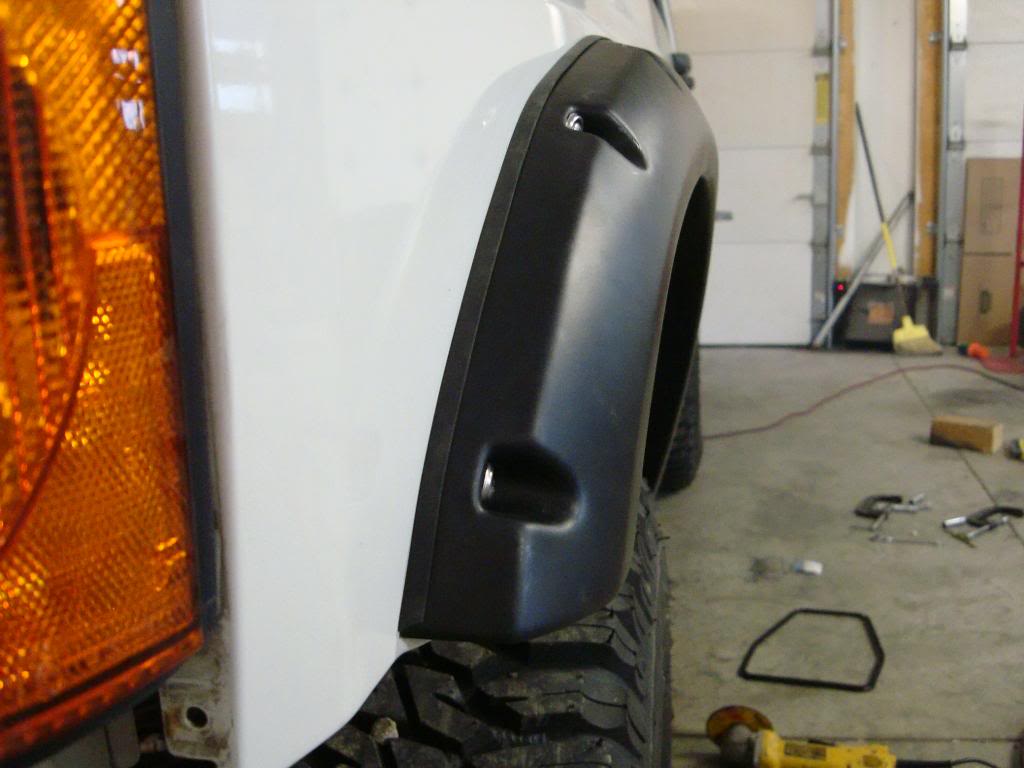
Next I got my wheel arches form Lucky8 this morning... will write up an impromptu how to if anyones interested in it.
What I got
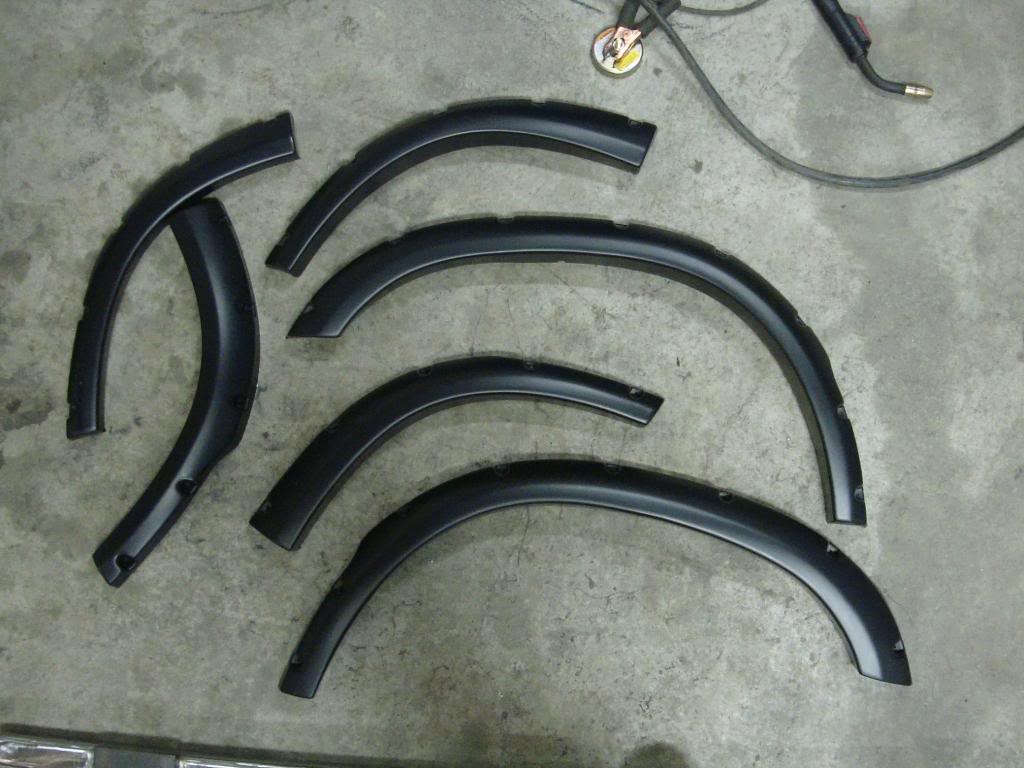
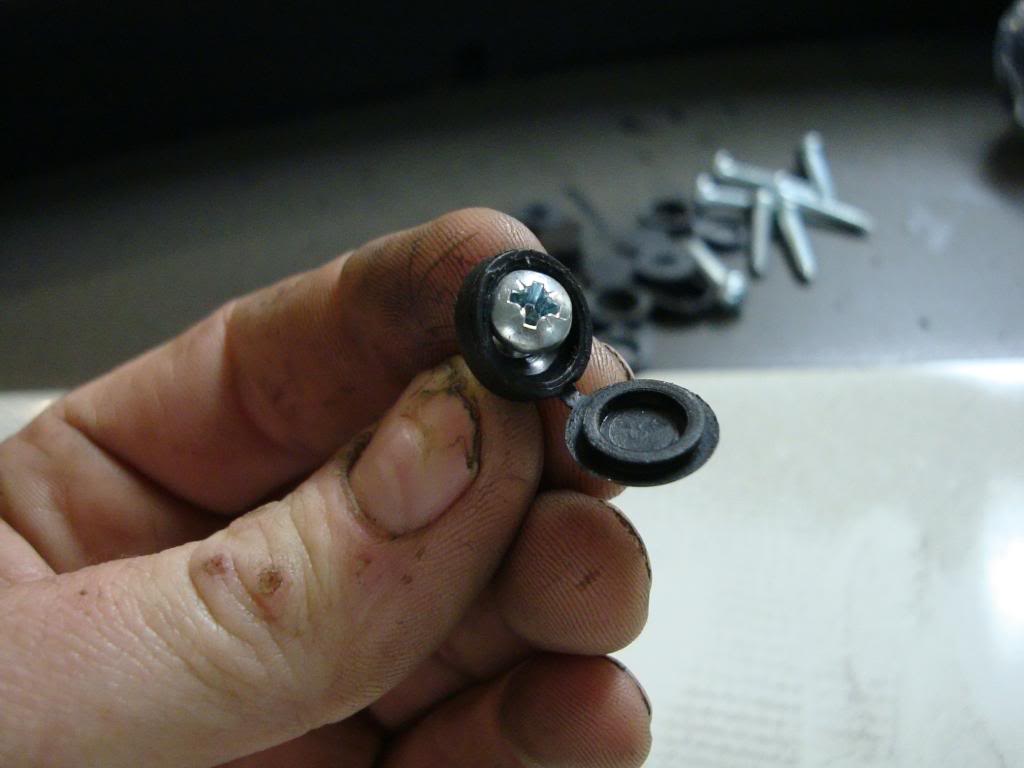
The hardware sucked so I got some stainless screws and finishing washers to use instead.
Stock fasteners
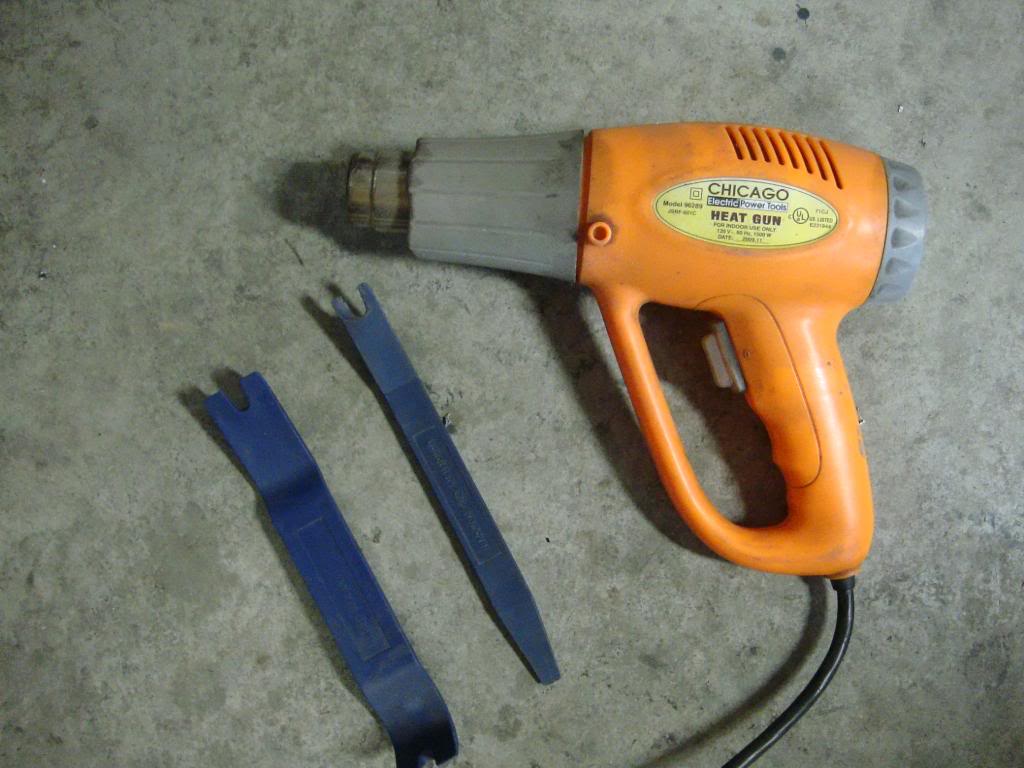
I started up front by heating up the old ones with my heat gun and slowly working this around the perimeter
This is what was underneath

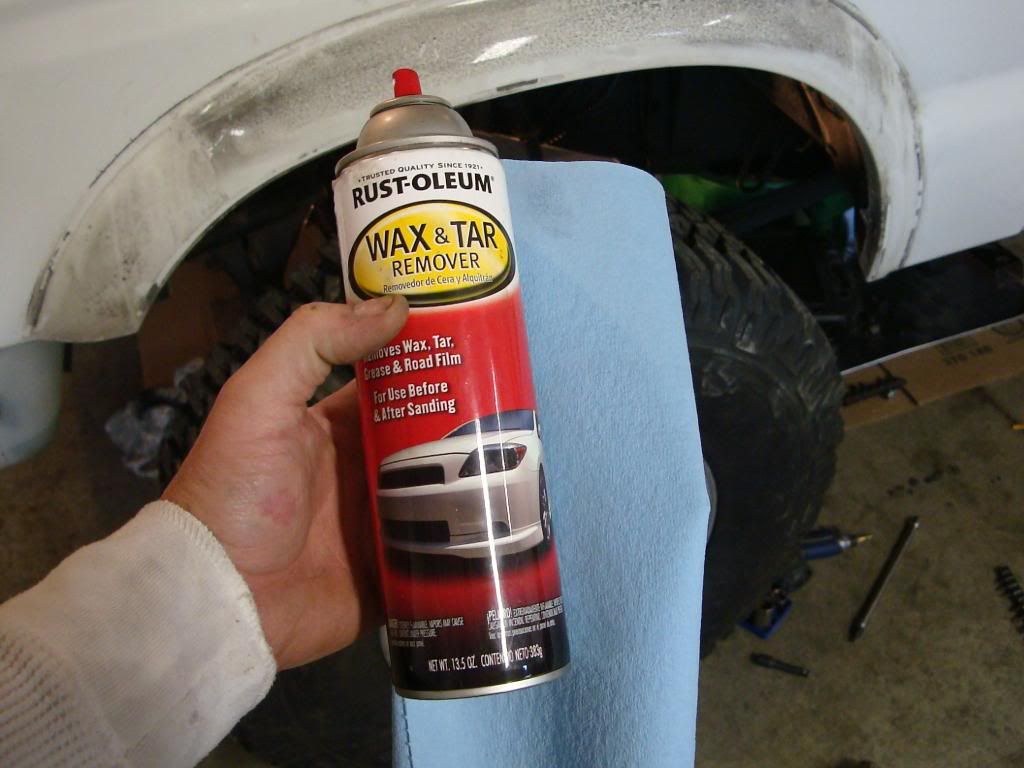
So I took a rag and some wax and grease remover ... some thinner as well and cleaned it up.
Took a little elbow grease but it cleaned up well
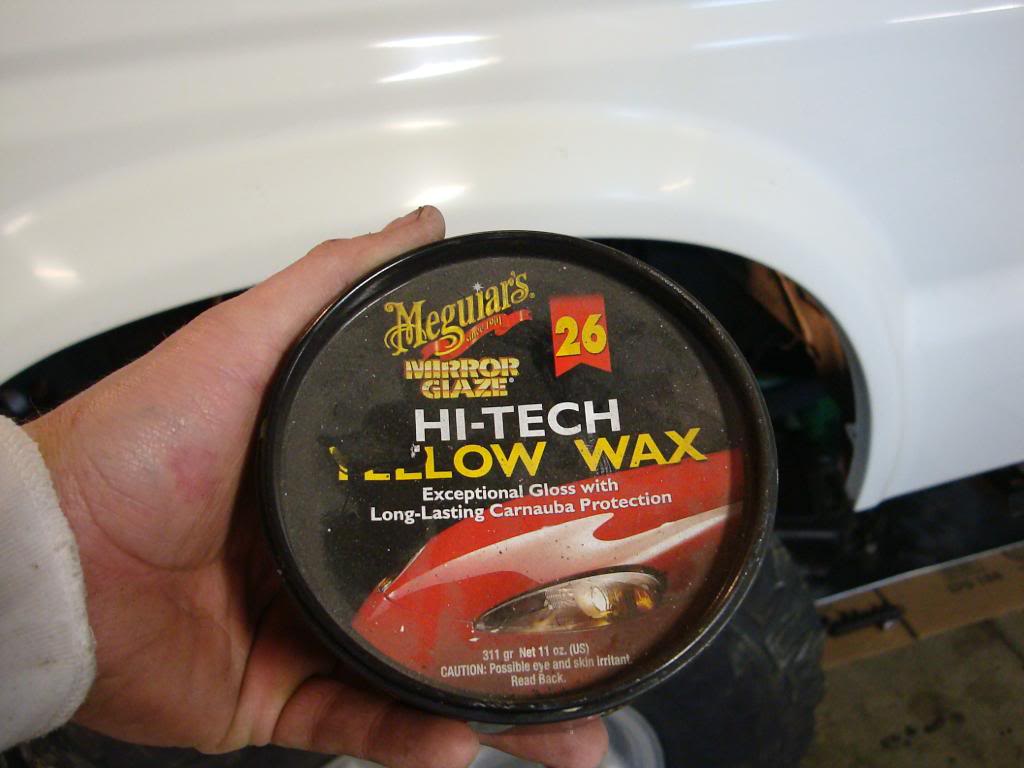
I would suggest to anyone doing this to take a sec and wax the paint before installing these ... good way to help prevent any deterioration of the paint work underneath. I use this stuff and its great.
So to install these I would suggest a cordless drill with a 7/64" bit, impact drill, punch for marking hole locations, some masking tape and couple of quick clamps.
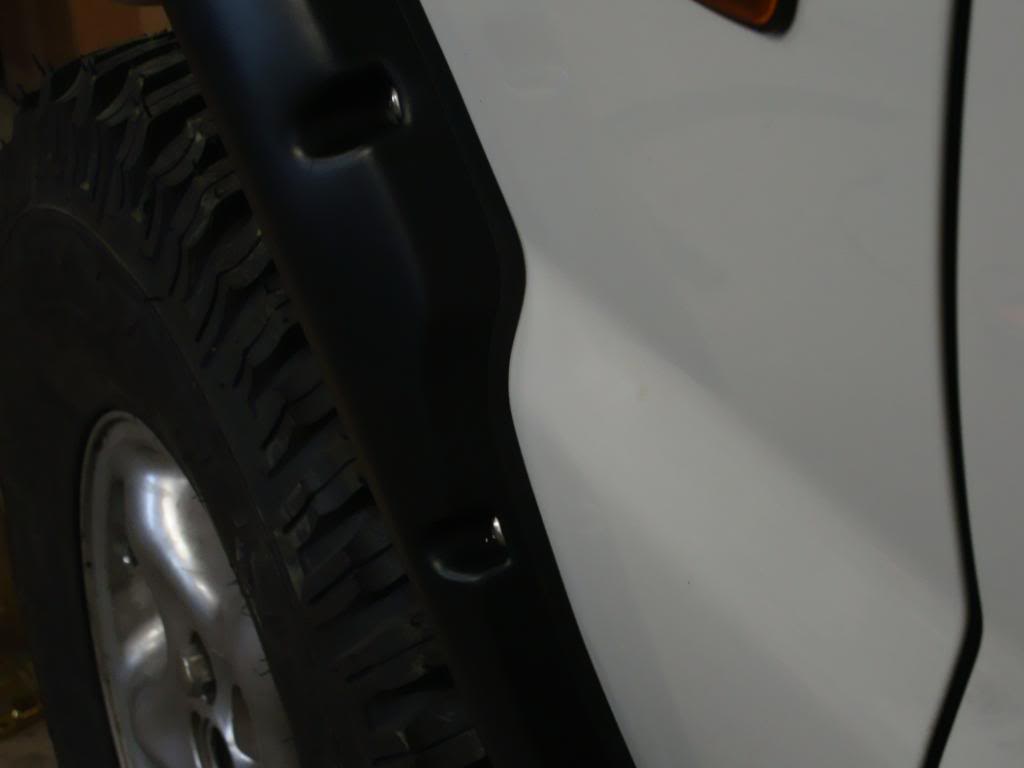
I started by putting the flare up the fender and checking it for fitment. They don't fit perfect so you may have to fudge a little to get em right. Then I taped them up where I wanted them and stood back and looked... fixed and repeat. When you get it where you want take your punch and use to make marks for your screws. Take the flare off and drill your holes. Using the impact, run your screws in almost all the way and finish with a good Philips driver.
I also installed some self tapers on the underside of the flares to help retention.
You can see their slightly deformed... I think for what I paid for these they should be perfect, but you know how that goes.
Also another note, their short... see here
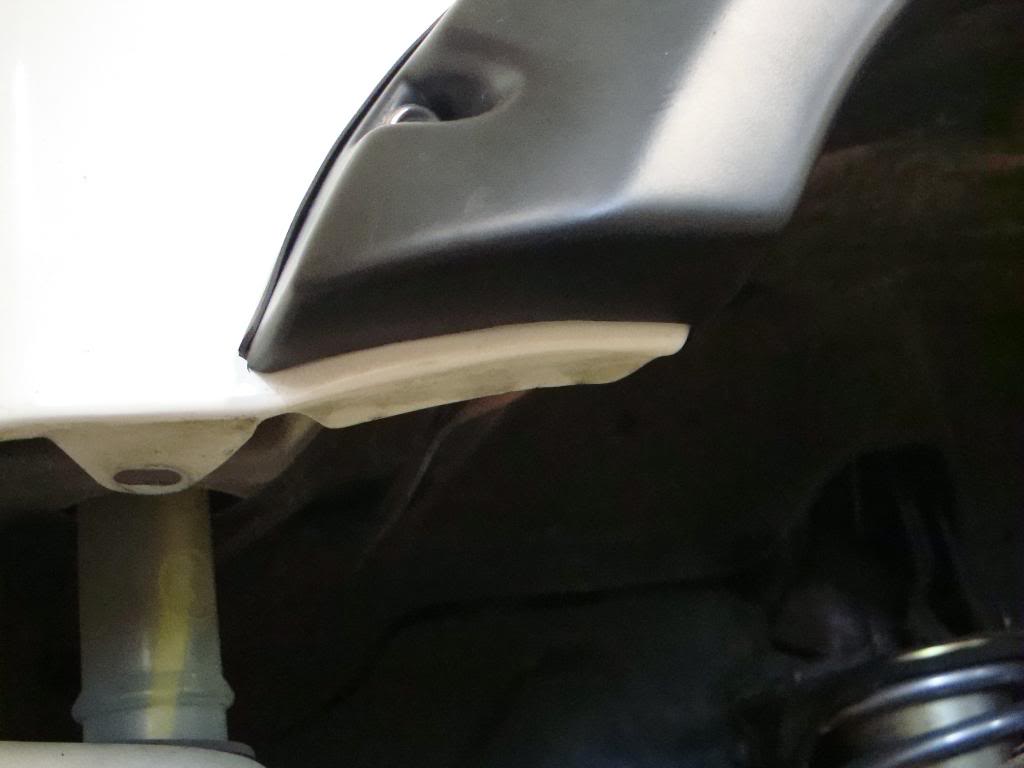
Again for the money, they should be right.
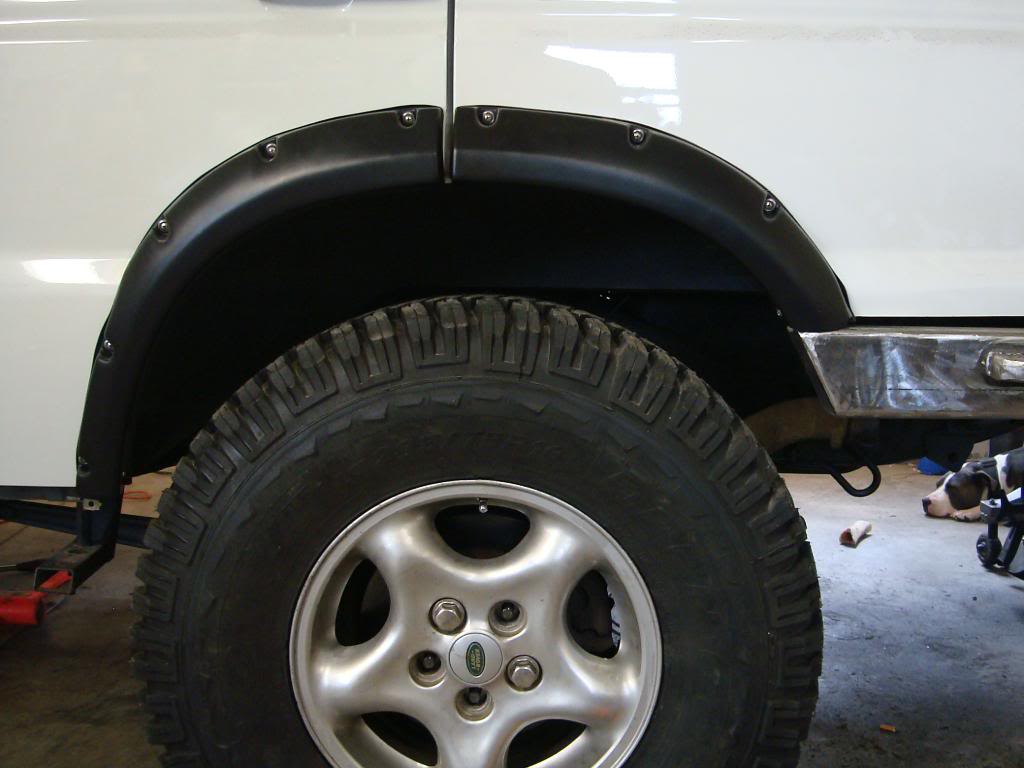
Couple pics of the rear
Needed to rework the front suspension lift because it pushed up over 4" and we all that requires a ton of extra stuff that Im not ready for. The front was way higher than the rear so we had to remedy that first and foremost.
I removed the spacers Justin sent me and installed the Terrafirma shock turrets, and retainers.


Observations on the turrets is as follows... heavy steel and well designed easy to install and look great. Are they worth the price... mmmm I don't think so, but really none of this stuff is really worth what we pay for it. I like them and they'll do the job. Did I have to get them? No... but I wanted something to replace the shot stock crap so I bought these. They bling up the wheel wells and hopefully will last the life of the truck.
Heres a couple of shots of the stance without the spacers... I think it looks way better. I rear is still down a little but it will even out with the front bumper and winch.
Before

After

What do you guys think?
Next I got my wheel arches form Lucky8 this morning... will write up an impromptu how to if anyones interested in it.
What I got

The hardware sucked so I got some stainless screws and finishing washers to use instead.
Stock fasteners

I started up front by heating up the old ones with my heat gun and slowly working this around the perimeter

This is what was underneath

So I took a rag and some wax and grease remover ... some thinner as well and cleaned it up.

Took a little elbow grease but it cleaned up well

I would suggest to anyone doing this to take a sec and wax the paint before installing these ... good way to help prevent any deterioration of the paint work underneath. I use this stuff and its great.

So to install these I would suggest a cordless drill with a 7/64" bit, impact drill, punch for marking hole locations, some masking tape and couple of quick clamps.
I started by putting the flare up the fender and checking it for fitment. They don't fit perfect so you may have to fudge a little to get em right. Then I taped them up where I wanted them and stood back and looked... fixed and repeat. When you get it where you want take your punch and use to make marks for your screws. Take the flare off and drill your holes. Using the impact, run your screws in almost all the way and finish with a good Philips driver.
I also installed some self tapers on the underside of the flares to help retention.

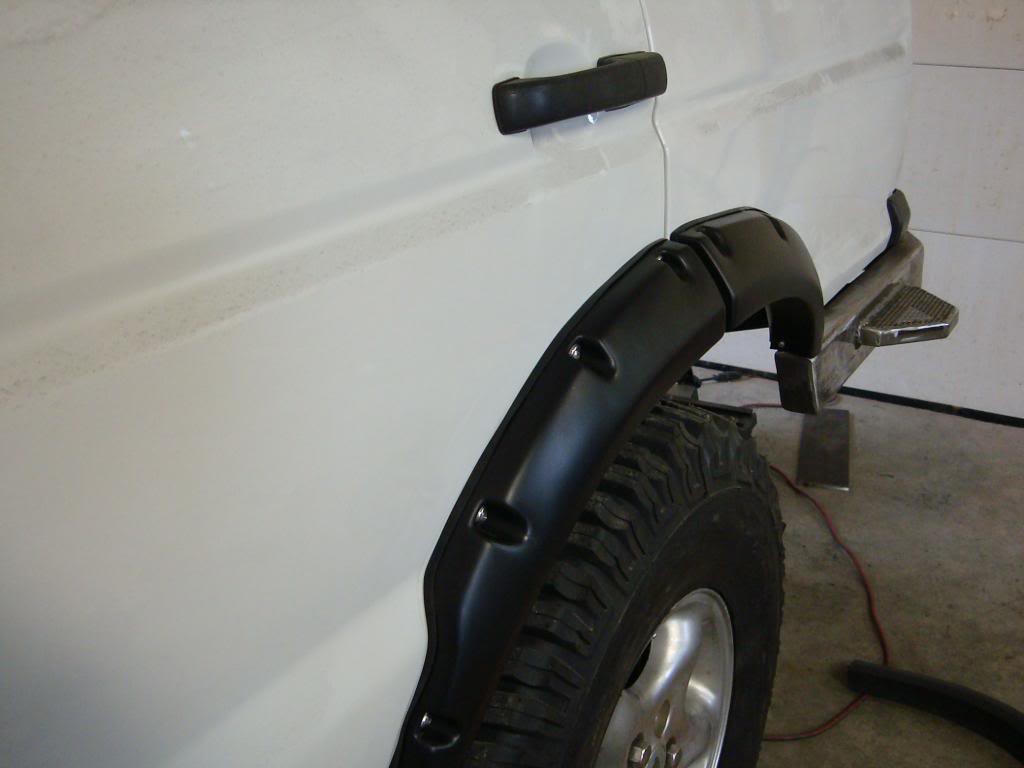
You can see their slightly deformed... I think for what I paid for these they should be perfect, but you know how that goes.


Also another note, their short... see here

Again for the money, they should be right.
Couple pics of the rear


#67
04-24-2013 | 10:03 PM
Thread Starter
|
Mudding
Joined: Sep 2010
Posts: 214
Likes: 1
From: Wayne County, Ohio

Over all Im pretty happy with everything... I think this stuff is over priced for what you get but I expect to much as a rule.
Ill have the sliders finished up tomorrow so I'll have pics of those up sometime tomorrow... then I'll start production of the front bumper. Im got a cardboard mock up of it but that's TOP SECRET as of now.... so youll have to wait.
Also this is the winch I settled on, if anyone's running please let me know your thoughts... gripes and praises.
WARN 9.5 CTI WINCH 9500 -LB LINE PULL BRAND NEW!!
Its a hell of price couldn't pass it up... will be picking it up tomorrow.
#69
04-24-2013 | 10:20 PM
Thread Starter
|
Mudding
Joined: Sep 2010
Posts: 214
Likes: 1
From: Wayne County, Ohio
