When you click on links to various merchants on this site and make a purchase, this can result in this site earning a commission. Affiliate programs and affiliations include, but are not limited to, the eBay Partner Network.
Thanks, I have the electrical diagram and library pdf's. I just start second guessing myself.
One more question. I'm looking to splice in on the interior. There are two Green/brown wires. One is for the right rear reverse light, the second is for the trailer wiring harness. Does it matter which one?
I did the splice at the BCU: C0661-8 (green), which is connected to the reverse lamps. It doesn't matter on which end of the camera cable you apply the power, at least on
Thanks all for the help. I finally got the rear camera project done.
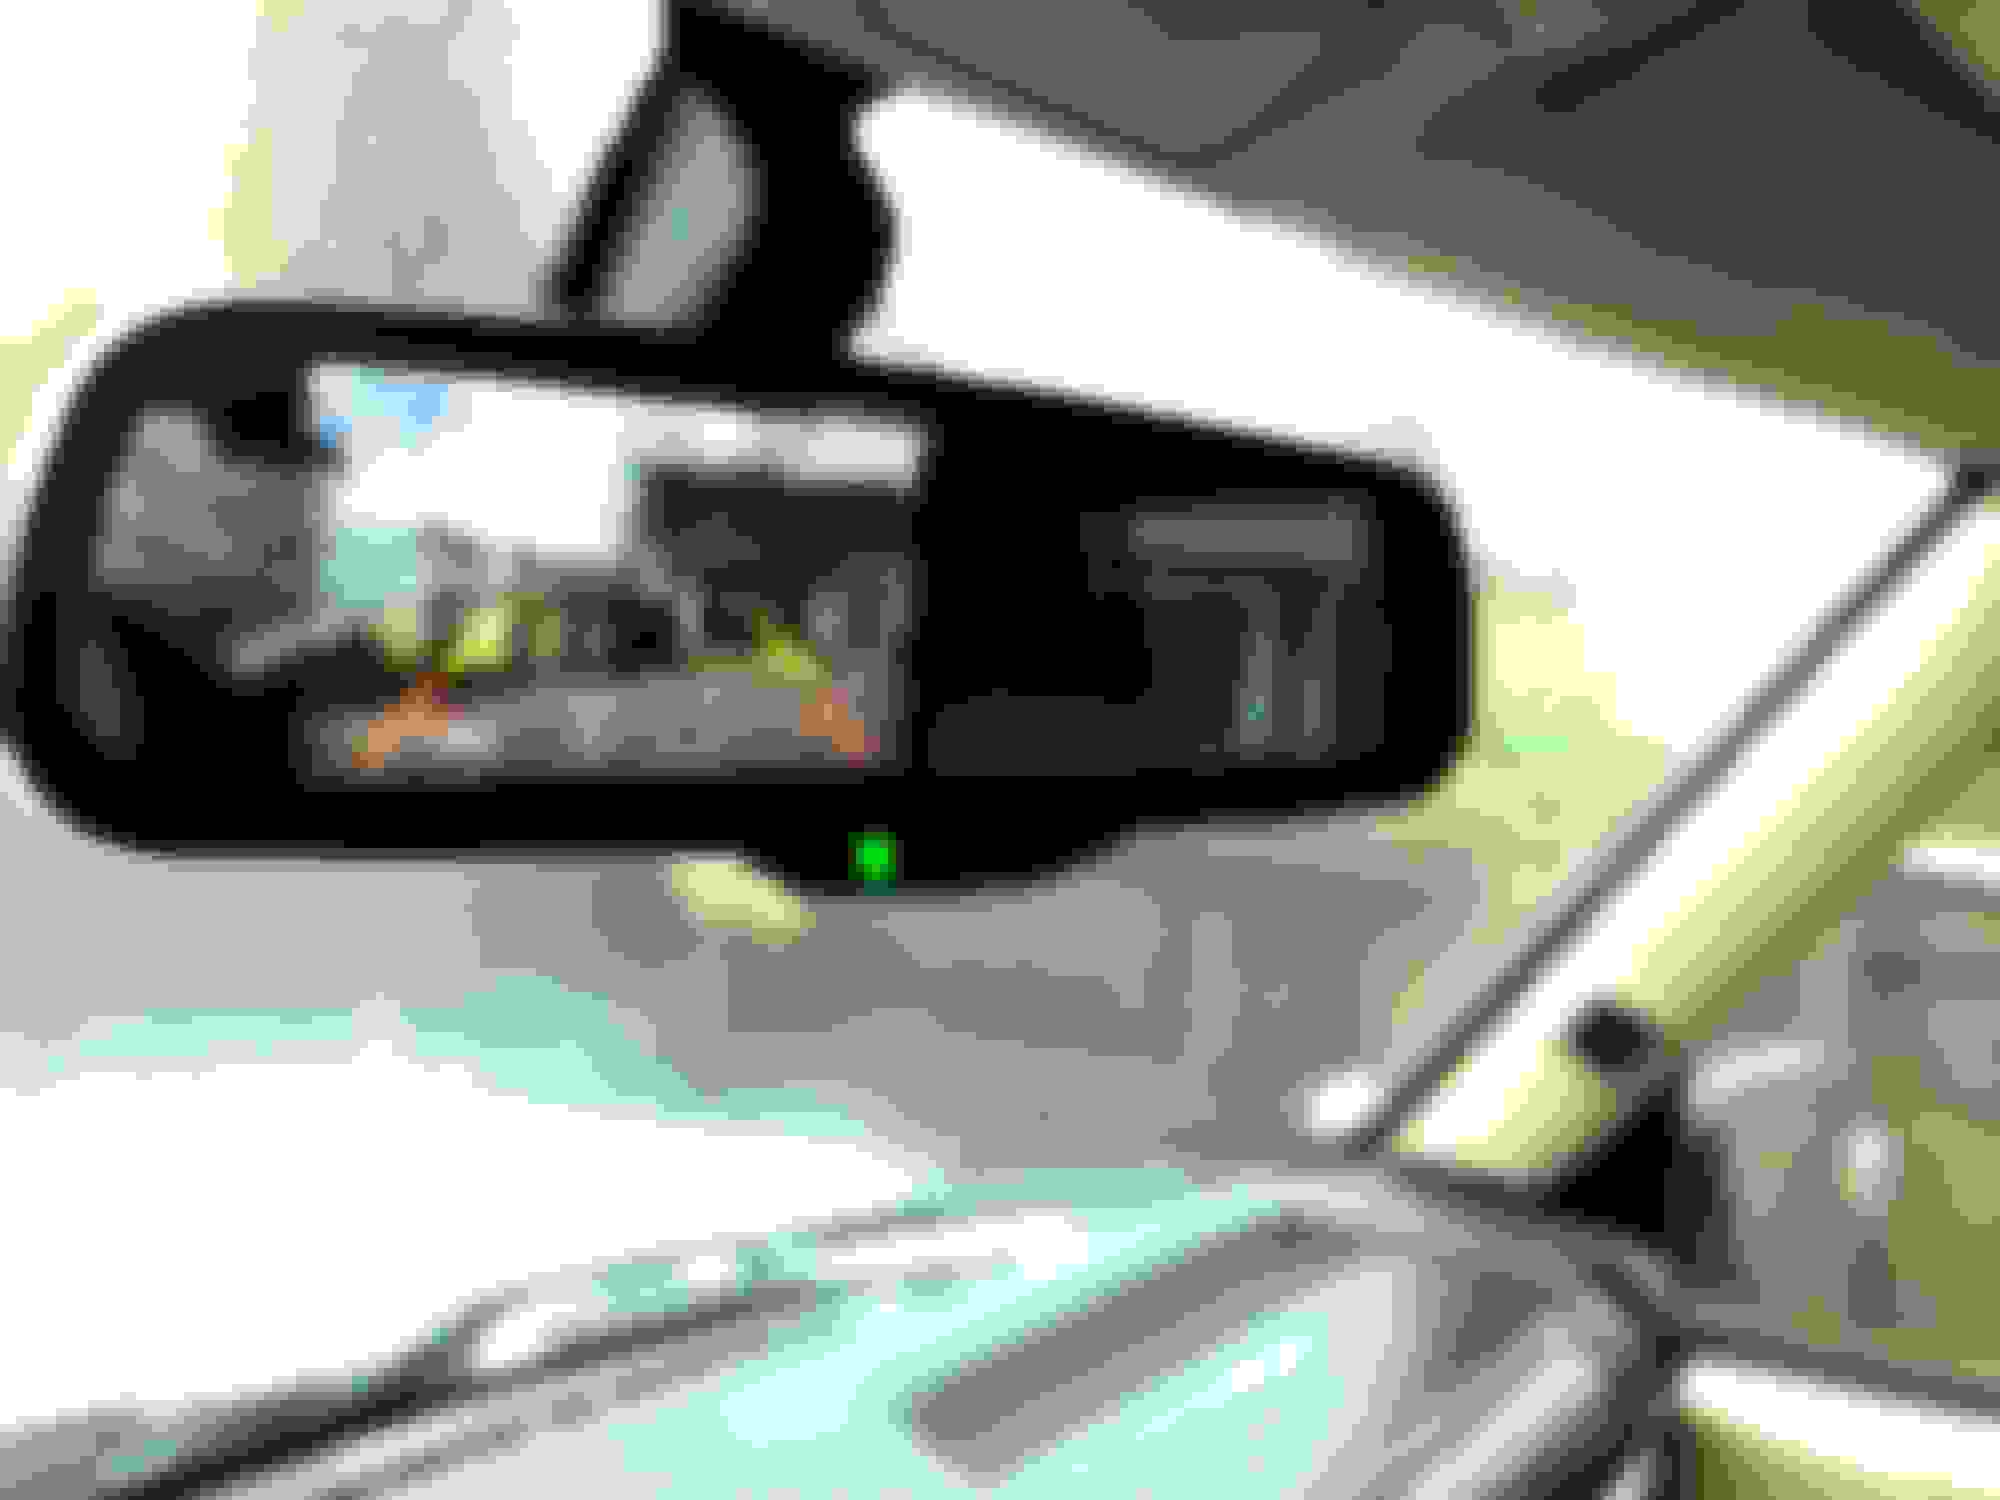
I went with an inexpensive rear view mirror with the screen built in that turns on when the camera is in use.
The hardest part was connecting the hardware of the new mirror with the mounting hardware to the stock rear view mirror. I wanted the mirror to look stock with the two piece plastic hardware cover for the stock mirror.
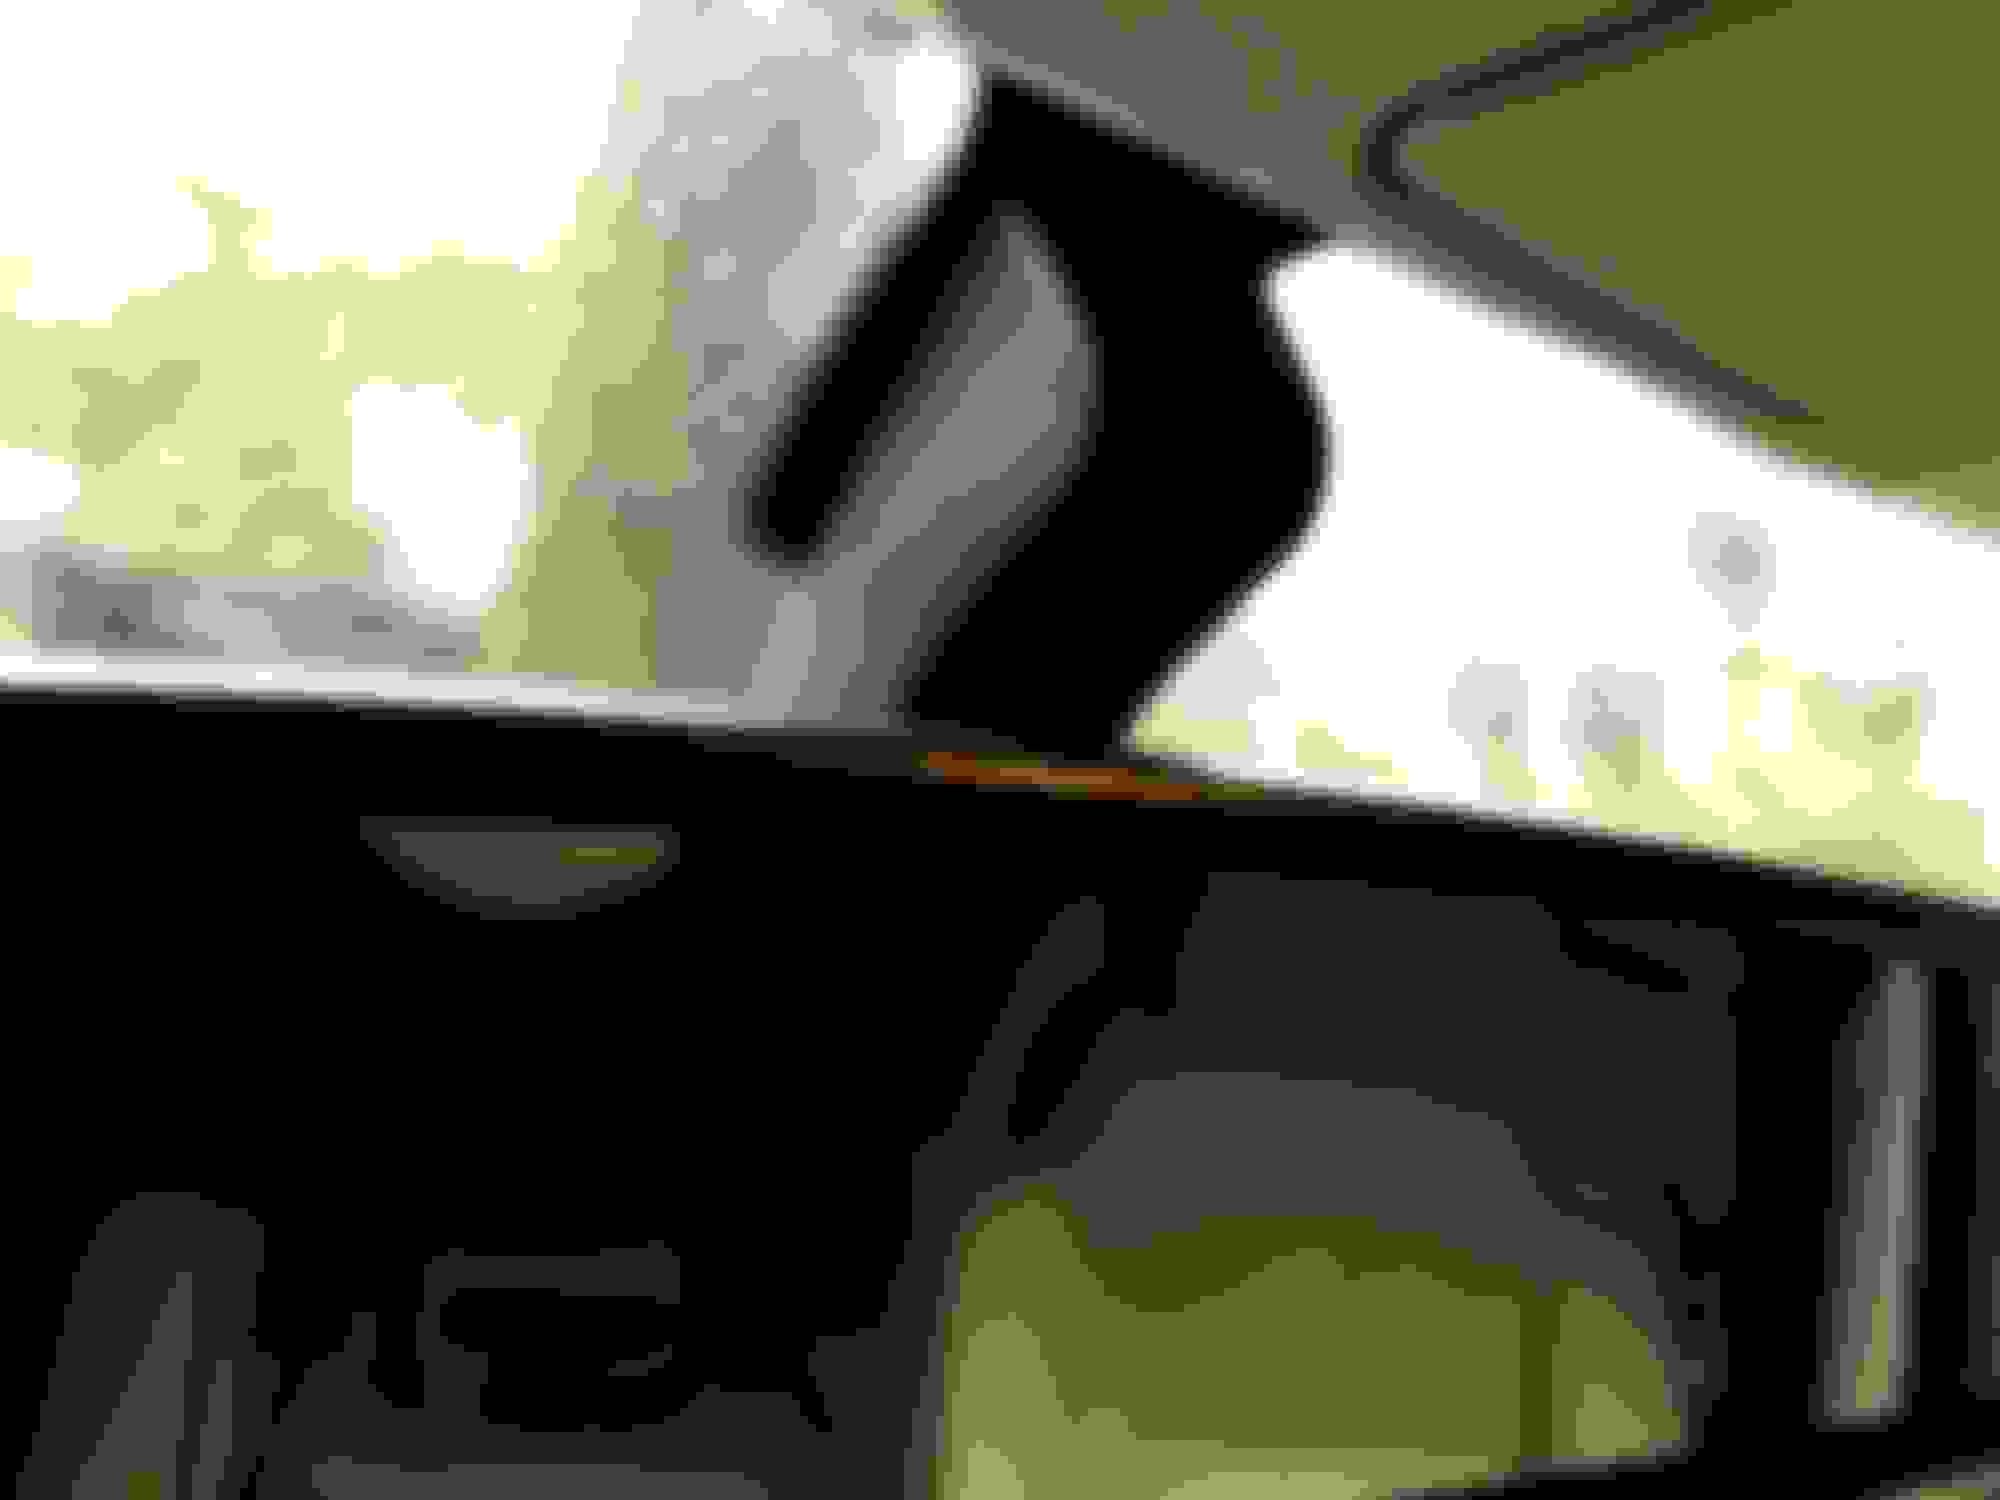
I used inspiration from the new wrangler for the location of the camera in the spare tire center cap.
If had to do it again I would drill holes and run a new wiring loom from the tailgate to inside the cabin. I ran the wires through the existing loom projection. It looks stock but was very difficult to run the wires and I broken them in the process. I think I was lucky to be able to repair the connection to make it still work.
Thanks all for the help. I finally got the rear camera project done.
I went with an inexpensive rear view mirror with the screen built in that turns on when the camera is in use.
The hardest part was connecting the hardware of the new mirror with the mounting hardware to the stock rear view mirror. I wanted the mirror to look stock with the two piece plastic hardware cover for the stock mirror.
I used inspiration from the new wrangler for the location of the camera in the spare tire center cap.
If had to do it again I would drill holes and run a new wiring loom from the tailgate to inside the cabin. I ran the wires through the existing loom projection. It looks stock but was very difficult to run the wires and I broken them in the process. I think I was lucky to be able to repair the connection to make it still work.
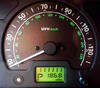
Vehicle is in reverse
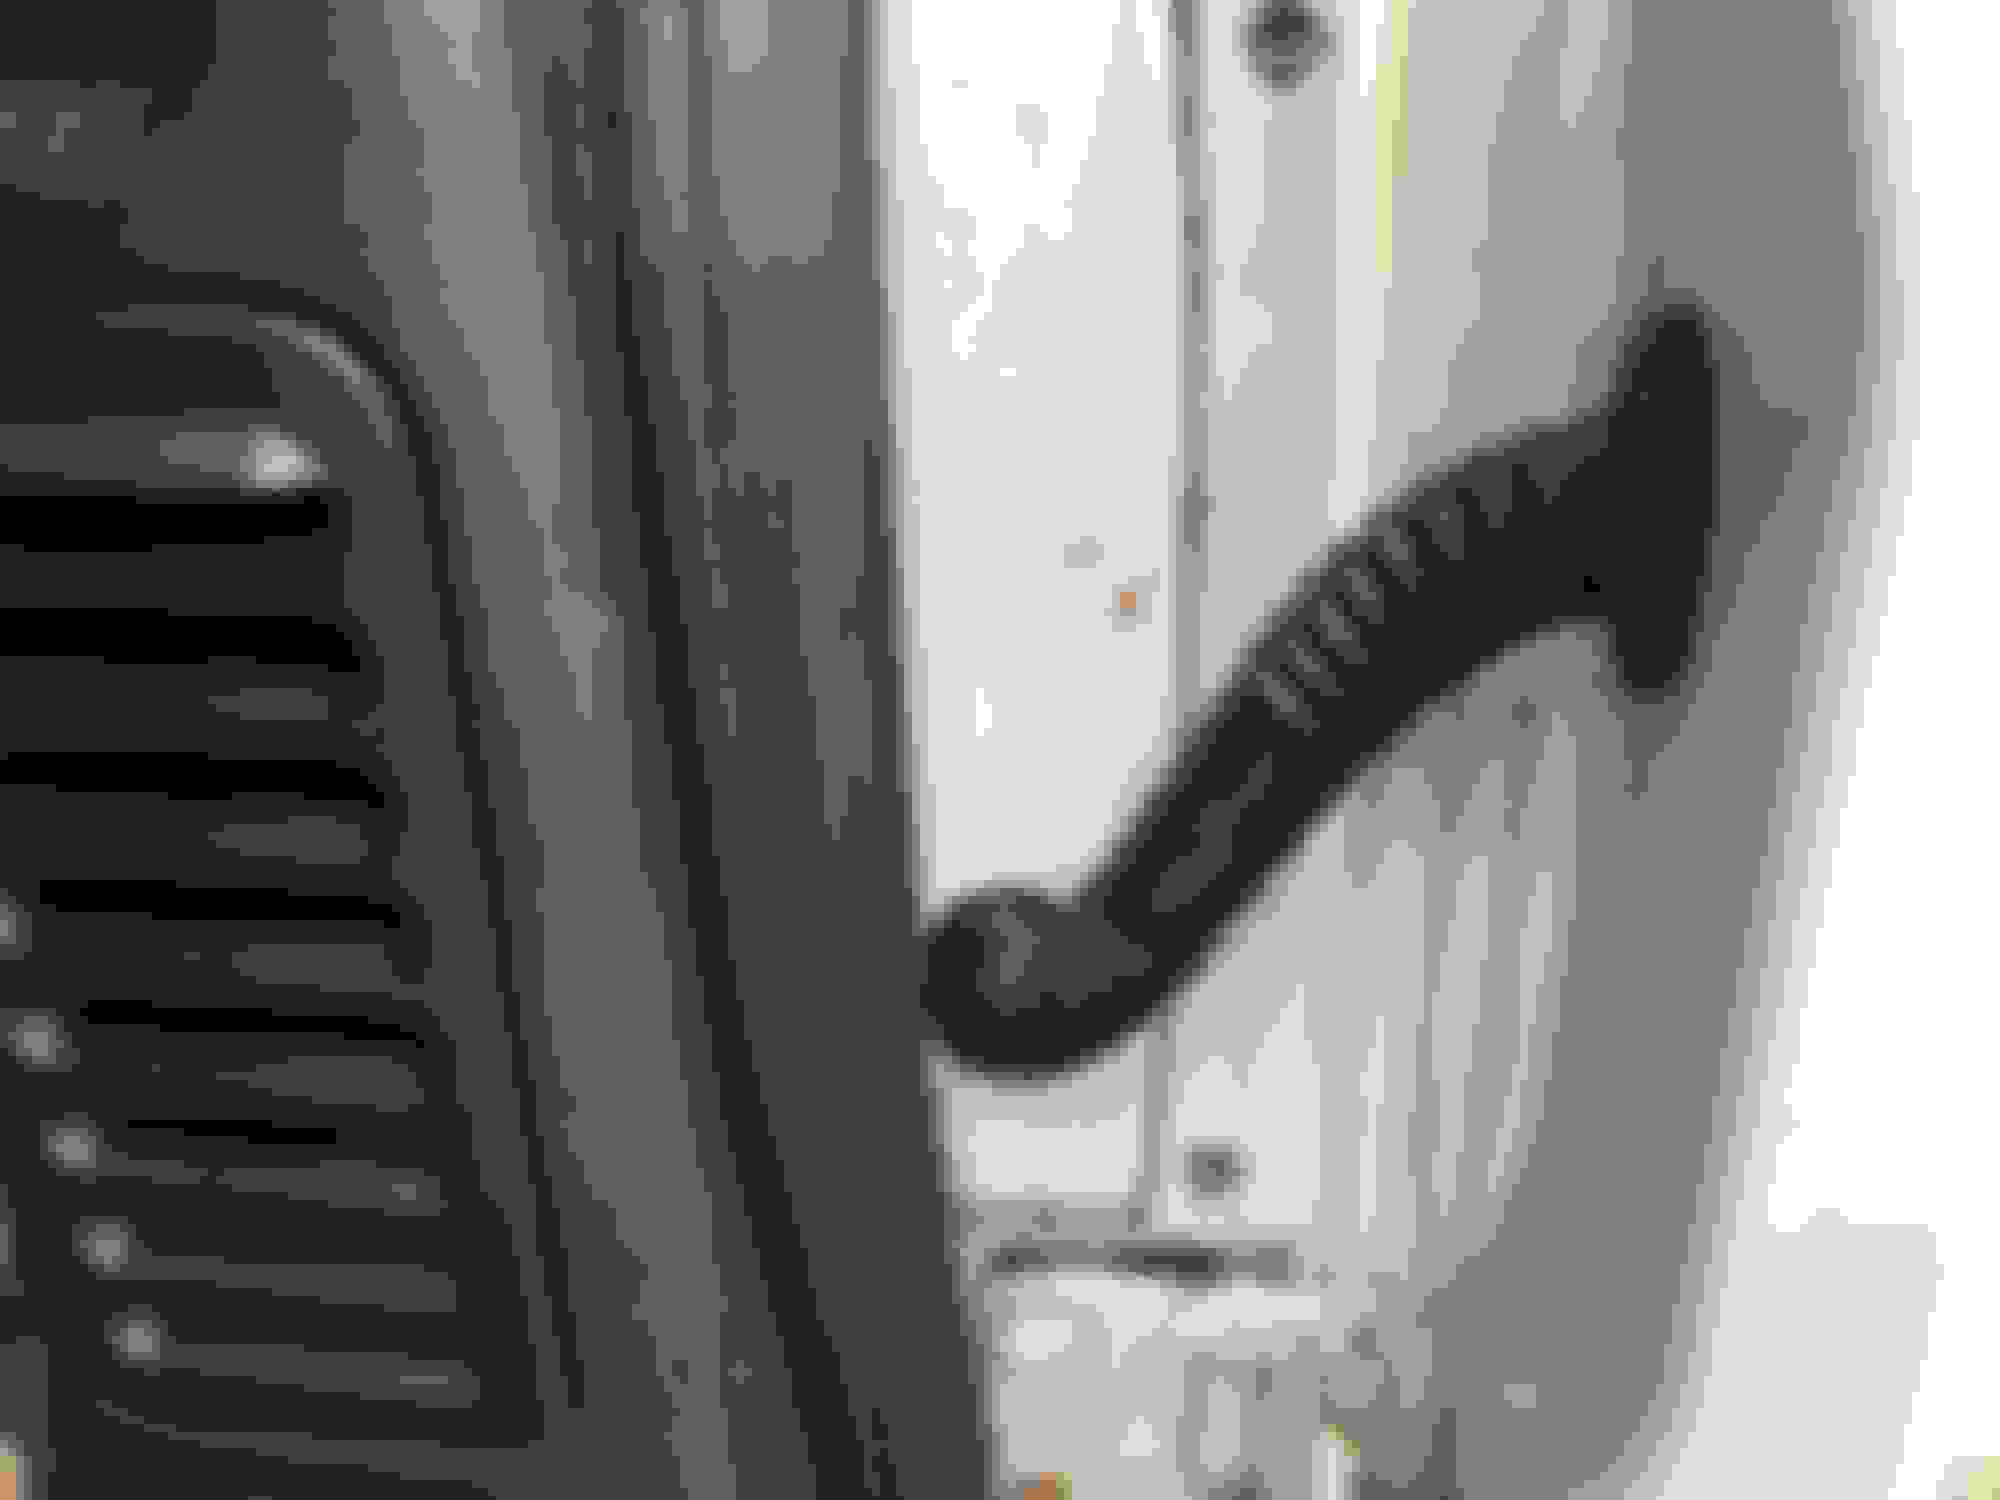
Stock mirror hardware cover
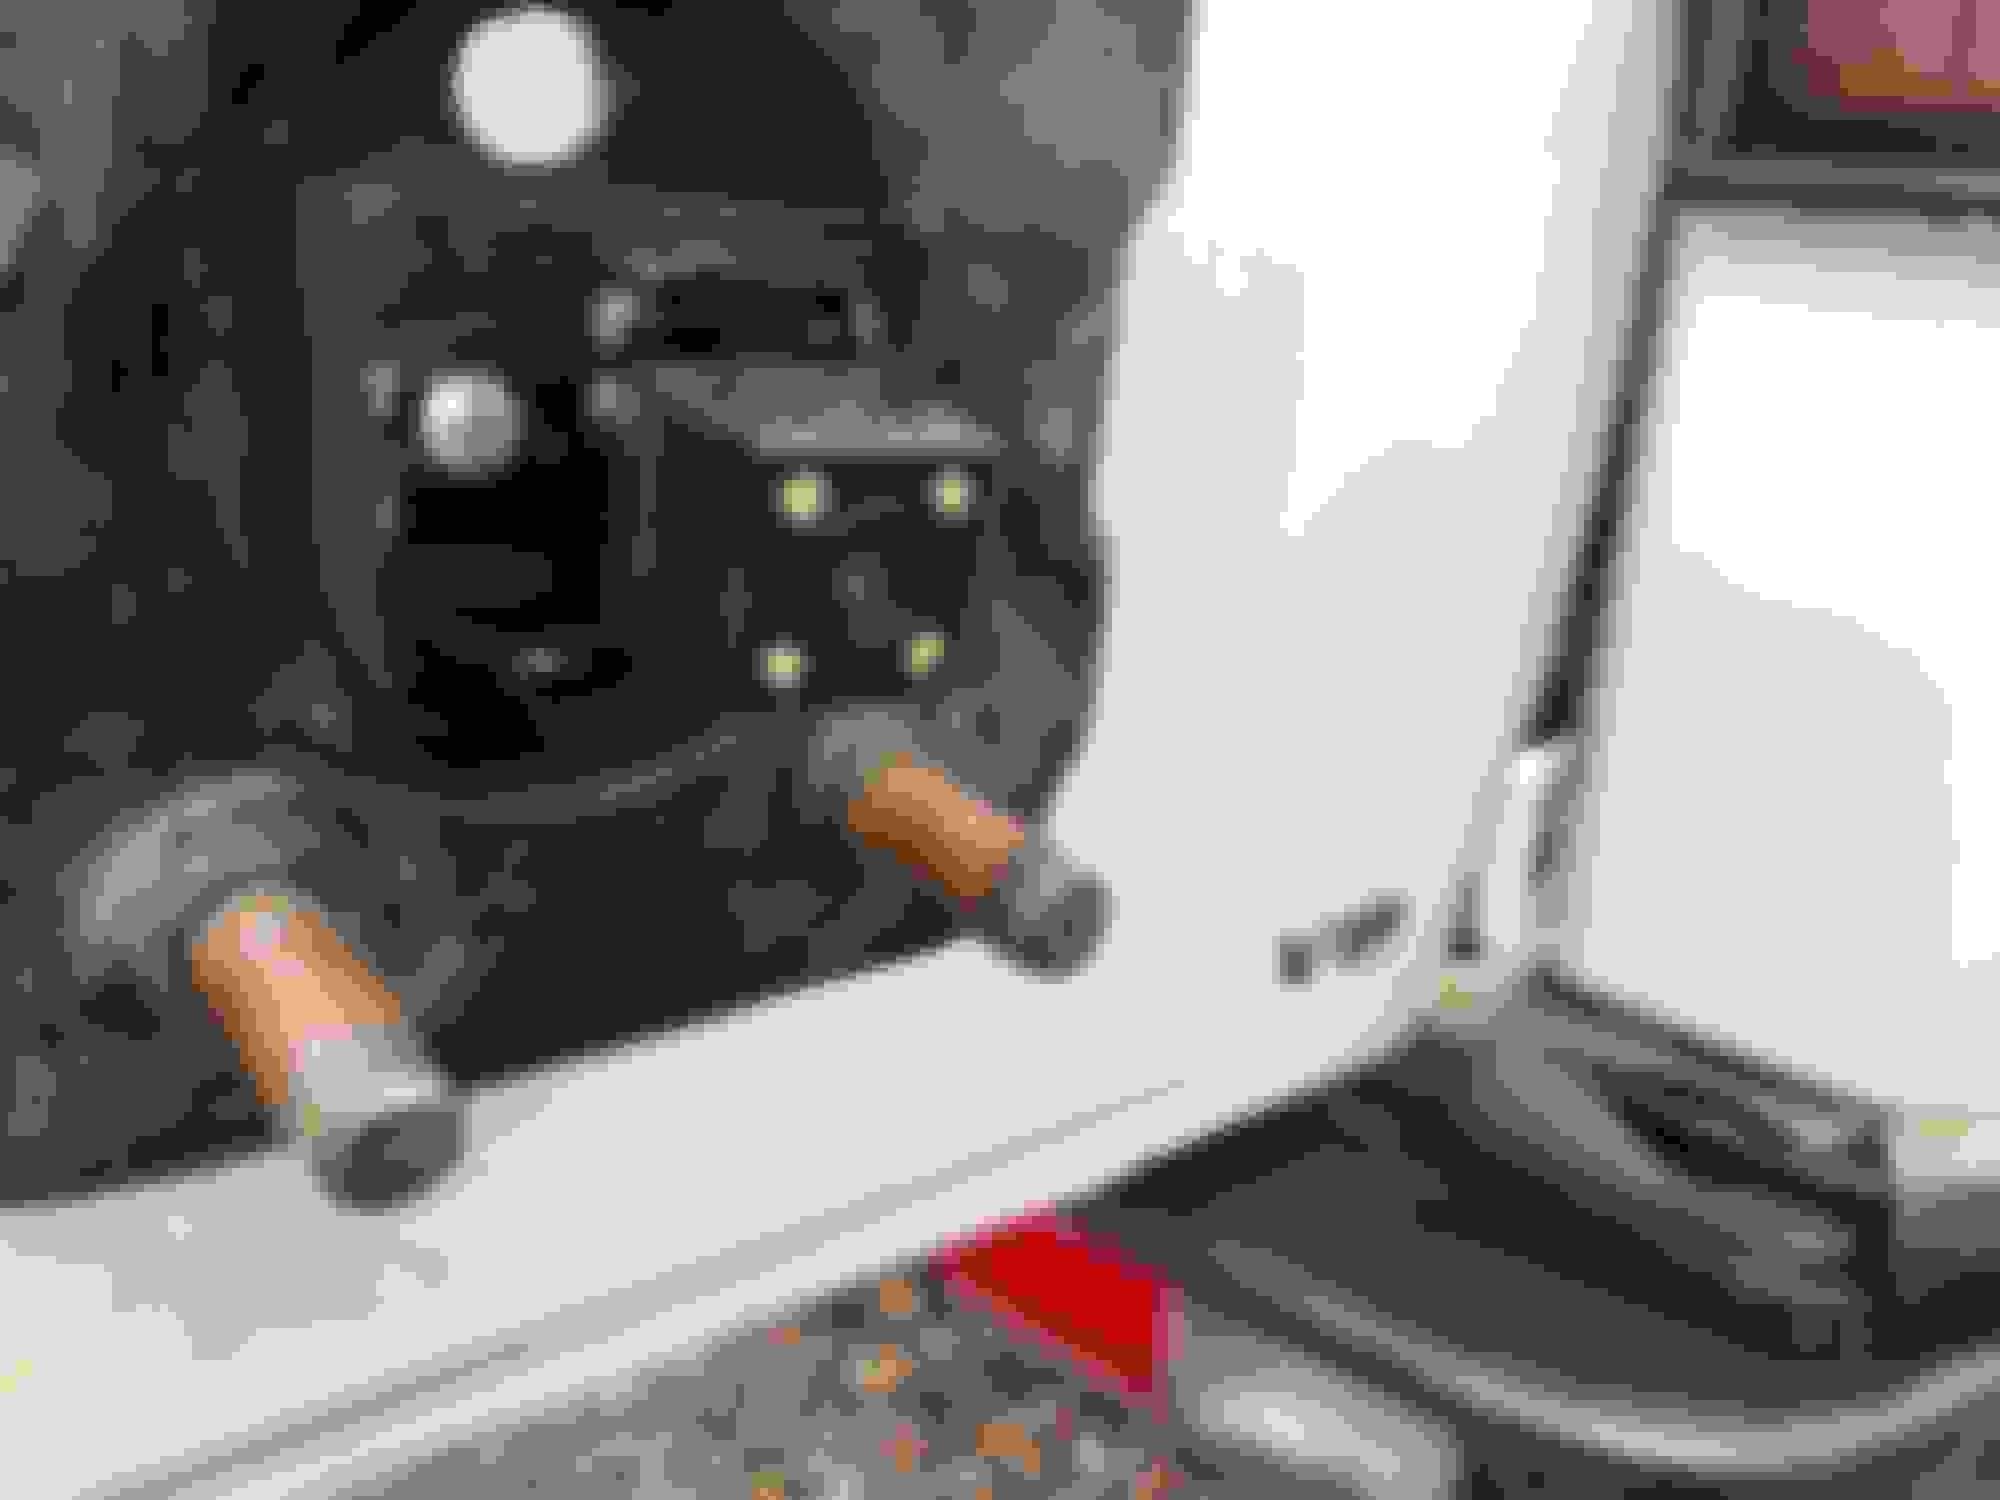
A bit of a Frankenstein under the cover
Simple block of wood gave it the mounting
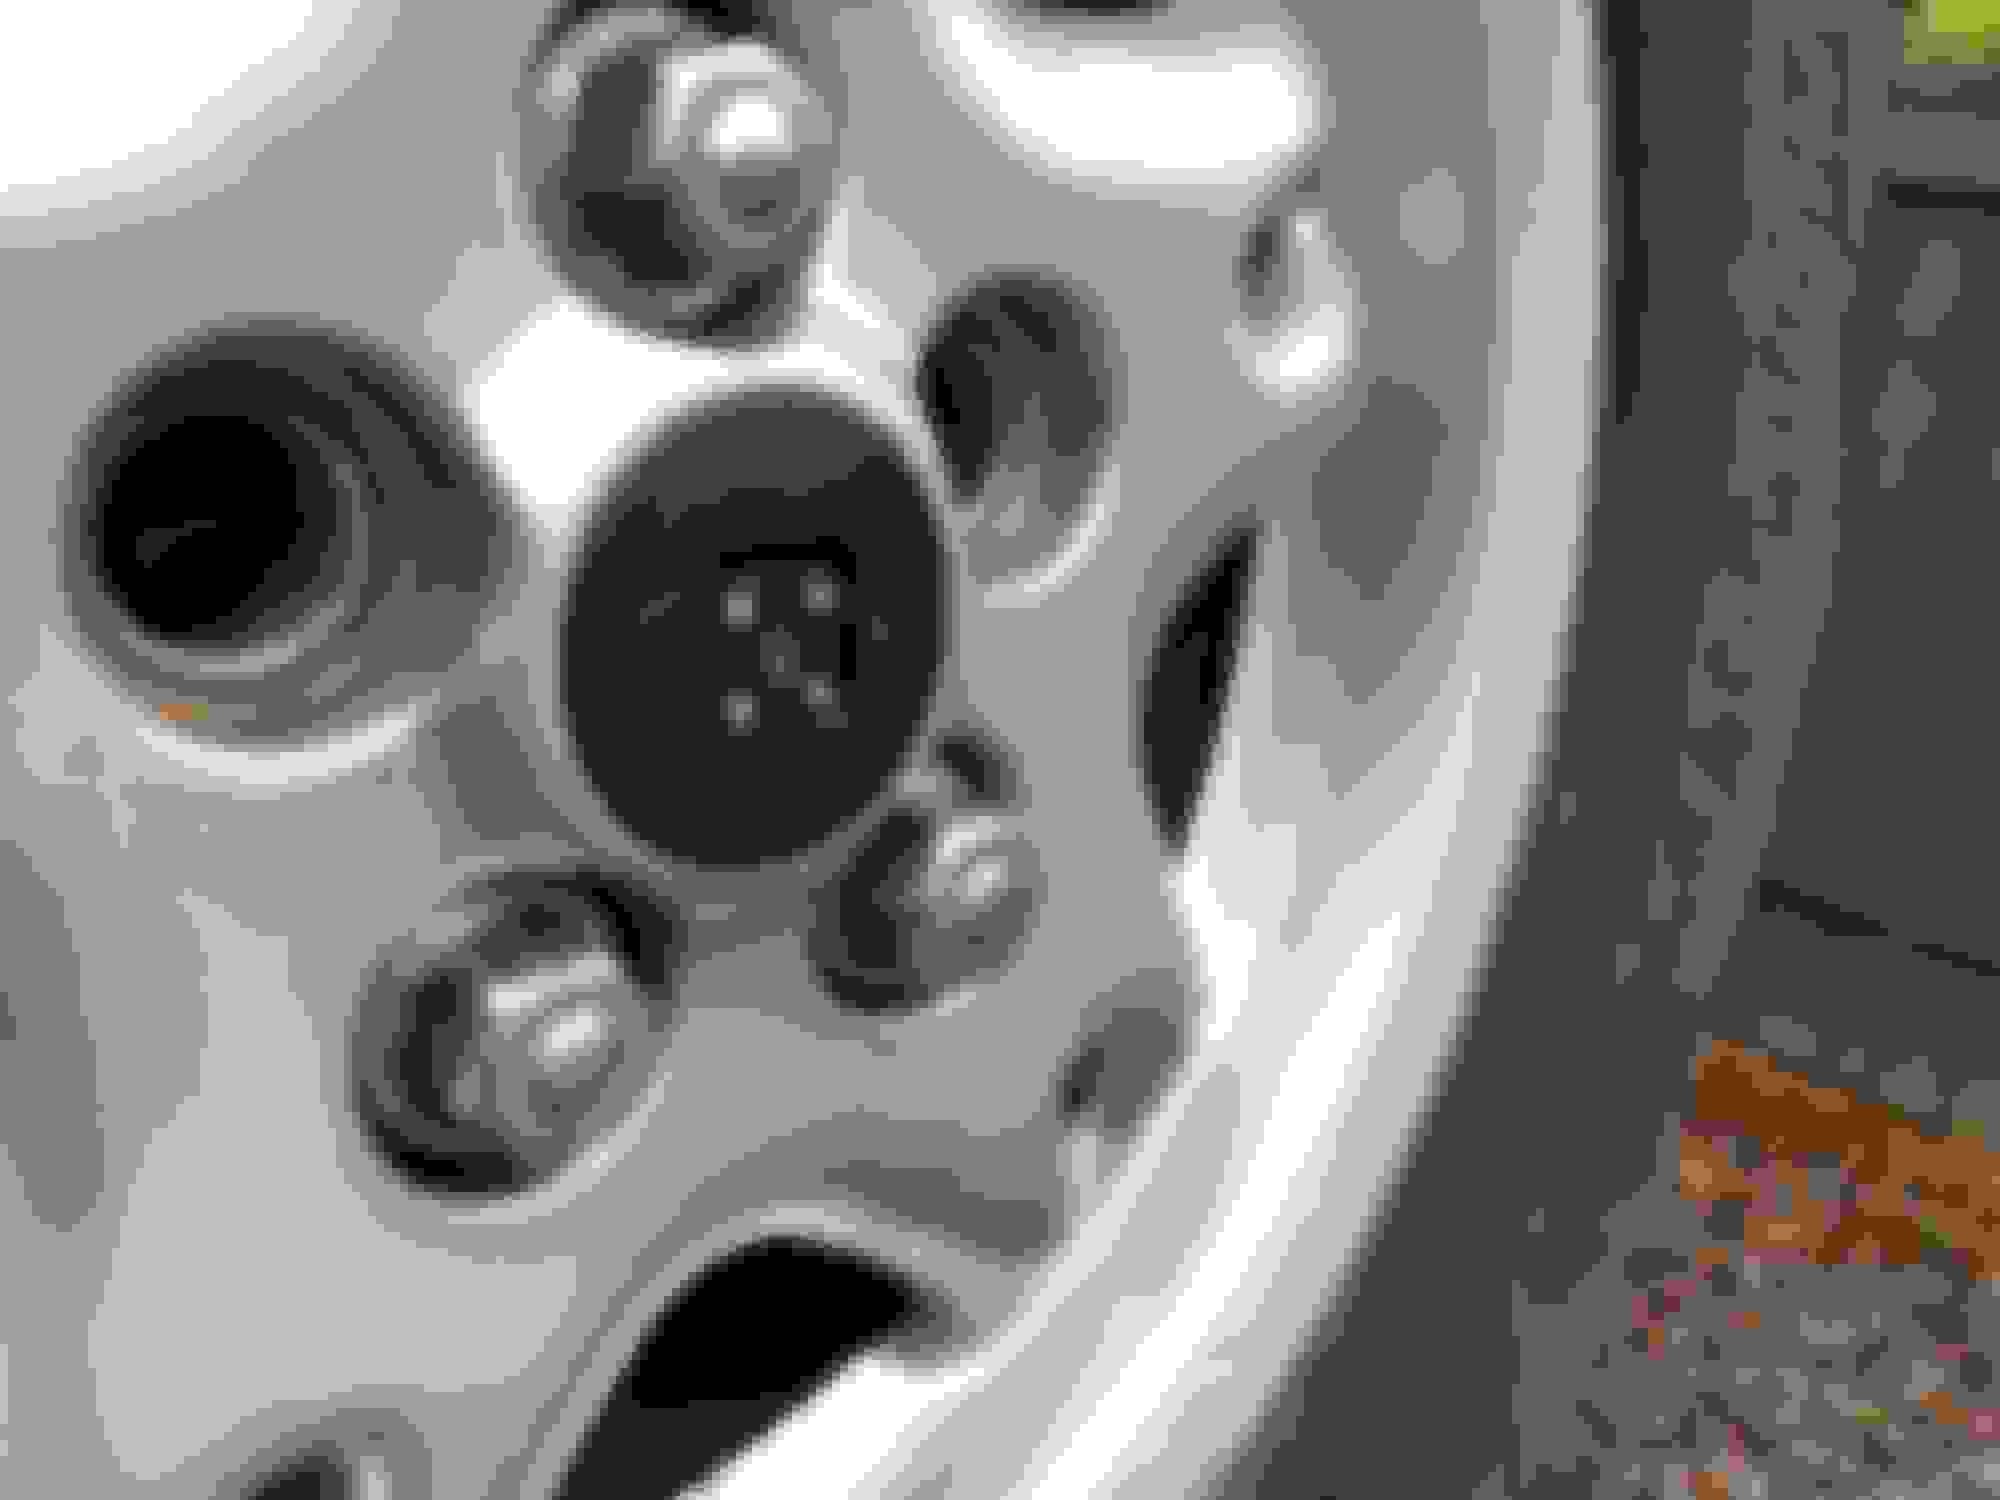
Final camera location
wires in the stock protection
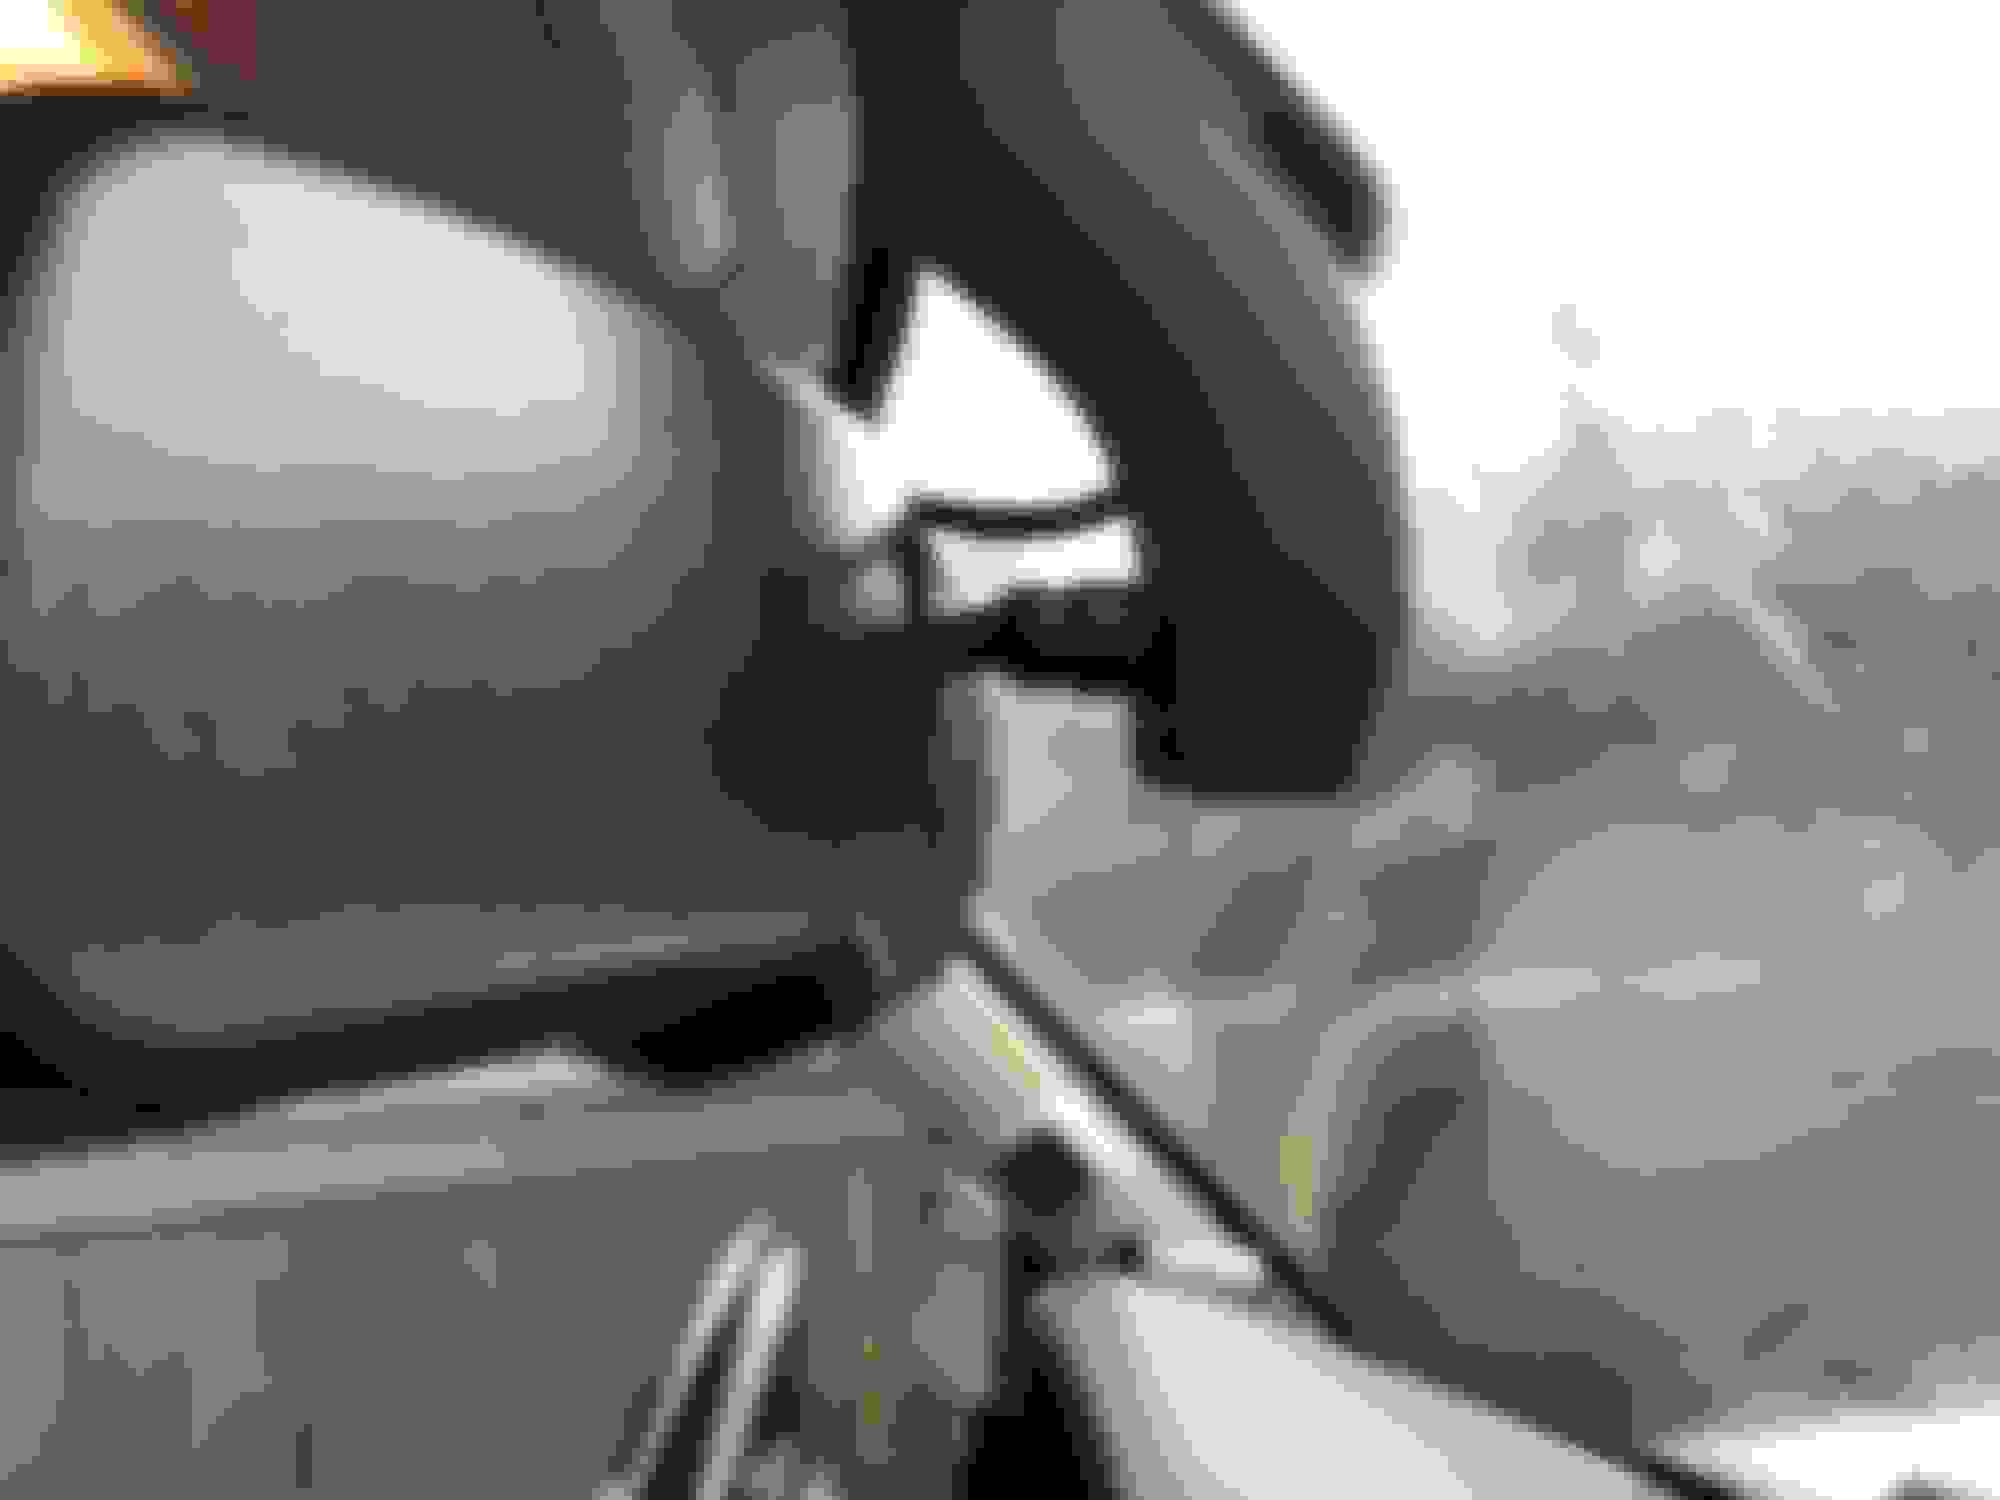
Thank you for the pictures! I am currently doing an install and thinking on putting the camera in the same location as you (i'm in between there or over the license plate). Quick question though. I did run the wire for the camera through the rubber protection by the hinge of the door (pain to fish them) but my main wire splits there and i am supposed to connect the red visible wire to the reverse light wire, any idea how you "fish/route" this red wire from the inside part of the vehicle (around the hinge of the back door) out to the bumper?
You're asking this same question all over the place.
If you investigate behind the right-hand tail light assembly and the vent grill that you can see in the last photo you will see that the loom of wires from the door comes into those spaces. There's a hole in the bottom of the space behind the tail light where you can drop your new wire down to the bumper.
you are right mollusc I have asked in the three other posts that address this issue in the hopes that perhaps people participating in that post may have had the notifications on for any follow up on that and reply.
Thank you for your guidance here! I had the plastic grill shown in that photo to push the camera wires through the door and was able to find a boot at the back from where you mentioned (see my picture below) that i used to push through the red wire down to the bumper. I was unable to put that red wire with the rest (inside the boot) since it wouldn't fit and that seems to be a long rubber grummet so i run it out of the grummet and then i put the grummet back in. Thanks again and apologies for posting this same question in other threads.