When you click on links to various merchants on this site and make a purchase, this can result in this site earning a commission. Affiliate programs and affiliations include, but are not limited to, the eBay Partner Network.
I wanted to remove the head shield so I’d be able to get better access to the rust on the rear of the frame. Snapped all four bolts holding the heat shield on immediately.
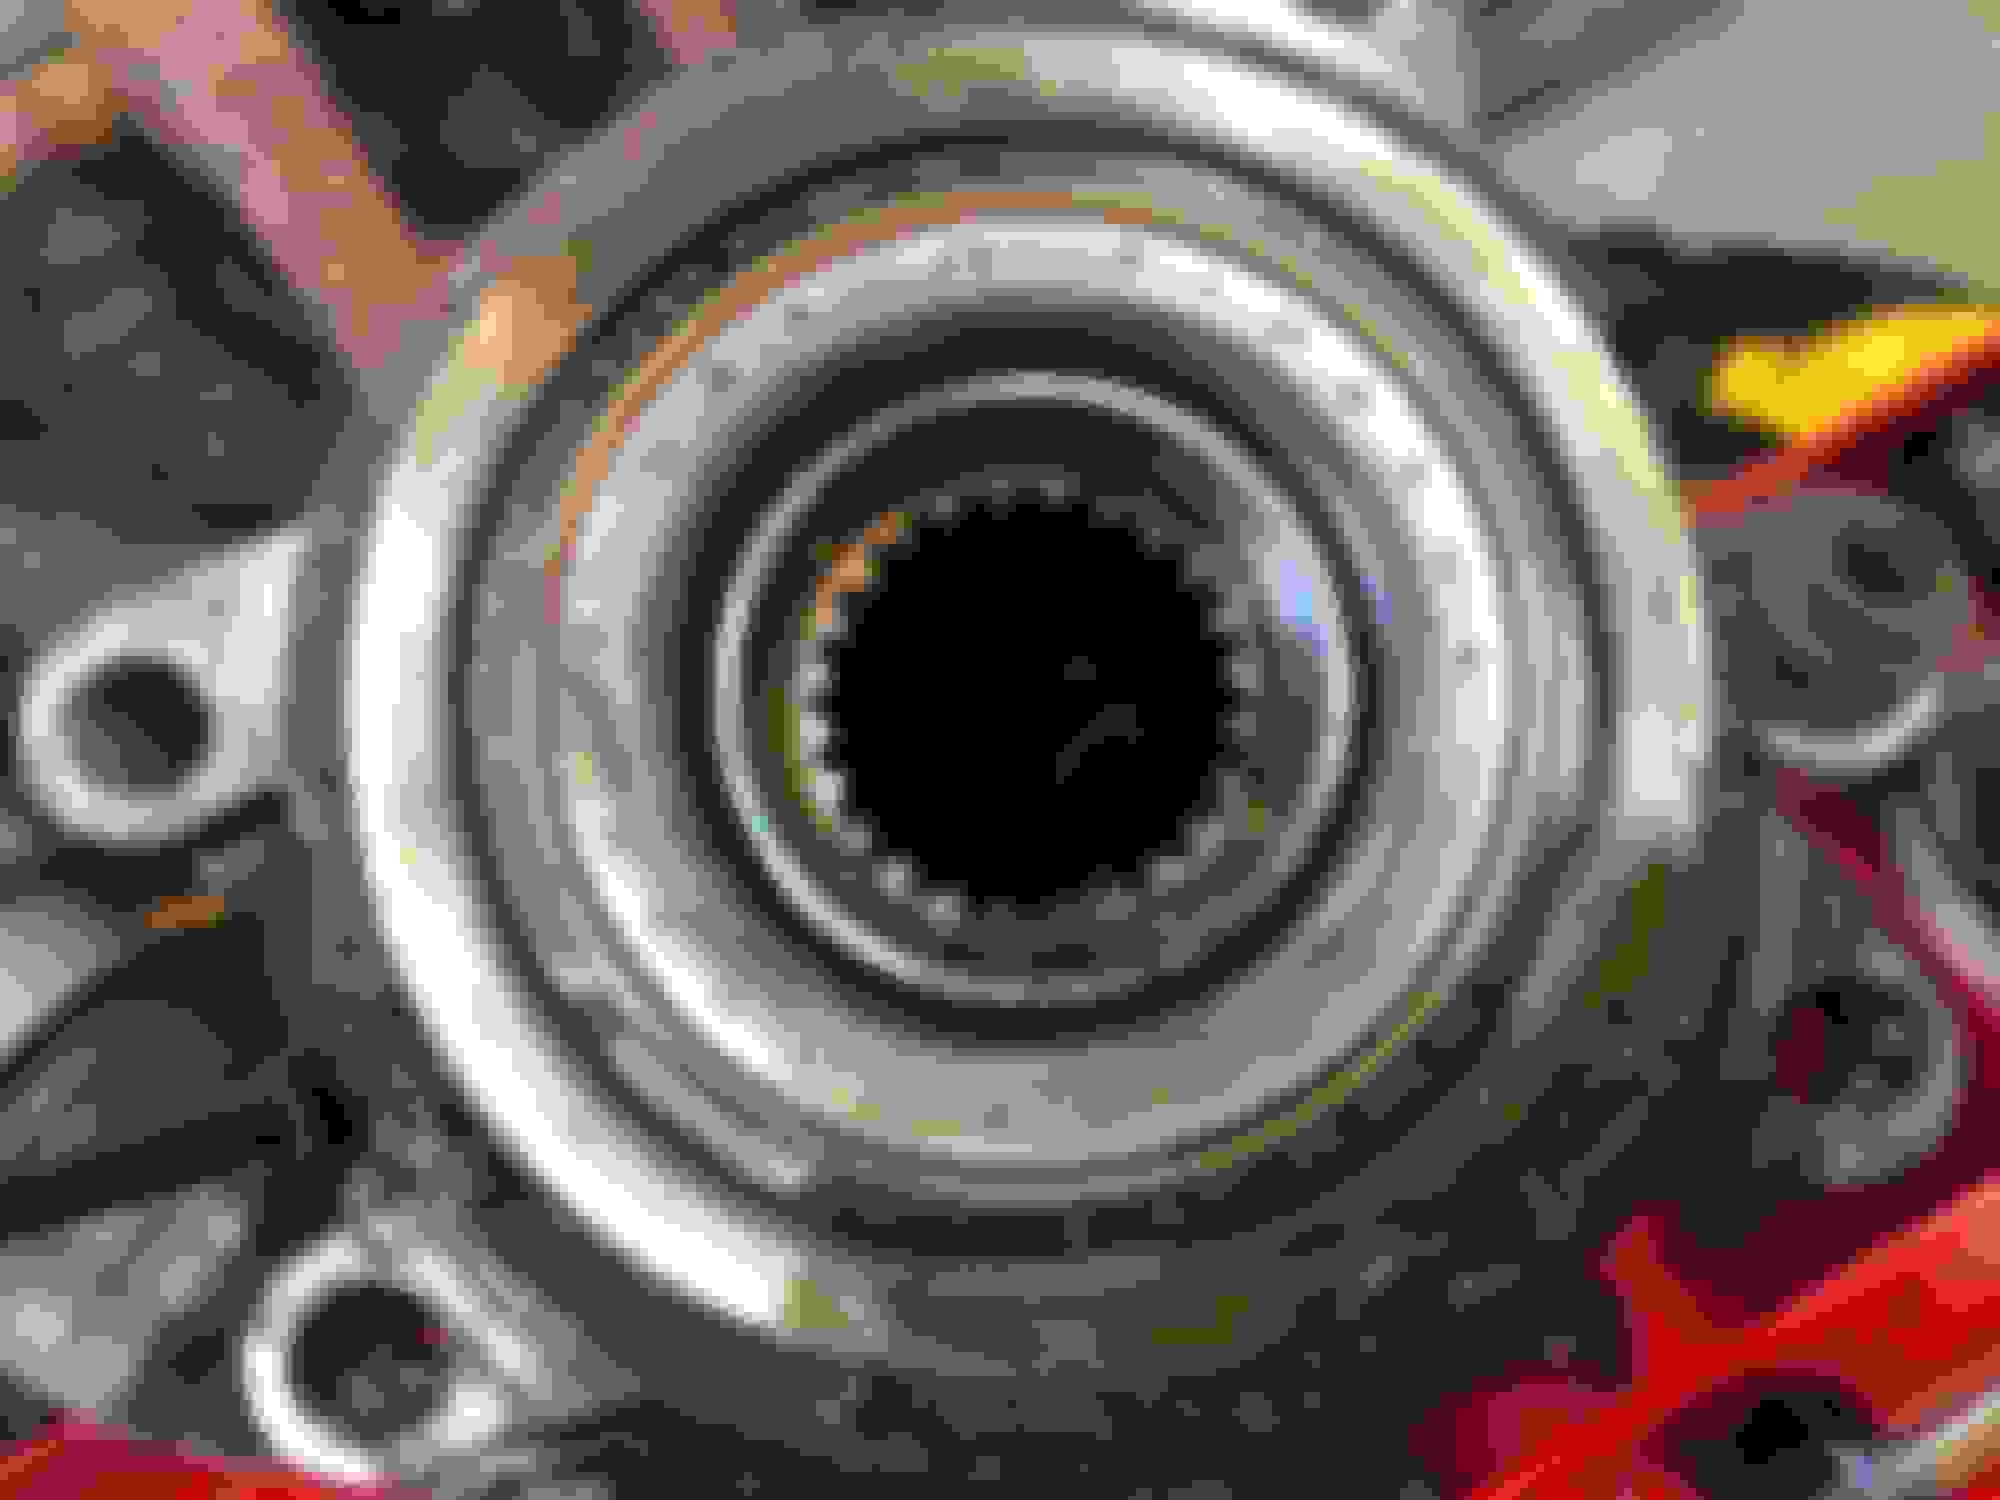
I couldn’t get a good angle on the studs for to drill them out, so pulled the hub off. I’ll put this in a vise and drill them out later this week.
I found a wizard staff hidden inside the car while I was at it.
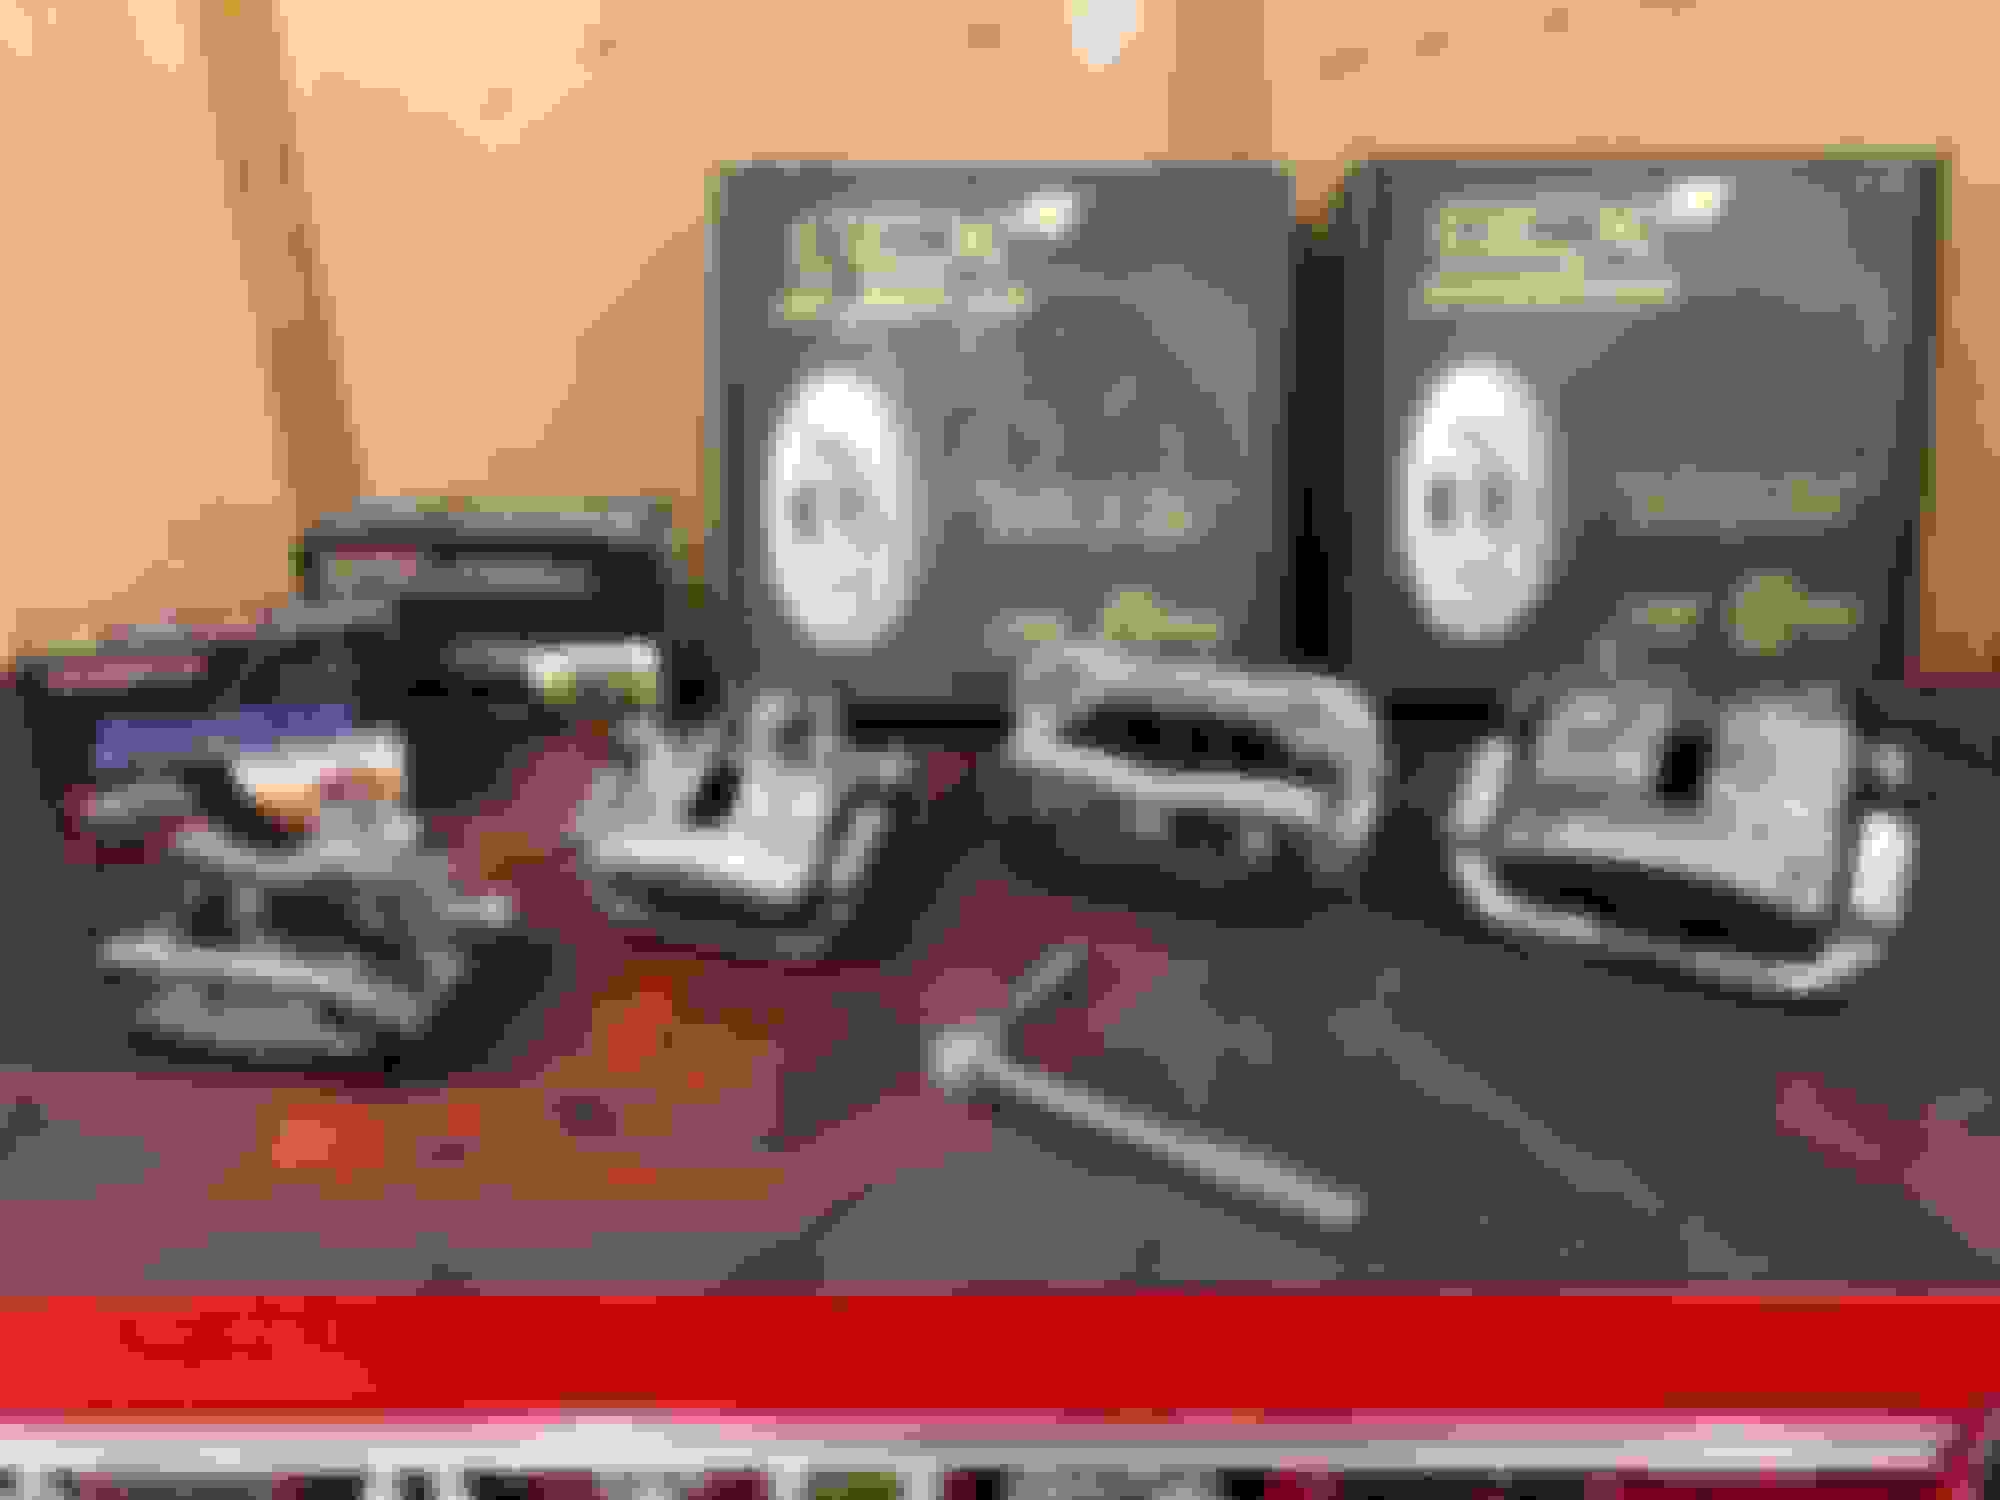
Some new parts came in, pads, half the rotors, and new brake calipers all around.
Unfortunately these aren’t coated, so they’ll turn into rust clumps in a few years like this. I bought some POR-15 caliper paint. I did this in a silver on my daily driver and they look just fine. But I’ve never had red calipers and even though mjl1987 thinks it will look terrible, this is ****ing happening Mike Lambert.
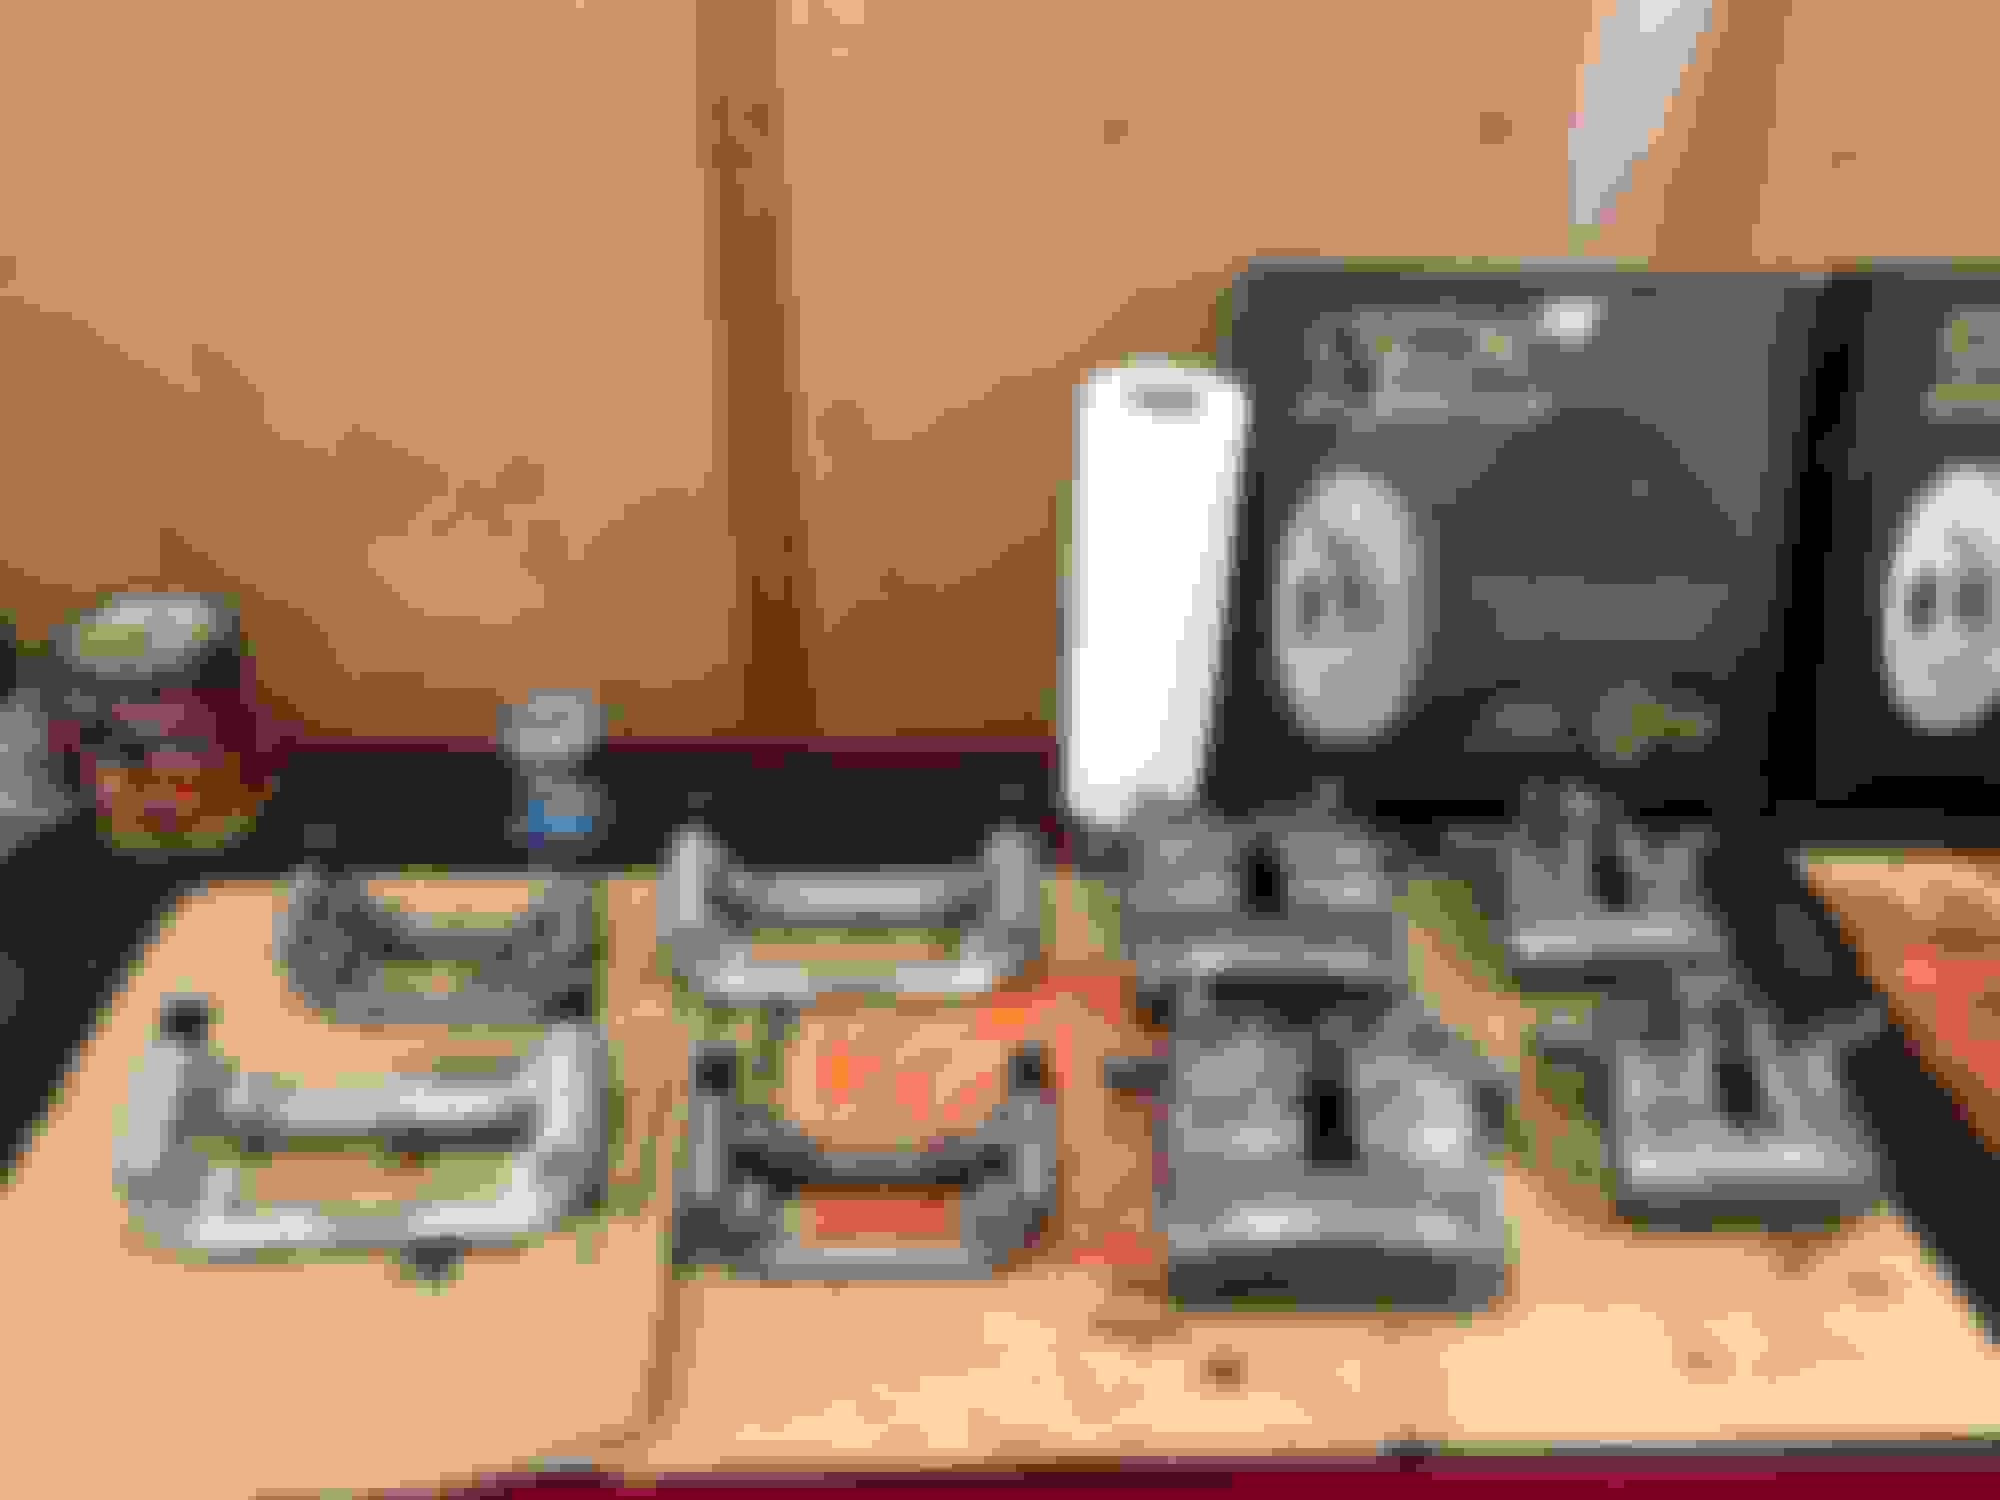
I just prepped them for paint. Scrubbed them with a Brillo pad and degreaser for a bit, and then spreader them down with metal prep. I’ll let them dry and paint them tomorrow.
Snapped all four bolts holding the heat shield on immediately.
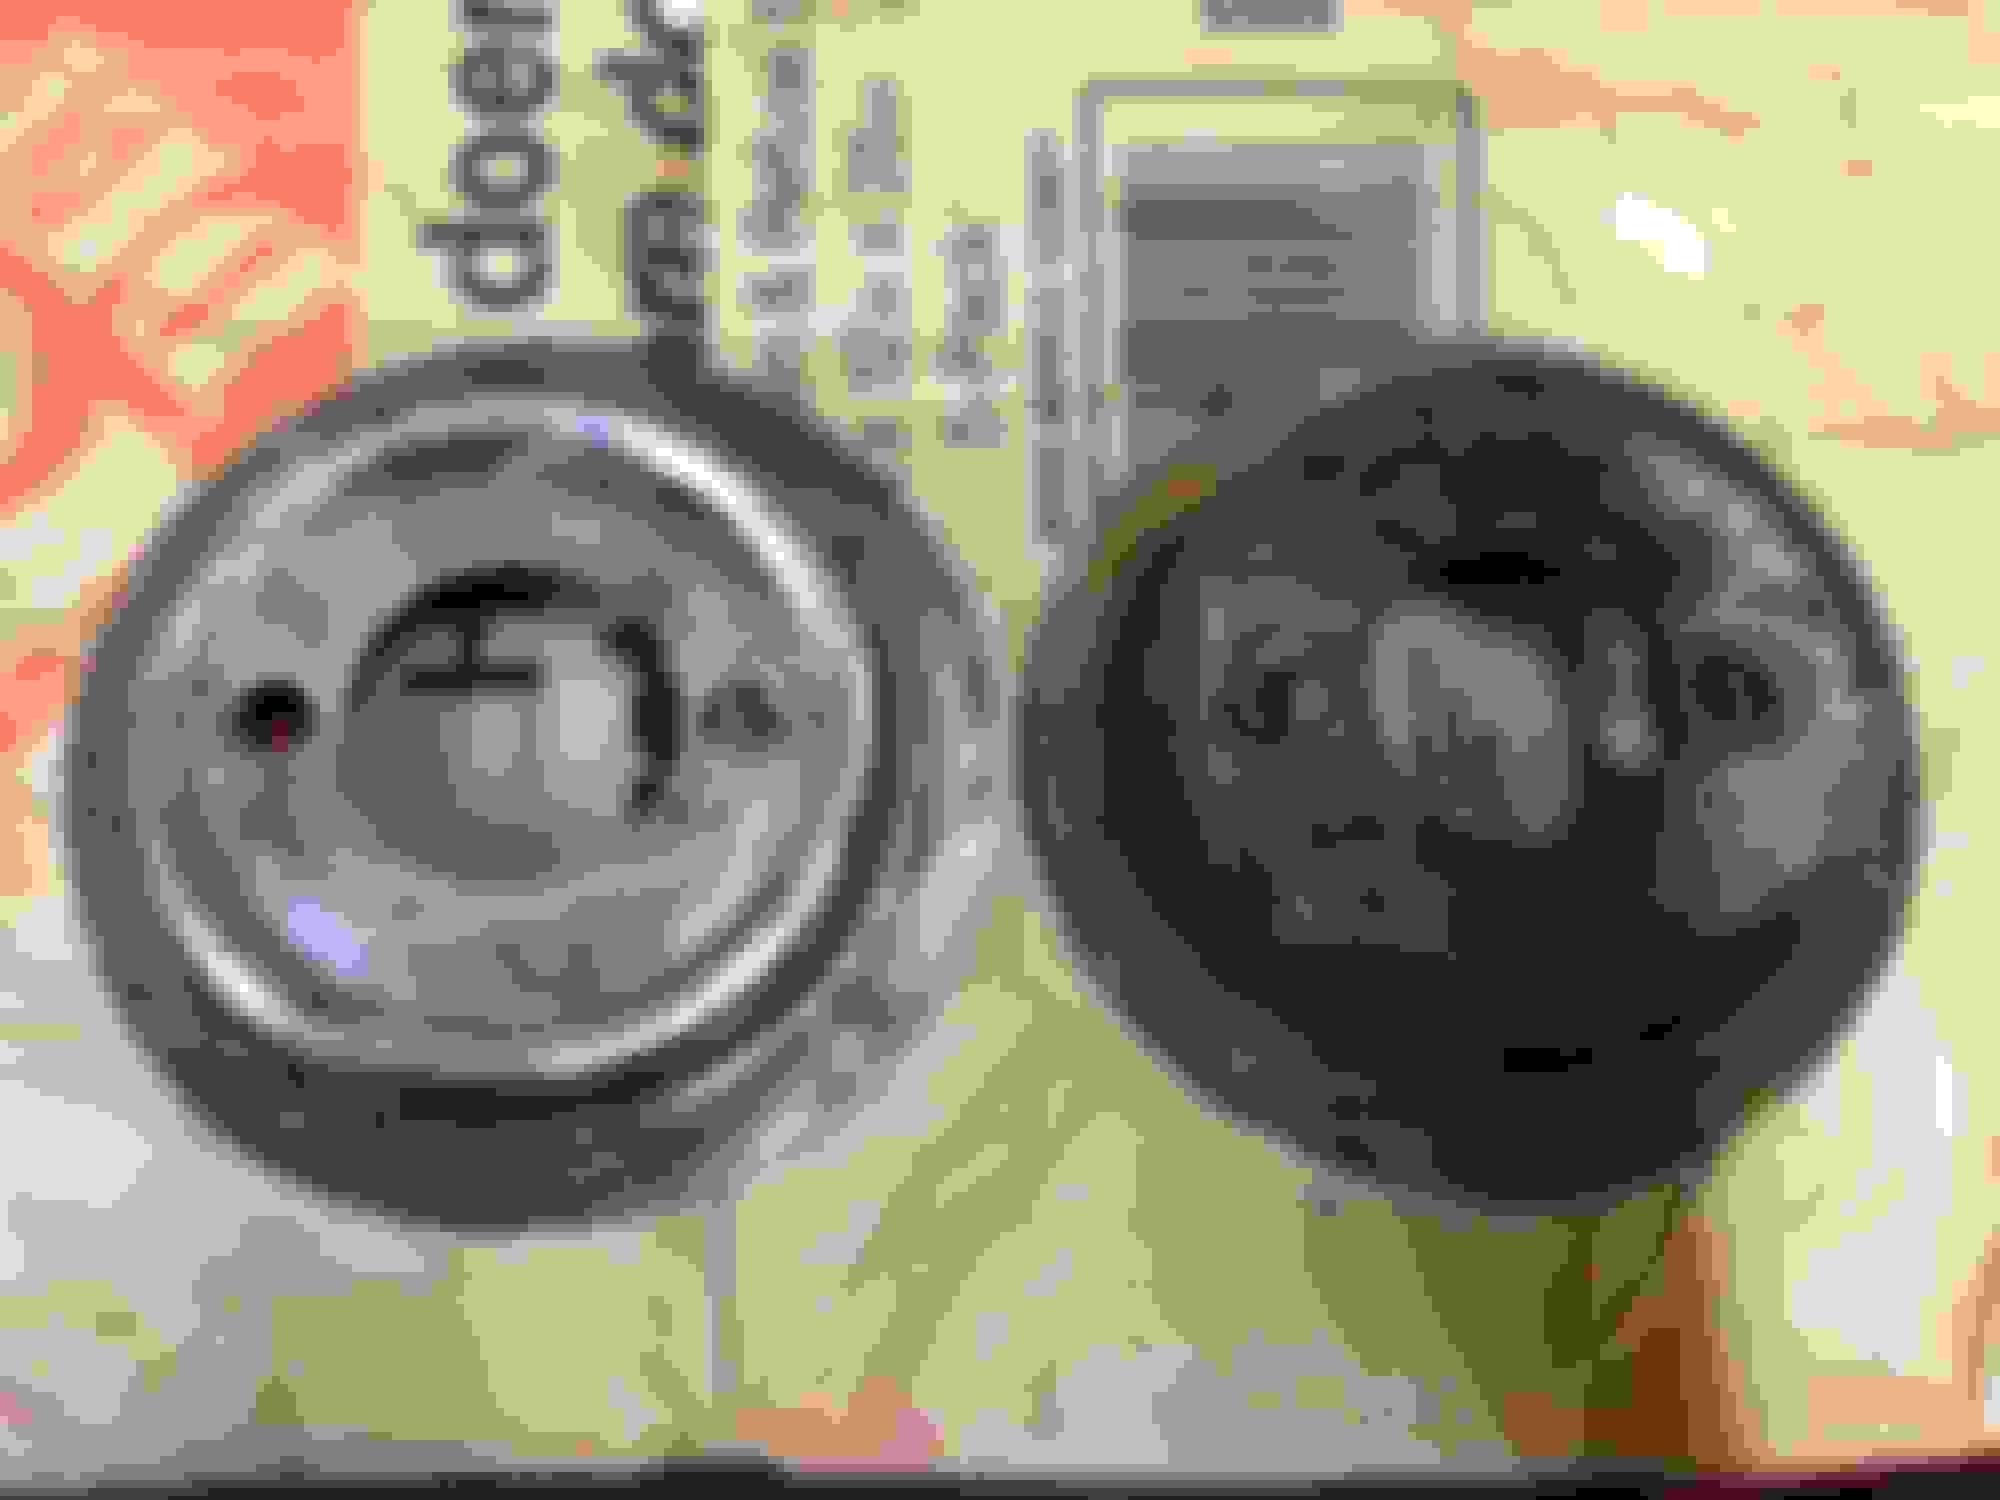
Same with mine. My dust shields where basically disintegrated. I only was able to extract the M6 bolts that came through the axle housing using lots of heat. Drilled them out really small and retapped the holes.
Same with mine. My dust shields where basically disintegrated. I only was able to extract the M6 bolts that came through the axle housing using lots of heat. Drilled them out really small and retapped the holes.
I just did that myself, very surprising how time consuming it was for three bolts. I will almost certainly have to do the three on the other side when I get there.
It’s all good to go now. Gave me the clearance to sand blast the back section of the frame.
I’ve taken off any removable bits so I could sandblast underneath them. It’s very time consuming but my tactic is to go at the area with a series of wire brushes on angle grinders for clumped rust, and then redo everything with the sand blaster.
I’m going through playground sand and wire brushes like crazy.
I just wrapped up the passenger side of the mid/rear end of the frame. Made a terribleness sandblasting but the finish looks outstanding.
I also used Eastwood’s internal frame paint, went through two cans. I am blown away by this product, two cans could have done the entire car if I had known. I used a scope to make sure it was being sprayed evenly, only to see that I had gone way overboard. All of us should be using this; on my next car I’m going to apply it on day one.
I went with the green so I could see my progress and make sure I had good coverage. A bit leaked out throughout the frame, I’ll use more POR-15 to cover that later for a good look.
Looks like 80% of my lift kit was shipped today, can’t wait to get it in.
Interested to see how the interior rust prevention when on and how it holds up. Where you able to make it past the “baffles” inside the frame? I am working on a very similar project but the rear of my frame is not great and looking to replace. So far shops I have talked to only want to do a full frame swap. I am not too far away in Chelmsford MA.

 09-20-2020 | 12:42 AM