Trim Fix/Removal
#1
 12-31-2014, 09:17 AM


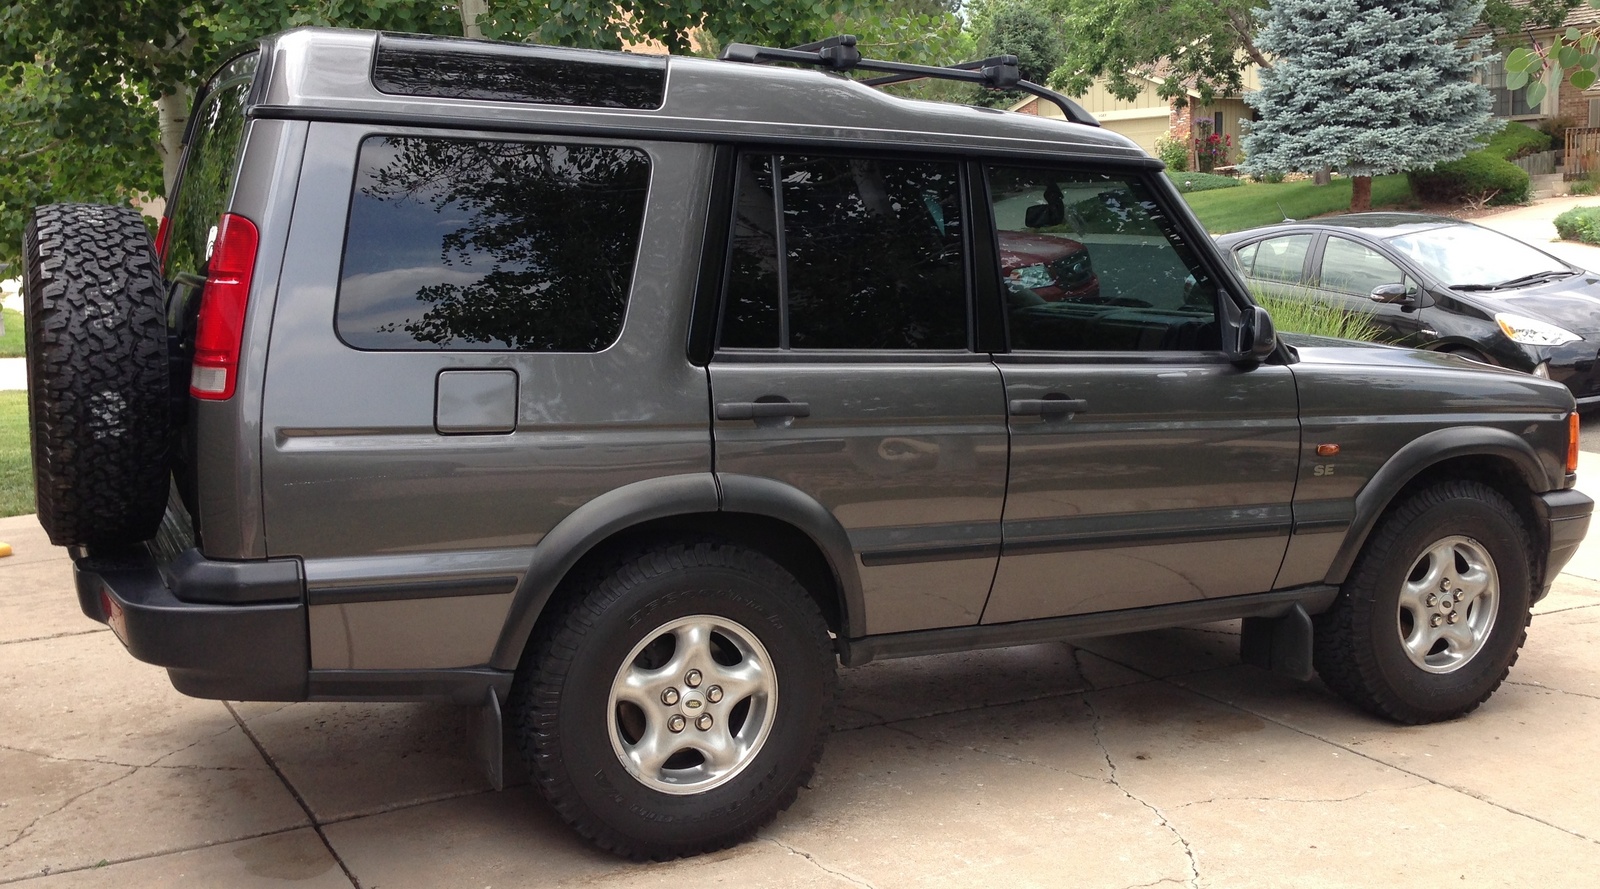
I have a '99 that I need to replace the black exterior trim piece just behind the driver's side rear door. I assume I have to pop out the round plastic "plug", screw cover, or whatever it is on the inside that holds the big plastic interior trim that extends all the way back to the rear door. I don't want to break something taking it apart so what I am asking is, is it safe just to pop out that round plastic plug and pull the interior trim back far enough to swap out the nuts on the exterior trim piece? Or is there a better, or certain way it needs to be done? Thanks in advance.
#2
12-31-2014, 09:29 AM

I have a '99 that I need to replace the black exterior trim piece just behind the driver's side rear door. I assume I have to pop out the round plastic "plug", screw cover, or whatever it is on the inside that holds the big plastic interior trim that extends all the way back to the rear door. I don't want to break something taking it apart so what I am asking is, is it safe just to pop out that round plastic plug and pull the interior trim back far enough to swap out the nuts on the exterior trim piece? Or is there a better, or certain way it needs to be done? Thanks in advance.
or maybe this work as a point of reference?
#3
12-31-2014, 10:01 AM
Sure,
The two inch wide piece of black plastic trim right behind the rear door. The piece between the door jamb and the painted part of the body between the rear door and the rear side window. If you go up the joint of the rear door just above the rear wheel it ends at the piece of trim I am talking about. Thanks
The two inch wide piece of black plastic trim right behind the rear door. The piece between the door jamb and the painted part of the body between the rear door and the rear side window. If you go up the joint of the rear door just above the rear wheel it ends at the piece of trim I am talking about. Thanks
#4
12-31-2014, 10:46 AM

Camel Trophy
If you'Re talking about the piece I think you're talking about, then you have to remove the bolts from the inside. You will need to remove the large tan trim piece that goes around the rear side window in the back. I think there are three bolts, or maybe just nuts. Pretty simple job to do, just be careful not to break stuff. I learned that the hard way...
The following users liked this post:
wild driver (12-31-2014)
#5
12-31-2014, 11:06 AM
#6
12-31-2014, 11:11 AM

The following users liked this post:
wild driver (12-31-2014)


#8
01-02-2015, 03:51 AM


Thread
Thread Starter
Forum
Replies
Last Post
xhevi
Retired - Private 'Wanted' Classifieds
2
01-17-2019 01:31 PM
BSundownerC23
General Range Rover Discussion - Archived
4
02-28-2010 11:24 PM