
The Ultimate Cooling System; Complete System Upgrade


Rock Crawling
Joined: Jun 2016
Posts: 469
Likes: 193
Removing the expansion tank was actually a big part of the reason I chose this radiator. I can understand wanting to check the coolant level, but with as many people who seem to have their tanks fail... I wanted to remove that failure point. Same with the y-coupling in the lower hose that connects it. I check mine by giving the upper hose a few squeezes and listening to see where the water level is.

Thread Starter
|
Camel Trophy
Joined: Aug 2014
Posts: 4,743
Likes: 985
From: Southwestern Virginia
I like this mod because it gives you many options for t-stat temps and radiator cap poundages. I think there is a 7#, 13#, and 16# available. Reducing system pressure extends gasket and seal life. Have you tried different cap/t-stat combos? We have great swings in temps in AZ, between summer and winter, even 50 degrees in 1 day.
I need to hook up an overflow catch can for the vent tube. Right now I just have it run down past the frame. Gonna rig up a beer bottle, rat rod style, I think.
Thread Starter
|
Camel Trophy
Joined: Aug 2014
Posts: 4,743
Likes: 985
From: Southwestern Virginia
Yeah, I had an extra non-SAI radiator and I needed a radiator for my SAI truck. I originally left the sensor out, but got a code. Then I plugged in the sensor and left it hanging and no more codes. Code was a P1117.
I figured as much. Also, it saves some space that could be used for accessories.
I figured as much. Also, it saves some space that could be used for accessories.
Last edited by Alex_M; Jan 4, 2018 at 09:12 PM.
Thread Starter
|
Camel Trophy
Joined: Aug 2014
Posts: 4,743
Likes: 985
From: Southwestern Virginia
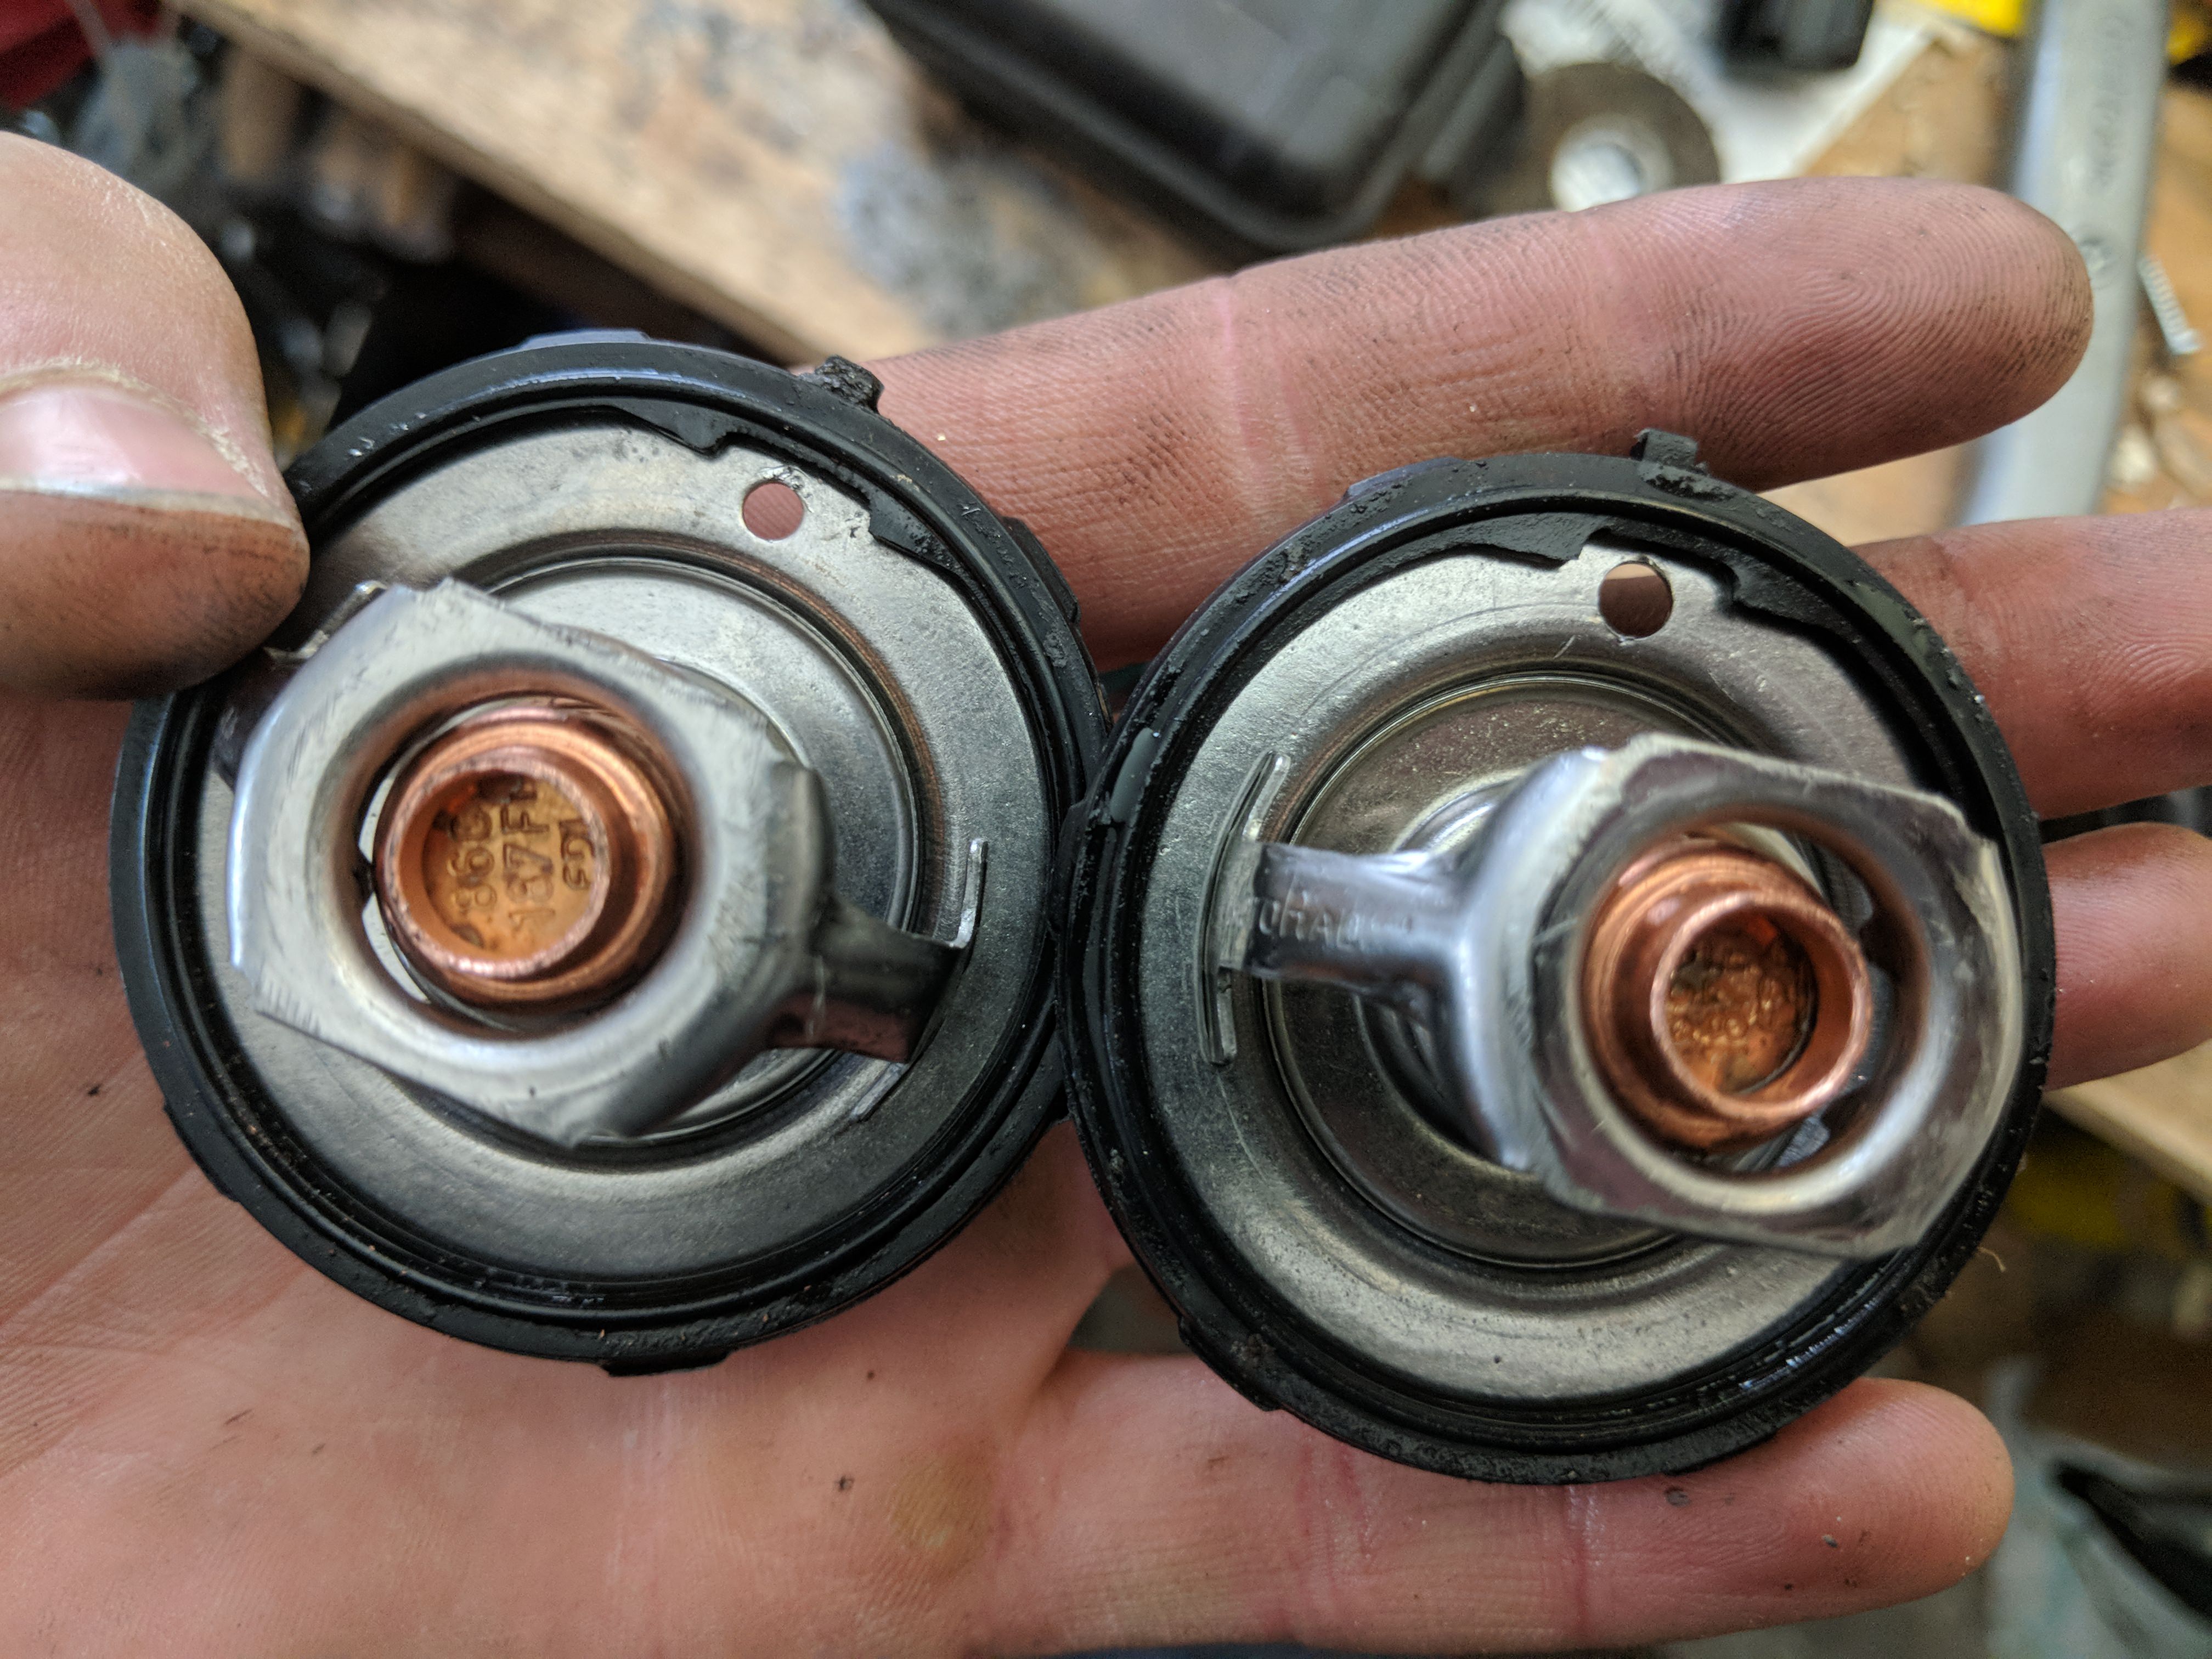
Oh! I did get the 187* thermostat installed today. At first I was confused because temps shot up 200... 205... 210... 212, turn off the truck. That's weird. Wait, which way did I install the thermostat? DOH!
Flipped the thermostat around, topped back off, and surely enough she's running down the road 186-188. It was 16 degrees outside today though, and at idle she would drop down down down (with the heater running full blast) as low as 165*.
That said, I was also having some issues with my fan controller. I've had it for a couple years now. Turns out the relay burnt out, so I had it hard wired running full time. I popped a new relay in the controller and switched the wire back over and she's staying warmer again, idling 177-183 (the fan's cut off point is 180, I need to re-set it).
I'll update again on operating temp once the weather warms back up some. 16 degree ambient temp isn't exactly taxing on a vehicle's cooling system. I also still need to grab some more pictures and post them up. It was just too cold today. I stayed outside as little as possible. Dad's jet-ski is in the garage...
Thread Starter
|
Camel Trophy
Joined: Aug 2014
Posts: 4,743
Likes: 985
From: Southwestern Virginia
Ok, since I was having issues with her idling too cold still I went out and got another thermostat.
First tried just not removing the jiggle pin. That got her too hot IMO, up to 205. Pulled it back out, removed the jiggle pin, but left the small hole instead of enlarging it. Now she's pretty well right where I want her. 188-195. I'm tempted to enlarge the hole just a touch to make that 185-192 that being my ideal temp, but maybe not.
I also kept the larger hole thermostat around and I expect I'll put it back in when spring rolls around. I'll update if/when I do.
its. Ice, because every time I pull the thermostat out the switch only takes 5 minutes including putting the catch can under the truck and refilling, and it only uses about a quart of coolant.

Rock Crawling
Joined: Jun 2016
Posts: 469
Likes: 193
I'll check for that code then clear it and check again in a few days. Definitely nice to have the extra space! There is the mount for the bottle in that spot, but can easily be removed. I'll probably add another fuse block and clean up the wiring I've added. A lot of it was added while I was in highschool and while I don't really think any of it is unsafe, some of it might be and I don't even know what half of it goes to any more.

Thread Starter
|
Camel Trophy
Joined: Aug 2014
Posts: 4,743
Likes: 985
From: Southwestern Virginia
Thanks guys!
Aaron, I'll grab a picture for you in the next couple days, but I'm just running a like $50 adjustable fan controller. 30/40 amp relay in it running a switched ground, not switched power. I got the controller off of ebay, but I think it came from Jegs. It just has the radiator push in style thermometer on it. Some people seem not to like them, but I haven't had the first issue with it. I actually used some CPU heat sync thermal compound on it this most recent time. Easy to find at your local electronics store, but not necessary as I ran without any on the factory rad for a year or two.
Huggi, yes, you could. The only issue would be that the factory radiator inlet and outlet are 1.25" and the Camaro radiator are 1.5". That said, a couple of these little babies would do the trick to adapt you. You'll still have to couple those to your factory hoses, however. If you wished you could add a temperature gauge as I have done in the upper hose; that would work to couple the top hose. For the bottom hose, or if you didn't want to add a temperature gauge then you could for both hoses, then a couple of these deals to couple the factory hose to the adapters I linked above. You'd also need hose clamps, of course.
Edit: correction, the Camaro radiator outlet is 1.75" let me double check the factory outlet tomorrow and I'll tell you exactly what you'll need to adapt it.
Last edited by Alex_M; Jan 6, 2018 at 10:58 PM.
Thread Starter
|
Camel Trophy
Joined: Aug 2014
Posts: 4,743
Likes: 985
From: Southwestern Virginia
Ok, I ran her today with the 187 thermostat with the small hole. She stayed at temp idling, and cruising she did well at 188-195, but climbing she went up to 201. I'm not very happy with that. I'm going to enlarge the hole a litle bit, but not as much as it was in the other. Maybe I'll just take some needle files to it instead of drilling it out bigger.