What did you do with your DII today?
#481
 03-31-2013, 03:29 PM
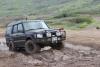

Rock Crawling
Do you know where I could find just the pads? I had my latter powder coated a few weeks back and haven't re-installed it yet because I've been looking for just the pads. I have gone to the local hardware store and found some similar, but it seems they were too thick.
#482
03-31-2013, 07:40 PM
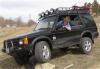
Rock Crawling
Do you know where I could find just the pads? I had my latter powder coated a few weeks back and haven't re-installed it yet because I've been looking for just the pads. I have gone to the local hardware store and found some similar, but it seems they were too thick.
#483
04-01-2013, 09:01 AM
Drifting
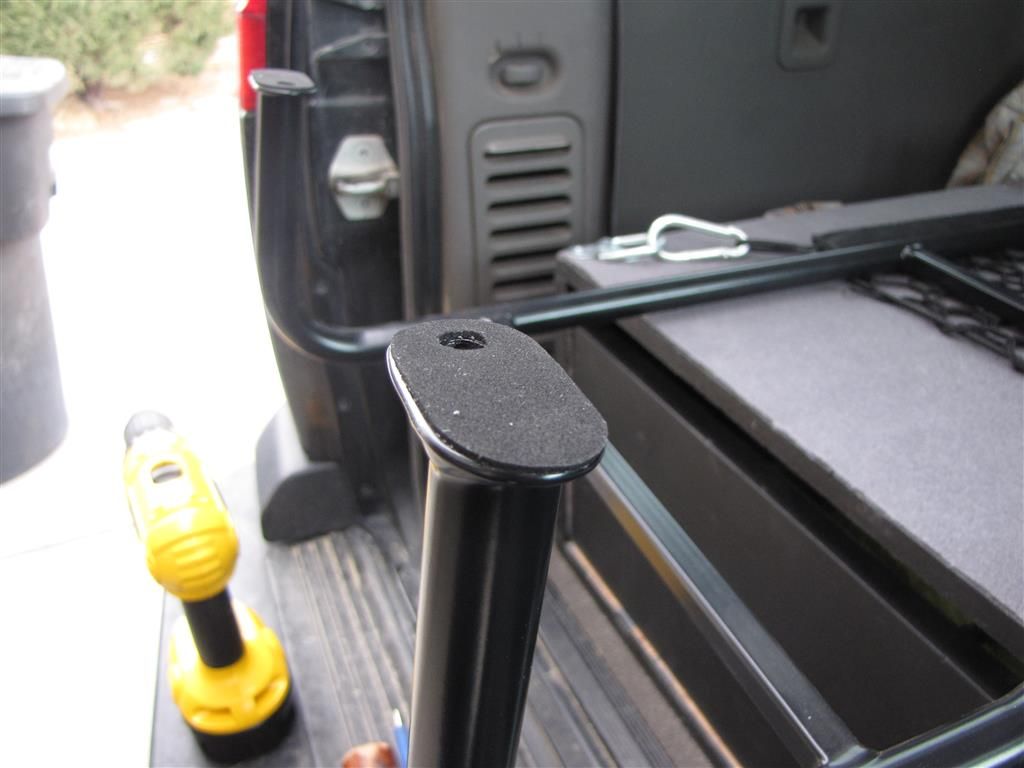
No matter what you do, it's pretty simple. The ladder comes with rivnuts (basically threaded rivets) that can be installed, and some nice hardware to fit. Makes the installation very clean, and if you need to remove the ladder for some reason, it can be unbolted and off in a pinch. Problem is you need a special tool to do it. You could make one and it would work great. But I didn't have tho tool, didn't want to get one, and I didn't foresee me needing to remove the ladder. So I found 4 stainless #12 sheet metal screws, drilled some small pilot holes, added a little silicone, and screwed the ladder on. The screws don't bear any weight, so the hardware you use is entirely up to you.
Make sure to install these little pads too.
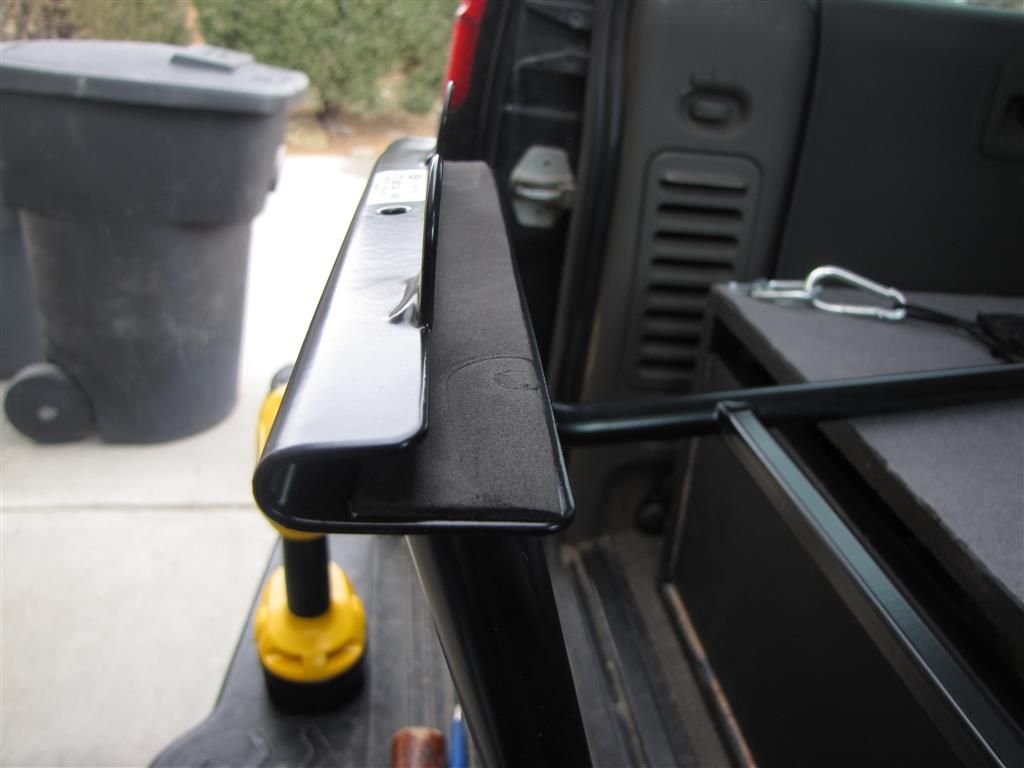
Make sure to install these little pads too.
#484
04-02-2013, 10:37 AM

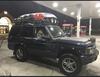
Recovery Vehicle
I setup my ultragauge, washed the Rover and, as i'd taken the day off of work, drove the family over the Pass to Leavenworth to enjoy some more sunshine. On the way home, about 70 miles from Seattle, I checked my rearview mirror to see a massive cloud of smoke behind the truck. I pulled into a gas station within 20 seconds or so of what i thought at first was the engine letting go and blowing oil everywhere, got my family out of the truck and returned to find that the quick connect had blown off of the transmission cooler. The truck had just dumped all of its ATF over the road and over itself!
Lucky that this didn't occur in any of the cellphone deadzones on Stevens Pass and happened rather fortunately as I was entering the village of Skykomish. AAA flat bed trailered me and "Alfred" home and a family friend came to rescue my wife and son.
So now on to ensuring that this never happens again. Can i replace just the fluid line, or will i also need to replace the transmission cooler as well to ensure that both of the connectors are new ? The plastic connector is clean, no dirt or grit to interfere with the join, it snaps into place and then gets forcibly "blown off" by pressure.
Am i the only one that thinks this is a terrible design ?
just one more thing to add to my list of todo's before the cross country trip this summer.

#486
04-02-2013, 11:46 AM
Recovery Vehicle
Robert I love your DII hopefully you can get her rolling again soon. Silver is an amazing color on that truck. Looks like we have the same tires as well.
I haven't done anything on the truck lately but I did have an ******* try to talk sht to me as I drove by him around town. He probably thought I was a yuppy. He can enjoy riding in his POS ford pick up. Some might call my car a piece of junk too but at least my truck looks amazing doing it.
I haven't done anything on the truck lately but I did have an ******* try to talk sht to me as I drove by him around town. He probably thought I was a yuppy. He can enjoy riding in his POS ford pick up. Some might call my car a piece of junk too but at least my truck looks amazing doing it.
#487
04-02-2013, 02:47 PM
#488
04-02-2013, 07:54 PM
Recovery Vehicle
Thanks for the positive comments guys, sometimes this forum is great therapy after a trying weekend with "Alfred".
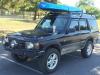
The tires are BFG All Terrains. - 265 / 65 R18. The wheels are the stock "Hurricane" 18" wheel. The original tire that was on the truck was a little taller and wider than what i have currently. I've been really happy with the BFG's.
I plan to use the truck for North American Overlanding (primarily tarmac and fire roads) so haven't bothered to try and source the smaller wheels yet.
The truck did come with an OME lift on it from the previous owner. I'm working with my local Rover Indie and all around good guy Jahn at Rovin Rovers to get the drivability right. Currently it's got the heavy duty front springs from OME and the medium duty rear springs on it. In "real life" thats translating 3" lift at the front, and 2 1/2" at the back. Unless there's a reason why you'd want the Rover to be nose high (i think the previous owner spent a lot of time in the desert, given the amount of red sand i'm finding inside all of the door trim, airbox etc) I'm assuming that the PO had a heavy duty ARB winch bumper on there or something to justify the heavy duty springs. I'm going to put on the bumper and the safety devices rack then figure out whether i need to go to a softer set of front springs. Currently the truck steers too skittishly. Jahn's coming over tomorrow to see what can be done about my over zealous quick connect line. Worst case scenario I have to replace the line and the transmission cooler and set back the rack and bumper purchase another month
#489
04-02-2013, 09:13 PM

Mudding
Join Date: Jan 2010
Location: Gainesville, GA
Posts: 225
Likes: 0
Received 0 Likes
on
0 Posts
#490
04-03-2013, 02:53 PM

Rock Crawling
Thanks for the positive comments guys, sometimes this forum is great therapy after a trying weekend with "Alfred".
The tires are BFG All Terrains. - 265 / 65 R18. The wheels are the stock "Hurricane" 18" wheel. The original tire that was on the truck was a little taller and wider than what i have currently. I've been really happy with the BFG's.
I plan to use the truck for North American Overlanding (primarily tarmac and fire roads) so haven't bothered to try and source the smaller wheels yet.
