When you click on links to various merchants on this site and make a purchase, this can result in this site earning a commission. Affiliate programs and affiliations include, but are not limited to, the eBay Partner Network.
Nothing exciting, pulled the spare, cleaned up the surface rust on the mount and repainted. Painted the backside of the rim,where it hits the mount to reduce corrosion and lubricated and cleaned up the studs and wheel nuts.
I was searching for an exhaust/vacuum leak but apparently, I also had a broken ignition wire so when I pulled on the #4 wire, it ripped off. Guess I won't be going on a trip this weekend but instead will be replacing wires and coils. What a bummer!
Hey andino, don't despair (yet)! I had a similar problem a few years ago. I performed a field repair by cutting back the insulation on the plug wire and "reconstructing" its connection inside the boot. It worked fine for several months at least until I replaced the ignition cables. This many years later I don't recall just what I did and how I did it, but if you're somewhat handy and look carefully at what the situation presents you may be able to figure out a solution. Good luck, and let us know how it goes.
Relatively easy to repair. Use some WD-40 to lube the wire and boot and shove the boot on the wire up about 3". Dig the broken wire out of the metal terminal and spread it a bit at the part where the wire goes in. Strip the insulation back from the core, fold the core back on the wire. Get a piece of stainless wire about 1-1/2" long, shove 3/4" in the center next to the core, fold the other 3/4" back with the core. Crimp the terminal on the wire with the folded back stainless and core. Lube the wire again and slide the boot back down over the terminal.
Got to love when your local garage gets a new tester on the books.... NOT!
Took the Disco for it's MoT earlier, and said new chap (I would've given him a dirty look but he already had a doozy of one) drove it into the test bay, lifted it up & promptly brought it down again and backed it out of the shop. He's refused to test it because the chassis was "too dirty, so I cant tell if there's corrosion"... What an absolute F*$%ing pansy, it's cleaner than last year's test (because it's been out of use for 6 months & I've just got done replacing all the brake lines amongst other stuff under there) & besides if a tester suspects corrosion he's allowed the use of certain tools in order to verify.
Ah well, steam cleaning will be a good opportunity to get some fresh underseal on the more exposed bits... Hang on, will it then be impossible to test because it's too shiny?
Relatively easy to repair. Use some WD-40 to lube the wire and boot and shove the boot on the wire up about 3". Dig the broken wire out of the metal terminal and spread it a bit at the part where the wire goes in. Strip the insulation back from the core, fold the core back on the wire. Get a piece of stainless wire about 1-1/2" long, shove 3/4" in the center next to the core, fold the other 3/4" back with the core. Crimp the terminal on the wire with the folded back stainless and core. Lube the wire again and slide the boot back down over the terminal.
Originally Posted by mln01
Hey andino, don't despair (yet)! I had a similar problem a few years ago. I performed a field repair by cutting back the insulation on the plug wire and "reconstructing" its connection inside the boot. It worked fine for several months at least until I replaced the ignition cables. This many years later I don't recall just what I did and how I did it, but if you're somewhat handy and look carefully at what the situation presents you may be able to figure out a solution. Good luck, and let us know how it goes.
Thanks for the tip! Going to try repairing the broken wire today. You can tell I've never had a car/truck with wires before huh? I didn't even think to try pulling the boot back to see if I could recrimp the wire.
I think I managed to fix the #4 wire but now the truck is missing on #1. Looks like my relocation kit for the coils should arrive on Friday so I think I'll just leave it be for now and tear into it over the weekend.
I used the charging ports/switch from Blue Sea Systems 4363 Panel and the only change I needed to make to the 3d part was dremeling the switch cutout and a couple of notches for the original metal spring clips.
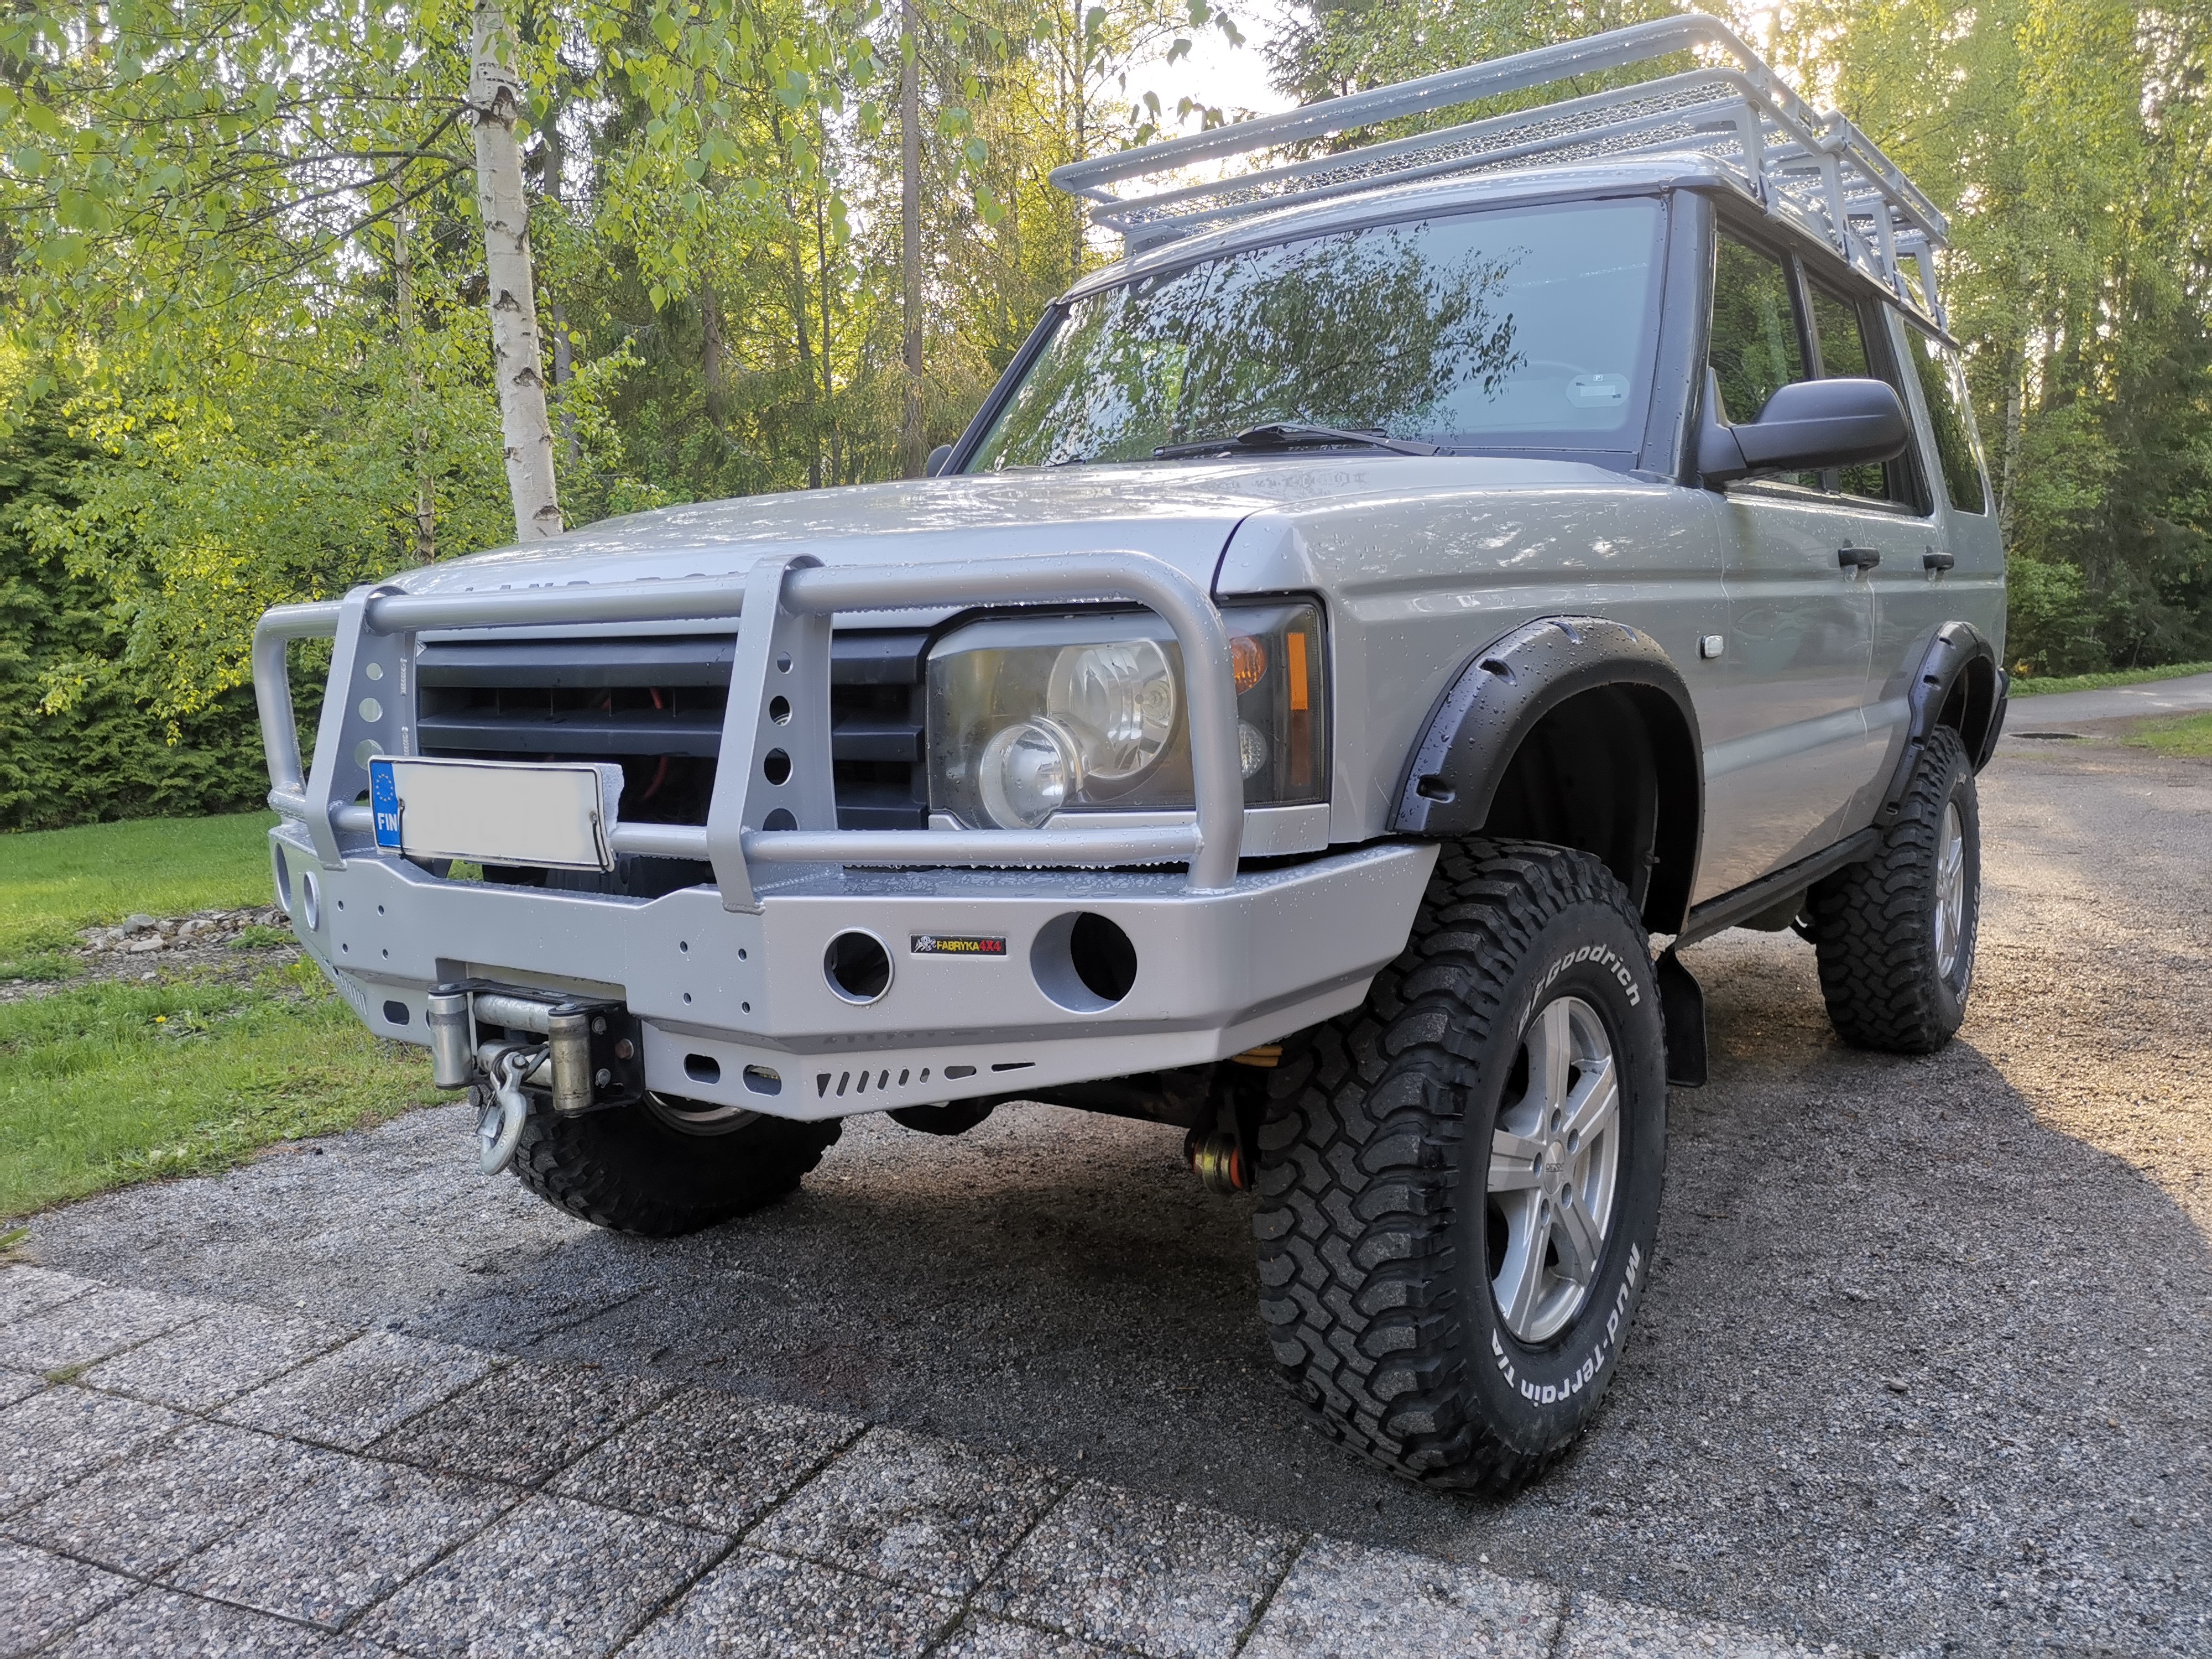
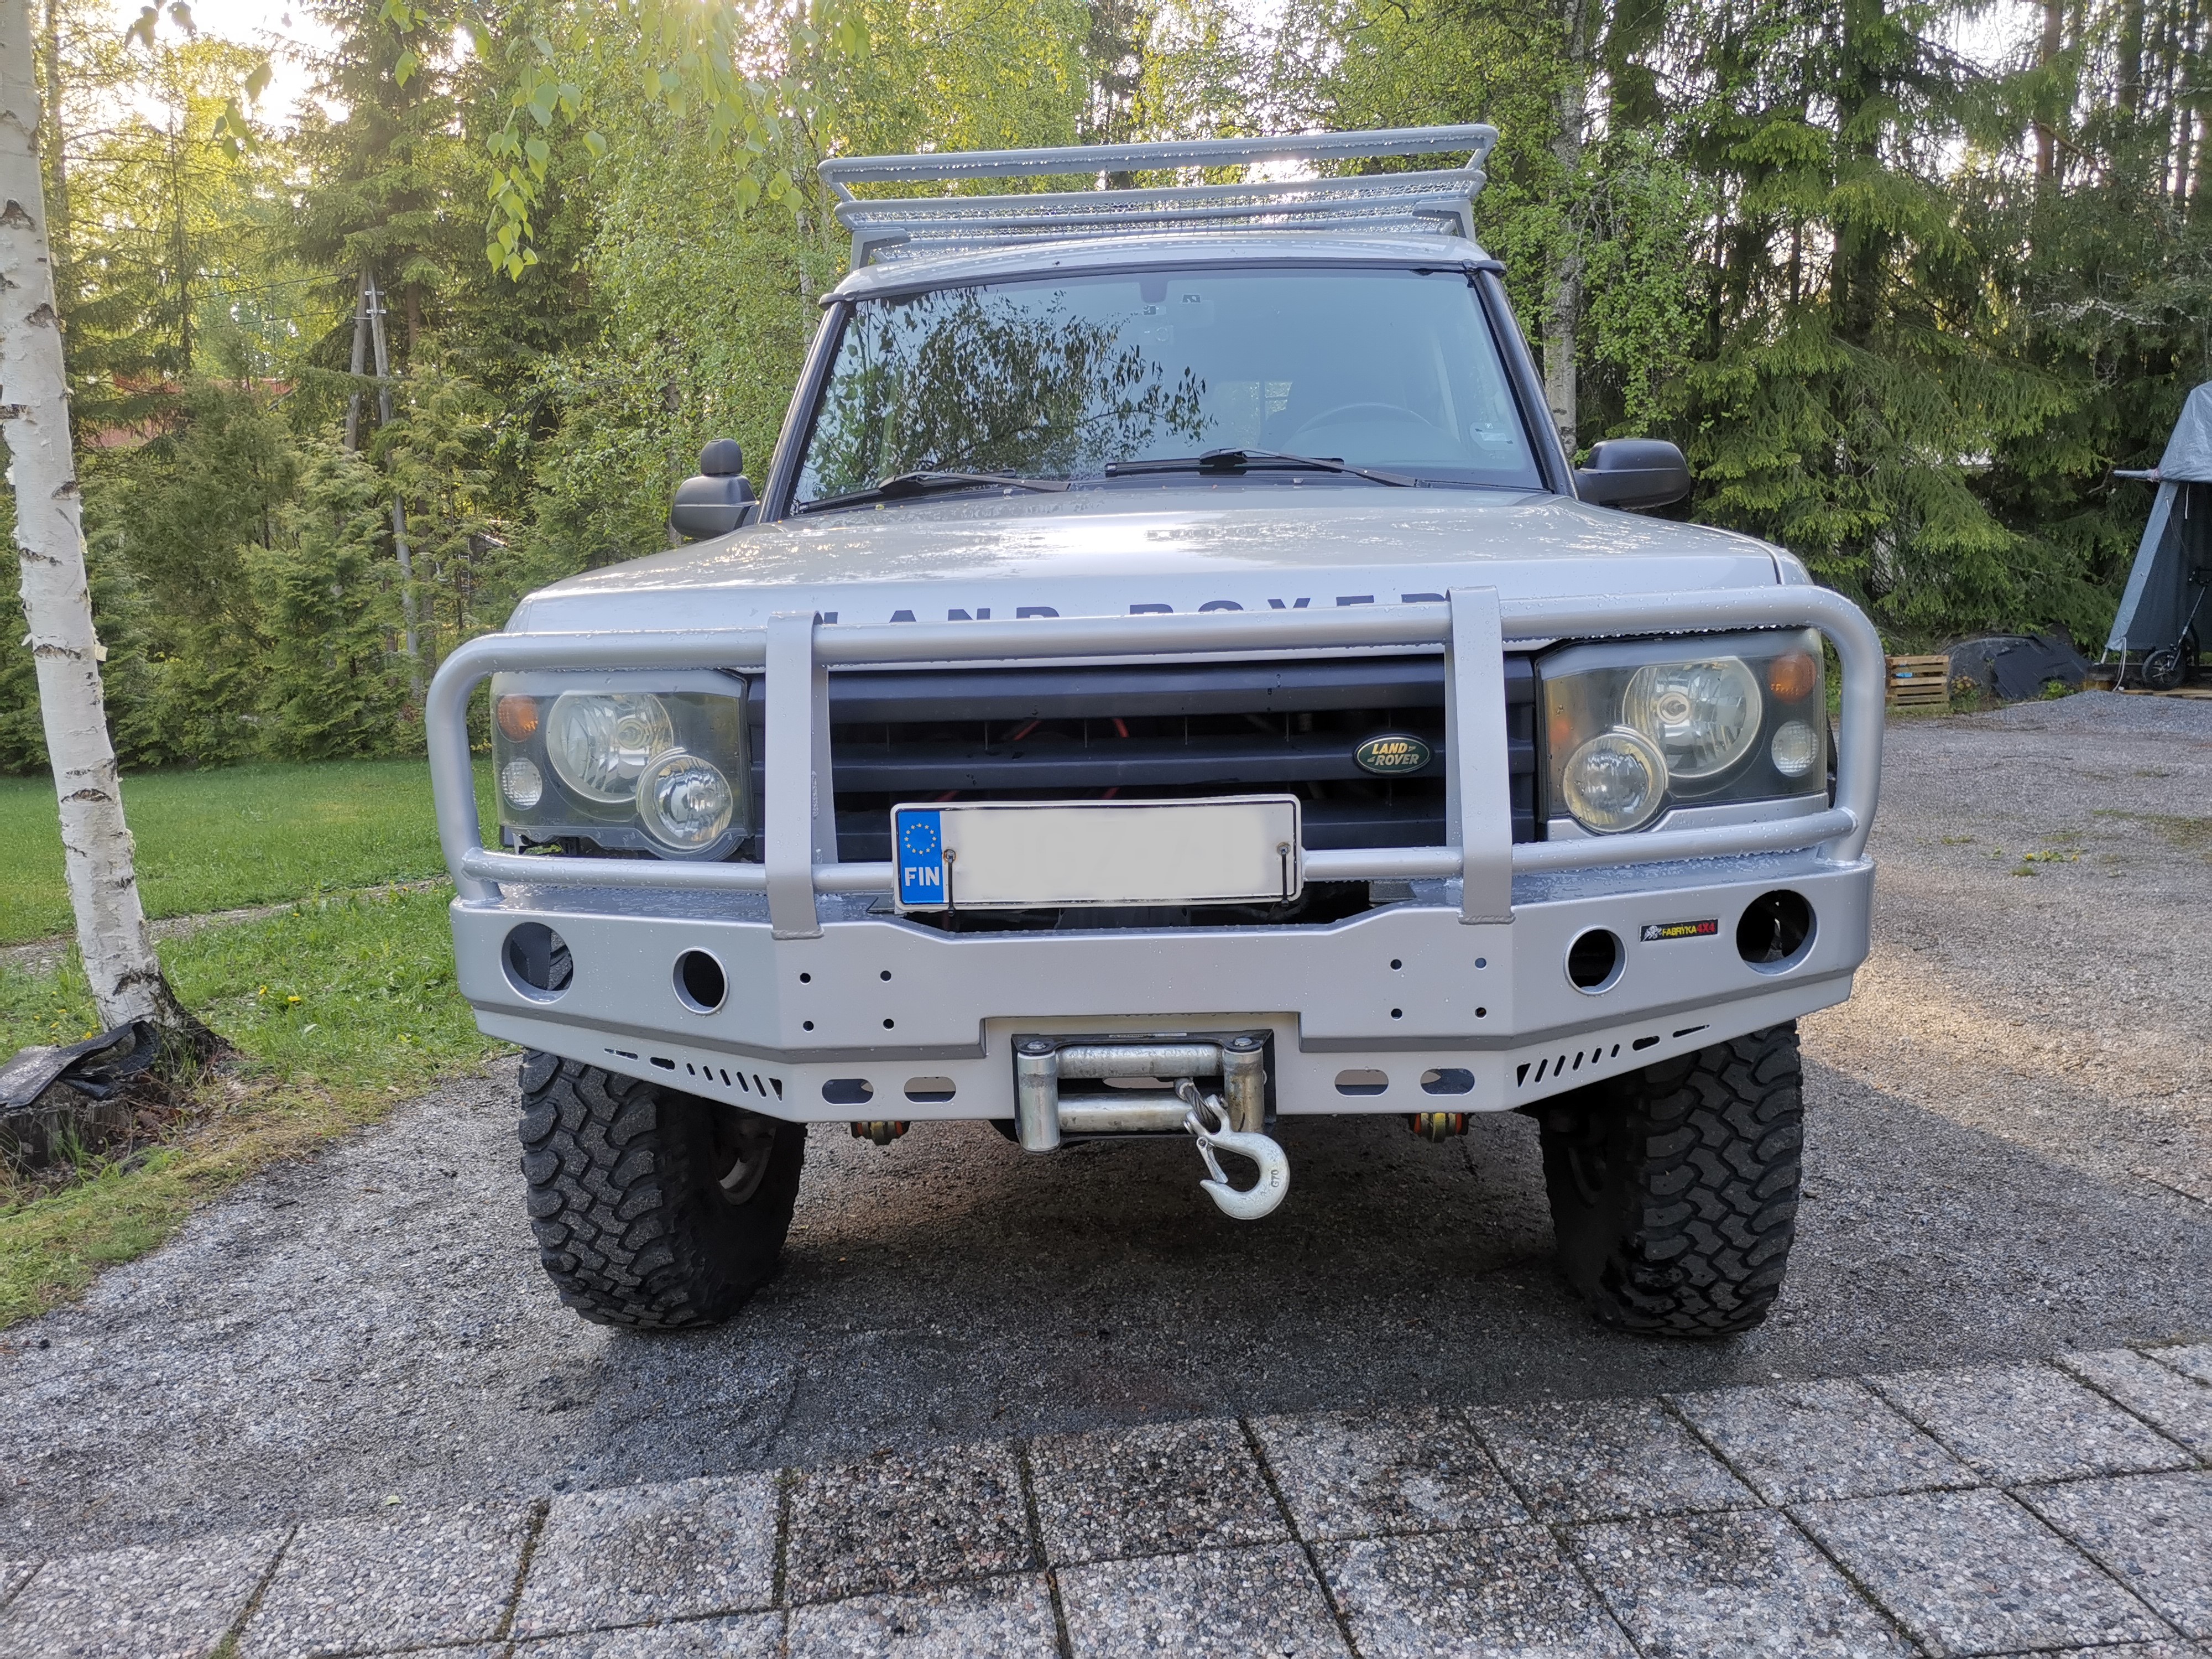
Finally got the new front bumper installed. Few touch ups and new parts still needs to be bought.
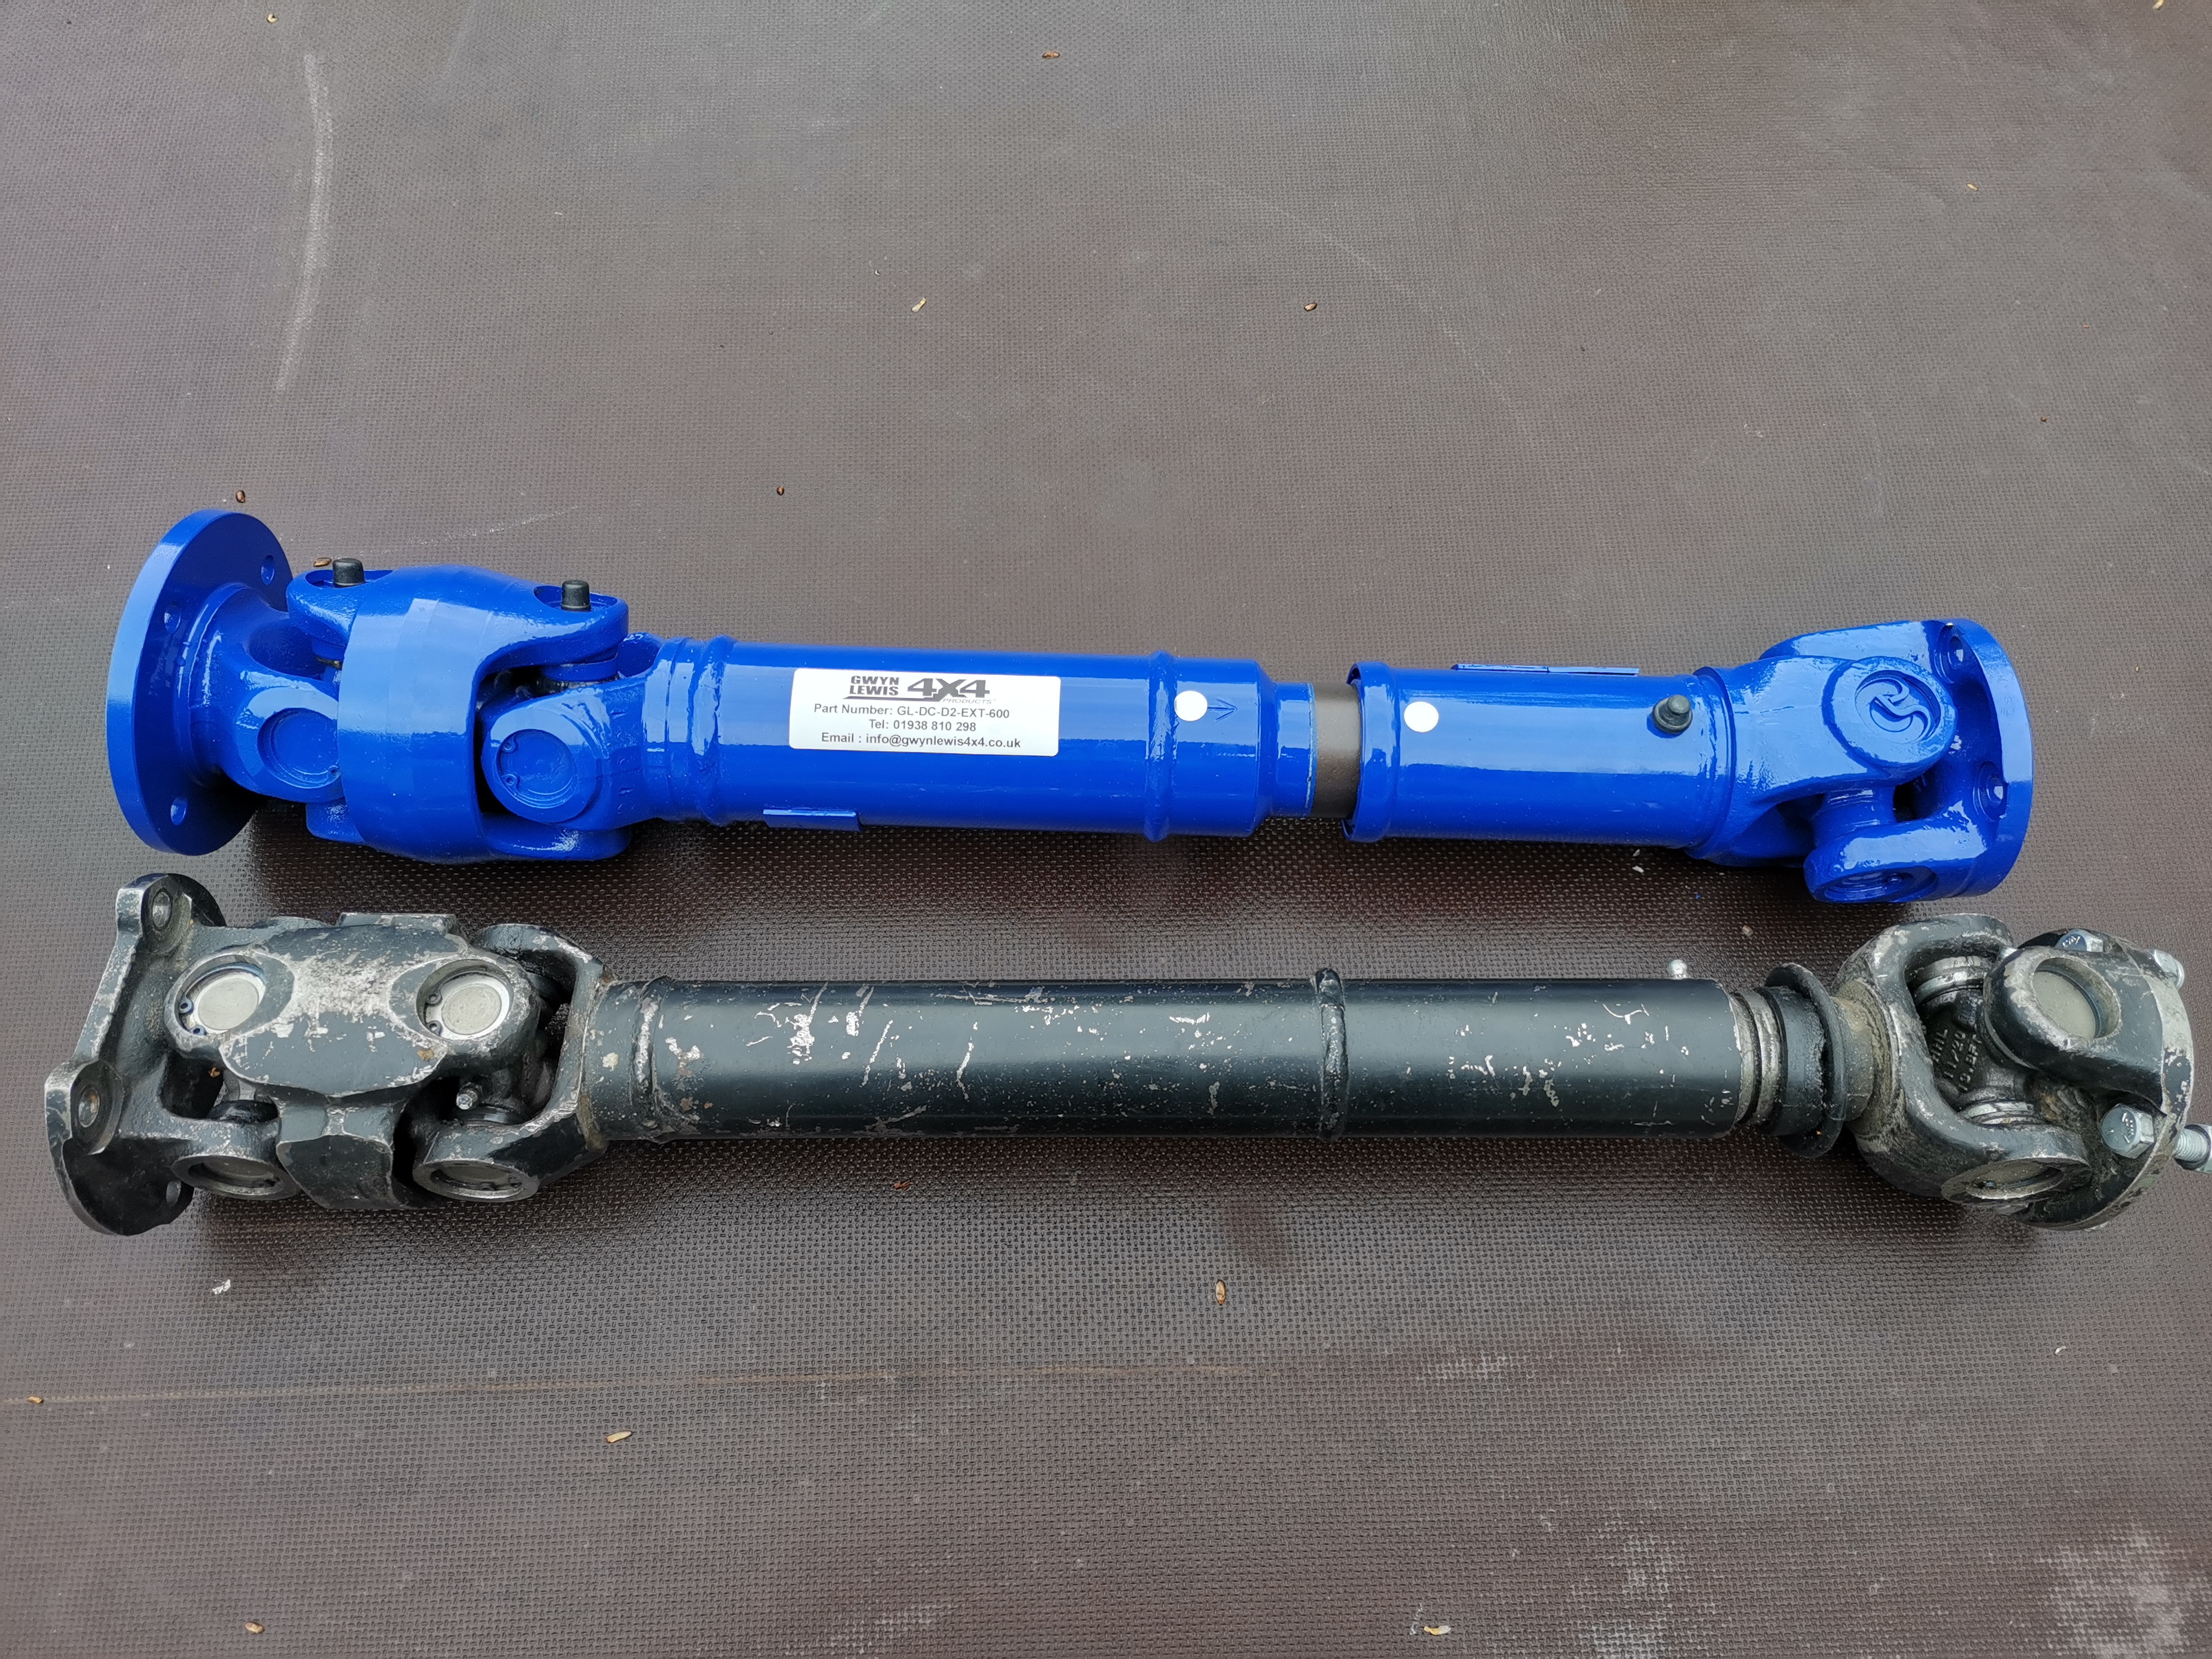
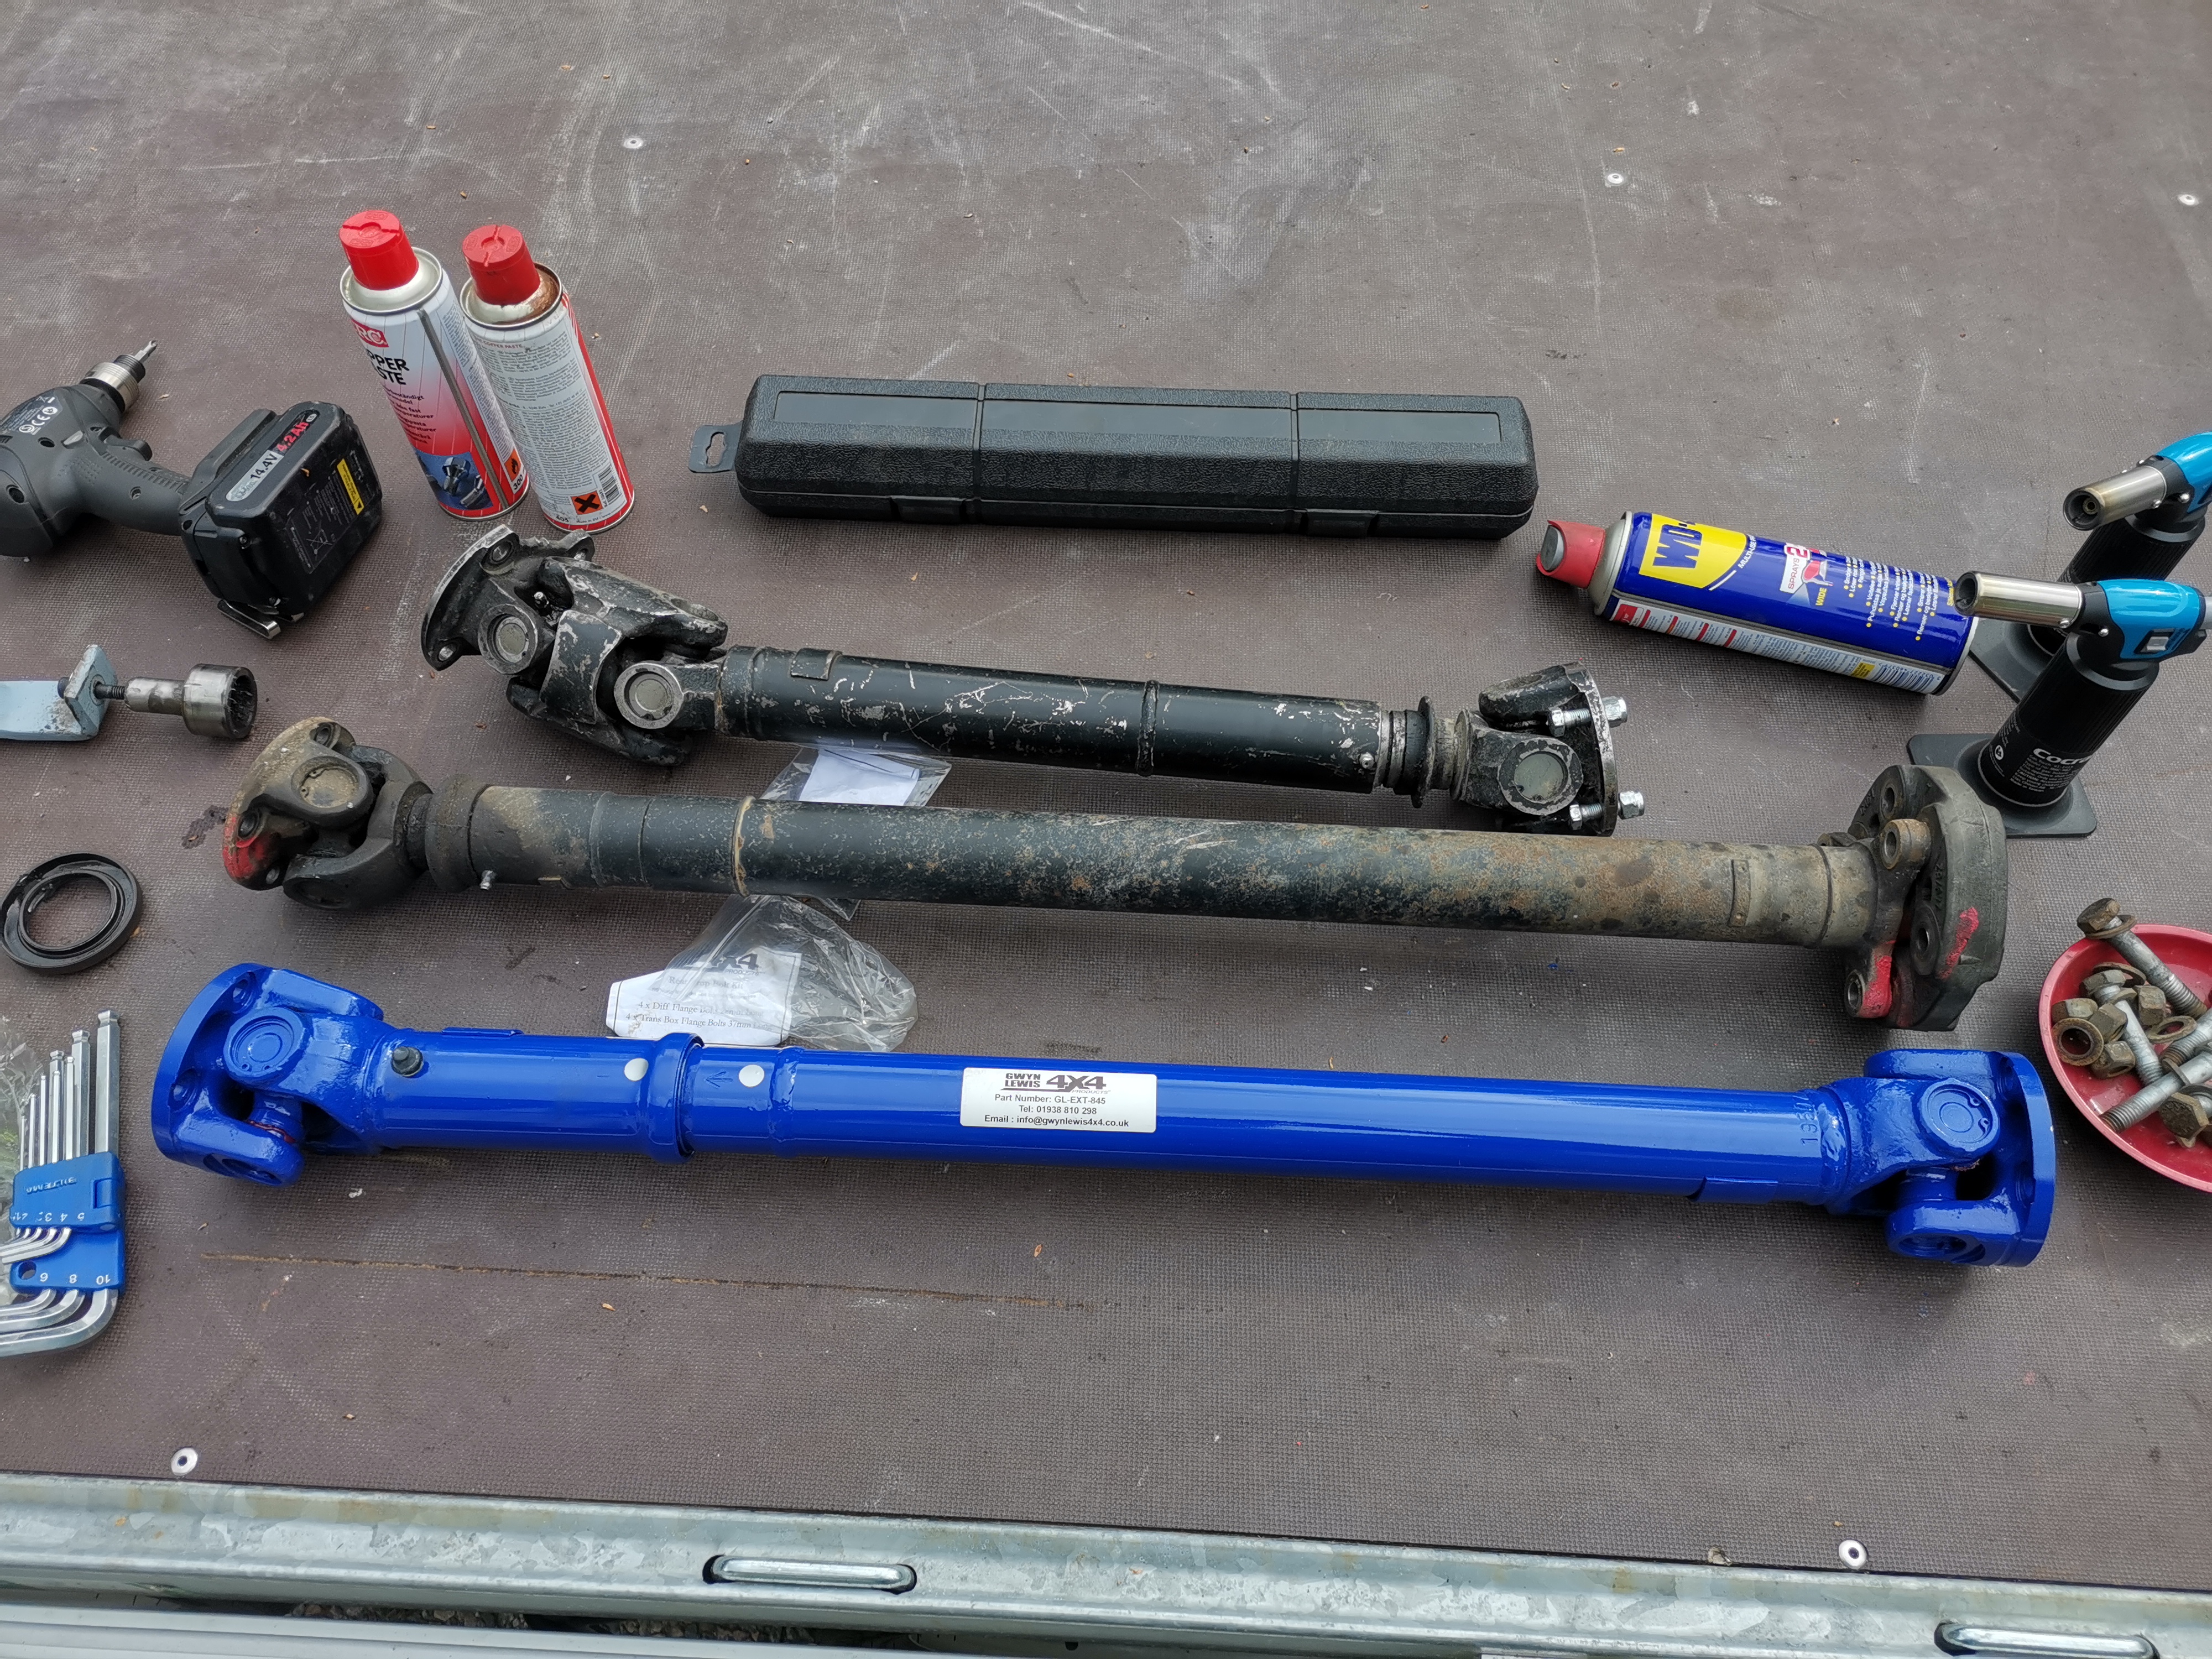
Also upgraded my prop shafts. Rear with donut delete and new front flange also as the current seals leak oil into the handbrake.
Changed the oils too for both diffs and the transfer box.


 I did something like that. The point is, a field repair can likely be done successfully.