When you click on links to various merchants on this site and make a purchase, this can result in this site earning a commission. Affiliate programs and affiliations include, but are not limited to, the eBay Partner Network.
Honestly I don�t feel like it was hard at all. I followed lucky 8�s instructions and video tips. I had seen several others report 30 hours to install. I went into it planning on it taking me that long. 8 hours in I had the winch mounted and bumper back on. Kept thinking I was doing something wrong as there was no way it should be going that fast. Went back over all the steps at the end and I had done them all. Only thing I would say is having an extra set of hands when placing the tray would be nice. I didn�t and it was a little challenging but doable.
Nice work. Looks great, can�t wait to hear the great adventure of its first use.
Regarding the blackout of the bumper, did you use plastidip, powder coat, rattle can, or spray and bake? It looks great, and I�m considering dipping it. Dipped my duramax and it held up very well so I am optimistic here too.
Thanks for the props I am very happy with the results. As for the painting question I plasti dipped the hood a while back and it has been holding up well. I had considered that for these parts as well and may end up reverting back to it if needed. These two parts I painted with a rattle can but it is high end automotive paint with an automotive clear. I can�t remember the brand but I can look and post later. I have used it on and off over the years for other projects with good success. Prepped the surface with commercial degreaser/adhesive remover. Then scuffed it all with gray ultra fine scotch brite pats. Cleaned again and wiped down with a tack cloth. Four coats flat black. Four coats flat clear. The clear is a two part can that you puncture an inner chamber of hardener then shake. Is a one time deal. Use what you need and the rest goes in the trash bin as it cures in the can thanks to the hardener.
@ORDPA how do you like the ditch lights? Do those and/or your front decorative lightbar help at all on those dark backroads?
The LED grill light does not help. It is like a day time running light. The ditch lights on the other hand do a nice job providing extra light to the side of the road as intended. They are Baja Design Squadron Sports with the wide driving combo pattern. The addition of the S8 light bar down the road will complete the package and light the road ahead nicely. One project at a time.
I added Kuat Piston Pro-X rack (with 3rd bike extension) and Pivot v2 swing-away mount (about 2 weeks ago). I really like the LED brake lights on the rack for added visability / safety.
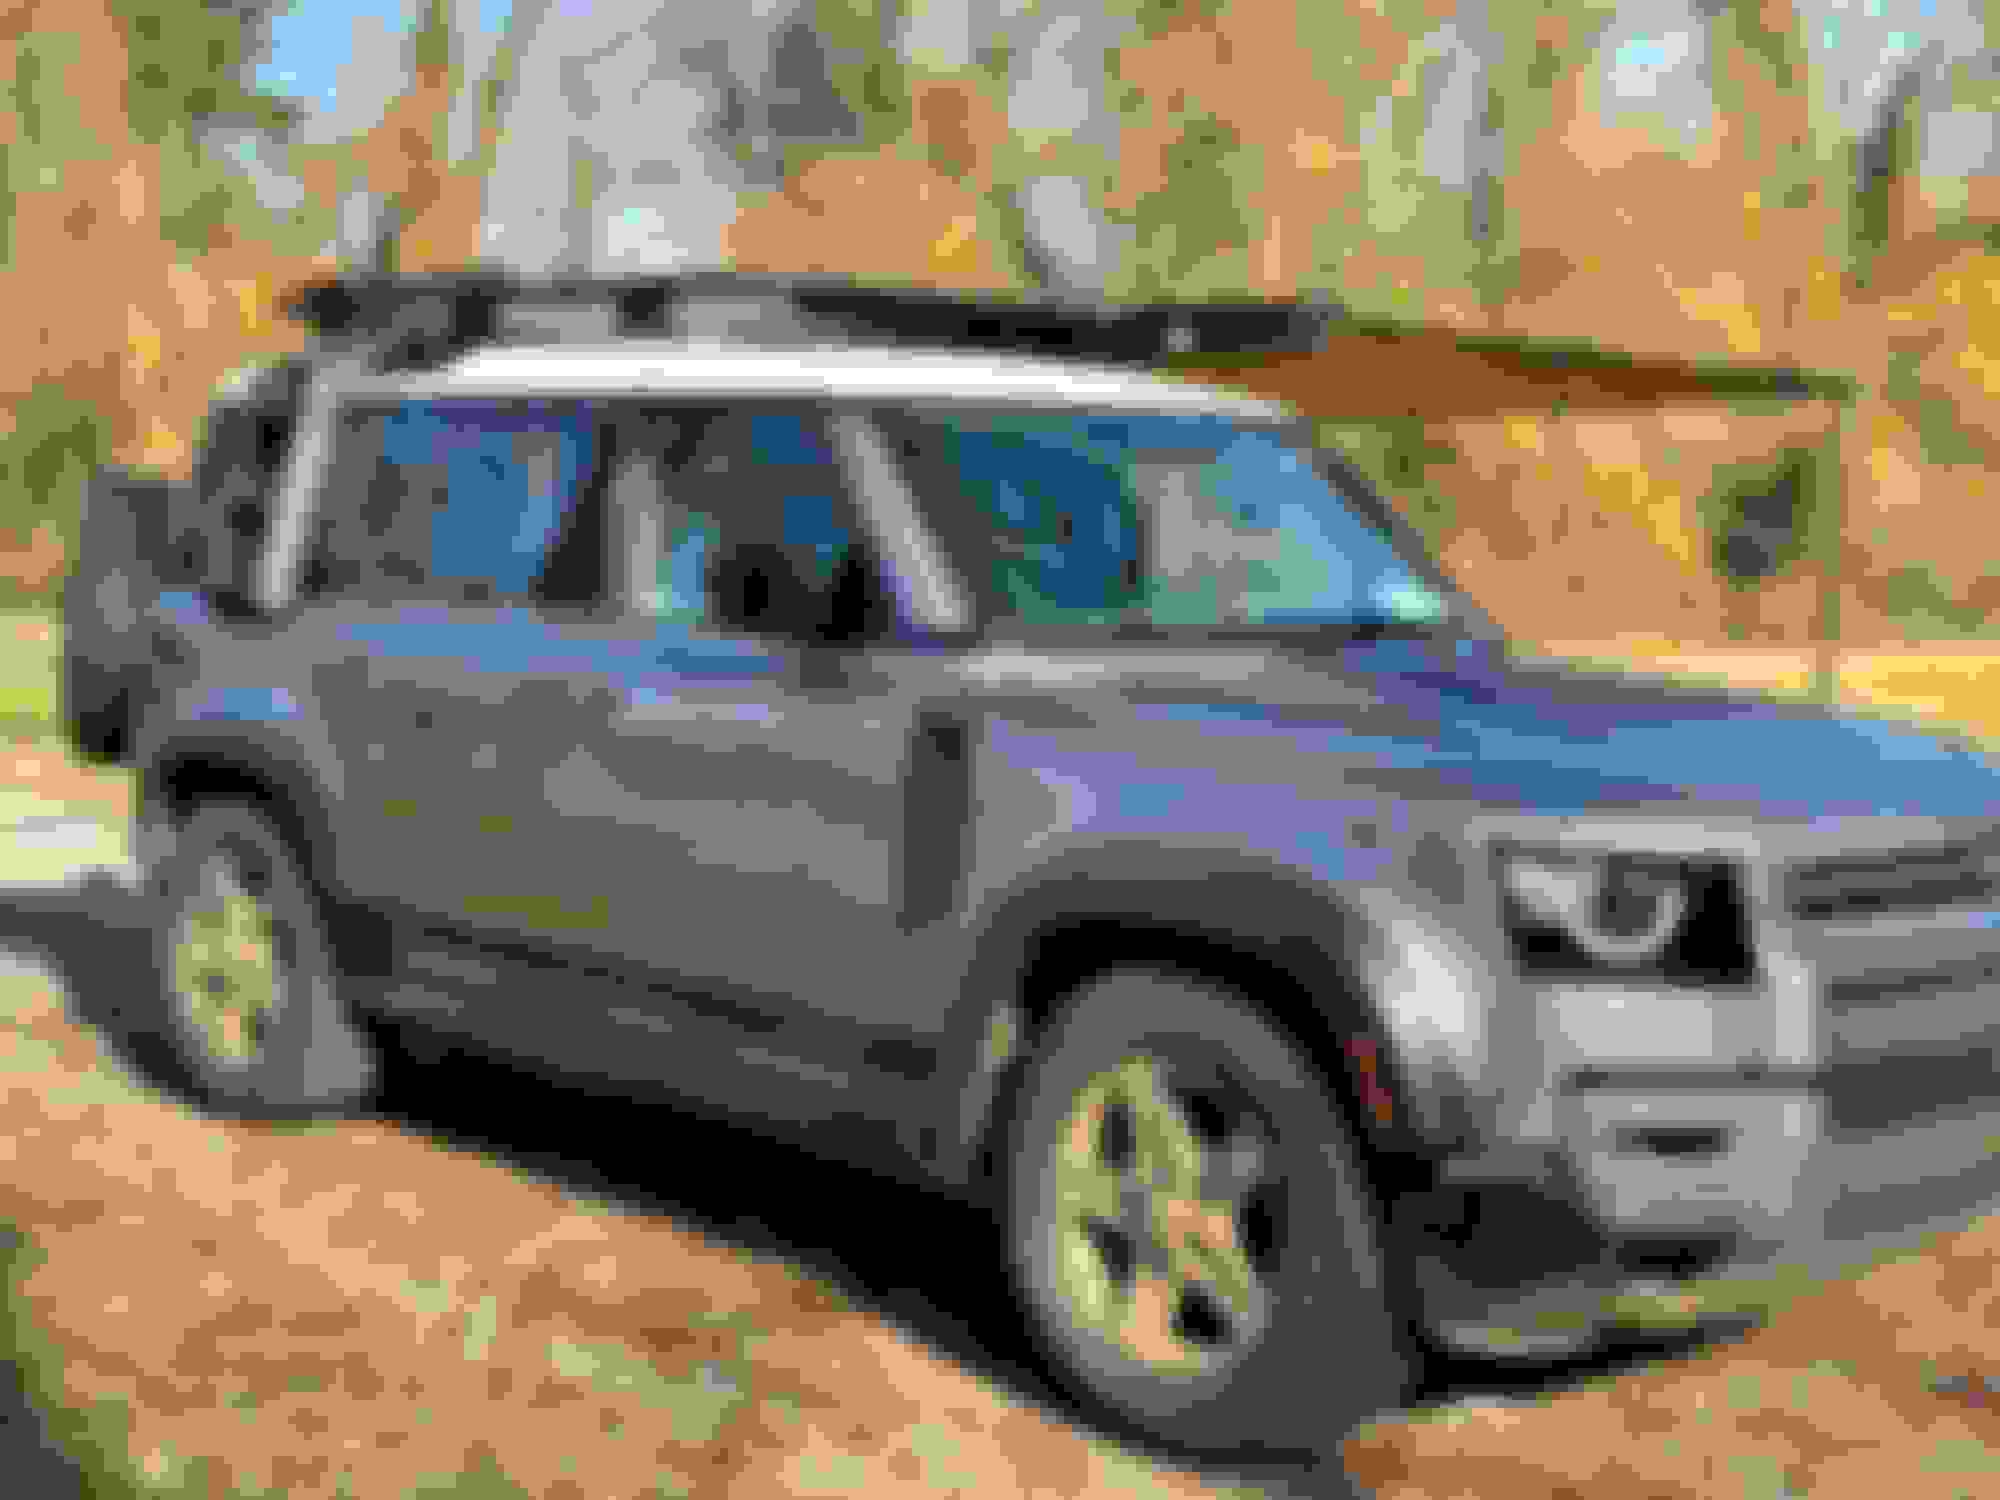
Installed an ARB Touring awning on the Expedition Rack using PowerfulUK's mount system designed for the ARB's. No instructions came with it, had to rely on just the YT video which for the most part did a decent job of explaining how to mount.
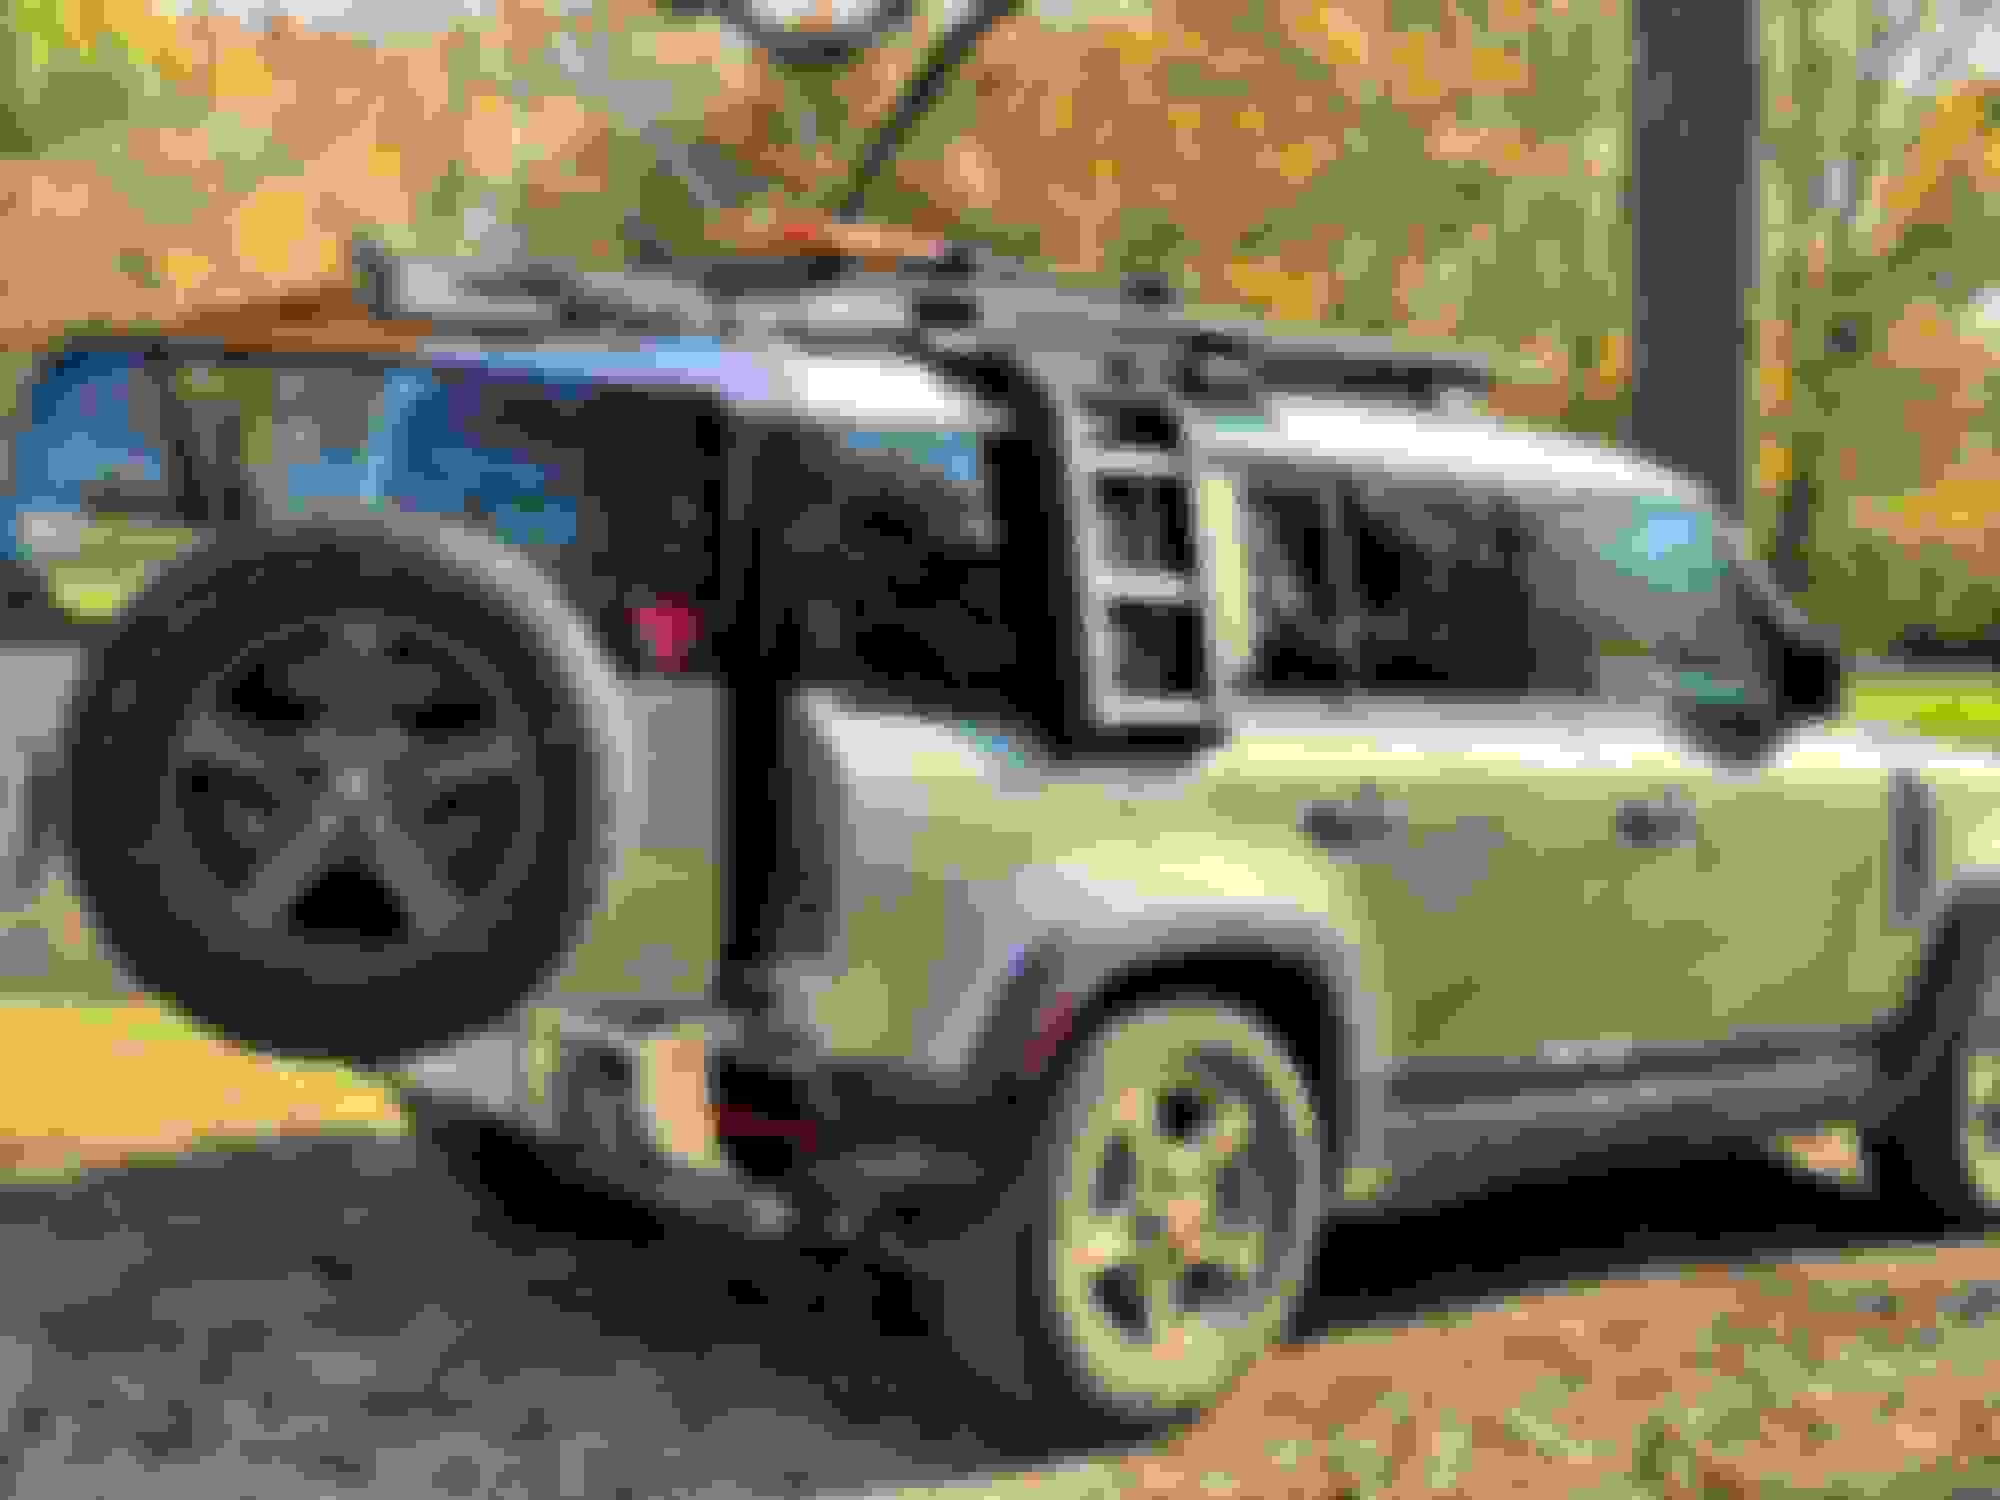
However, a couple things to note. I don't think rack mounts were designed with the OEM ladder on the left side as there was no way the awning was going to clear the top of the ladder, no way. You can mount the awning either the drivers or passengers side but for my preference I wanted the awing on the side which made accessing the rear door as easy as possible.
This prompted me to switch the ladder to the passenger side which I wanted to do in the beginning when I bought it but conformed to everyone else in putting the ladder on the left, NO MORE! I think it belongs on the right. With the ladder out of the way bolting the brackets to the crossbars was a breeze. the trouble started when fitting the very straight
awning to the rack.
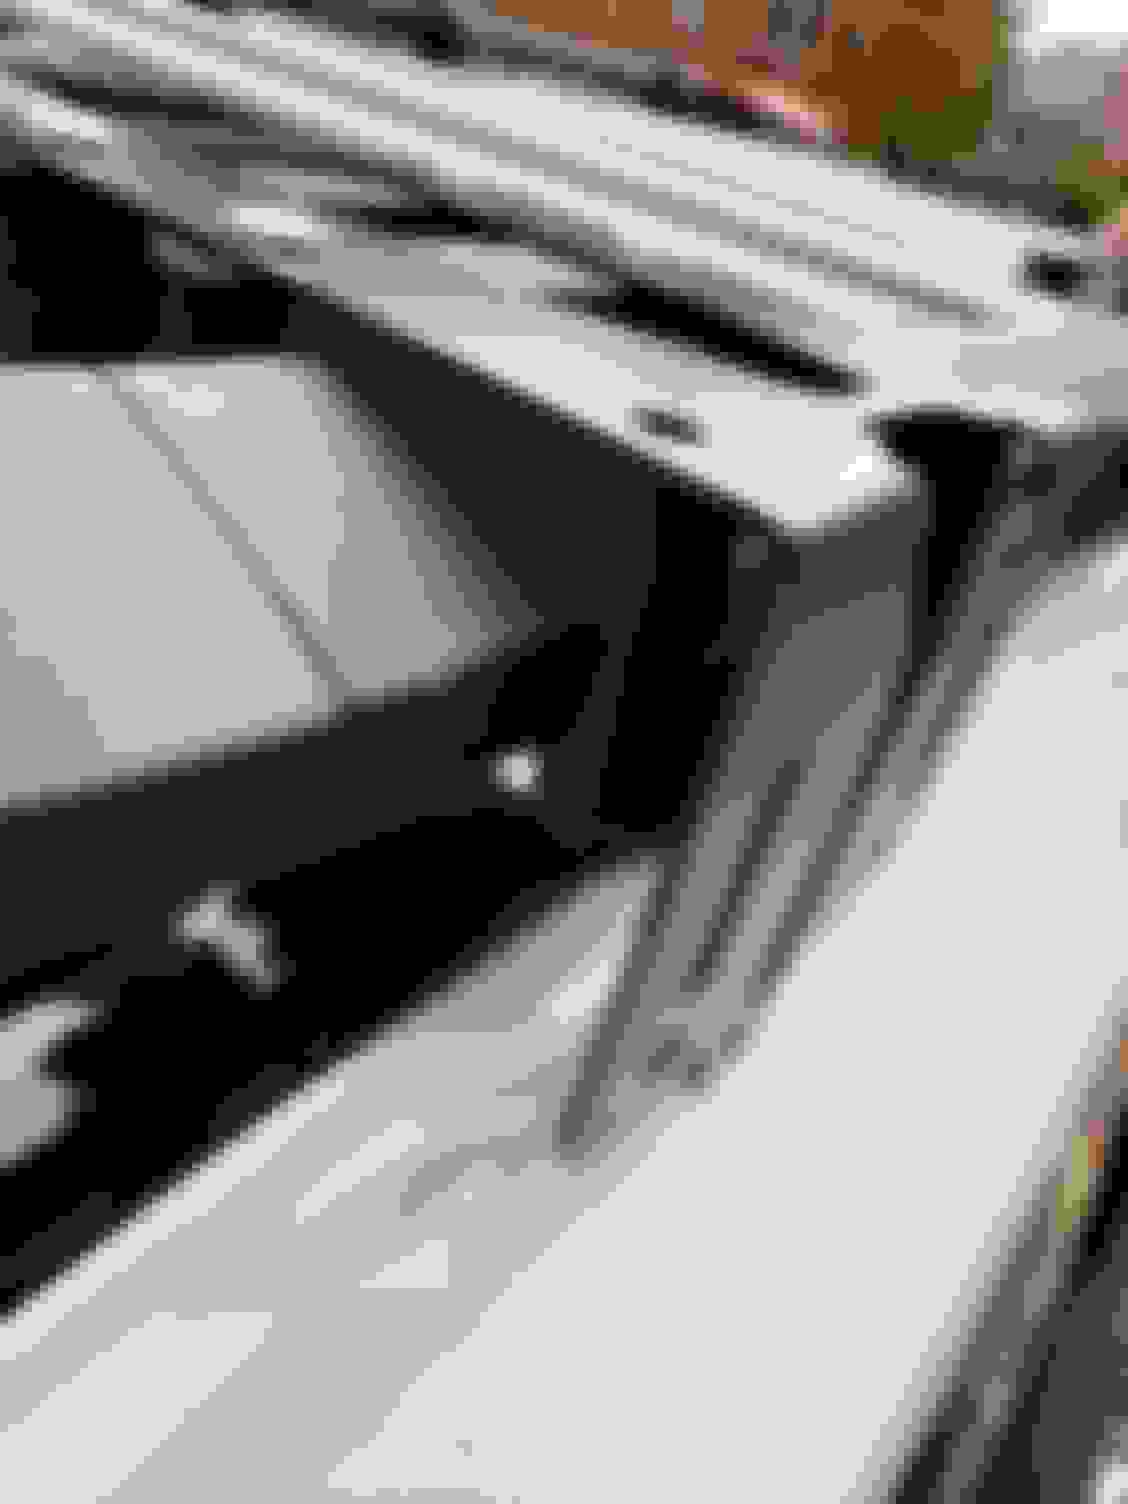
The Expedition rack is curved, which in the YT video he explains it but in practice I must of had the awning off and on the mount at least 15 times trying to get everything lined up. 3 brackets are used and they all different lengths in relation to the rack. it helped to use a level but once the awning slide down easy on the track and mounts were tightened it would pull the brackets and make taking the awning back off impossible. I had to get a little creative and shim a spacer in one of the brackets to get this whole thing to work. The design is that its a quick release system so you can take off the awning and store it off the truck, so it was imperative that THAT actually be what happened. I don't see the point in buying a quick release mount and not have it quick release. All in all everything is working as it should, I think the brackets themselves need to be about 1 inch longer compensate for clearing the nuts from the rack when putting on and taking off because they did scratch the rack when removing. So know that may be an issue before you buy.
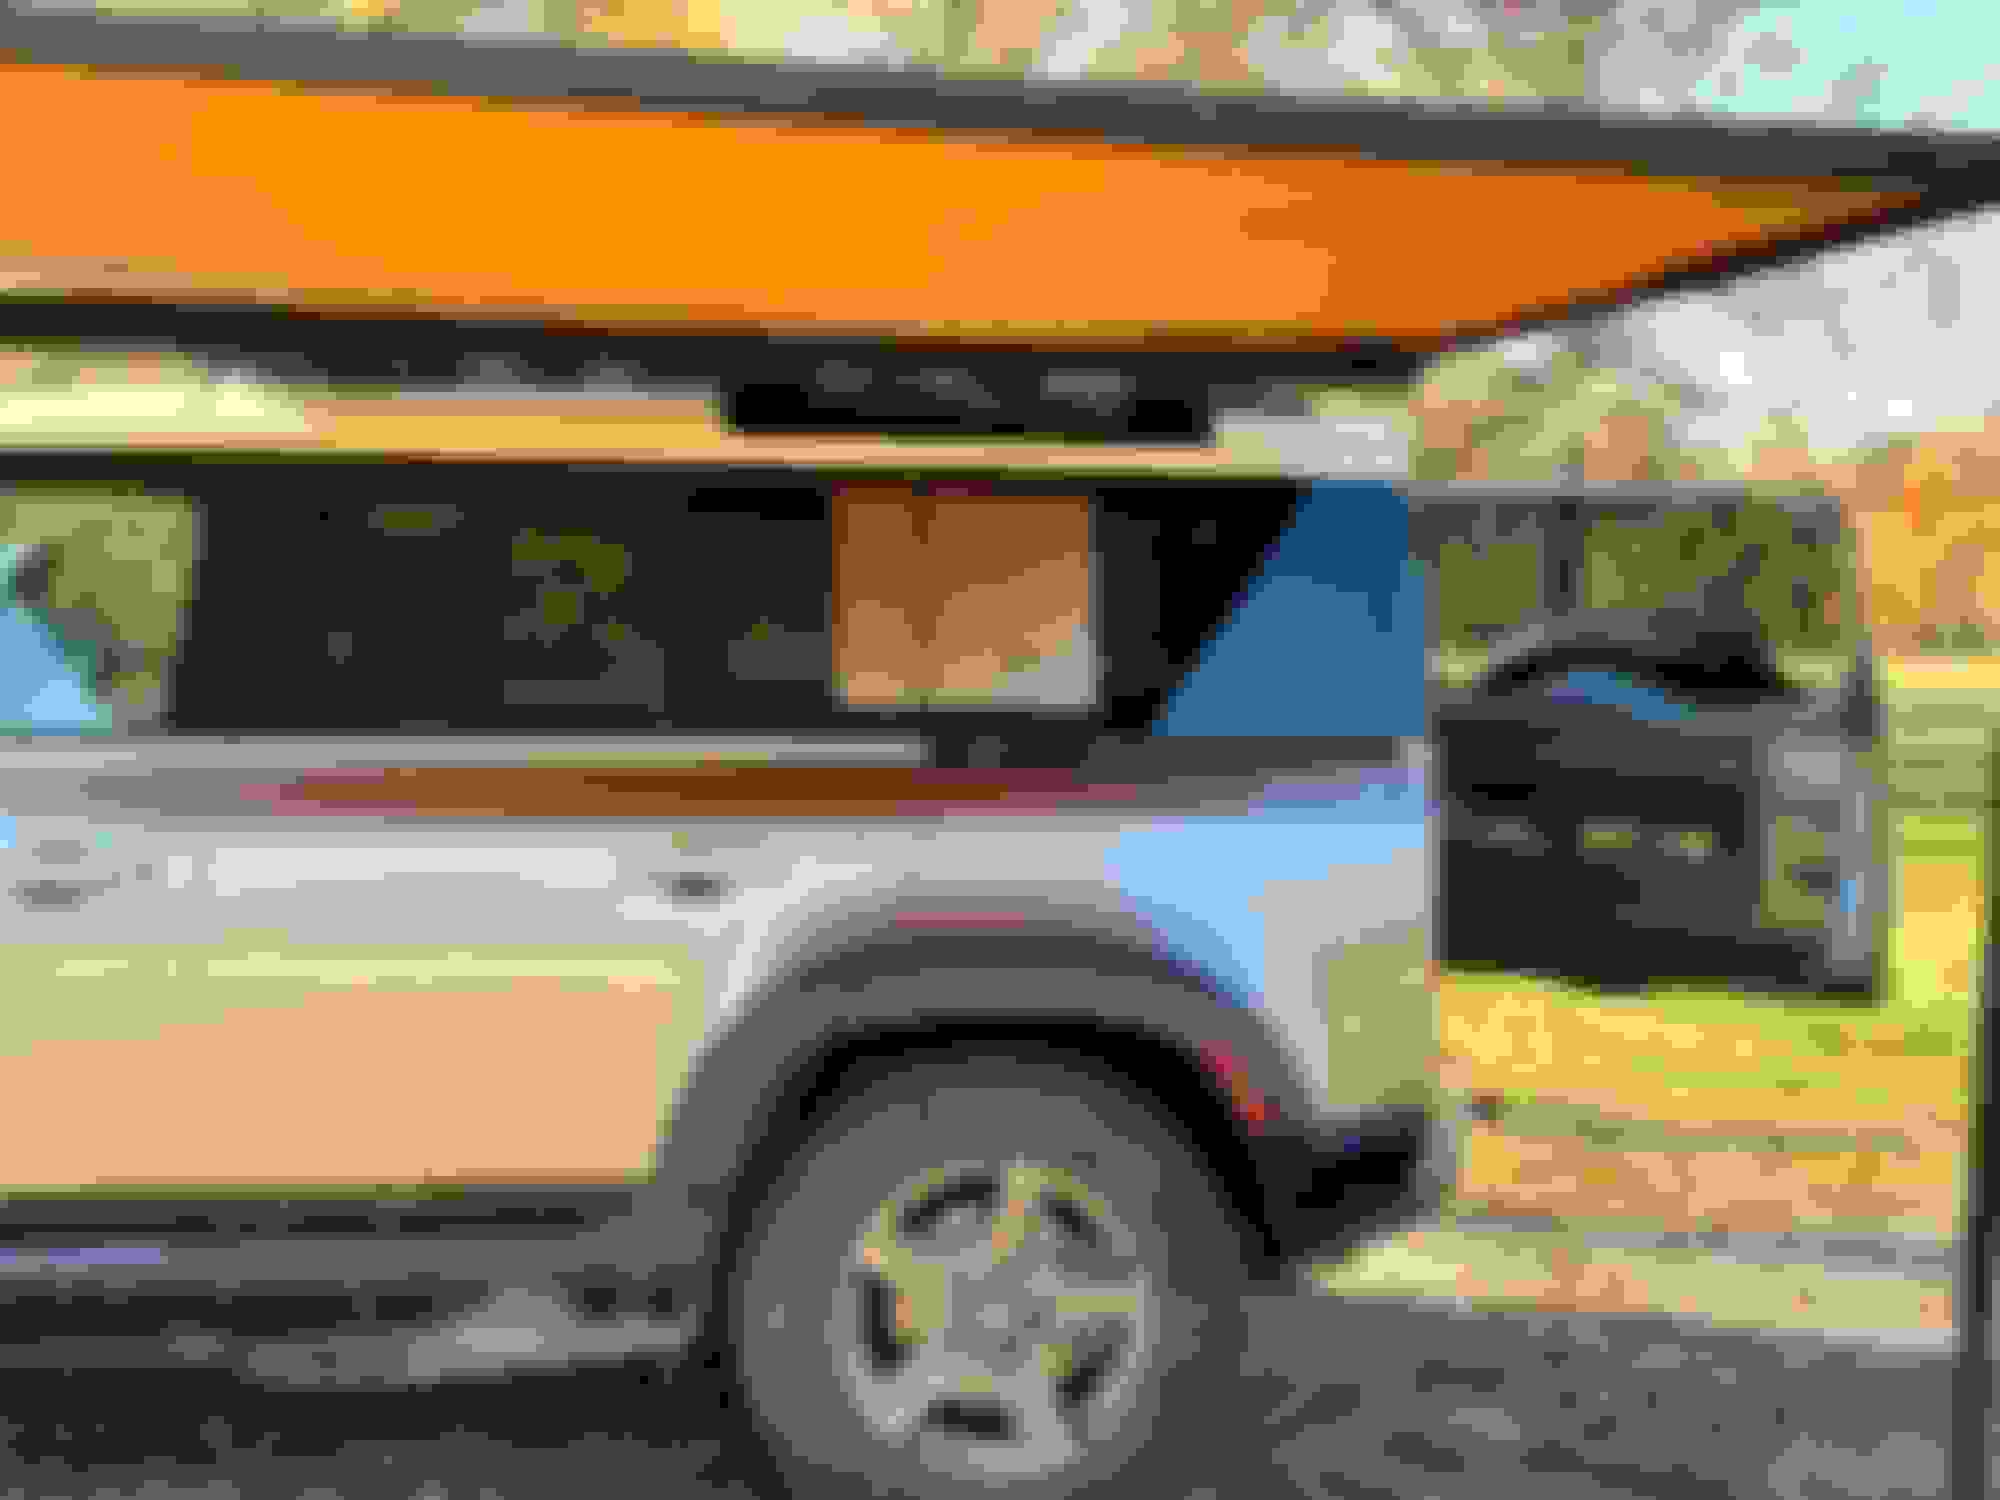
I did take this opportunity to also mount the utility rails PowerfulUK sells predrilled for mounting accessories. I may change the hardware to black stainless steel. That should've been supplied IMO. Incredibly impressed with the ARB awning, at 8 1/2 feet by 8 1/2 feet it has quite the footprint. Also at speed I don't here any wind noise, I thought I would but I don't, go figure.
Installed an ARB Touring awning on the Expedition Rack using PowerfulUK's mount system designed for the ARB's. No instructions came with it, had to rely on just the YT video which for the most part did a decent job of explaining how to mount.
However, a couple things to note. I don't think rack mounts were designed with the OEM ladder on the left side as there was no way the awning was going to clear the top of the ladder, no way. You can mount the awning either the drivers or passengers side but for my preference I wanted the awing on the side which made accessing the rear door as easy as possible.
This prompted me to switch the ladder to the passenger side which I wanted to do in the beginning when I bought it but conformed to everyone else in putting the ladder on the left, NO MORE! I think it belongs on the right. With the ladder out of the way bolting the brackets to the crossbars was a breeze. the trouble started when fitting the very straight
awning to the rack.
The Expedition rack is curved, which in the YT video he explains it but in practice I must of had the awning off and on the mount at least 15 times trying to get everything lined up. 3 brackets are used and they all different lengths in relation to the rack. it helped to use a level but once the awning slide down easy on the track and mounts were tightened it would pull the brackets and make taking the awning back off impossible. I had to get a little creative and shim a spacer in one of the brackets to get this whole thing to work. The design is that its a quick release system so you can take off the awning and store it off the truck, so it was imperative that THAT actually be what happened. I don't see the point in buying a quick release mount and not have it quick release. All in all everything is working as it should, I think the brackets themselves need to be about 1 inch longer compensate for clearing the nuts from the rack when putting on and taking off because they did scratch the rack when removing. So know that may be an issue before you buy.
I did take this opportunity to also mount the utility rails PowerfulUK sells predrilled for mounting accessories. I may change the hardware to black stainless steel. That should've been supplied IMO. Incredibly impressed with the ARB awning, at 8 1/2 feet by 8 1/2 feet it has quite the footprint. Also at speed I don't here any wind noise, I thought I would but I don't, go figure.
Can you show a picture with it all folded up for driving?