
04 DII Build Thread


Thread Starter
|
Rock Crawling
Joined: Nov 2014
Posts: 371
Likes: 12
From: Eugene, OR
I was able to keep the heated seats. I was just a matter a fitting the electronics under the manual seats.
Thread Starter
|
Rock Crawling
Joined: Nov 2014
Posts: 371
Likes: 12
From: Eugene, OR
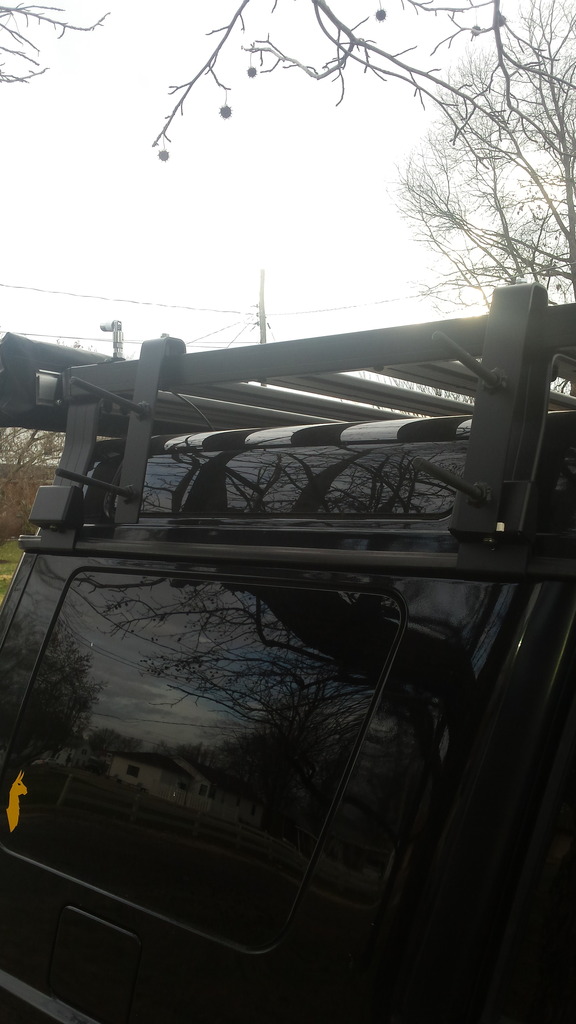
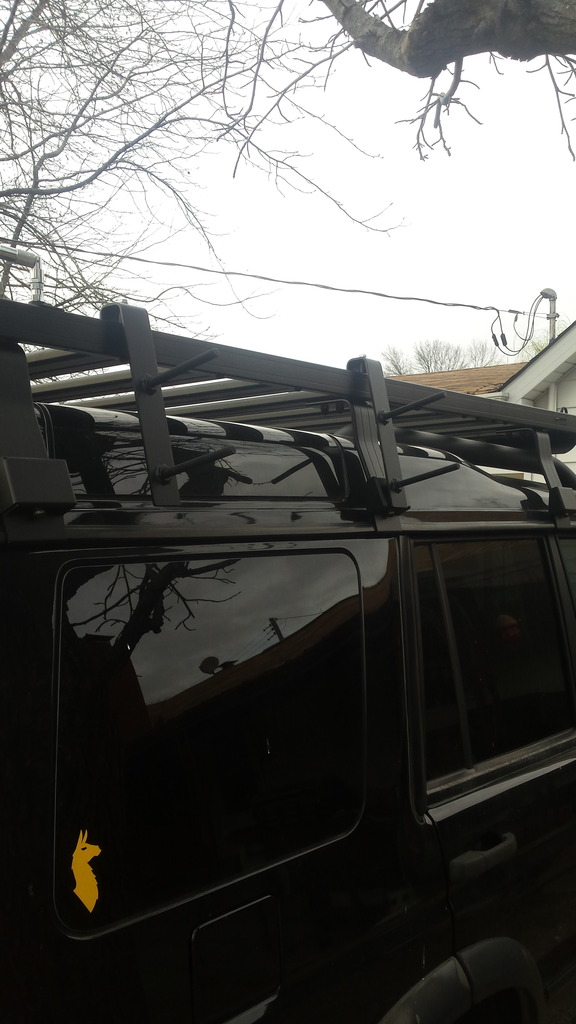
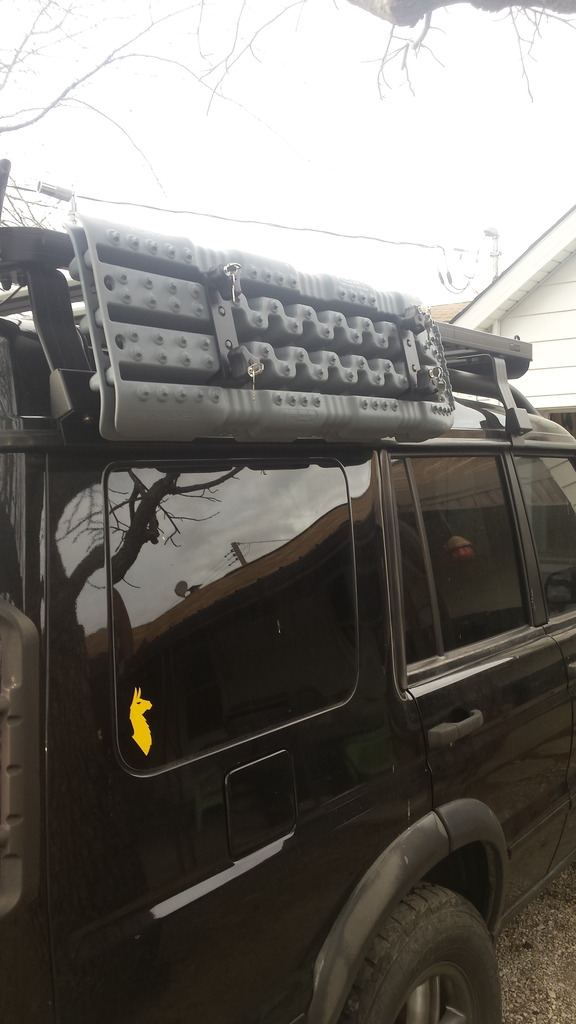
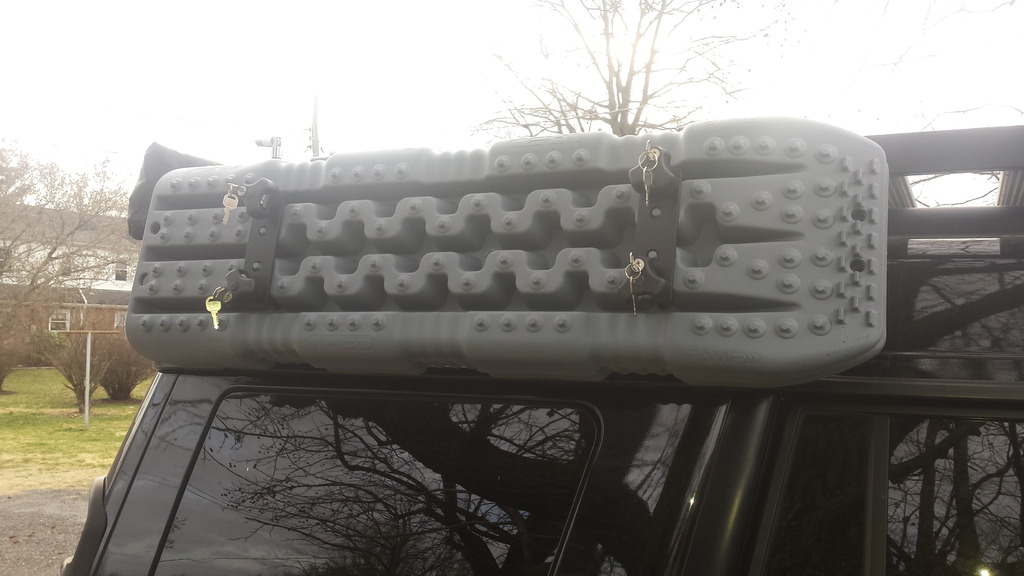
I recently came across a great deal on the TRED4x4 recovery boards, and picked up a set. I was a bit disappointed that Front Runner doesn't offer a TRED mount, and only offered a Maxtrax mount. The Maxtrax have different spacing than the TRED's so the mounts wouldn't work for me.
After searching, and not finding anything that would work I decided to build my own. These are made from 3/16"x2" flat steel, and bolt on the Front Runner slats. The two brackets have 1/2-13" threaded studs welded in place, and utilize the Hi-Lift locking handles.
After searching, and not finding anything that would work I decided to build my own. These are made from 3/16"x2" flat steel, and bolt on the Front Runner slats. The two brackets have 1/2-13" threaded studs welded in place, and utilize the Hi-Lift locking handles.
Last edited by Mstudt; Feb 24, 2017 at 09:25 AM.
Thread Starter
|
Rock Crawling
Joined: Nov 2014
Posts: 371
Likes: 12
From: Eugene, OR
I've been away from this thread for a few weeks due to an engine install. With the new 4.6 installed, and running good. It's now time to get back to work here, and I'll have some updates after this weekend.
In the mean time here's a thread to my engine install. There's some good information in this thread, and hopefully others will find it useful.
In the mean time here's a thread to my engine install. There's some good information in this thread, and hopefully others will find it useful.
Thread Starter
|
Rock Crawling
Joined: Nov 2014
Posts: 371
Likes: 12
From: Eugene, OR
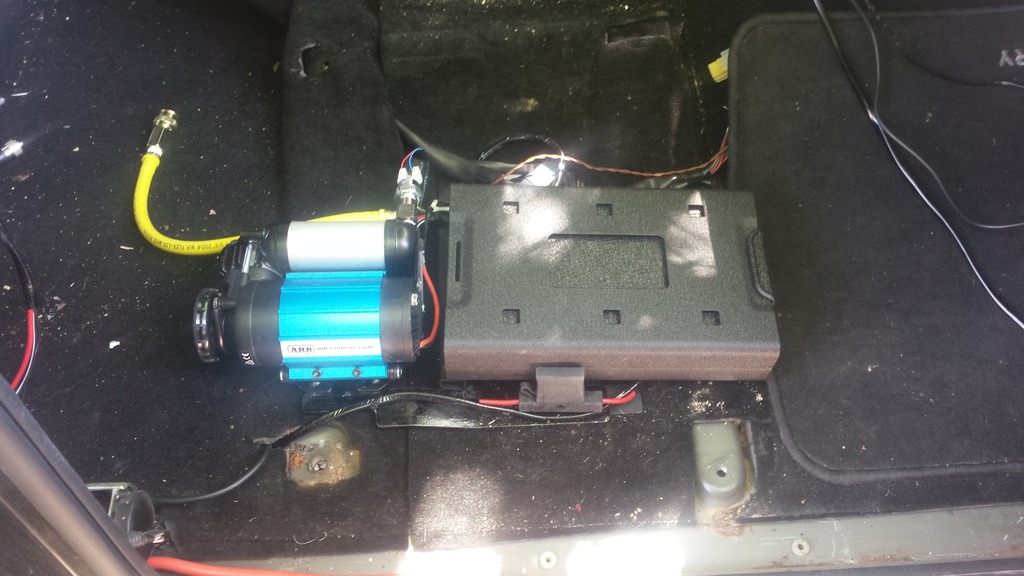
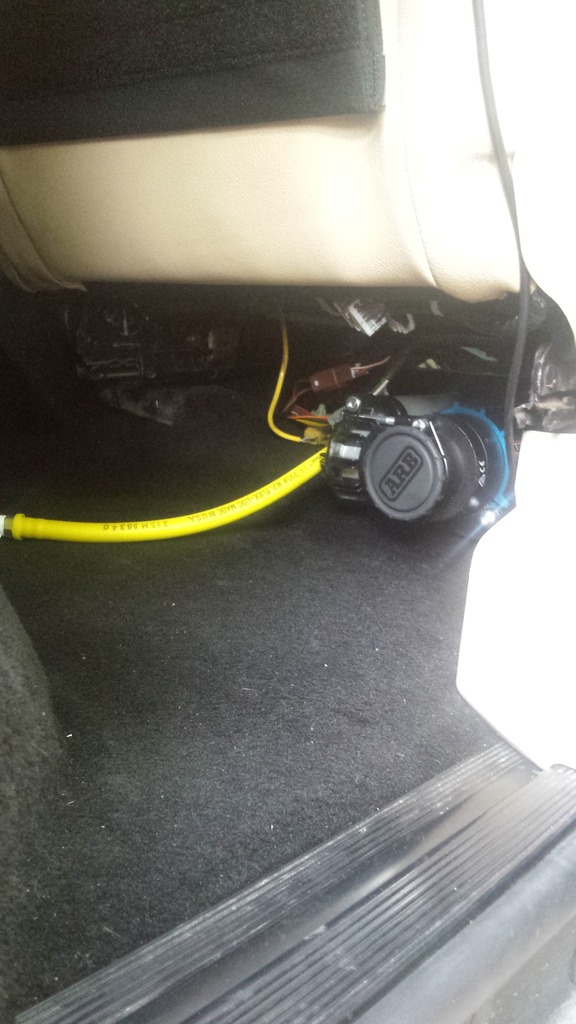
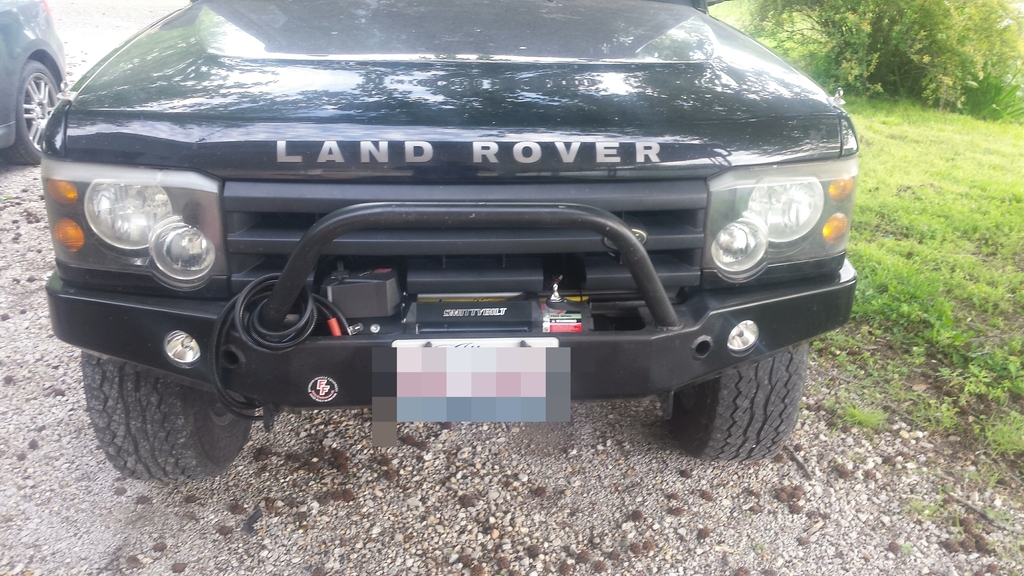
Had a little forward progress this weekend. I was able to install our ARB compressor, and get the winch mounted up.
I decided to put the ARB CKMA12 compressor under the passenger seat. I decided to make small extension to come off the frame I made for the safe. I also added a fixed piece of air line hose to the compressor so I wouldn't have to reach under the seat trying to find the connection. The compressor sits nicely under the seat, and is powered through the BlueSea fuse box that's installed on the platform.
Installing the winch was a pit of a pain. I had to trim some of the grill support to clear the winch, and had to trim the grill some too.

Camel Trophy
Joined: Oct 2016
Posts: 4,867
Likes: 1,410
From: Michigan
Looks great. Were there any sensors for the SRS system in the seats? Some cars have sensors built into the seat frame, that if the seat rocks forward a certain degree or rips from the floor...it sets off the airbags.
Really like what you have done with this rover. Keep up the good work.
Brian.
Really like what you have done with this rover. Keep up the good work.
Brian.
Thread Starter
|
Rock Crawling
Joined: Nov 2014
Posts: 371
Likes: 12
From: Eugene, OR
Over the weekend I was able to get quite a bit done. I swapped out the bad afn clutch, fan blade, and ac fan motor for good parts.
Clutch - 922790
Blade - 620-112
Motor - PM9116 (fan blade trimming required)
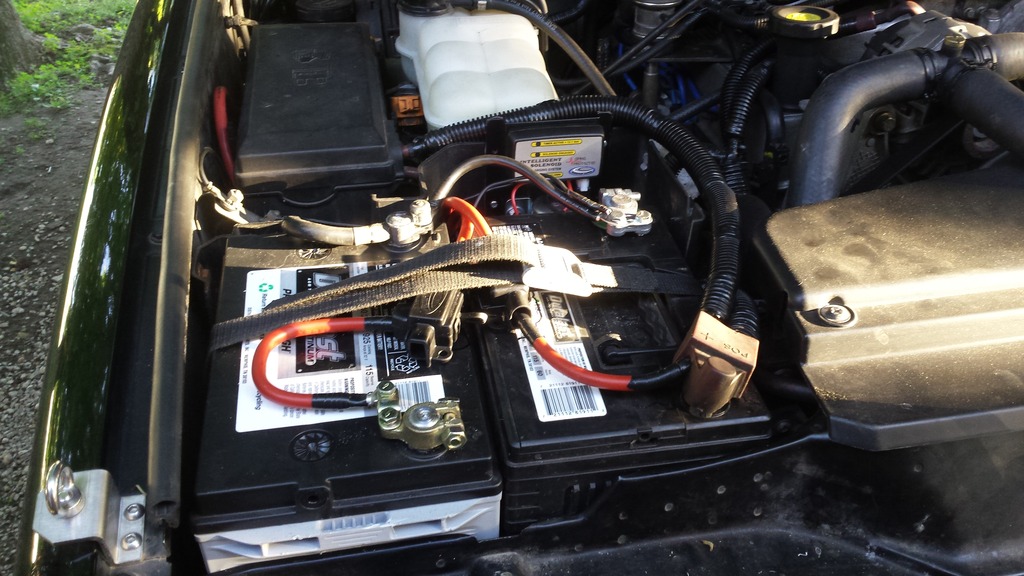
Sorry for some of the not so good pictures. I usually have my wife take pictures, but she was working on her own projects. On Sunday I knocked out our dual battery install, and it wasn't too bad. I was on the fences about installing a National Luna dual battery, and finally decided to do it. Since the plan in to live out of the Rover we needed to have some extra juice just in case.
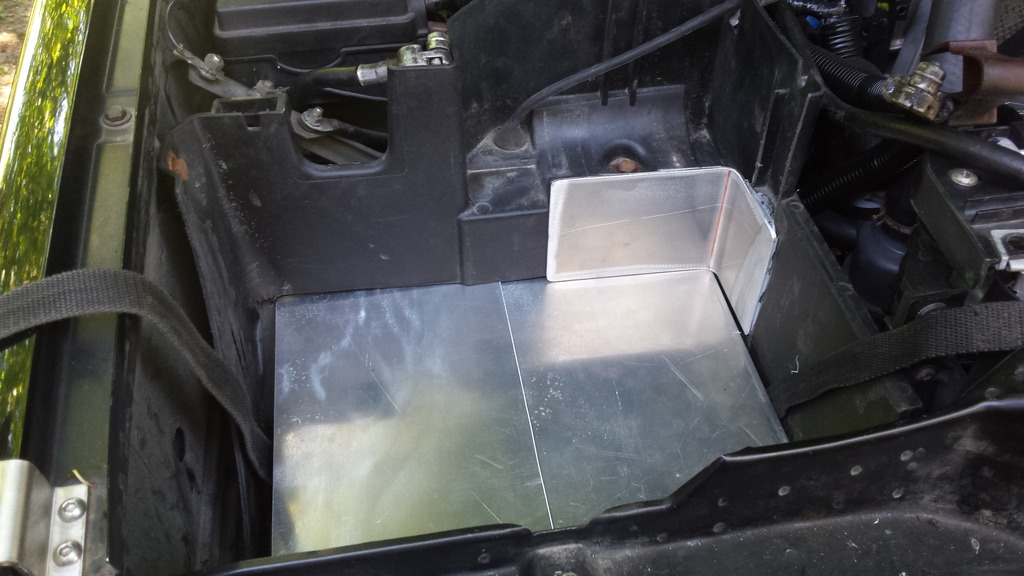
I took the original box, and cut a little off the bottom to help fit the batteries.
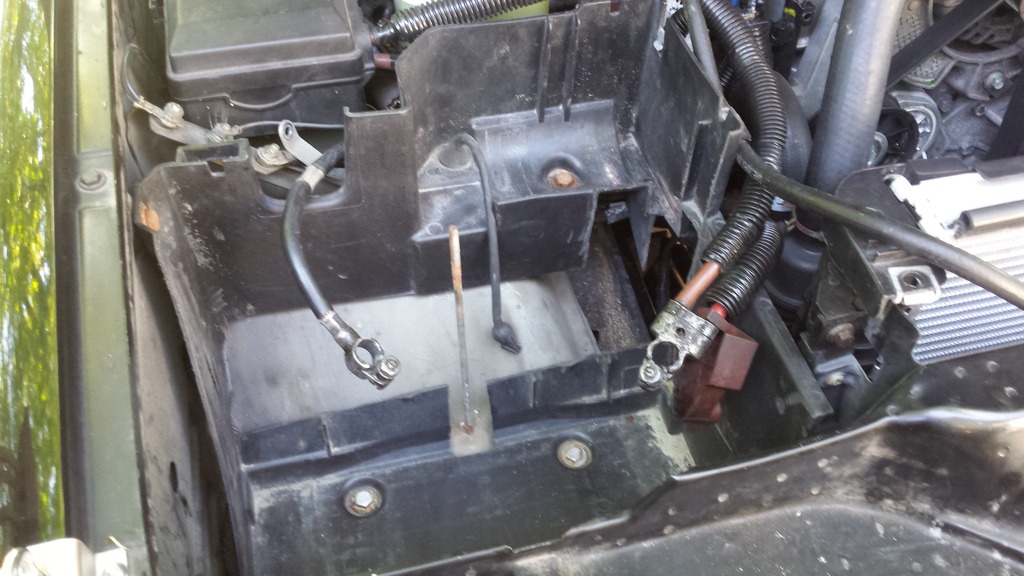
Next I added a battery tie down that uses two of the mounting bolts. This is very simple, and wraps around the new tray, and both batteries to hold them in place.

While cleaning the garage I was able to find a nice sheet of aluminum that I used to make two single battery trays, and a corner piece. I used RTV to fix the corner piece to the battery box. Since it was open to the elements I decided to cover it.
Here's the finished product. I'm not to keen on the location, but there isn't much to work with under the hood.
I'll have to get a picture on the monitor mounted inside still, and I'll post that here later.
Clutch - 922790
Blade - 620-112
Motor - PM9116 (fan blade trimming required)
Sorry for some of the not so good pictures. I usually have my wife take pictures, but she was working on her own projects. On Sunday I knocked out our dual battery install, and it wasn't too bad. I was on the fences about installing a National Luna dual battery, and finally decided to do it. Since the plan in to live out of the Rover we needed to have some extra juice just in case.
I took the original box, and cut a little off the bottom to help fit the batteries.
Next I added a battery tie down that uses two of the mounting bolts. This is very simple, and wraps around the new tray, and both batteries to hold them in place.
While cleaning the garage I was able to find a nice sheet of aluminum that I used to make two single battery trays, and a corner piece. I used RTV to fix the corner piece to the battery box. Since it was open to the elements I decided to cover it.
Here's the finished product. I'm not to keen on the location, but there isn't much to work with under the hood.
I'll have to get a picture on the monitor mounted inside still, and I'll post that here later.

Thread Starter
|
Rock Crawling
Joined: Nov 2014
Posts: 371
Likes: 12
From: Eugene, OR
The kit was about $350-$400, but I can't remember. You can purchase the solenoid for $140, and the controller for $95. You'll need two fuse blocks, and various size lugs for the connections. I bet you could piece it together for about $250.
Thread Starter
|
Rock Crawling
Joined: Nov 2014
Posts: 371
Likes: 12
From: Eugene, OR
Over the long weekend I was able to get quite a bit more finished up, and I can finally say I'm in the home stretch. I don't have much left to do anymore, and that's a good thing.
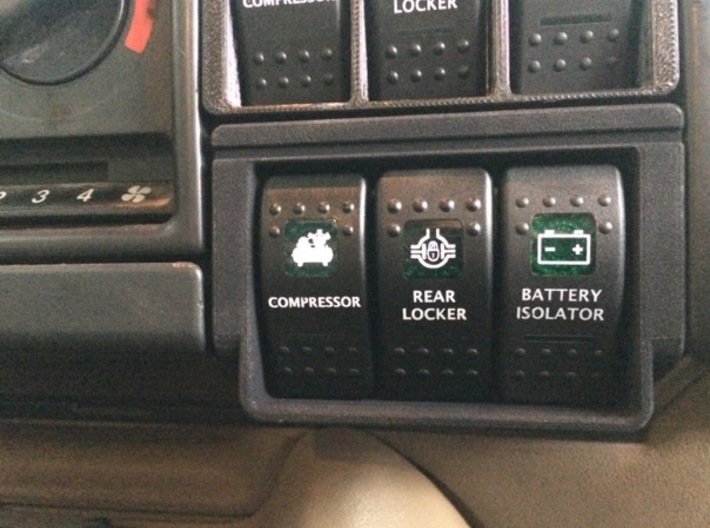
Over the weekend I was able to power up everything on the inside of the Rover, and everything works like I hoped it would. I didn't get around to wiring the dash switches, and decided to go another route with them.
I ordered the switch pod below, and ordered new Carling switches to fit the pod.
Over the weekend I was able to power up everything on the inside of the Rover, and everything works like I hoped it would. I didn't get around to wiring the dash switches, and decided to go another route with them.
I ordered the switch pod below, and ordered new Carling switches to fit the pod.

