my 98 disco1
#151
 10-02-2013, 08:55 AM


#152
10-02-2013, 06:21 PM
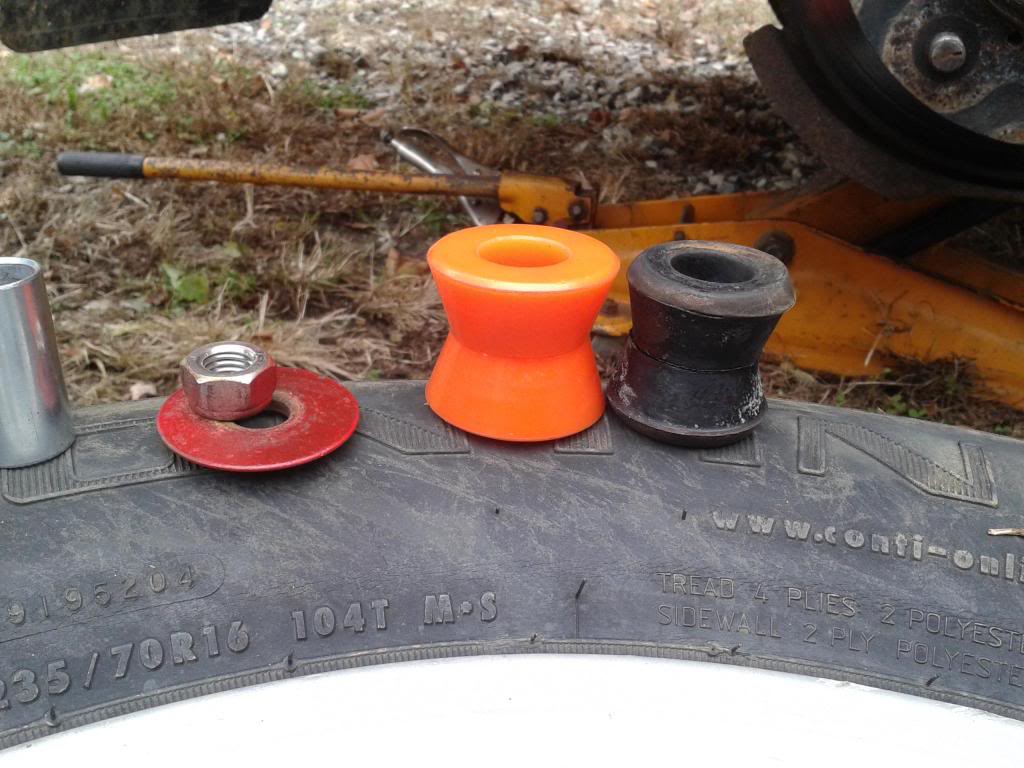
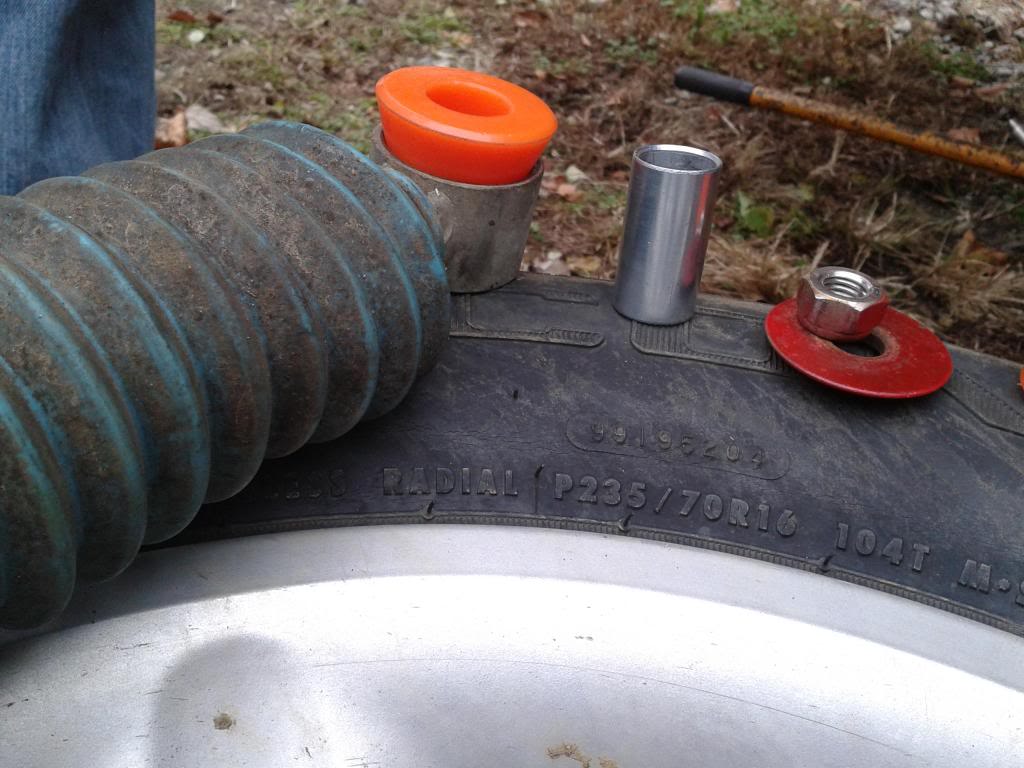
I could not figure a way to test on vehicle, it was not clunking, still greased, off vehicle it moved freely almost loose, but no play, moving it aroung we found a tight spot so for price and apart we just did it, the hf plates work fine for me press is 10 years old
We have used sockets but I recommend getting their ball joint press tool and the extra adapter set for that tool, they work great on the press
It did take all 20 tons to do the upper A arm and ball joint I was close to paying for press out
We have used sockets but I recommend getting their ball joint press tool and the extra adapter set for that tool, they work great on the press
It did take all 20 tons to do the upper A arm and ball joint I was close to paying for press out
#153
10-17-2013, 03:48 PM
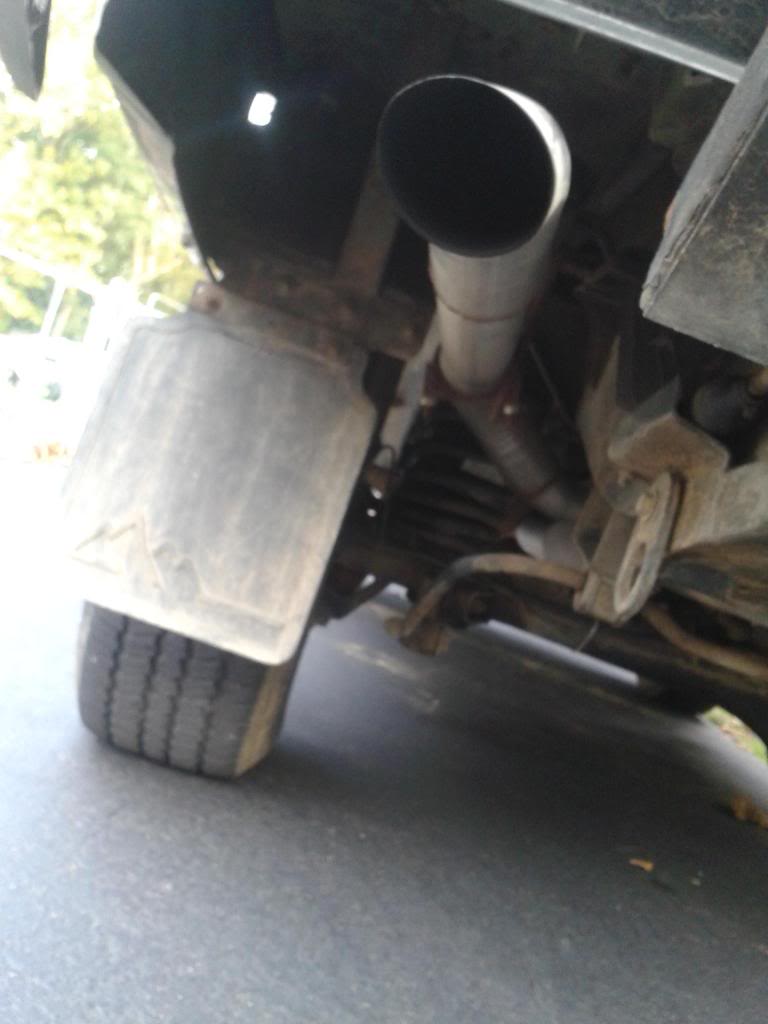
Pics of the exhaust we made up
Buy a muffler with center inlet offset outlet and a piece of straight pipe to fit the inlet think we used 2.5"
Cut the flange off the OEM muffler weld onto your straight pipe
lay that and the new muffler side by side cut down the pipe to make the assembled pipe and muffler length same as the old muffler BE SURE THE FLANGE IS CLOCKED CORRECTLY BEFORE ANY PERMANENT ATTATCHING
We clamped this in case the pipe outlasts the muffler and I need to do it again this is the second time I rebuilt this exhaust since owning the Rover 4/5 years now
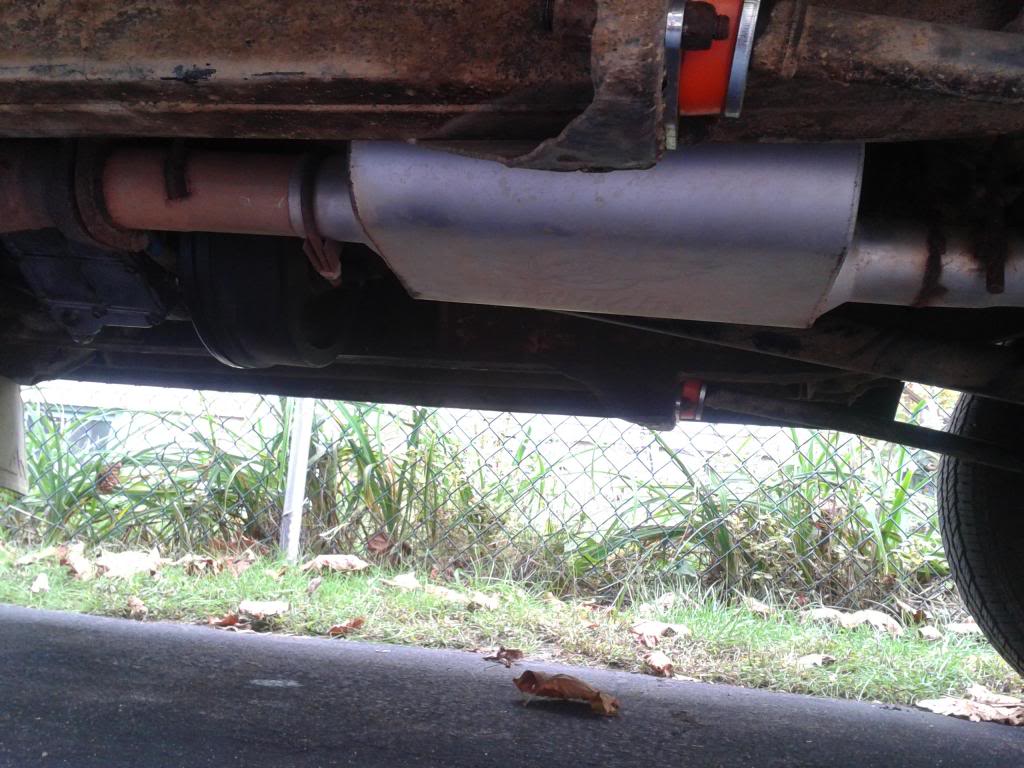
We bought a new over axle pipe amazon or ebay cheapest, 45* , straight pipe, universal turn down ( this goes in place of the rear resonator)
With muffler mounted install over the rear pipe making sure it is positioned where the upper A and axle will not hit we had a jackstand under the muffler and tacked on the over axle pipe
Then assemble the remaining pipes and attach the 45* to the over axle pipe and make length adjustments as needed so the tailpipe comes out in the proper location
Lastly remove and weld up then final assemble on vehicle, at this point you will need to weld a hanger at the front and rear of the muffler
We found the over axle pipe to be an odd size tubing, and the 45* is needed cause the over the axle is incomplete the last bend is part of the rear resonator
Wish I had pics from the process
Buy a muffler with center inlet offset outlet and a piece of straight pipe to fit the inlet think we used 2.5"
Cut the flange off the OEM muffler weld onto your straight pipe
lay that and the new muffler side by side cut down the pipe to make the assembled pipe and muffler length same as the old muffler BE SURE THE FLANGE IS CLOCKED CORRECTLY BEFORE ANY PERMANENT ATTATCHING
We clamped this in case the pipe outlasts the muffler and I need to do it again this is the second time I rebuilt this exhaust since owning the Rover 4/5 years now
We bought a new over axle pipe amazon or ebay cheapest, 45* , straight pipe, universal turn down ( this goes in place of the rear resonator)
With muffler mounted install over the rear pipe making sure it is positioned where the upper A and axle will not hit we had a jackstand under the muffler and tacked on the over axle pipe
Then assemble the remaining pipes and attach the 45* to the over axle pipe and make length adjustments as needed so the tailpipe comes out in the proper location
Lastly remove and weld up then final assemble on vehicle, at this point you will need to weld a hanger at the front and rear of the muffler
We found the over axle pipe to be an odd size tubing, and the 45* is needed cause the over the axle is incomplete the last bend is part of the rear resonator
Wish I had pics from the process
Last edited by TOM R; 10-17-2013 at 03:56 PM.