
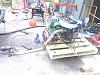
300D Turbo Disco I Complete Build (Motor)


MOTOR OM617.950 / 952
This motor is the Mercedes Benz OM617.950 Turbo NON-RGR (300D EGR Delete is easy to do. just research it)
It is a 3.0L IL5 Cylinder
The specs are 125HP and 181 Ft lbs torque
I am not going to put a bunch of useless crap up on this section about the engine specifics as you can do the research and know what it is.
Here I will show what is not necessary to have and how to streamline to a stripped power plant and what I did to make it work in my truck.
If you have a 300D and are ready to pull your motor pay close attention to the things you will need to KEEP!!!
If you are getting a motor from someone these are the things you will need to get with it or … To the junk yard you will have to go or order online.
Benz Essentials:
Aside from ALT, Steering Pump, and Vacuum Pump...Normal motor accessories.....
*Vacuum line from pump to booster and all associated lines, 3 way T's and hose otherwise.
*ALT harnessing
*Starter harness
*Glow Plug harnessing
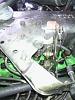
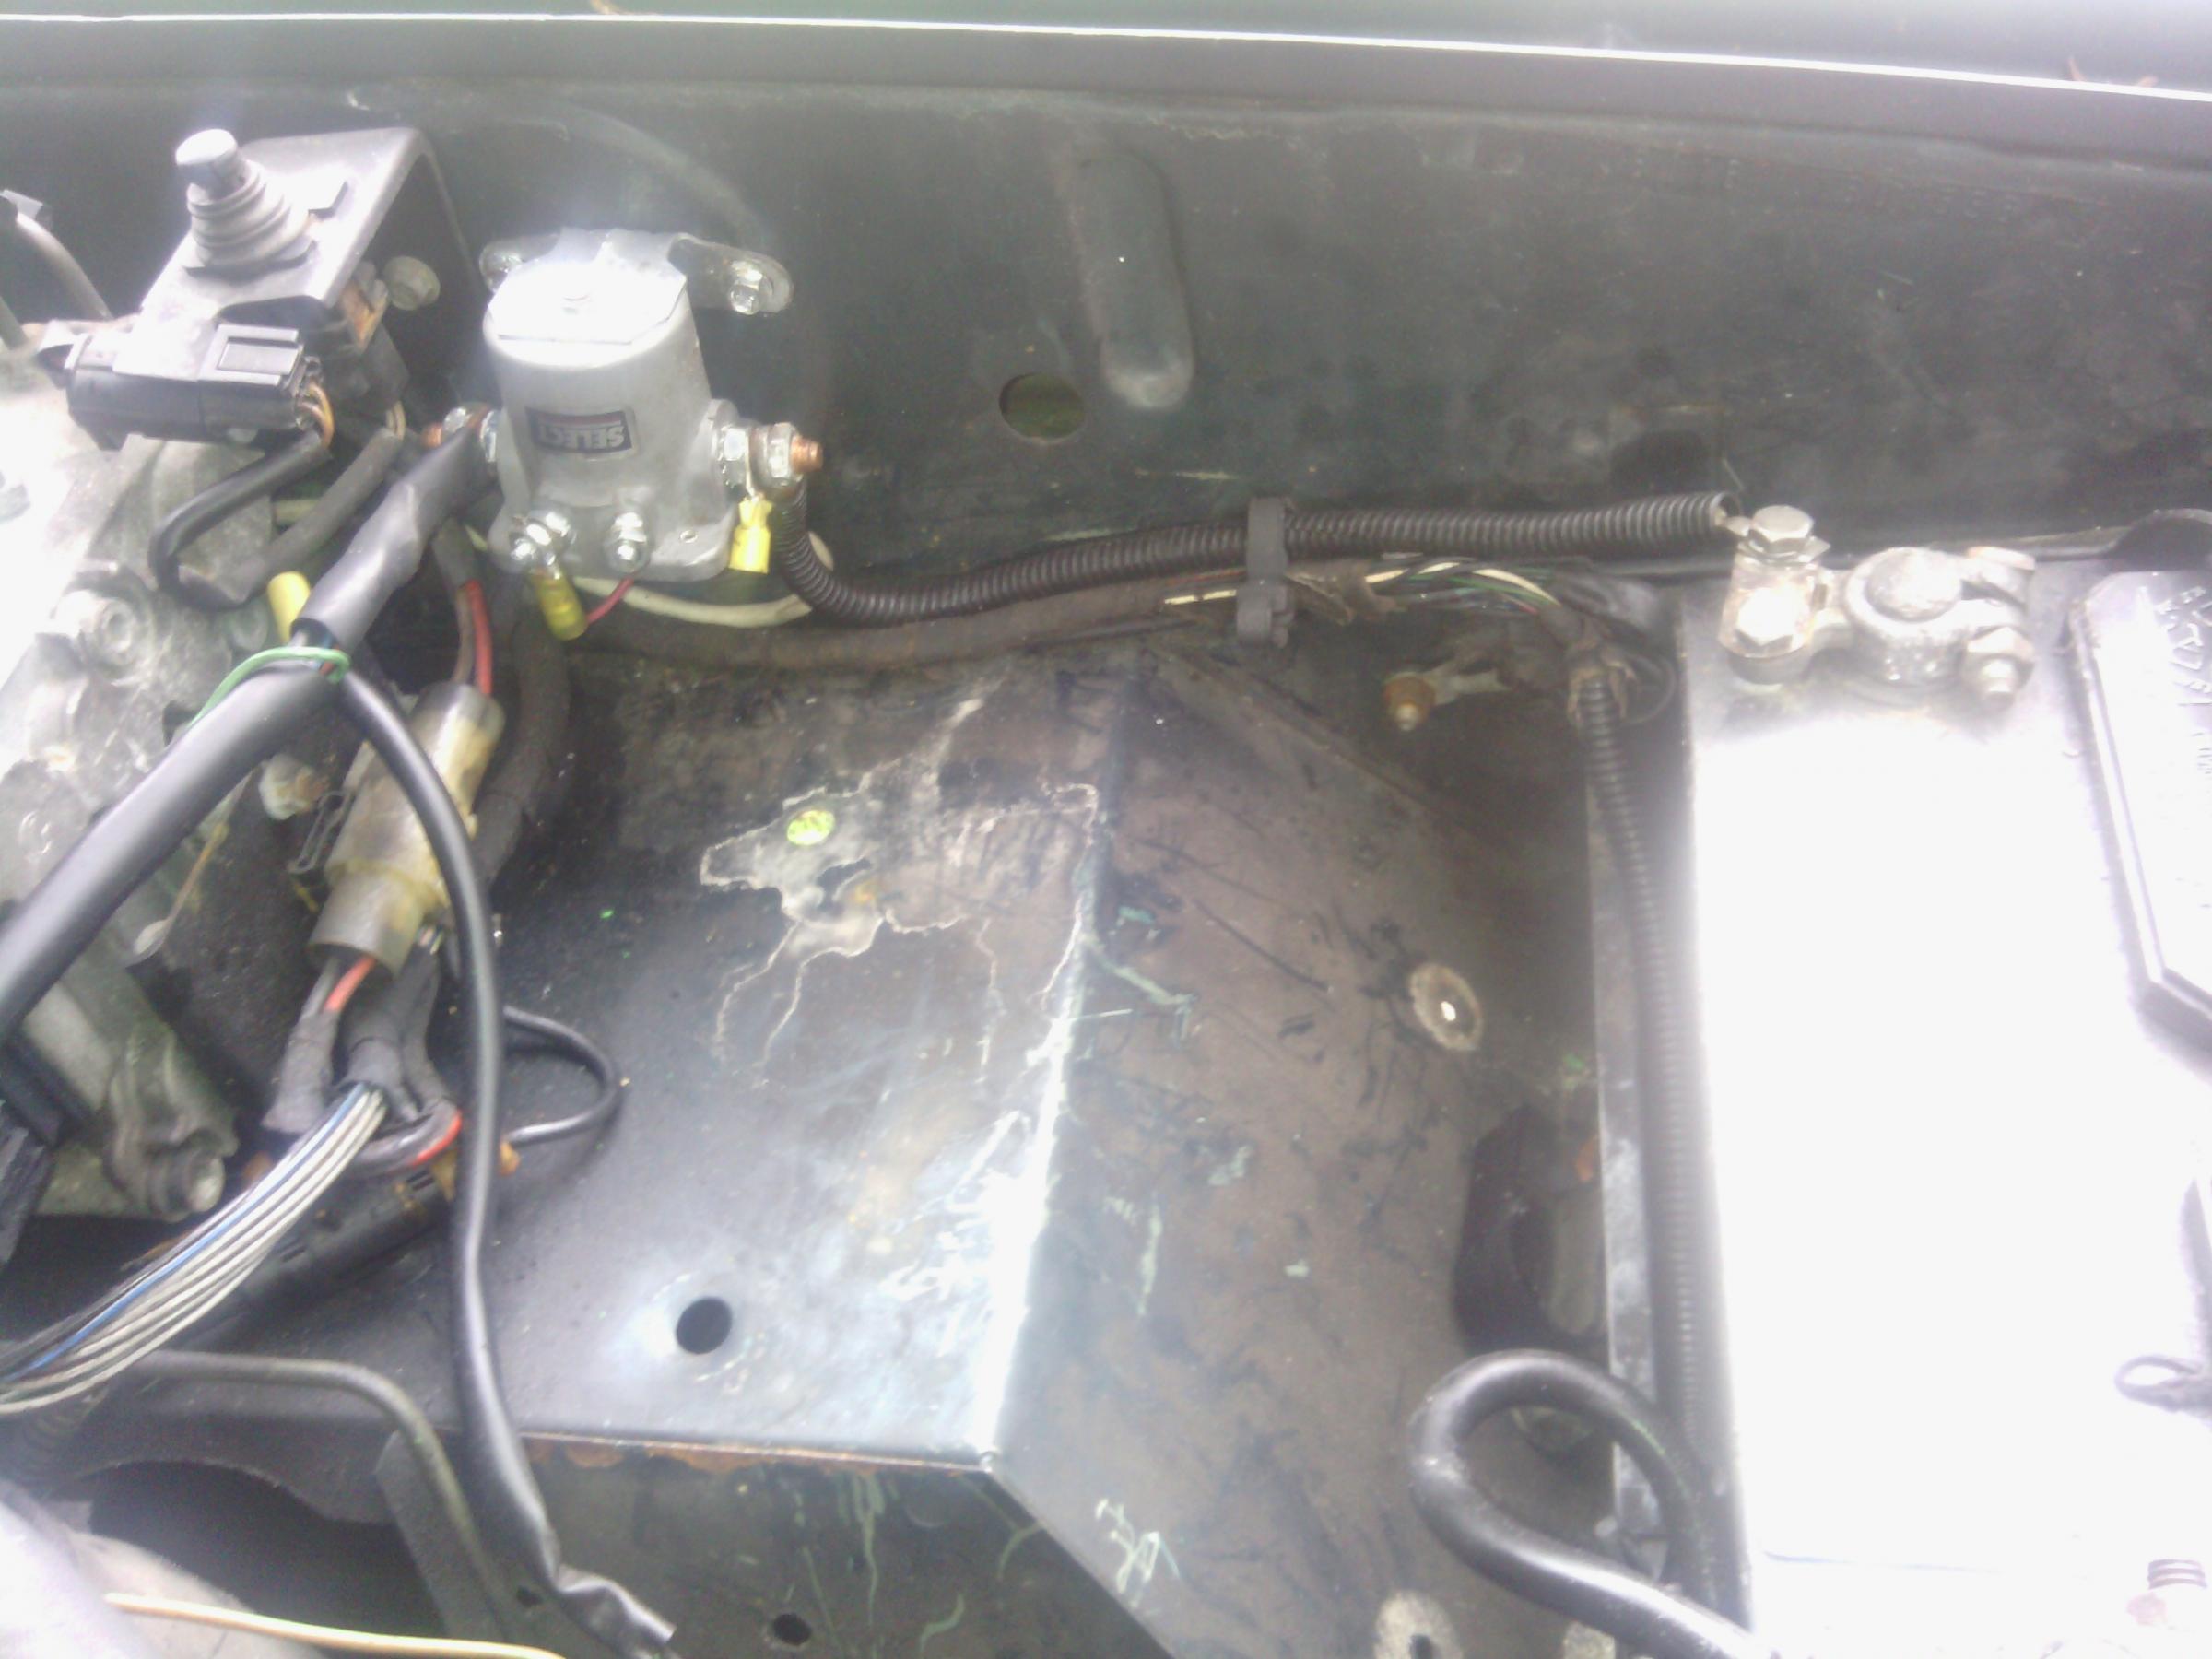
*Overboost Switchover valve located on firewall drivers side connected between ALDA on IP and rear of intake.
*BOTH Hoses from power steering pump. Do Not Cut
*Hose that runs from bottom of oil filter housing. This is your oil pressure sending tube to oil pressure gauge. This unscrews from the back of the Benz instrument cluster. If you have an electric pressure sending unit and a wire, you will need to pipe an elbow away from between the Adapter Plate and the Oil Filter Housing. This elbow may need to be threaded in prior to AP install.
Pull up the floor mats and get some hard vac lines. They can be found in your trunk and all through out anywhere there is carpet. They are coloured and helps for vac component identification.
Any request for specific pictures should be done after perusing my photobucket receptacle per build section.
Only after sorting out the nuances between years up to 85 should you proceed in fitment of engine into bay.
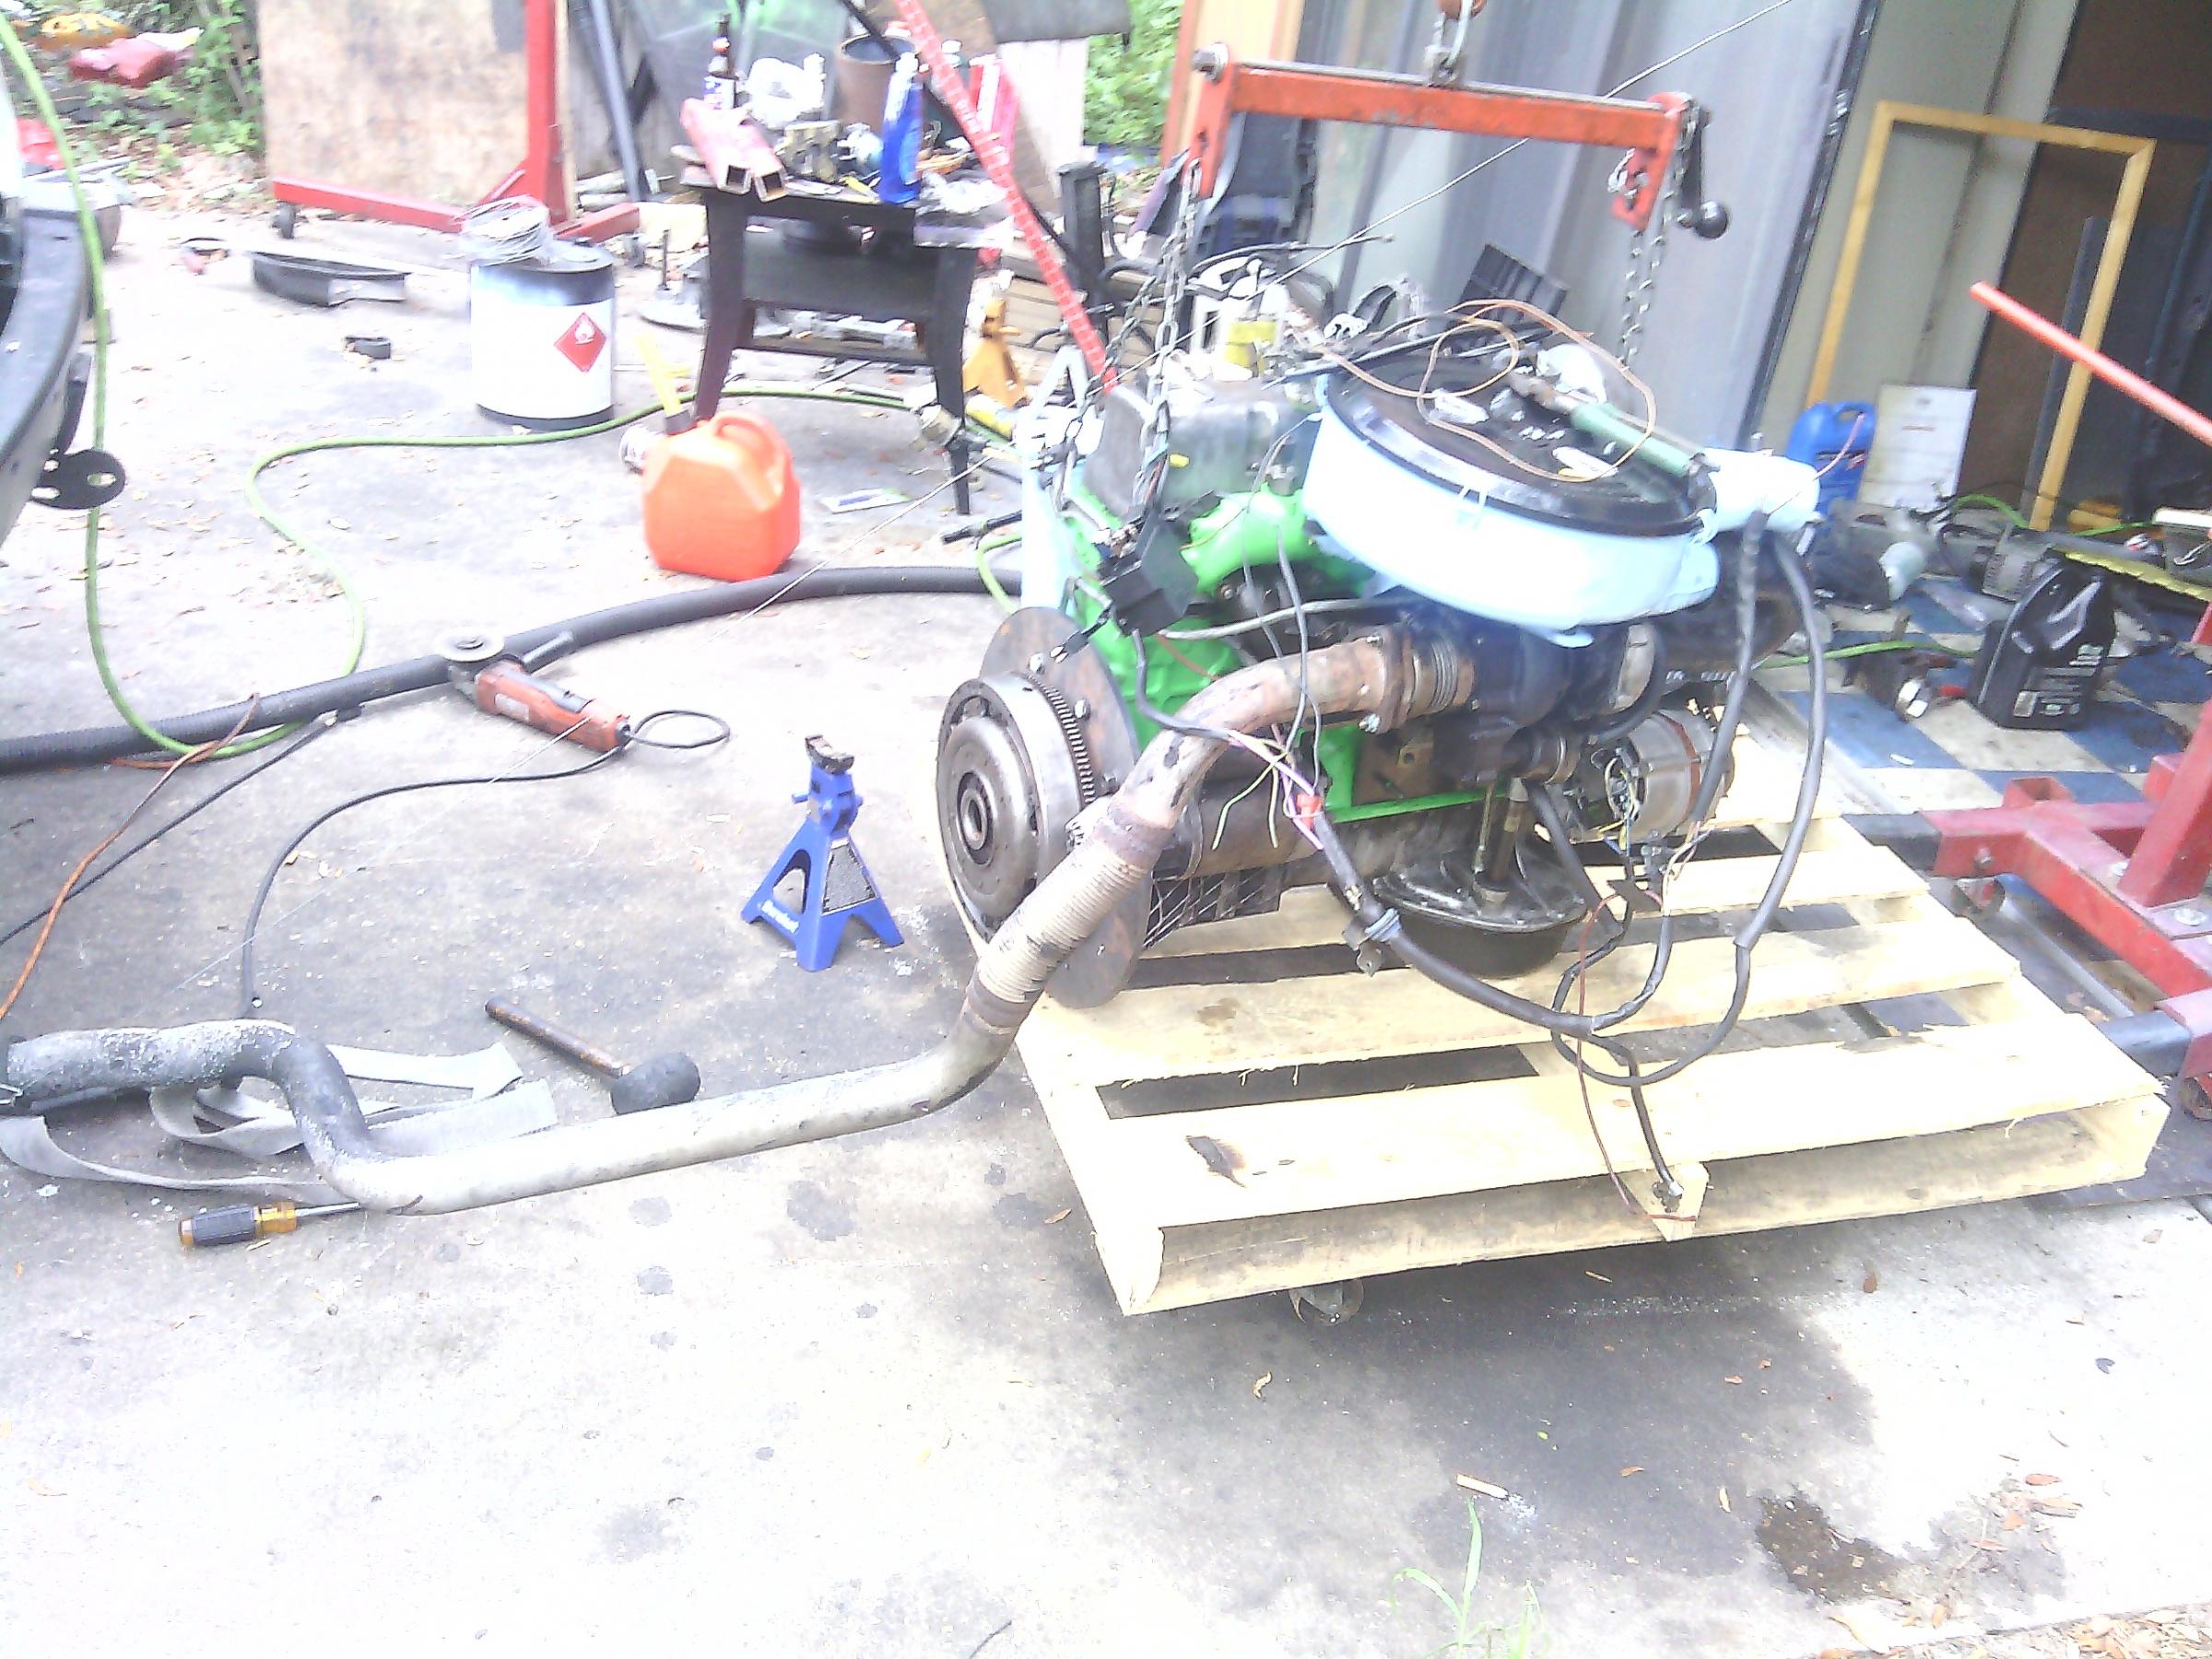
After you have your oil pan modification method sorted out, it is time to get the motor in the truck and successfully mate to your transmission. Then check carefully clearance issues between oil pan and front diff. Expect about a 3-4 inch drop once you are ready to get rid of the hoist. I underestimated the load and had to
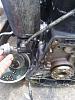
Once you have fitted your motor and have your motor mounts sorted, you need to get the OM617 started .
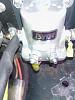
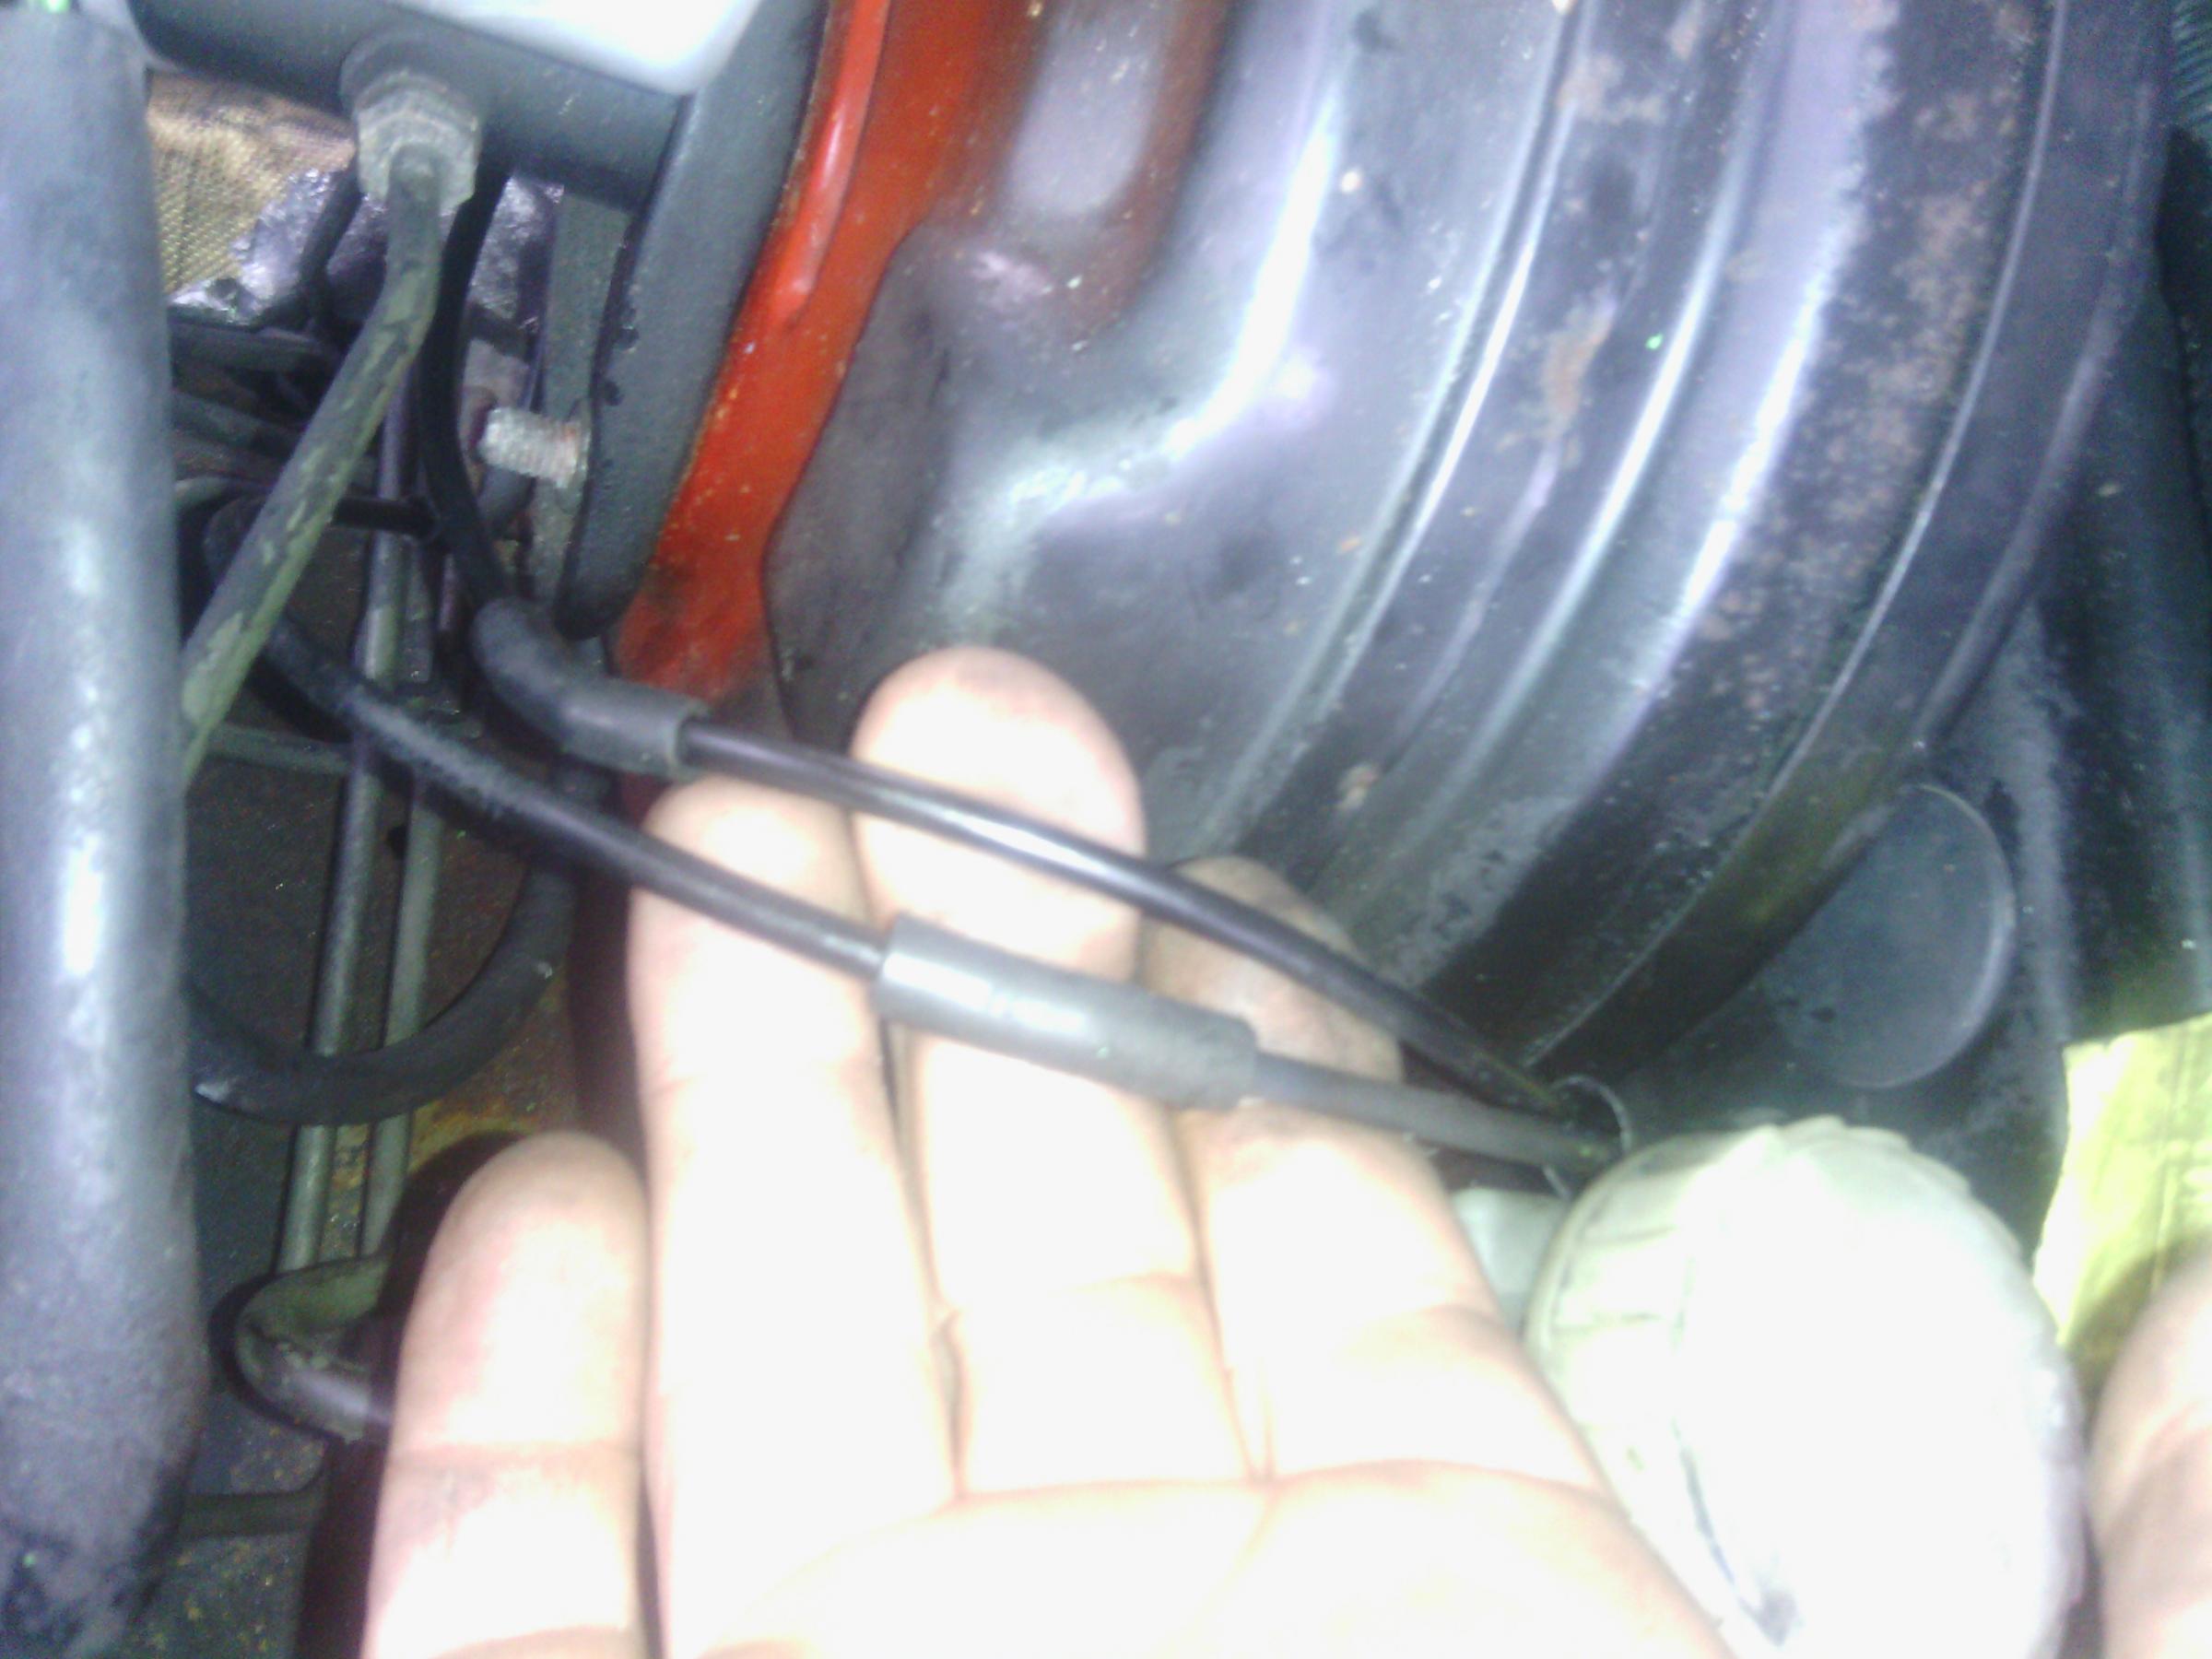
After you are able to start, you need to be able to stop. This is all made possible by a vacuum pump located on the front of the motor under the power steering pump or above to the right of the crank pulley. There is no vacuum in diesel so it must be generated.
There is a threaded nipple to a fitting similar to the oil cooler line atop of the pump and the hard line routes up and mounts to the secondary fuel return filter on the top drivers side of the motor. This is the end that will supply vacuum to your break booster. It also will supply vacuum to actuate the diaphragm fuel shut off on the Injection Pump (IP) when you want to stop the motor. This is unless you want to pop the hood and push the ingenious STOP paddle at circle K every time u want a polar pop. All early diesels have a mechanical shut off in the event you lose vacuum and cannot otherwise.
Fuel Cut Off:
Hopefully you saved this hose. There is are two T's between the break booster and the hard line of the vacuum pump. Cap off one T and run one of your vacuum lines from this T and through the the pedal plate in between the booster and clutch master cylinder. Run another line from the top of the Fuel Cut Off valve through the same hole and parallel to the other vacuum line. Make sure they will be accessible inside the Disco close to the steering column. I used the heat shrink from the top of the valve cover vacuum switch to keep them together before I sent them through the hole. Once inside the truck, cut them both to the same relative length and attach a 3 way vacuum splitter. This has created a open loop vacuum leak. With another piece of vacuum line, run it to where you can cap it off. This is also going to be your Fuel Cut Off switch.
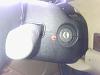

My thumb is toughing T on main Vac line and pinky is touching the end of the loop to the IP Fuel Shut Off Diaphragm. Between is a T inside column next to key.
Now you have power breaks as well! Tadaaah!
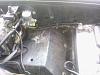
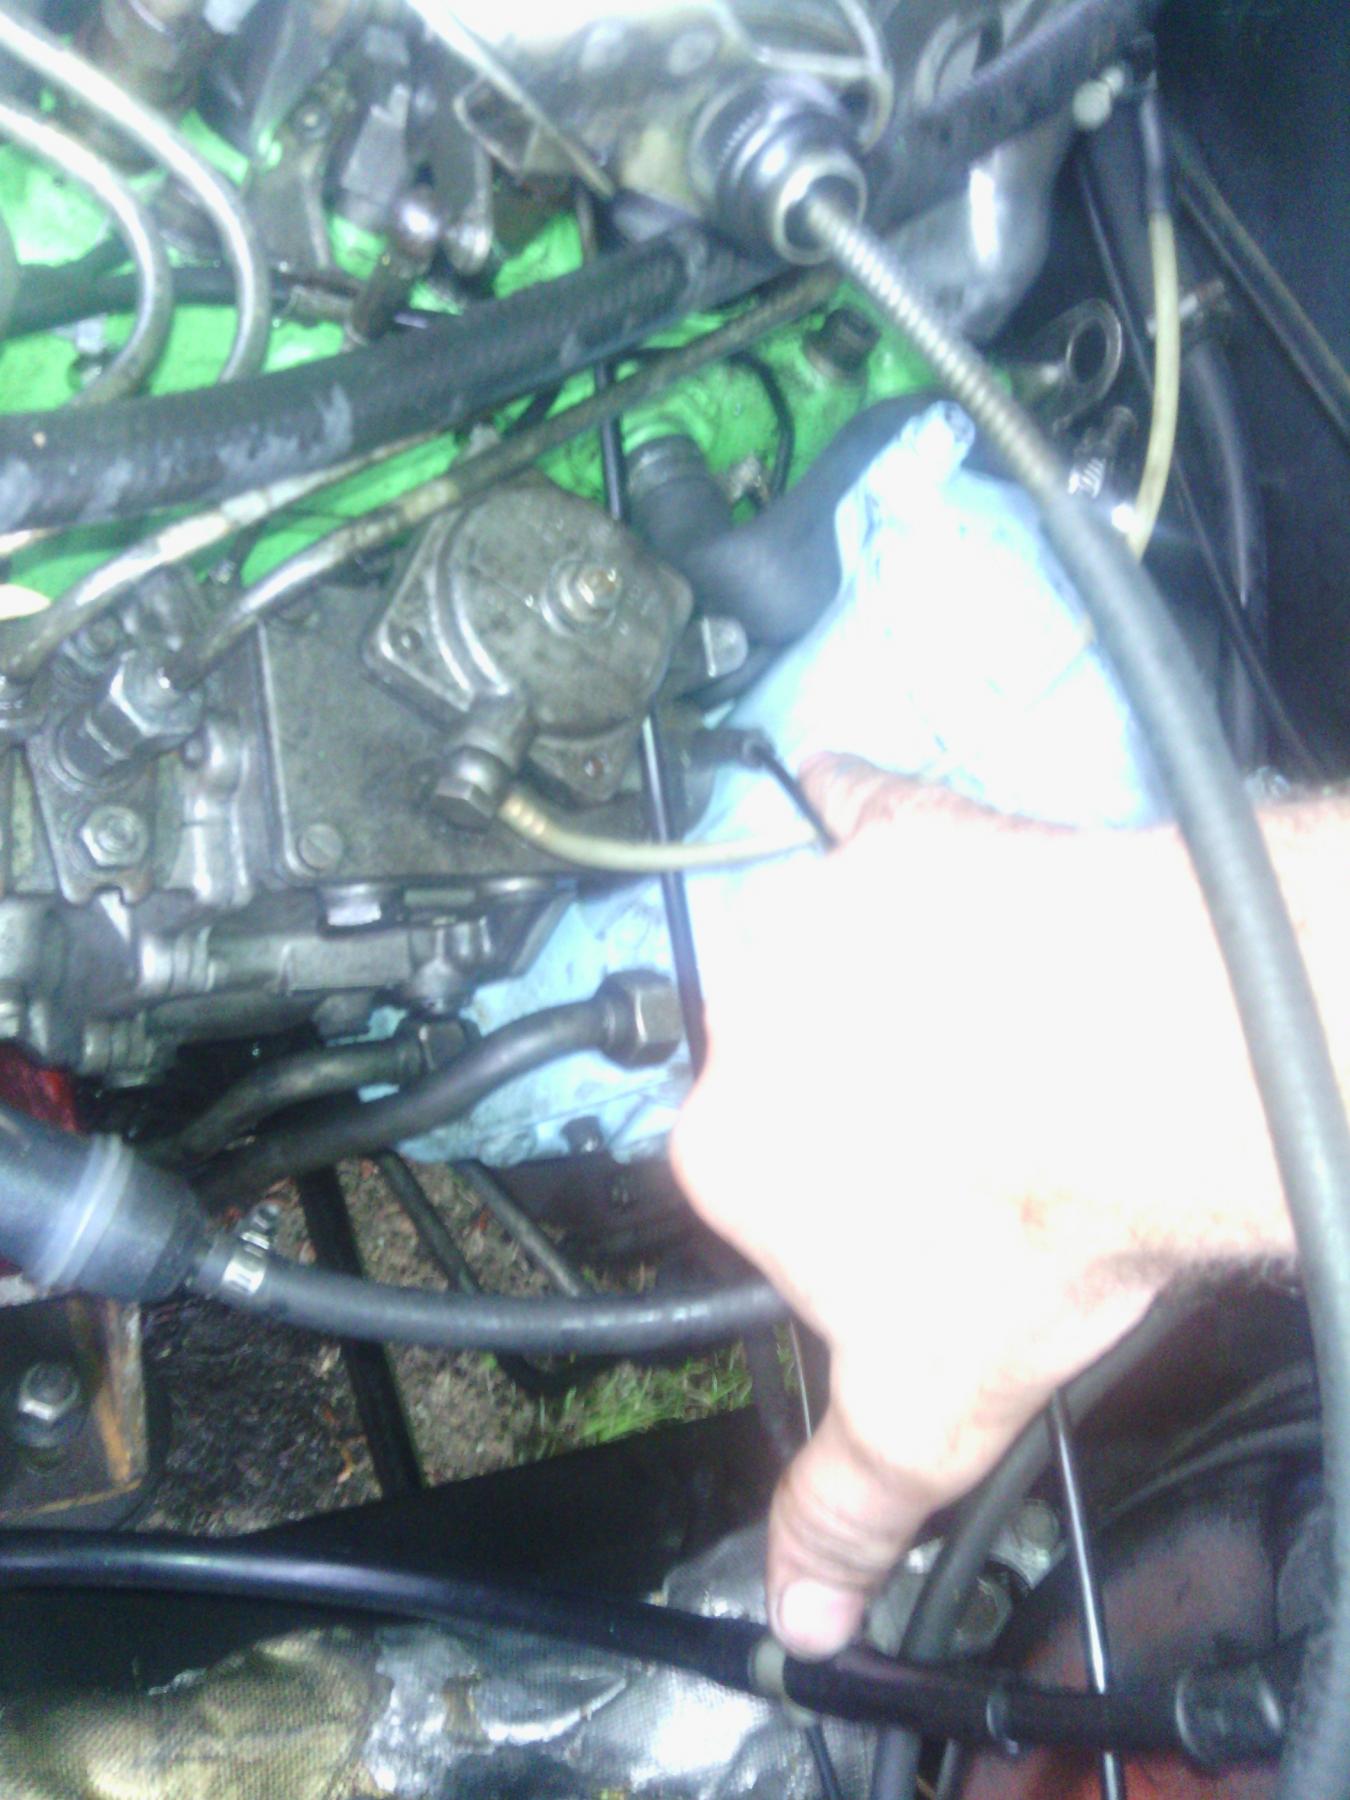
There is white box atop the IP which is no longer needed as it is for vacuum controlled shifting module on the Benz auto box. Discard it.
Starter:
For my application, I used the stock ROVER cable from starter to battery and the Benz starter to ALT wire. For the solenoid wire, I used the Benz wire as it already had a ring terminal and was attached to what in the Mercedes world as terminal 30 block found on the passenger inner fender often used to install a remote start trigger.
The lug on your ROVER starter cable end may not be large enough to fit the Benz power input terminal as I did, I used a step bit to open the lug hole using a vice and steady pressure down on the drill.
If you use a step bit, take care not to apply too much force as upon opening the size you want, the next step is going to want to start and wretch the drill as the bit digs into the brass. If you have a decent crimp method, you can go to auto parts store and in the BATTERY section, you will find a pack of 2 copper luggs and #4 should work and you may or may not have to enlarge the hole.
The wiring is fairly simple.
You need 2 positive wires from the start terminal from your POS starter terminal. One from the pos side of battery and one to the state side of the alternator. As the Benz battery location is on the fire wall of the 300d / w123 body, the cable is too short to use. Your Rover cable is perfect to do the job. If you have the alternator wire harness from the Benz and still attached to the Benz terminal block, you already have the wire in place by way of a ring terminal that junctions the alt wire (thick white) under it and it's own ring terminal. This wire goes to the starter with the battery cable.
Remember you were supposed to lable the 4 wires from the ROVER harness? Well, your brown wire is your ignition signal wire and that spade type terminal, now needs to get cut off and, be placed atop of the small white wire coming off the solenoid of the starter. If you have the Benz ALT harness, it is the smallest of the 3 wires inside the rubber heat shielding going to the same terminal block as the ALT wire. Remove the screw with a philips and place the end u just put a ring terminal on and screw it atop of the smallest white wire.
The Benz ALT Harness:
There are 3 terminals differing in size. The largest is your output or charge circuit The second and middle sized is to the
The blue wire from the Benz alternator harness should go to the charge indicator or battery light wire on the ROVER harness which is the 10mm bolted terminal that came off the middle terminal (wht/gray)
The white with brown trace should be the temp sensor wire that goes to the head or you can put it on the water inlet on top front of the motor.
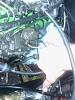
Throttle:
I used my Disco cable and attached it to a stripped and inverted Throttle / Vacuum Plate normally fount atop of the valve cover. We can use the square cable detent from where normally a bowden (kickdown) cable to the transmission. This provides an efficient and effective connectivity means for the throttle cable. The end of the cable has a split ferrel that fits perfectly around the STOP lever. Just an inch from the where it says STOP, there is a hole perfect size for the throttle cable clevis pin or if you lost it, a thicker cotter pin.
Now you can throttle from inside the Disco!
Glow Plug Circuit!
Glow plug harness is great and plugged into the Benz relay if your relay is functional as it is a timer as well. Mine was not.
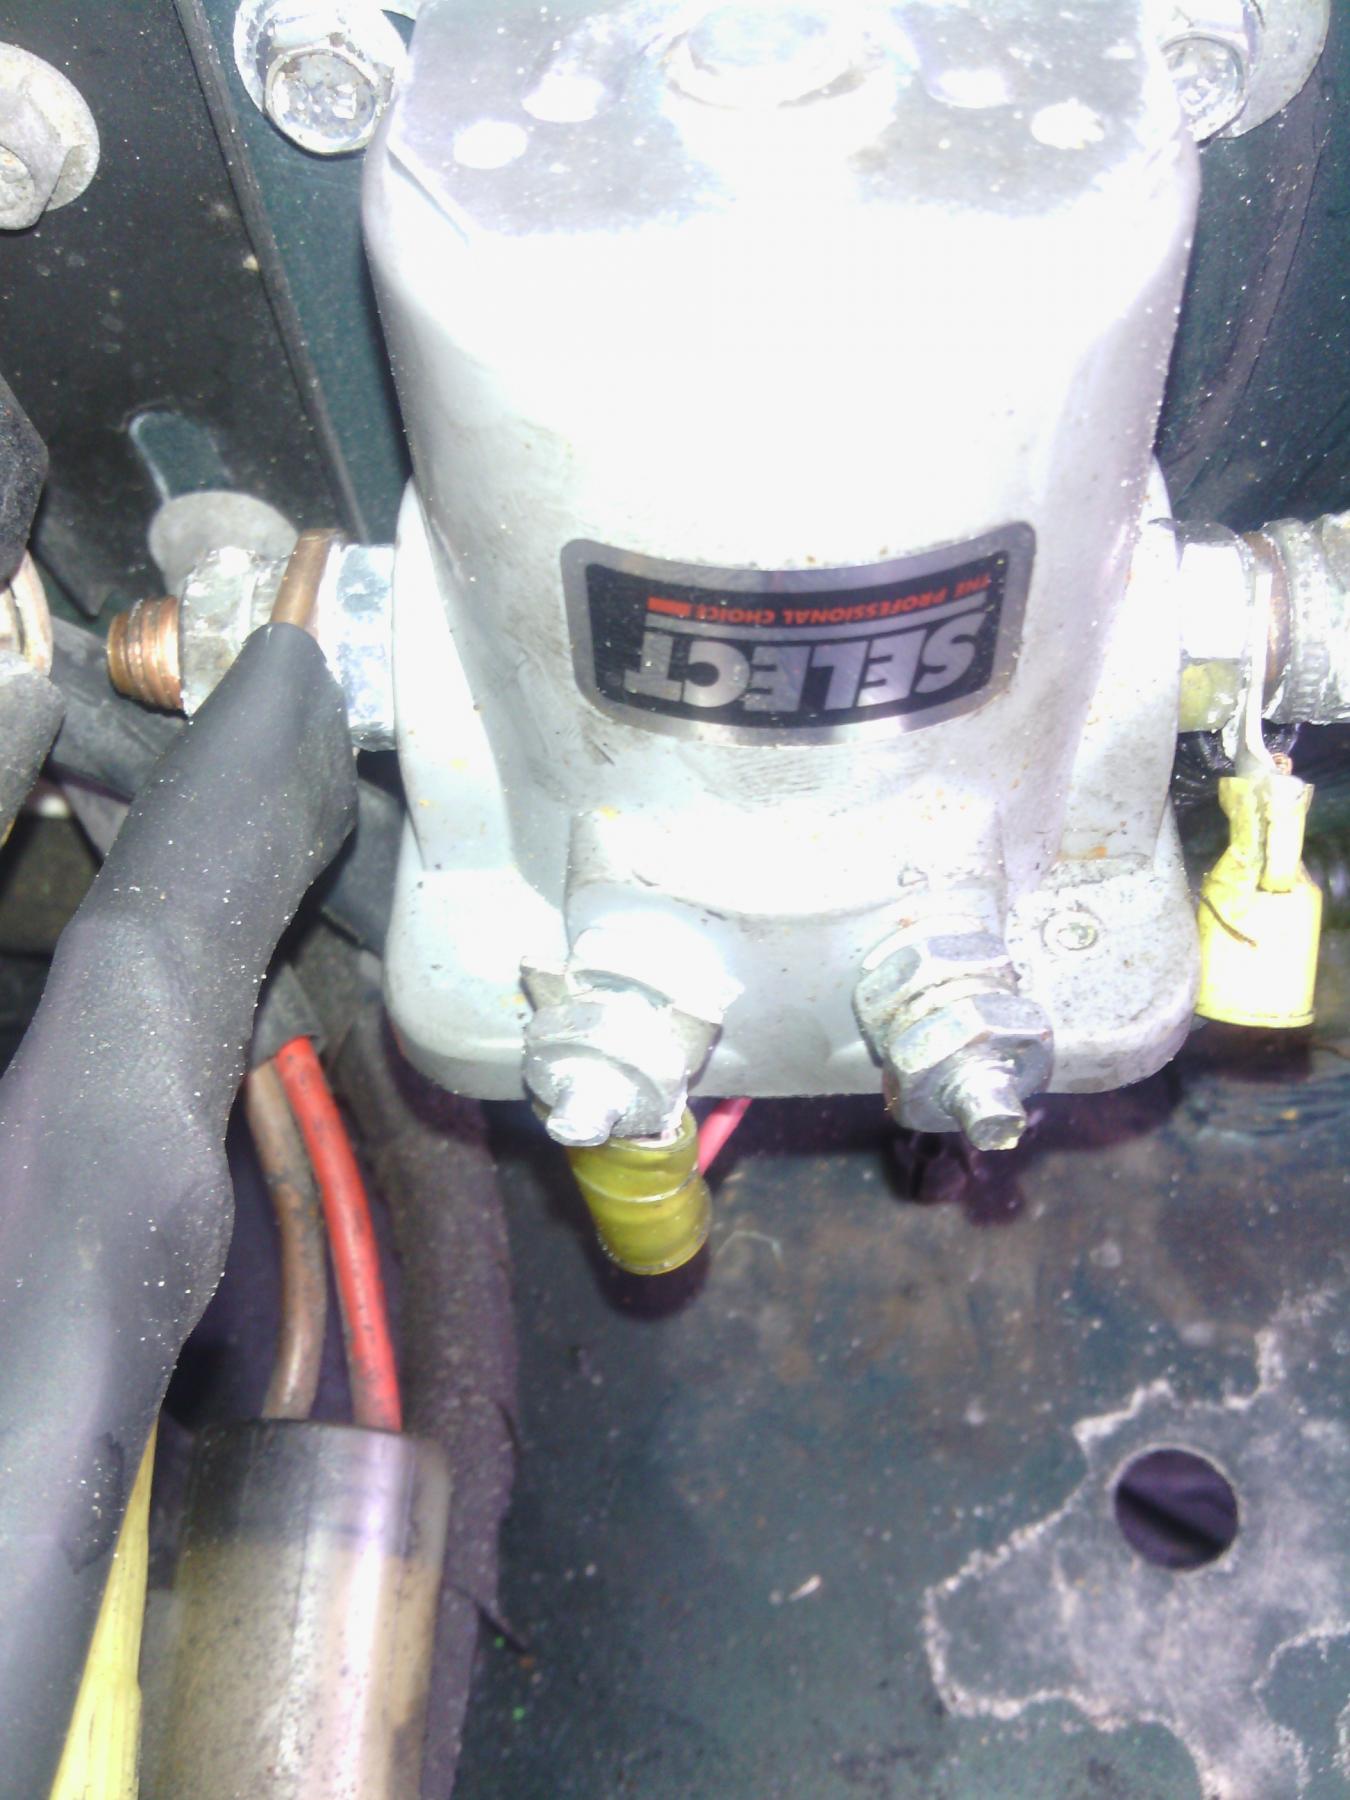
I eliminated the Benz relay and went to Advance and picked up the Select brand Heavy Duty Starter Relay that is fender mounted for on a Ford. It was about 21.00 and I am satisfied as it is heavy and works great. I ran a shielded speaker wire through the same hole as my vacuum lines and routed next to the cruise control button under my clock to a switch. I cut the 5 terminal plug off of the GP harness, stripped back about � in on each wire and used a #6 lug and crimped the end then heat shrunk the lug to prevent any accidental contact causing arch or shorting my battery to ground.
Power in from battery on large lug with switch leg, Power out to Glow plug harness now cut and crimppeg on other side and a wire from the terminal marked S to the other end of the switch inside the truck. This is why I used speaker wire as not to have to run two single wires.
Now we have switched GP circuit controlled from inside the Disco!
This motor is the Mercedes Benz OM617.950 Turbo NON-RGR (300D EGR Delete is easy to do. just research it)
It is a 3.0L IL5 Cylinder
The specs are 125HP and 181 Ft lbs torque
I am not going to put a bunch of useless crap up on this section about the engine specifics as you can do the research and know what it is.
Here I will show what is not necessary to have and how to streamline to a stripped power plant and what I did to make it work in my truck.
If you have a 300D and are ready to pull your motor pay close attention to the things you will need to KEEP!!!
If you are getting a motor from someone these are the things you will need to get with it or … To the junk yard you will have to go or order online.
Benz Essentials:
Aside from ALT, Steering Pump, and Vacuum Pump...Normal motor accessories.....
*Vacuum line from pump to booster and all associated lines, 3 way T's and hose otherwise.
*ALT harnessing
*Starter harness
*Glow Plug harnessing
*Overboost Switchover valve located on firewall drivers side connected between ALDA on IP and rear of intake.
*BOTH Hoses from power steering pump. Do Not Cut
*Hose that runs from bottom of oil filter housing. This is your oil pressure sending tube to oil pressure gauge. This unscrews from the back of the Benz instrument cluster. If you have an electric pressure sending unit and a wire, you will need to pipe an elbow away from between the Adapter Plate and the Oil Filter Housing. This elbow may need to be threaded in prior to AP install.
Pull up the floor mats and get some hard vac lines. They can be found in your trunk and all through out anywhere there is carpet. They are coloured and helps for vac component identification.

Any request for specific pictures should be done after perusing my photobucket receptacle per build section.
Only after sorting out the nuances between years up to 85 should you proceed in fitment of engine into bay.
After you have your oil pan modification method sorted out, it is time to get the motor in the truck and successfully mate to your transmission. Then check carefully clearance issues between oil pan and front diff. Expect about a 3-4 inch drop once you are ready to get rid of the hoist. I underestimated the load and had to
Once you have fitted your motor and have your motor mounts sorted, you need to get the OM617 started .
After you are able to start, you need to be able to stop. This is all made possible by a vacuum pump located on the front of the motor under the power steering pump or above to the right of the crank pulley. There is no vacuum in diesel so it must be generated.
There is a threaded nipple to a fitting similar to the oil cooler line atop of the pump and the hard line routes up and mounts to the secondary fuel return filter on the top drivers side of the motor. This is the end that will supply vacuum to your break booster. It also will supply vacuum to actuate the diaphragm fuel shut off on the Injection Pump (IP) when you want to stop the motor. This is unless you want to pop the hood and push the ingenious STOP paddle at circle K every time u want a polar pop. All early diesels have a mechanical shut off in the event you lose vacuum and cannot otherwise.
Fuel Cut Off:
Hopefully you saved this hose. There is are two T's between the break booster and the hard line of the vacuum pump. Cap off one T and run one of your vacuum lines from this T and through the the pedal plate in between the booster and clutch master cylinder. Run another line from the top of the Fuel Cut Off valve through the same hole and parallel to the other vacuum line. Make sure they will be accessible inside the Disco close to the steering column. I used the heat shrink from the top of the valve cover vacuum switch to keep them together before I sent them through the hole. Once inside the truck, cut them both to the same relative length and attach a 3 way vacuum splitter. This has created a open loop vacuum leak. With another piece of vacuum line, run it to where you can cap it off. This is also going to be your Fuel Cut Off switch.
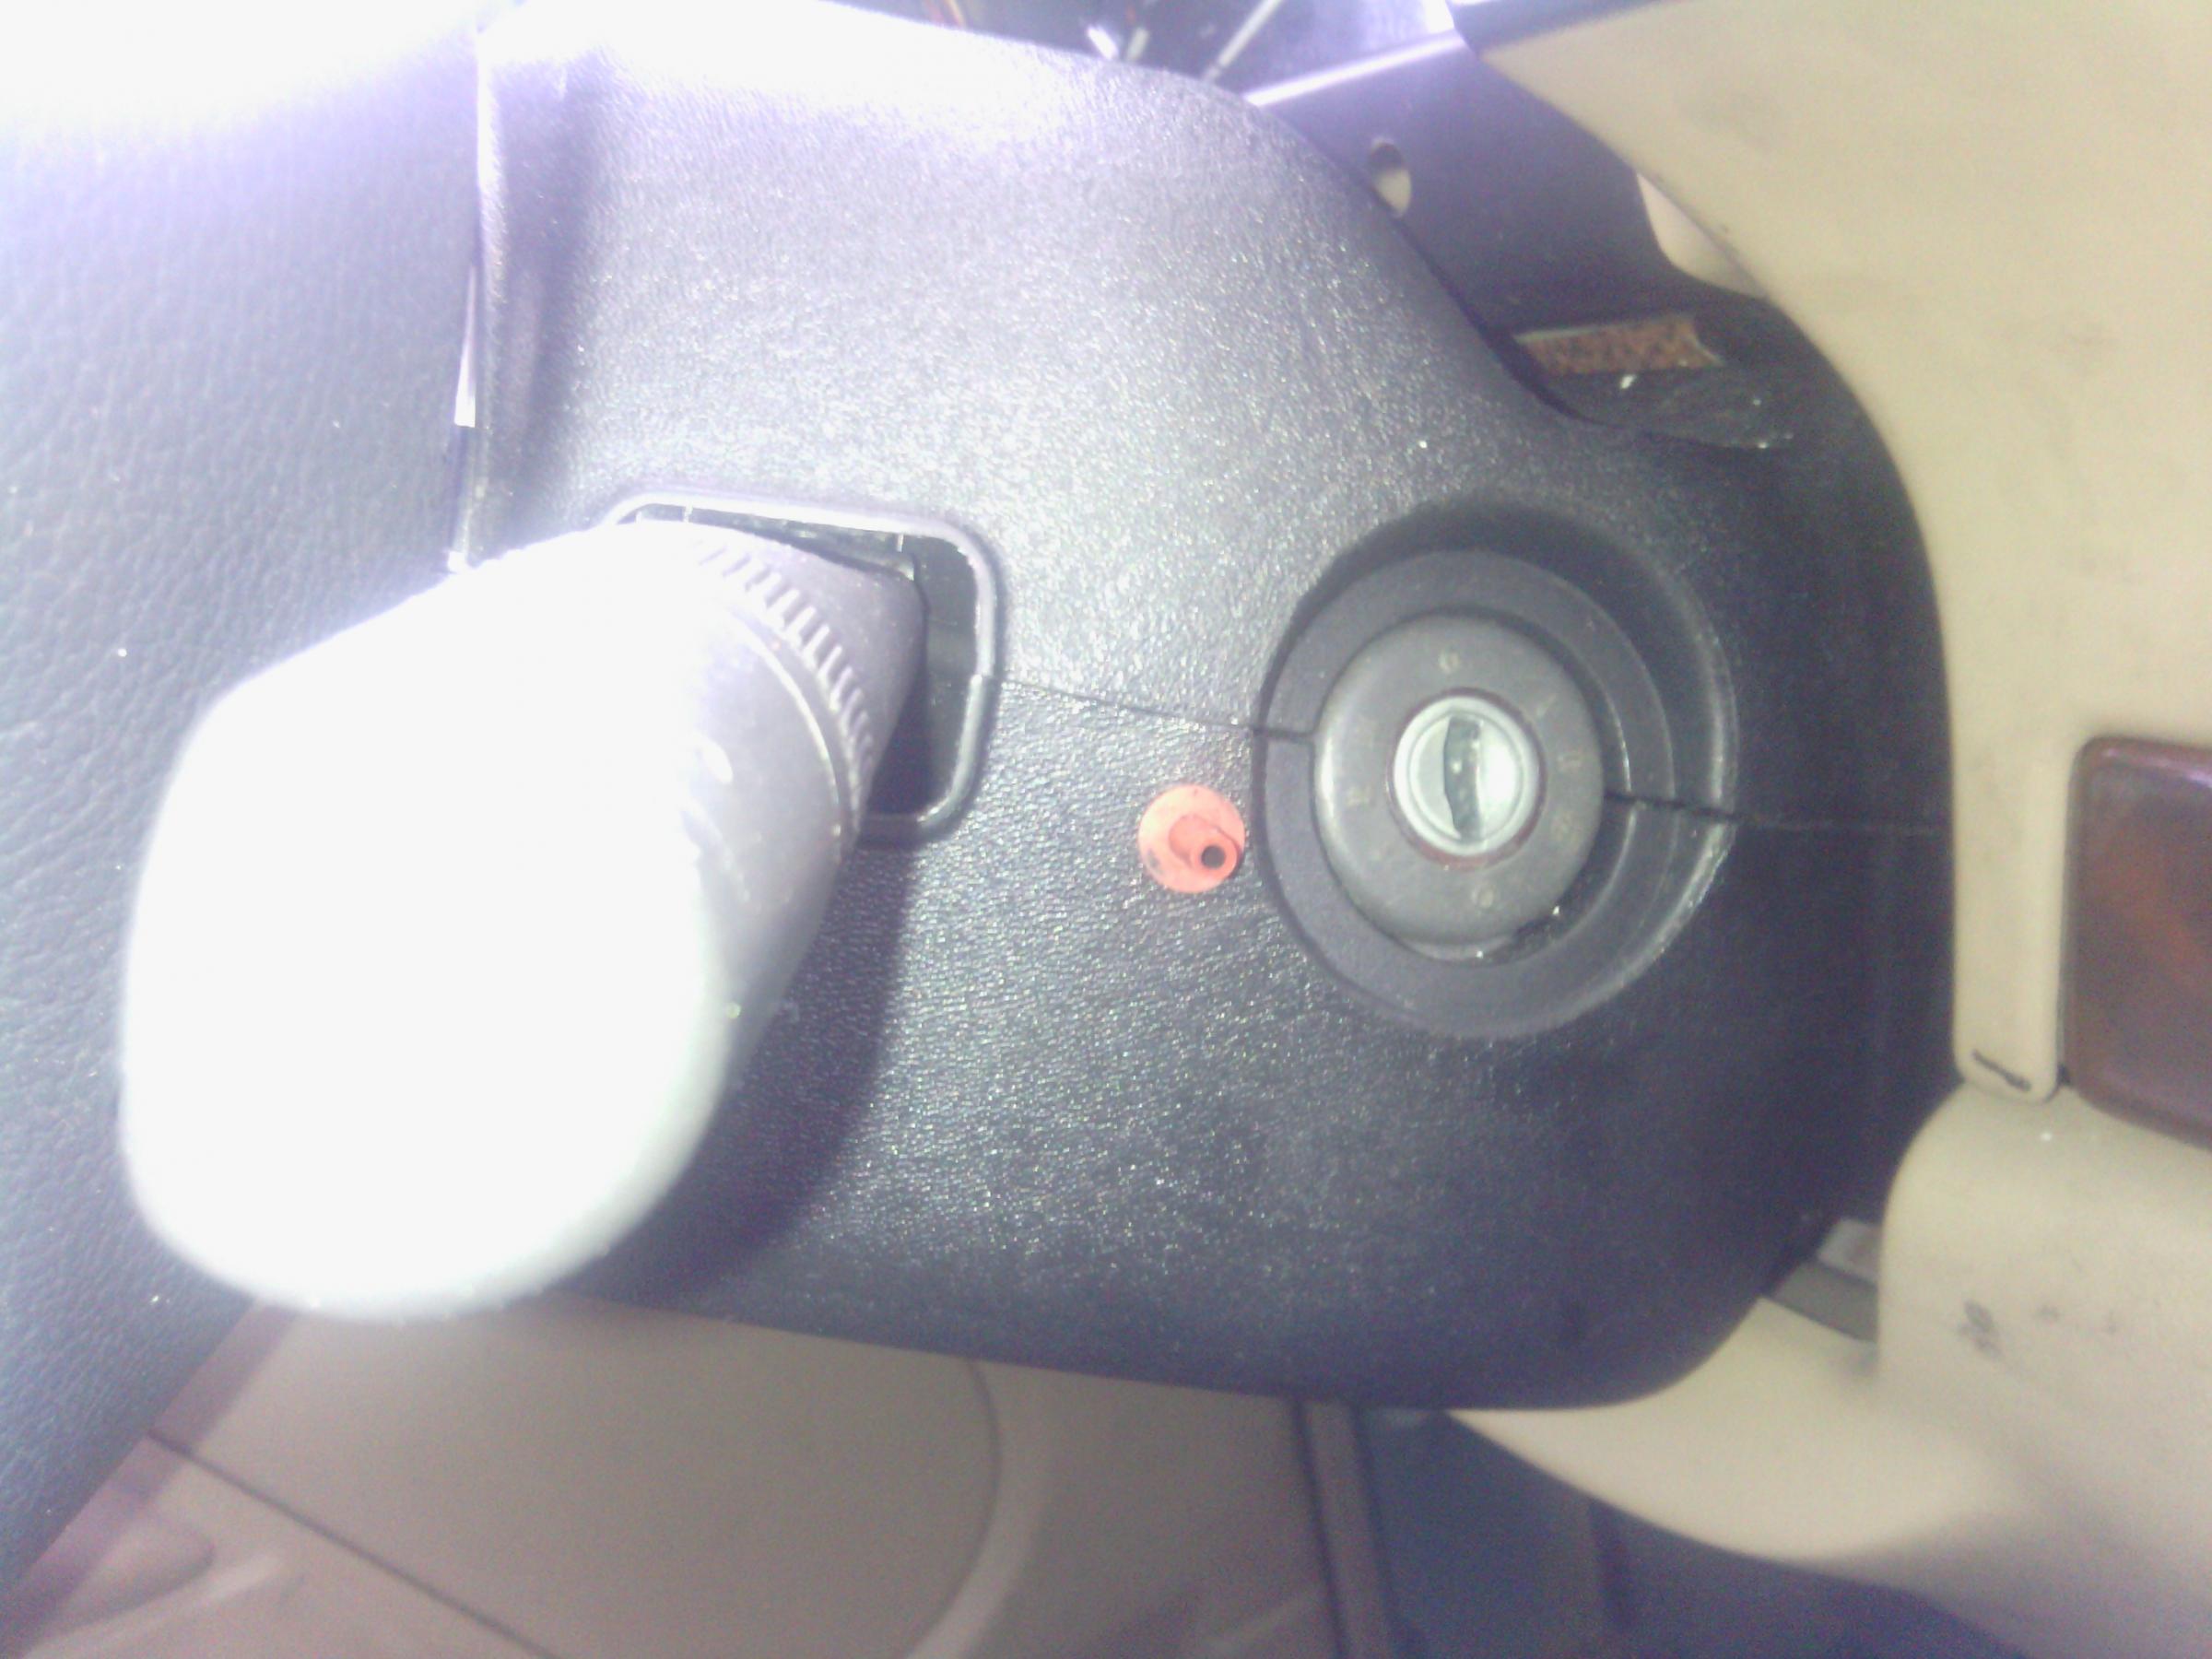
My thumb is toughing T on main Vac line and pinky is touching the end of the loop to the IP Fuel Shut Off Diaphragm. Between is a T inside column next to key.
Now you have power breaks as well! Tadaaah!
There is white box atop the IP which is no longer needed as it is for vacuum controlled shifting module on the Benz auto box. Discard it.
Starter:
For my application, I used the stock ROVER cable from starter to battery and the Benz starter to ALT wire. For the solenoid wire, I used the Benz wire as it already had a ring terminal and was attached to what in the Mercedes world as terminal 30 block found on the passenger inner fender often used to install a remote start trigger.
The lug on your ROVER starter cable end may not be large enough to fit the Benz power input terminal as I did, I used a step bit to open the lug hole using a vice and steady pressure down on the drill.
If you use a step bit, take care not to apply too much force as upon opening the size you want, the next step is going to want to start and wretch the drill as the bit digs into the brass. If you have a decent crimp method, you can go to auto parts store and in the BATTERY section, you will find a pack of 2 copper luggs and #4 should work and you may or may not have to enlarge the hole.
The wiring is fairly simple.
You need 2 positive wires from the start terminal from your POS starter terminal. One from the pos side of battery and one to the state side of the alternator. As the Benz battery location is on the fire wall of the 300d / w123 body, the cable is too short to use. Your Rover cable is perfect to do the job. If you have the alternator wire harness from the Benz and still attached to the Benz terminal block, you already have the wire in place by way of a ring terminal that junctions the alt wire (thick white) under it and it's own ring terminal. This wire goes to the starter with the battery cable.
Remember you were supposed to lable the 4 wires from the ROVER harness? Well, your brown wire is your ignition signal wire and that spade type terminal, now needs to get cut off and, be placed atop of the small white wire coming off the solenoid of the starter. If you have the Benz ALT harness, it is the smallest of the 3 wires inside the rubber heat shielding going to the same terminal block as the ALT wire. Remove the screw with a philips and place the end u just put a ring terminal on and screw it atop of the smallest white wire.
The Benz ALT Harness:
There are 3 terminals differing in size. The largest is your output or charge circuit The second and middle sized is to the
The blue wire from the Benz alternator harness should go to the charge indicator or battery light wire on the ROVER harness which is the 10mm bolted terminal that came off the middle terminal (wht/gray)
The white with brown trace should be the temp sensor wire that goes to the head or you can put it on the water inlet on top front of the motor.
Throttle:
I used my Disco cable and attached it to a stripped and inverted Throttle / Vacuum Plate normally fount atop of the valve cover. We can use the square cable detent from where normally a bowden (kickdown) cable to the transmission. This provides an efficient and effective connectivity means for the throttle cable. The end of the cable has a split ferrel that fits perfectly around the STOP lever. Just an inch from the where it says STOP, there is a hole perfect size for the throttle cable clevis pin or if you lost it, a thicker cotter pin.

Now you can throttle from inside the Disco!
Glow Plug Circuit!
Glow plug harness is great and plugged into the Benz relay if your relay is functional as it is a timer as well. Mine was not.
I eliminated the Benz relay and went to Advance and picked up the Select brand Heavy Duty Starter Relay that is fender mounted for on a Ford. It was about 21.00 and I am satisfied as it is heavy and works great. I ran a shielded speaker wire through the same hole as my vacuum lines and routed next to the cruise control button under my clock to a switch. I cut the 5 terminal plug off of the GP harness, stripped back about � in on each wire and used a #6 lug and crimped the end then heat shrunk the lug to prevent any accidental contact causing arch or shorting my battery to ground.
Power in from battery on large lug with switch leg, Power out to Glow plug harness now cut and crimppeg on other side and a wire from the terminal marked S to the other end of the switch inside the truck. This is why I used speaker wire as not to have to run two single wires.
Now we have switched GP circuit controlled from inside the Disco!
Last edited by raeuspius; Sep 27, 2014 at 12:27 PM. Reason: On going as needed. Pics added currently

Rock Crawling
Joined: Apr 2013
Posts: 257
Likes: 0
MOTOR OM617.950 INCOMPLETE ... PICS to come!
This motor is the Mercedes Benz OM617.950 Turbo NON-RGR
It is a 3.0L inline / straight 5 Cylinder
The specs are 125HP and 181 Ft lbs torque
I am not going to put a bunch of useless crap up on this section about the engine specifics as you can do the research and know what it is.
Here I will show what is not necessary to have and how to streamline to a stripped power plant and what I did to make it work in my truck.
If you have a 300D and are ready to pull your motor pay close attention to the things you will need to KEEP!!!
If you are getting a motor from someone these are the things you will need to get with it or � To the junk yard you will have to go or order online.
Benz Essentials:
Vacuum line from pump to booster and all associated lines, 3 way T's and hose otherwise.
ALT harnessing
Starter harness
Glow Plug harnessing
Overboost Switchover valve located on firewall drivers side connected between ALDA on IP and rear of intake.
BOTH Hoses from power steering pump. Do Not Cut
Hose that runs from bottom of oil filter housing. This is your oil pressure sending tube to oil pressure gauge. This unscrews from the back of the Benz instrument cluster. If you have an electric pressure sending unit and a wire, you will need to pipe an elbow away from between the Adapter Plate and the Oil Filter Housing. This elbow may need to be threaded in prior to AP install.
Only after sorting out the nuances between years up to 85 should you proceed in fitment of engine into bay.
After you have your oil pan modification method sorted out, it is time to get the motor in the truck and successfully mate to your transmission. Then check carefully clearance issues between oil pan and front diff. Expect about a 3-4 inch drop once you are ready to get rid of the hoist. I underestimated the load and had to
Once you have fitted your motor and have your motor mounts sorted, you need to get the OM617 started .
After you are able to start, you need to be able to stop. This is all made possible by a vacuum pump located on the front of the motor under the power steering pump or above to the right of the crank pulley. There is no vacuum in diesel so it must be generated.
There is a threaded nipple to a fitting similar to the oil cooler line atop of the pump and the hard line routs up and mounts to the secondary fuel return filter on the top drivers side of the motor. This is the end that will supply vacuum to your break booster. It also will supply vacuum to actuate the diaphragm fuel shut off on the Injection Pump (IP) when you want to stop the motor. This is unless you want to pop the hood and push the ingenious STOP paddle at circle K every time u want a polar pop. All early diesels have a mechanical shut off in the event you lose vacuum and cannot otherwise.
Fuel Cut Off:
Hopefully you saved this hose. There is are two T's between the break booster and the hard line of the vacuum pump. Cap off one T and run one of your vacuum lines from this T and through the the pedal plate in between the booster and clutch master cylinder. Run another line from the top of the Fuel Cut Off valve through the same hole and parallel to the other vacuum line. Make sure they will be accessible inside the Disco close to the steering column. I used the heat shrink from the top of the valve cover vacuum switch to keep them together before I sent them through the hole. Once inside the truck, cut them both to the same relative length and attach a 3 way vacuum splitter. This has created a open loop vacuum leak. With another piece of vacuum line, run it to where you can cap it off. This is also going to be your Fuel Cut Off switch.
Now you have power breaks as well! Tadaaah!
There is white box atop the IP which is no longer needed as it is for vacuum controlled shifting module on the Benz auto box. Discard it.
Starter:
For my application, I used the stock ROVER cable from starter to battery and the Benz starter to ALT wire. For the solenoid wire, I used the Benz wire as it already had a ring terminal and was attached to what in the Mercedes world as terminal 30 block found on the passenger inner fender often used to install a remote start trigger.
The lug on your ROVER starter cable end may not be large enough to fit the Benz power input terminal as I did, I used a step bit to open the lug hole using a vice and steady pressure down on the drill.
If you use a step bit, take care not to apply too much force as upon opening the size you want, the next step is going to want to start and wretch the drill as the bit digs into the brass. If you have a decent crimp method, you can go to auto parts store and in the BATTERY section, you will find a pack of 2 copper luggs and #4 should work and you may or may not have to enlarge the hole.
The wiring is fairly simple.
You need 2 positive wires from the start terminal from your POS starter terminal. One from the pos side of battery and one to the state side of the alternator. As the Benz battery location is on the fire wall of the 300d / w123 body, the cable is too short to use. Your Rover cable is perfect to do the job. If you have the alternator wire harness from the Benz and still attached to the Benz terminal block, you already have the wire in place by way of a ring terminal that junctions the alt wire (thick white) under it and it's own ring terminal. This wire goes to the starter with the battery cable.
Remember you were supposed to lable the 4 wires from the ROVER harness? Well, your brown wire is your ignition signal wire and that spade type terminal, now needs to get cut off and, be placed atop of the small white wire coming off the solenoid of the starter. If you have the Benz ALT harness, it is the smallest of the 3 wires inside the rubber heat shielding going to the same terminal block as the ALT wire. Remove the screw with a philips and place the end u just put a ring terminal on and screw it atop of the smallest white wire.
The Benz ALT Harness:
There are 3 terminals differing in size. The largest is your output or charge circuit The second and middle sized is to the
The blue wire from the Benz alternator harness should go to the charge indicator or battery light wire on the ROVER harness which is the 10mm bolted terminal that came off the middle terminal (wht/gray)
The white with brown trace should be the temp sensor wire that goes to the head or you can put it on the water inlet on top front of the motor.
Throttle:
I used my Disco cable and attached it to a stripped and inverted Throttle / Vacuum Plate normally fount atop of the valve cover. We can use the square cable detent from where normally a bowden (kickdown) cable to the transmission. This provides an efficient and effective connectivity means for the throttle cable. The end of the cable has a split ferrel that fits perfectly around the STOP lever. Just an inch from the where it says STOP, there is a hole perfect size for the throttle cable clevis pin or if you lost it, a thicker cotter pin.
Now you can throttle from inside the Disco!
Glow Plug Circuit!
Glow plug harness is great and plugged into the Benz relay if your relay is functional as it is a timer as well. Mine was not.
I eliminated the Benz relay and went to Advance and picked up the Select brand Heavy Duty Starter Relay that is fender mounted for on a Ford. It was about 21.00 and I am satisfied as it is heavy and works great. I ran a shielded speaker wire through the same hole as my vacuum lines and routed next to the cruise control button under my clock to a switch. I cut the 5 terminal plug off of the GP harness, stripped back about � in on each wire and used a #6 lug and crimped the end then heat shrunk the lug to prevent any accidental contact causing arch or shorting my battery to ground.
Power in from battery on large lug with switch leg, Power out to Glow plug harness now cut and crimppeg on other side and a wire from the terminal marked S to the other end of the switch inside the truck. This is why I used speaker wire as not to have to run two single wires.
Now we have switched GP circuit controlled from inside the Disco!
That kinda says it all. Awesome write up for anyone brave enough to try this.
Let me tell you. There have been enough nay sayers in the previous thread and a bit of negativity that says " no! you can't do that" but I have. Cant say it is perfect but with a heavy duty front and rear spring set, it will be. I need about 300 for that before I can go off road. For now I can drive an hour and 15 min x 2 for 12.00 compared to 20.00!

Thanks for viewing!

Rock Crawling
Joined: Apr 2013
Posts: 351
Likes: 9
From: NE-Illinois
Man... i'm curious the performance of these things.. I had a 77 240d (no turbo) back in the day... that thing scared the crap outta me trying to accelerate, plenty of torque but 0-60 in 25-30seconds...
Also, some fool used heli-coils on my engine for the oil filter cover... Didn't know that until one gave way and the engine quickly purged itself of oil, didn't last long after that
Also, some fool used heli-coils on my engine for the oil filter cover... Didn't know that until one gave way and the engine quickly purged itself of oil, didn't last long after that

Thread
Thread Starter
Forum
Replies
Last Post

