
Replacing Camshaft


Thread Starter
|
Recovery Vehicle
Joined: Aug 2009
Posts: 851
Likes: 0
From: Golden, CO
Update on oil. This is directly from mark at D&D for his cam kit.
In the kit I have a bottle of crane cam super lube break in concentrate. 99003-1
He recommended castrol gtx 10w-30 with the additive.
If at all possible attach a oil pressure gauge to the system during break in to ensure you are not dry firing the engine.
Start the engine and rev to 2000-2500 RPM for 20-25 min. After the initial break in continue to let the engine run (called run in) adjusting from idle for a while to 2000 rpm over the next hour, shut off the engine. While engine is still warm drain the oil and remove the filter, this drains out the assembly lube.
Refill oil and replace the oil filter add another super lube (mark recommends adding this on every oil change) and continue on with normal maintenance.
I have to say Mark at D&D has been a Huge help. This is a daunting task, basically open heart surgery for your engine. If you take your time and follow the steps anyone can do this.
Thread Starter
|
Recovery Vehicle
Joined: Aug 2009
Posts: 851
Likes: 0
From: Golden, CO
Very productive day today!
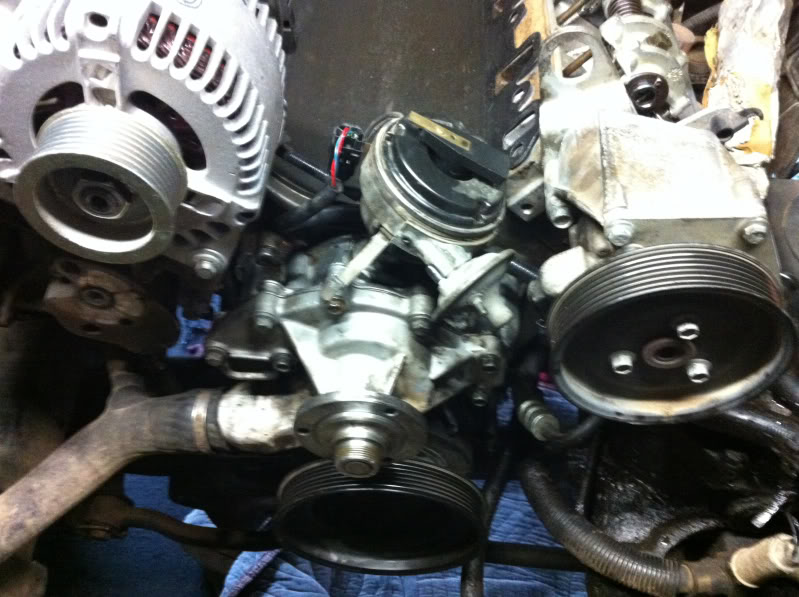
Started by finishing up cleaning the timing cover. Removed the crank seal and installed the new one. fished cleaning up the cover for the new gasket. Installed and torqued the bolts down.
Installed the rockers using white lithium grease per Mark at D&D.
Installed the crank pulley, using the same wood method torqued the crank bolt down.
Checked timing then installed the distributor making sure it is in the same location when I removed it.
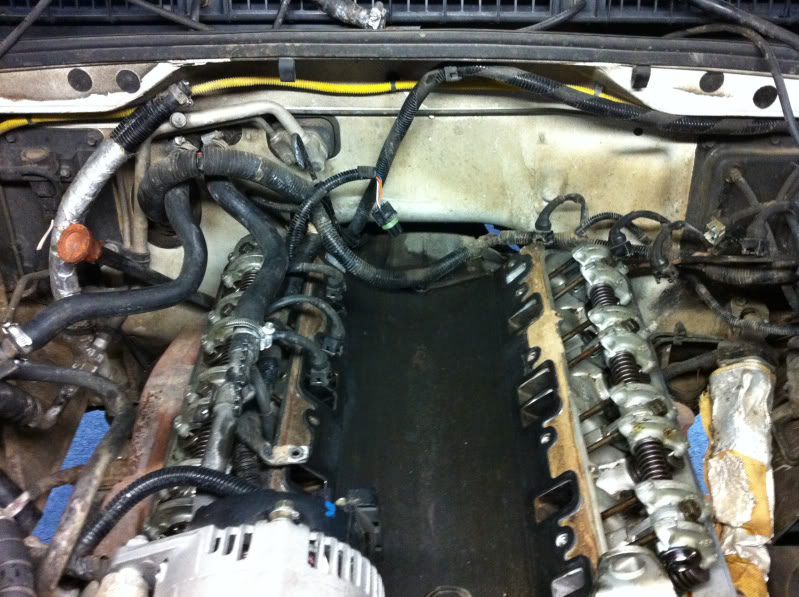
Rockers installed, also installed the valley pan gasket.
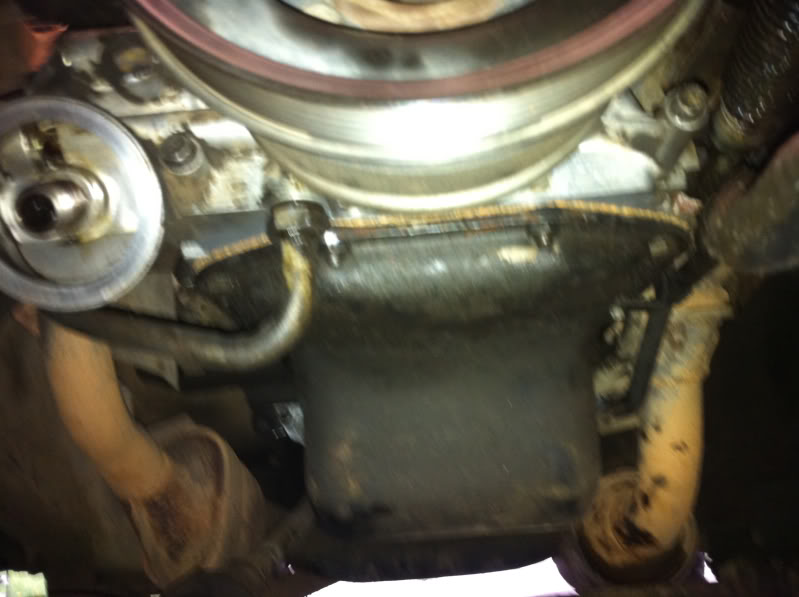
Sorry for the blurry image. I cleaned and installed a new gasket on the oil pick up tube. Also installed the oil pan with new gasket and cleaned and installed the torque converter cover plate.
Really just have the intake, viscous fan and radiator left.
Started by finishing up cleaning the timing cover. Removed the crank seal and installed the new one. fished cleaning up the cover for the new gasket. Installed and torqued the bolts down.
Installed the rockers using white lithium grease per Mark at D&D.
Installed the crank pulley, using the same wood method torqued the crank bolt down.
Checked timing then installed the distributor making sure it is in the same location when I removed it.
Rockers installed, also installed the valley pan gasket.
Sorry for the blurry image. I cleaned and installed a new gasket on the oil pick up tube. Also installed the oil pan with new gasket and cleaned and installed the torque converter cover plate.
Really just have the intake, viscous fan and radiator left.

Baja
Joined: Mar 2010
Posts: 5,584
Likes: 7
From: Pittsburgh PA suburbs.
Great Effort. CD. You are right about it being like open heart surgery for the motor.
I watch HPTV today. They are working on a Sleeper 80's Buick Wagon where they removed the Buick engine and they are building up a Pontiac 400 to 800 HP with turbo.
Today they were doing a custom camshaft installation and reassembling the motor. They were using ARB studs for added strength. I saw them applying Royal Purple break in lube and torquing all the caps and stuff.
It was interestig watching them build up that engine. Still not something I want to jump into yet.
Slang, better get a really good click type torque wrench BEFORE you jump into a major effort like this. You are going to need a good one if you want to do this.
They also used the new type silicone seals rather than the old rope type for the front cover. Last a lot longer than old style and easier to use as well.
Slang, I wish I could be down there to see you doing the engine work. Sure I could learn a lot.
Remember his is a 95 with a distributor, yours is a 96 without the distributor. Minor differences between Colo's and yours.
Thread Starter
|
Recovery Vehicle
Joined: Aug 2009
Posts: 851
Likes: 0
From: Golden, CO
Thanks Danny! I really appretiate and value everyone's input on here. I could never tackle something like this (non VW/Audi) without your help.
I have a snap on digital torque wrench. Do not attempt a job like this without a good calibrated torque wrench.
My goal here is to help people in need like slang. I looked all over and could not find a write up at all.
I have a snap on digital torque wrench. Do not attempt a job like this without a good calibrated torque wrench.
My goal here is to help people in need like slang. I looked all over and could not find a write up at all.
Last edited by ColoDisco; Apr 14, 2012 at 10:11 PM.
Recovery Vehicle
Joined: Mar 2011
Posts: 1,016
Likes: 2
From: Ankeny IA
Whenever you can replace the gaskets with Right Stuff gasket maker. I use it on my axle flanges, diffs, oil pan etc. and my oil pan doesnt leak a drop.
Thread Starter
|
Recovery Vehicle
Joined: Aug 2009
Posts: 851
Likes: 0
From: Golden, CO
I put a gasket sealer on the pan side only. It is a pain to get it back off the block. I used permatex as I was out of gasga chinch. That stuff is amazing if you ever need a gasket additive.
Recovery Vehicle
Joined: Mar 2011
Posts: 1,016
Likes: 2
From: Ankeny IA
so is it alive again? any difference?

Pro Wrench
Joined: Oct 2010
Posts: 1,669
Likes: 2
From: San Juan, Puerto Rico
My products of the week will be Marvel Mystery Oil and Permatex Right Stuff
Hate my oil pan drip. Gonna ask you probably about those other repairs later.