So what did you do to your Disco today?
#3041
 07-07-2014, 12:51 PM


Would love an explanation and pic of that! Going to want to do that for my 95, too.
#3042
07-07-2014, 01:09 PM
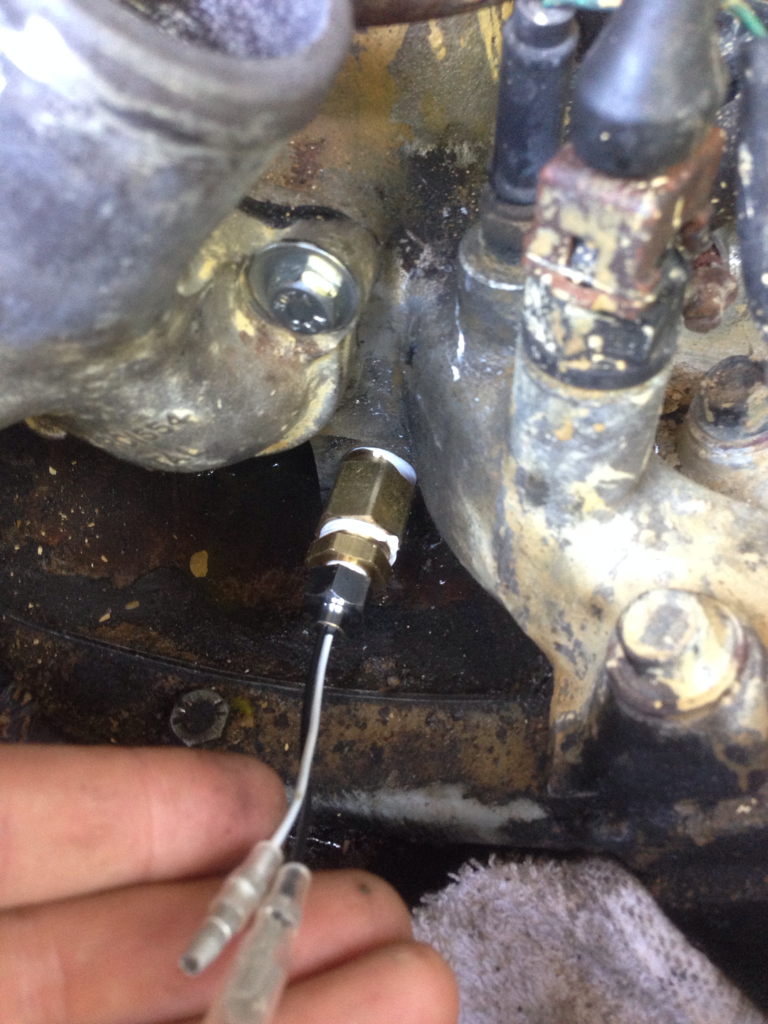
1/2" flange end (<--- this is the most important, since it is not NPT thread, it is SAE) to 1/2 pipe thread brass adapter, and then a 1/2 to 1/8 NPT reducer. then the sensor plugs right in. i couldnt find anything that went directly from the 1/2" flange to 1/8" NPT.
you can also see my doomed attempt and trying to get the tstat housing bolted on. i had the dist off when i put this in, itll be fun to maneuver that and the tstat housing with it still in there.
#3043
07-07-2014, 01:14 PM
unbolt the steel boss under the thermostat (its in there pretty good), and then thread in some home depot junk.
1/2" flange end (<--- this is the most important, since it is not NPT thread, it is SAE) to 1/2 pipe thread brass adapter, and then a 1/2 to 1/8 NPT reducer. then the sensor plugs right in. i couldnt find anything that went directly from the 1/2" flange to 1/8" NPT.
you can also see my doomed attempt and trying to get the tstat housing bolted on. i had the dist off when i put this in, itll be fun to maneuver that and the tstat housing with it still in there.
#3044
07-08-2014, 02:22 AM

Damn, going so long without a hitch and finally something happened. I took Claire (95 D1) to the shop to diagnose the ac system and found out it was a relay. Well they put everything back together because we had to order the part and it's coming in first thing in the morning. Long story short, I was driving back from the gym and power surge in the gas pedal. I let off, saw white smoke from the hood and coasted. Popped the hood and the plastic around the positive and negative wires from the battery were fried. What the hell? No fuses were blown. I'm buying wires tomorrow and installing them on the side of the highway. 4 feet each for a positive and negative should be enough right?
#3045
07-08-2014, 12:39 PM

#3046
07-08-2014, 02:13 PM

TReK
#3047
07-08-2014, 05:24 PM
That was my plan until my bolt of death. Hopefully I have the same results
#3048
07-09-2014, 09:33 PM

Changed the sparkplugs today. Bought some Autolite Platinums, gapped them at .034, had some anti-seize ready, and off I went. First thing was the plugs that were on there needed a smaller socket. Didn't take too much effort to loosen any of them, and they all looked like they were burning clean (Autolite double platinums, 3924). Funny thing though, I thought the gap looked larger compared to the new plugs I was going to put in, and I measured them with the same gap tool I used on the new plugs, and the old ones were more or less at .044!
Only plug I had any issues with was the one by the oil dip stick tube. Had to thread that one in by hand, then put the larger socket on it to tighten it up. Wiggling the sparkplug boots off was a pain, those Magnecor wires fit SNUG. So on the driver's side I sprayed a little lube in the caps to help them get on the ends of the plugs.
Started it up, everything seems to be running fine, no misses, acceleration seems good, no sounds or lack of performance like I didn't get all the spark plug boots on good and tight. Maybe with some properly gapped plugs in there, I'll get a little better mpg!
#3049
07-10-2014, 03:58 AM

4wd Low
Join Date: Apr 2014
Location: California
Posts: 12
Likes: 0
Received 0 Likes
on
0 Posts
So I've already posted this on another forum and on Reddit, but I thought I'd repost it here as well...
-----------------------------------------------
Both of my Disco 1s have the stock Alpine(?) radio. My older Disco ('98 blown engine) at least had the 6-disk CD changer, but the new one ('99 replacement) didn't and radio stations only came in at night (due to atmospherics), so long commutes were pretty boring. I decided to finally do something about it... The parts list will be at the bottom.
The stock radio has proprietary mounting screws, probably to prevent theft, but also a pain to get your radio out. It's a BMW/Land Rover specific allen-type, but with only 5 sides, instead of 6. I managed to get them unscrewed using a very small flat-head screwdriver.
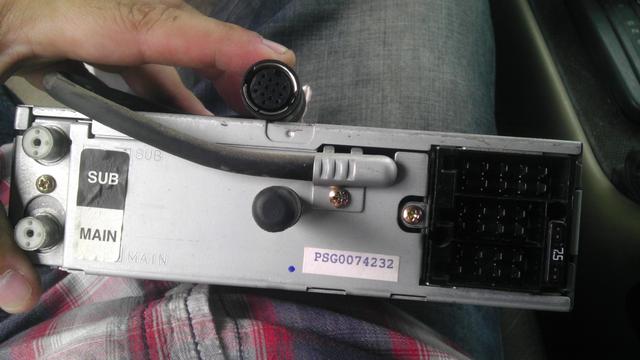
Looking at the back of the stock unit, you see on the left, the main and sub jacks for the dual antennas. The new head-unit will only use one antenna cable. The large, round, multi-plug in the middle - I believe - is for the optional 6-disk CD changer. This was plugged into the male counterpart wire, but I didn't see where that wire led to. The vehicle doesn't have a CD changer under the passenger seat. The three ports on the right are for speaker wires (pink multi-plug), power/ground/memory/etc. (gray plug), and dash controls (brown plug) which won't get used with the new unit. The pink and gray plugs will get plugged into the Metra wiring harness adapter.
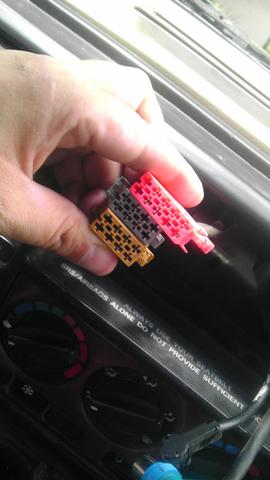

This is the CD changer cable and will not be used with the new unit, and one of the two antenna cables which will be used.
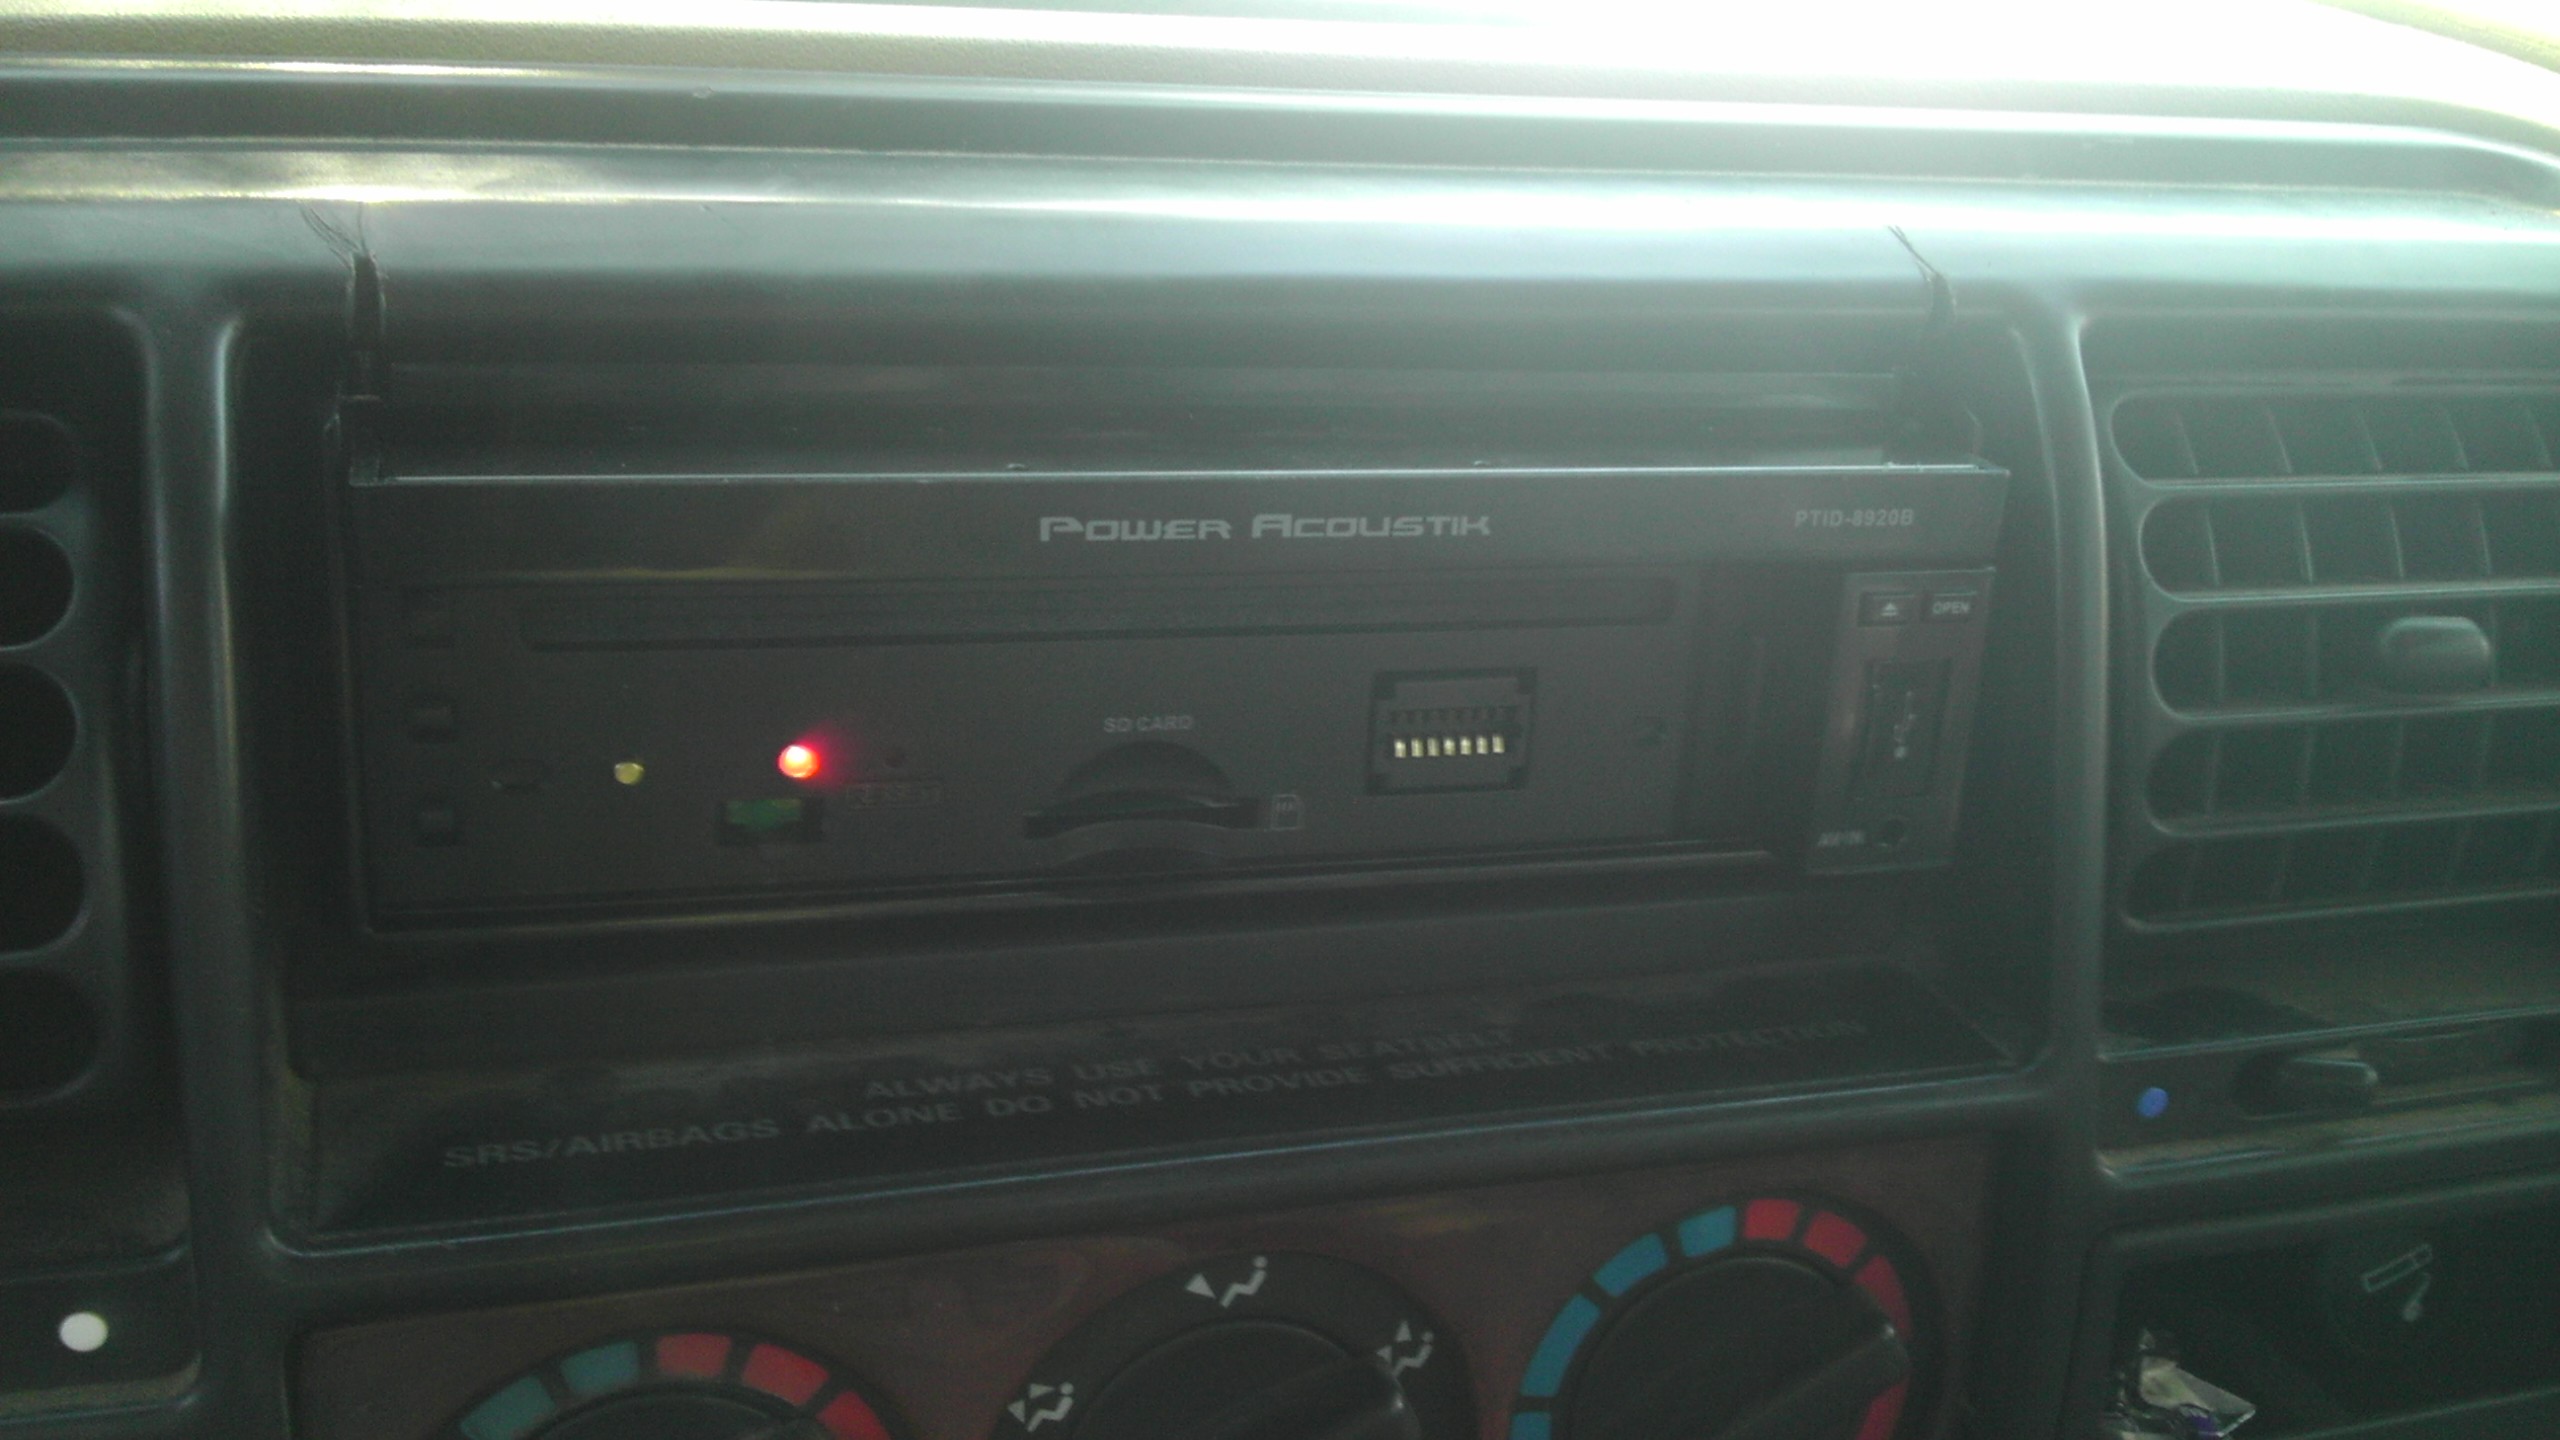
Here's the new unit installed (w/o it faceplate). It's an Power Acoustik PTID-8920B. It was difficult to get it pushed all the way back with the jumble of wires back there. Adding the wiring harness adapter took up space as did the loose speaker wires from the new unit that didn't get used. Instead the Metra adapter harness had RCA-type cables that easily plugged into the corresponding plugs on the back of the new unit. I could have cut all the unused wires from the back, but decided not to incase I ever replace or sell the new radio.
The red light blinks when the face is removed, but I'm pretty sure it's a fake theft deterrent... Also, the SD card slot is behind the face, so it needs to be removed to swap cards. The unit will also play MP4 and AVI files (if encoded in the correct codec). I tested H.264 and it was unreadable. However, your standard MPG4 (ffmpg) codec does work (for the techies). It will read from a 32GB class 10 card, which is what I used. I don't think it'll read anything higher size, but not sure about lower class cards.
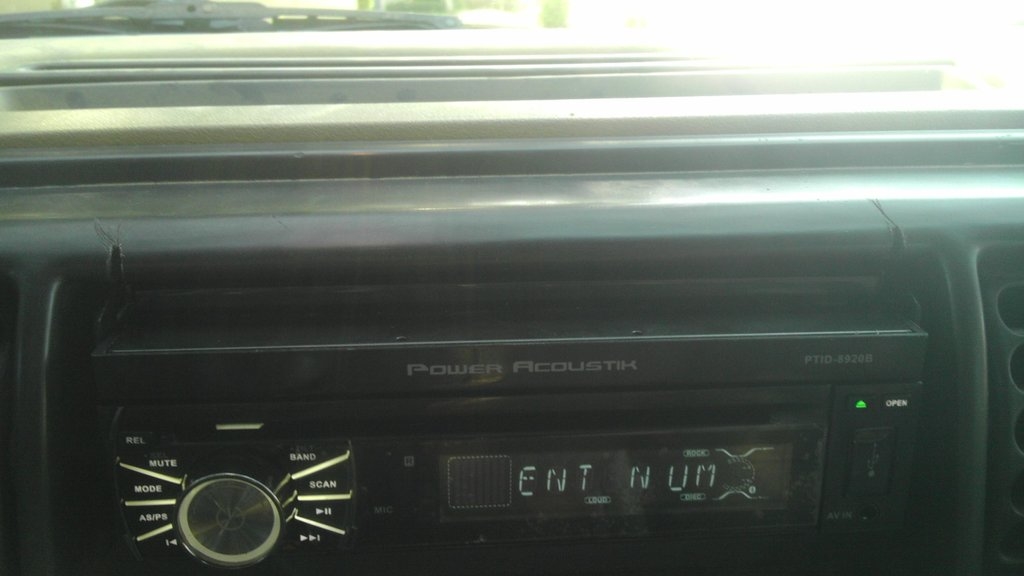
With it's face on. Notice the small grooves I had to file into the top of the dash trim. The small metal arms on each side of the 7" screen were just bumping there and needed a little slot to fit into so the screen would open all the way. The screen did have a safety where if the screen couldn't open far enough, it would pause and then retract to prevent damage to the mechanism.
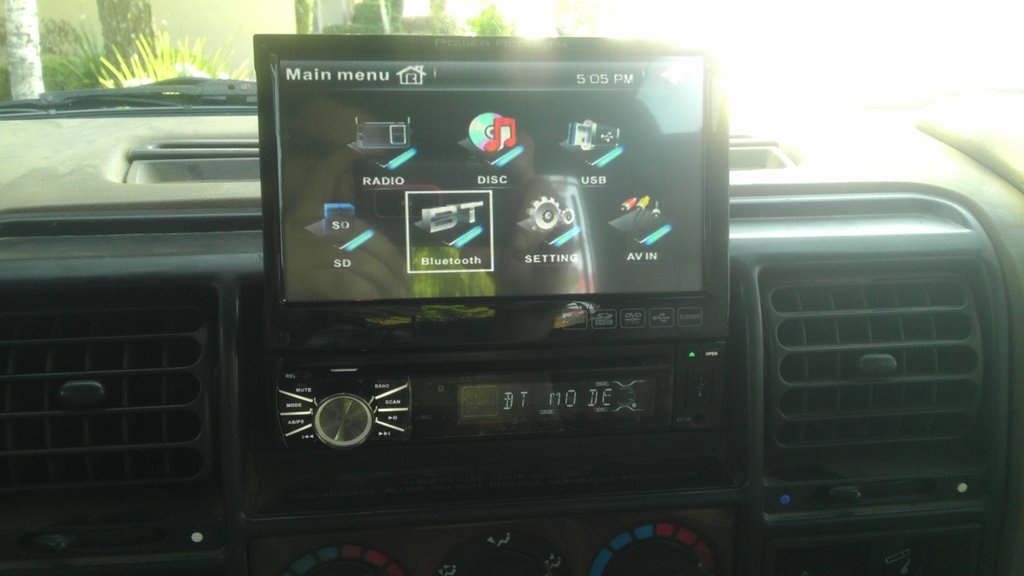
Though lacking any Navigation ability (no add-on unit), this radio/DVD head unit is not bad for ~$150. 7" touch screen w/ 480x234 resolution, USB and SD card input for both music and AVI video files, BlueTooth phone and media, and the ability to connect a reverse cam and a front A/V-in plug if you want to connect a video game console or other source.
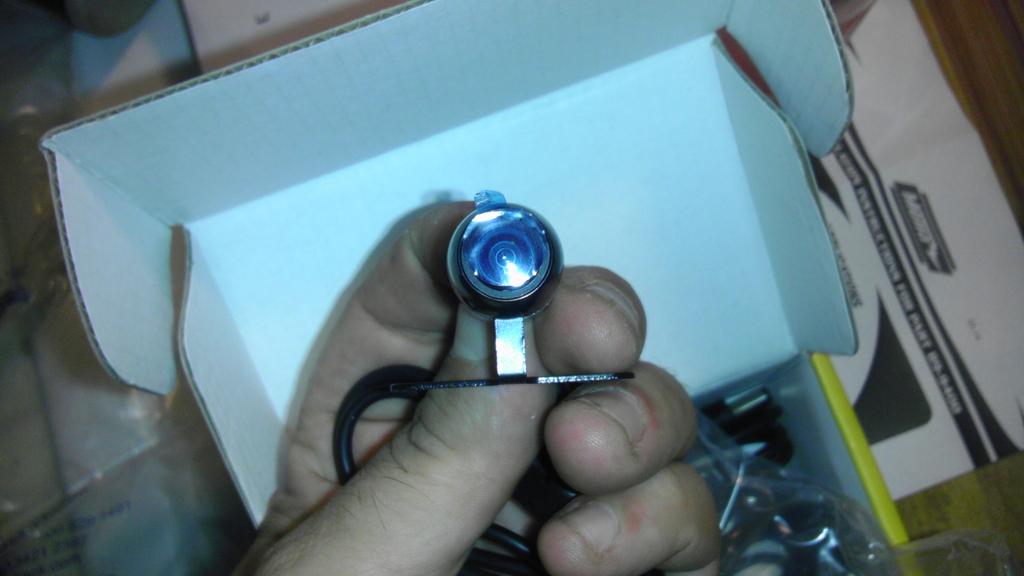
This is the camera I went with. I choose it because of it's small size and the ability to get one without the red/yellow/green guide lines. It is IP67 rated, so we'll see how well it does in foul weather.
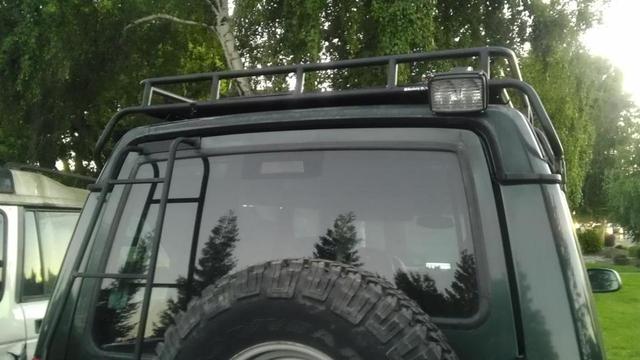
Camera installed. Can you spot it?
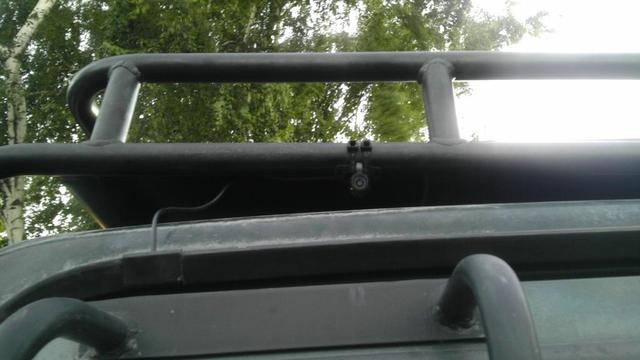
Zip-tied to the roof rack, just above the rear ladder. It's so small and dark that the casual passerby probably won't notice it. Even if it gets ripped off, it was only $20
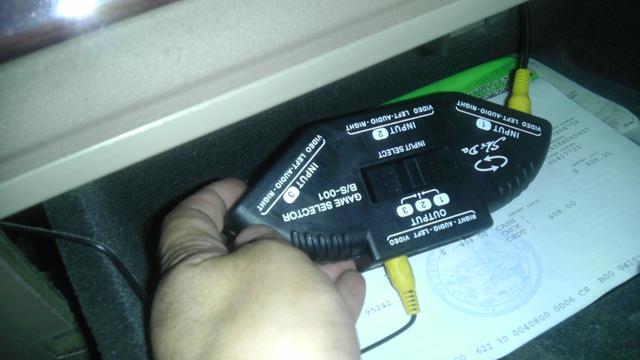
Camera video feed runs to this switchbox in the glovebox. The single output runs to the "cam" input on the back of the head-unit. This way I can add 2 additional cameras and switch between them. I've made two slight modifications to the way I wired the head-unit. The first was to ground the e-brake wire so the screen will display video when the vehicle is not parked, the second mod was to wire the "reverse" wire to a +12v lead and switch, so I can turn on the cameras manually without needing to be in reverse. It is illegal to drive like this of course, but for off-road, being able to have additional viewpoints comes in handy.
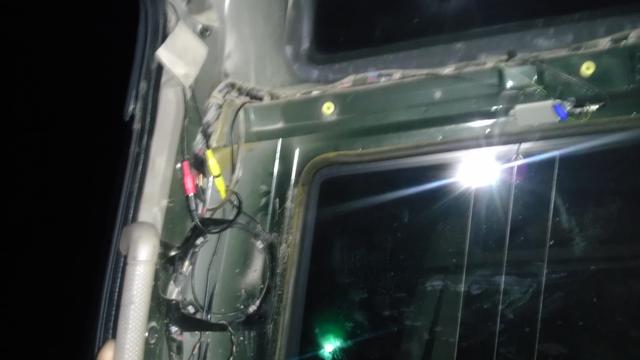
The headliner is already out for other mods and a reupholstering, so wires are nicely tucked and will be clean once the headliner goes back in.
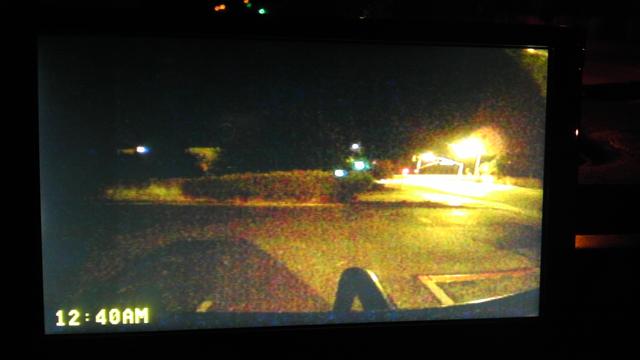
The view at night with the reverse lights on. It's quite grainy at night, but good enough for what it's intended for. The camera is rated at 0.2 LUX and in color. Most low lux or IR cameras display as B/W once it gets dark and their LEDs come on. If I need more light, I always have the Hella work lamp (yet to wire up).

Cartoons! Just because I can...
--------------------------------------
Parts list (all sourced from Amazon):
Power Acoustik PTID-8920B ~$150 (don't bother with the "B/T" model as it's TV tuner was analog and no longer works)
Metra 70-9400 wiring harness adapter ~$13 - This 2-part harness gets spliced into the harness that comes with the head-unit. It plugs directly into the Land Rover wiring harness so there's no need to cut any of your existing wiring.
Metra 40-VW10 ~$6 - An antenna adapter to get the Euro-style antenna cable to plug into a North American style head-unit.
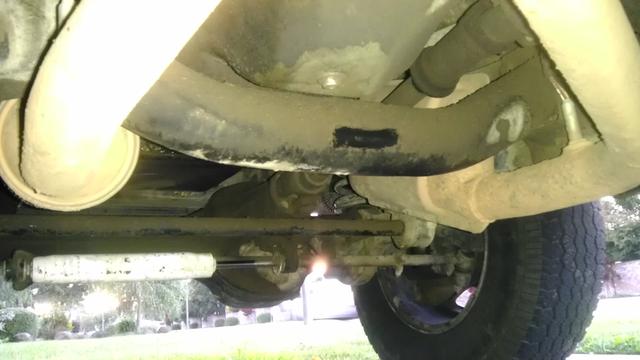
ESKY EC170-06 color CCD camera ~$21 - I ordered 2 of these. One you see posted above. The other will be mounted to a servo and placed under the vehicle, probably mounted to the cross bar under the transmission. This will allow me to see rocks and clearances while off road. If it just clears the cross bar to spin 360 degrees, it still won't be the lowest thing on the vehicle, the dual exhaust pipes will still be lower.
Finally, I've noticed that I'm getting engine whine noise coming through the speakers. I'll have to track down the exact cause of the interference, but I may need to install an RF noise-canceling filter or alternator noise filter to clean it up.
-----------------------------------------------
Both of my Disco 1s have the stock Alpine(?) radio. My older Disco ('98 blown engine) at least had the 6-disk CD changer, but the new one ('99 replacement) didn't and radio stations only came in at night (due to atmospherics), so long commutes were pretty boring. I decided to finally do something about it... The parts list will be at the bottom.
The stock radio has proprietary mounting screws, probably to prevent theft, but also a pain to get your radio out. It's a BMW/Land Rover specific allen-type, but with only 5 sides, instead of 6. I managed to get them unscrewed using a very small flat-head screwdriver.
Looking at the back of the stock unit, you see on the left, the main and sub jacks for the dual antennas. The new head-unit will only use one antenna cable. The large, round, multi-plug in the middle - I believe - is for the optional 6-disk CD changer. This was plugged into the male counterpart wire, but I didn't see where that wire led to. The vehicle doesn't have a CD changer under the passenger seat. The three ports on the right are for speaker wires (pink multi-plug), power/ground/memory/etc. (gray plug), and dash controls (brown plug) which won't get used with the new unit. The pink and gray plugs will get plugged into the Metra wiring harness adapter.
This is the CD changer cable and will not be used with the new unit, and one of the two antenna cables which will be used.
Here's the new unit installed (w/o it faceplate). It's an Power Acoustik PTID-8920B. It was difficult to get it pushed all the way back with the jumble of wires back there. Adding the wiring harness adapter took up space as did the loose speaker wires from the new unit that didn't get used. Instead the Metra adapter harness had RCA-type cables that easily plugged into the corresponding plugs on the back of the new unit. I could have cut all the unused wires from the back, but decided not to incase I ever replace or sell the new radio.
The red light blinks when the face is removed, but I'm pretty sure it's a fake theft deterrent... Also, the SD card slot is behind the face, so it needs to be removed to swap cards. The unit will also play MP4 and AVI files (if encoded in the correct codec). I tested H.264 and it was unreadable. However, your standard MPG4 (ffmpg) codec does work (for the techies). It will read from a 32GB class 10 card, which is what I used. I don't think it'll read anything higher size, but not sure about lower class cards.
With it's face on. Notice the small grooves I had to file into the top of the dash trim. The small metal arms on each side of the 7" screen were just bumping there and needed a little slot to fit into so the screen would open all the way. The screen did have a safety where if the screen couldn't open far enough, it would pause and then retract to prevent damage to the mechanism.
Though lacking any Navigation ability (no add-on unit), this radio/DVD head unit is not bad for ~$150. 7" touch screen w/ 480x234 resolution, USB and SD card input for both music and AVI video files, BlueTooth phone and media, and the ability to connect a reverse cam and a front A/V-in plug if you want to connect a video game console or other source.
This is the camera I went with. I choose it because of it's small size and the ability to get one without the red/yellow/green guide lines. It is IP67 rated, so we'll see how well it does in foul weather.
Camera installed. Can you spot it?
Zip-tied to the roof rack, just above the rear ladder. It's so small and dark that the casual passerby probably won't notice it. Even if it gets ripped off, it was only $20
Camera video feed runs to this switchbox in the glovebox. The single output runs to the "cam" input on the back of the head-unit. This way I can add 2 additional cameras and switch between them. I've made two slight modifications to the way I wired the head-unit. The first was to ground the e-brake wire so the screen will display video when the vehicle is not parked, the second mod was to wire the "reverse" wire to a +12v lead and switch, so I can turn on the cameras manually without needing to be in reverse. It is illegal to drive like this of course, but for off-road, being able to have additional viewpoints comes in handy.
The headliner is already out for other mods and a reupholstering, so wires are nicely tucked and will be clean once the headliner goes back in.
The view at night with the reverse lights on. It's quite grainy at night, but good enough for what it's intended for. The camera is rated at 0.2 LUX and in color. Most low lux or IR cameras display as B/W once it gets dark and their LEDs come on. If I need more light, I always have the Hella work lamp (yet to wire up).
Cartoons! Just because I can...
--------------------------------------
Parts list (all sourced from Amazon):
Power Acoustik PTID-8920B ~$150 (don't bother with the "B/T" model as it's TV tuner was analog and no longer works)
Metra 70-9400 wiring harness adapter ~$13 - This 2-part harness gets spliced into the harness that comes with the head-unit. It plugs directly into the Land Rover wiring harness so there's no need to cut any of your existing wiring.
Metra 40-VW10 ~$6 - An antenna adapter to get the Euro-style antenna cable to plug into a North American style head-unit.
ESKY EC170-06 color CCD camera ~$21 - I ordered 2 of these. One you see posted above. The other will be mounted to a servo and placed under the vehicle, probably mounted to the cross bar under the transmission. This will allow me to see rocks and clearances while off road. If it just clears the cross bar to spin 360 degrees, it still won't be the lowest thing on the vehicle, the dual exhaust pipes will still be lower.
Finally, I've noticed that I'm getting engine whine noise coming through the speakers. I'll have to track down the exact cause of the interference, but I may need to install an RF noise-canceling filter or alternator noise filter to clean it up.