When you click on links to various merchants on this site and make a purchase, this can result in this site earning a commission. Affiliate programs and affiliations include, but are not limited to, the eBay Partner Network.
Finished the front bumper, changed the oil and upgraded the oil filter. Also retorqued the harmonic balancer bolt to 200lbs which was much easier than I expected.
Now onto the fenders!
next up
1) Fab New bracket for lights
2) Herucliner wheels
3) Herculiner roof
What method did you use to torque your balancer? I had my son hold the torquer, while I held a universal holding tool in those tiny little pin holes on pulley! I used the torquer to hold the pulley holder and we both pulled in opposite directions untilI the click happened. If you have a better method I'm all ears! I'm wary of using a windy gun, tho. Really enjoying the thread by the way!
A minor project this evening but I was so impressed with the results I thought I would share with you all. Was watching a video about headlight restore products on project farm and this was their 1st place product in the category.
@rhyslegge I just put an extension and socket in the in the inspection port and torqued away! I spent more time trying to put the inspect port over back in place!
What can I use for UV protection? I don't want to buy a whole kit, since I have the other stuff already. Some use clear coat, others a special UV protection fluid to wipe on. Which is better?
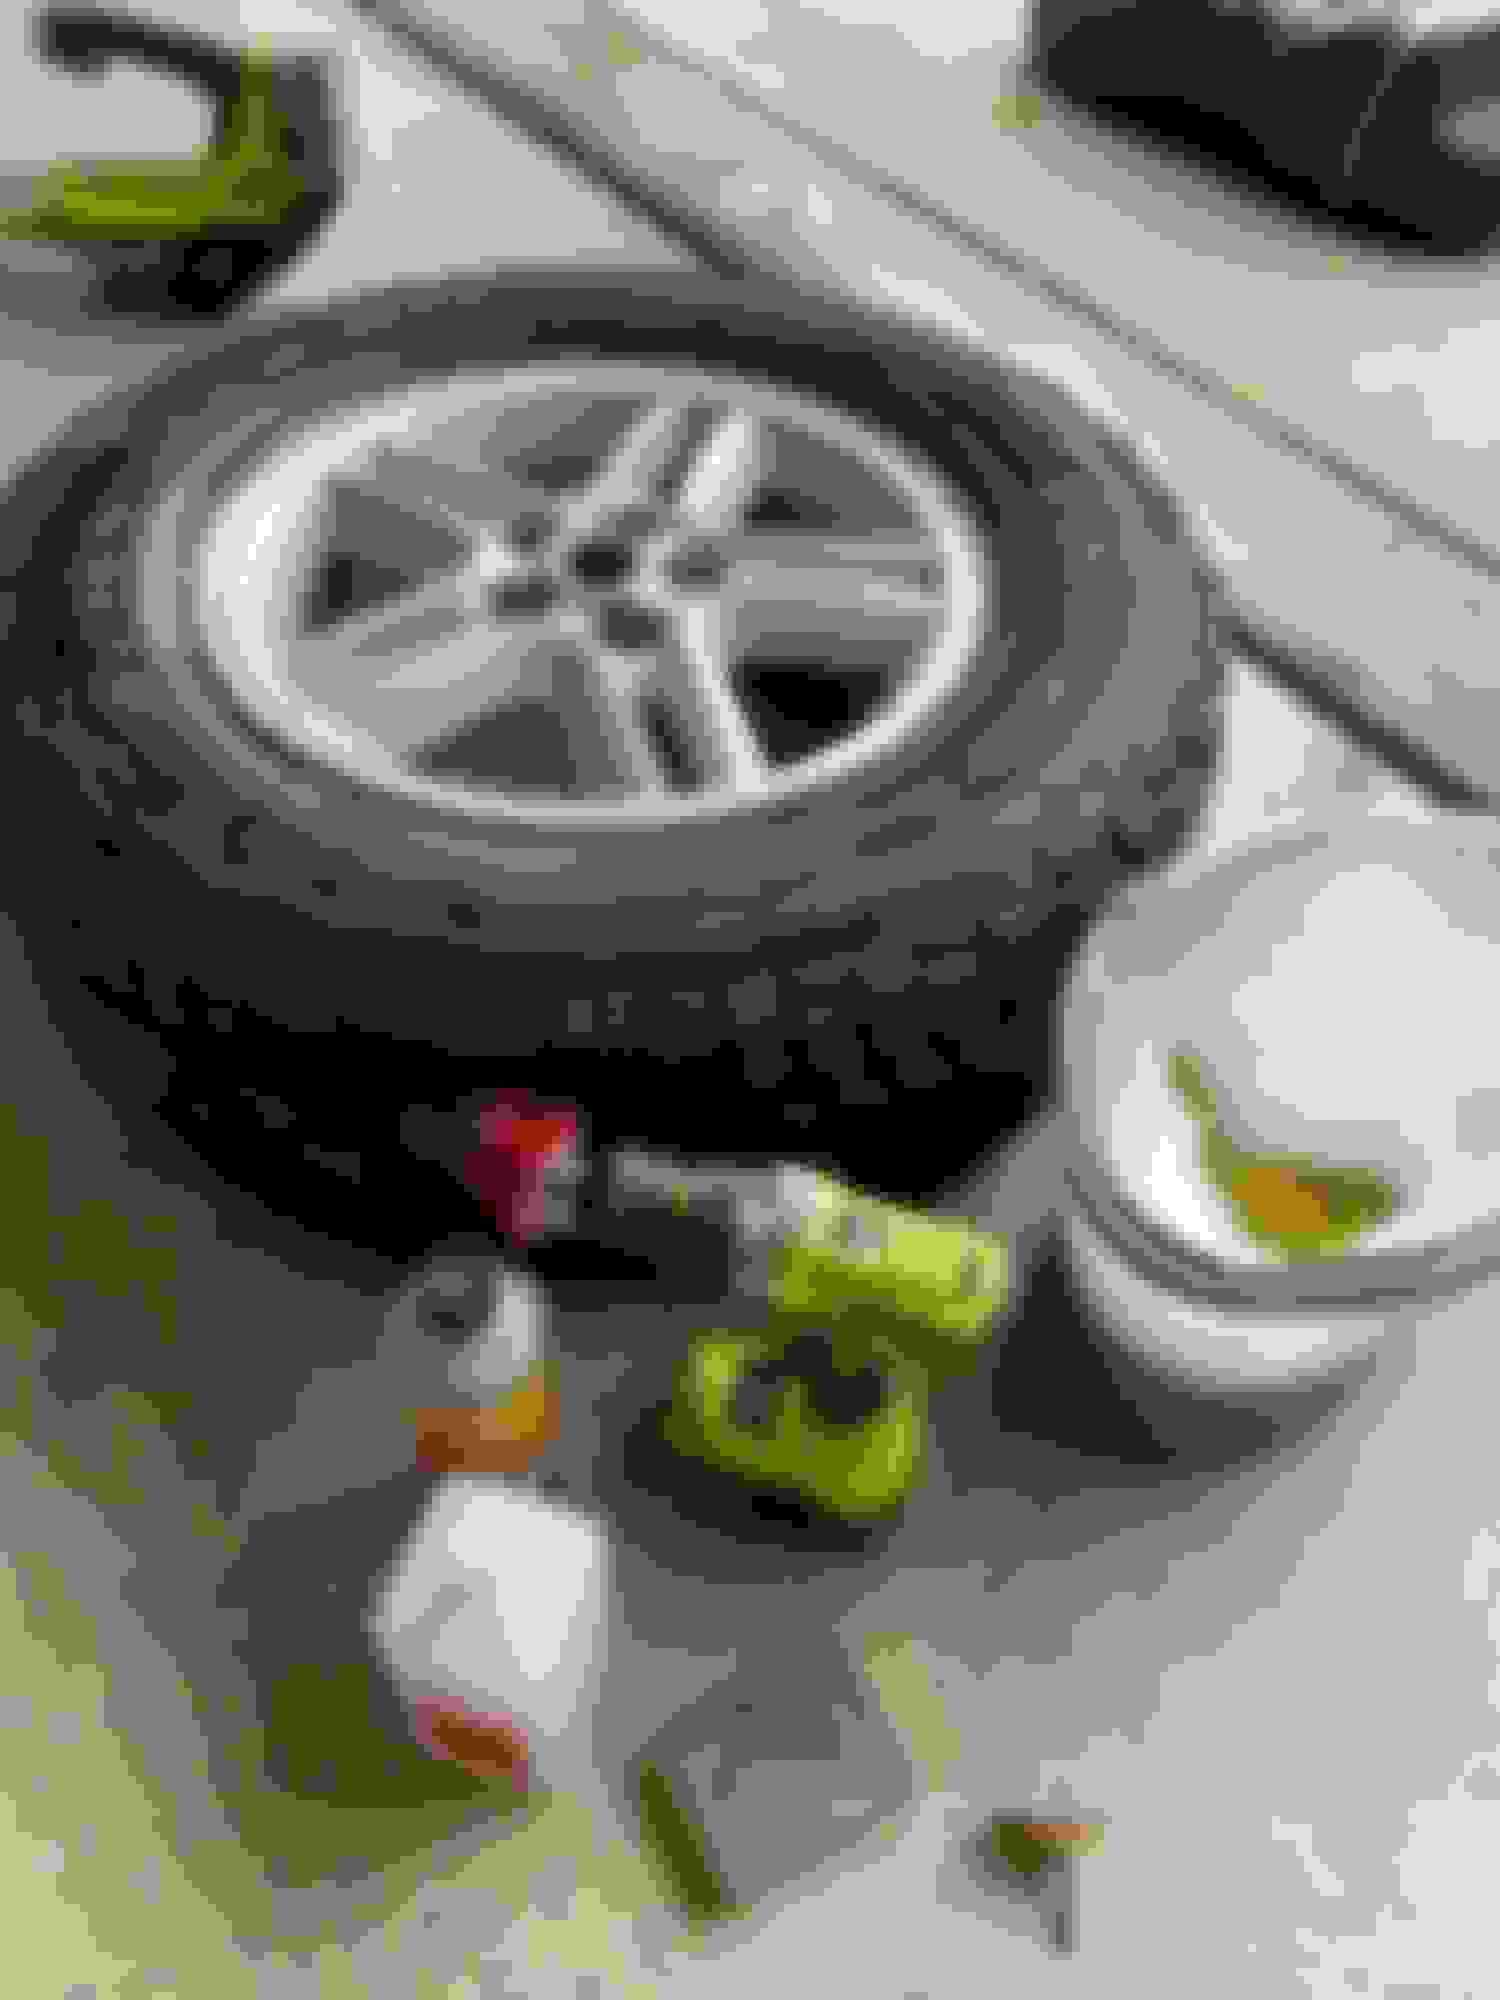
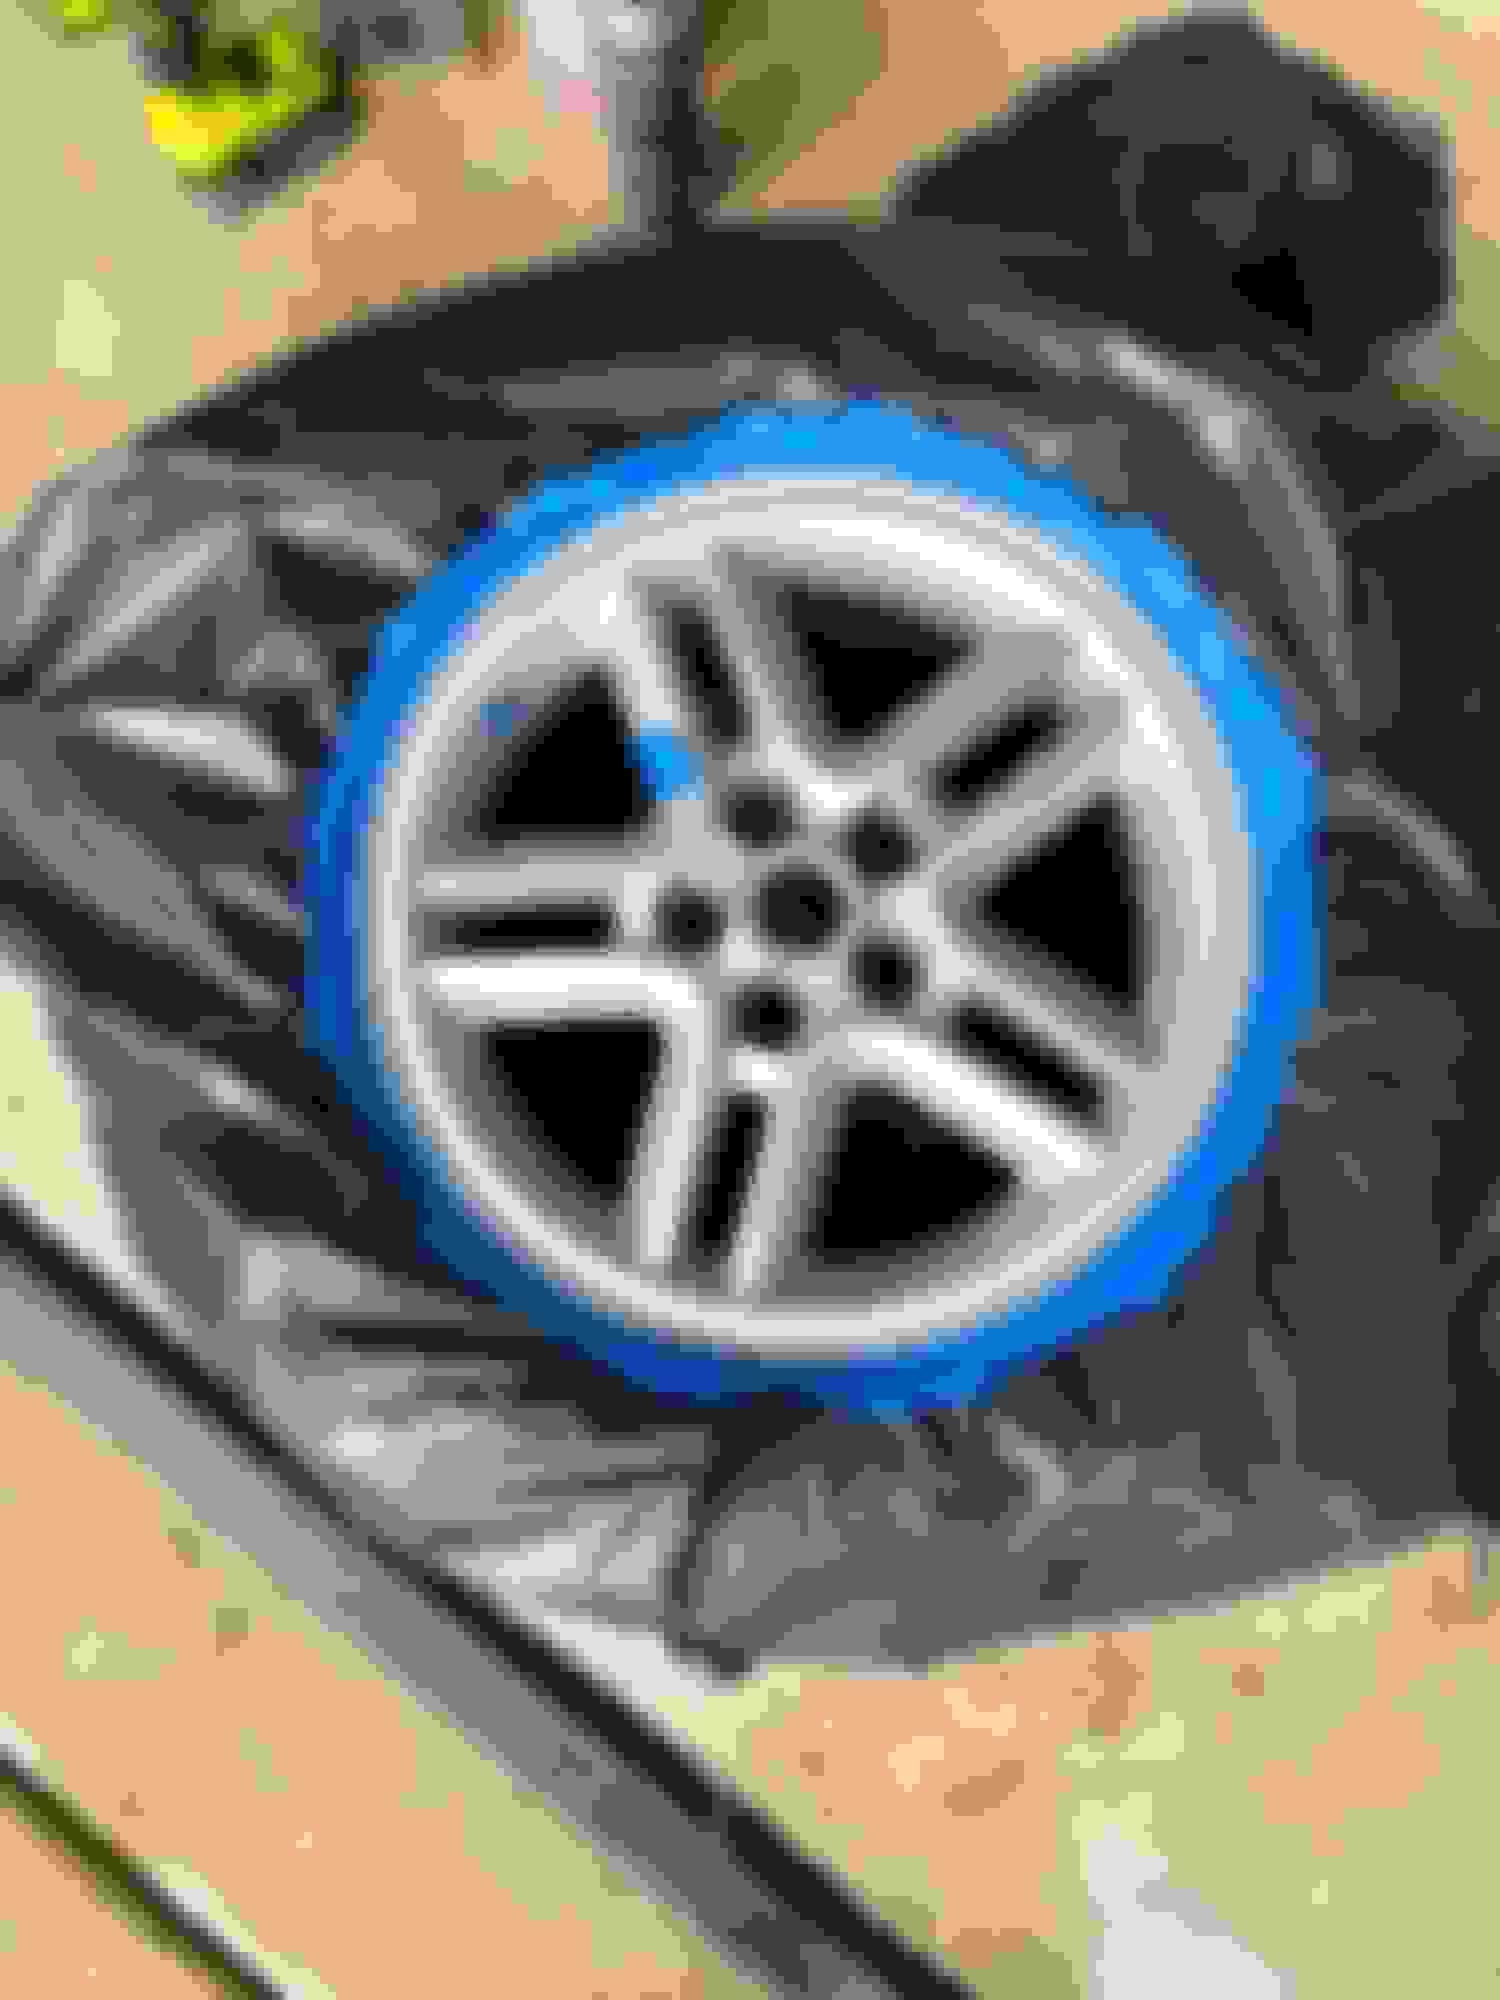
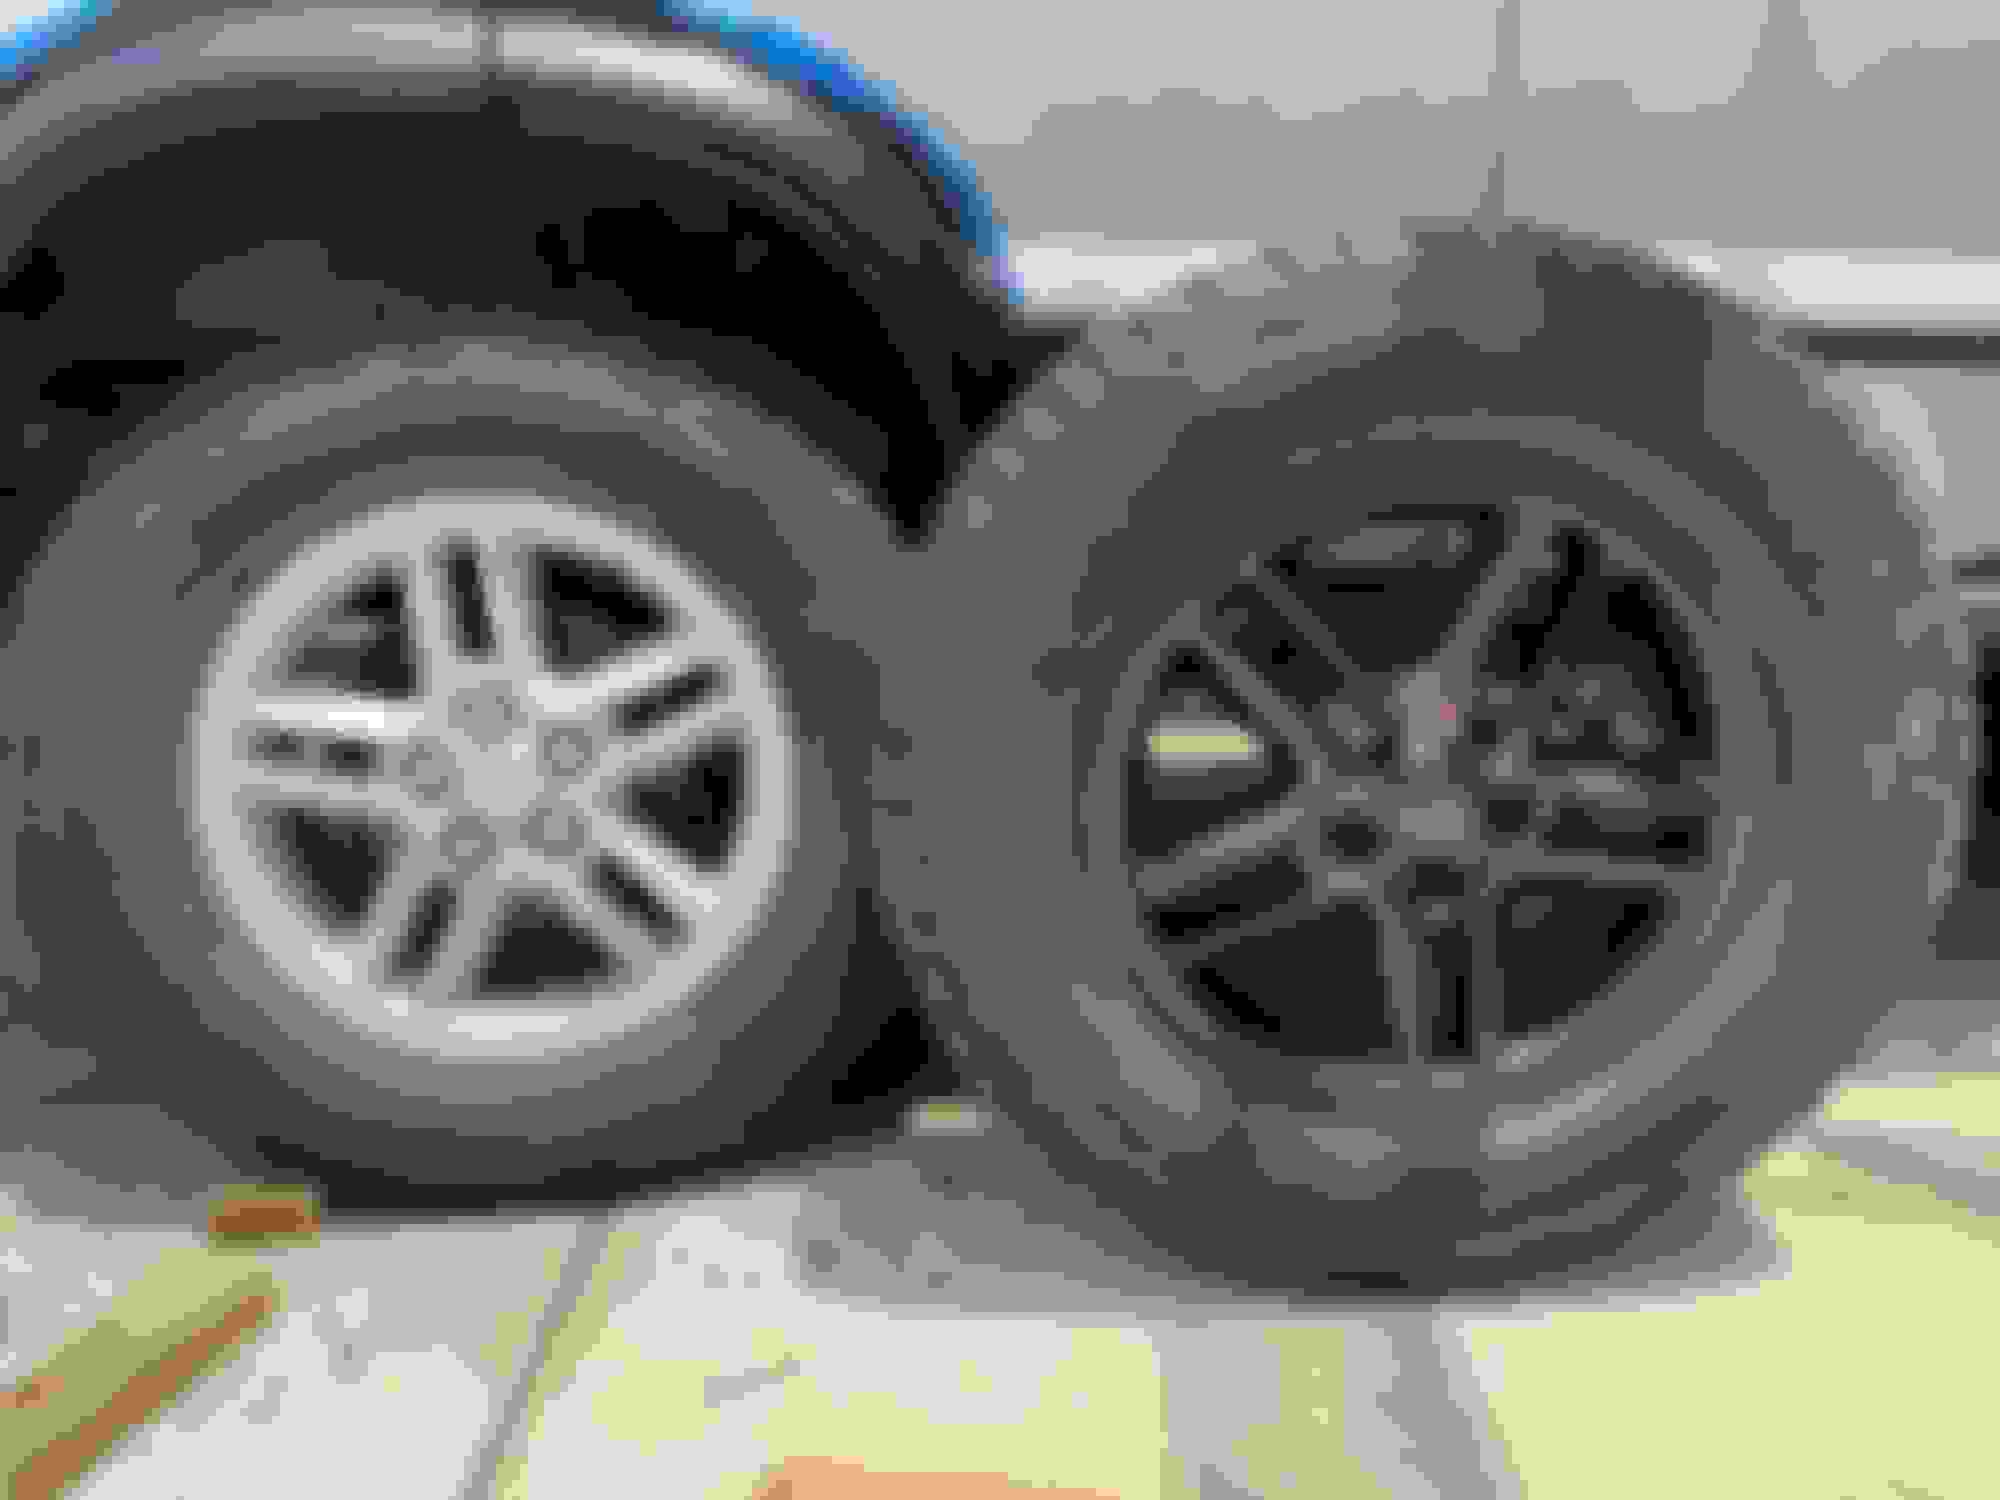
Finished one rim. Used a lot more paint than I expected but I am happy with the results. Four more to do but first I have to finished fenders. Got them mostly done. Just need to add a few more coats of herculiner.
Clean and scuff Prep for paint First couple of light coats Finished product
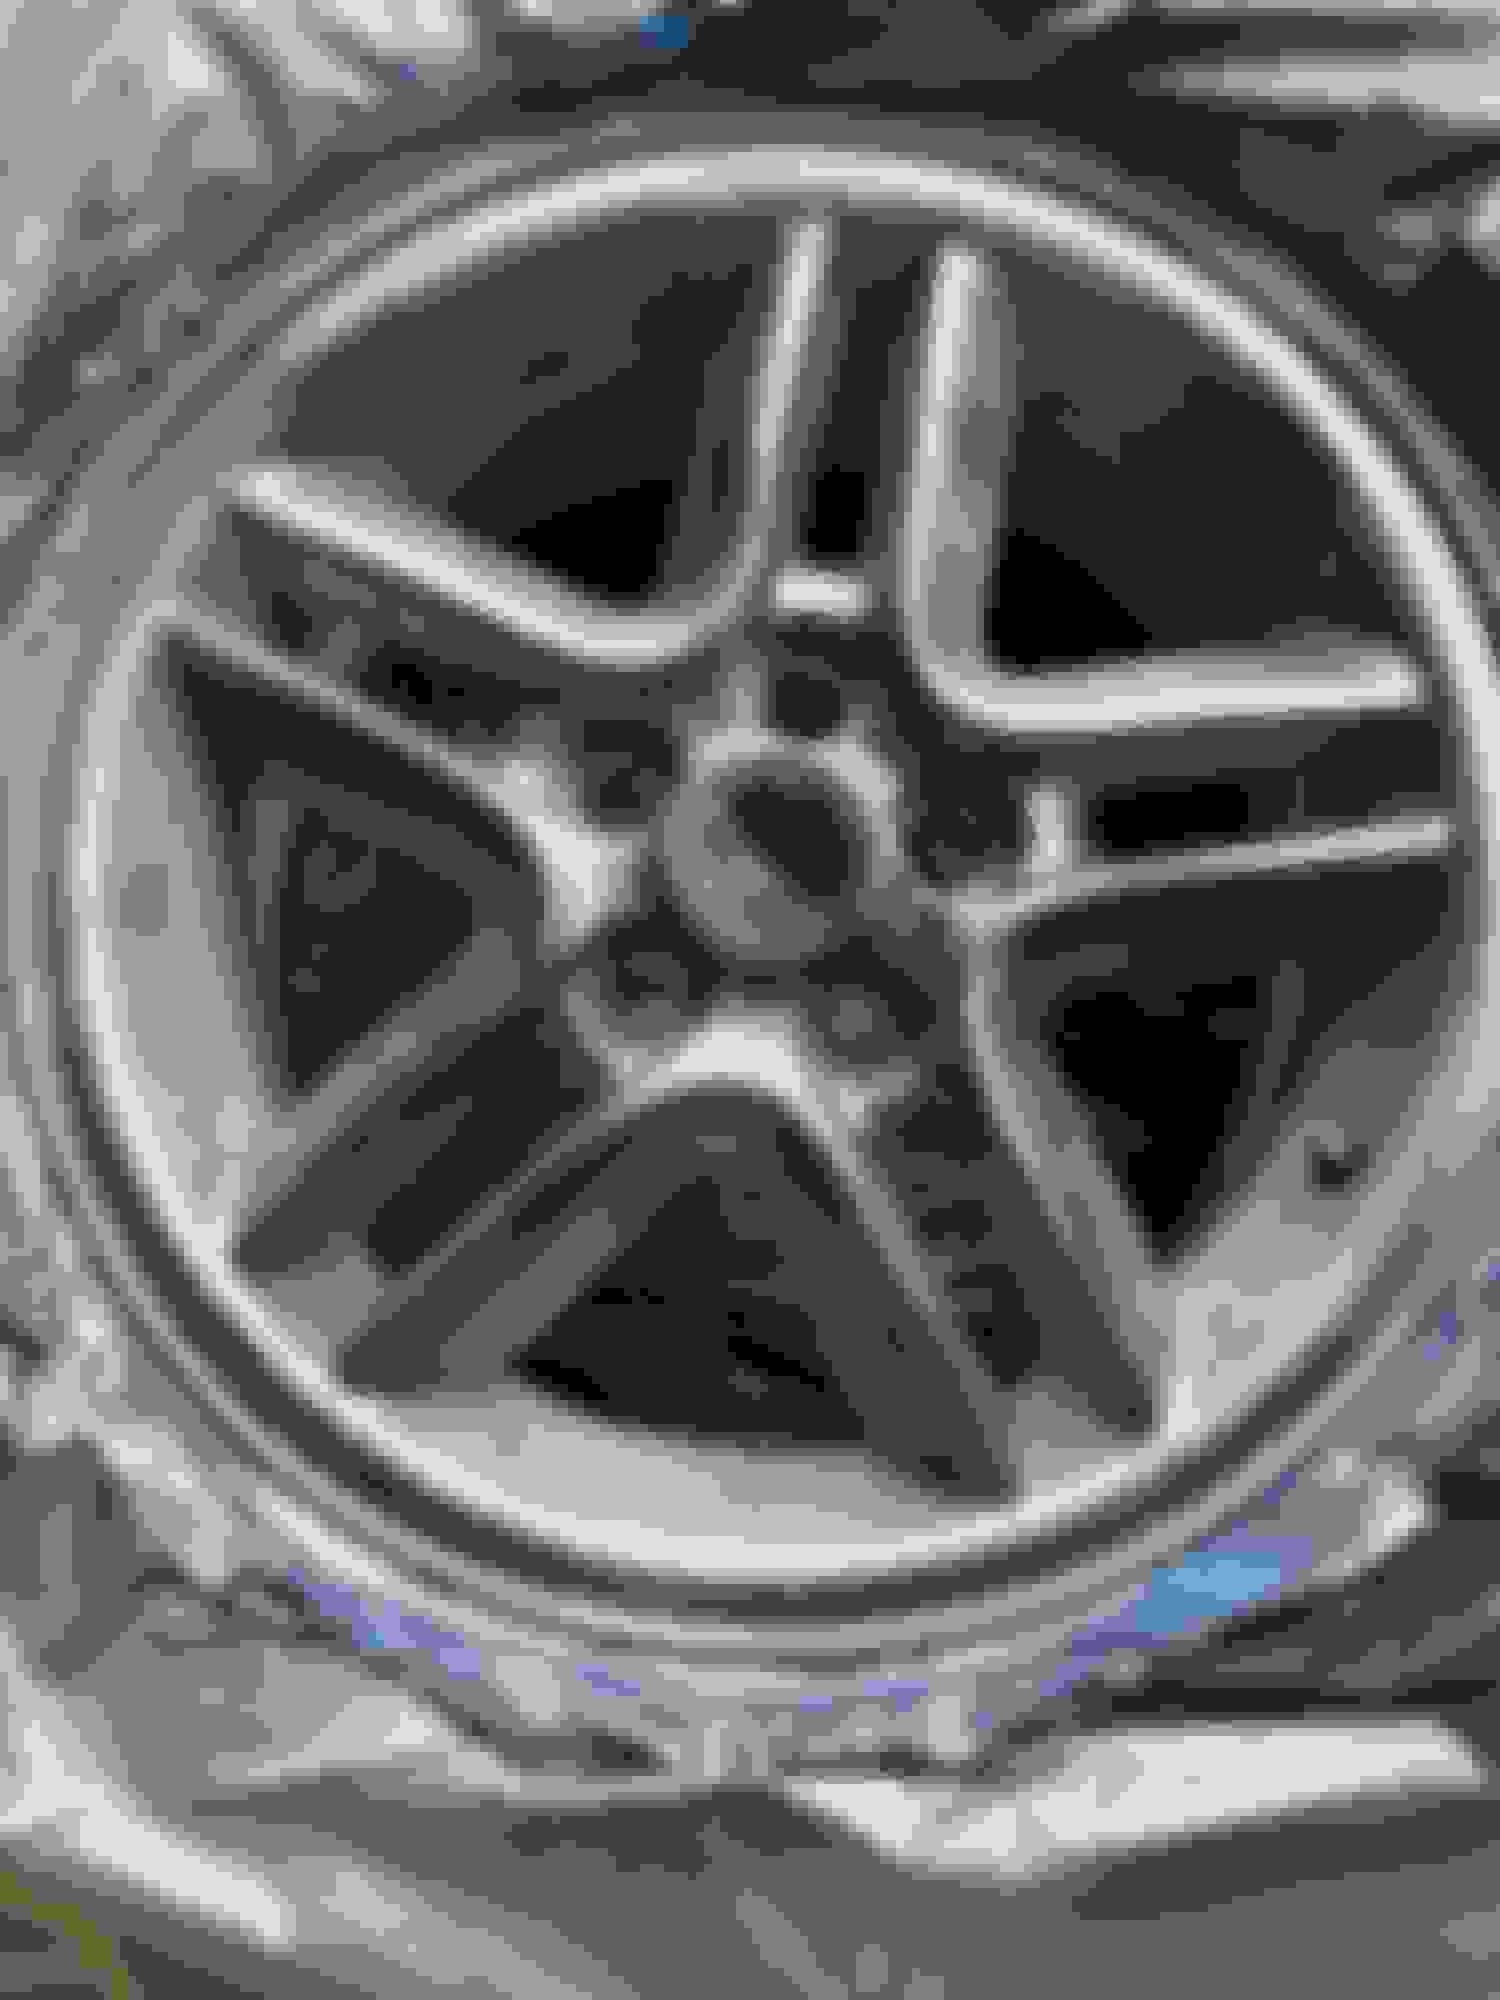
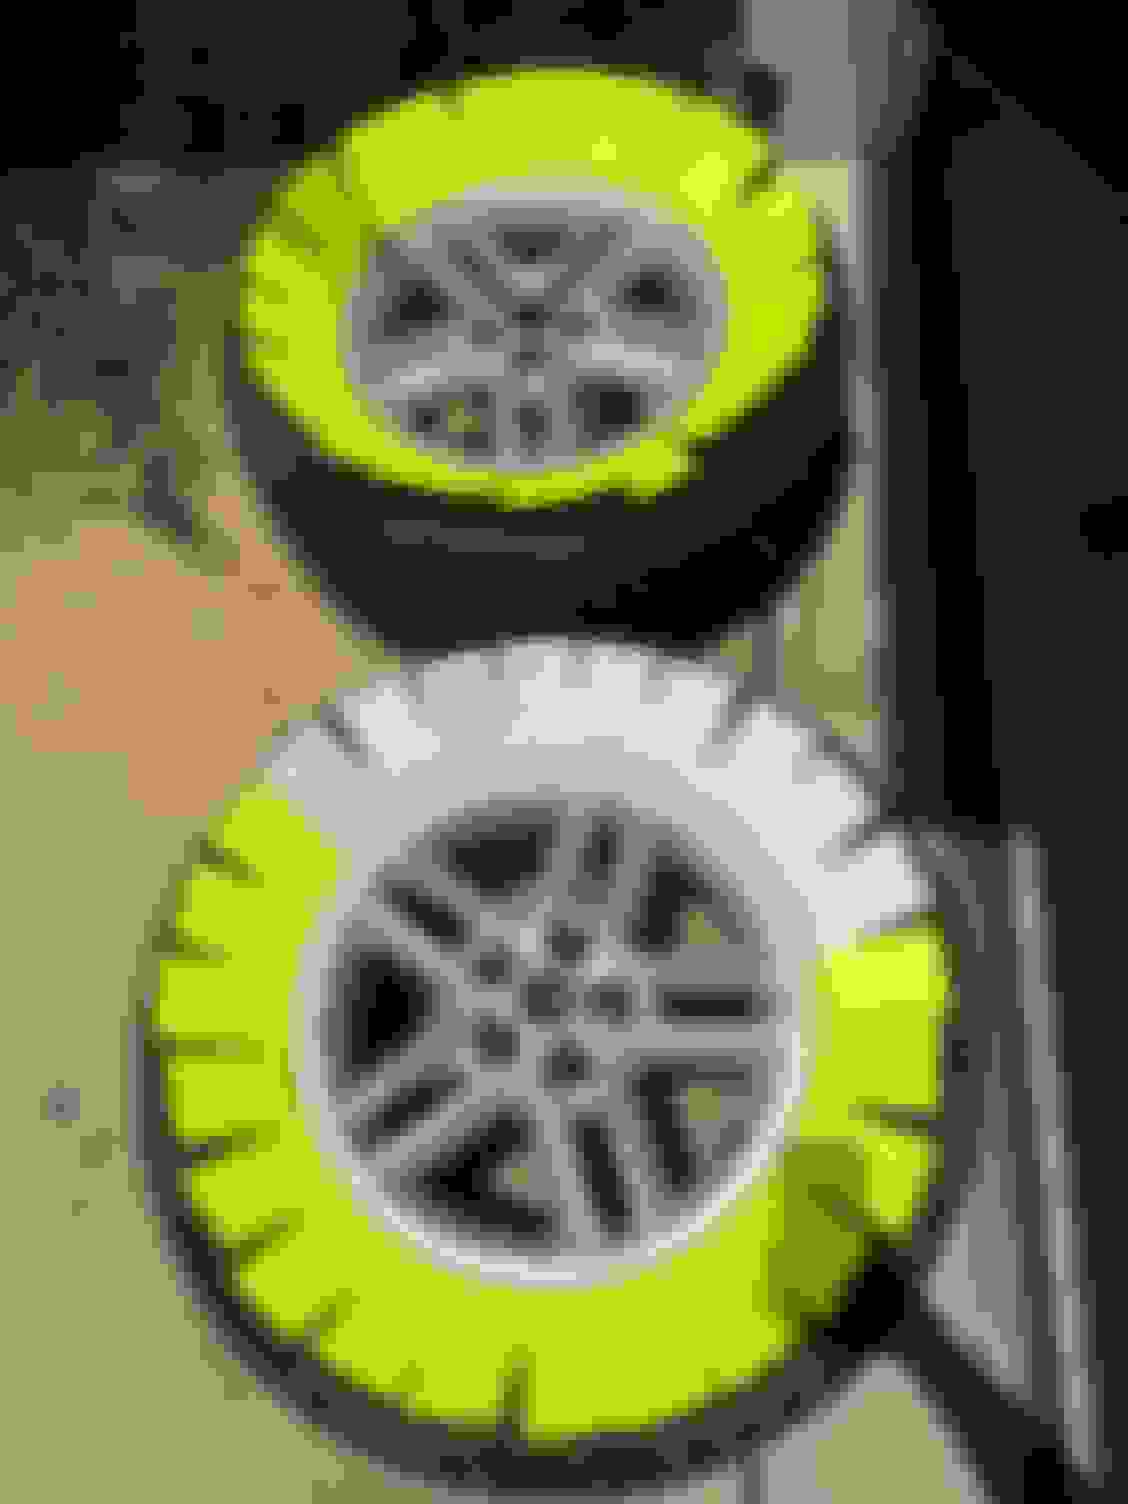
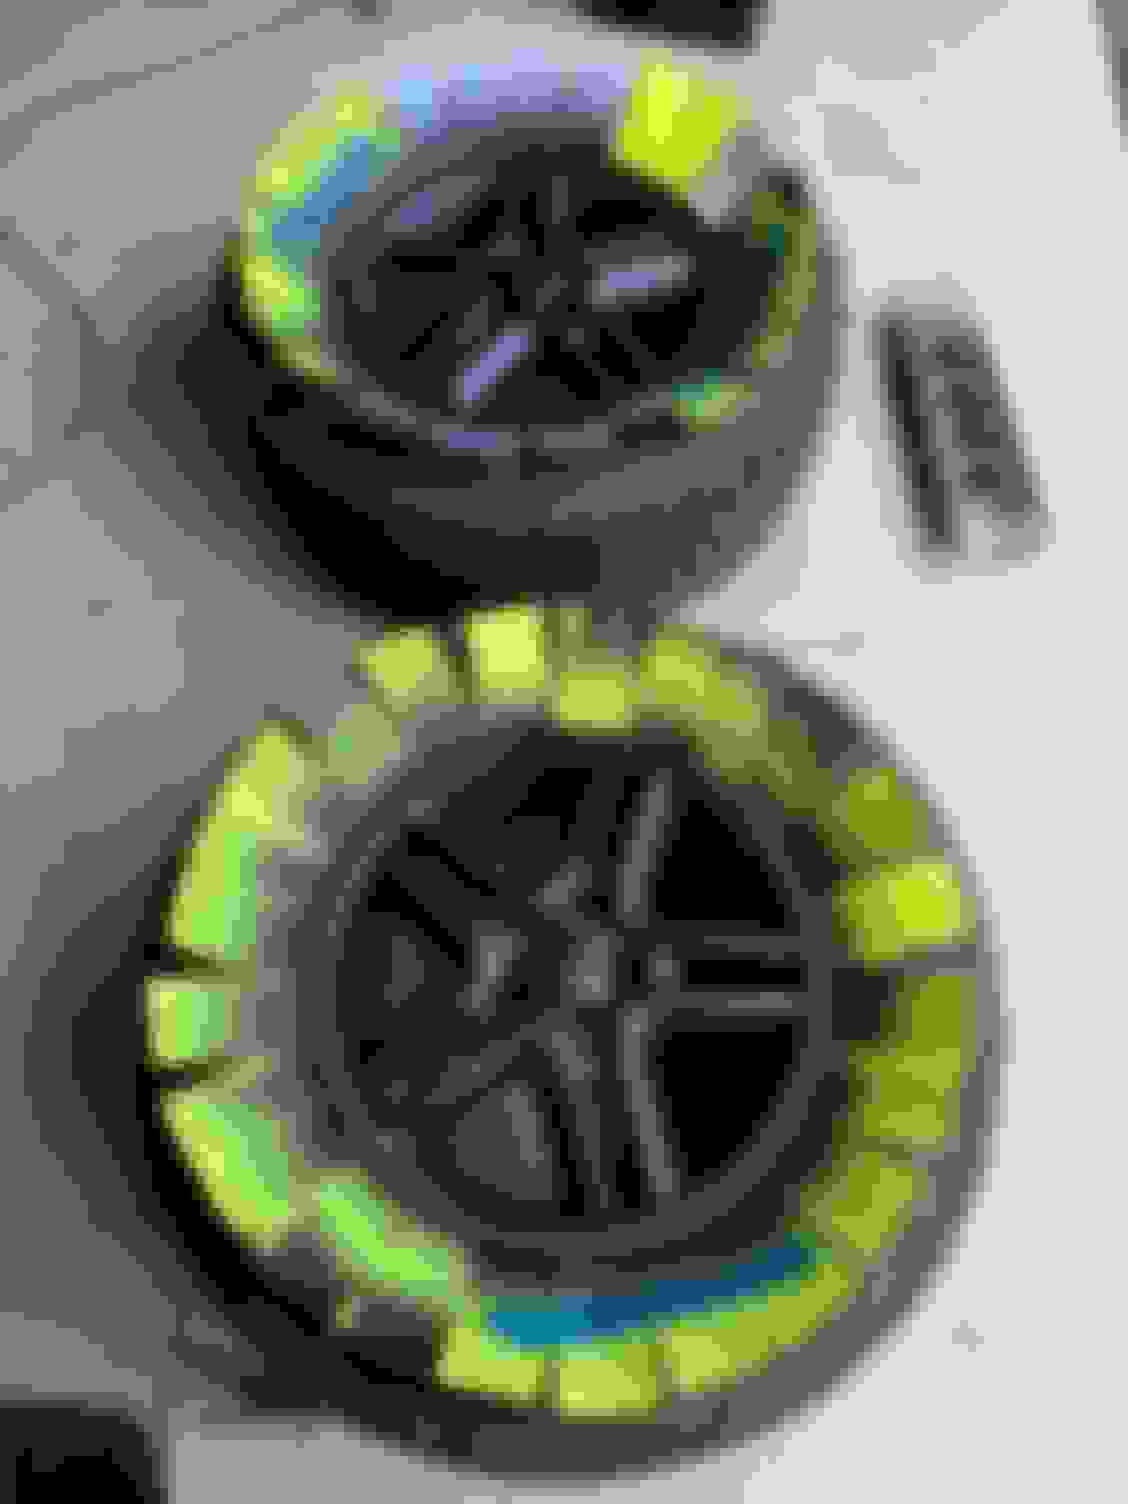
Two front ones are complete. Just waiting for the duplicolor to cure before I put them back on. Found a cool tip from ChrisFix with the index card which is a whole lot easier than taping! Prepped and ready for paint 4 coats of satin black and 2 coats of clear coat.