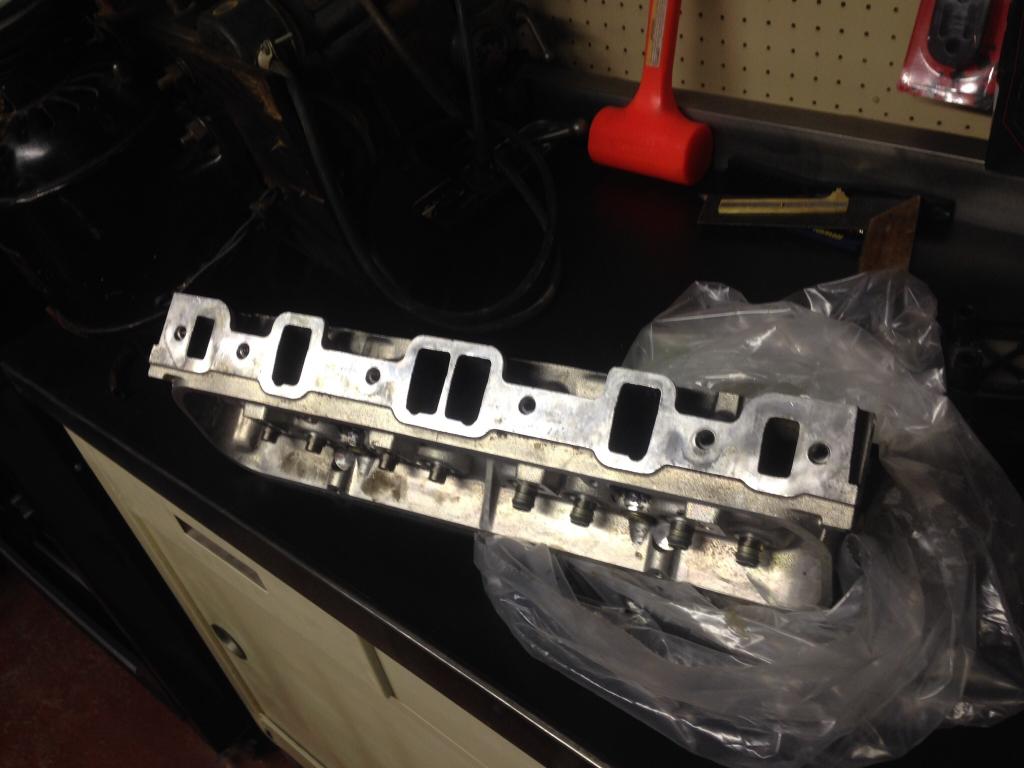
Coil under the coil packs?
#31
that a good theory 04duxlr….another land rover mystery
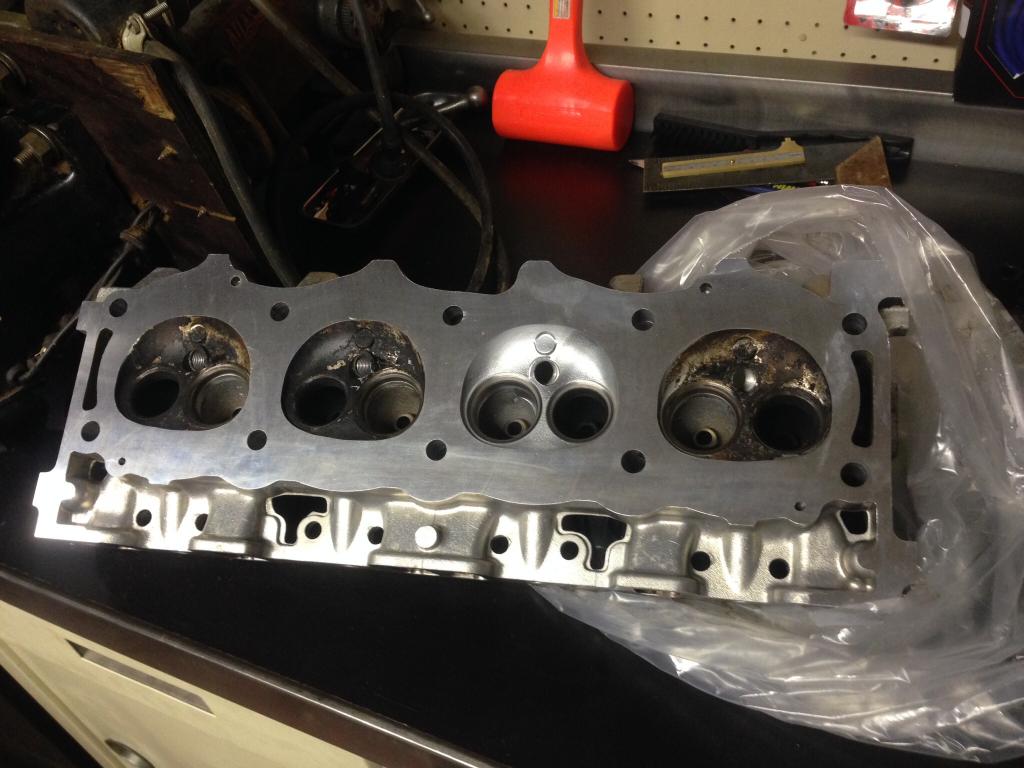
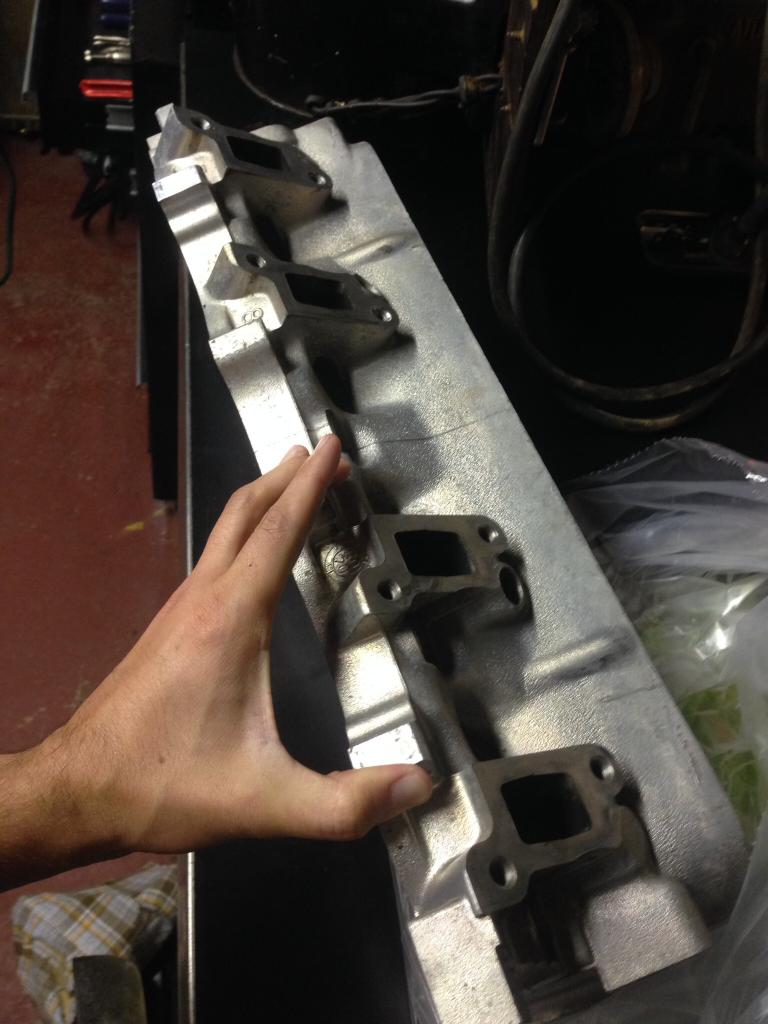
Have a question for the group since it'll be next tuesday that the rest of the parts will come in. Is there a budget friendly way to test the block and ensure there isn't an issue with the liners or crack in the block itself?? Hate to go all this way and not rule that out
I called motorcarsltd to rent one of their testers, but they wanted $195 to rent the kit below or $225 to buy it
Jaguar, Land Rover Specialty Repair Tool Rental - Motorcars Ltd.
#33
Zip, I asked the exact same question thinking it'd be more than a 50% return. He actually stated they charge your card the full price of $225 and when you return it, you get back $30 bucks
#34
I believe you but, that doesn't sound right. I'd call back and talk to someone else.
#35
#38
#39
If you have the water pump/front cover off, you will have to test each side separately....unless you happen to have a welded up water pump to bolt on.
I don't know where you're at with your work but figure you are checking your timing chain and oil pump so maybe you have the cover off?
If so, you can just make two plates for the top and then make a left and right plate for the front where the front cover/water pump mounts up to the water jacket. The two front plates will be a little different from one side to the other and the bolts won't line up so you can't swap those over from one side to the other but, you can with the top plates.
Anyway... use the two top plates and one front plate to test one side and then move the two top plates over and use the other front plate to test the other side.
Put your Schrader in one of the top plates.
The method above is if you have the front cover and water pump OFF.
If your water pump and front cover are still ON the engine , then you would have to have all 4 top plates and then maybe just cap off the water pump like he mentions above and test both sides at once.
It's doable I guess, testing with the pump on, if you don't run the pressure up too high and mess the shaft seal up and if you can hold good pressure behind the pump inner seal?
The cooling system doesn't have much pressure under normal operation but when testing for leaks in the block you normally run the pressure up a little higher like 35-40psi or maybe a little more and when you do that the seal in your water pump may not like it and decide to leak or may leak later on so, if testing with the pump on and hose nipple caped off, keep that in mind.
I have only tested with water pumps off and tested one side then the other with plates on front since I didn't have a welded up water pump to bolt on.
I figure the company you mentioned above includes a welded up water pump in their kit for a reason. Like they don't think it's safe to just cap off your existing water pump to test with the water pump still on. If they didn't have a reason for supplying a welded up water pump, they would just put a rubber cap in the kit for you to cap off your own pump. Anyway, something to think about before you put high pressure on your water pump.
As far as making the plates....you can cut the plates out of anything thick and rigid enough to hold pressure, I used thick aluminum. The stronger the plate material the thinner it can be. Like if you use steel it doesn't have to be as thick as if you used aluminum. Just has to be strong enough to not give in the center and let pressure leak out. It's impossible to get a good test if you are leaking any from under/around the plates.
And you will also need some type of thick rubber to put under the plates. If the plates are thick enough you can probably use a couple of layers of inner-tube for your rubber. I had some 1/2 thick rubber here that I used to make mine but, only because I had it already.
Make you a template out of cardboard or gasket material and lay it over the water ports and tap it lightly with a ball pen hammer to make a pattern to use to drill the bolt holes in the plates....and in the rubber you only need the holes for the bolts and make the holes in the rubber smaller than the bolt size so it will seal tight around the bolts. The one plate that you put the schrader in will need a small hole in the rubber in the center of the water port under the schrader to let the air in.
Then after you make up your plates and drill them, you can use your old head bolts and put nuts on them with a flat washer under the nut to tighten down the plates. You can put a spot of grease on top side of the flat washers/under the nut if you have it handy to make tightening smoother.
Be sure to run the bolts down to near the bottom of the holes in the block but not too tight, then tighten the nuts down to hold the plate down tight.
If you don't run the bolts down a good ways and only catch a few threads you could pull the threads out of the block when tightening the nuts down. If your plate and your rubber are really thick, you may have to pick up some longer bolts or bolts with more thread so you will have enough thread above the plate for the nuts. Just be sure that whatever bolts you use catch plenty of threads in the block and leave you enough threads above the plate for the nuts/washers and make sure it's the exact same thread size, tpi/pitch. You do not want to screw up your block threads! And if you do get longer bolts, use hard bolts, you don't want one of the cheap made in china soft fence/deck bolts breaking off in your block.
Some people have used spacers on the head bolts to hold the plate down tight by tightening the head bolt but, that is risky since if your plate and rubber are thick, you won't know how many threads in the block you are catching. I prefer to run the bolt down and then use a nut to tighten the plates down, same principle as if you were using studs in place of head bolts....less stress on the block threads.
anyway not too much to it just cutting the aluminum plates out and drilling the holes just right and it doesn't have to be perfectly shaped, just large enough to go 1/2" or so outside the bolt holes and 1/2" or so outside of the water ports....and if making plates for the front water ports, one side has a dowel right there so you will have to notch the plate out or make the plate larger and drill a hole for the dowel to go through.
Aluminum is easier to work with than steel for your plates so if you can find some (aluminum) that's 3/8" or 1/2" thick it would be perfect.
Last edited by RicketyTick; 10-15-2014 at 08:03 AM.
The following users liked this post:
Vegasdisco2 (02-19-2022)
#40
wow, very detailed and informative write up. This should definitely be listed in the sticky threads. I did luck out and Abran on the forum is shipping me the kit he purchased for a much better rental price than motorcarsltd, so that worked out. Again, very greatful for the write up in the event I find myself in this situation again.
Cheers
Cheers


