
Coil under the coil packs?
#51
 10-26-2014, 07:39 PM


#52
10-26-2014, 07:52 PM
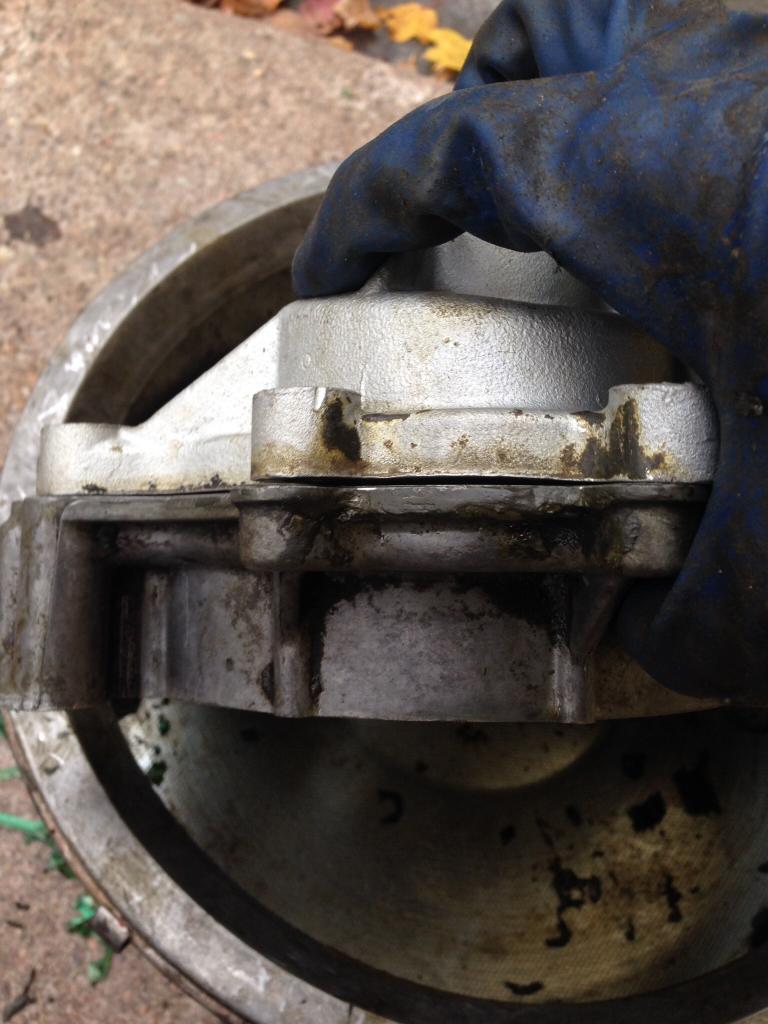
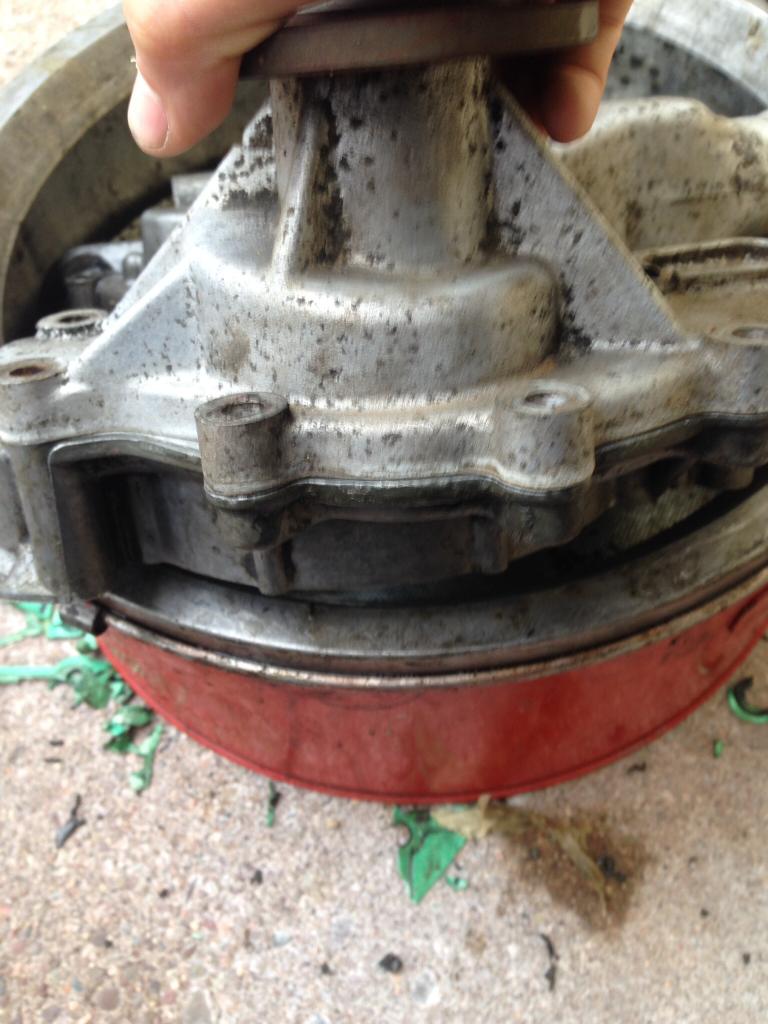
Once that was buttoned up, time to test the block however I couldn't get it to build pressure for the life of me, kept leaking out of the welded pump. After fitting it with a gasket and sealant, leaked, pulled it back off and really caked on the sealant then torqued it back down, still leaked. Pulled it back off and cleaned off the paper gasket and sealant to discover the pump housing was slightly wrapped. Talked to abran and we concluded the manufacture probably didn't machines the mating faces after welding up the unit. Figured the welding heat caused it to warp.
At this point, I'm going to take a gamble as winter is right around the corner and I'm under a crunch. Hopefully the block is good, if not I just hope it lasts till the snow melts next season
absurd amount of sealant, but it was determined to get this to work the second time around

No dice
Issue with the welded pump
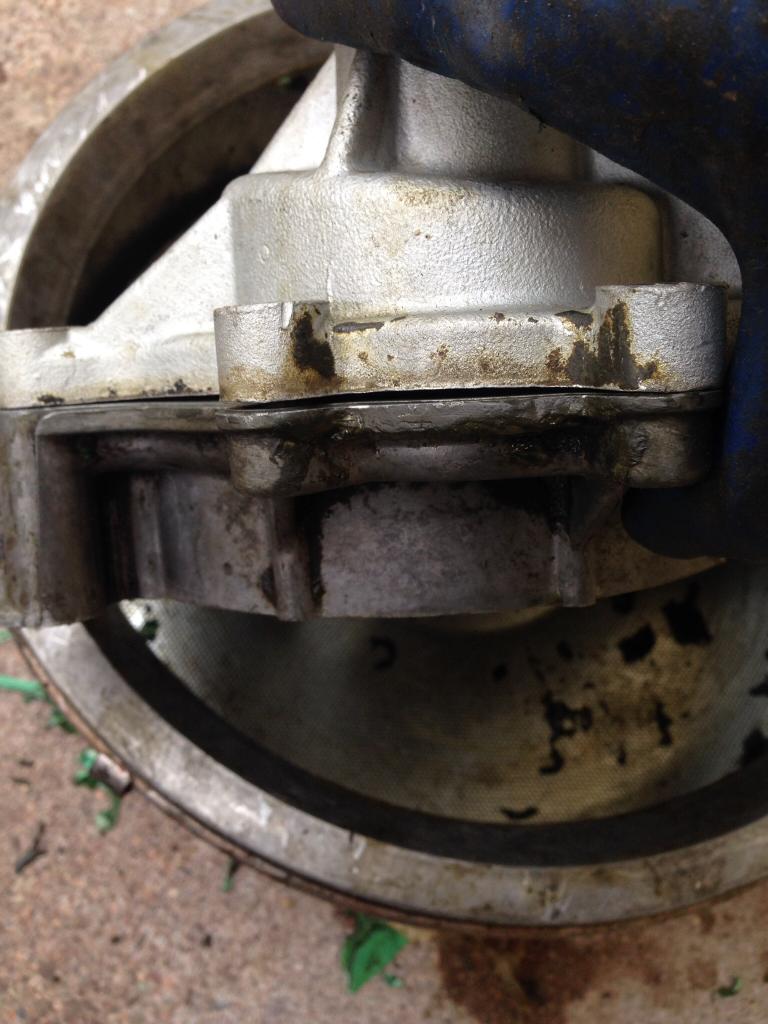
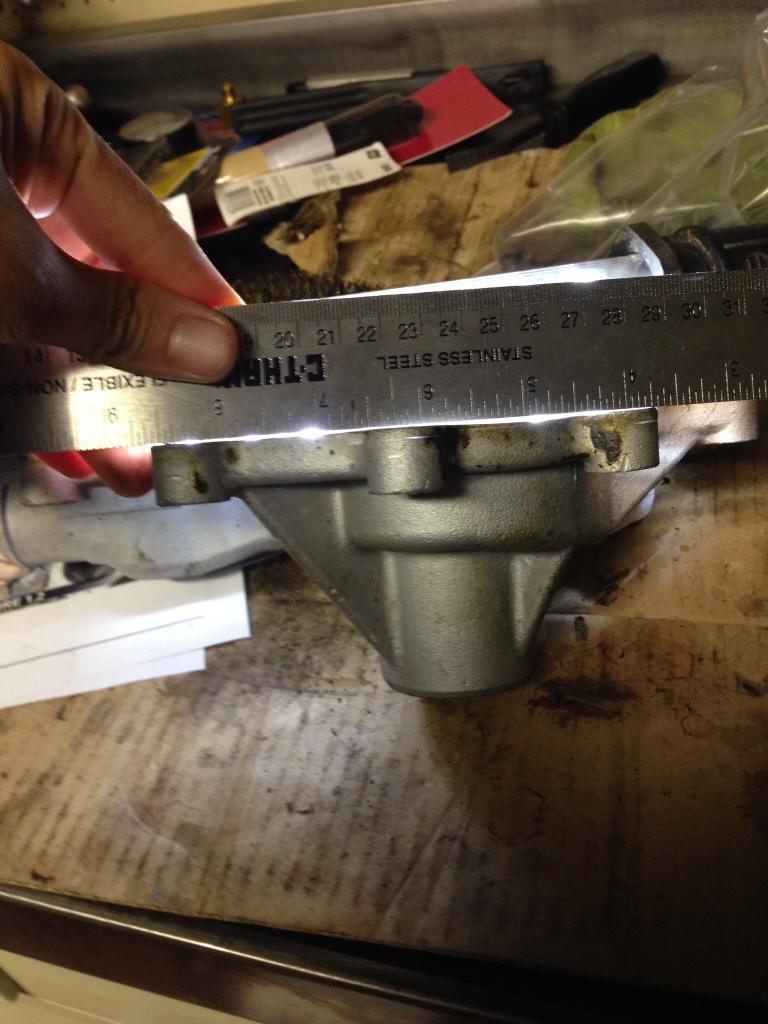
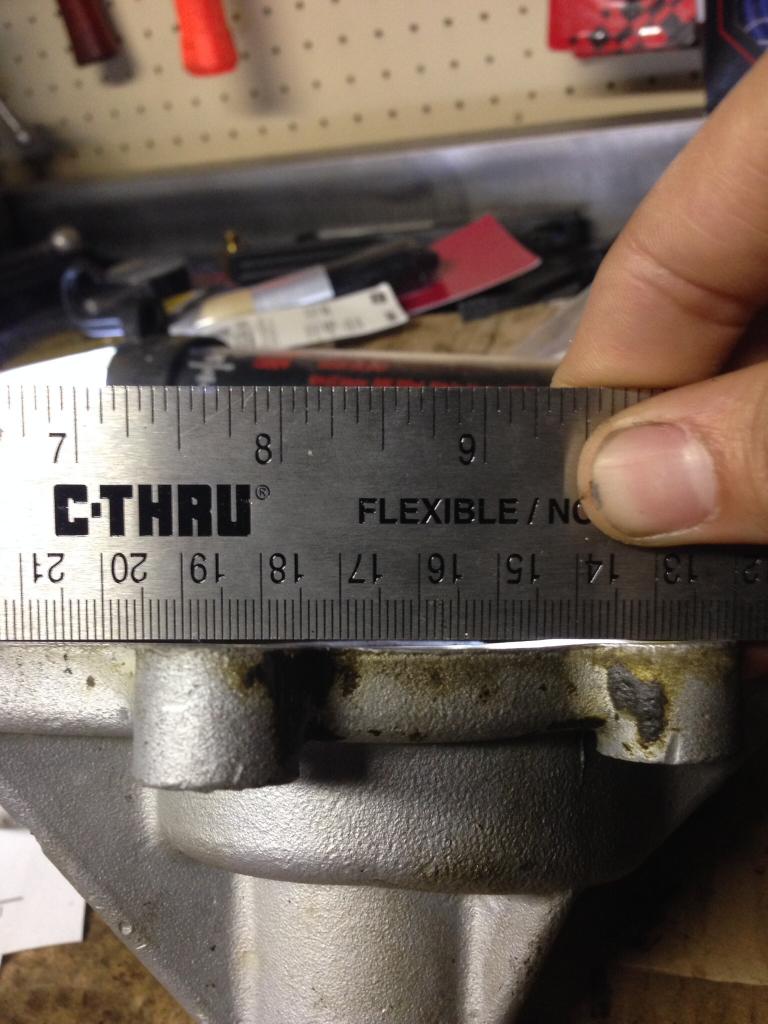
vs the actual pump for comparison
Few more
At this point, I'm going to take a gamble as winter is right around the corner and I'm under a crunch. Hopefully the block is good, if not I just hope it lasts till the snow melts next season

absurd amount of sealant, but it was determined to get this to work the second time around

No dice

Issue with the welded pump


vs the actual pump for comparison

Few more


#54
10-27-2014, 04:51 AM

Once that was buttoned up, time to test the block however I couldn't get it to build pressure for the life of me, kept leaking out of the welded pump. After fitting it with a gasket and sealant, leaked, pulled it back off and really caked on the sealant then torqued it back down, still leaked. Pulled it back off and cleaned off the paper gasket and sealant to discover the pump housing was slightly wrapped. Talked to abran and we concluded the manufacture probably didn't machines the mating faces after welding up the unit. Figured the welding heat caused it to warp.
At this point, I'm going to take a gamble as winter is right around the corner and I'm under a crunch. Hopefully the block is good, if not I just hope it lasts till the snow melts next season
At this point, I'm going to take a gamble as winter is right around the corner and I'm under a crunch. Hopefully the block is good, if not I just hope it lasts till the snow melts next season
Abran should be ashamed of himself! What kind of rental operation is he running? (Just kidding). You can test each side separately if you make one plate for the face where the pump goes or maybe you can cap the inlet on your water pump.
Last edited by 04duxlr; 10-27-2014 at 04:53 AM.
#55
10-27-2014, 06:55 AM

Baja

The following users liked this post:
Vegasdisco2 (02-19-2022)


#57
10-28-2014, 08:25 AM
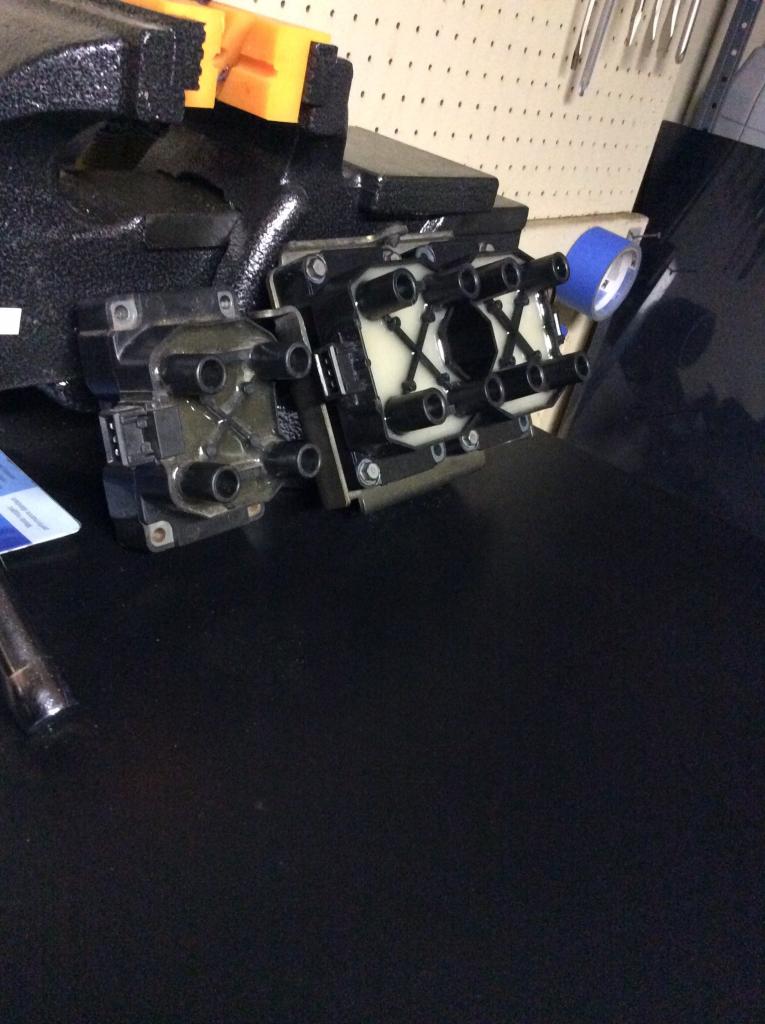
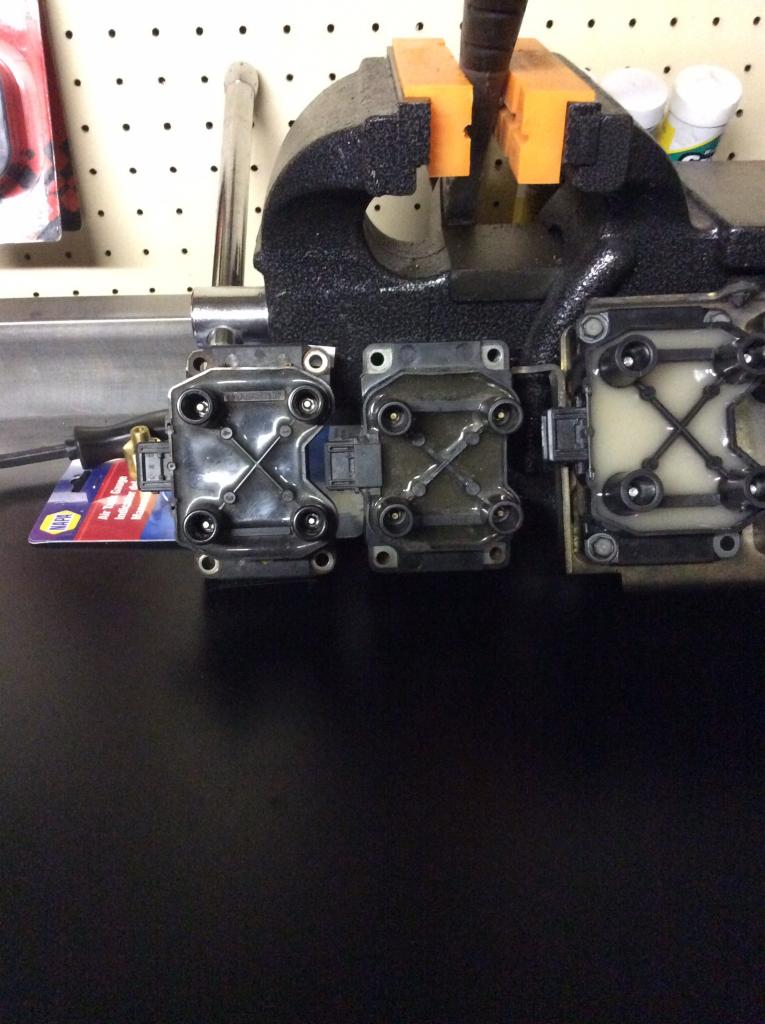
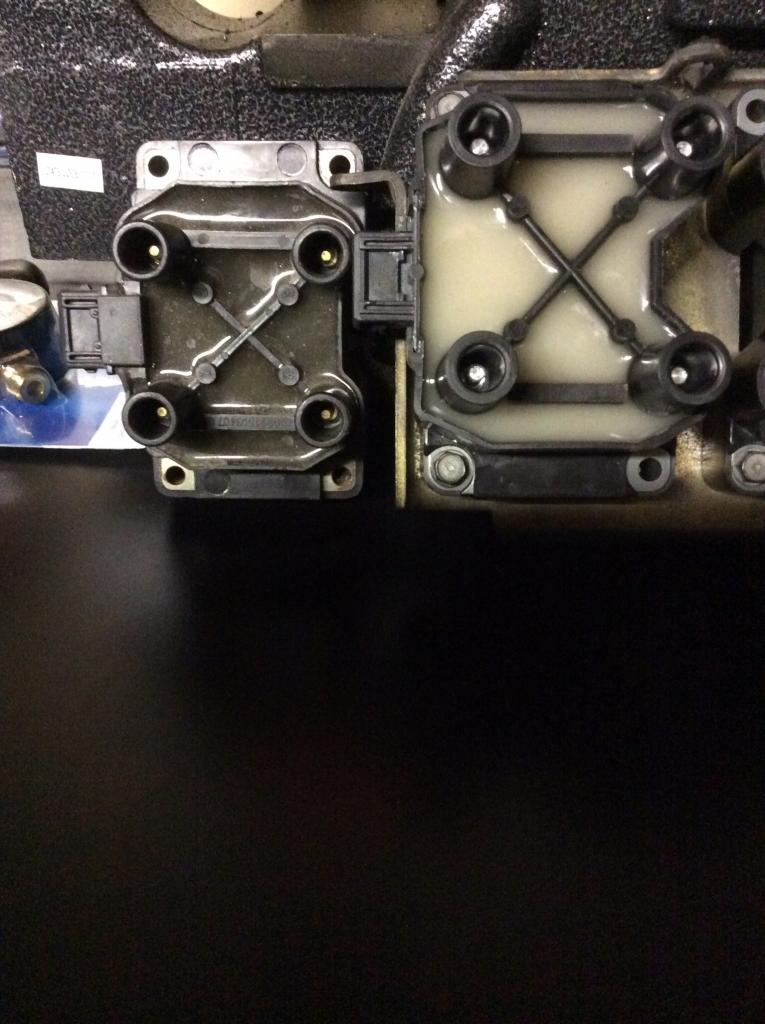
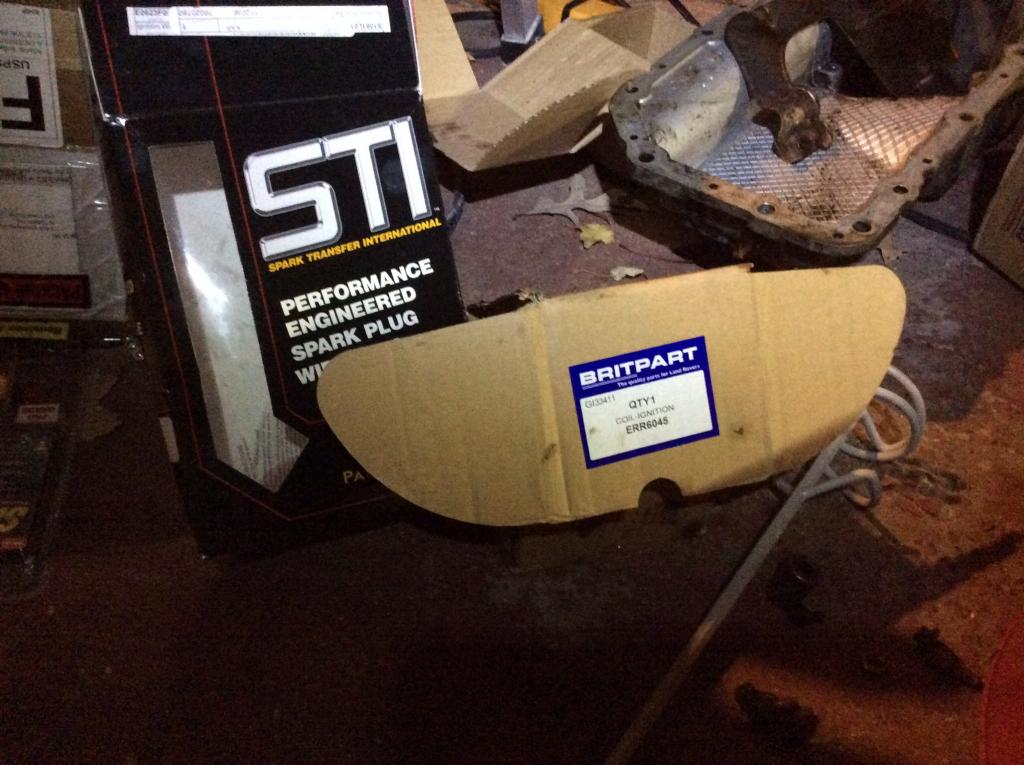
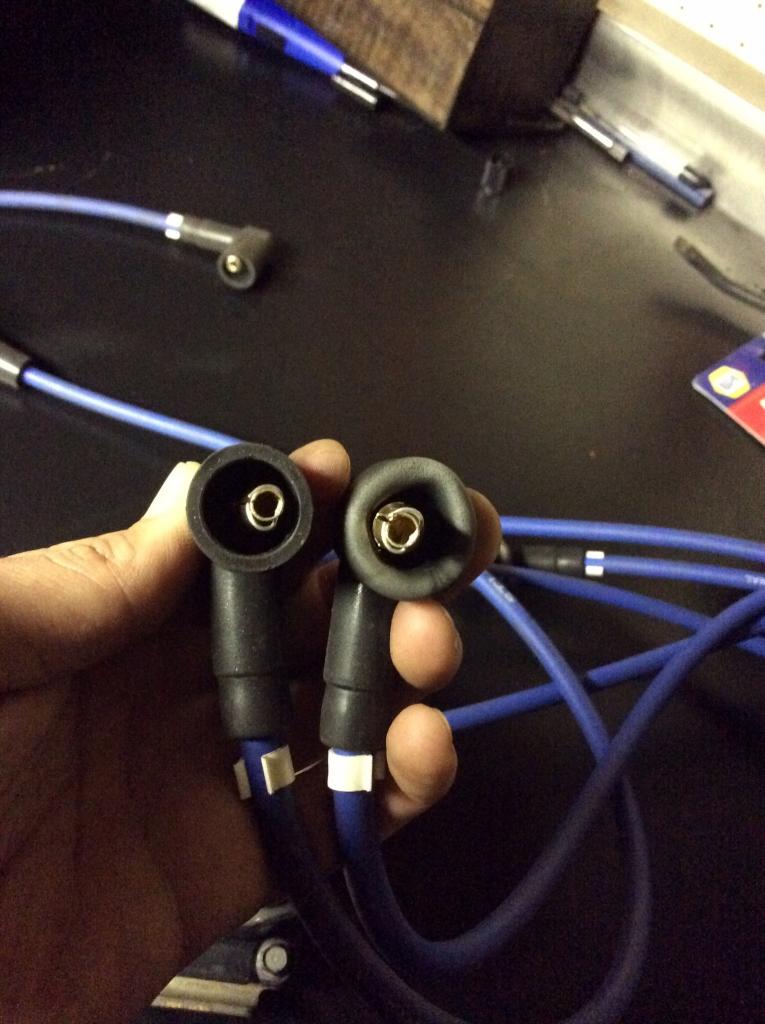
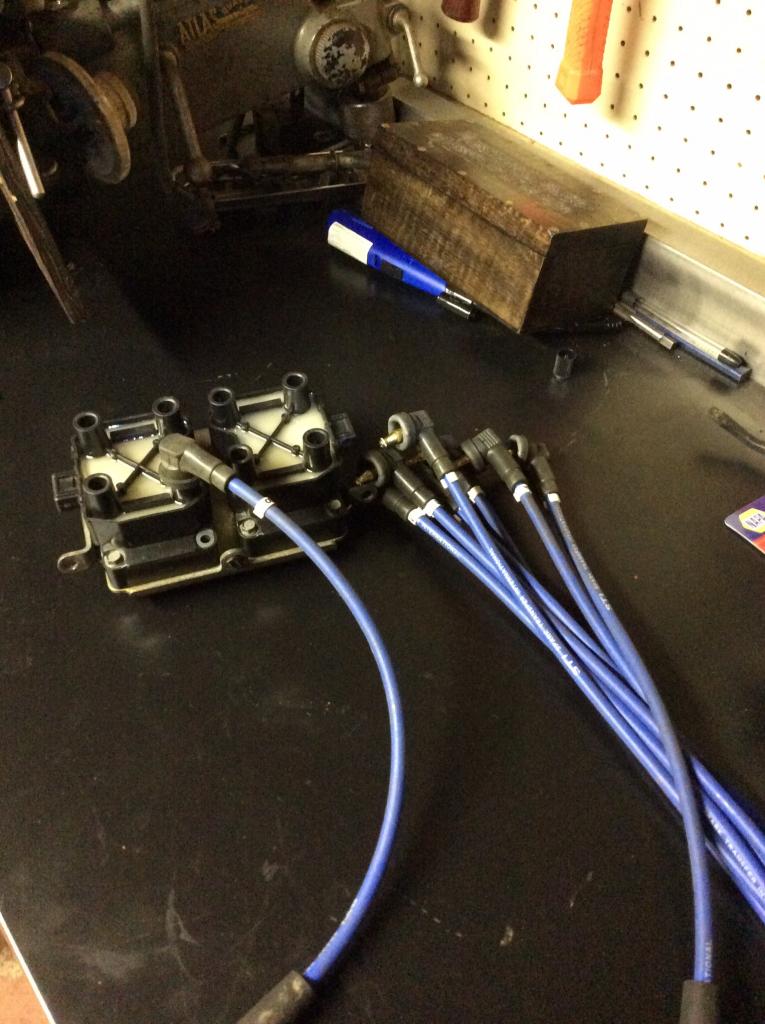
Quick question, when fitting the new STI 8mm wires to the new aftermarket coil packs that British parts of utah sells, I noticed they did not click in. Upon further inspection it appears the original bosch coil packs have a smaller diameter brass pin in each coil opening, the new ones are silver and slightly bigger....thoughs / recommendations? Can of make the opening on the spark plug wire slightly larger?
I'll get pics tonight
I'll get pics tonight
#58
10-28-2014, 08:12 PM


#59
10-28-2014, 08:16 PM


#60
10-28-2014, 08:25 PM
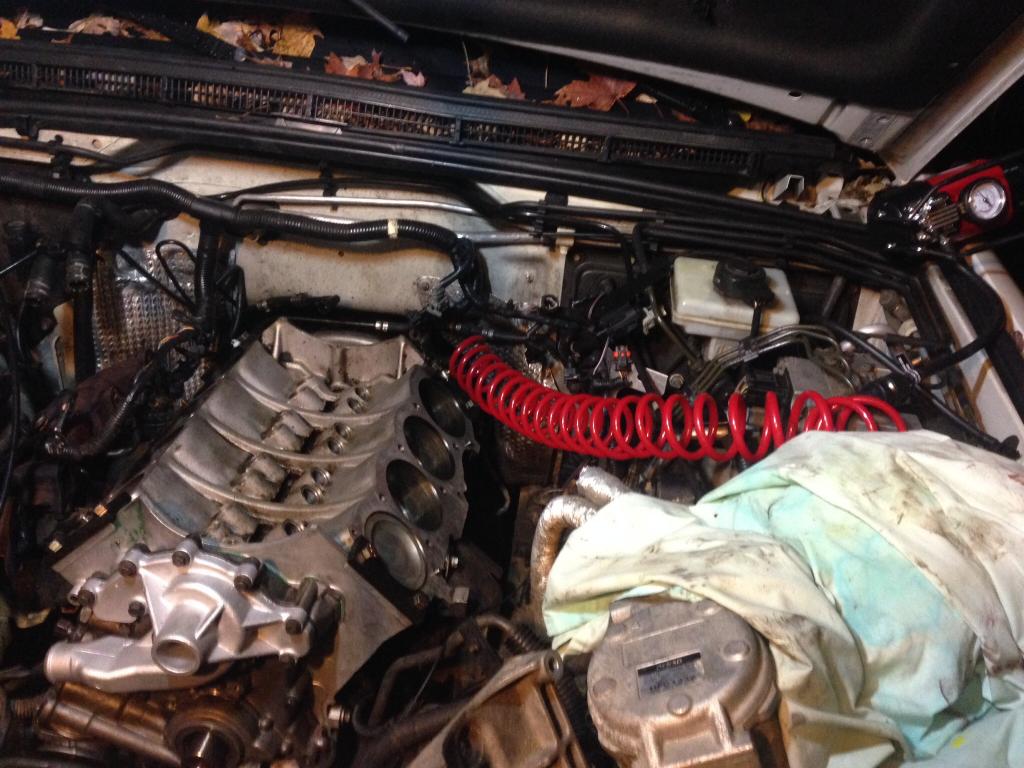
then the fun begin, turns out the replacement 'britpart' coil packs have slightly larger connections than the ones I pulled off the truck (one was a Bosch OEM and the other is aftermarket). So the wires weren't clicking when pressed in. Pulled it all back off for a closer inspection as seen below. Solution was just to roll the boot back and manually press each one in, it slightly opened the female end of the wire.
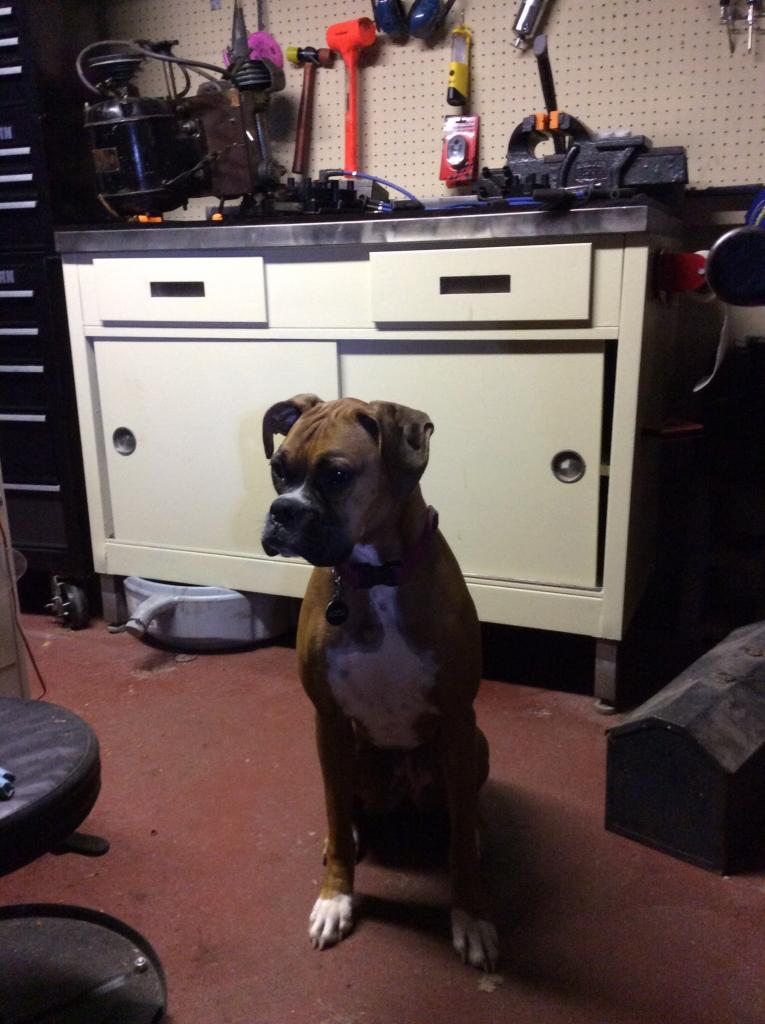
The pup wondering why in the hell I've been spending so much time sitting in the engine bay
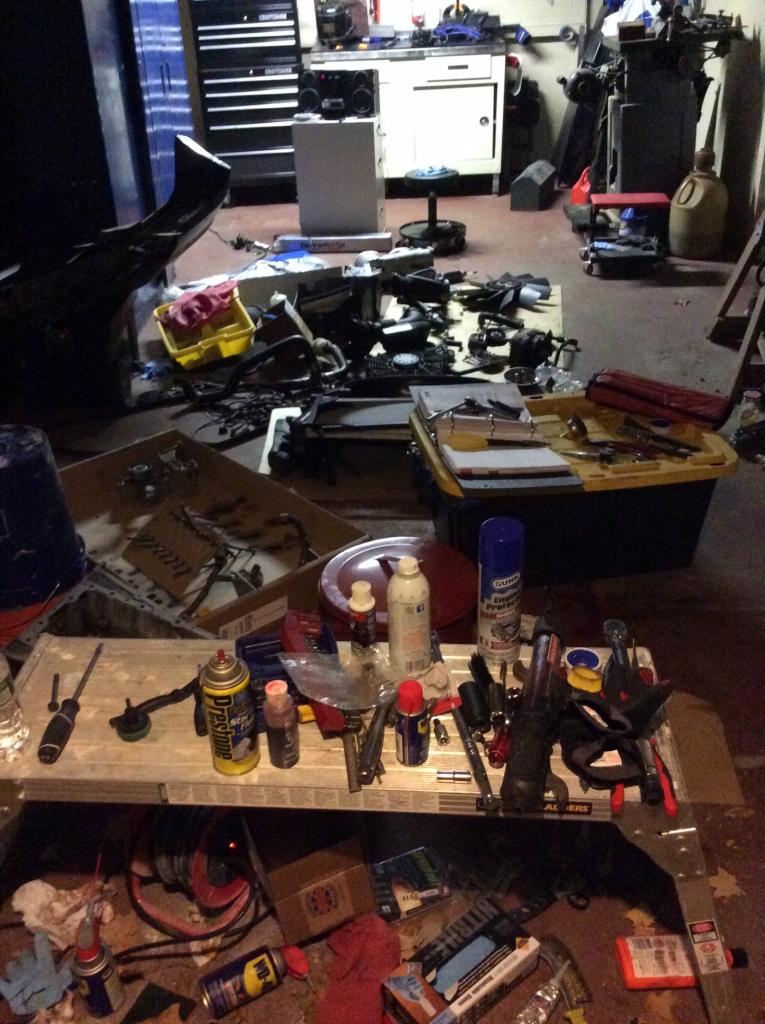
The garage is still in shambles
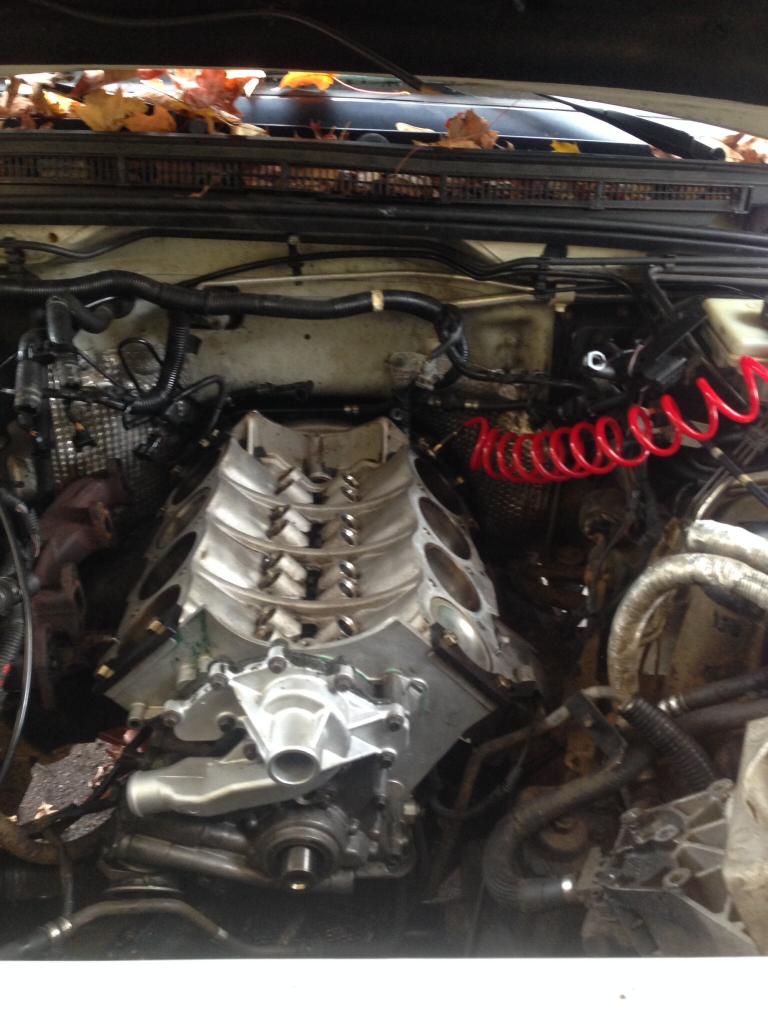
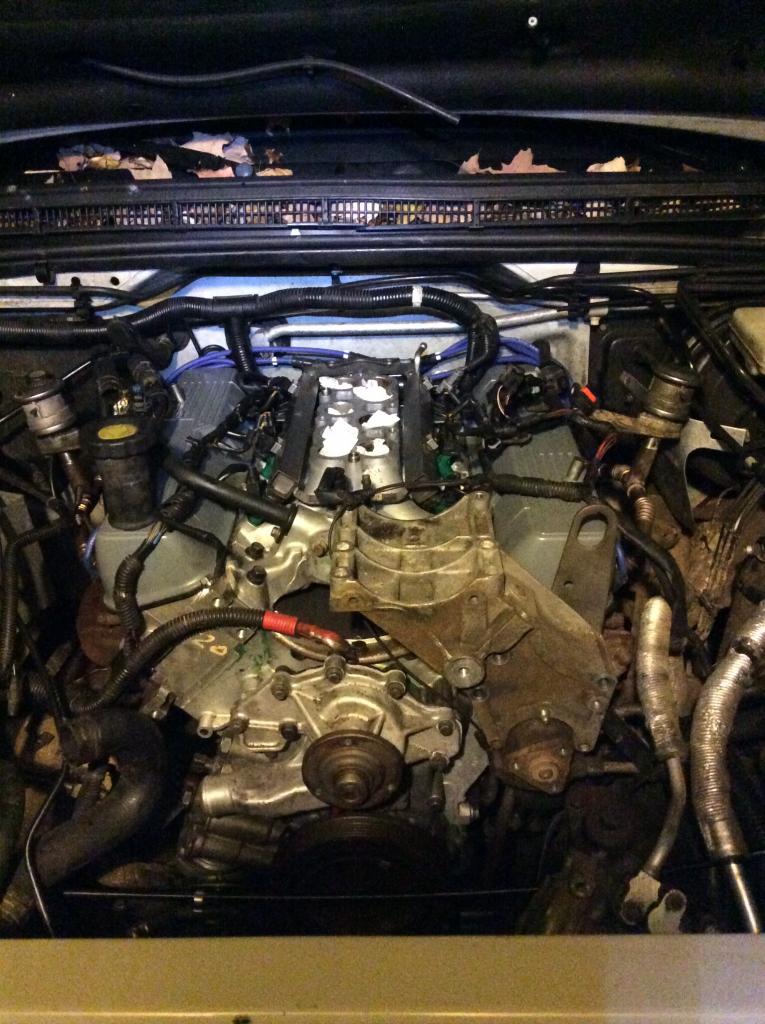
Starting to look like an engine again


The pup wondering why in the hell I've been spending so much time sitting in the engine bay

The garage is still in shambles

Starting to look like an engine again

Last edited by trialrun; 10-28-2014 at 08:30 PM.