Had my new Discovery for about a minute... and already have it taken apart!!!!!


#32
 04-11-2013, 03:11 PM
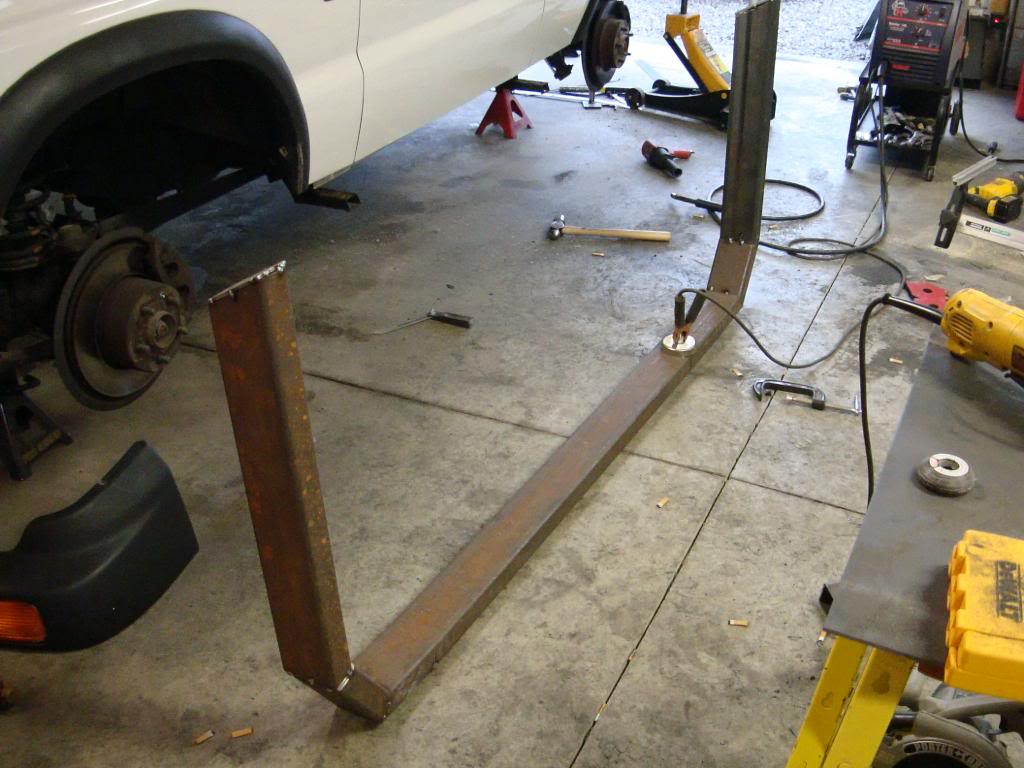
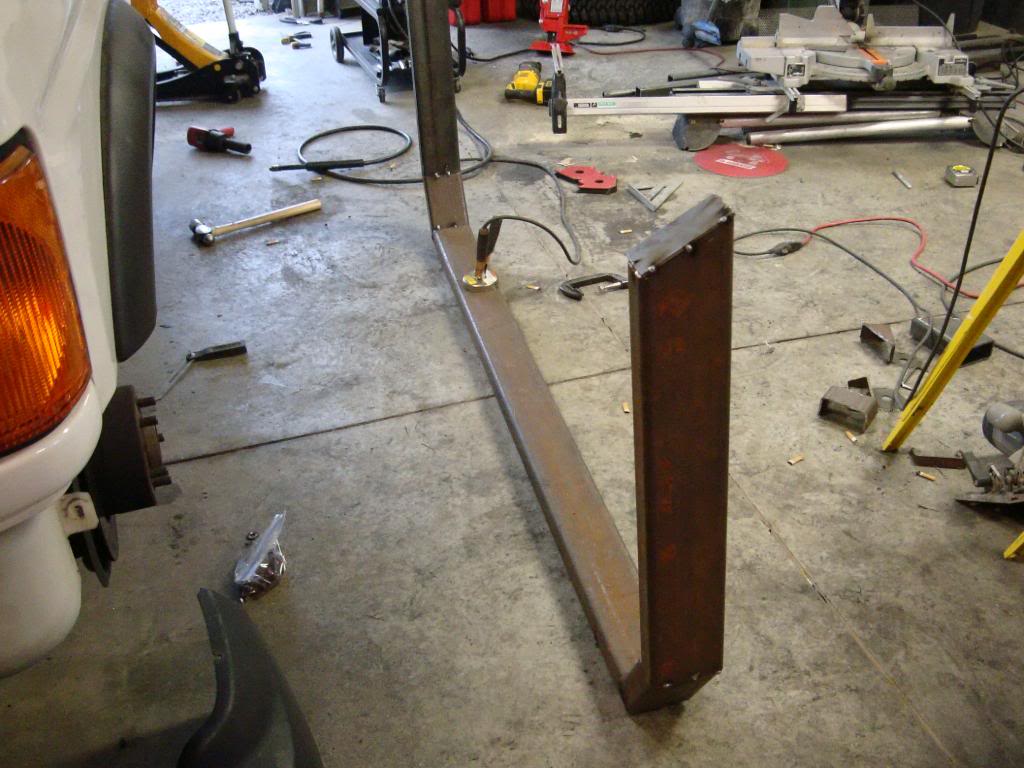
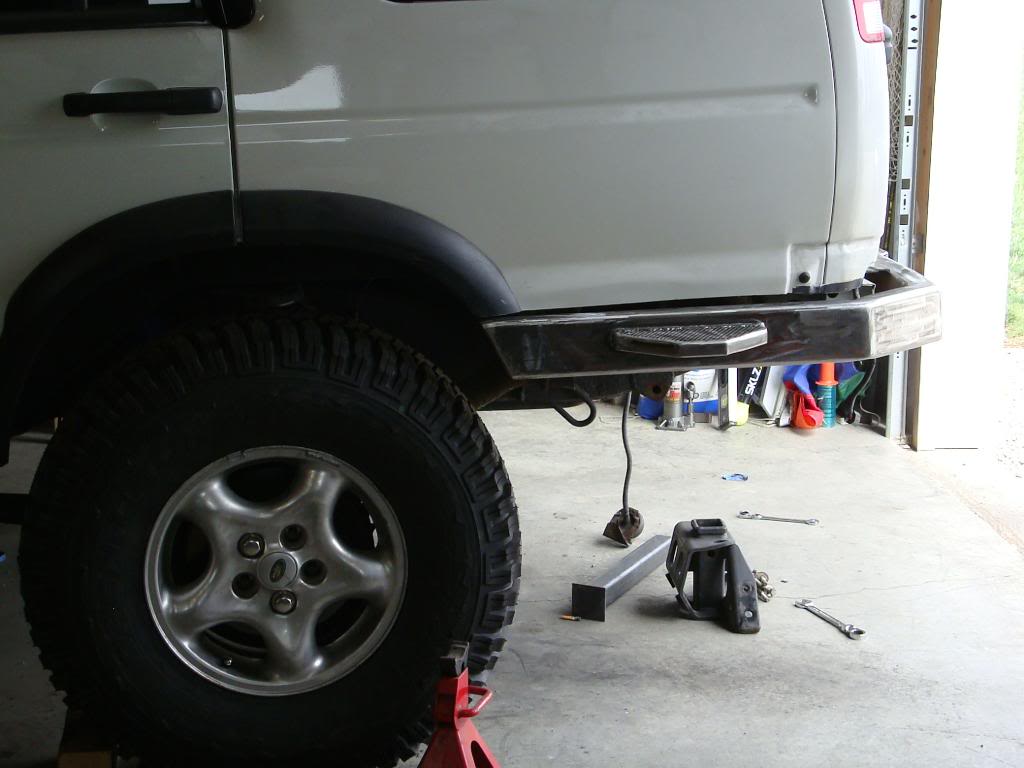
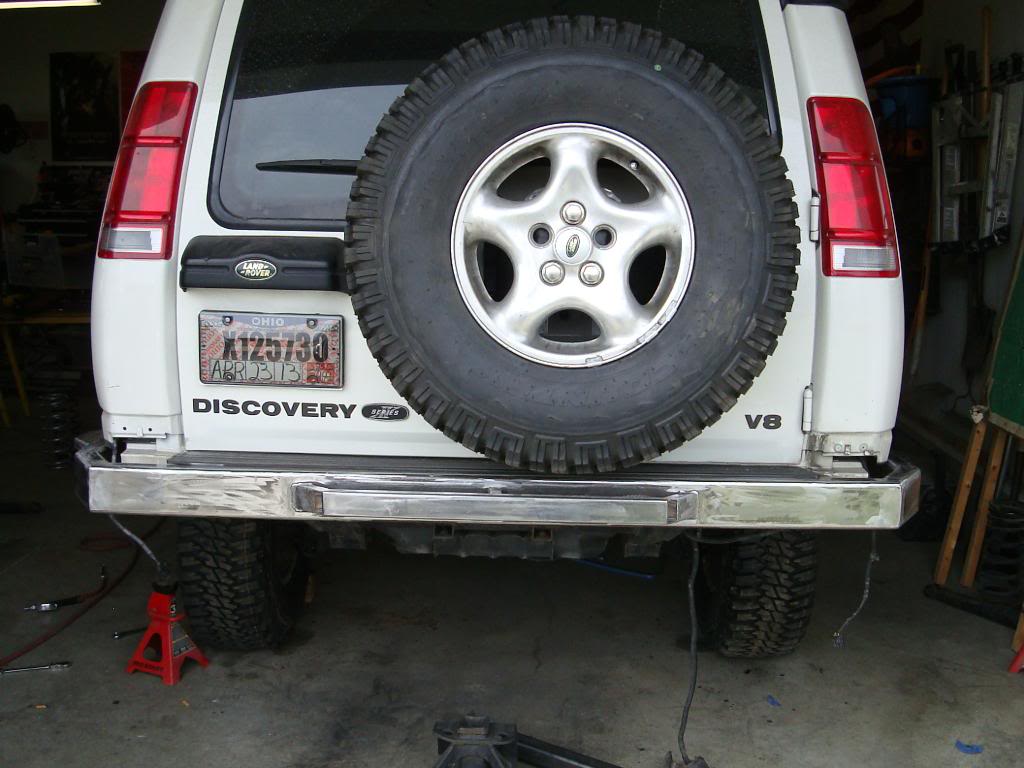
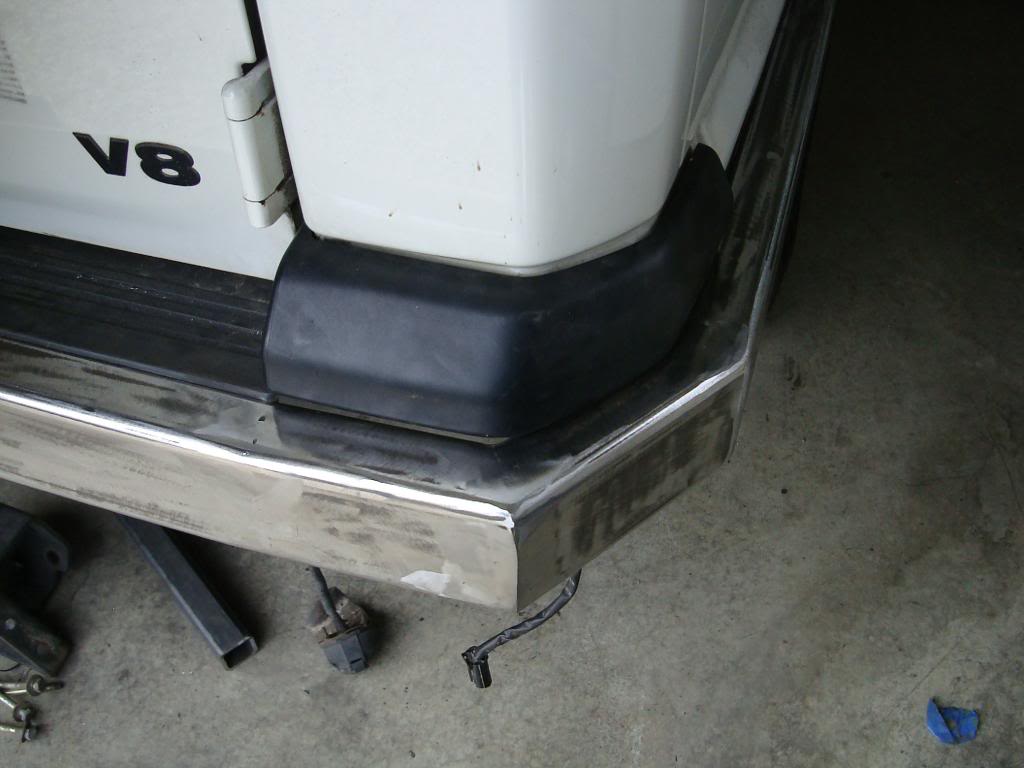
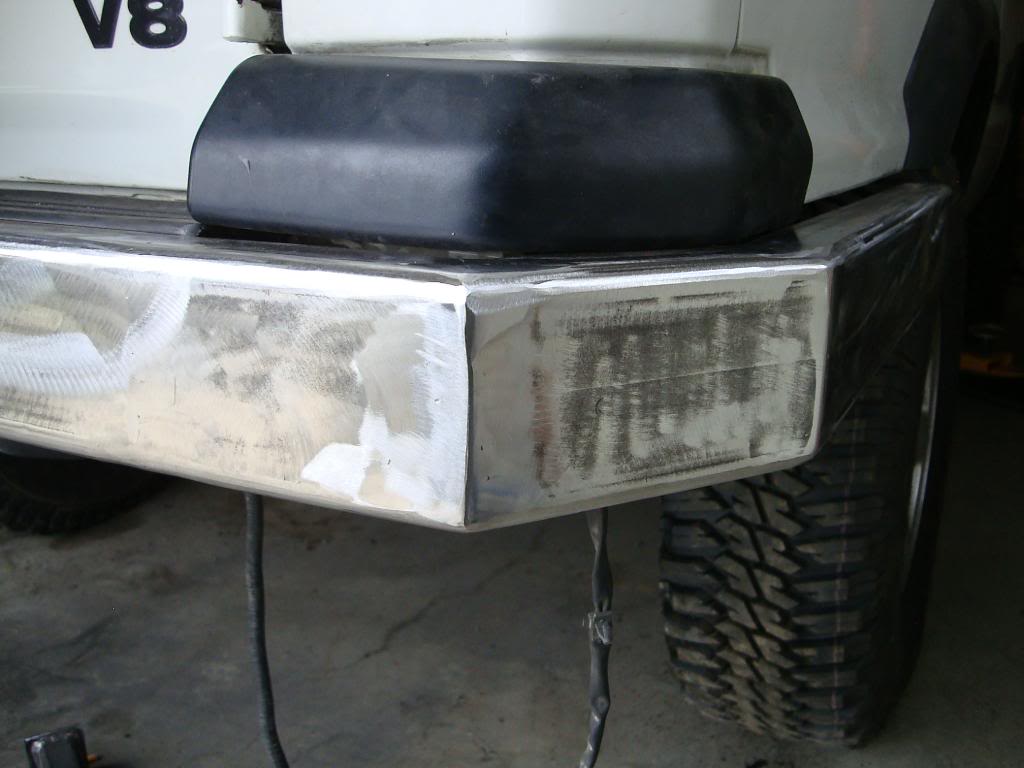
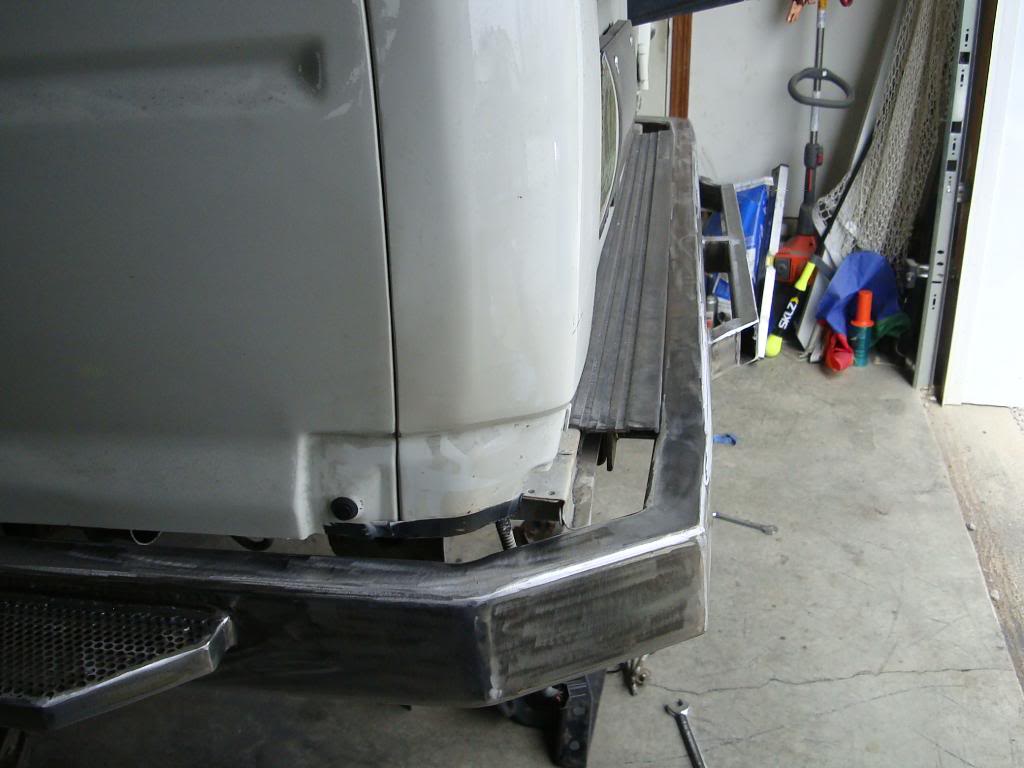
So got the main beam finished, just need to finish up incorporating the receiver and finish welding.
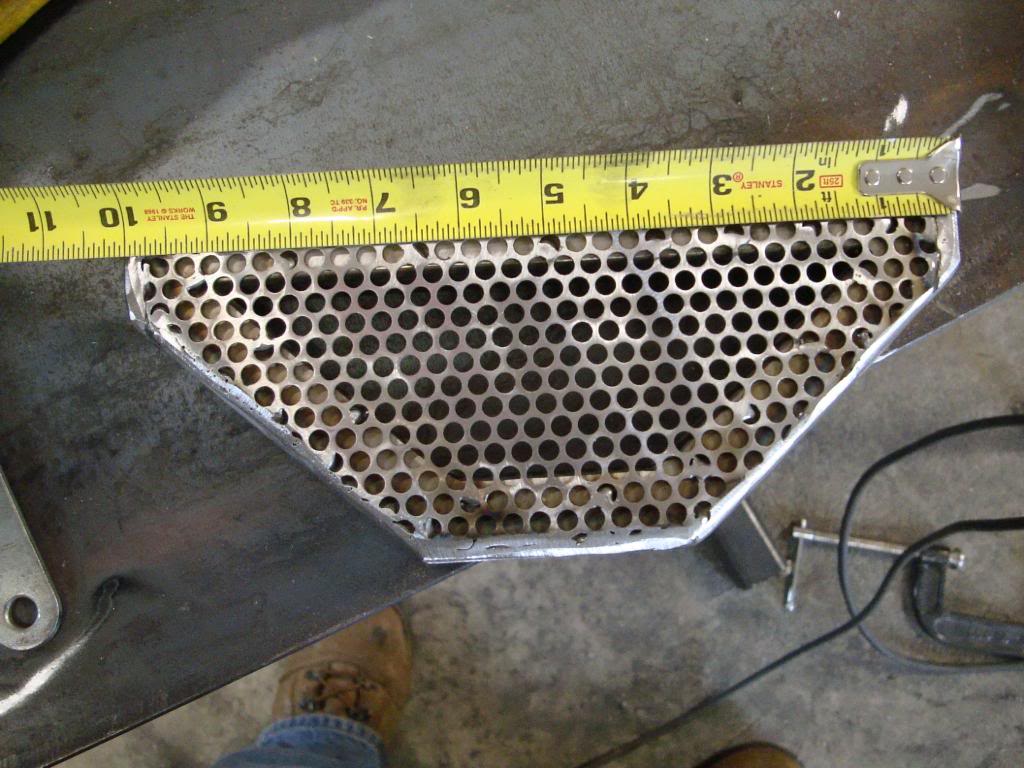
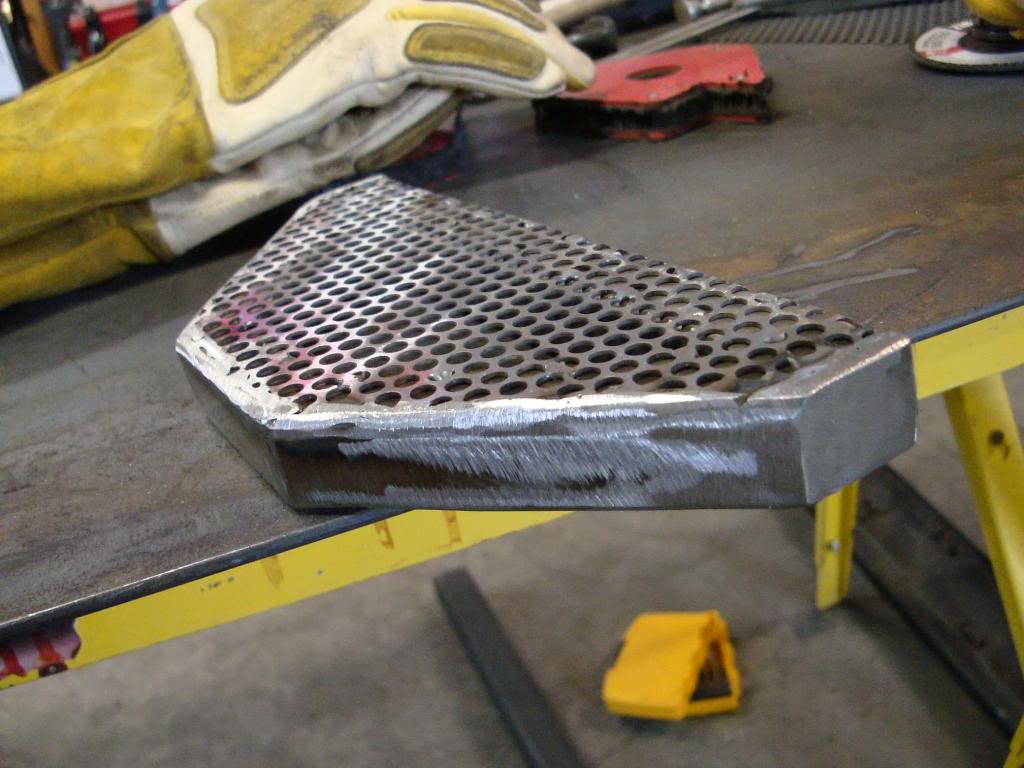
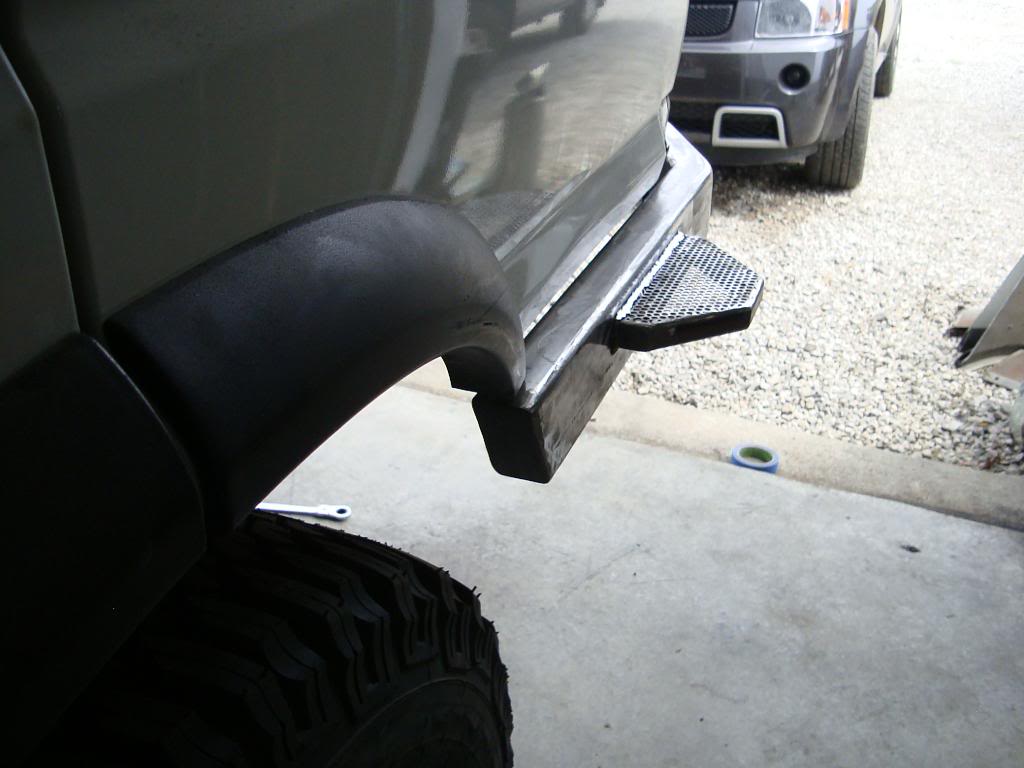
Slapped these together, steps for the sides of the bumper to make it easier to get stuff on and off the rack..
Waiting for my buddy to stop over so I can fit the bumper and tweak what needs tweaked... and then finish weld it..... stay tuned.


Slapped these together, steps for the sides of the bumper to make it easier to get stuff on and off the rack..


Waiting for my buddy to stop over so I can fit the bumper and tweak what needs tweaked... and then finish weld it..... stay tuned.
#33
04-11-2013, 03:27 PM

#34
04-11-2013, 05:08 PM
Rock Crawling
#35
04-14-2013, 06:15 PM
Been a few day and I got some updates,
First
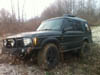
Before
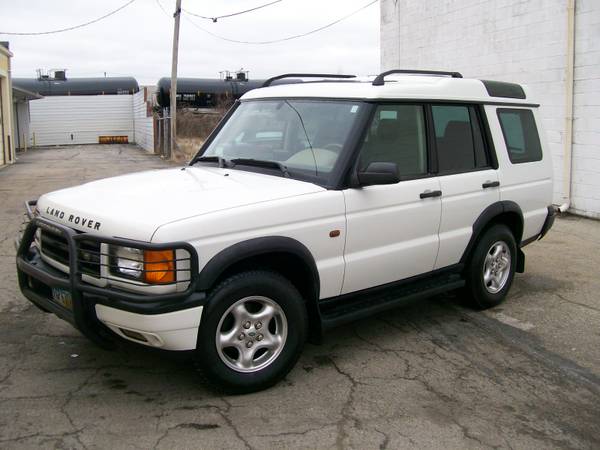
After
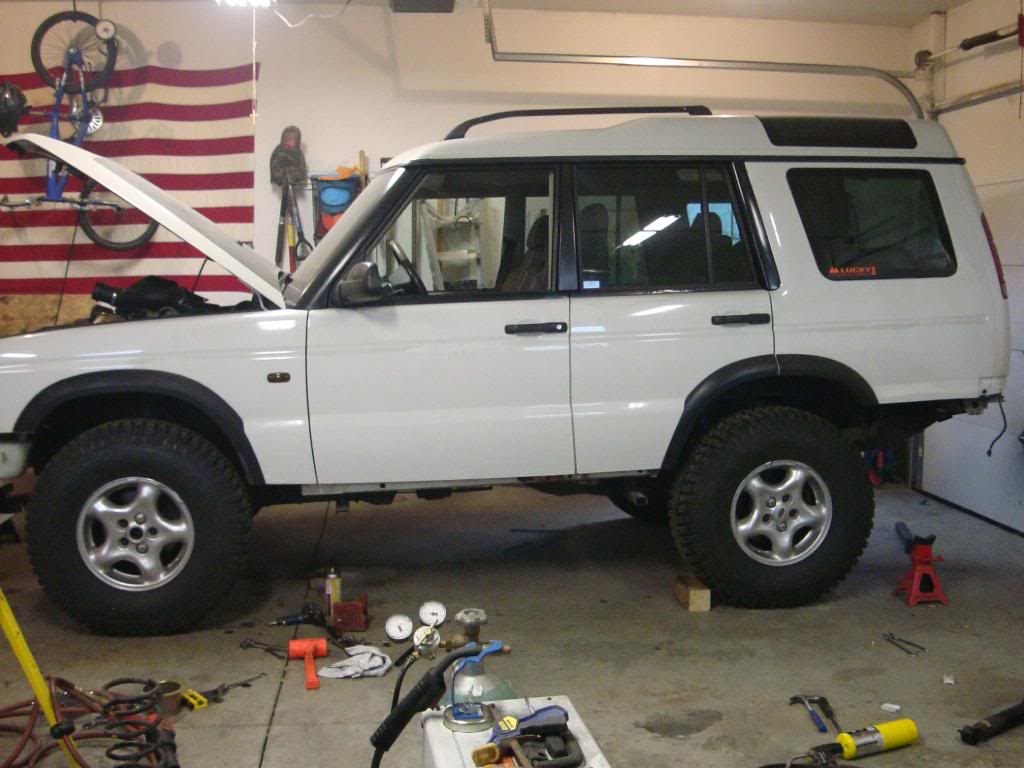
Was expecting a little more with this lift but gonna work on that tomorrow
Bumper is complete
Talked to Justin over at Lucky8 on Friday late afternoon and mentioned I needed to mock up my front bumper and needed to put in the front springs so I can get the tires on. Needing my front cones was at a stand still... Saturday morning FedEx showed up with these...
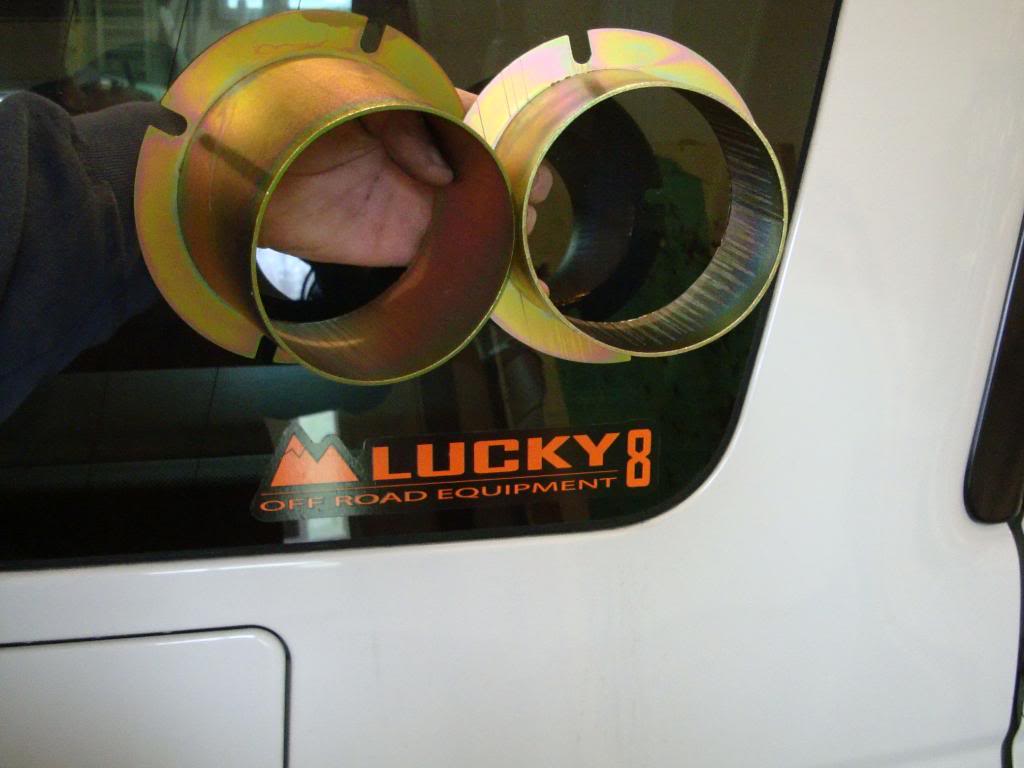

Again, I cant say enough about the guys @ Lucky8... they have become my official sponsors for this build. I wont buy from anybody else they have the products and the service I expect when spending the kind of money that Im investing in my rig.
Heres my shop partner, her name is Patches
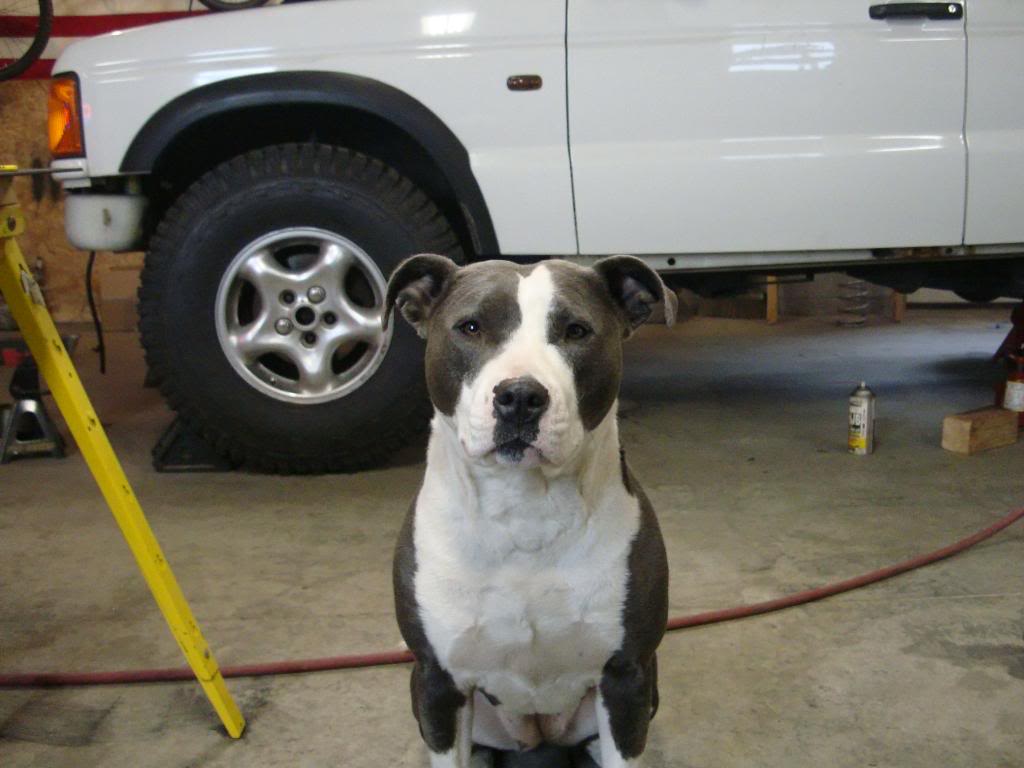
Next up is the sliders and front bumper...
First
Before

After

Was expecting a little more with this lift but gonna work on that tomorrow
Bumper is complete


Talked to Justin over at Lucky8 on Friday late afternoon and mentioned I needed to mock up my front bumper and needed to put in the front springs so I can get the tires on. Needing my front cones was at a stand still... Saturday morning FedEx showed up with these...


Again, I cant say enough about the guys @ Lucky8... they have become my official sponsors for this build. I wont buy from anybody else they have the products and the service I expect when spending the kind of money that Im investing in my rig.
Heres my shop partner, her name is Patches

Next up is the sliders and front bumper...
Last edited by MuddMouth; 04-14-2013 at 09:33 PM.
#36
04-14-2013, 06:50 PM

Looks great - but I think you need to get Justin to ship you some lug nuts. With that size tire you're going to need to get that washer reservoir out of the way. If you go for more lift you will need to drop the crossmember and you might need to get either castor correction arms or bushings so you can keep the truck on the road while heading to the trails. Or build your own.
You might want to get it out of the garage before it gets much taller also!
You might want to get it out of the garage before it gets much taller also!
#37
04-14-2013, 08:49 PM
Ya I understand all that, its all in the works trust me. Ill be relocating the washer reservoir... don't know where yet but Im working on it. Ive got 2" aluminum blocks that I got my last trip to the steel yard that Im planning on using to move the cross member down with also. As far as castor is concerned, Ill probably be modding the factory ones to get the angle I need.
#38
04-14-2013, 11:23 PM
Rock Crawling
#39
04-15-2013, 07:06 PM
Looking good here is my is my bumper project...pretty much identical. Way to cram your project into 1.5 weeks. You will love it. I have bumped banged and scraped it in the mountains of Colorado for the last few weeks. Now the RockArmor gas tank skid is calling my name!
Custom Rear Steel Bumper Completed w/ HLC Tire Carrier Video Drool On!
Custom Rear Steel Bumper Completed w/ HLC Tire Carrier Video Drool On!
#40
04-15-2013, 07:54 PM
Looking good here is my is my bumper project...pretty much identical. Way to cram your project into 1.5 weeks. You will love it. I have bumped banged and scraped it in the mountains of Colorado for the last few weeks. Now the RockArmor gas tank skid is calling my name!
Custom Rear Steel Bumper Completed w/ HLC Tire Carrier Video Drool On!
Custom Rear Steel Bumper Completed w/ HLC Tire Carrier Video Drool On!

You can make it for a fraction of the cost.... just another option
 ...
...