
Lucky 8’s Project P38


Thread Starter
|
Winching
Joined: Jan 2009
Posts: 628
Likes: 18
Project update
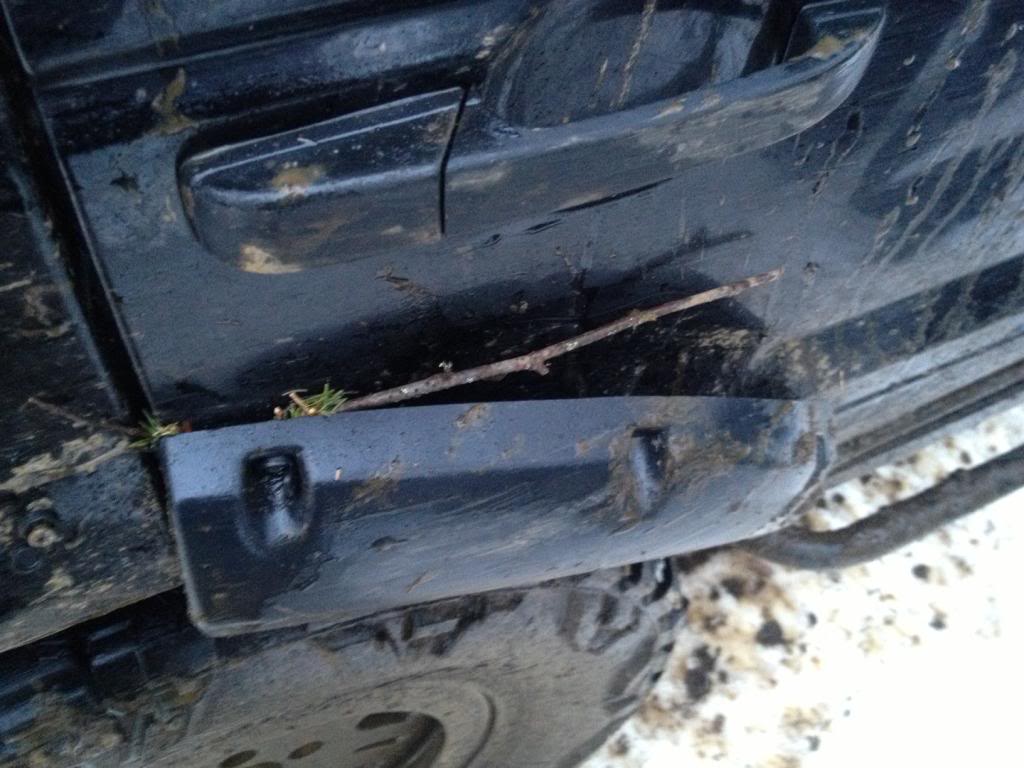
The sliders have been trimmed to fit with the fender flares. Hooray we can now turn with out rubbing! When the snow clears out I'll take some good pictures but for now I have trail shots.
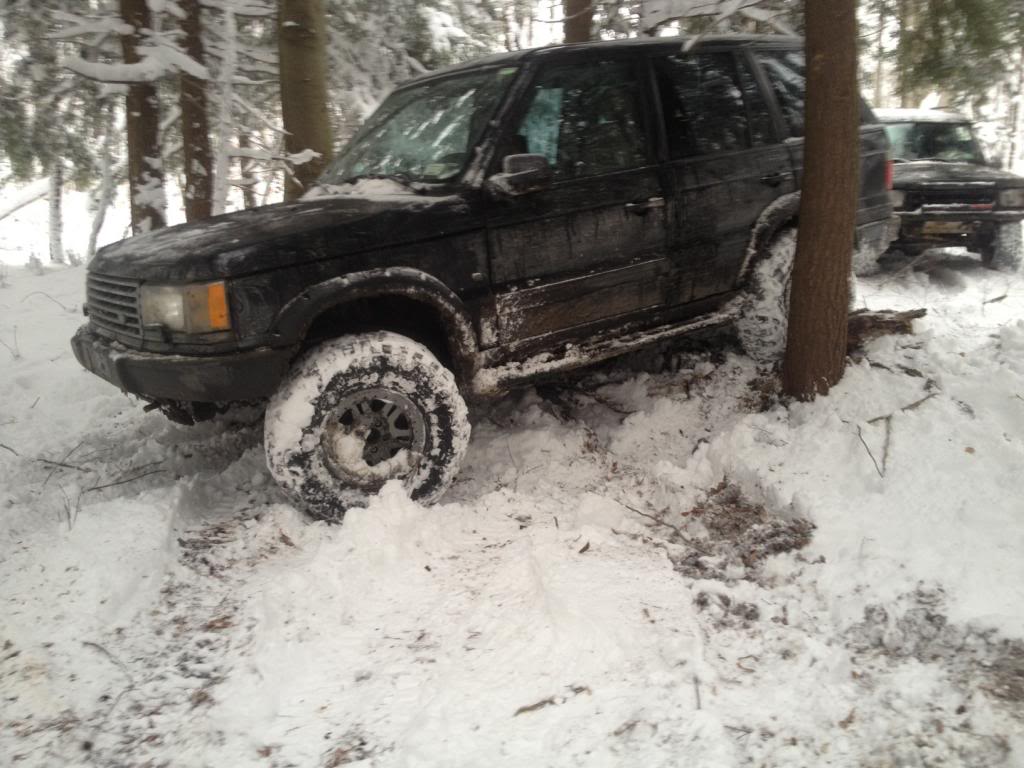
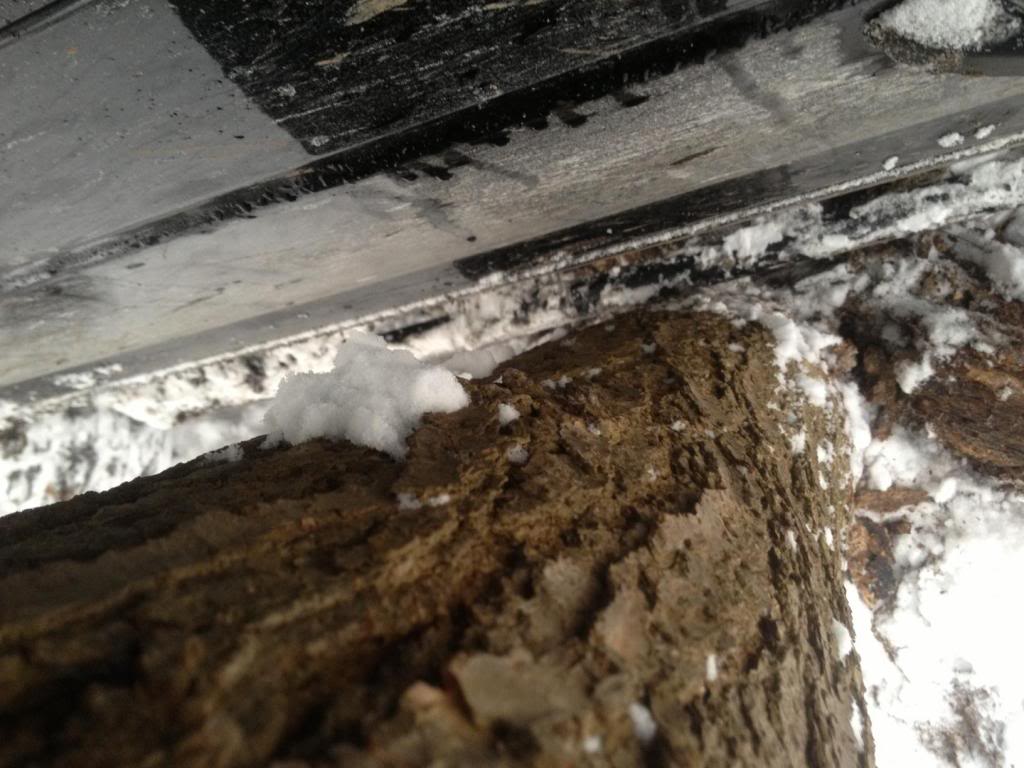
The tree bars were true to their name and I needed to use them often in the tight wooded area.
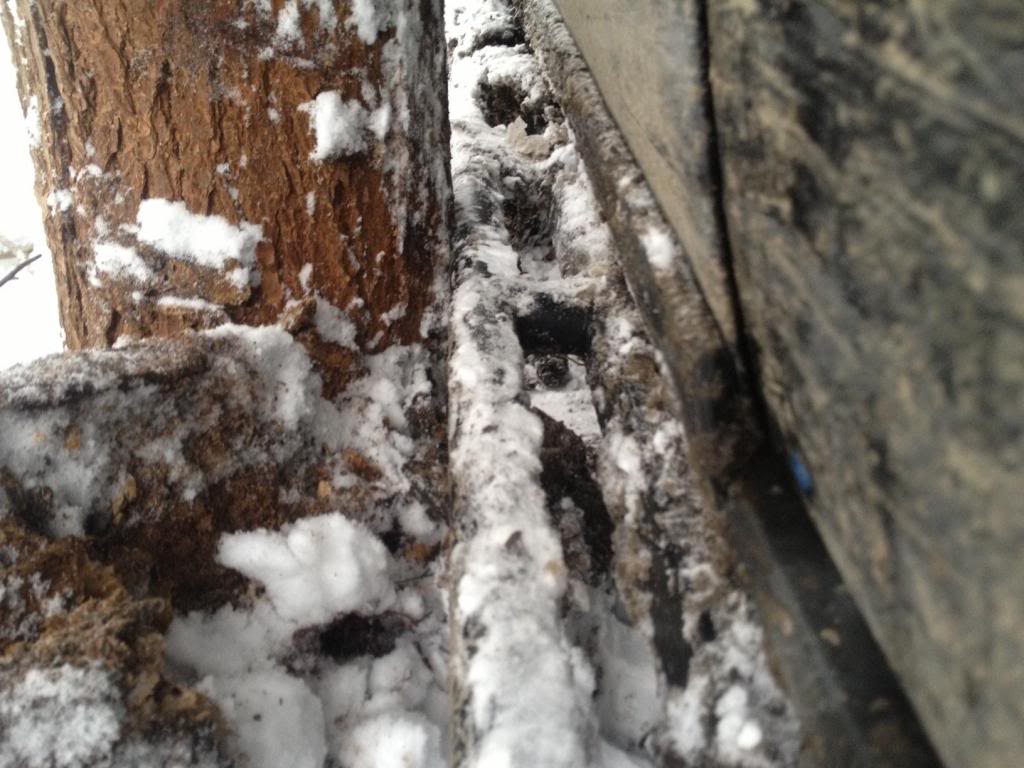
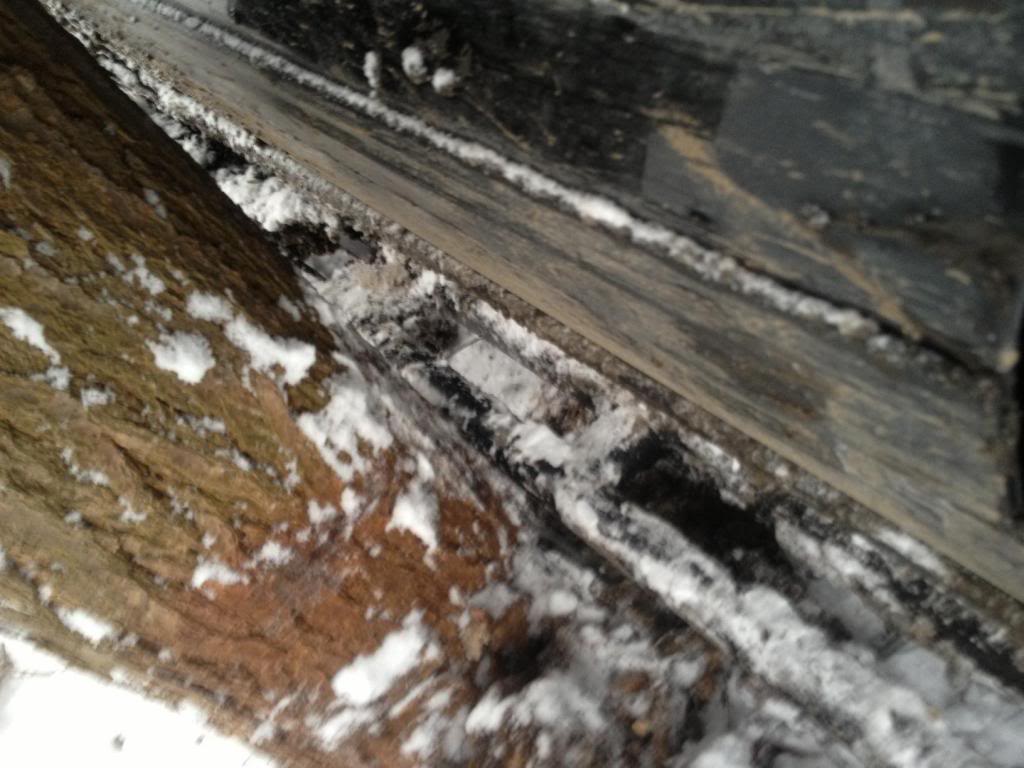
As you can see in this picture the tree bar portion on the slider sticks out just far enough to keep the door skins safe from damage.
The sliders have been trimmed to fit with the fender flares. Hooray we can now turn with out rubbing! When the snow clears out I'll take some good pictures but for now I have trail shots.
The tree bars were true to their name and I needed to use them often in the tight wooded area.
As you can see in this picture the tree bar portion on the slider sticks out just far enough to keep the door skins safe from damage.
Last edited by Fivespddisco; Feb 10, 2013 at 04:51 PM.
Thread Starter
|
Winching
Joined: Jan 2009
Posts: 628
Likes: 18
Project update : MUD in all the wrong places
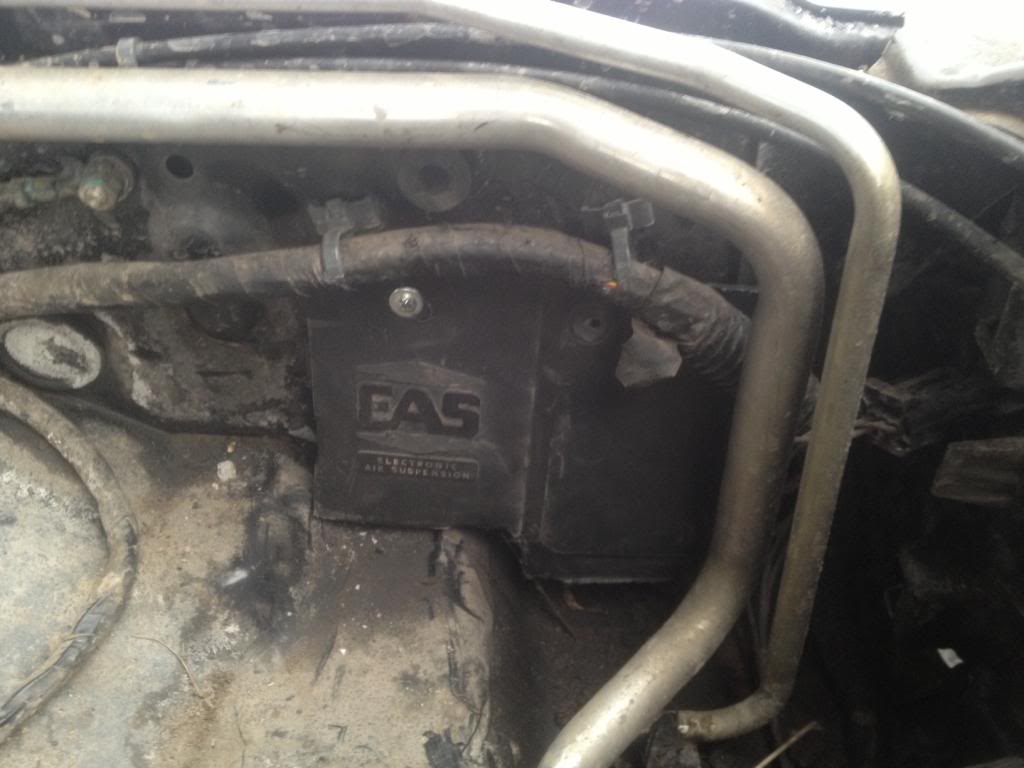
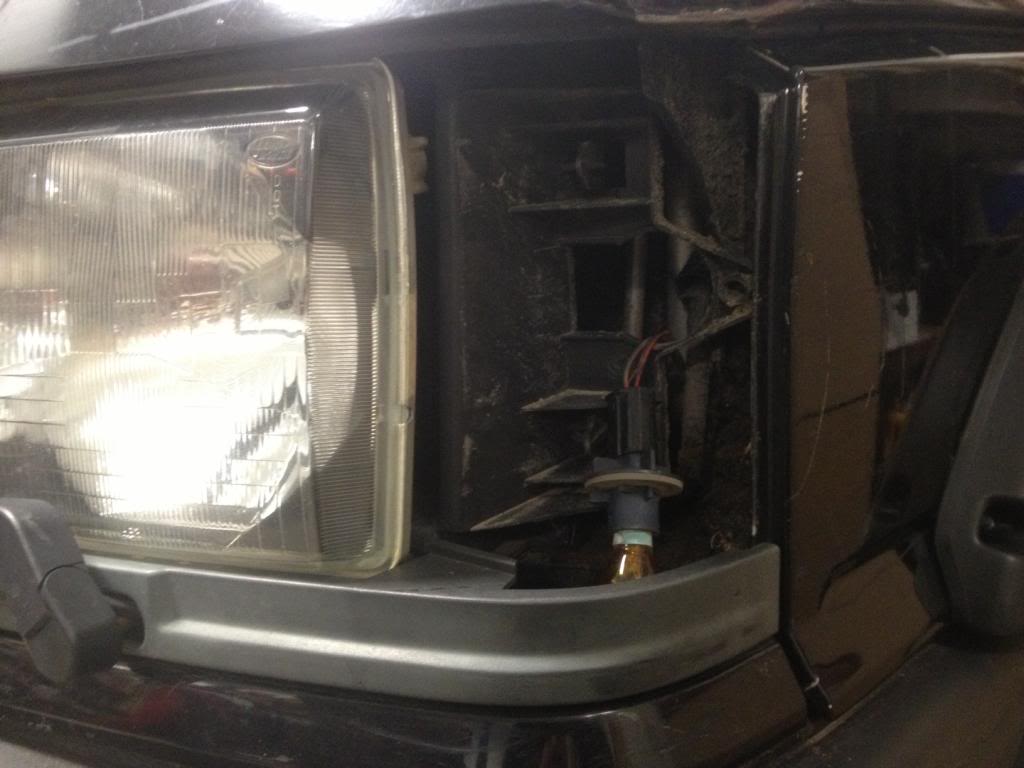
Prepping for the next event we went through the truck a little bit and upon opening the air box we found this.
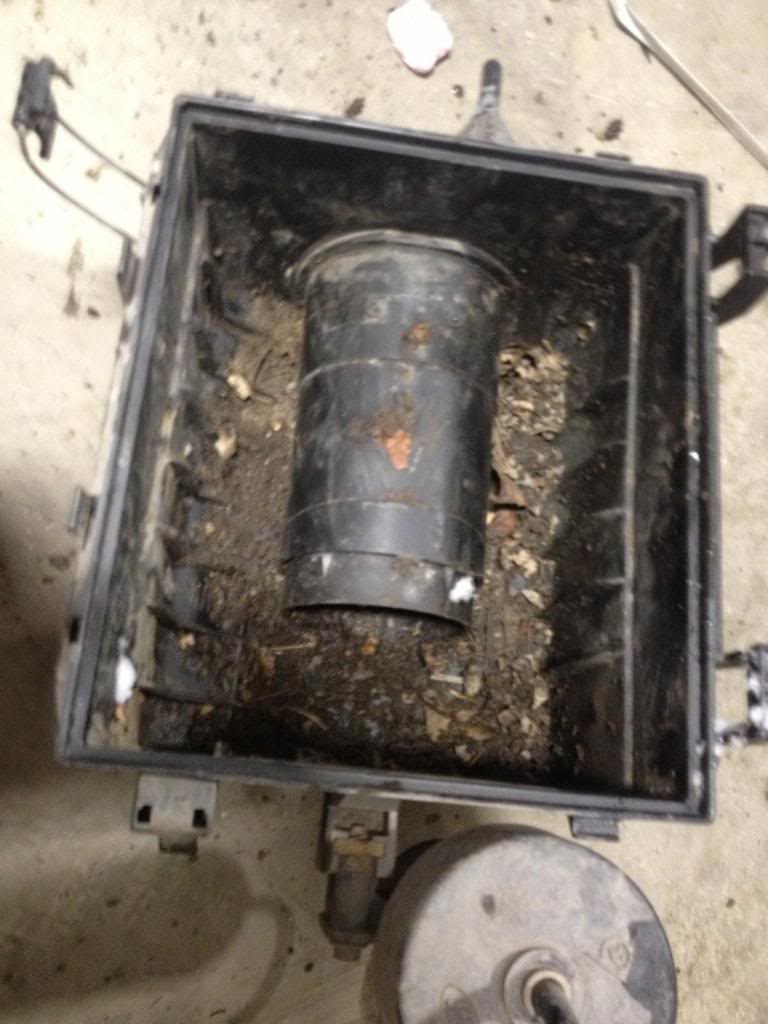
The airbox draws air from inside the front fender. But obviously that is not enough to protect it from the goop we are sticking the truck in.

We took the snorkel type section off the air box that connected it to the fender. The Air intake will now draw fresh air from inside the engine bay. To help protect the air box from dirt we covered the hole in the fender with this extra piece of plastic we found laying around.
Prepping for the next event we went through the truck a little bit and upon opening the air box we found this.
The airbox draws air from inside the front fender. But obviously that is not enough to protect it from the goop we are sticking the truck in.
We took the snorkel type section off the air box that connected it to the fender. The Air intake will now draw fresh air from inside the engine bay. To help protect the air box from dirt we covered the hole in the fender with this extra piece of plastic we found laying around.
Thread Starter
|
Winching
Joined: Jan 2009
Posts: 628
Likes: 18
mini Project update
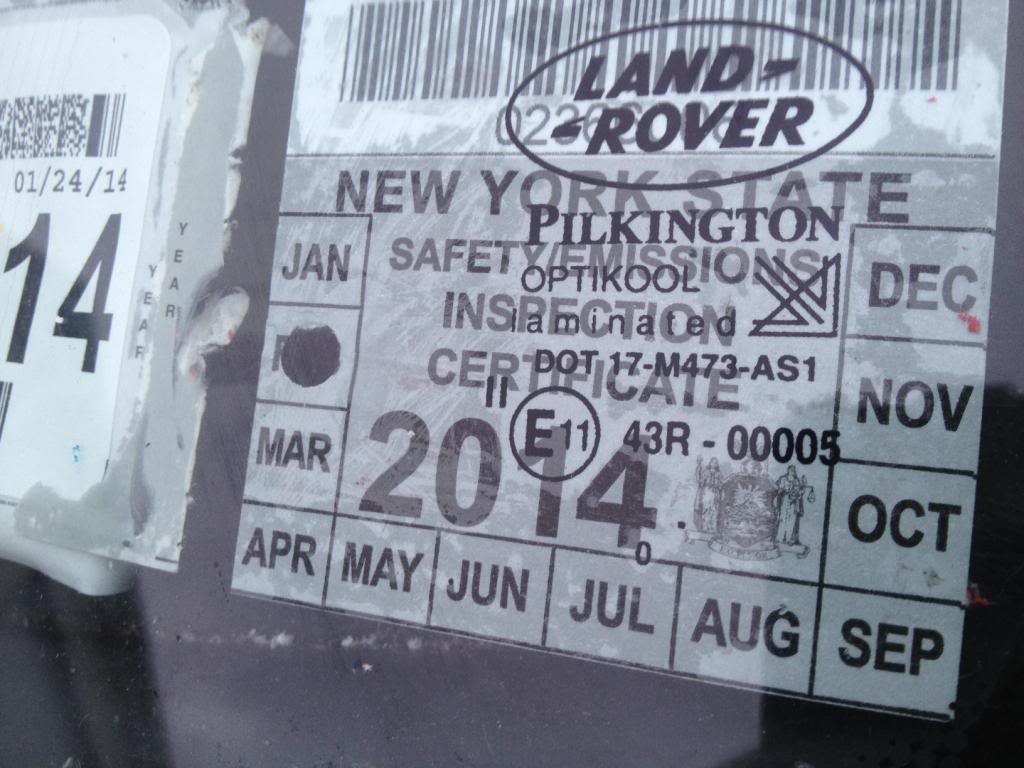
Just a quick update on the 4.6 motor. When we swapped the head gaskets we also put in a new computer and BECM. The new computer was from a SAI truck. Our truck did not have all the secondairy air malarkey just standard heads. Unfortunately this gave us a big problem with New Your State. The truck would not pass the safety test for emissions but this little update ends with good news. To turn a secondary air truck into a non-secondary air truck all you need to do is swap out the ECU to a non secondary air ECU and mate it to the BECM. We were able to keep the better condition SAI BECM and mate it to our non SAI ECU. With that done the truck no longer throws the check engine codes associated with the secondary air and we passed the safety and emissions check.
Just a quick update on the 4.6 motor. When we swapped the head gaskets we also put in a new computer and BECM. The new computer was from a SAI truck. Our truck did not have all the secondairy air malarkey just standard heads. Unfortunately this gave us a big problem with New Your State. The truck would not pass the safety test for emissions but this little update ends with good news. To turn a secondary air truck into a non-secondary air truck all you need to do is swap out the ECU to a non secondary air ECU and mate it to the BECM. We were able to keep the better condition SAI BECM and mate it to our non SAI ECU. With that done the truck no longer throws the check engine codes associated with the secondary air and we passed the safety and emissions check.
Last edited by Fivespddisco; Feb 21, 2013 at 02:09 PM.
Thread Starter
|
Winching
Joined: Jan 2009
Posts: 628
Likes: 18
Project update : Snow problem
The conditions at Winter Romp were crazy slippery, even for Maine in February. I tried airing down to 15psi to get more traction. The snow and ice just laughed, so I let the pressure down to 8psi and that was the magic number for the Nittos. This turned into a good test for the new Terrafirma rims. Whether it be on the trail or street the bead never came off the wheels.
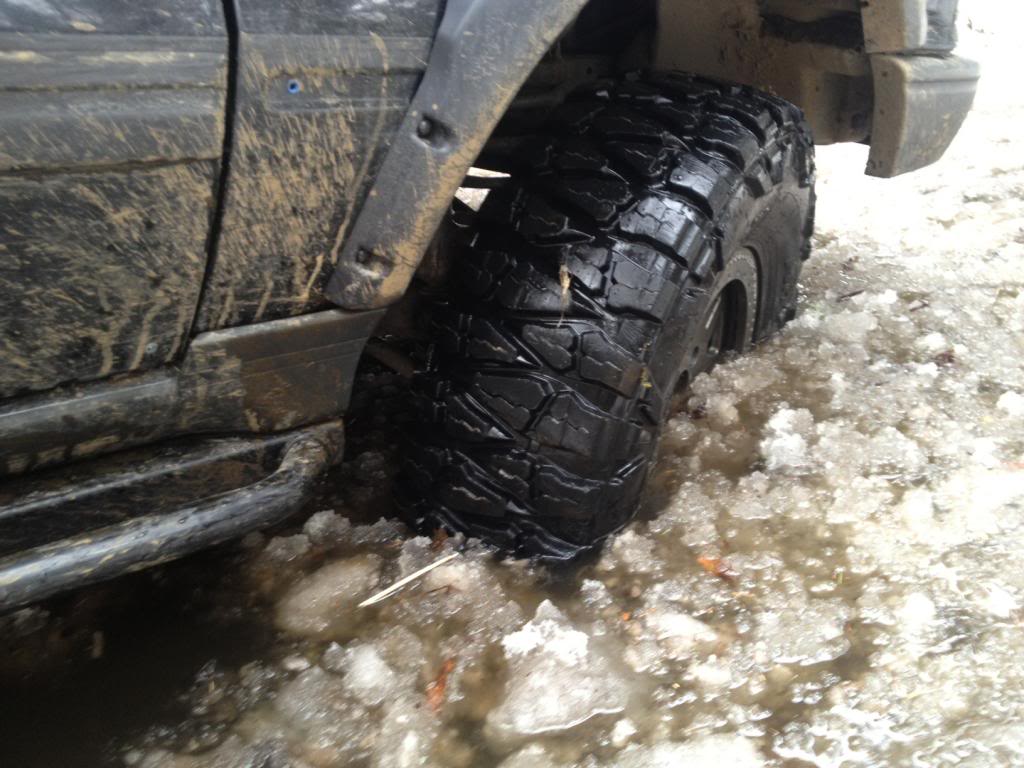
The P38 is the first Land Rover I was afraid to play in the water with. Every crossing was done only after I knew how deep the water was. Next week I am going to focus on doing something with the BECM and ECU.
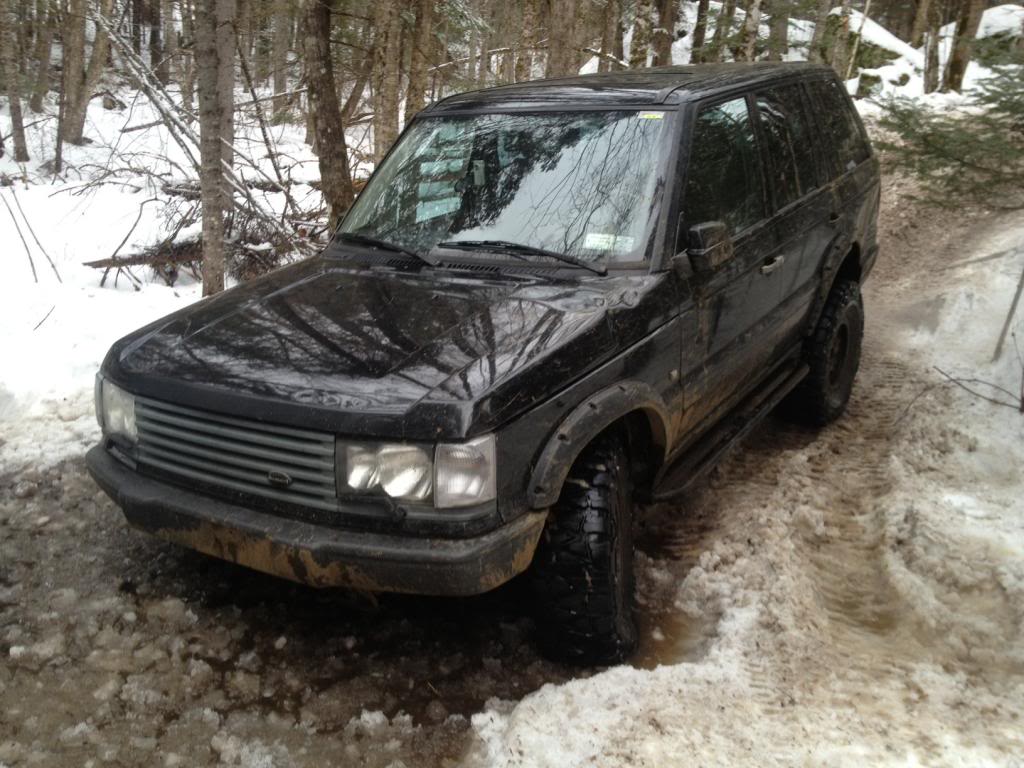
Unfortunately the Winter Romp was not kind to the P38s Fender flares. The tight trails and low hanging tree branches were like driving through the living forest of Middle Earth and someone told the trees that each flare was a Ring of Power.
We will have to get the heat gun out and bend the flare back into shape but with out them we could not stuff the 33s like this.

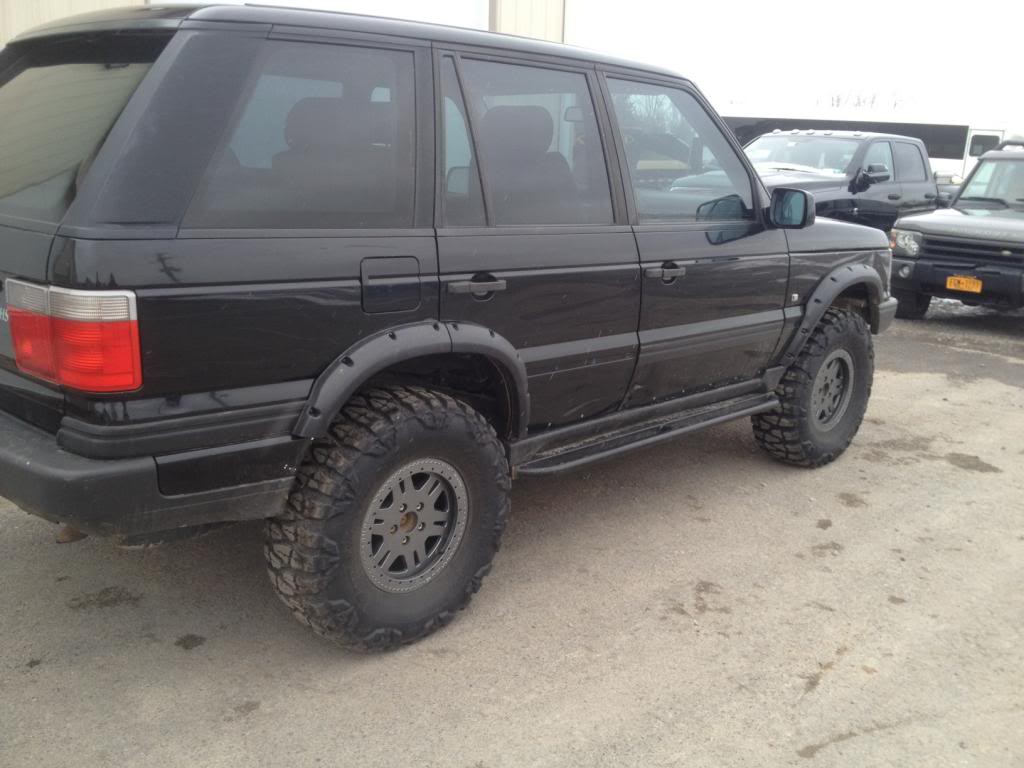
Winter Romp poser shot
The conditions at Winter Romp were crazy slippery, even for Maine in February. I tried airing down to 15psi to get more traction. The snow and ice just laughed, so I let the pressure down to 8psi and that was the magic number for the Nittos. This turned into a good test for the new Terrafirma rims. Whether it be on the trail or street the bead never came off the wheels.
The P38 is the first Land Rover I was afraid to play in the water with. Every crossing was done only after I knew how deep the water was. Next week I am going to focus on doing something with the BECM and ECU.
Unfortunately the Winter Romp was not kind to the P38s Fender flares. The tight trails and low hanging tree branches were like driving through the living forest of Middle Earth and someone told the trees that each flare was a Ring of Power.
We will have to get the heat gun out and bend the flare back into shape but with out them we could not stuff the 33s like this.
Winter Romp poser shot
Thread Starter
|
Winching
Joined: Jan 2009
Posts: 628
Likes: 18
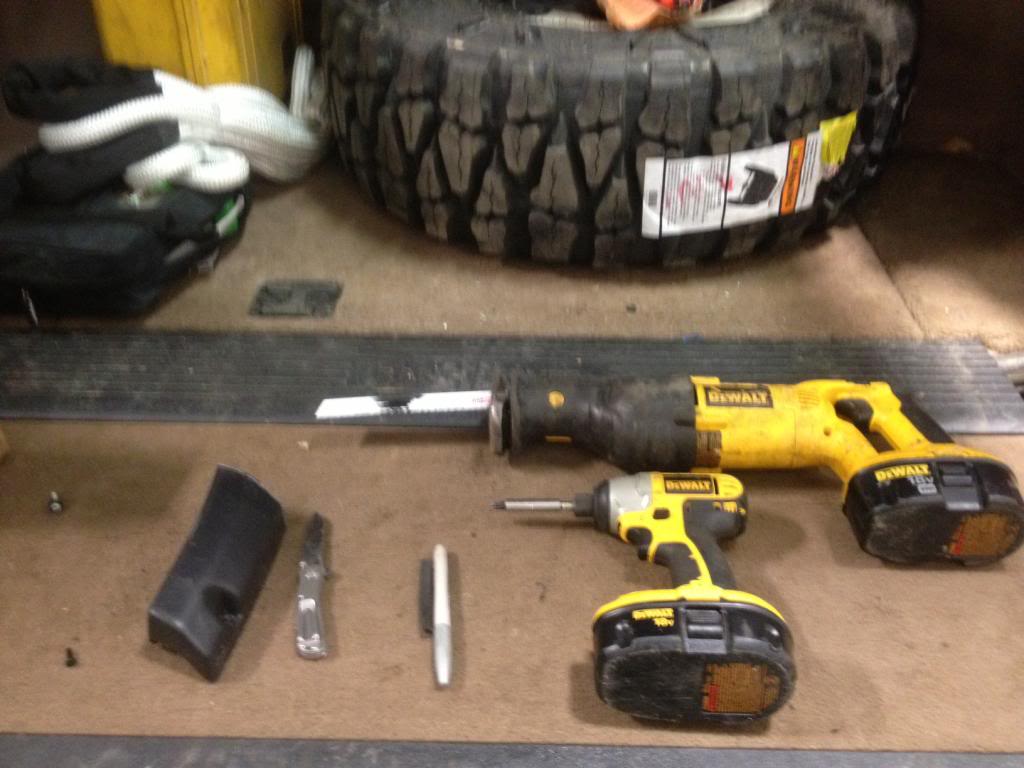
mini Project update : Make it stop
With all the work we are doing to the P38 the constant beeping forced Mike to the verge of a mental break down. Armed with a screwdriver and a 10 lb sledgehammer Mike had a life or death match with the instrument cluster. I'm happy to say the cluster is fine and no longer beeps, Mike on the other hand is in therapy 3 times a week.
To see how to De-Beep your P38 watch this video
Thread Starter
|
Winching
Joined: Jan 2009
Posts: 628
Likes: 18
Project update : Lights, Damper, Cut
Lights
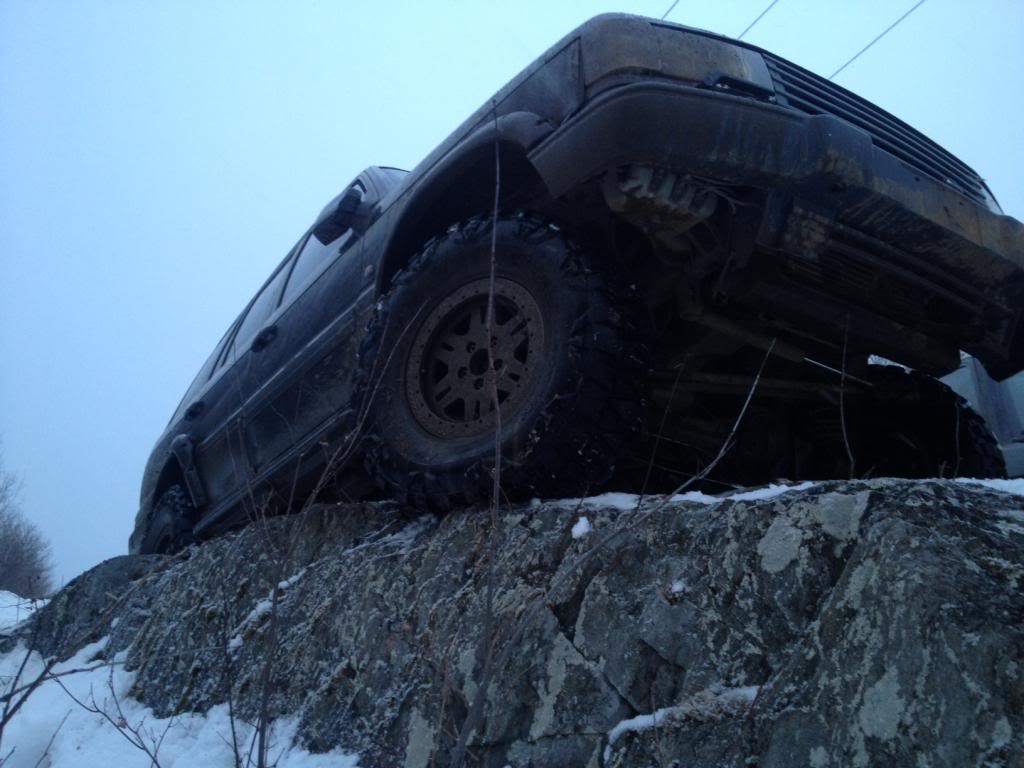
Almost every time we use the P38 a front side marker light goes missing. I don't know if the mounting tabs have gone bad on the truck or that we sometimes use trees and rocks as a brake supplement.
We filled the mounting holes on the lights with RTV in hopes of keeping them in place.
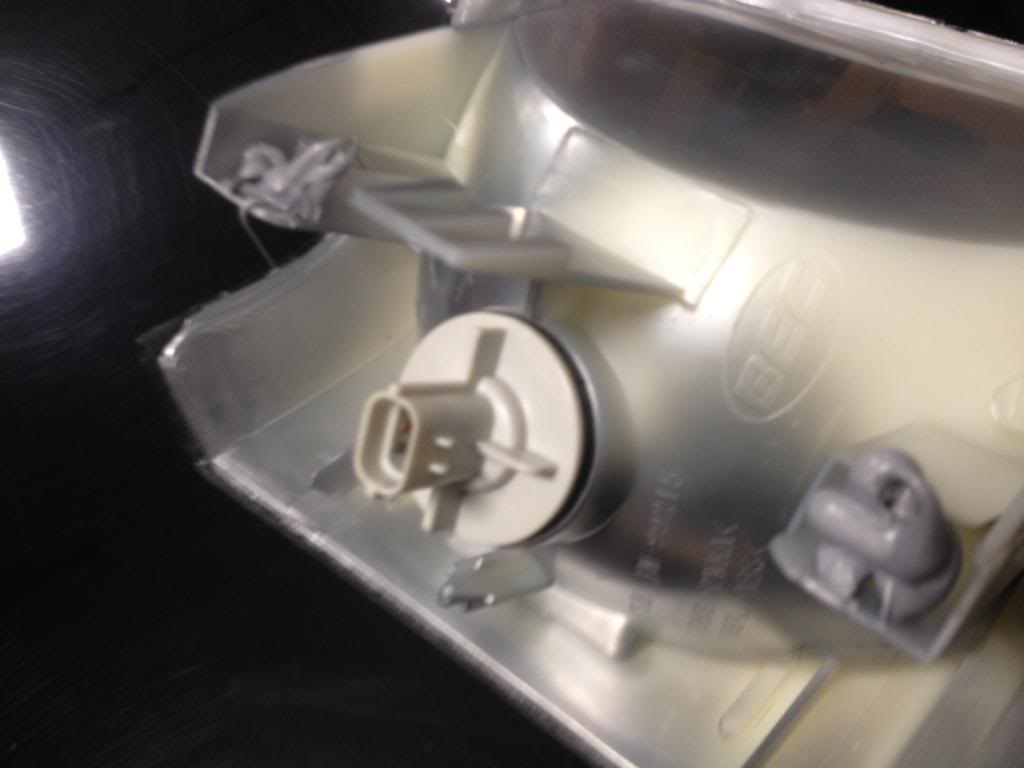
They did not fall out on this little rock pile, I hope it is a good omen.
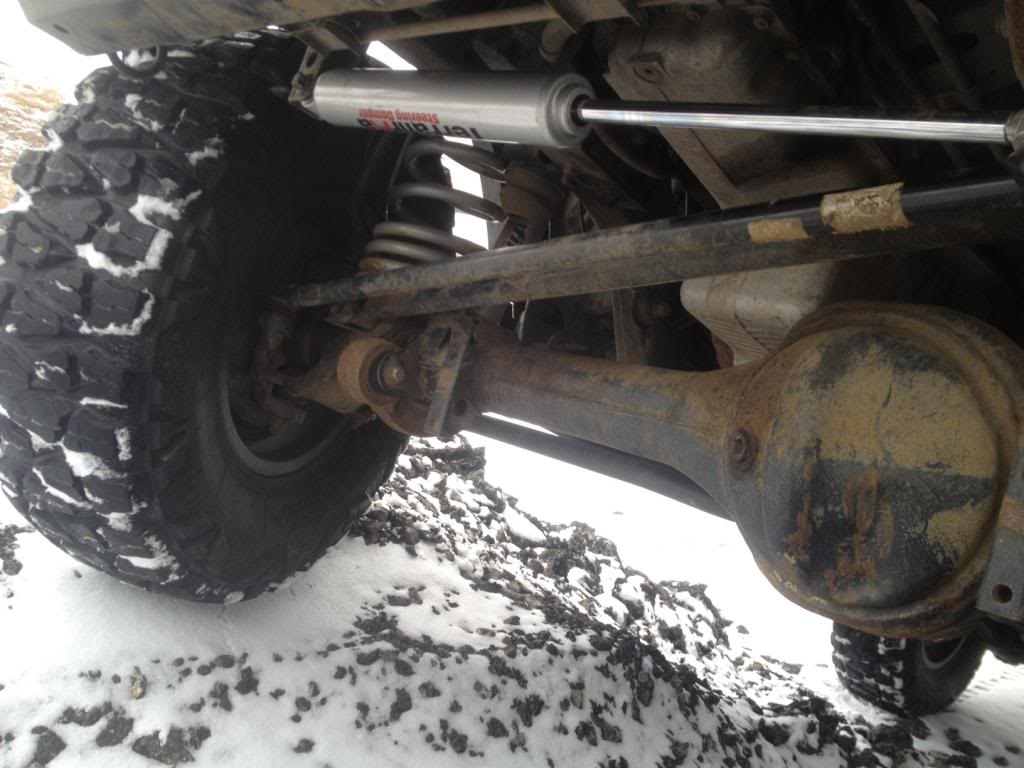
Damper
The Terrafirma steering damper came in for testing.
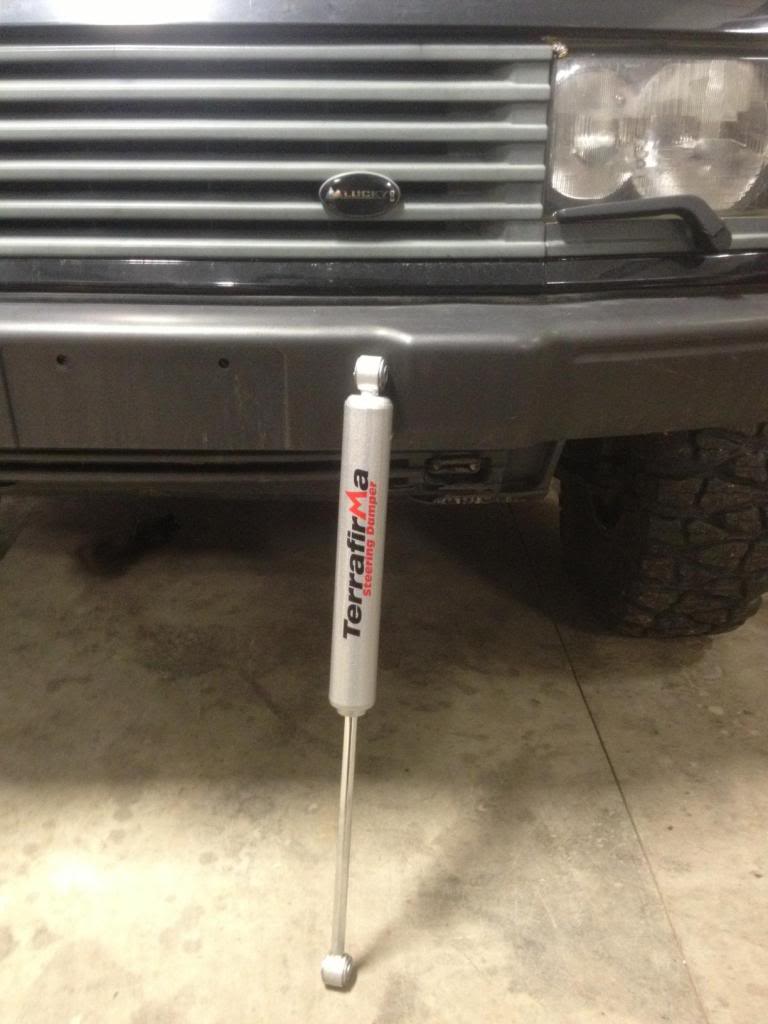
I took the P38 down a 55mph ruff country road and the damper kept the 33in Nitto's under control and tracking straight.
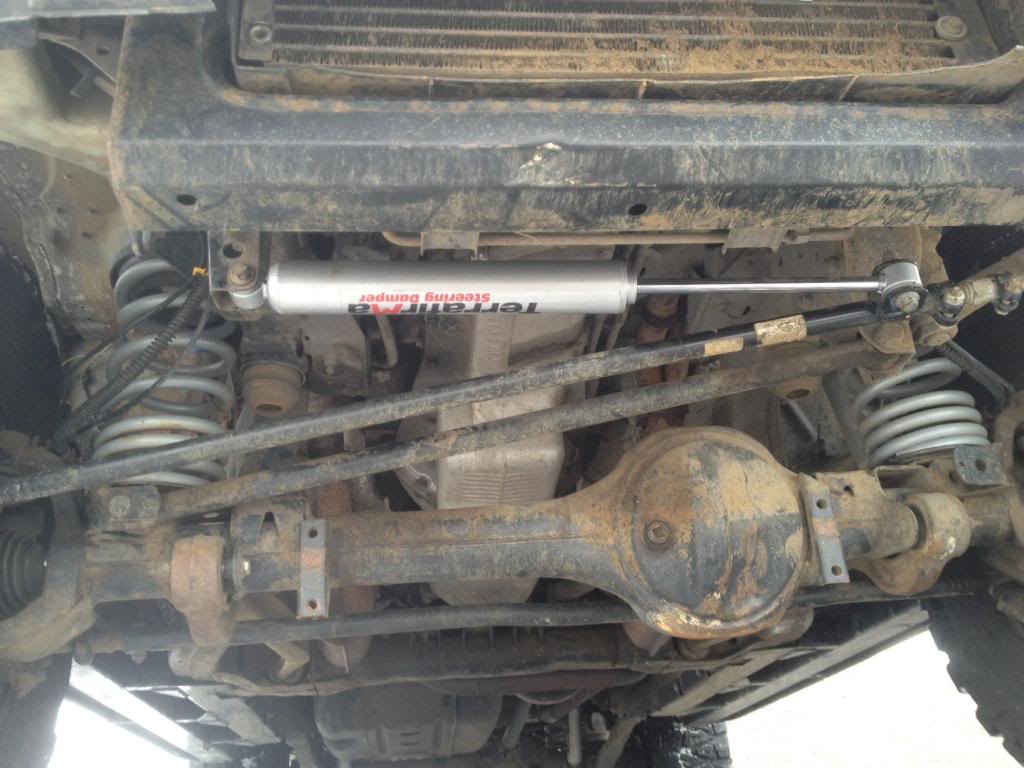
As expected the damper did great off road as well.
Cut
After seeing the prototype for the rear bumper we could make the final adjustments needed to the fender flares.
With the way the flares line up on the P38 it is hard to tell we cut them or that they were originally for a Disco 2.
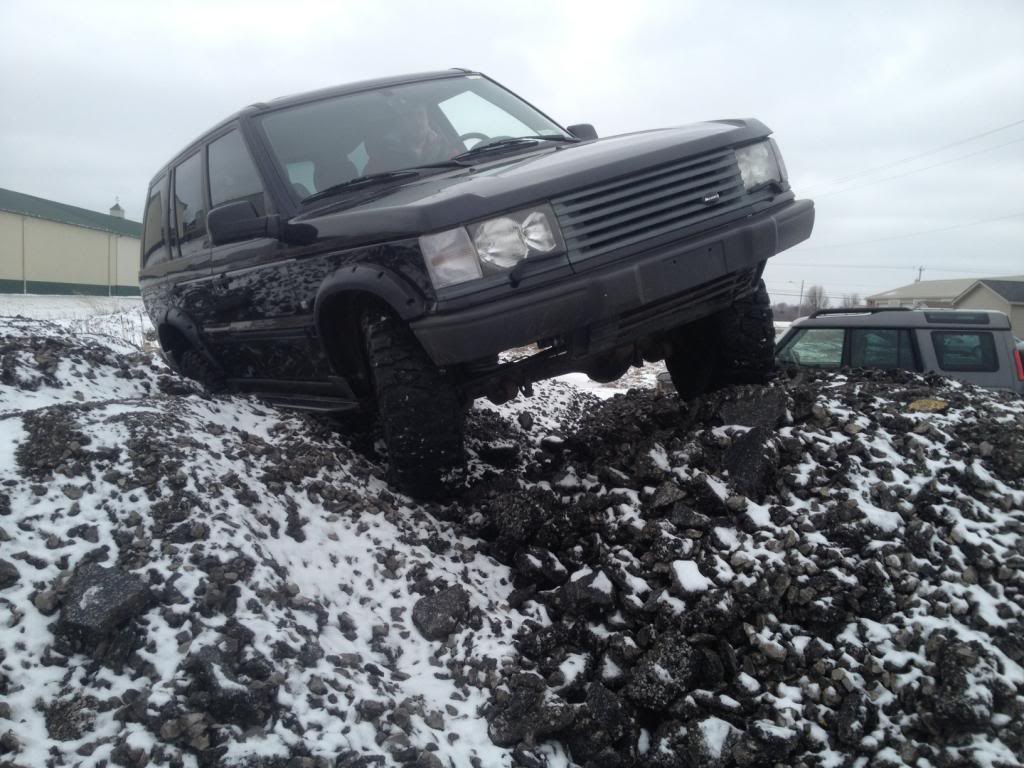
Mike the fender slayer on the stone pile showing off the lights and flares.

Lights
Almost every time we use the P38 a front side marker light goes missing. I don't know if the mounting tabs have gone bad on the truck or that we sometimes use trees and rocks as a brake supplement.
We filled the mounting holes on the lights with RTV in hopes of keeping them in place.
They did not fall out on this little rock pile, I hope it is a good omen.
Damper
The Terrafirma steering damper came in for testing.
I took the P38 down a 55mph ruff country road and the damper kept the 33in Nitto's under control and tracking straight.
As expected the damper did great off road as well.
Cut
After seeing the prototype for the rear bumper we could make the final adjustments needed to the fender flares.
With the way the flares line up on the P38 it is hard to tell we cut them or that they were originally for a Disco 2.
Mike the fender slayer on the stone pile showing off the lights and flares.

