When you click on links to various merchants on this site and make a purchase, this can result in this site earning a commission. Affiliate programs and affiliations include, but are not limited to, the eBay Partner Network.
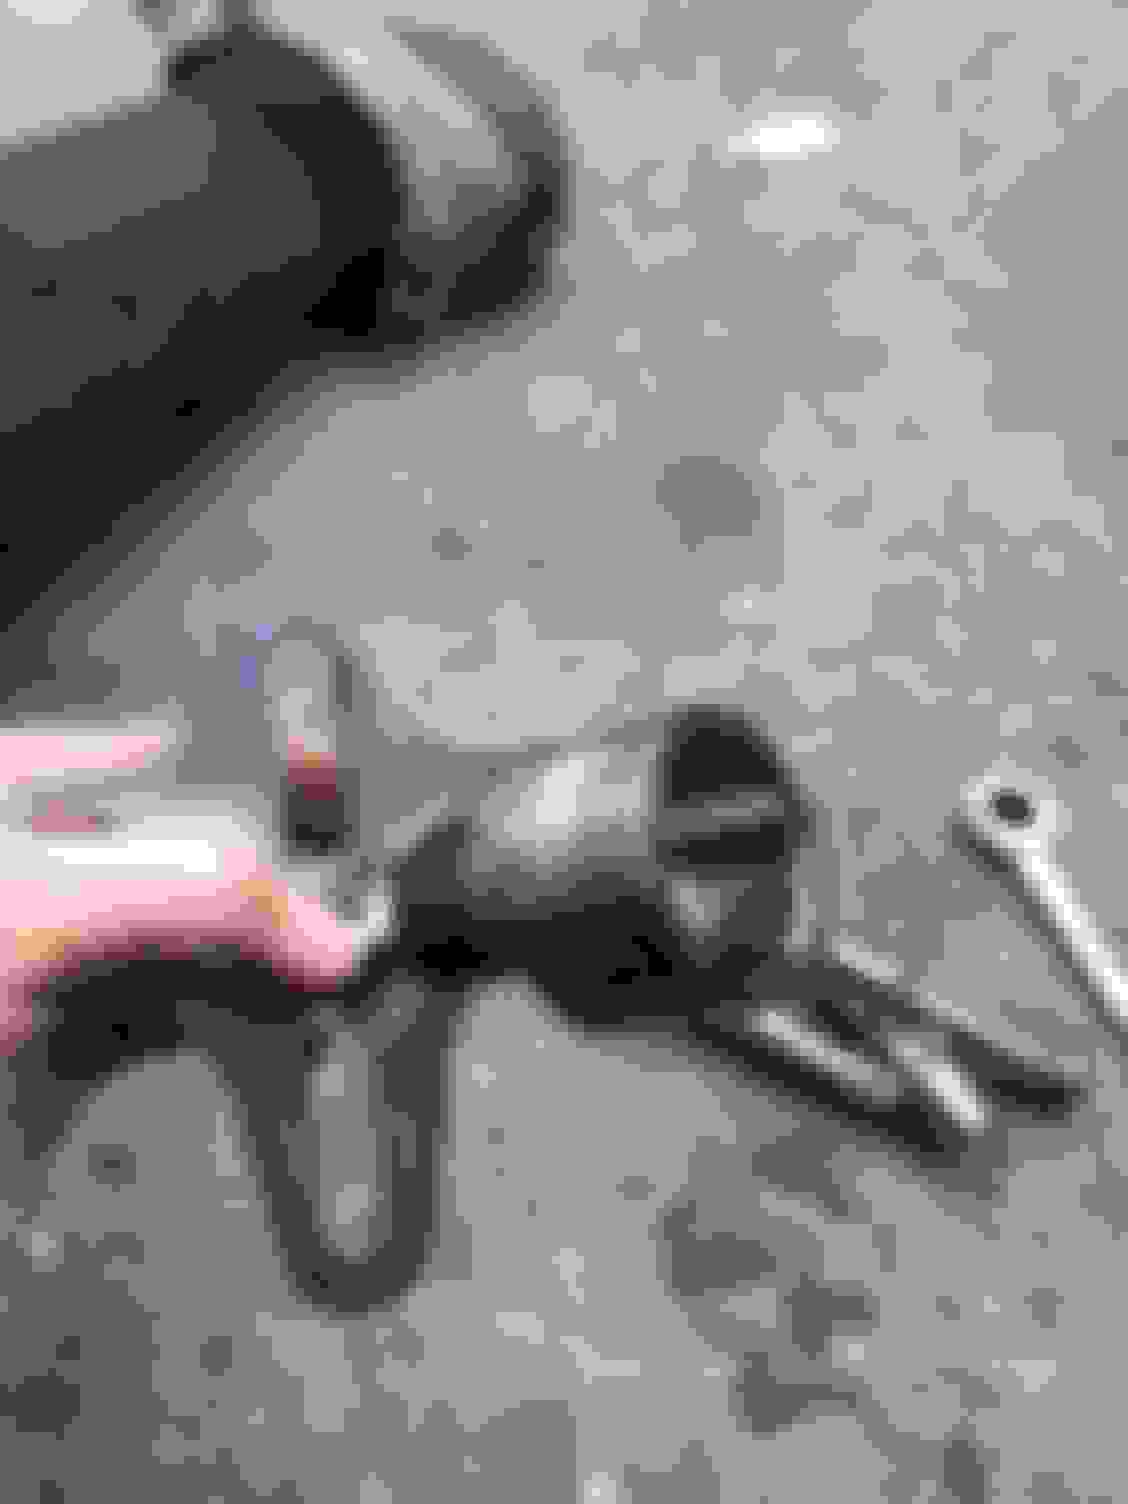
Out with the crusty rotoflex... in with the conventional u-joint.
Pulling the flange was easier than I thought it would be.
M8x1.25 fully threaded bolt
M8x1x25 nut
Few washers
3x 3" 3/8" extensions
Plate from a harmonic puller kit
Tighten the nut, and she pops out.
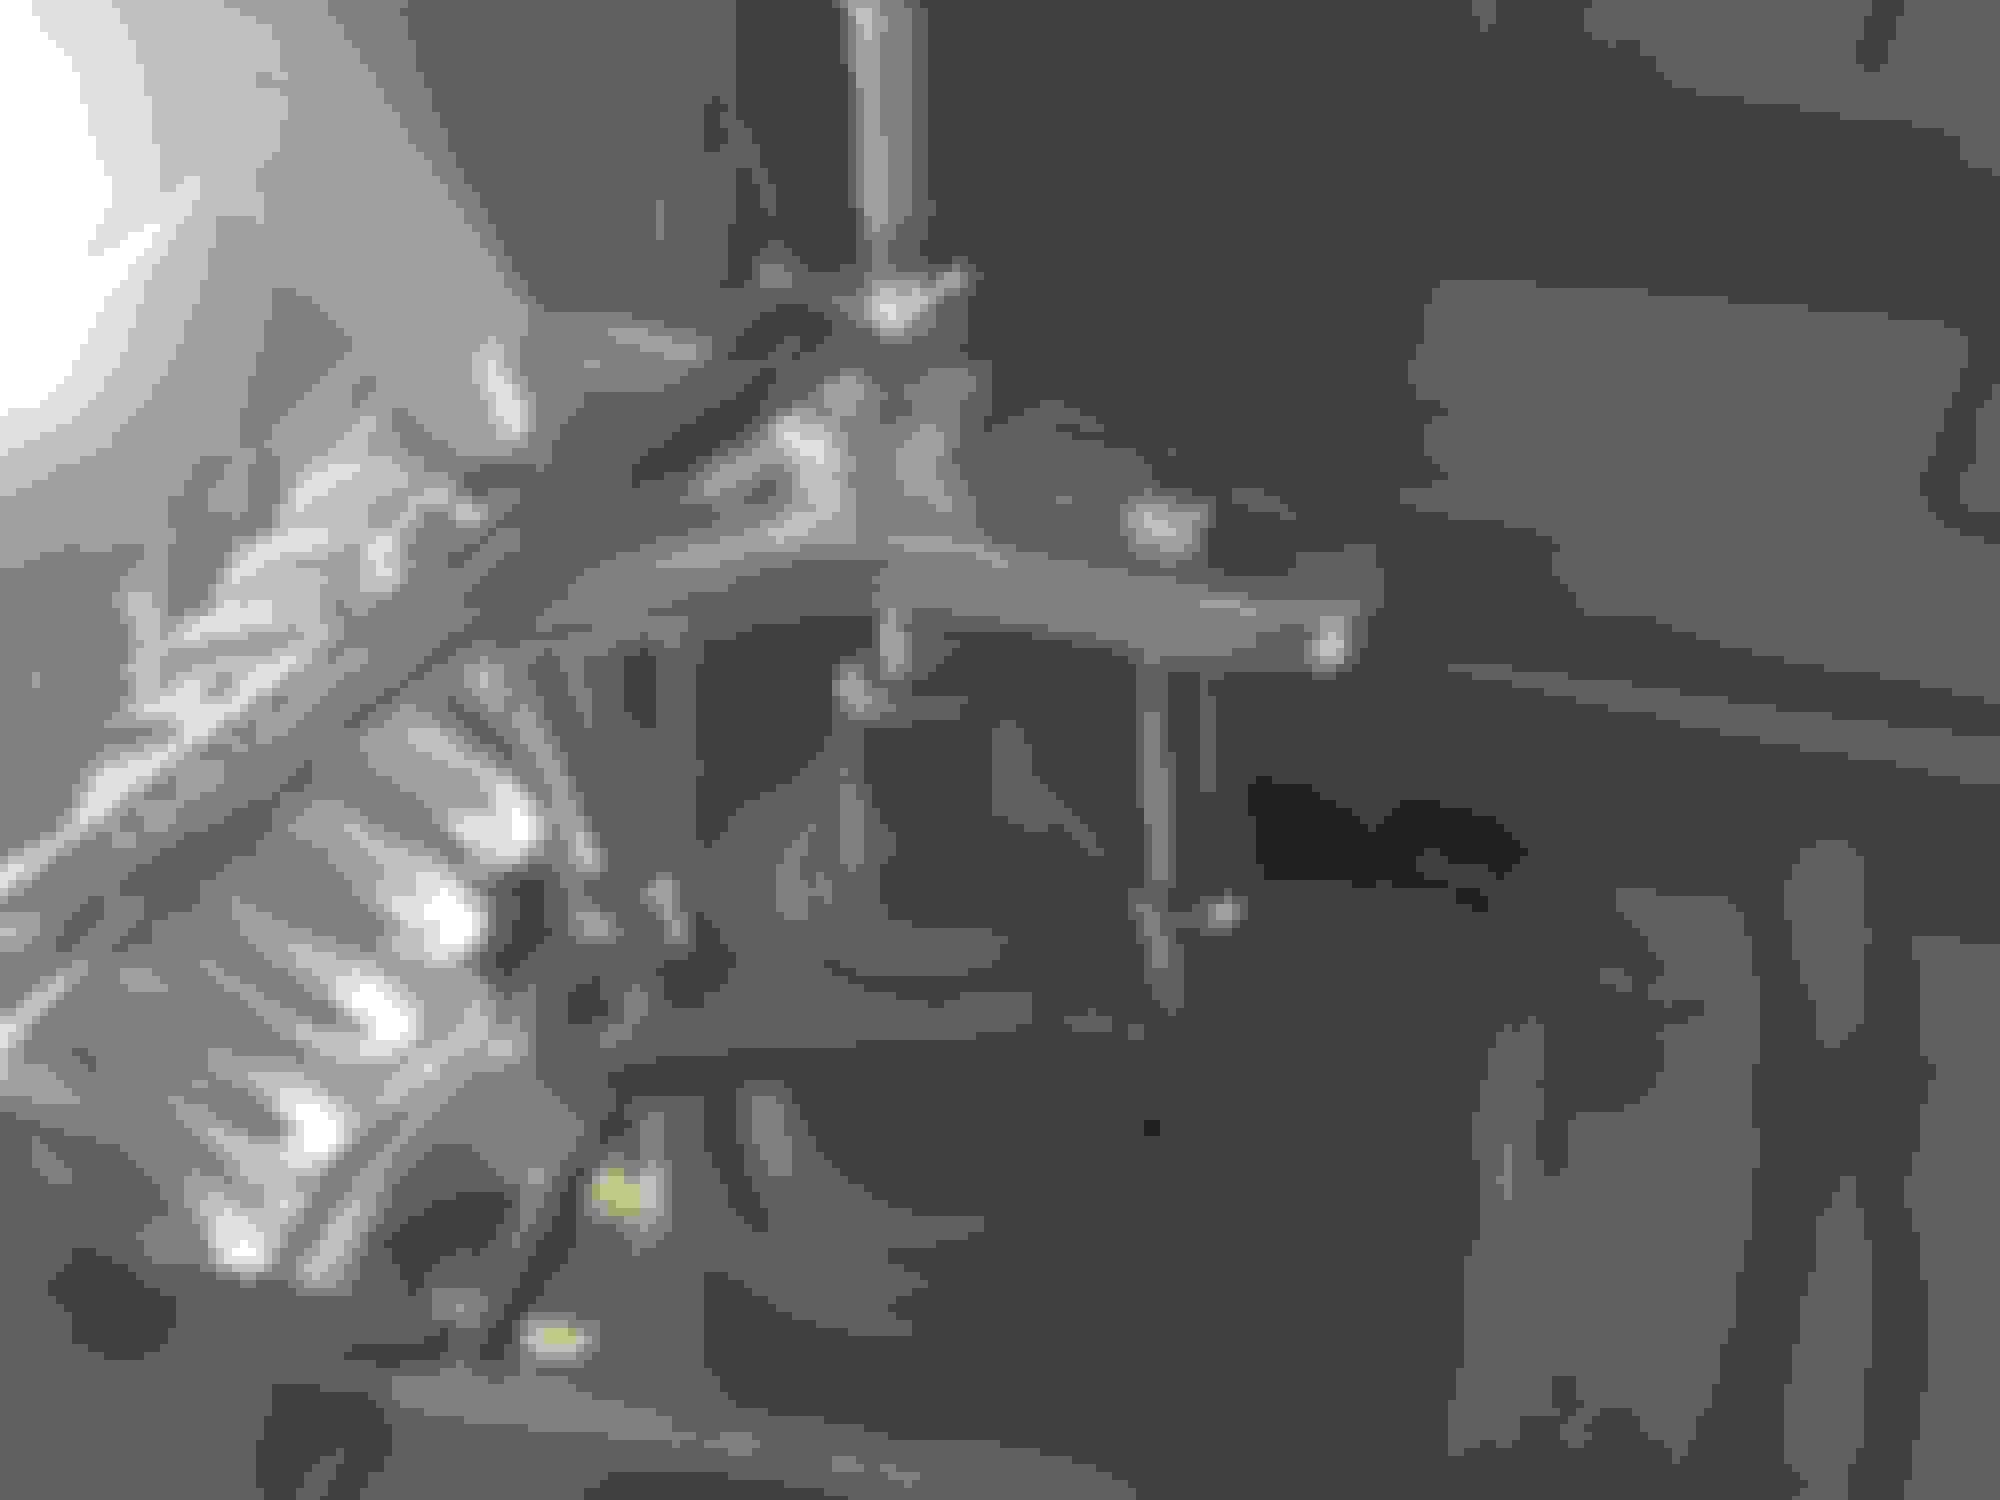
Next up... measure flange length and order a Tom woods DC.
Next up after that... I'd like to do the rear panhard conversion and remove the rear sways.
Thanks for the info Jeff. I want to do this next.
I've got a 2" lift so I'm wondering if a spacer is needed to make up for the missing rotoflex gap in the driveline. Or does it matter?
The tom woods shaft is made to length. If you're rebuilding the factory shaft, then there is a spacer kit sold by paddock
You can also get the 15mm Spacer DA6339 (if you need it) in the US. It lists for the front driveshaft, but can be used on the rear once converted. I've only had to use one of these on the OE rear DS with a 2" lift twice. Go figure, it's a ROVER. PROPSHAFT SPACER KIT RNA512 - Rovers North - Classic Land Rover Parts
Last tip... Since the splines can extend - don't let that fool you into thinking the DS fits. You want a solid amount of the spline engaged into the other end.
Alternative method to the puller + socket extensions is a large ~2.5-3" 3/4 socket.
This video helps
2 new down pipe gaskets, new gas cap, replace a SAI pipe (that took care of persistent purge valve code), research reasons for p1412 and 15, finished my rear drawer setup! Busy weekend
Overall not a horrible job. Ran into some issue along the way of getting the LR parts off. Had to grind off both the upper and lower bolts from the original right side sway bar end link. Got lucky on the left side and had PB Blaster do its work to allow me to get those nuts all the way off. Now lets hope I eyeballed the length close enough on the new end links.
After all is said and done, I'm still not really sure how I'm going to be able to clear the bushing peg and actually disconnect these in a "quick" manner. To me (during fitting), it did not look / feel like I'll be able to contort these enough to swing them away from the peg. I understand that things are different when the sway bar is under a horizontal torque from lifting one side of the vehicle, so I'll try the disconnect on flat ground tonight
I will say this, L8 needs to do two things with this little kit.
1. Put an instruction manual together. That's basically mandatory on any product that comes in more than 3 pieces when its sent to you lol
2. Make a quick install video with the installation of the securing straps. It's not really needed for me, but that would help others tremendously. Not everyone could figure out the specific direction and install location for that conical washer deal inside of there.
Found a "new" grille at the pull-your-part, did a more surgical cut-out for my winch and steel bumper, then painted it matte black to match the hood blackout.

 04-09-2017, 07:34 AM