When you click on links to various merchants on this site and make a purchase, this can result in this site earning a commission. Affiliate programs and affiliations include, but are not limited to, the eBay Partner Network.
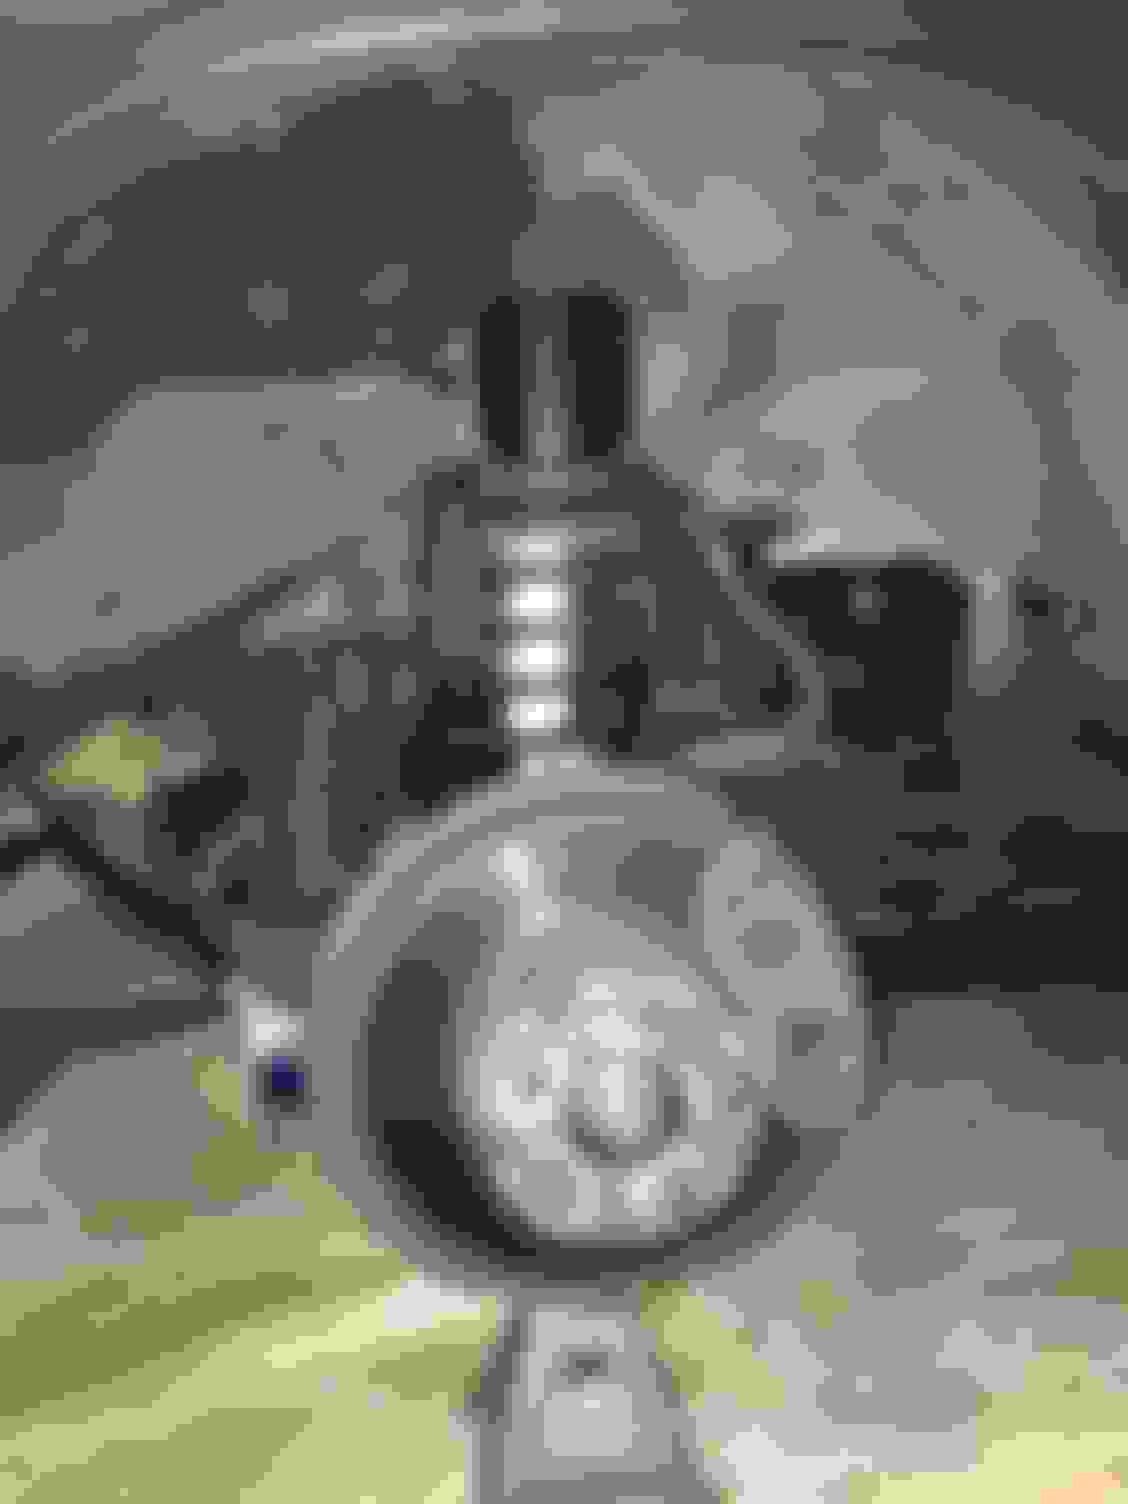
I think this little light means success!! Got everything buttoned back up today. Mounted the toggle down by the Hi\Lo shifter. Took it up and down JoshD hill with no dramas. Thing is a little mountain goat now.
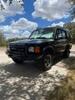
after putting in new injector seals and two new (used off my '04) rear shocks was able to get the 2001 Discovery to pass Safety and Emissions. hopefully, that will keep it on the road for another year or two so my son can use it while in school in southern Missouri. the frame is incredibly rusted, Rover lived in Detroit for a long time, but the body and interior are in great shape. we'll be checking all fluids in the engine, transmission and diffs today since he leaves tomorrow.
put RTE coil springs and Fox shocks on my silver '04 two days ago. it sits maybe a 1/2" higher than before. previously had a Terra Firma 2" HD coil springs and shocks lift. the ride quality is so much better with the new setup. very happy with both Simon at RTE for the springs and the guys at Lucky8 for the Fox shocks. i'll be using this Rover to pull a U-haul trailer when we take my daughter to school later this week.
Last evening finished job of installing stainless brake lines on 2000 D2. Fairly straightforward job, and has improved the overall braking performance and feel after getting it bled properly. If you're planning this, make sure to watch the AB tutorial on youtube. I used the
which only contains four lines as opposed to the AB kit that includes 2 extras for the "jumper" hoses. Used Foxwell 510 scan tool for brake bleeding along with this
and got very good results by doing the power bleed only - modulator bleed was not necessary although I may go back and do that as well for good measure. Used 2 quarts brake fluid total.
Last edited by XFactor; 08-17-2022 at 03:57 PM.
Reason: format
Got some prefacelift headlight guards awhile back for cheap, but of course they wouldn't quite work with my facelift front grill. So, I decided to dice it up, re-shape the shell to work with the headlight guards, do a "Safari" type mod to it with some Seagull shape wire mesh.
For sure not perfect, but I think I'm liking the way it looks in general. I'm thinking the A/C fan motor may need some black paint now to, hadn't noticed it when it was in the garage, lol.
I think this little light means success!! Got everything buttoned back up today. Mounted the toggle down by the Hi\Lo shifter. Took it up and down JoshD hill with no dramas. Thing is a little mountain goat now.
Cool. Good job!
Do you have any pics of the parts installed before you reinstalled the console? It'd be great to see it mounted on the transfer case.
Do you have any pics of the parts installed before you reinstalled the console? It'd be great to see it mounted on the transfer case.
This is the only pic I have of the parts assembled. Its kinda hard to get a pick of it installed in the trans-tunnel because of limited space and junk being all in the way. But once you make the brackets, its real obvious how they mount up.
Got some prefacelift headlight guards awhile back for cheap, but of course they wouldn't quite work with my facelift front grill. So, I decided to dice it up, re-shape the shell to work with the headlight guards, do a "Safari" type mod to it with some Seagull shape wire mesh.
For sure not perfect, but I think I'm liking the way it looks in general. I'm thinking the A/C fan motor may need some black paint now to, hadn't noticed it when it was in the garage, lol.
how did you get the headlights so clear? and how do you keep them that way?
Today was clean and degrease the undercarraige, give it a good wash, and refresh the grease on the front driveshaft. Still need to clean out the dust from the interior. Yesterday I replaced some of the body mount bolts to put on running boards, really didnt like the look so I am off to find some rock sliders that can be used as steps normal sized people in the family.
how did you get the headlights so clear? and how do you keep them that way?
I guess looks can be deceiving. They're really not perfect at all, maybe 10 footers at best, my phones camera seems to make the whole truck look a lot better than it does up close. Although, when I bought the truck about a year ago, it still had a full push bar with wrap around headlight guards on it. It was rusty and bulky, so I ditched it, but maybe they helped shield the headlights from some of the UV over the years?
I do plan to polish the headlights inside and out eventually, if/when I upgrade them to HID. I have had good luck with headlight cleaning kits in the past, like 3M. Just gotta make sure to get one that has a UV clearcoat to apply to the headlight once you're done polishing it. A good polishing and coating job can make a headlight look great for at least 3-5 years IME, and anybody can do it with a lil elbow grease. Just takes patience and a lil time, depending on how cloudy or yellowed they are..cracked is a different deal tho, no fixing that
 08-16-2022, 08:32 PM