
So what did you do to your Disco today?
#2741
 05-10-2014, 08:21 PM
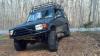

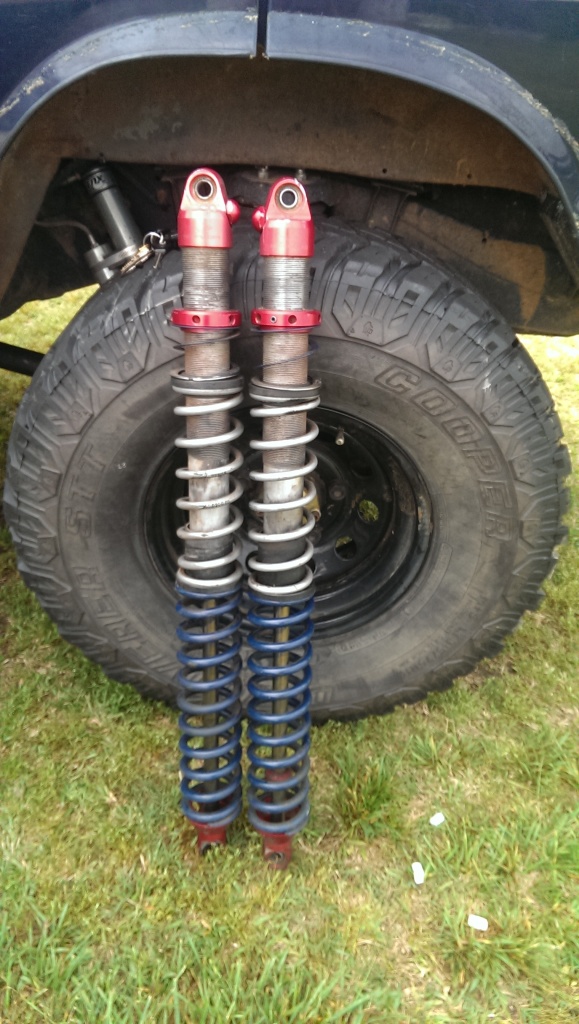
Finished the last 2 flares on the new brake lines for the abs delete. Also cut a thick piece of rubber and mounted the proportioning valve on the top of the inner fender where the modulator was. Just waiting for a tee, water pump gasket, brake bleed and power steering bleed. And these bad boys came!
#2743
05-11-2014, 05:07 PM

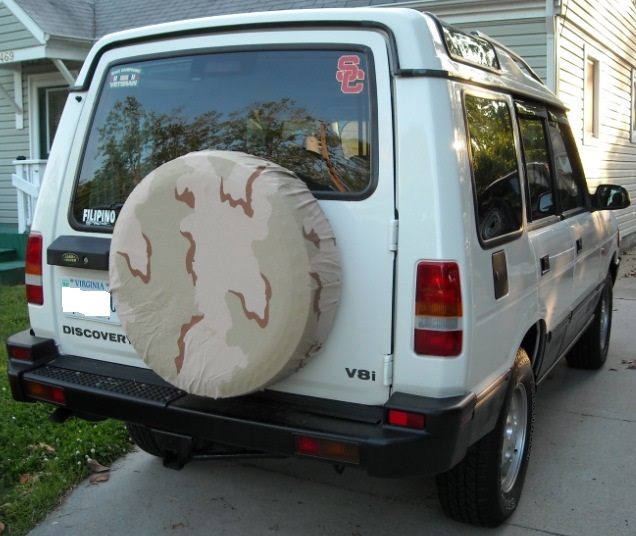
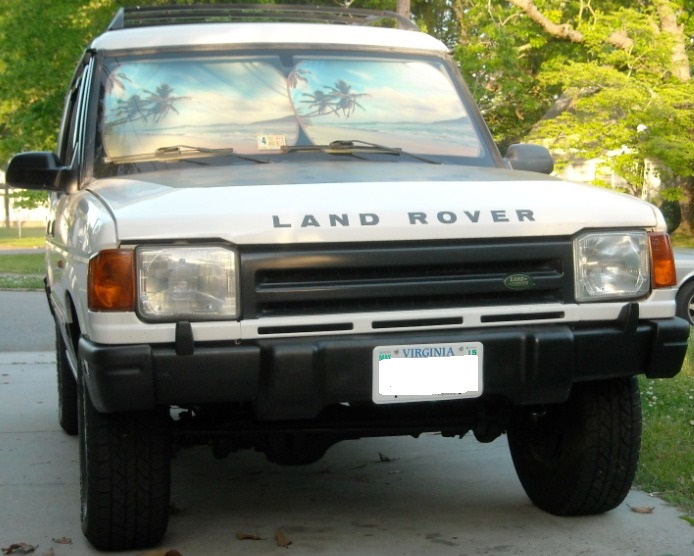
Prepped and painted the lower body panels with bedliner coating (Rustoleum brand), and the raised portion of the hood. Cleaned the sections to be painted with soapy water, wiped it dry, masked it off with blue painter's tape, prepped the surface with rubbing alcohol, and away I went. Used 3" roller brushes and the small plastic painting trays, the ones used for painting trim. Used two rollers and two painting trays, probably got 5 coats on the hood, and 4 coats on the lower panels. The gallon can of Rustoleum was $43 at WalMart, and the tape, roller brushes, roller, and paint trays were another $12 or so at WalMart. From start to finish, took me less than three hours. The coating wasn't fully dry yet, thus the irregular looking patches on the hood. Should dry to a uniform color and texture by tomorrow.
On a related note, I used the auto section when I checked out at WalMart. I asked them if they had 265/75-16 Goodyear Wrangler Authority tires in stock, and low and behold, they do, for $166 each. That's the size/brand of tire I was thinking of putting on once I get the 2" lift installed. I was looking at the stock 235/70-16 Geolanders on there now, and I don't think 245/75s would clear the front bumper cap, let alone 265/75s. So I think I've pretty much convinced myself to get the 2" lift springs, new shocks, and either 245/75 or 265/75 GY Wrangler Authority tires. I might go with the 245/75s, so the speedo isn't off by so much. We'll see...
Update: just noticed that small strip of white along the bottom of the rear lower panel, so I went and painted those two sections on each side.
Last edited by socal1200r; 05-11-2014 at 05:30 PM.
#2744
05-12-2014, 06:27 PM
#2745
05-13-2014, 06:09 AM

So, ok... hi guys, this is my first (not counting an intro) post here. Thought I would share what I did yesterday with my 97 Disco!
*The passenger seat is stuck in the full forward position, I got it that way.
Checked fuses-ok.
Other seat and window switches- all but 1 other were working.
Under-seat relay- oh dear. Couldn't reach it at all, the seat is forward and there's a CD changer under there. O.o
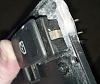
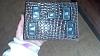
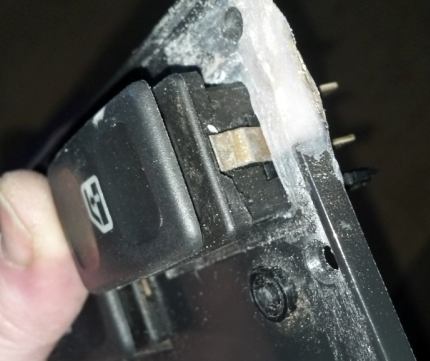
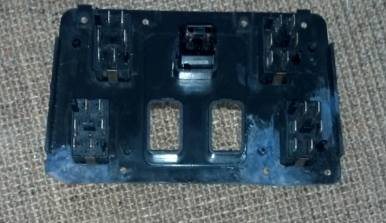
So I decided to pulled the switch for the dead power passenger seat and take a look inside. I took out the entire window switch bank as well since there was one window switch also non-op. When I took that out I found that the plastic switch mount was missing it�s bottom left corner where the screw hole should have been and part of the right bottom corner was also broken causing the lower 2 window switches to fall inside the console. I opened, cleaned and rebuilt all the switches which were filthy. And here is what I did about the broken/ missing pieces of the center mount:
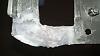
This is not a pretty match but it is incredibly strong when reinforced with a bit of mesh. Anyone guess what it is?
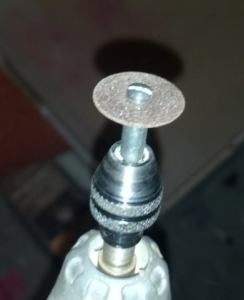
Acrylic powder/solvent resin, same stuff used to do acrylic fingernails. Cures in just a few minutes and sands down super easy. Sand, redrill the screw holes, and then pop the switches back in there. They fit nice and tight now. This plate gets covered up but the switch plate cover so no one will ever see my two tone plastic fix job.
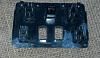
As for the cover, I saw one of these in the walnut finish selling on ebay today for like $50... and I thought I could do something a little cooler and more original. Along a safari theme, lol, here is what I ended up with:
*The passenger seat is stuck in the full forward position, I got it that way.
Checked fuses-ok.
Other seat and window switches- all but 1 other were working.
Under-seat relay- oh dear. Couldn't reach it at all, the seat is forward and there's a CD changer under there. O.o
So I decided to pulled the switch for the dead power passenger seat and take a look inside. I took out the entire window switch bank as well since there was one window switch also non-op. When I took that out I found that the plastic switch mount was missing it�s bottom left corner where the screw hole should have been and part of the right bottom corner was also broken causing the lower 2 window switches to fall inside the console. I opened, cleaned and rebuilt all the switches which were filthy. And here is what I did about the broken/ missing pieces of the center mount:
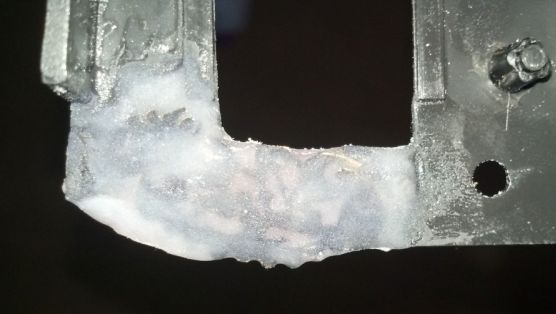
This is not a pretty match but it is incredibly strong when reinforced with a bit of mesh. Anyone guess what it is?
Acrylic powder/solvent resin, same stuff used to do acrylic fingernails. Cures in just a few minutes and sands down super easy. Sand, redrill the screw holes, and then pop the switches back in there. They fit nice and tight now. This plate gets covered up but the switch plate cover so no one will ever see my two tone plastic fix job.
As for the cover, I saw one of these in the walnut finish selling on ebay today for like $50... and I thought I could do something a little cooler and more original. Along a safari theme, lol, here is what I ended up with:

#2746
05-13-2014, 07:38 PM
From the previous post about "texturing" the switch plate cover, in keeping with the "safari" theme, that crocodile look is pretty cool! Course you'll have to do the other wood pieces so they match! They'll be hard to keep clean, but you'll have a very unique look.
I took the D1 SD to a muffler shop, and had them remove the mid and rear mufflers. Replaced the mid-muffler with a Thrush all-welded chambered muffler (part #17656), which is 2.5" inlet/outlet. Had a small glasspack, 2.5" inlet/outlet laying around in the garage, and used that at the back, with an angle-cut tip. Slightly louder and deeper sound than stock, I like it. However, knowing what I know now, I would've went with 2.25" inlets/outlets, to match the stock diameter piping.
I took the D1 SD to a muffler shop, and had them remove the mid and rear mufflers. Replaced the mid-muffler with a Thrush all-welded chambered muffler (part #17656), which is 2.5" inlet/outlet. Had a small glasspack, 2.5" inlet/outlet laying around in the garage, and used that at the back, with an angle-cut tip. Slightly louder and deeper sound than stock, I like it. However, knowing what I know now, I would've went with 2.25" inlets/outlets, to match the stock diameter piping.
#2747
05-13-2014, 08:43 PM
From the previous post about "texturing" the switch plate cover, in keeping with the "safari" theme, that crocodile look is pretty cool! Course you'll have to do the other wood pieces so they match! They'll be hard to keep clean, but you'll have a very unique look.
I took the D1 SD to a muffler shop, and had them remove the mid and rear mufflers. Replaced the mid-muffler with a Thrush all-welded chambered muffler (part #17656), which is 2.5" inlet/outlet. Had a small glasspack, 2.5" inlet/outlet laying around in the garage, and used that at the back, with an angle-cut tip. Slightly louder and deeper sound than stock, I like it. However, knowing what I know now, I would've went with 2.25" inlets/outlets, to match the stock diameter piping.
I took the D1 SD to a muffler shop, and had them remove the mid and rear mufflers. Replaced the mid-muffler with a Thrush all-welded chambered muffler (part #17656), which is 2.5" inlet/outlet. Had a small glasspack, 2.5" inlet/outlet laying around in the garage, and used that at the back, with an angle-cut tip. Slightly louder and deeper sound than stock, I like it. However, knowing what I know now, I would've went with 2.25" inlets/outlets, to match the stock diameter piping.
#2748
05-14-2014, 12:27 AM
Drifting
Join Date: Mar 2014
Location: Enid, Oklahoma
Posts: 29
Likes: 0
Received 0 Likes
on
0 Posts

#2749
05-14-2014, 05:39 PM
I have this innate need to tinker with things, so I just had to do this, lol! I removed the stock airbox lid, and it's not too deep in there, so I couldn't really put a fitting inside the outlet section with a small Uni foam filter on the end (I've done this to other cars I've had). The K&N drop-in filter is a special order item at the chain auto parts stores around here, and since there's a fitting in the airbox lid itself, I couldn't experiment with some leftover intercooler piping I have from when I put an FMIC on a '92 Saab 900 turbo convertible I used to have.
So I found this pod-type air filter on my parts shelf, 3" inlet, which just happens to be the same size as the airbox inlet where that trumpet piece connects. I gently removed the trumpet, then tried to dry-fit the filter. I had to remove the jack, and slightly bend the bracket for the power steering reservoir, for it to fit. I slipped the rubber neck of the pod filter over the neck of the airbox inlet, then clamped it down. I already removed the tray filter from the airbox, so I clamped the airbox lid back down and took her out for a quick spin. Before, all I was hearing was the exhaust sound from the back. Now, I hear a little bit of intake noise as well, since the airbox is empty, and the filter is external to the airbox.
I'll probably eventually get a K&N drop-in filter, and rig a fresh air hose into the airbox. But for now, my need to tinker is satisfied, lol...
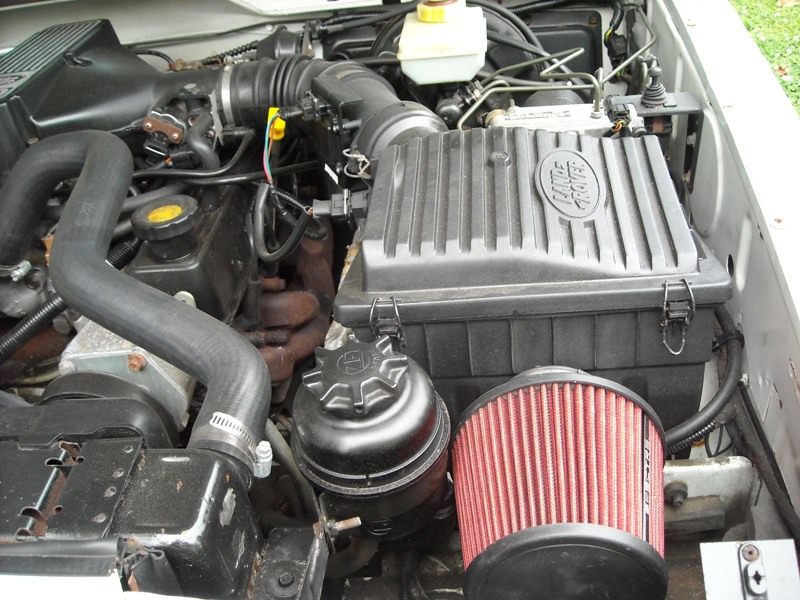


