When you click on links to various merchants on this site and make a purchase, this can result in this site earning a commission. Affiliate programs and affiliations include, but are not limited to, the eBay Partner Network.
I thought I would post my build list and costs in case anybody was interested. I will keep it up to date as I go. Hopefully it won't go up past $12,000!
I thought I would post my build list and costs in case anybody was interested. I will keep it up to date as I go. Hopefully it won't go up past $12,000!
Still waiting on the engine to come back. The �kit� I got for the engine rebuild was missing a few things so that has delayed the rebuild a couple of weeks. Keeping myself busy with a few projects while I wait.
By the way, a #4 Philips head bit for the rotors? Really?!?! I think that is more of a unicorn that the elusive 10mm 12 point! �Preventative maintenance� swap out! While I am here, I might as well do the coils and shocks for the back. Easier than I thought it would be! New rotors and ceramic pads getting installed as soon as I can get. #4 bit!
Definitely recommend an impact driver to get the rotor screws out for the first time. Just a simple screwdriver is likely to strip the Philips head. When reinstalling the set screws, which aren't really needed as the wheel keeps the rotor in place, I coat them with antiseize so I can just use a screwdriver the next time.
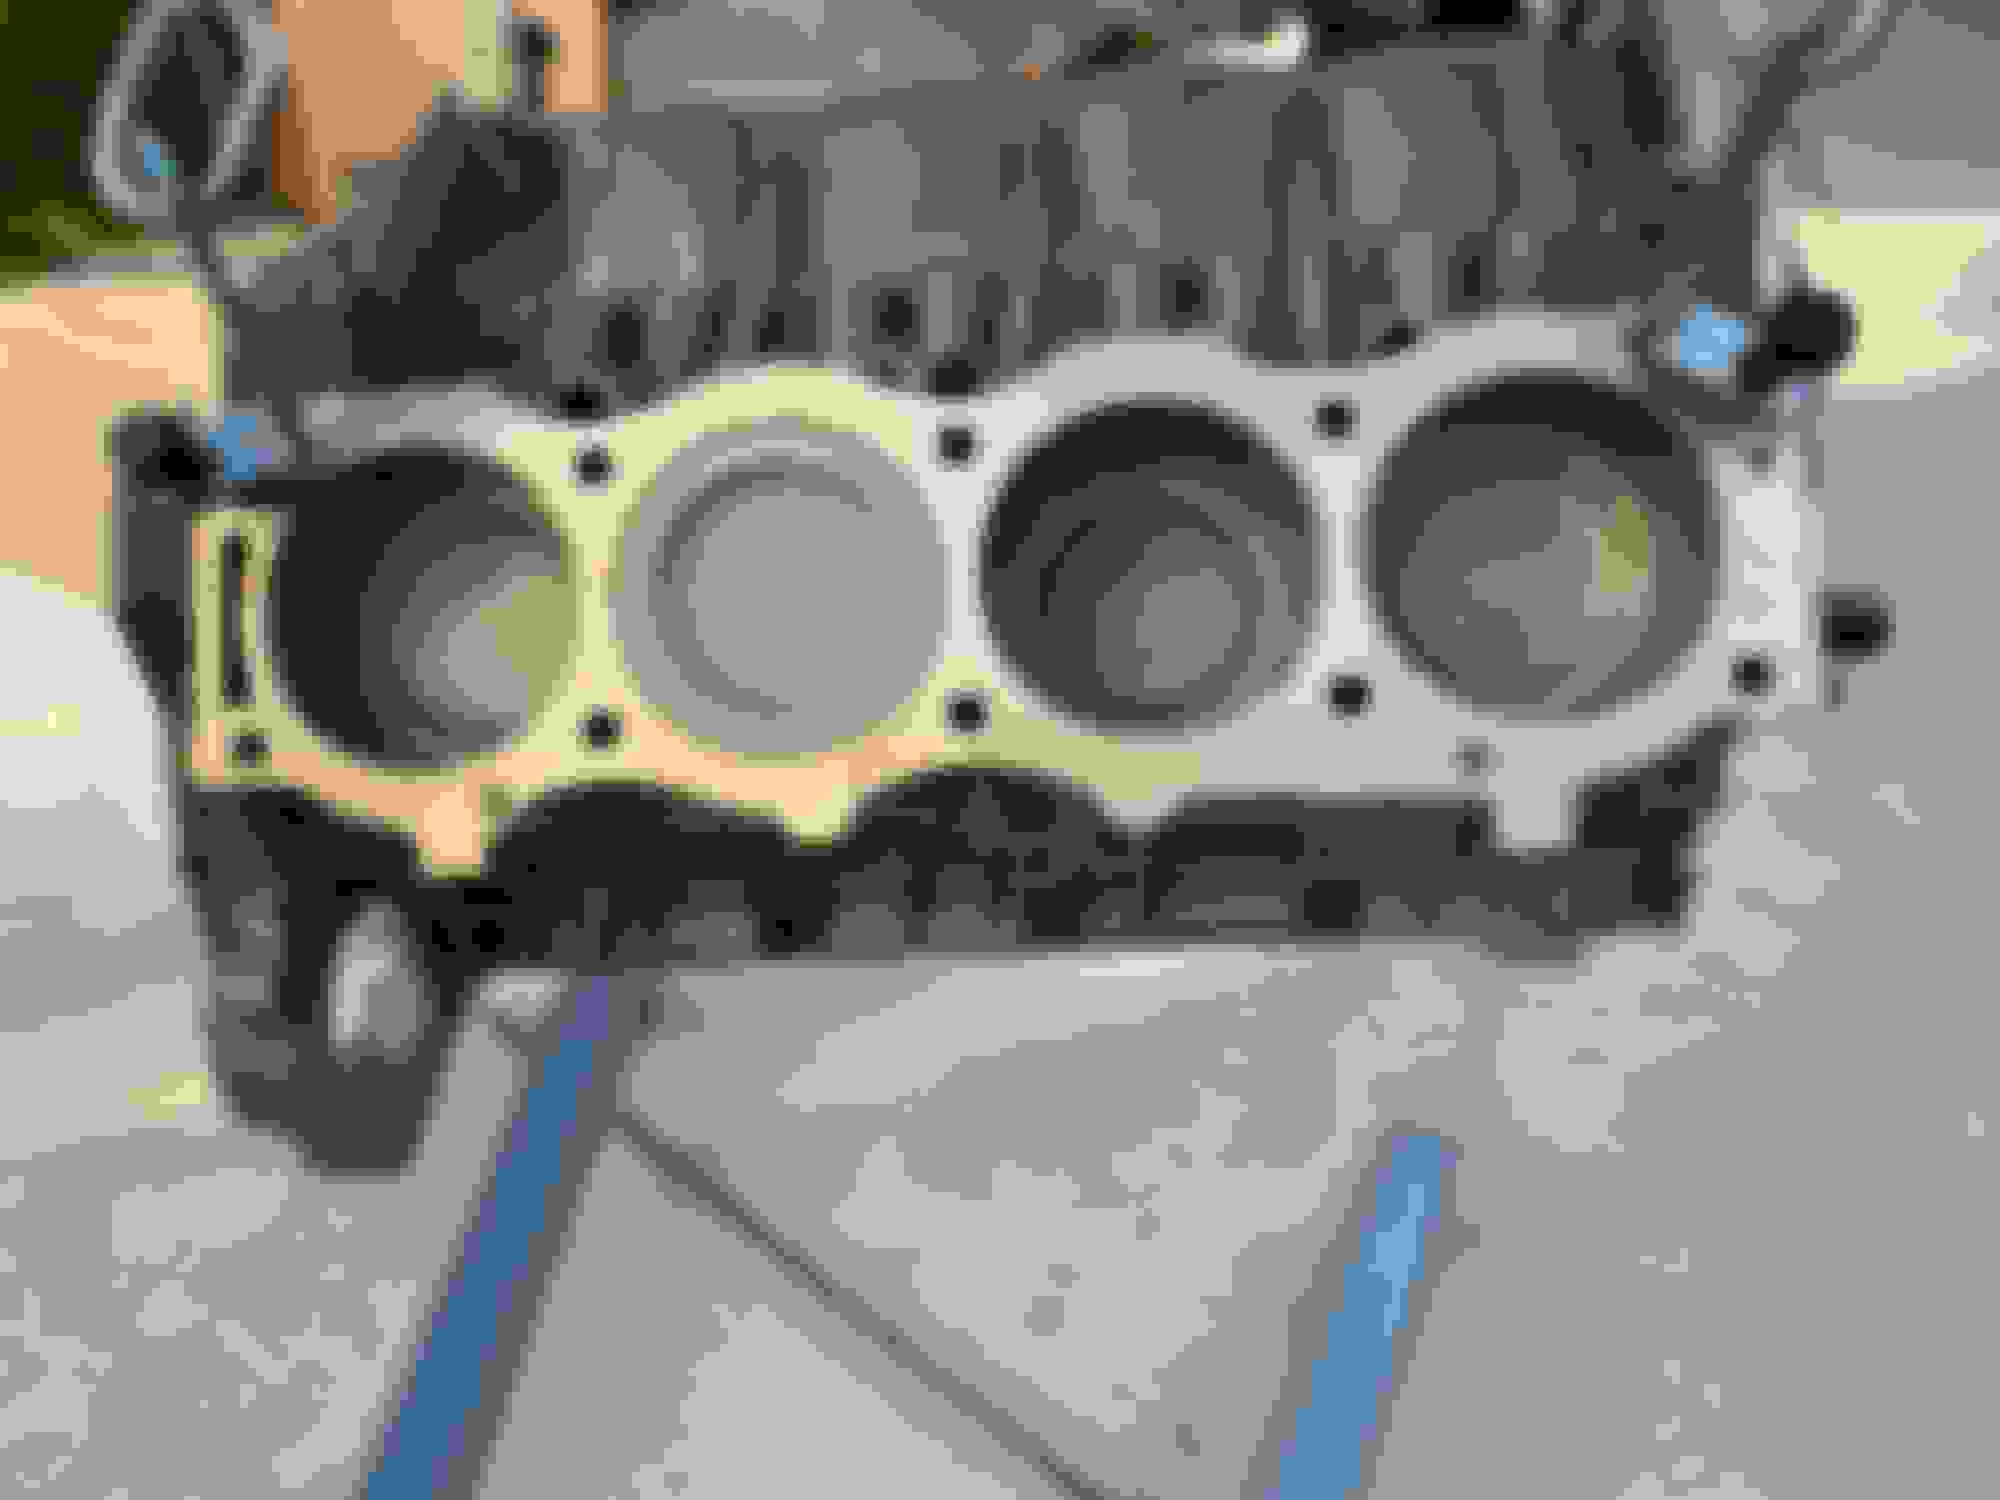
Short block is finally here! I updated my spreadsheet numbers because the machine work came out to be $1445 :-(.
My goal is finish up the lift, shocks, steering damper, breaks and rotors tomorrow and Friday. Then tackle the water pump, oil pump, oil pan, tappets, rods and heads this weekend. Hopefully get the engine dropped in by the following weekend.
Anybody have thoughts on how much I should assemble before I drop it in?
Unfortunately I made zero progress on the engine today. I thought sure I could finish up the brake work, shocks and springs but my inexperience is definitely a handicap. I did finally get the shock towers, shocks and spring all installed. I also cleaned, primed and painted the wheel/brake area and mounted the rotors. Expect to finish the calipers and add the brake pads tomorrow and then shift focus on the engine.
Cleaning it up. The deemed made the work relatively easy. Primed and painted. Shock tower, shock, spring and rotor replaced.
Definitely recommend an impact driver to get the rotor screws out for the first time. Just a simple screwdriver is likely to strip the Philips head. When reinstalling the set screws, which aren't really needed as the wheel keeps the rotor in place, I coat them with antiseize so I can just use a screwdriver the next time.
It's not a Phillips, it's a Pozidrive screw.
Once you get it out, leave it out, or reinstall it only very, very loosely. There is absolutely no need to tighten it. As someone else said, the wheel holds the rotor in place.