When you click on links to various merchants on this site and make a purchase, this can result in this site earning a commission. Affiliate programs and affiliations include, but are not limited to, the eBay Partner Network.
During my years of being in the military one of my specialty codes was as an electrician (comm/nav) on F-16 jets and HH-60G helicopters, I had a side hustle as a car stereo installer. Weird I know. Lol I decided to do the Big 5 cable upgrade on my Disco 2 with ANCOR Marine grade cable tinned copper strands Type 3:
1. 0AWG from battery + to alternator + (through modded fuse box connected to 150A fuse link)
2. 0AWG from battery + to starter +
3. 0AWG from battery - to grounding midpoint
*4. 0AWG from battery - to alternator case/mount
5. 0AWG from chassis to engine
For me it was a personal choice to make and add the extra 0AWG cable from the alternator housing to my quick disconnect switch as a direct ground.
It probably doesn�t need to be done but for me it was a peace of mind for direct voltage and current flow with a thicker gauge cable.
Got lucky - the steering box was in Florida so it got to me the next day. I pulled the old on out and pulled off the pitman arm with a rental puller from autozone. Drained remaining fluid from the reservoir and lines and bolted the new unit which just arrived. Added Lucas power steering fluid to it and torqued everything down.
Time for a test drive and then a few tweaks to get the steering wheel aligned then adjust the steering box screw. Unbolting the old one Removing the pitman arm New unit
Still doing minor repairs and tweaks to the rover since I got back from Moab. Cut the flattened exhaust tip off and tighten up the flanges which were still leaking. Also decided to do the
. It took a lot longer than I anticipated but to be fair, I had a lot of mud and grim built up from the trip. Before Removed the hood liner - some clean up done Day 2 - most cleaning done - starting to put things back together All done - not as good as I hoped but still measurably better
Still doing minor repairs and tweaks to the rover since I got back from Moab. Cut the flattened exhaust tip off and tighten up the flanges which were still leaking. Also decided to do the Chris Fix engine super clean. It took a lot longer than I anticipated but to be fair, I had a lot of mud and grim built up from the trip. Before Removed the hood liner - some clean up done Day 2 - most cleaning done - starting to put things back together All done - not as good as I hoped but still measurably better
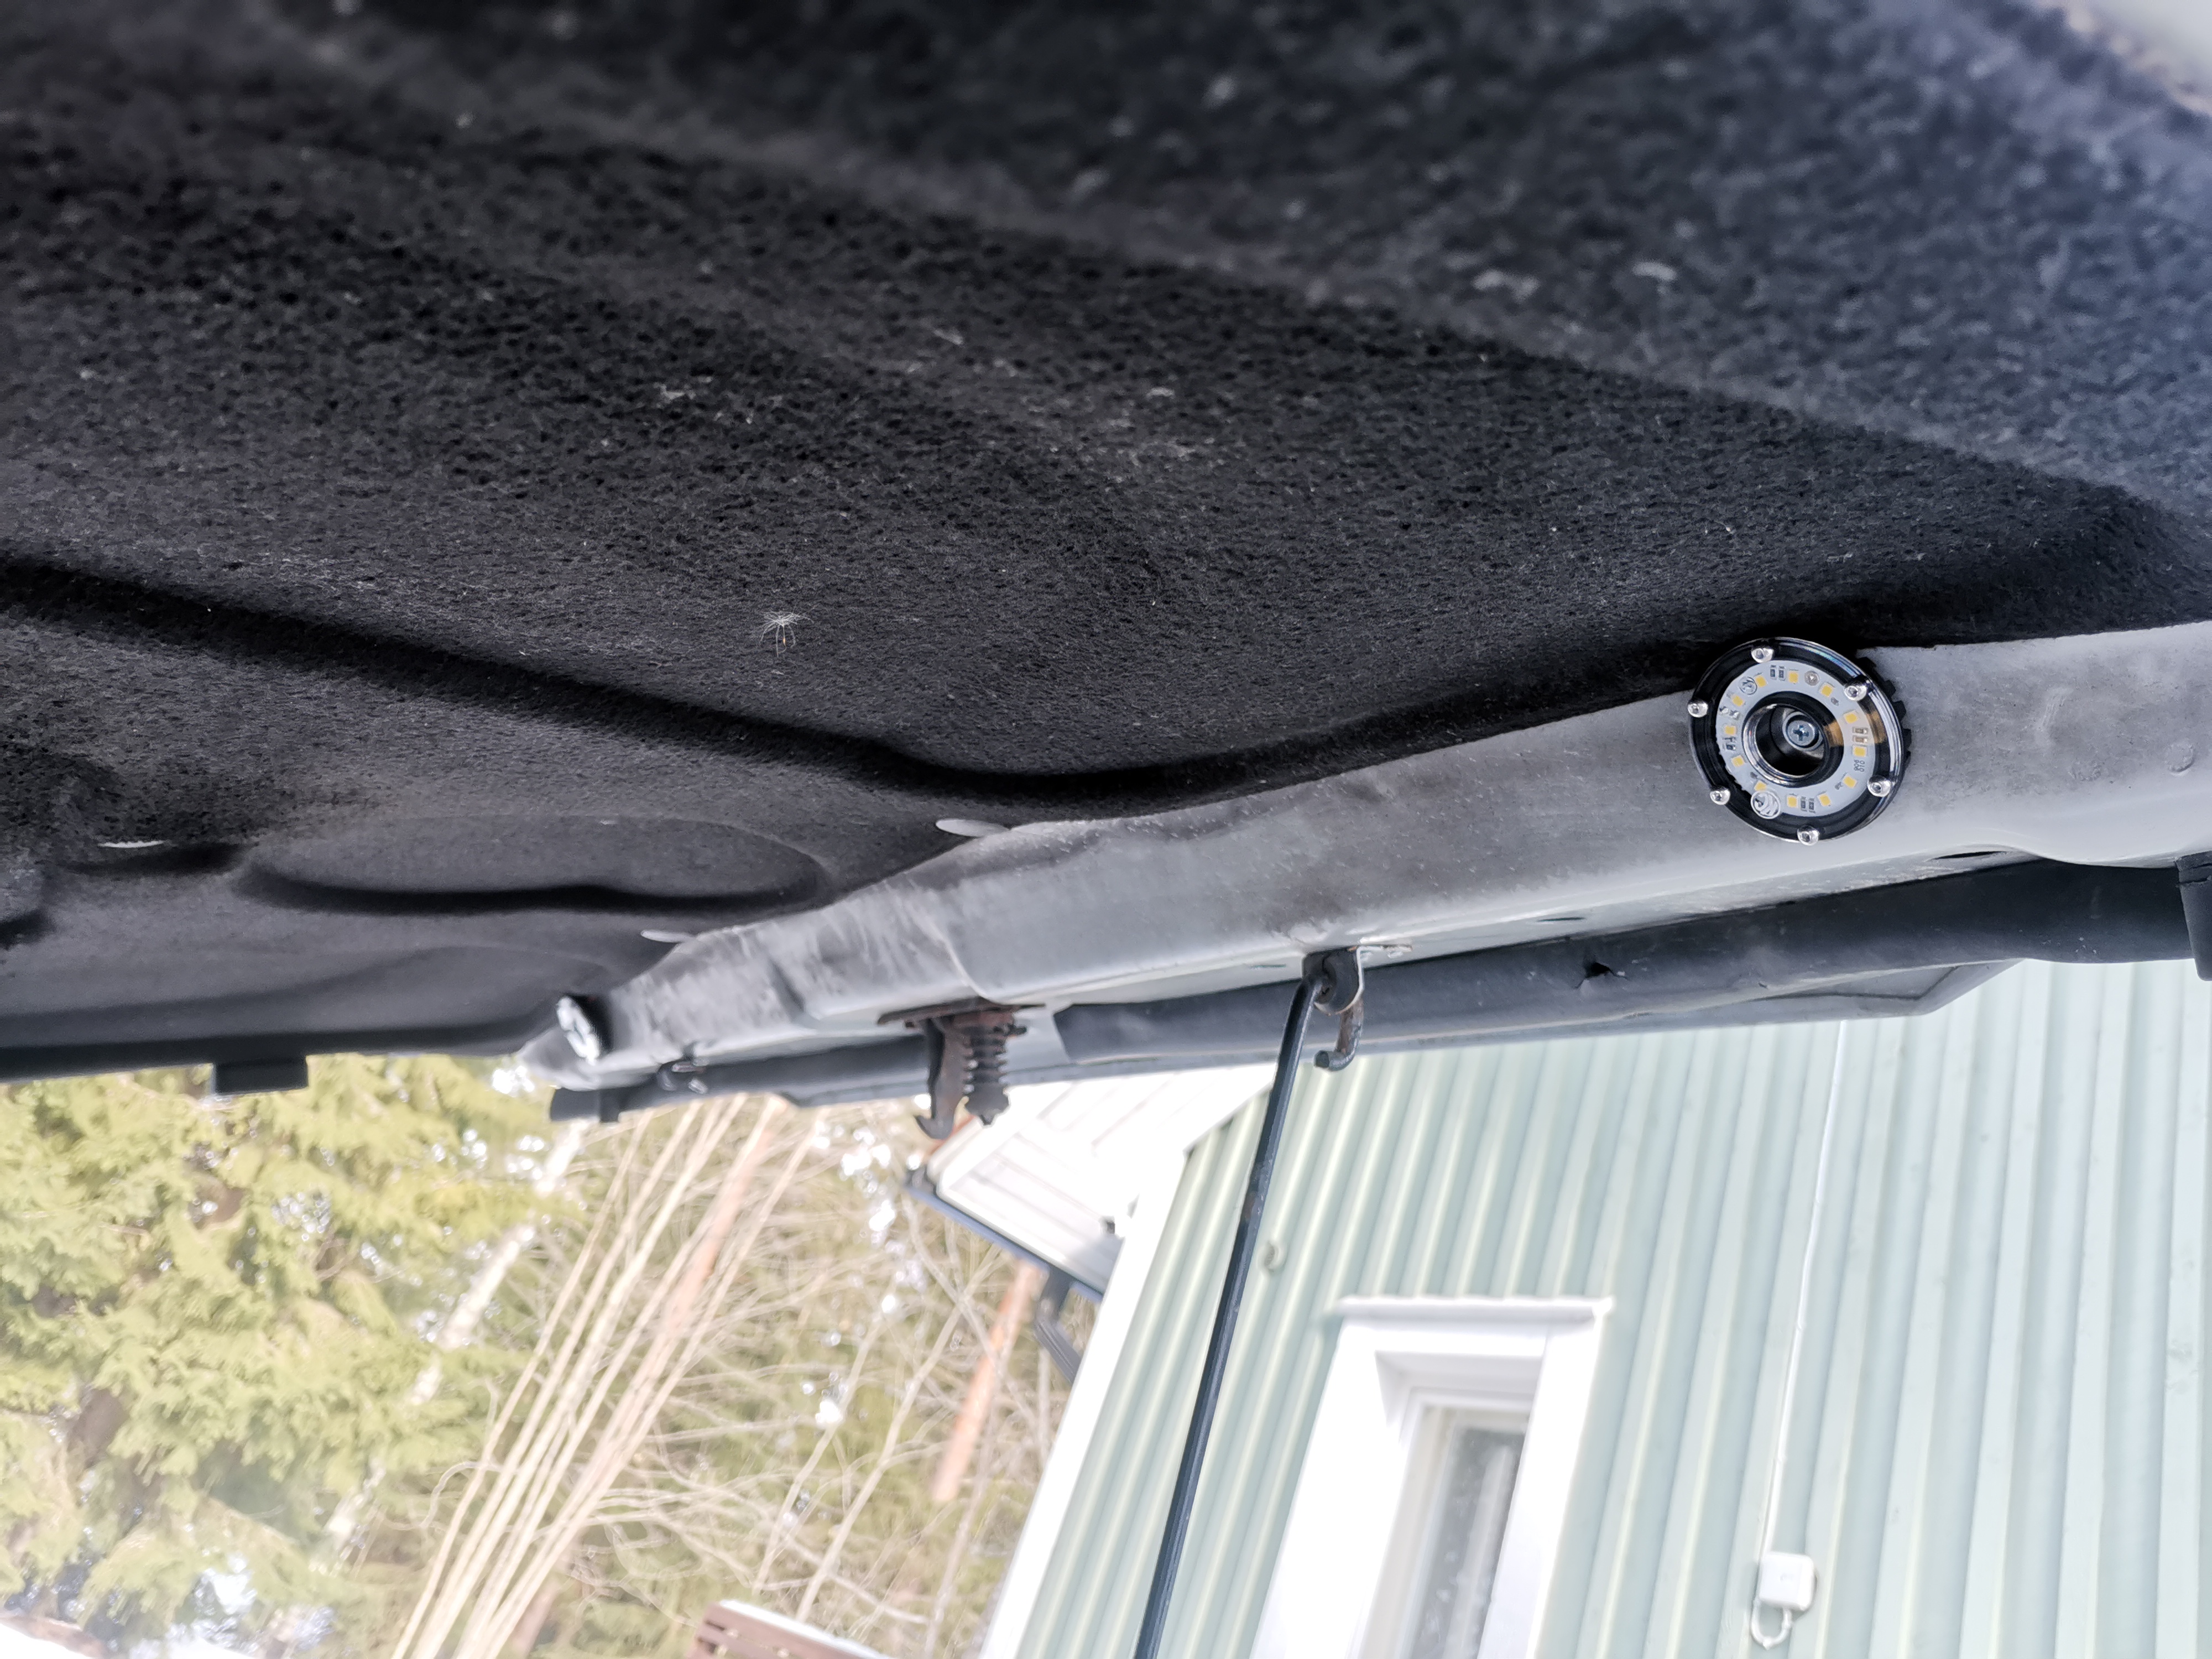
How did you mount the cyclone lights to the hood? How did it hold up while offroading?
Still getting ready for Uwharrie Safari. I continue to have exhaust leaks at the flange so I decided to drop the exhaust and weld it up following advice from @Brandon318 and @Alex_M (I�ve never welded before).
I received the Forney EasyWeld today but haven�t had a chance to mess with it yet. I�m hoping to do some test welds tomorrow.
After pulling the exhaust, I found that after only a month of use, the remflex gaskets have not faired to well - especially on the passenger side. To be fair, I did over torque them so that may be my problem. I have another set so I will try them one more time at the recommended 16lbs.
After getting the exhaust removed, I wire wheeled the flange area on each side. I only saw one crack (on the passenger side) but I will pressure test them tomorrow and spray some soapy water to see if I can find other cracks.
By the way, I snapped the bolts back toward the muffler. Can these be knocked out or are they somehow threaded in the flange?
 04-14-2022, 03:41 PM