
What did you do with your DII today?
#1591
 04-16-2014, 04:13 PM


Been a good week for me. Feel like I've posted here every day for the last 5-6 days.
Installed a replacement window regulator. Old regulator broke at some welds/rivets. I started thinking that I could drill out the welds/rivets and then refasten the regulator. Or maybe just JB Weld it.
Ultimately, I went online, found a replacement for $35, and swapped it in. Driver window works again.
Also installed a ladder.
Remaining on the to-do list:
Fix busted radiator hose (part on order)
Replace broken trans sump clip (part on order)
Replace upstream/front o2 sensors--parts arrived today. Going to JB Blast and read some threads on this tonight
Replace PS pump - for the near future
#1592
04-16-2014, 04:19 PM

Pro Wrench
#1593
04-16-2014, 04:23 PM
Love this! Did you put anything under to keep water out? I'm guessing those are self-tapping screws?
#1594
04-16-2014, 04:29 PM

Rock Crawling
Self tapping is not a good idea, that aluminum panel can't be more then 1/16th of an inch thick...
When I did mine, I drilled through, put a piece of flat steel bar behind and through bolted....
Would certainly suck to get a bottle cap off and bend your panel in the process
#1595
04-16-2014, 04:38 PM

I just got that. I used my dremel to cut an opening on the center console switch panel cover for the usb. Then cut an opening in the top of the actual switch panel and JB welded the USB port onto it so that the switch panel cover would be flush with it.
I ran the wire from the center console, down the passenger side (where the power seat controls are) down to the passenger seat. Under the passenger seat and connected it to my after market amp power and ground.
Just make sure whatever module you get has 2-3 amps output, or it will take forever to charge your smart phone.
#1596
04-16-2014, 05:07 PM

Rock Crawling
Join Date: Sep 2013
Location: Charleston, SC
Posts: 318
Likes: 0
Received 0 Likes
on
0 Posts
#1597
04-16-2014, 06:46 PM
Rock Crawling
Join Date: Sep 2013
Location: Charleston, SC
Posts: 318
Likes: 0
Received 0 Likes
on
0 Posts
Gib 12V to 5V 3A 15W USB DC DC Buck Converter Step Down Module Power Supply | eBay
I just got that. I used my dremel to cut an opening on the center console switch panel cover for the usb. Then cut an opening in the top of the actual switch panel and JB welded the USB port onto it so that the switch panel cover would be flush with it.
I ran the wire from the center console, down the passenger side (where the power seat controls are) down to the passenger seat. Under the passenger seat and connected it to my after market amp power and ground.
Just make sure whatever module you get has 2-3 amps output, or it will take forever to charge your smart phone.
#1598
04-16-2014, 08:18 PM

Baja
Fitted 2x new SLS rear air springs today. Not a difficult job but time consuming. Cleaned and spray painted around the locations on the chassis. The old ones on inspection were cracked quite badly and the lower retaining band was very rusty. I reckon they were due to fail big time soon.
TF rear shockers too long for the air springs TF119's are 1" (25mm) longer than the LR OE shockers.
Noticed the top bush on the Watts was a bit wonky and the whole of the Watts bushes need replacing along with the radius arms bushes. Also noticed the passenger side rear axle bump stop rubber was missing.
#1599
04-16-2014, 10:12 PM

Super Moderator
Fitted 2x new SLS rear air springs today. Not a difficult job but time consuming. Cleaned and spray painted around the locations on the chassis. The old ones on inspection were cracked quite badly and the lower retaining band was very rusty. I reckon they were due to fail big time soon.
TF rear shockers too long for the air springs TF119's are 1" (25mm) longer than the LR OE shockers.
Noticed the top bush on the Watts was a bit wonky and the whole of the Watts bushes need replacing along with the radius arms bushes. Also noticed the passenger side rear axle bump stop rubber was missing.
TF rear shockers too long for the air springs TF119's are 1" (25mm) longer than the LR OE shockers.
Noticed the top bush on the Watts was a bit wonky and the whole of the Watts bushes need replacing along with the radius arms bushes. Also noticed the passenger side rear axle bump stop rubber was missing.
also, if that compressor ever craps out, I have 2 good ones just sitting here, but not sure how devilish shipping is to that 3rd world country, you live in.
#1600
04-17-2014, 01:10 AM

Three Wheeling
Join Date: Sep 2012
Location: SoCal - "Other Desert Cities"
Posts: 58
Likes: 0
Received 0 Likes
on
0 Posts
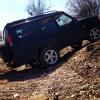
All I did today was have a little fun at work heading down the mountain:
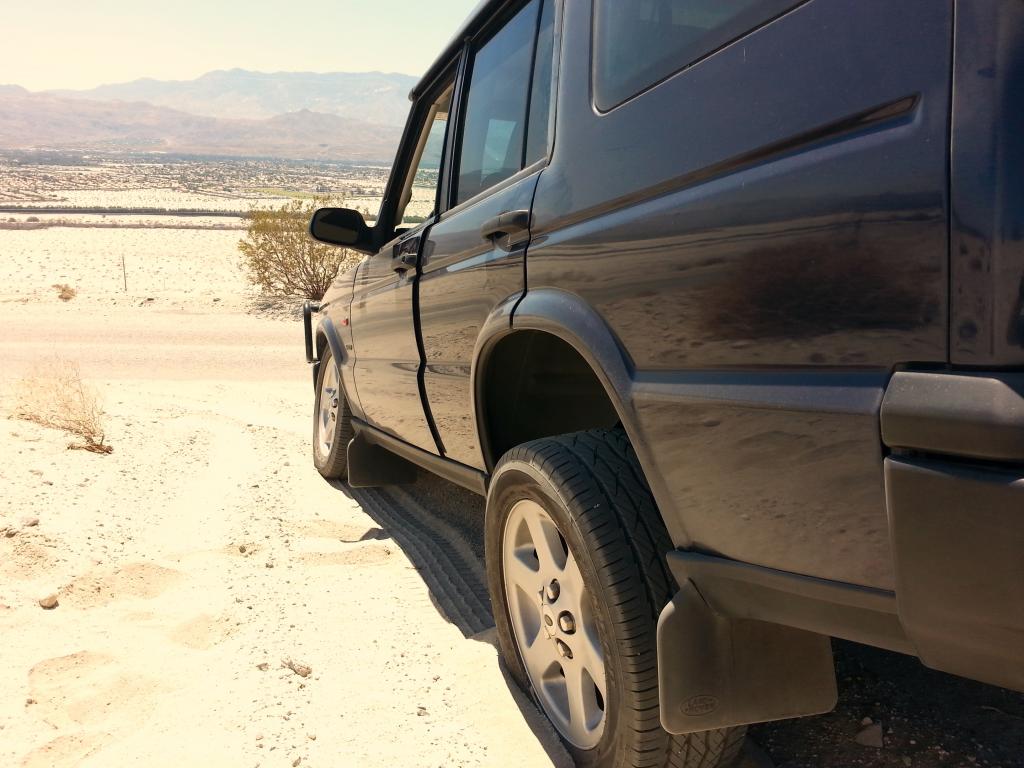
Not bad for street tires and stock suspension - I need some better tires, and I could have some real fun up there...
Last edited by bootzilla; 04-17-2014 at 01:32 AM.