When you click on links to various merchants on this site and make a purchase, this can result in this site earning a commission. Affiliate programs and affiliations include, but are not limited to, the eBay Partner Network.
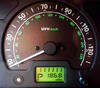
@Discorama On the 04 it is right on the front of the transfer case
The switch is just under the two hard lines. If you follow the wire that goes over them. You will see it slightly to the left and above the drive shaft nut
I definitely ordered the wrong HID projectors as they are bigger than what would have made this a super simple brainless project. Instead I trimmed everything to fit and play nice but it can definitely be avoided. I'll make sure to highlight that in my post. I think due to added the LED projectors it almost works better so that both projectors aren't the same size, but that's purely my personal opinion. plus makes me feel better for being an impatient idiot and not just sending them back haha
Got me some new tires. 255/85/16 Bfg KM3
Did a quick trim on the front bumper. cause yah the rub was real. Gonna nice it up a bit then order a new bumper when I can make myself swallow the cost of the Tactical rover bumper
Ripped the sidewalls waaaaay to easy on the old Michelin defender ltx's.
Really its pretty quiet right now. I assume they are gonna be a bit louder as they wear but the noise is ok with me.
Definitely the quietest mud tire ive ever ran.
The Bfg Ko2 on my jeep Cherokee are louder but they are 2 years old at this point.
I removed the plastic nipple at the intake. This was super easy, came right out.
Undoing the hose clamp at the valve cover took a little longer because I didn't want to ruin it:
Despite what I have read in some places, they are totally reusable, no need to cut off! With the SAI lines there (I think that's what those are), it's not very easy to get to. So I practiced on a clamp that I had clear access to. I found that if I squeeze it together with some needle nose pliers, it takes the pressure off the clip and I can pop it pretty easily with a small screwdriver. I think just prying it off with a screwdriver can bend the clamp and it might lose some of it's clamping effectiveness (?):
With the clamp out of the way, the hose would not budge. I used some small vice grips to wiggle and pry it for a bit, and it eventually popped off.
Luckily for me, the plastic baffle popped right out with the needle nose pliers, and was pretty clean, not much gunk:
The rest is a breeze. I threaded the new PCV valve into the intake and tightened, but not too tight, then re-attached the hose and tightened the clamp:
Then re-attached the hose to the tube on the valve cover. It went back on much easier than it came off:
Used the needle nose pliers to squeeze the same point together on the clamp to snap it in place:
Probably took me about 40 minutes total, but this was my first time doing this so I took my time. Figuring out the hose clamp and how to get the hose off the valve cover without messing up the hose probably took the longest, lol.
If I can do this, believe me you can! Now I have to make the time to get the "Option B" fix done.
1999 Disco 2. 165k miles. ACE works. Just had the valve block and hose seals rebuilt. I plasti-dipped it a few months ago. Decided I wanted more light. Decided I didn't want the OEM plastic. Installed new bumper - decided I could still use more light. Next up - a winch.
Basically added a light bar, new bumper and two more LED lights.
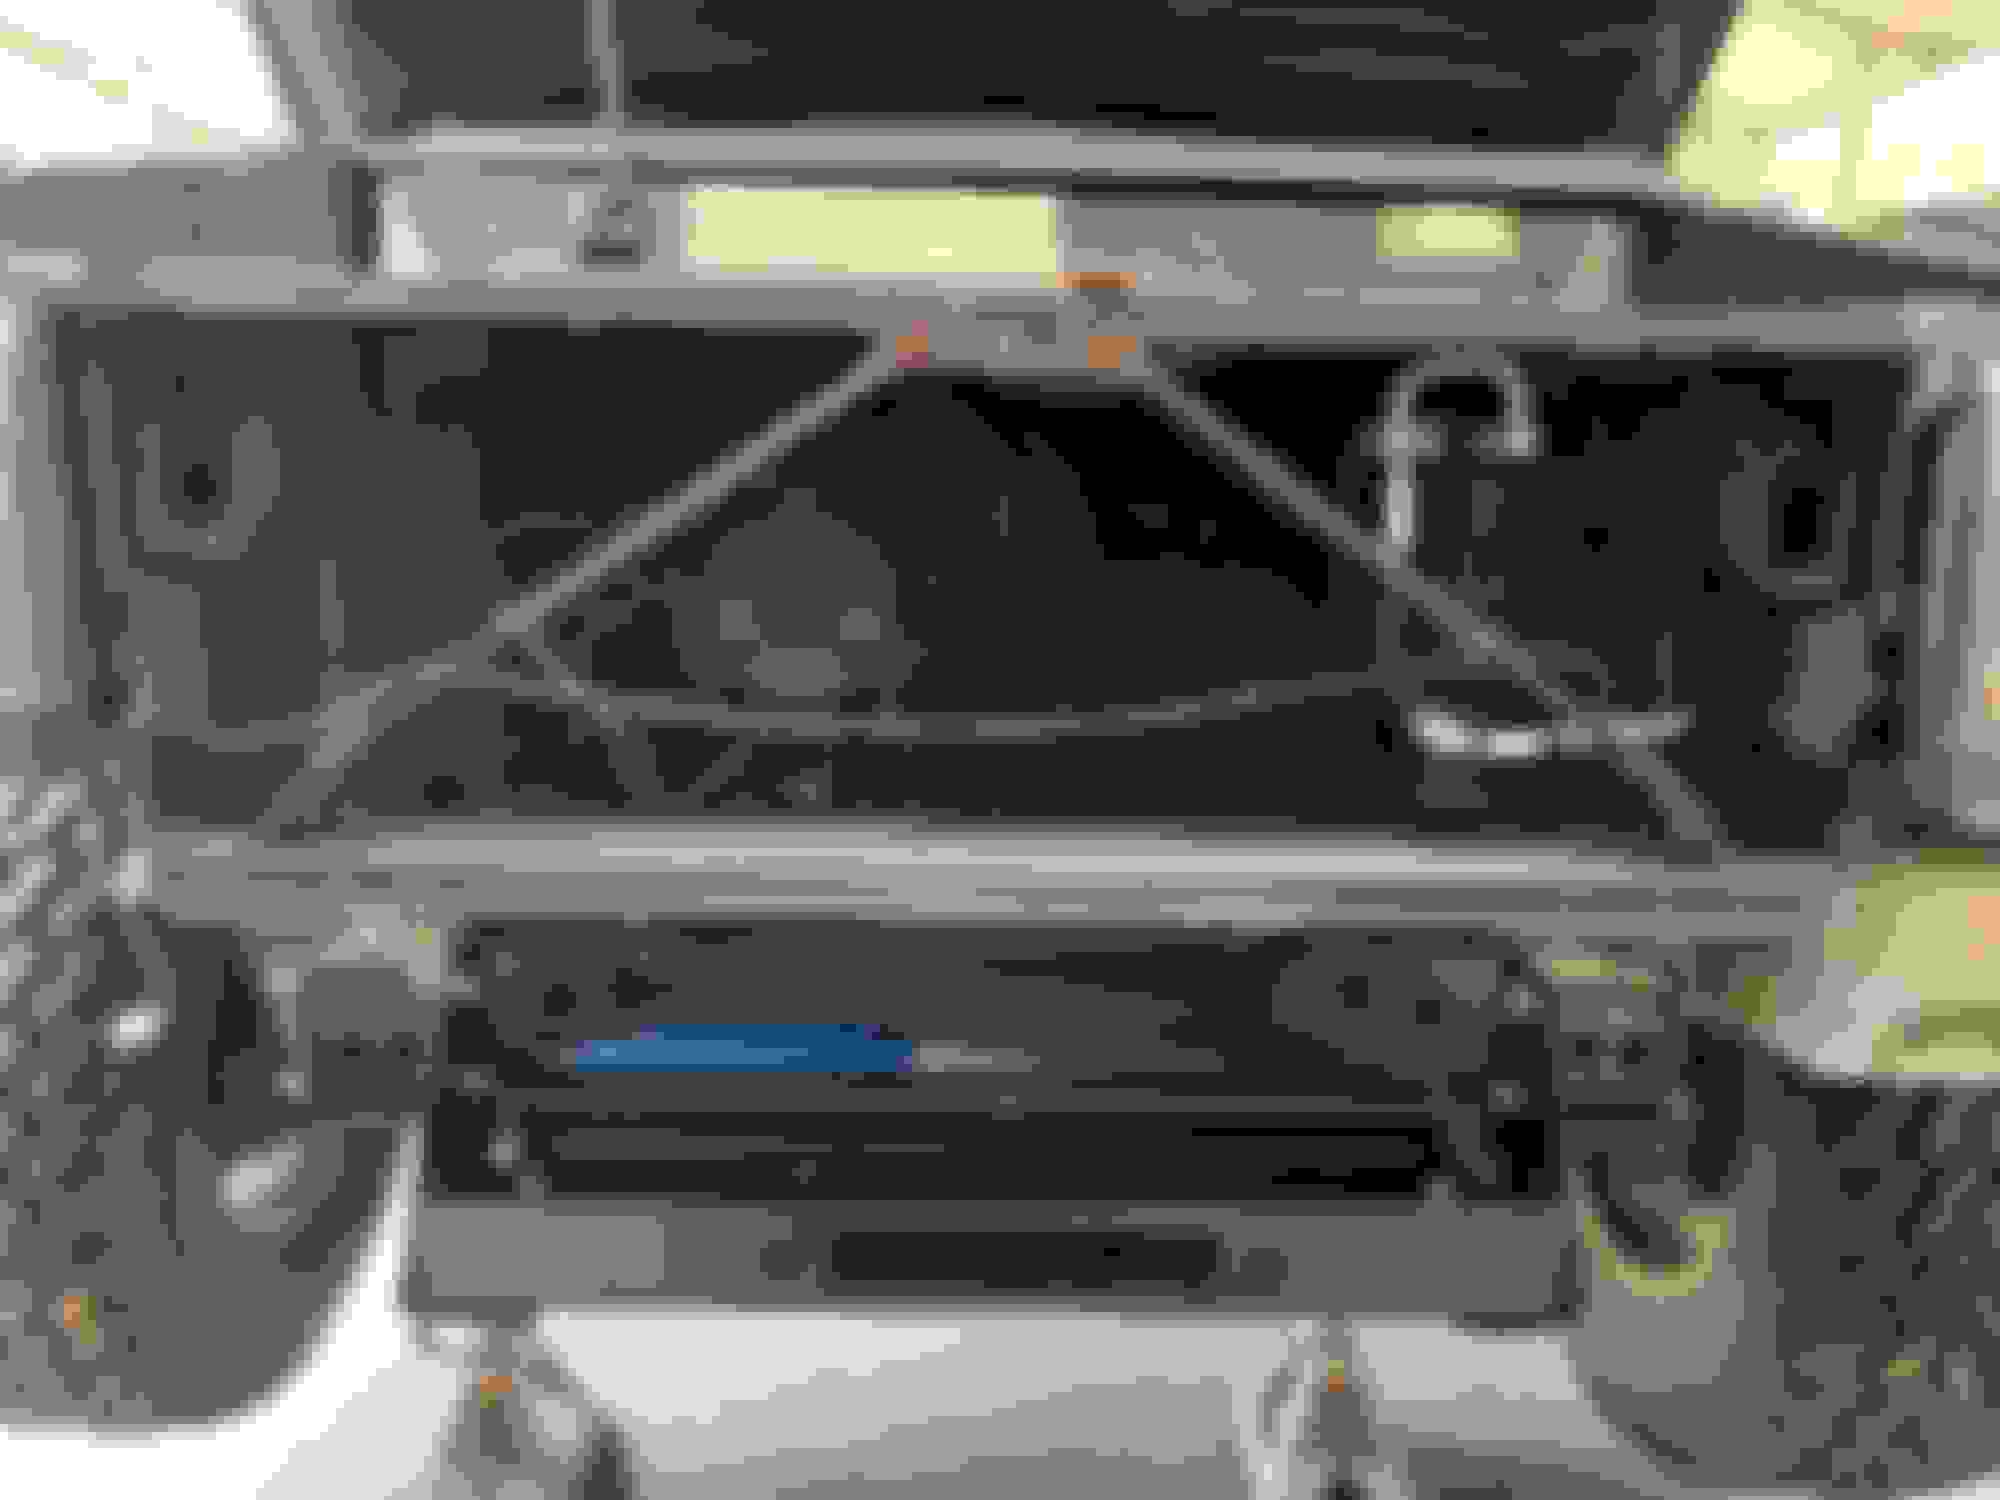
I finished up my installation on a new winch. I went with the Terra Firma Discreet winch mount, from Atlantic British. I have a fairly new non winch bumper and like it, so I wanted to figure out an alternative solution. This winch mount sits between the front frame horns, behind the bumper/under the grille. It's a tight fit and certainly no room for the traditional solonoid on top set-up, so that has to be remotely mounted. In my case I bought a Harbor Freight ZXR12000lb winch.. I've been using one of these winches on my car hauler for many years, and with loads of usage it never gave me any trouble, so I thought for the few times I may need it on my Disco, why not save a few bucks..
I had to dismantle the solonoid box and remove the guts to find an easy, suitable spot to mount it. In this case, just under the bonnet shut panel leaving just enough room for the cables/wiring to still reach the winch.
The installation is tight, and you have to attach the winch to the mounting bracket and then using a floor jack, ease it up into place. It uses the existing 4 bumper mount bolts to hold it up there.
I wasn't happy with the bulk of the included roller fairlead, so I bought a Warn steel hawse fairlead and treated myself to a Warn cable hook, as the one included with the winch seemed cheap, and potentially dangerous.
All in all, happy with the set-up. Any questions feel free to contact me.
Finally finished up my hidden winch mount installation. I have a fairly new front bumper that I wanted to keep, so I researched alternatives to mounting a winch and came up with Terra Firma's Discreet winch mount, which I purchased from Atlantic British. This is meant to sit between the front frame horns, behind the bumper/below the grille. After removing the bumper and grille, I mounted the unit for a dry run and measure for winch space. It's tight for sure, with height being the main restriction. So just about any winch you install will require you to remotely mount the solenoid, rather than the traditional solenoid on top of the rollers. I gutted the encased solenoid box and mounted the guts (now much smaller and easier to "hide") up under the bonnet shut panel, near the horn. This left just the right distance to allow the supplied cables to still reach the winch without having to lengthen them. With the mount in place, there is no way to slide the winch in place, so it is necessary to mount the winch onto the mount first and then with a floor jack, lift it up as an assembly
into position and bolt in place using the existing 4 bumper bolts. I didn't like the supplied roller fairlead...too big and bulky so I purchased a Warn Hawse fairlead, made for steel cable winch. And as for the winch, I have had very good experience on my car trailer with the very affordable Badlands 12000lb winch, so that is what I installed..
If I'm lucky, I won't ever need the winch
Pete
I removed the plastic nipple at the intake. This was super easy, came right out.
Undoing the hose clamp at the valve cover took a little longer because I didn't want to ruin it:
Despite what I have read in some places, they are totally reusable, no need to cut off! With the SAI lines there (I think that's what those are), it's not very easy to get to. So I practiced on a clamp that I had clear access to. I found that if I squeeze it together with some needle nose pliers, it takes the pressure off the clip and I can pop it pretty easily with a small screwdriver. I think just prying it off with a screwdriver can bend the clamp and it might lose some of it's clamping effectiveness (?):
With the clamp out of the way, the hose would not budge. I used some small vice grips to wiggle and pry it for a bit, and it eventually popped off.
Luckily for me, the plastic baffle popped right out with the needle nose pliers, and was pretty clean, not much gunk:
The rest is a breeze. I threaded the new PCV valve into the intake and tightened, but not too tight, then re-attached the hose and tightened the clamp:
Then re-attached the hose to the tube on the valve cover. It went back on much easier than it came off:
Used the needle nose pliers to squeeze the same point together on the clamp to snap it in place:
Probably took me about 40 minutes total, but this was my first time doing this so I took my time. Figuring out the hose clamp and how to get the hose off the valve cover without messing up the hose probably took the longest, lol.
If I can do this, believe me you can! Now I have to make the time to get the "Option B" fix done.
Thanks,
Sean.
Hey Sean... Your pics aren't showing up due to them being saved on your Google account.
 08-14-2020, 02:34 PM